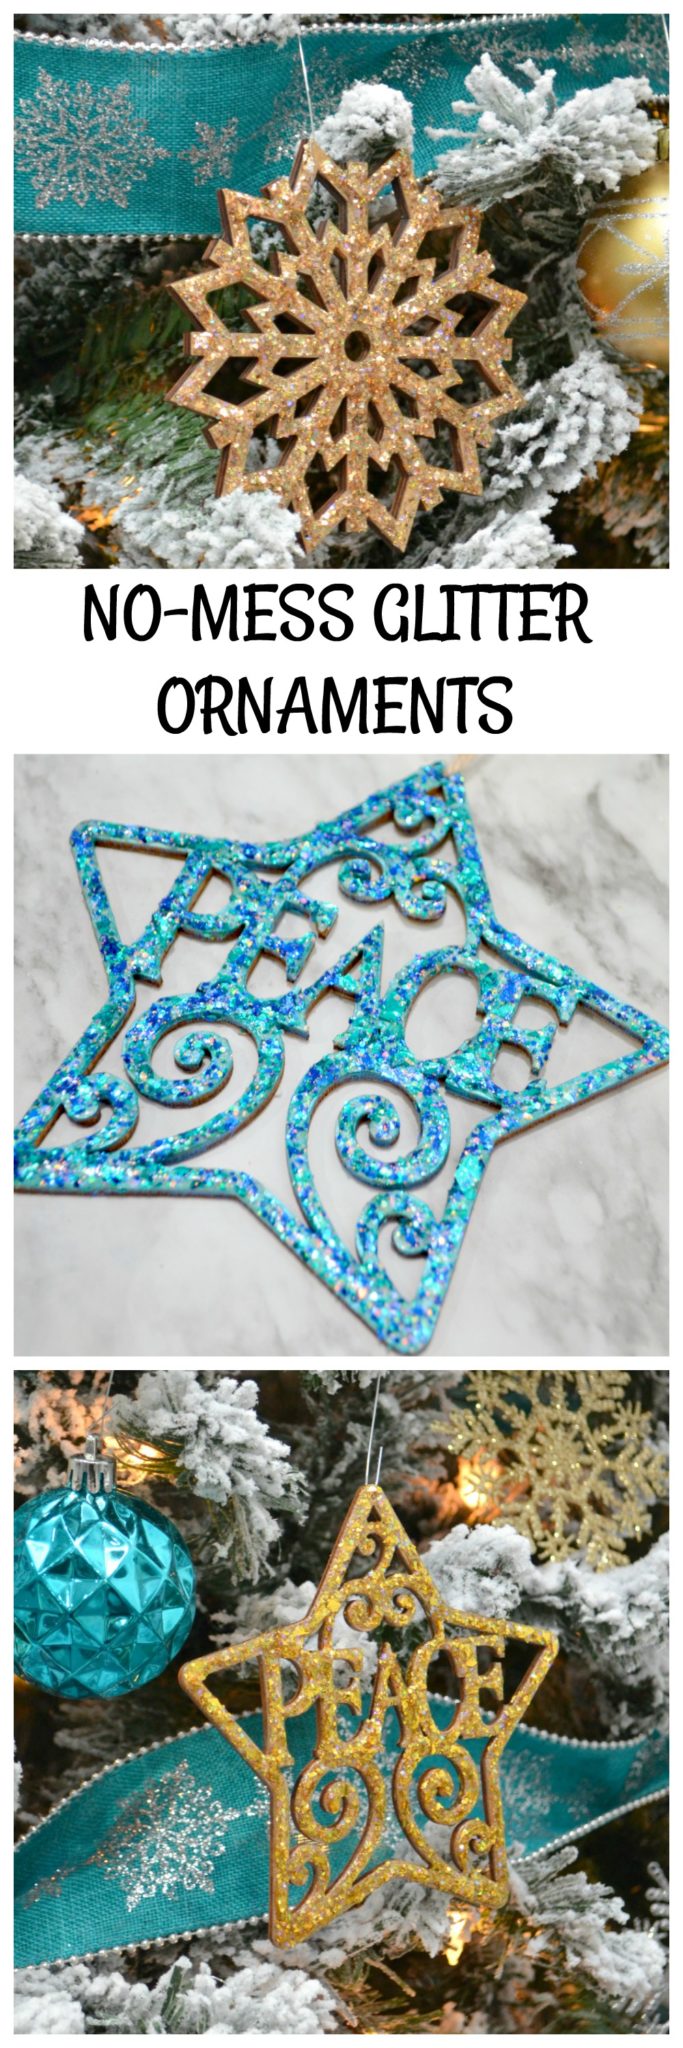
No-Mess Glitter Ornaments with FolkArt Glitterific
Thanks to Plaid Crafts for sponsoring today’s post; all opinions are honestly my own.
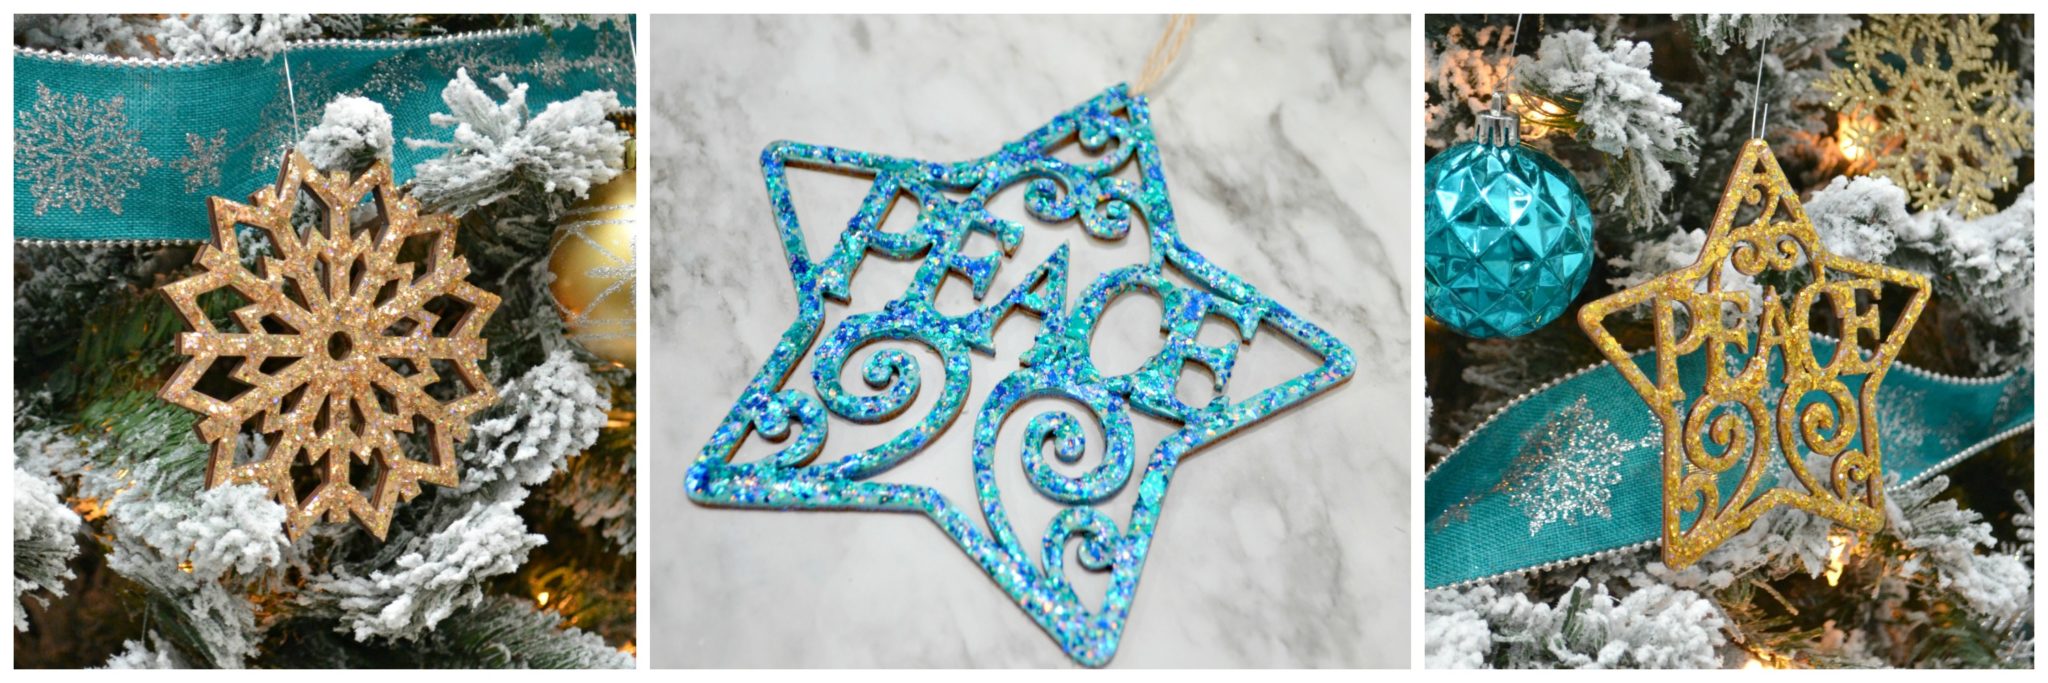
It’s that time of year, friends! Time to start decking the halls and decorating our Christmas trees. If you’re anything like me, you probably love making a few DIY ornaments of your own to add to your collection each year. Today, I’ve got a fun idea to share with you for making some super-shiny, gorgeously glittery ornaments that make no mess! Yes, you heard that right! These shimmering ornaments will not shed all over your house, because instead of loose glitter, we’re using FolkArt Glitterific. Take a look…
You’ll need:
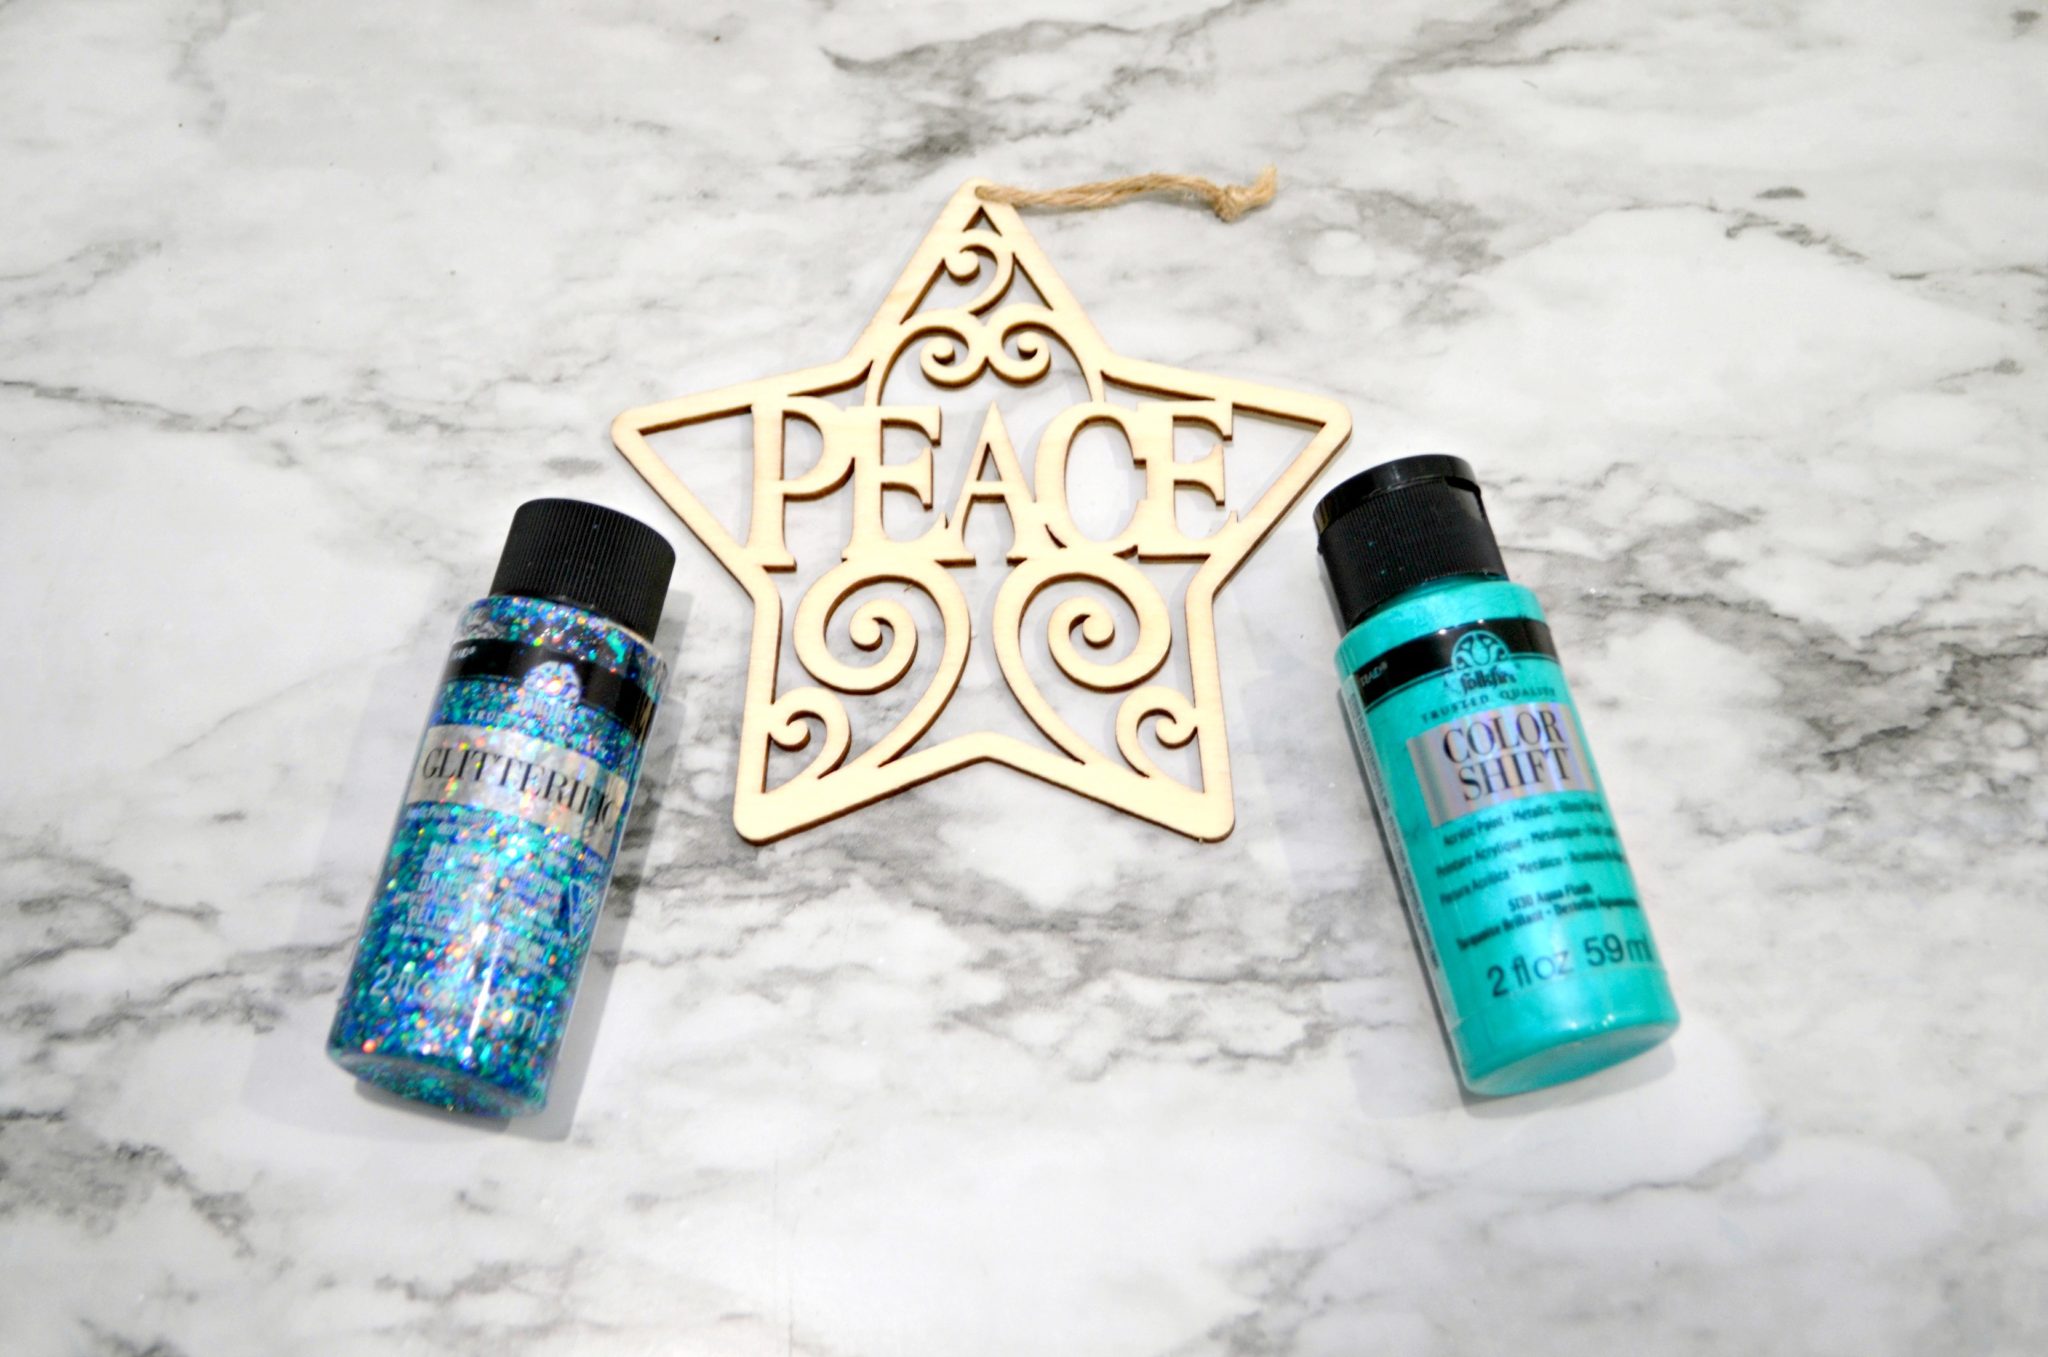
Laser-cut wooden ornaments {mine came from Michaels}
FolkArt® Color Shift™ or FolkArt® Brushed Metal™ paint
FolkArt® Glitterific™ Acrylic Paint
Small paintbrushes
Step 1: Paint the surface of each ornament with your favorite color of FolkArt Color Shift or FolkArt Brushed Metal.
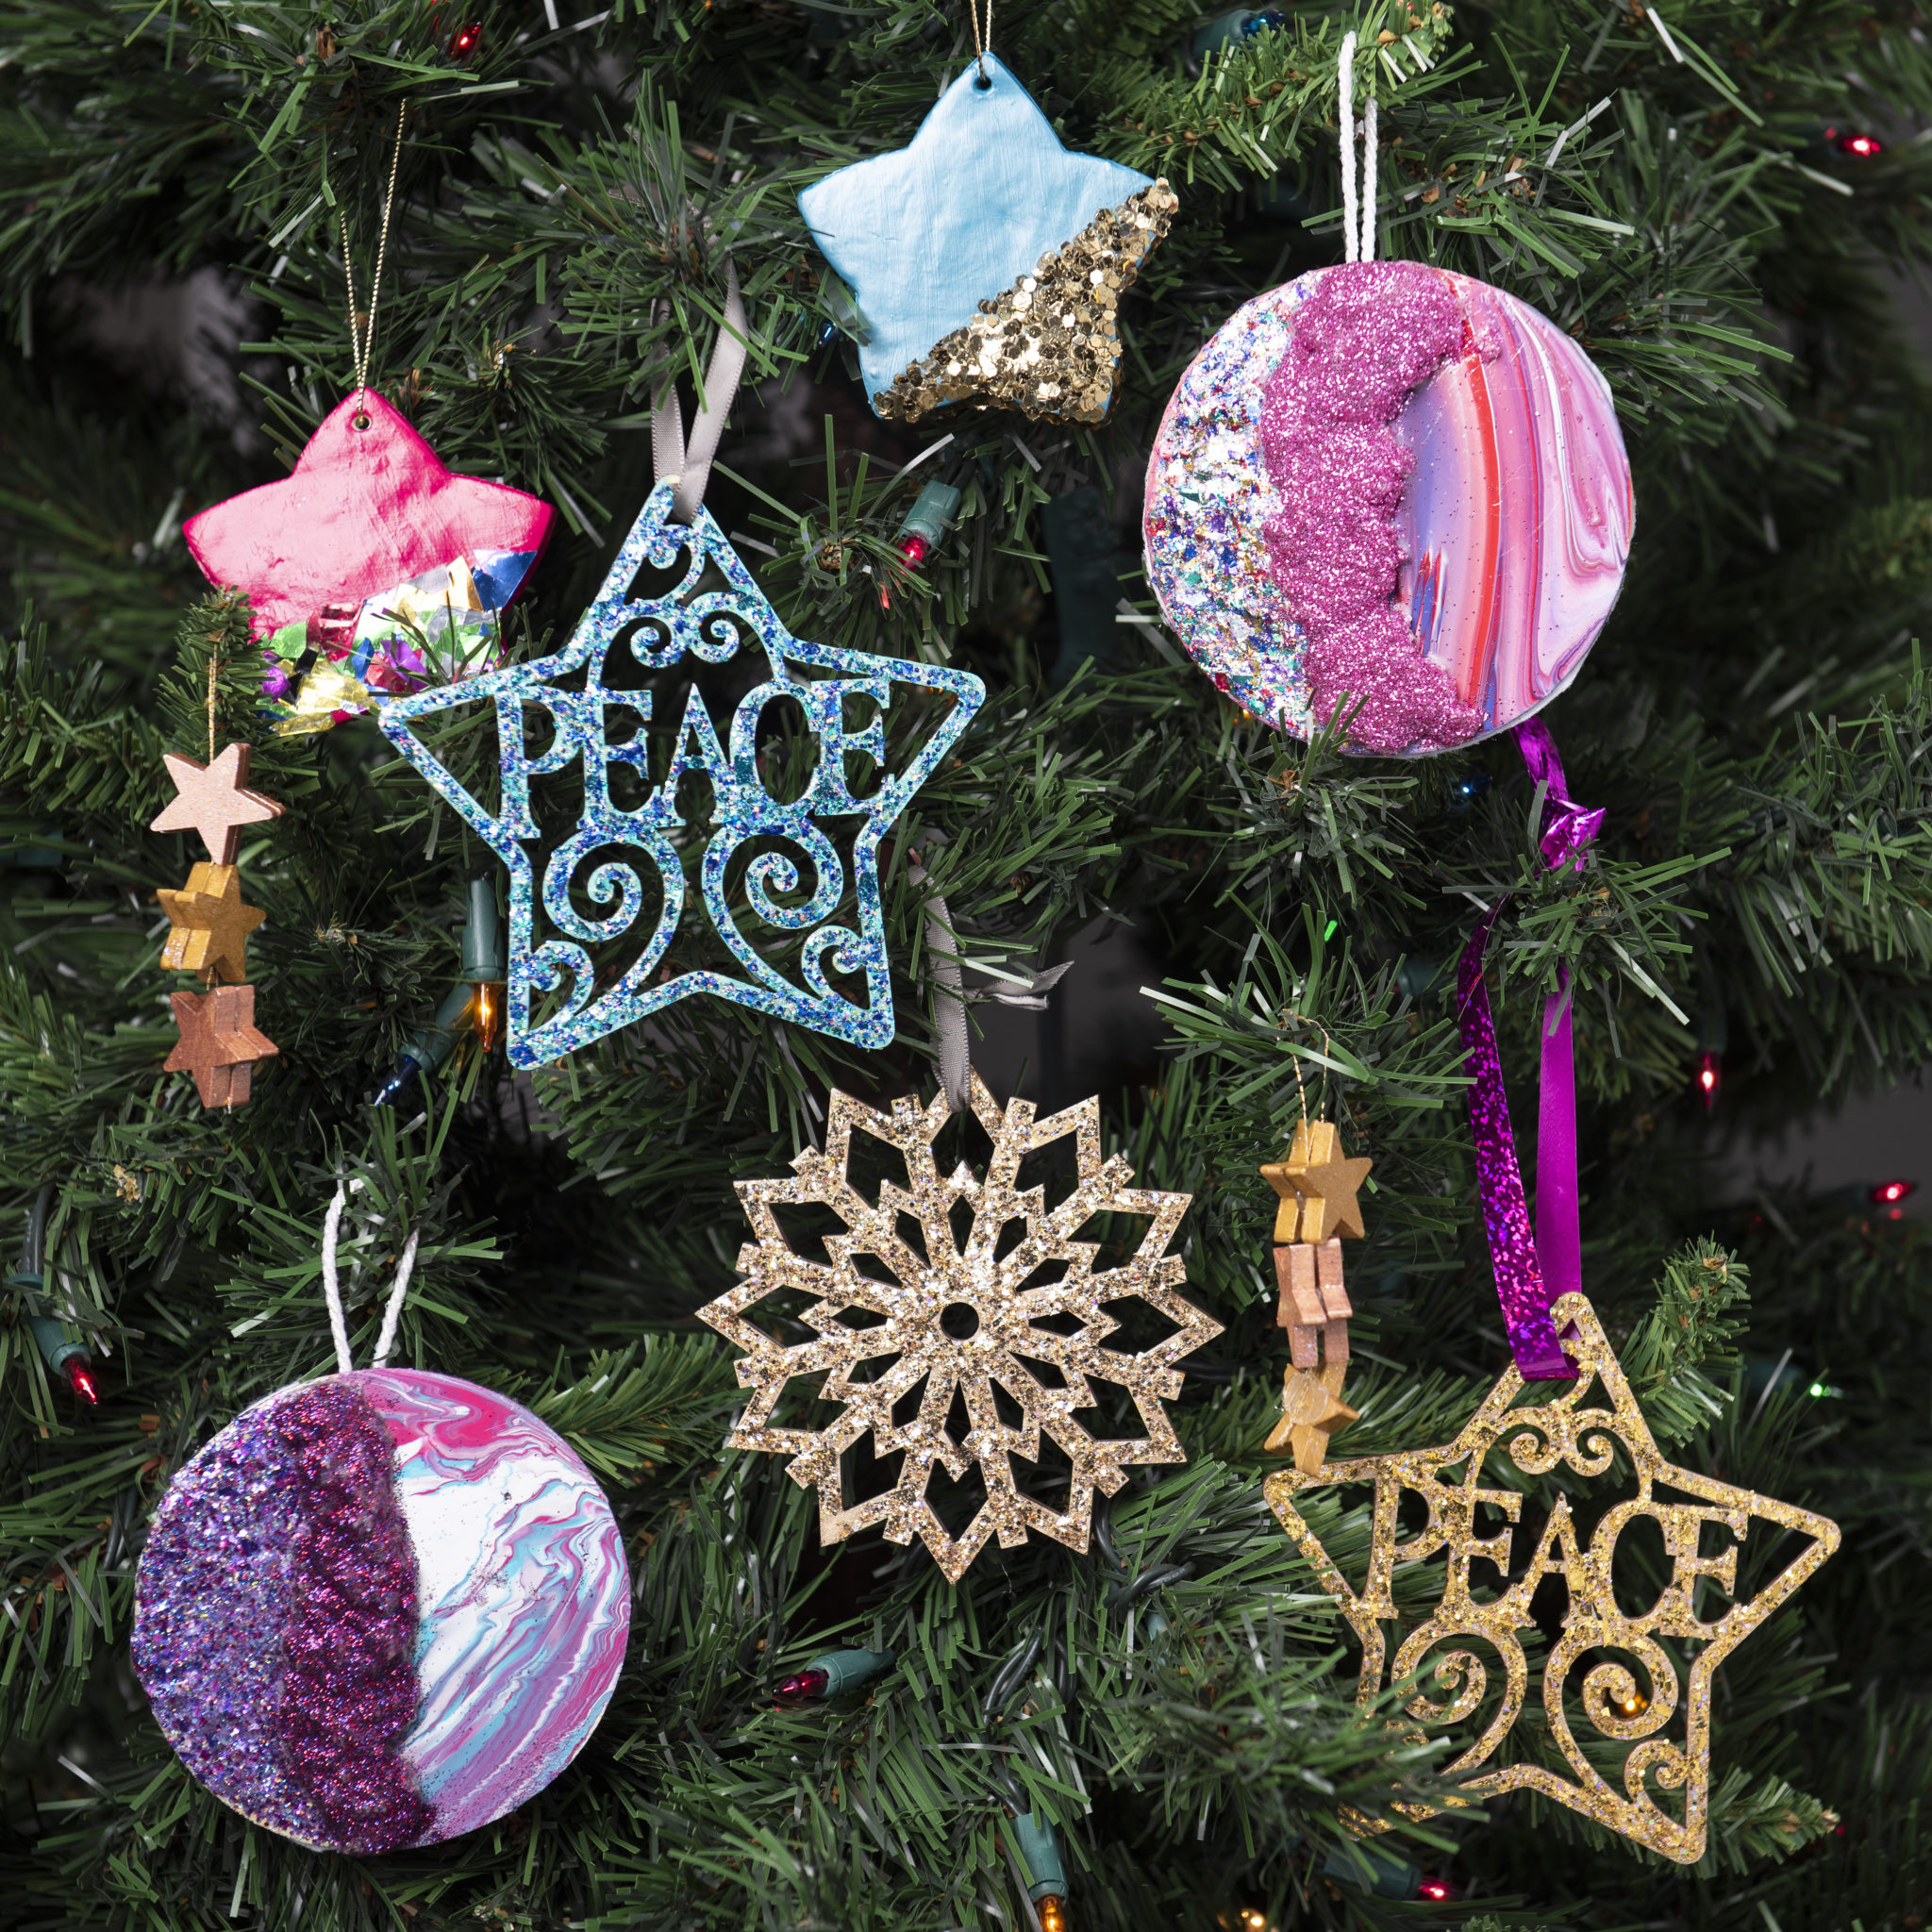
FolkArt Color Shift Paint is a water-based paint specially designed to produce a metallic luster that actually shifts colors when the direction of light on the painted surface changes. It’s available in 10 colors; I chose Aqua Flash. FolkArt Brushed Metal creates a gorgeous matte, brushed metallic luster in colors like the Gold and Antique Gold I used. Both can be applied to most craft surfaces, including wood, terracotta, canvas, plastic, paper mache, metal, and more. I found that one coat was enough to give me great coverage on the surface of my ornaments.

Step 2: Apply a coat of FolkArt Glitterific.
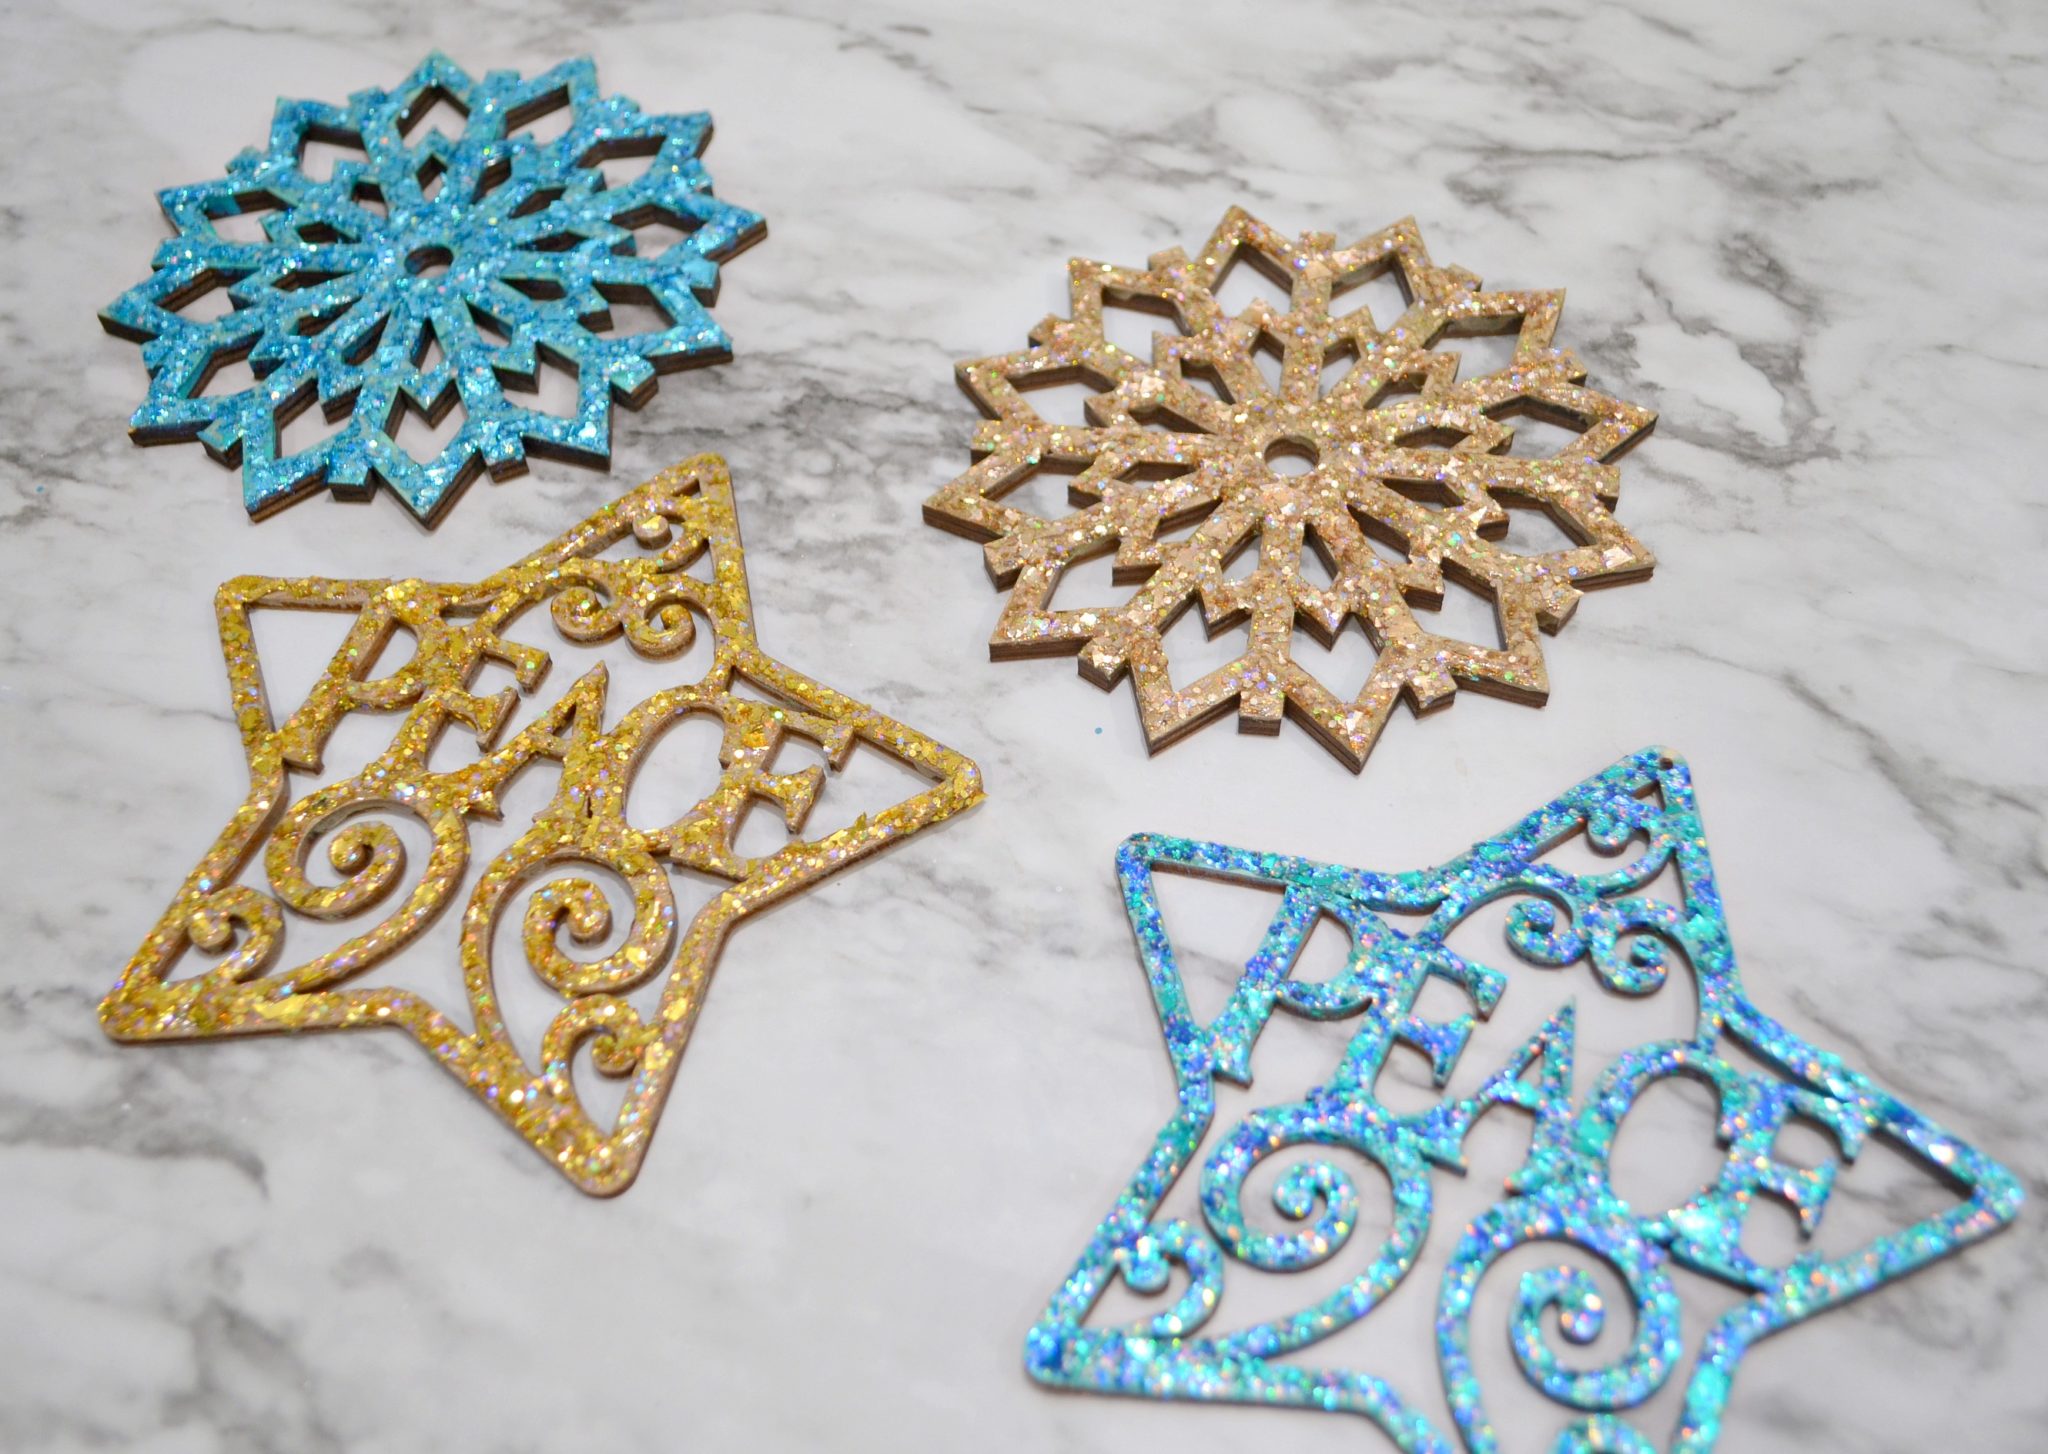
Glitterific is a collection of glitter particles in different sizes, shapes, and colors suspended in a clear base. There are 18 different colors to choose from, including the four I used: Aqua, Tropical, Gold, and Rose Gold.
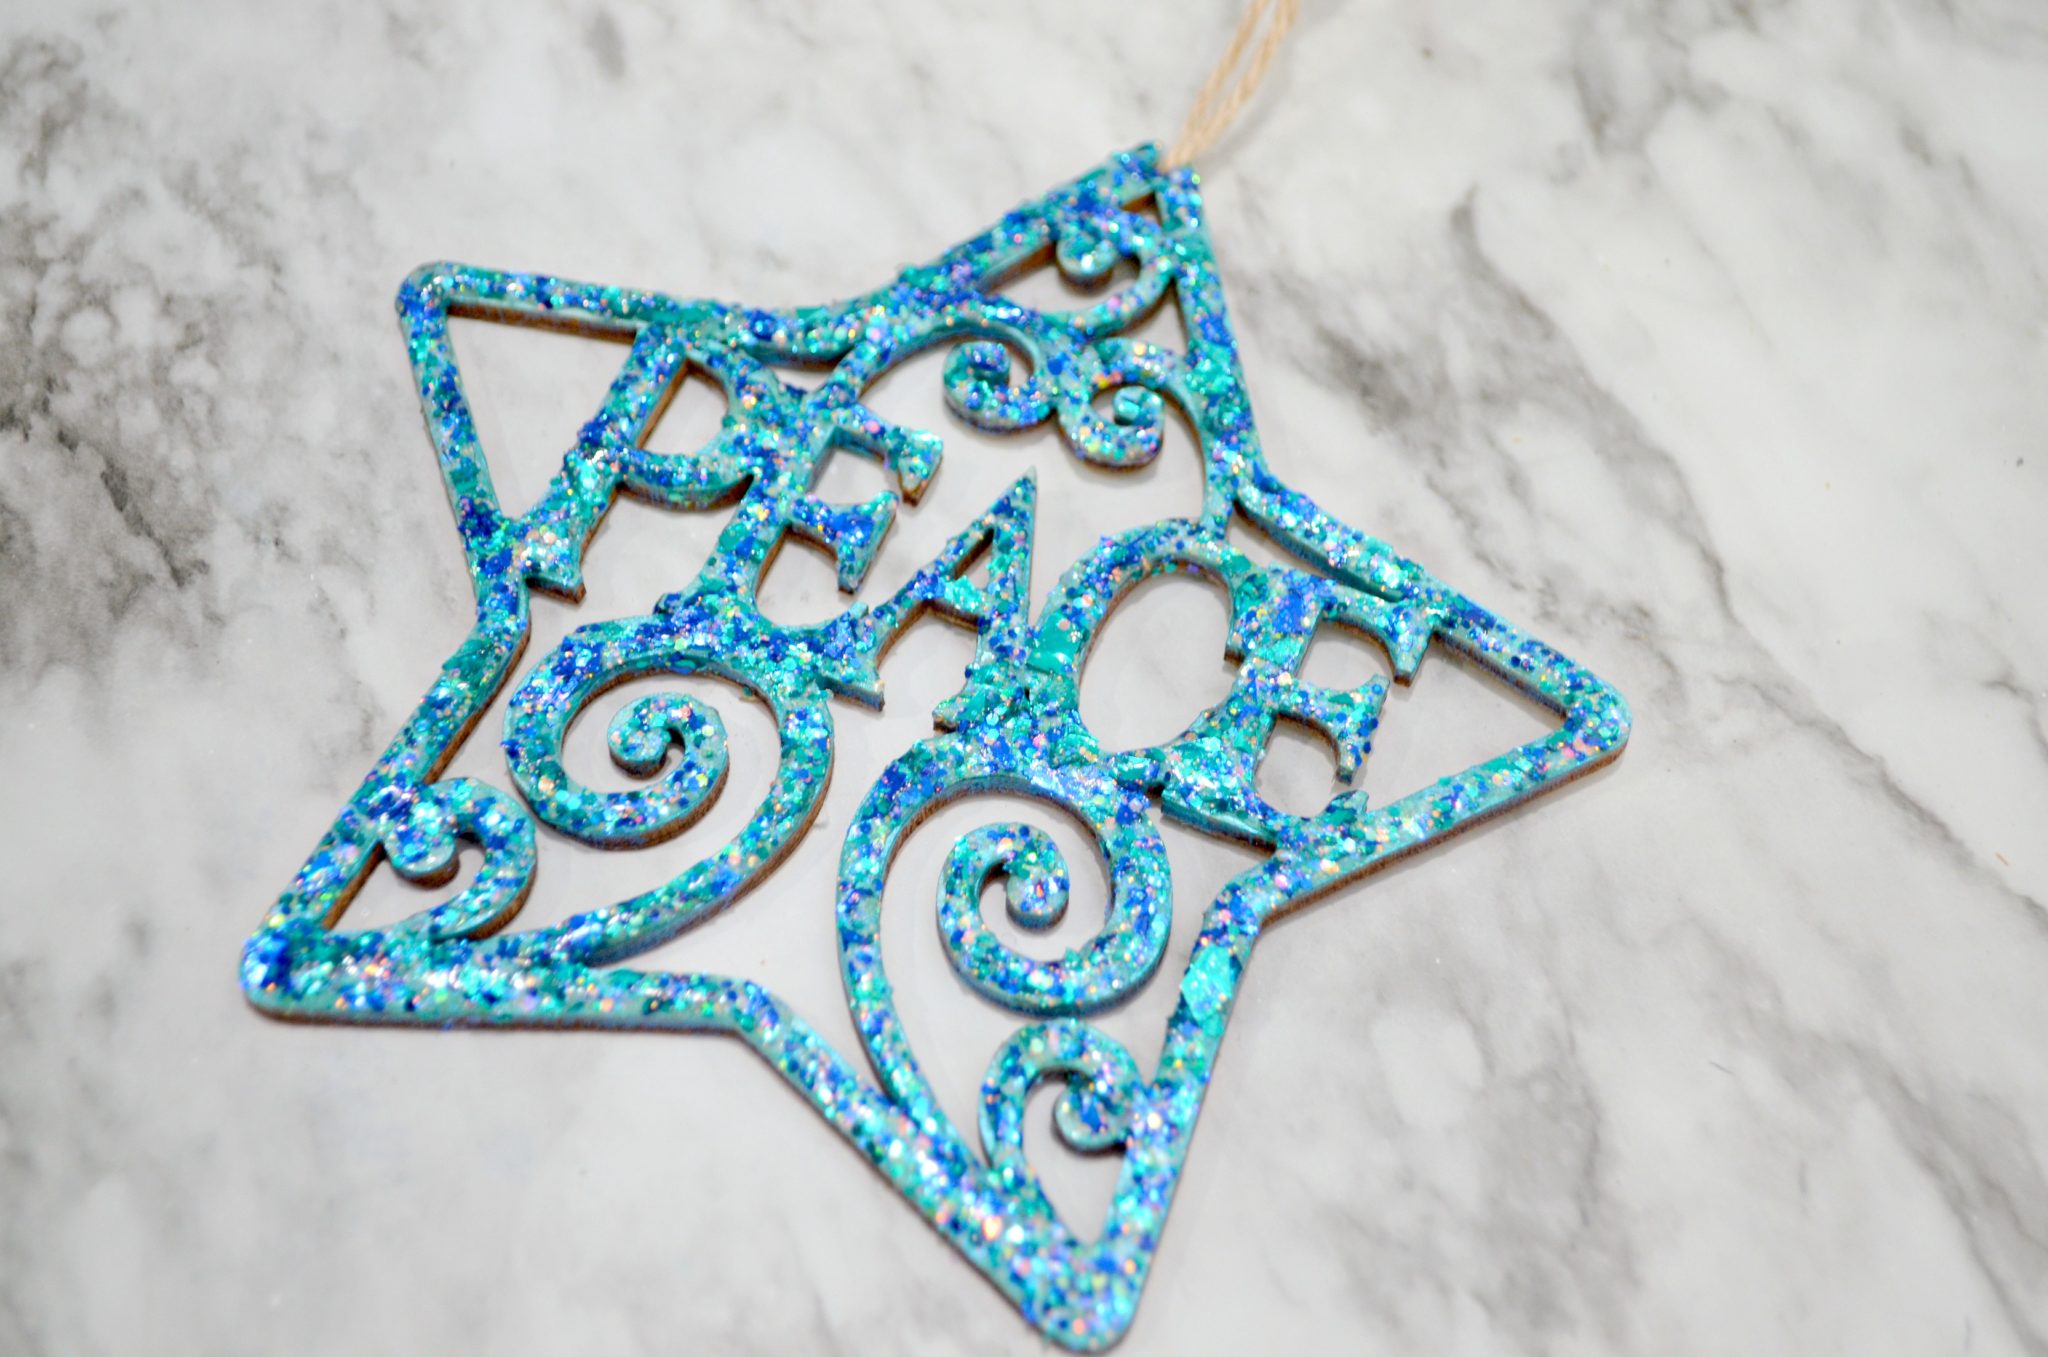
I used a very small brush and took my time, making sure to apply a thick coat so that the glitter particles fully covered the surface. Rather than brushing Glitterific on like a other types of paint, you’ll want to think of just “glopping” it on. In addition to wood, it can be used on lots of surface types including metal, plastic, terracotta, paper mache, glass, ceramic, and canvas for decorative purposes. It’s water-based for easy cleanup, and made in the USA.
Make sure to let the Glitterific dry completely before you move the ornaments or place them on the tree. They will probably be dry to the touch in about 30 minutes, but it’s best to let them cure overnight. The thicker you apply the Glitterific, the longer it will take to dry and cure.
Believe it or not, you do not need any kind of sealer or top coat. The formula is self-sealing and holds all the glitter in place with absolutely no mess!
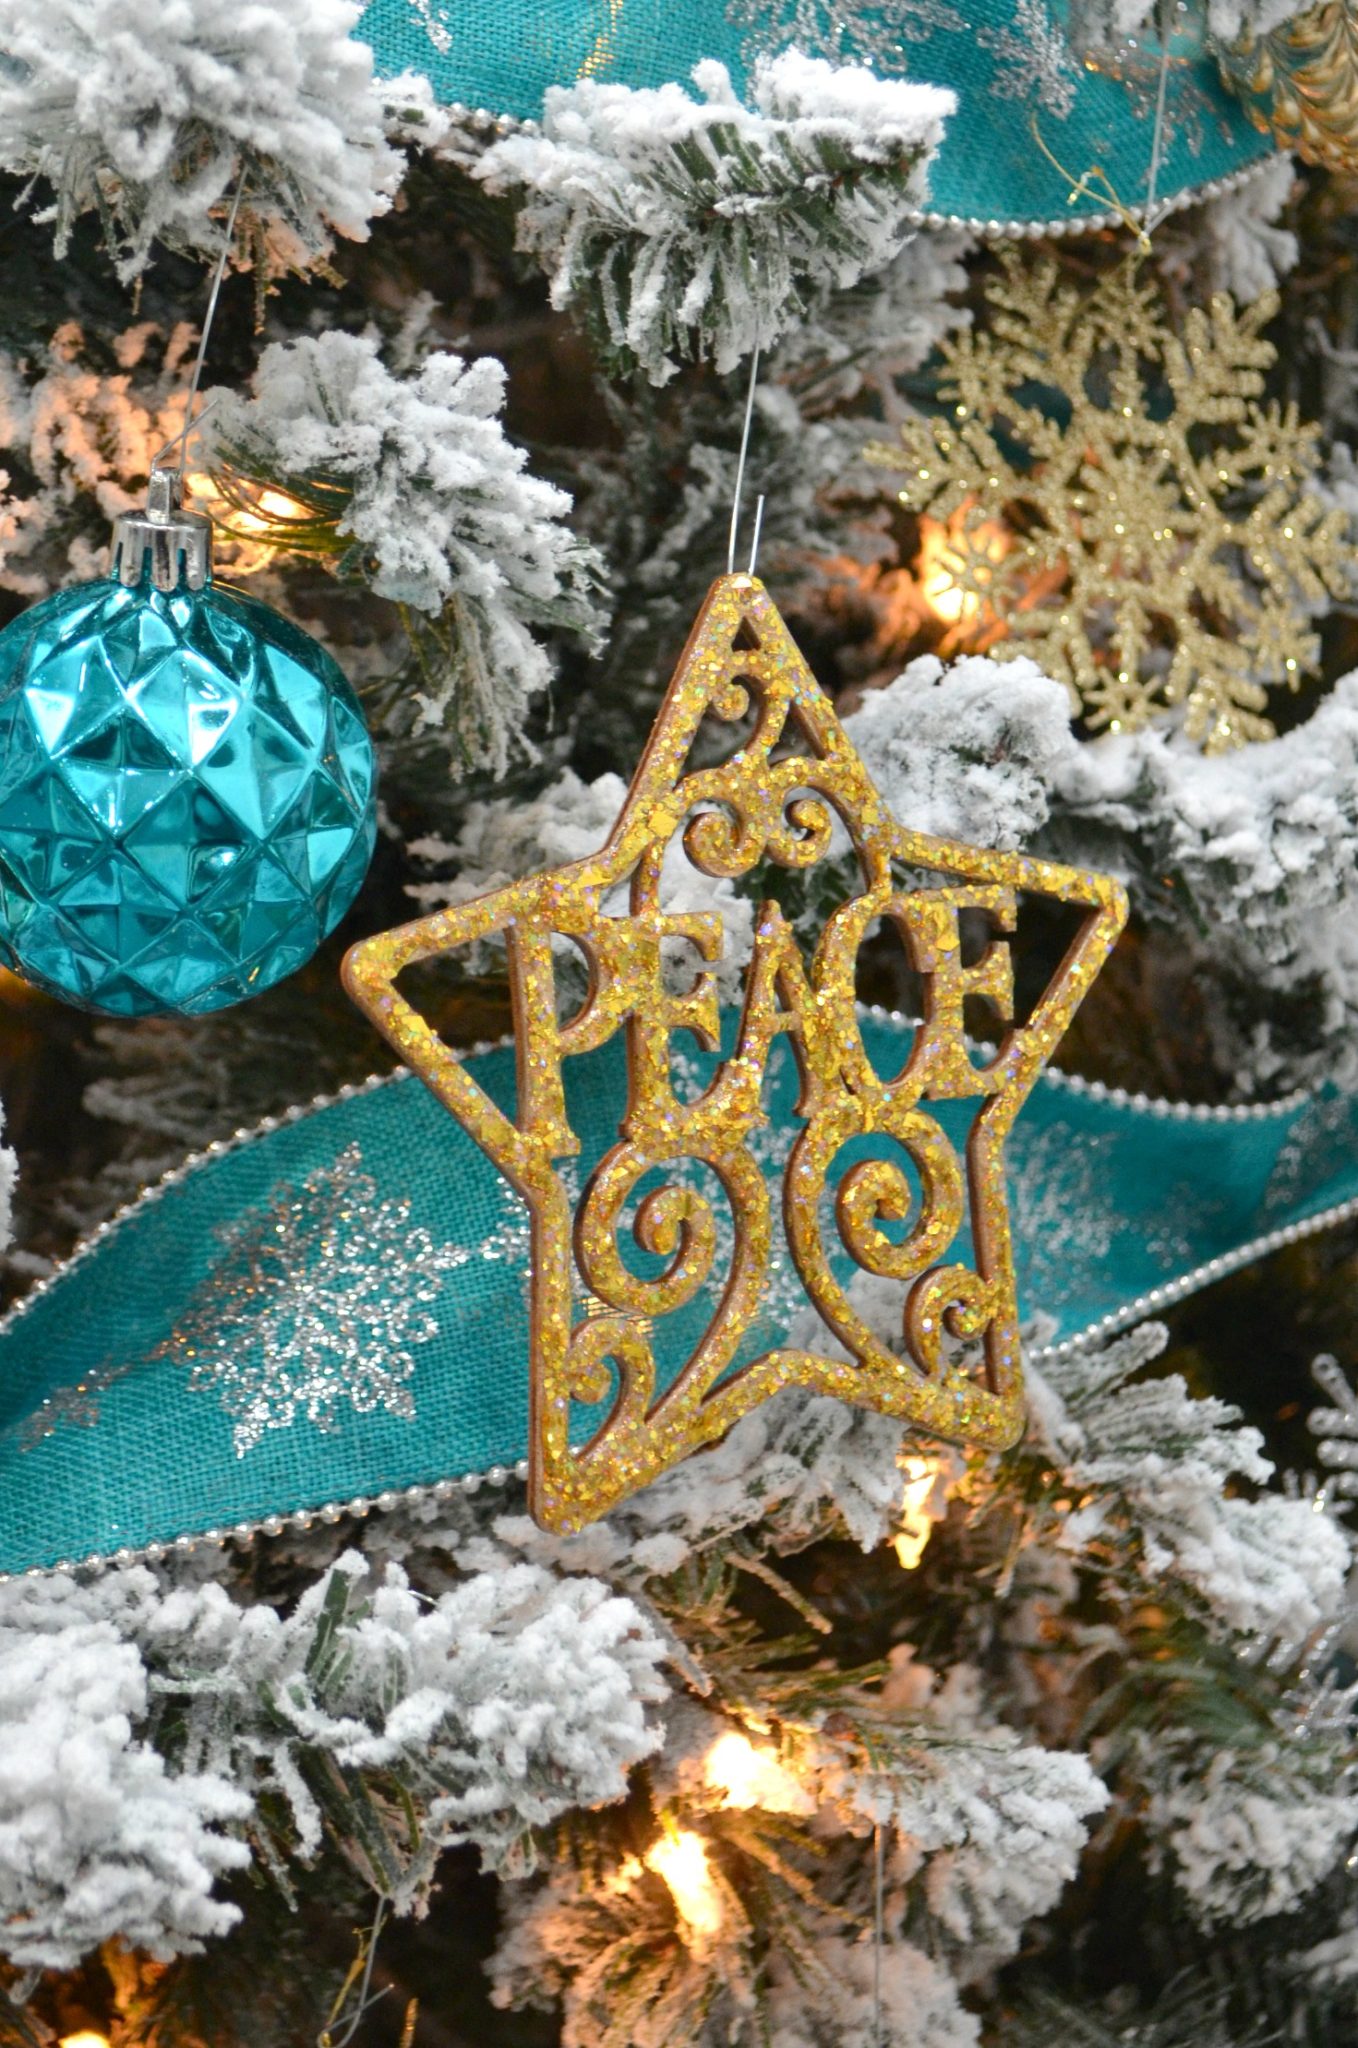
Once the ornaments are dry and cured, all that’s left to do is add a hook or hanger and use them to make your tree more beautiful!
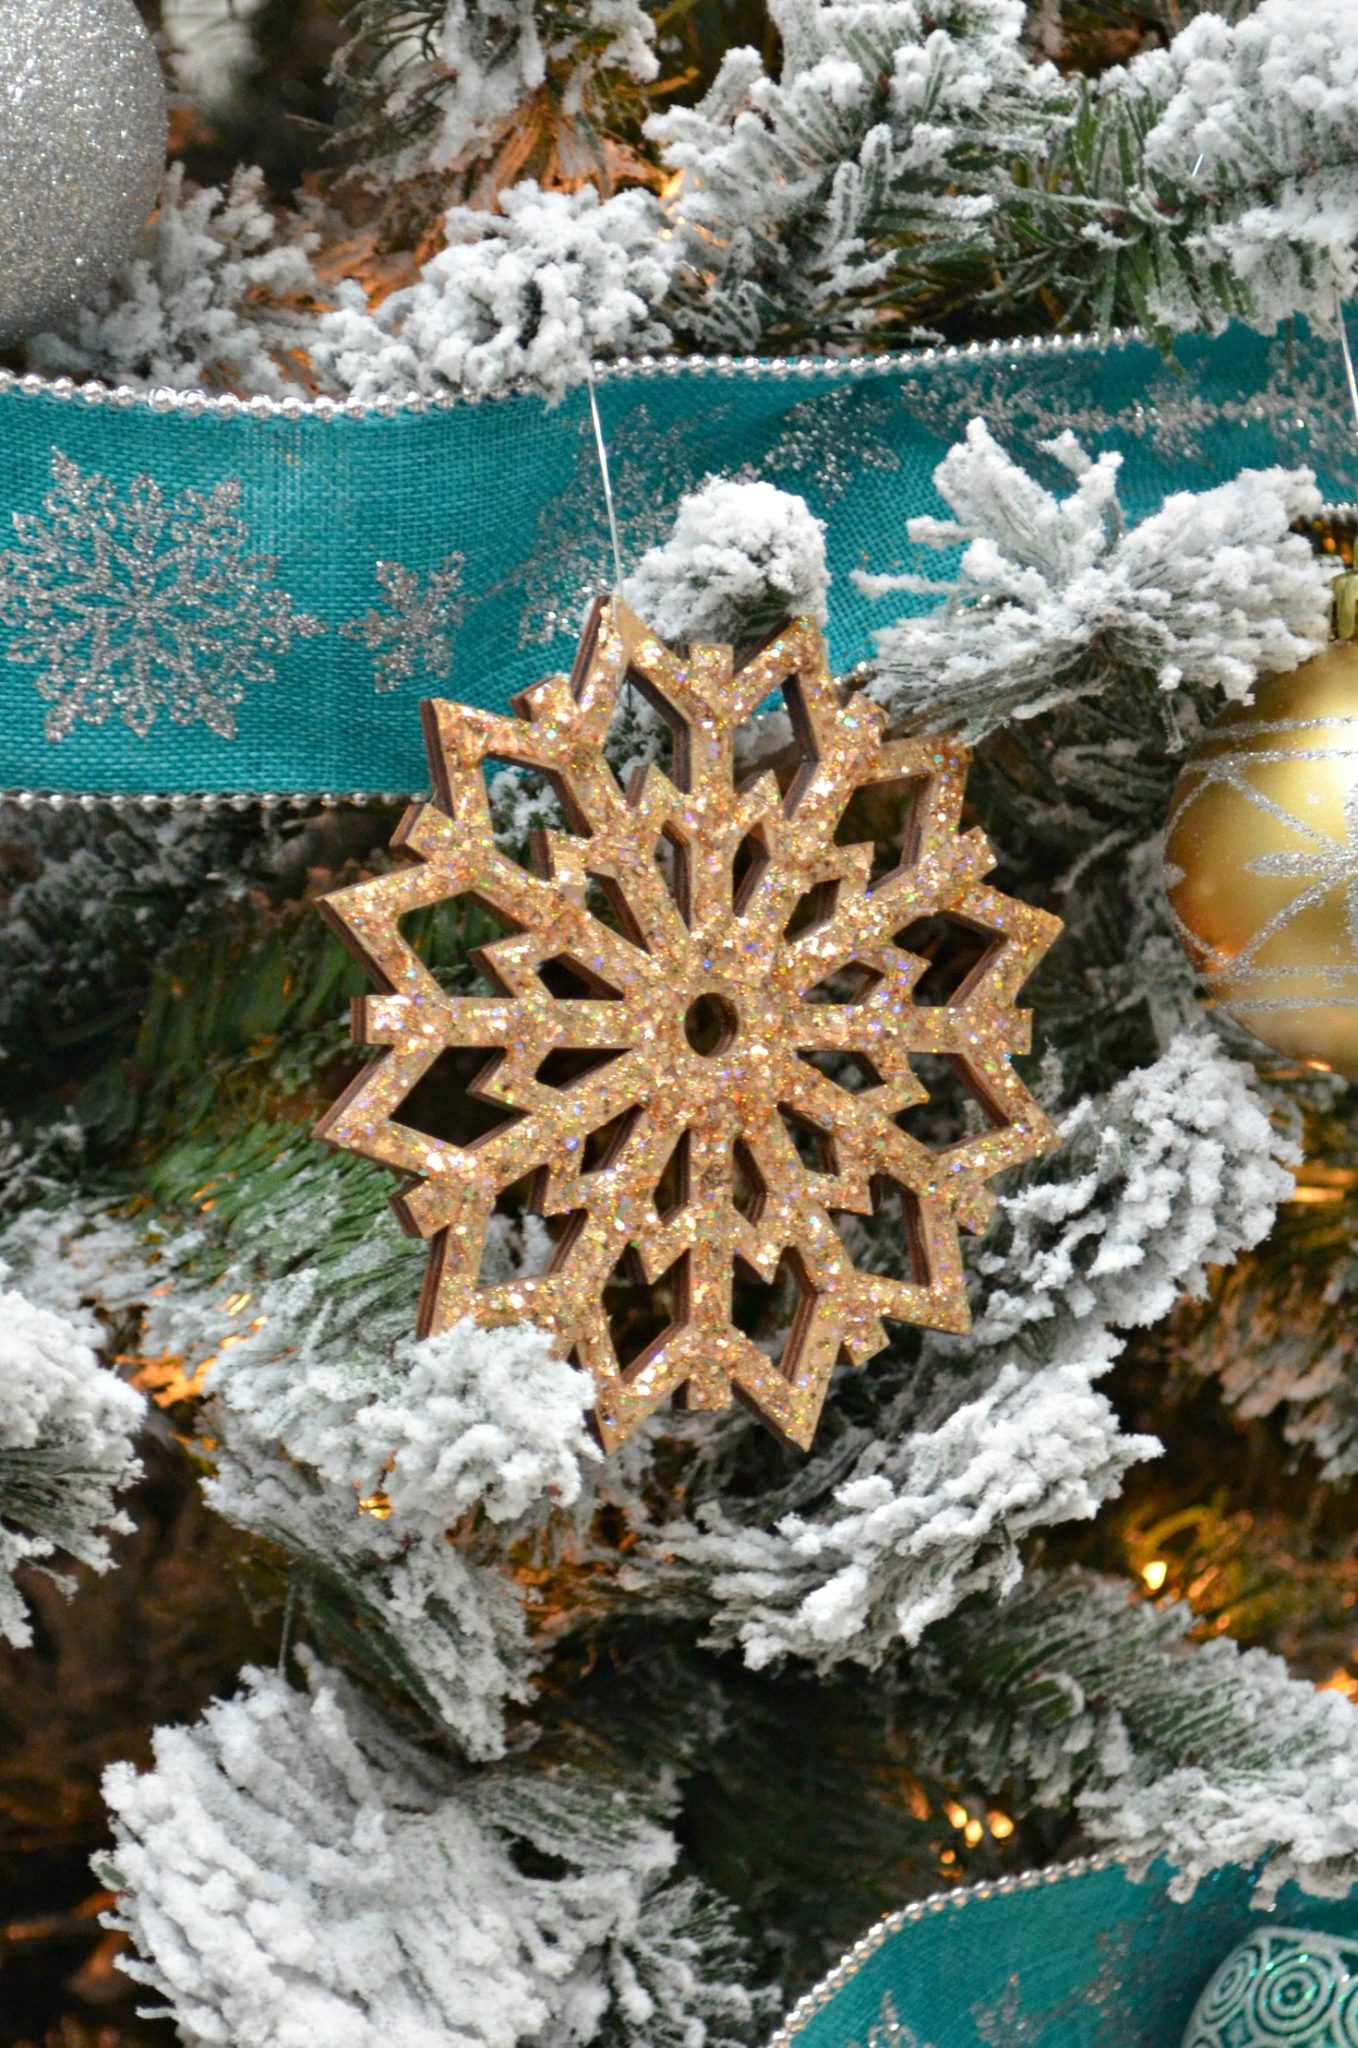
I love how sparkly these are and how they look on my craft room Christmas tree! I’m excited to try some other color combinations too.
What do you think? Will you be making some of these for your own tree? These would also make great gifts and package tie-ons to share with family and friends. For more ornament inspiration, check out these fabulous tutorials from my fellow Plaid Creators, and be sure you’re following Plaid on Facebook, Instagram, and Pinterest.
And don’t forget, if you like it, then you oughta put a Pin on it!

The combination of the Glitterific and Colorshift paint produces an amazing effect on the Christmas decorations. They look lovely. I think I’m going to upcycle some of my old Christmas decorations using this technique 🙂