Last-Minute (Crafting) Queen Costume
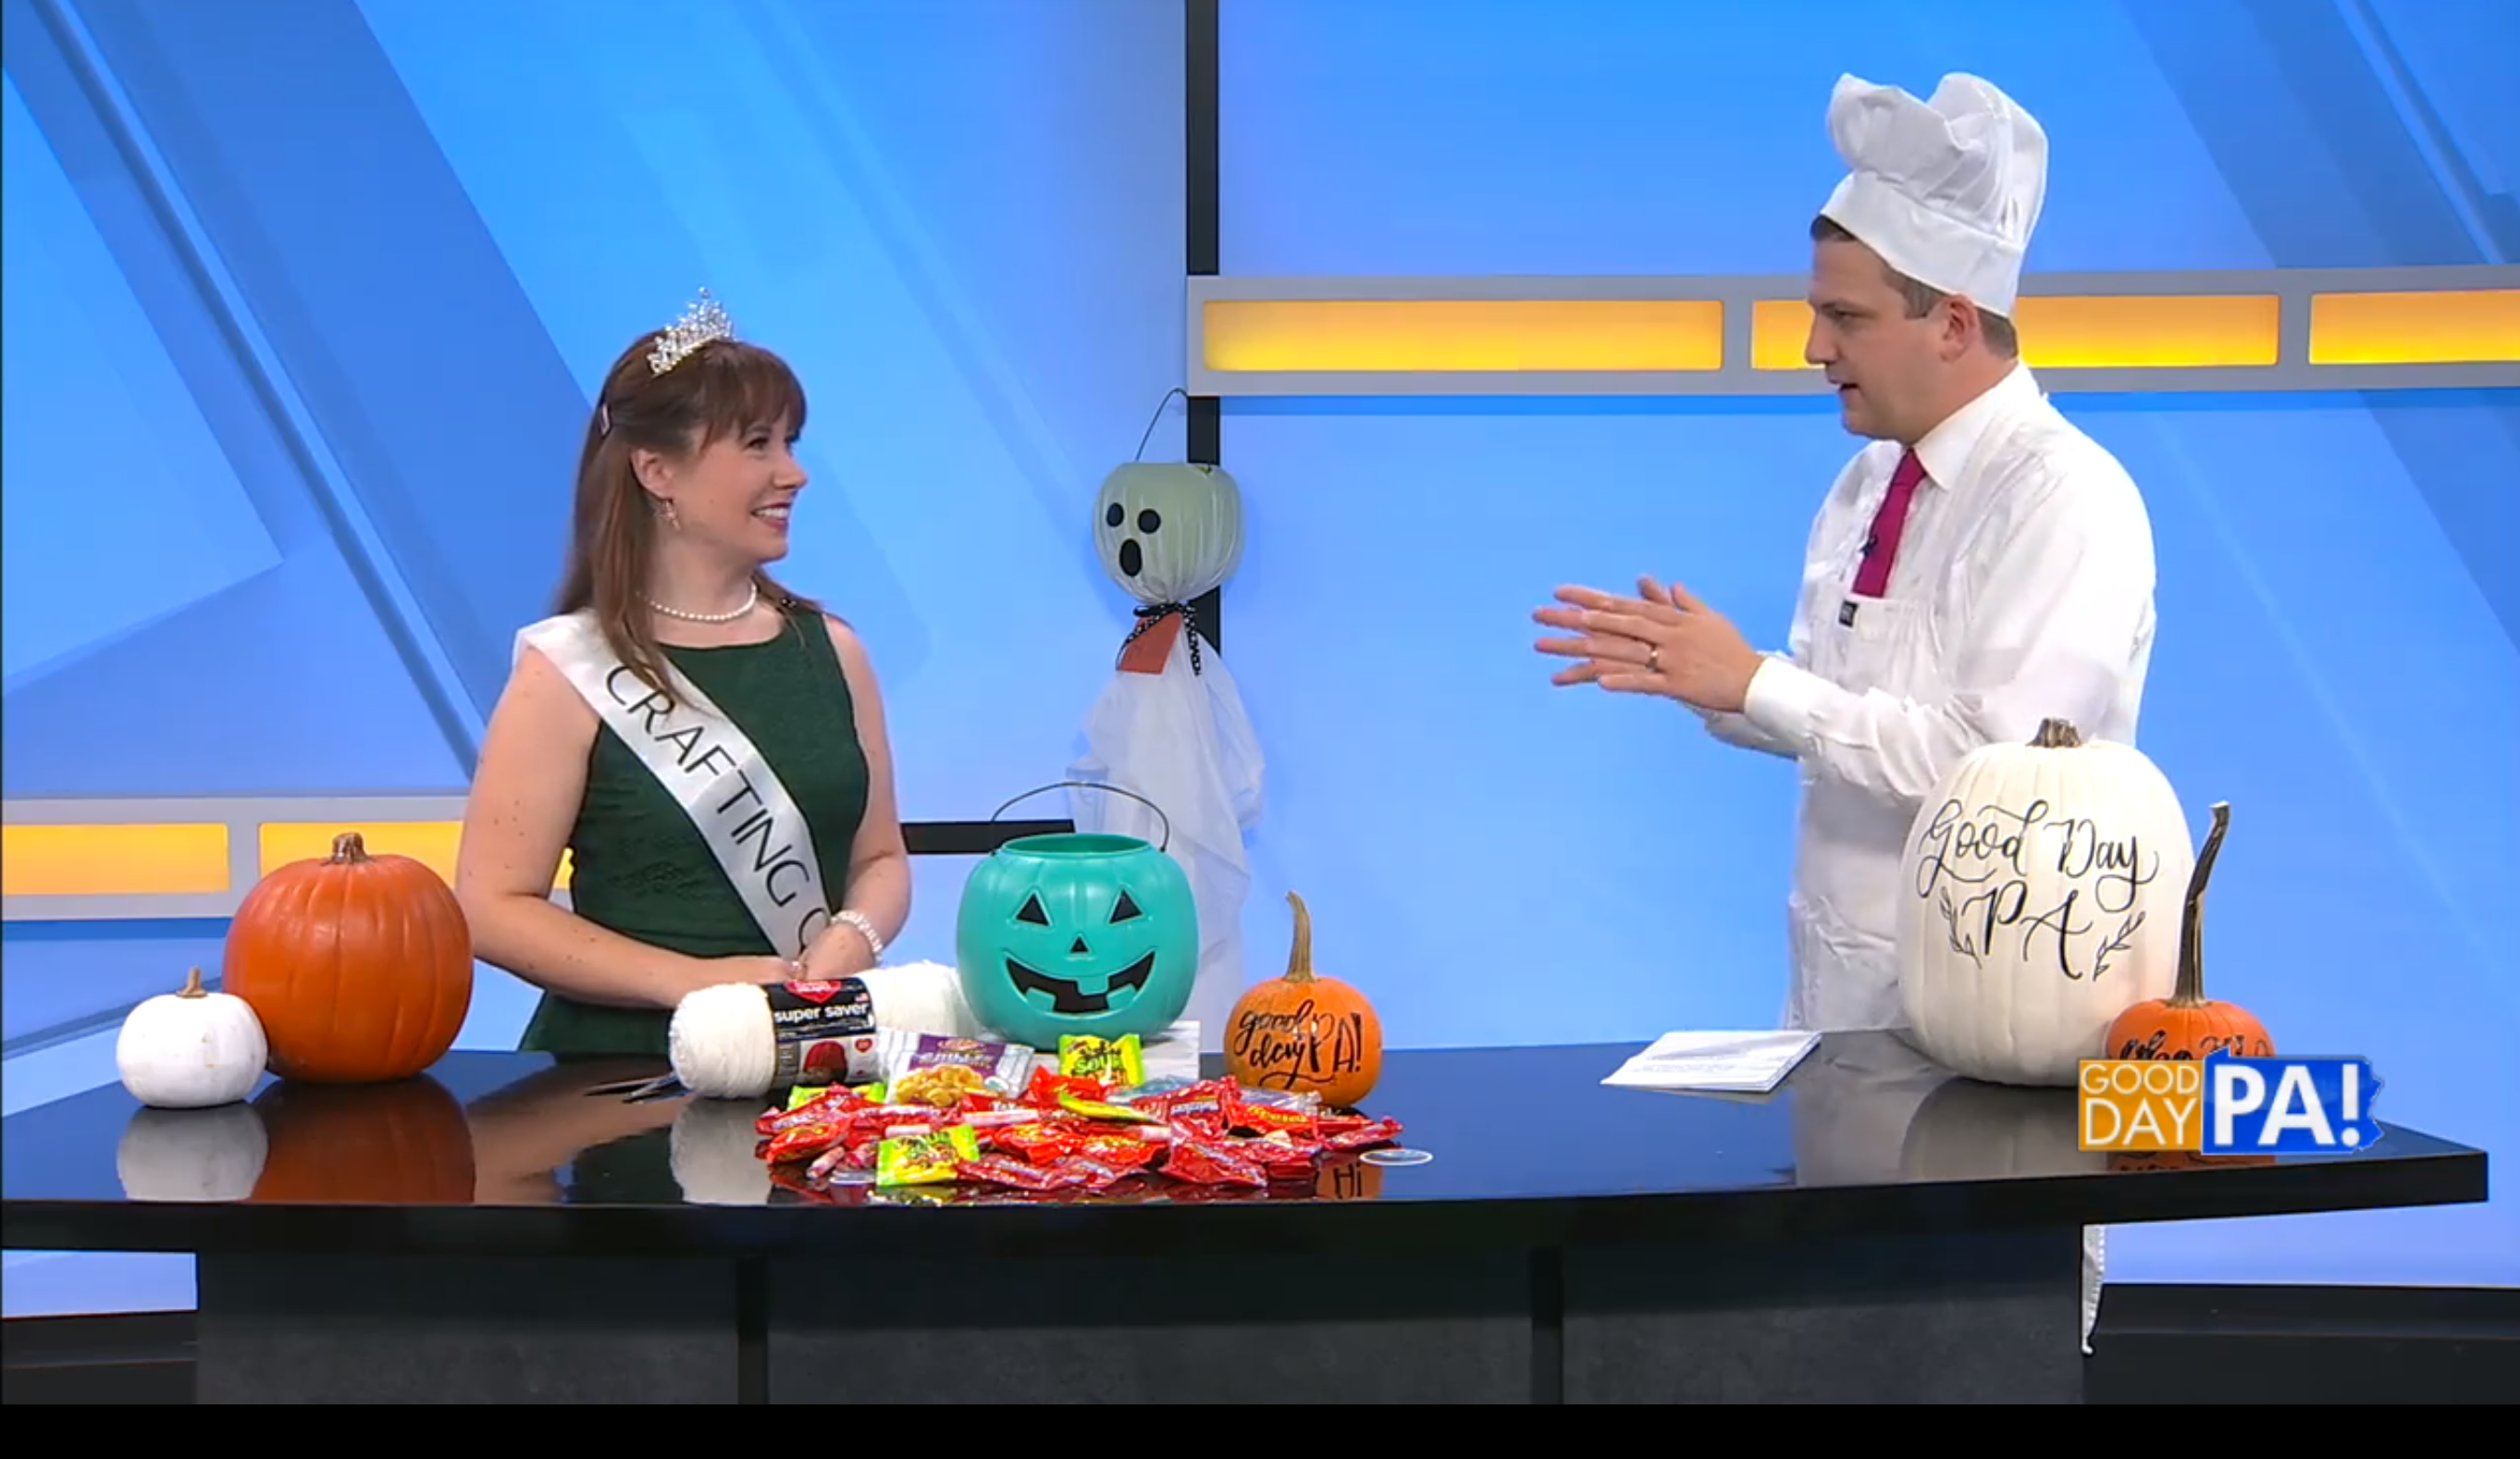
If you’re anything like me, you may find yourself in need of a last-minute Halloween costume! I realized recently that I needed one to wear for the Good Day PA Halloween Special, while sharing my fun “Boo Your Neighbor” project. I didn’t want to spend a fortune, and I didn’t have a ton of time to put into making something, so I came up with this fun Crafting Queen costume. I already had most of the costume pieces already, and it only took me about 10 minutes to create the sash. The best part is that you can totally customize this to become whatever kind of queen you like! Here’s how…

You’ll need:
a dress (this is the one I happened to wear)
jewelry (I had a pearl necklace and bracelet and some sparkly dangle earrings)
Cricut Smart Iron-On (5.5″x24″ roll, black)
Cricut EasyPress 2 and EasyPress Mat (or towel)
scissors
These instructions use my Cricut Joy to personalize the sash with Iron-On vinyl, but if you’re out of time and don’t have those things, you can use fabric paint or a permanent marker instead. The end result won’t be as professional looking, but at least it’ll work in a pinch.
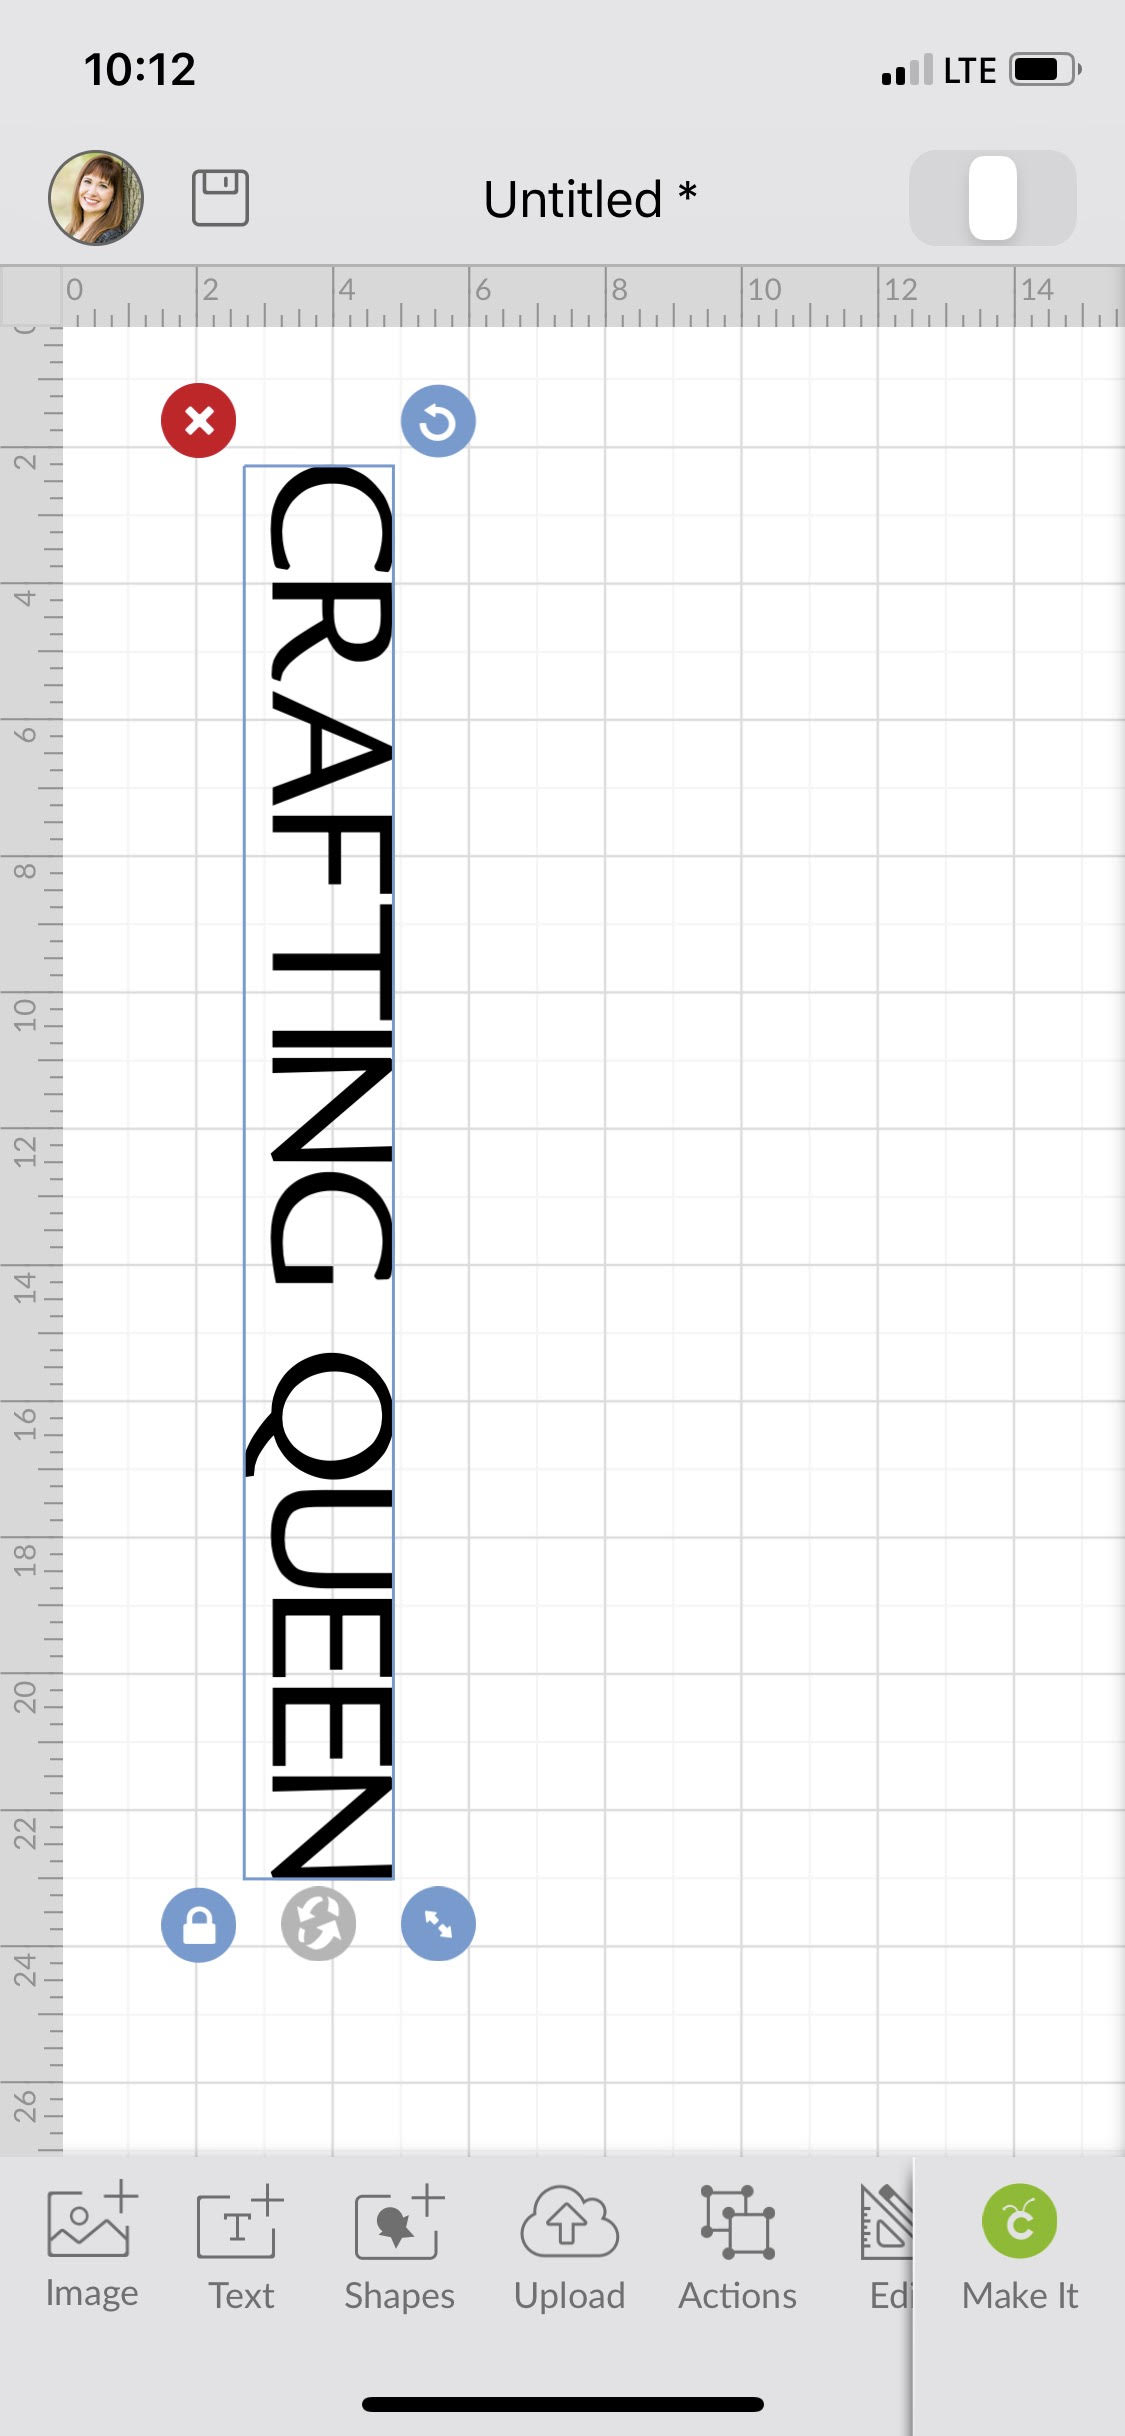
Step 1: Type the words for your sash in Design Space.
I wanted to be the Crafting Queen, but you could be anything you like…the Cooking Queen, the Organizing Queen, the Crochet Queen, the Camera Queen, the Music Queen, the Coffee Queen…whatever best describes you.
Step 2: Rotate and resize the words to fit your sash.
Mine ended up being about 2.25″x 20″.
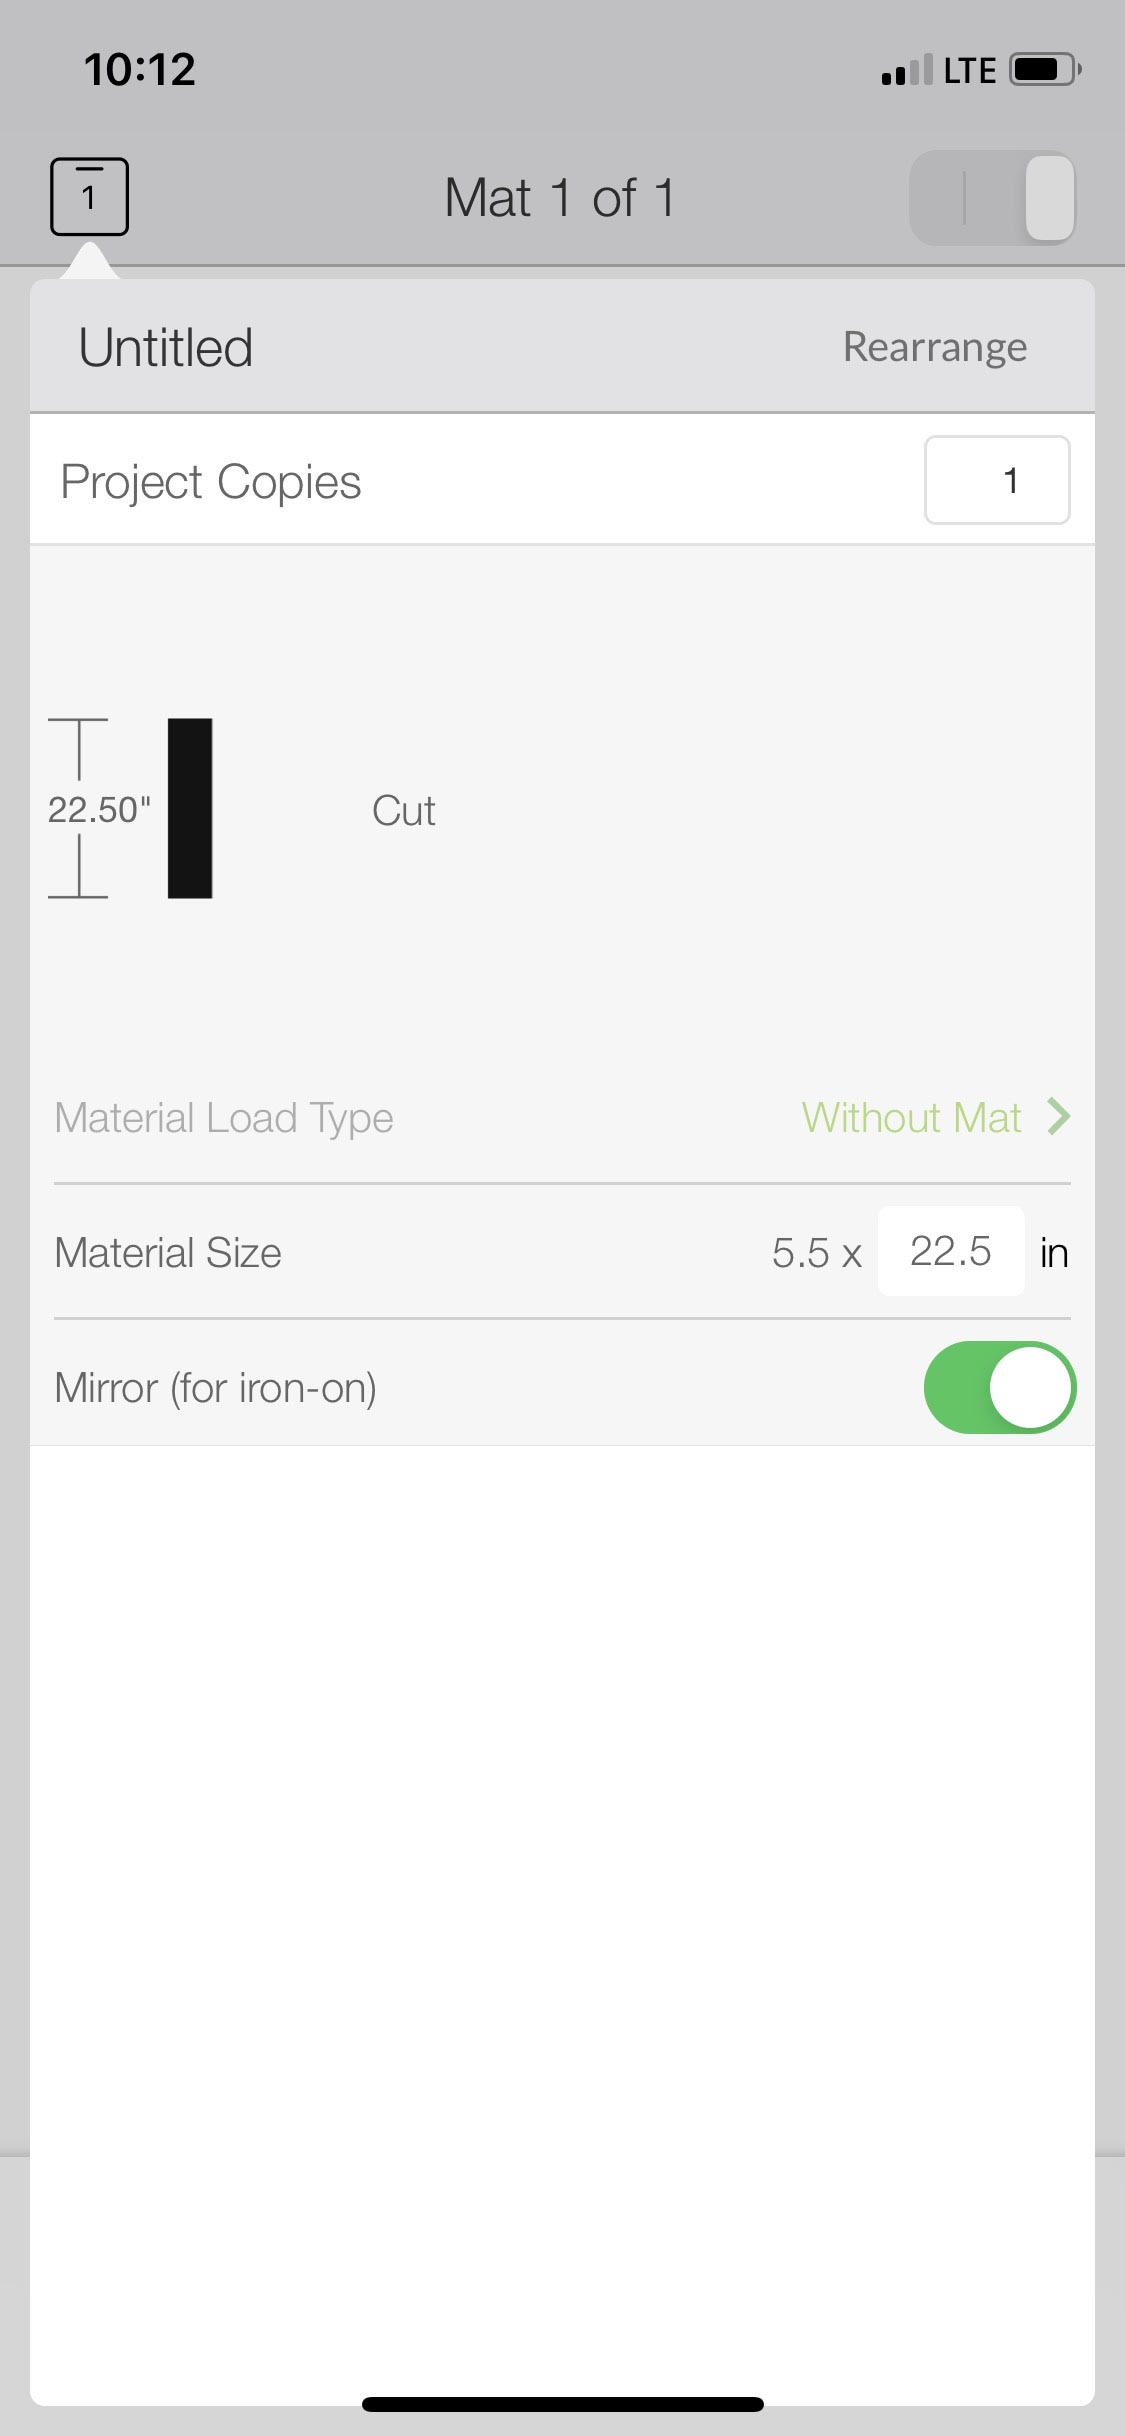
Step 3: Send the design to your Cricut Joy (make sure to mirror it!) and cut it from Smart Iron-On.
One of my favorite features of the Joy is its ability to make long cuts like this one without having to change mats or piece your vinyl together. When you load the Smart Iron-On, it doesn’t even need a mat at all. Just place it in the machine with the shiny side down and let the Joy work its magic.
Step 4: Weed your design.
Peel away everything that isn’t part of your design, including the centers of letters like “Q.”
Step 5: Use the EasyPress 2 to adhere the design to your sash.
Set the temperature and time based on the Cricut Heat Guide. Mine was 315 degrees F for 30 seconds. Preheat your sash and get any wrinkles out. Then, place it on the EasyPress mat and apply your design where you want it to go. I actually put the sash around the mat so that the back part was underneath and out of the way. Apply the EasyPress 2 on top for 30 seconds with gentle pressure. Because my design was so long, I had to divide it into two sections for heating. After the vinyl cools, remove the clear plastic, and you’ll be left with a personalized sash!
All that’s left to do is combine the elements of your costume; the dress, the sash, the tiara, and of course any fancy jewelry you have. You can also carry things that go along with whatever type of queen you are. For example, I could carry a glue gun, while the Coffee Queen could bring her Starbucks, or the Music Queen could carry an instrument.
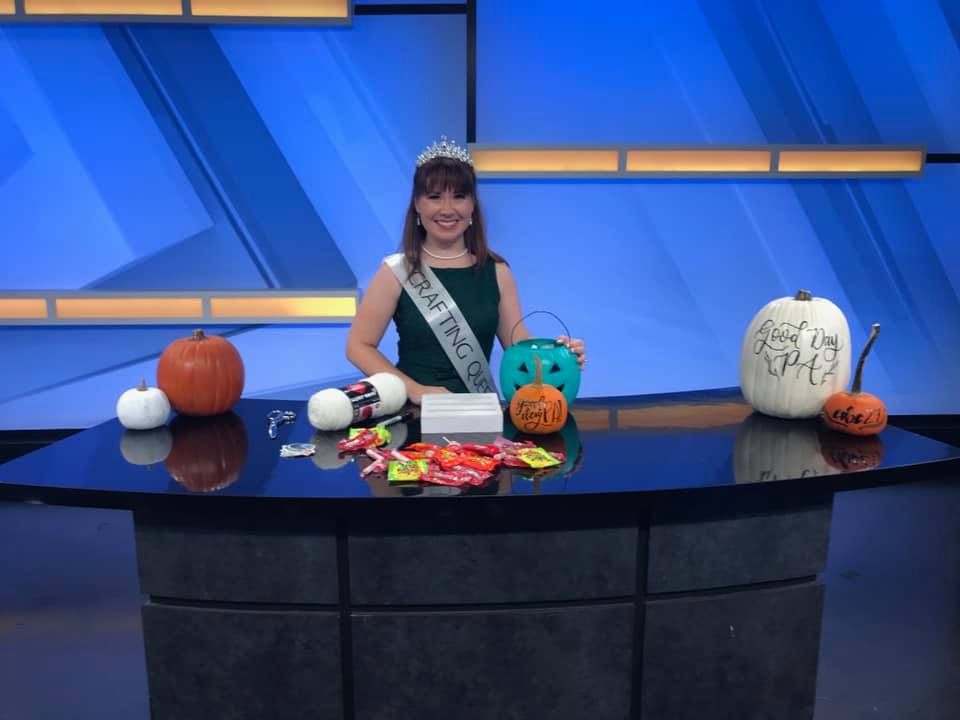
It’s that easy! Plus, the bonus is that if you remove the crown and sash, you don’t look like you’re wearing a costume, so if you have to go somewhere after your event (or no one else is dressed up!), you’re in good shape.
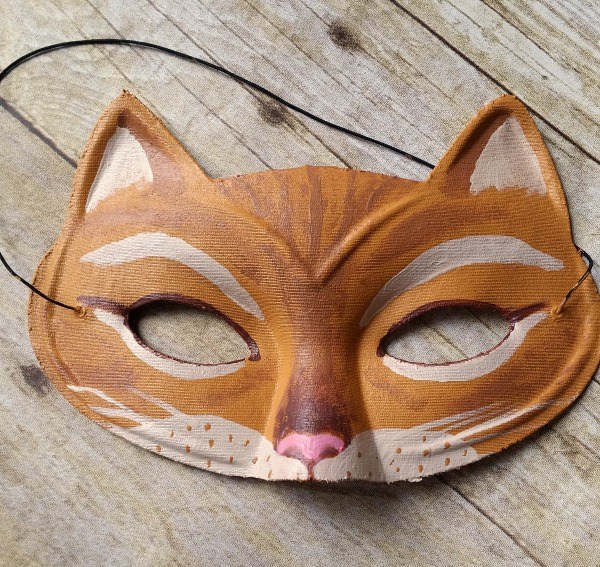
Check out these other easy last-minute DIY costume ideas:
What’s your favorite go-to costume? Be sure to share your Halloween costume pics with us in the Amy Latta & Friends Facebook group so we can all be inspired! See you there.