Craft Supply Organization Hacks with Cricut
Thanks to Cricut for sponsoring today’s post; all opinions are my own.
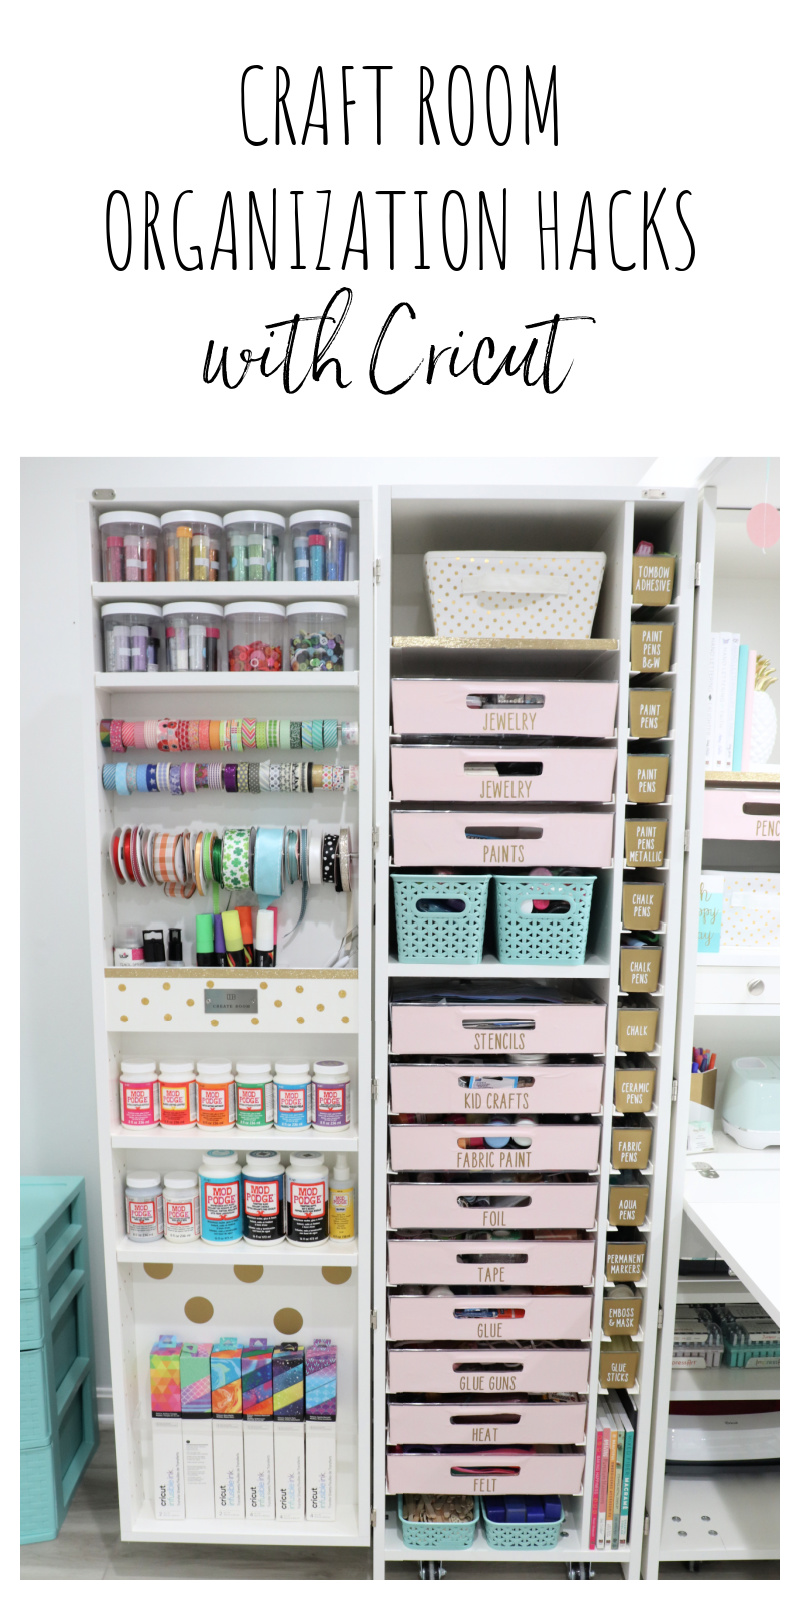
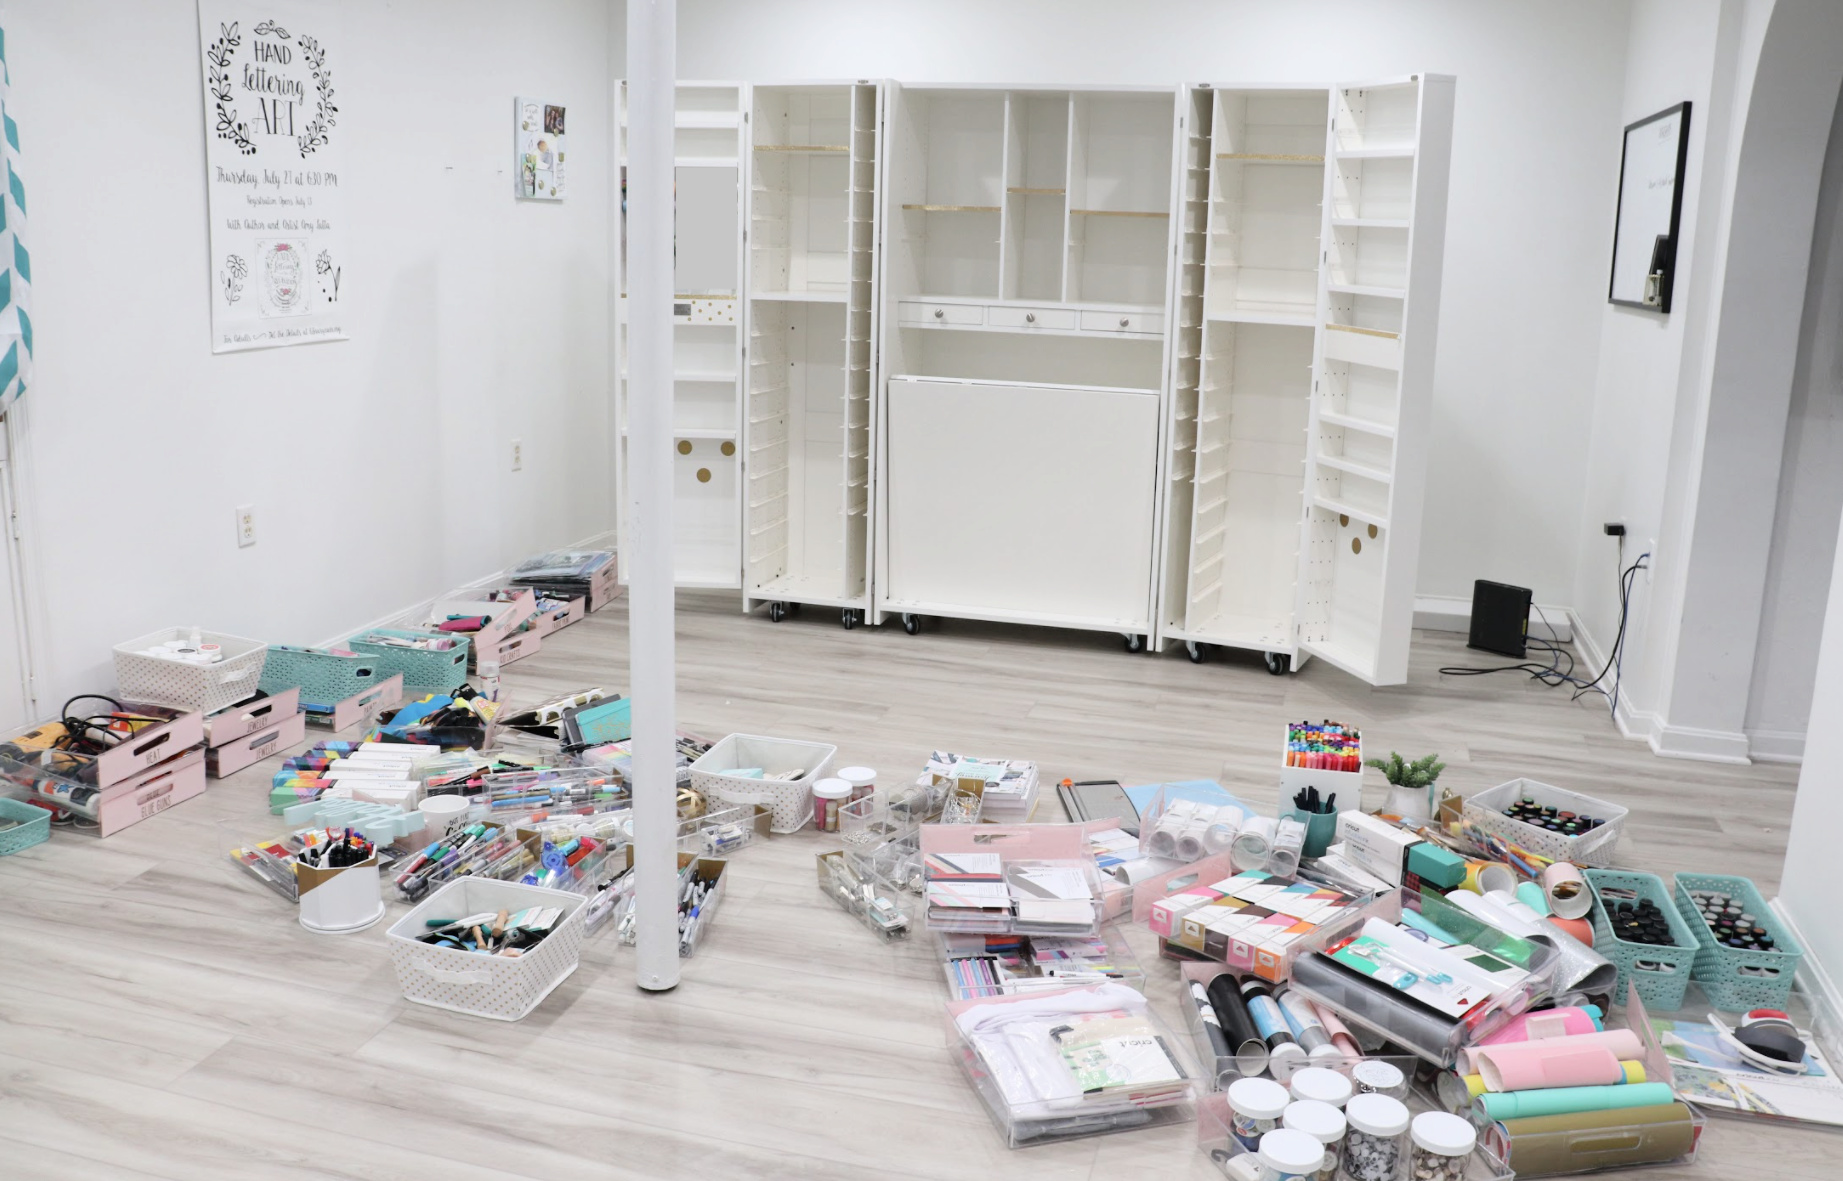
Recently, my craft studio got a major overhaul with the addition of a brand new DreamBox. It literally is a dream come true, the perfect space for storing almost all of my many craft supplies. What I had to figure out as I set it up was how I wanted to organize those supplies and make everything easy to find at a moment’s notice. I needed a system that made sense, was simple to use, and would encourage me to put things away when I’m finished using them. Today I want to share my organization hacks with the help of my Cricut! No DreamBox? No worries! This system will work for any bins, boxes, totes, or containers you have on hand to organize your supplies.
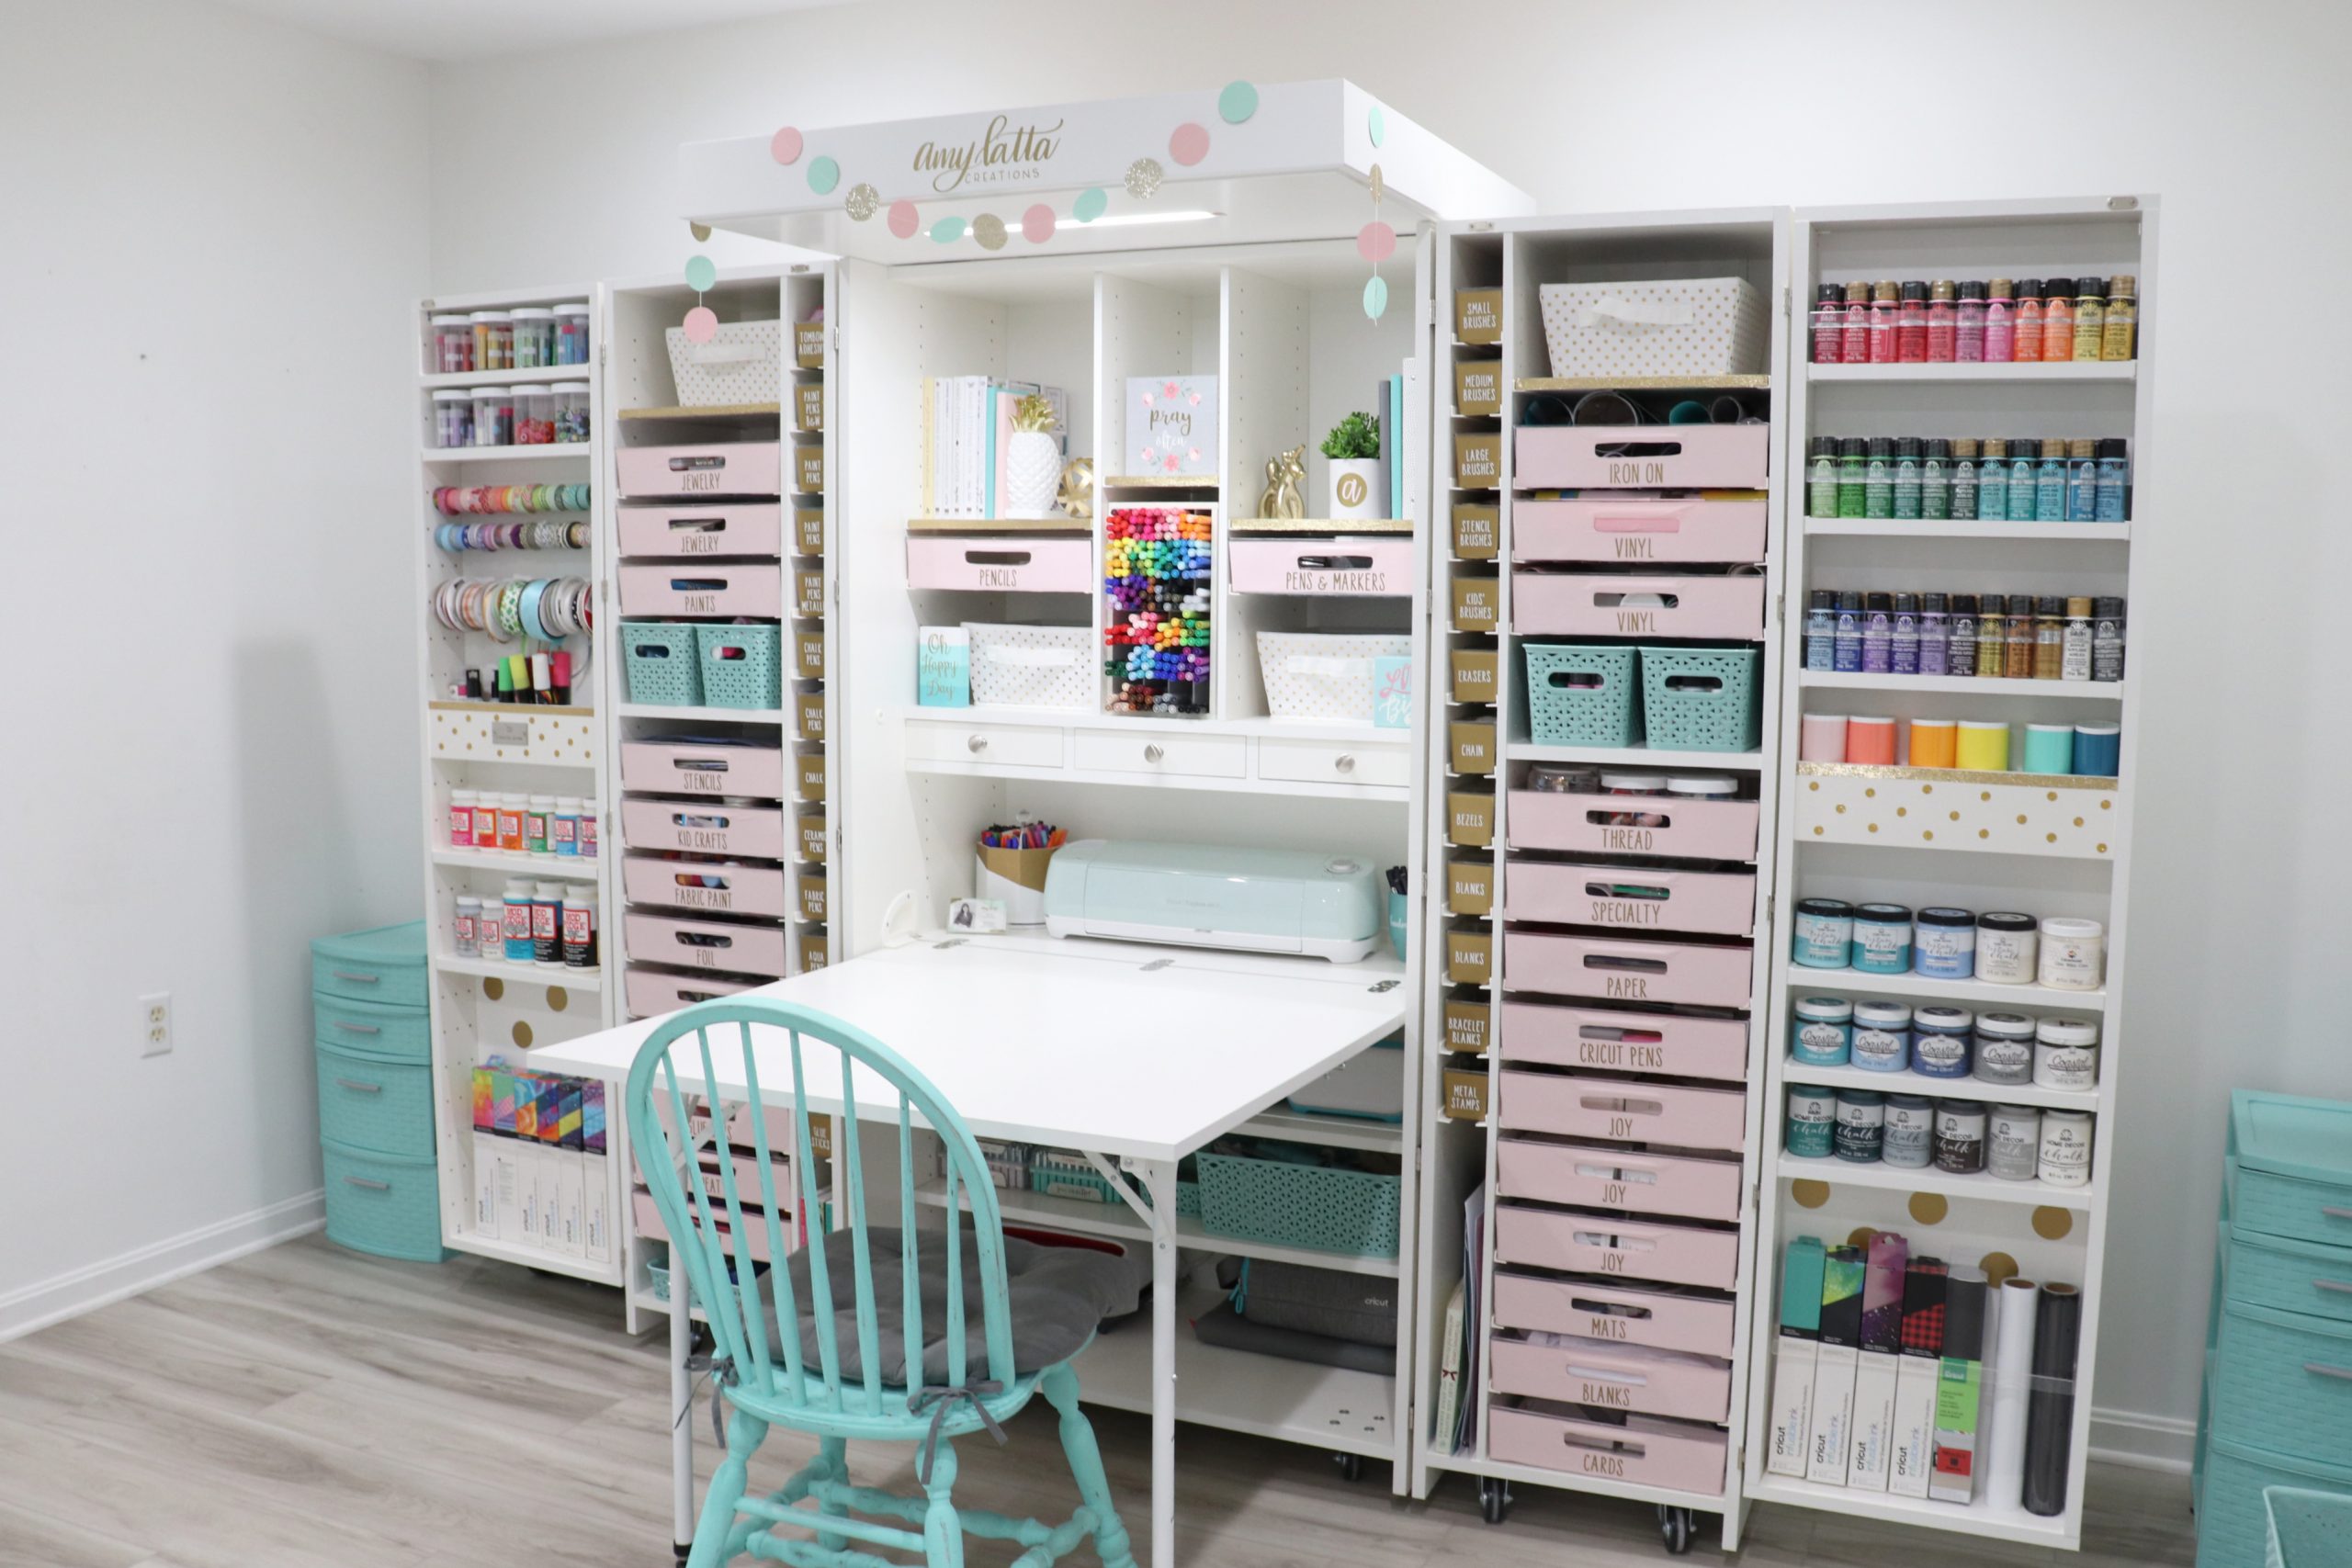
The first step was sorting all of my supplies by type: yarn, paint, glue, jewelry supplies, vinyl, markers, etc. Then I sorted even further, putting the most similar things together in bins. I used large bins for materials that take up more space, and tiny ones that are perfect for things like paintbrushes, pens, and jewelry findings.
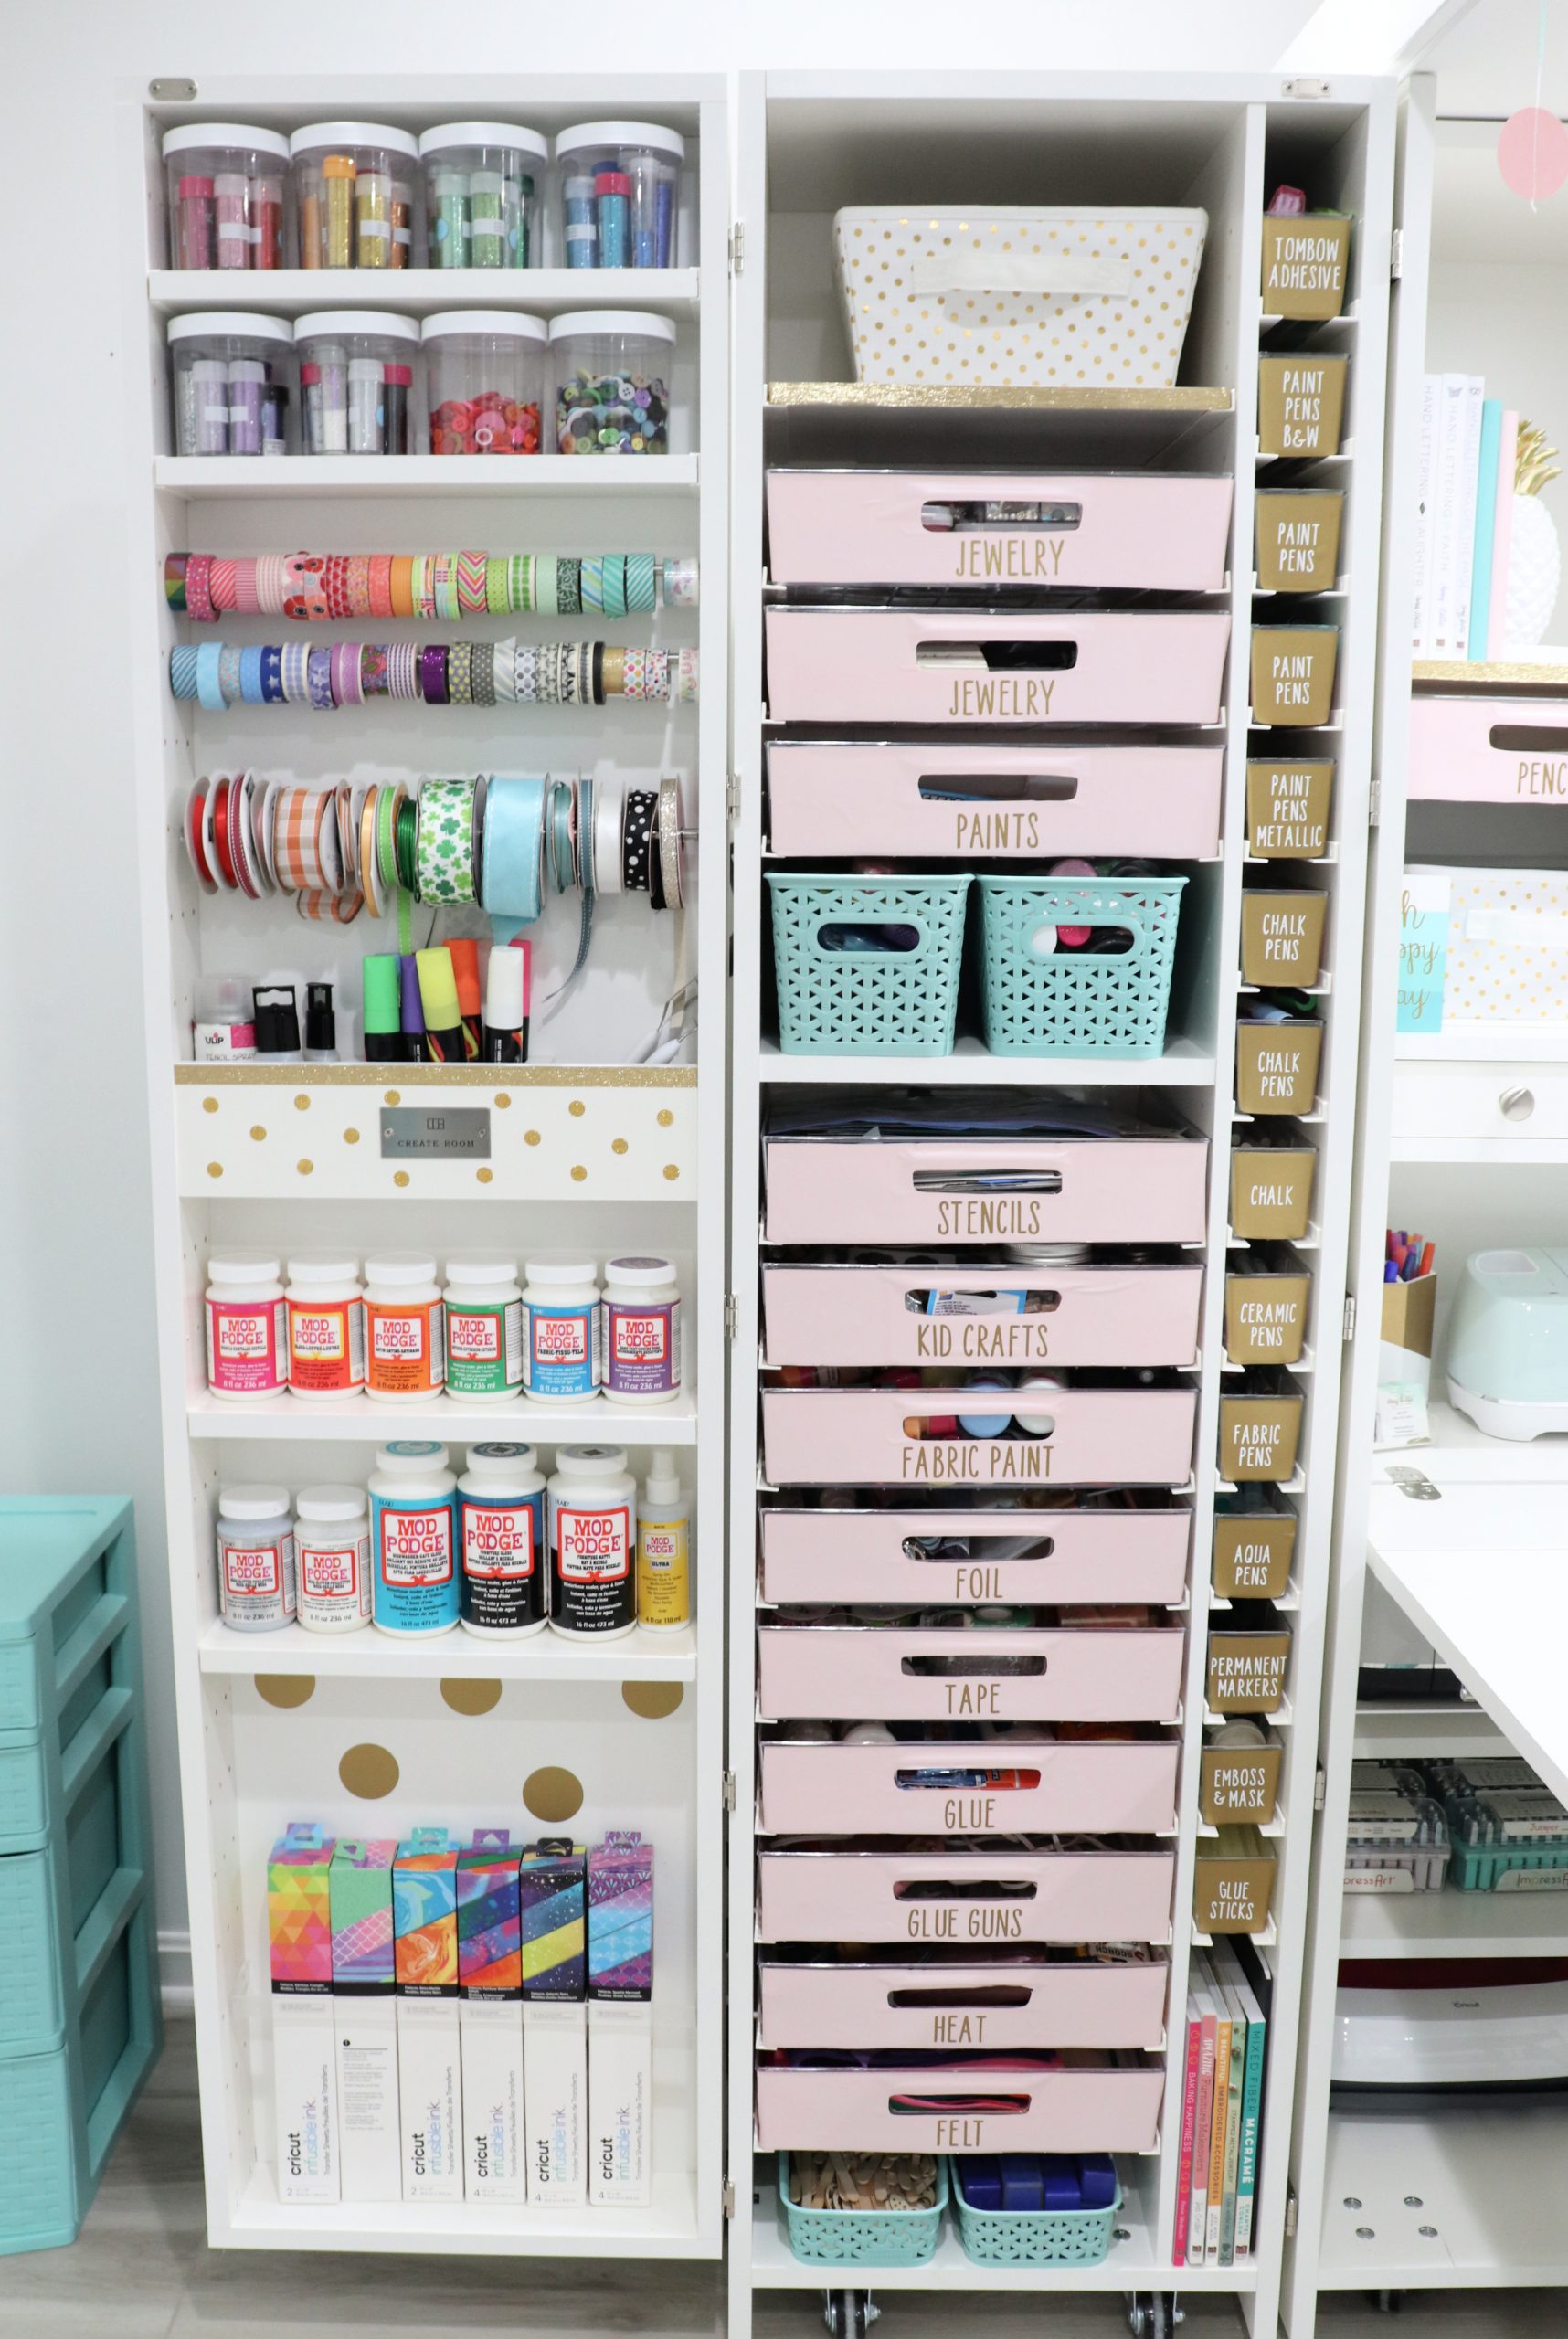
Once I had everything sorted, though, I knew I needed to take it a step further by using my Cricut to label each bin. That way I’ll know the contents at a glance. The bins were clear, which wasn’t my favorite aesthetic, so I decided to cover them with vinyl first, then apply the labels. Here’s how I did it:
You’ll need:
Cricut Explore Air 2 or other Cricut machine
Cricut Standard Grip Cutting Mat
Cricut Premium Vinyl, Removable Matte
Cricut Transfer Tape
Cricut Basic Tool Set
Step 1: Trace the bin front onto your vinyl and cut.
I’ve seen lots of people who have cut cardstock and slid it down in the front of the bin to add color, but I wanted to try something different by actually covering the bin fronts with removable vinyl. You could make a digital template and cut this with your Cricut machine, but I decided just to cut mine by hand for this step.
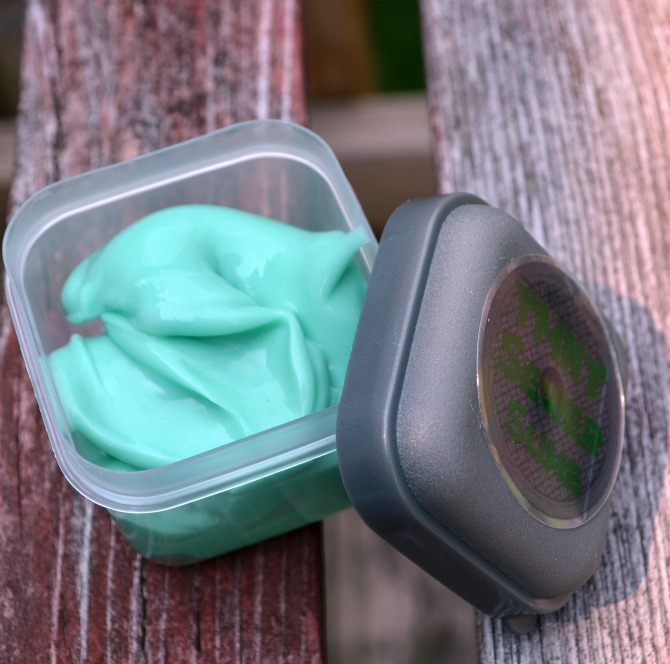
Step 2: Apply the vinyl to the front of each bin.
I used Gold vinyl for the tiny bins, and Tulip for the large ones. To apply it, I peeled the cut shape away from the backing, then lined it up and pressed it onto the bin front, starting in the center and working outward. It’s helpful to use the burnishing tool to keep the vinyl smooth and press any bubbles out as they try to form.
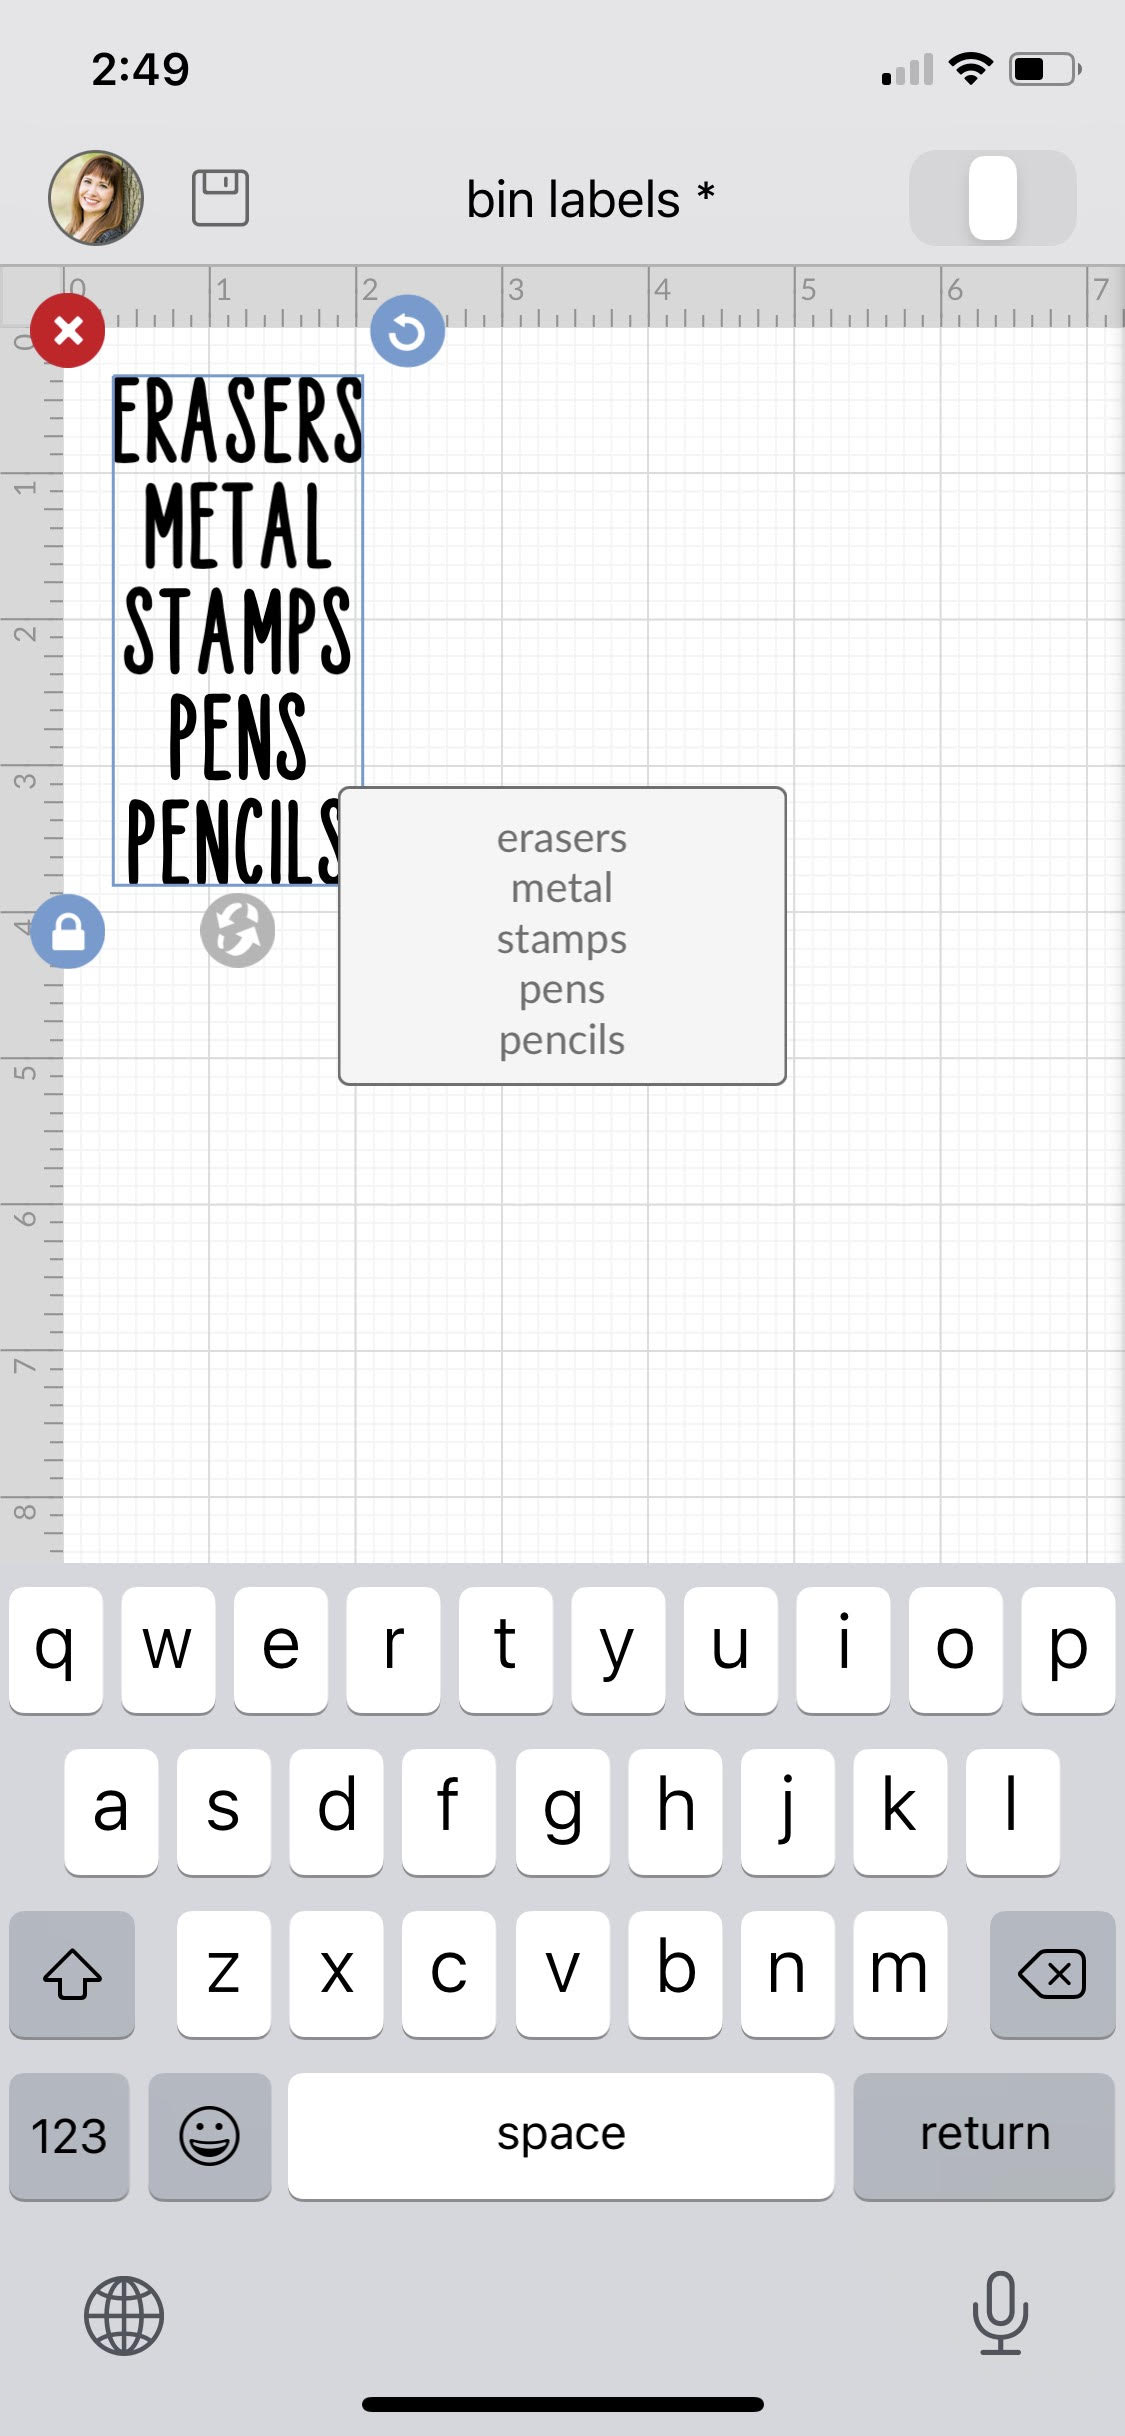
Step 3: Design your labels in Design Space.
Open the app and start a new canvas. Choose a font (I used Four Seasons Home Decor), then begin typing the word or phrase you want to use to label each bin. Size the words to fit your bins (make sure you measure both vertically and horizontally).
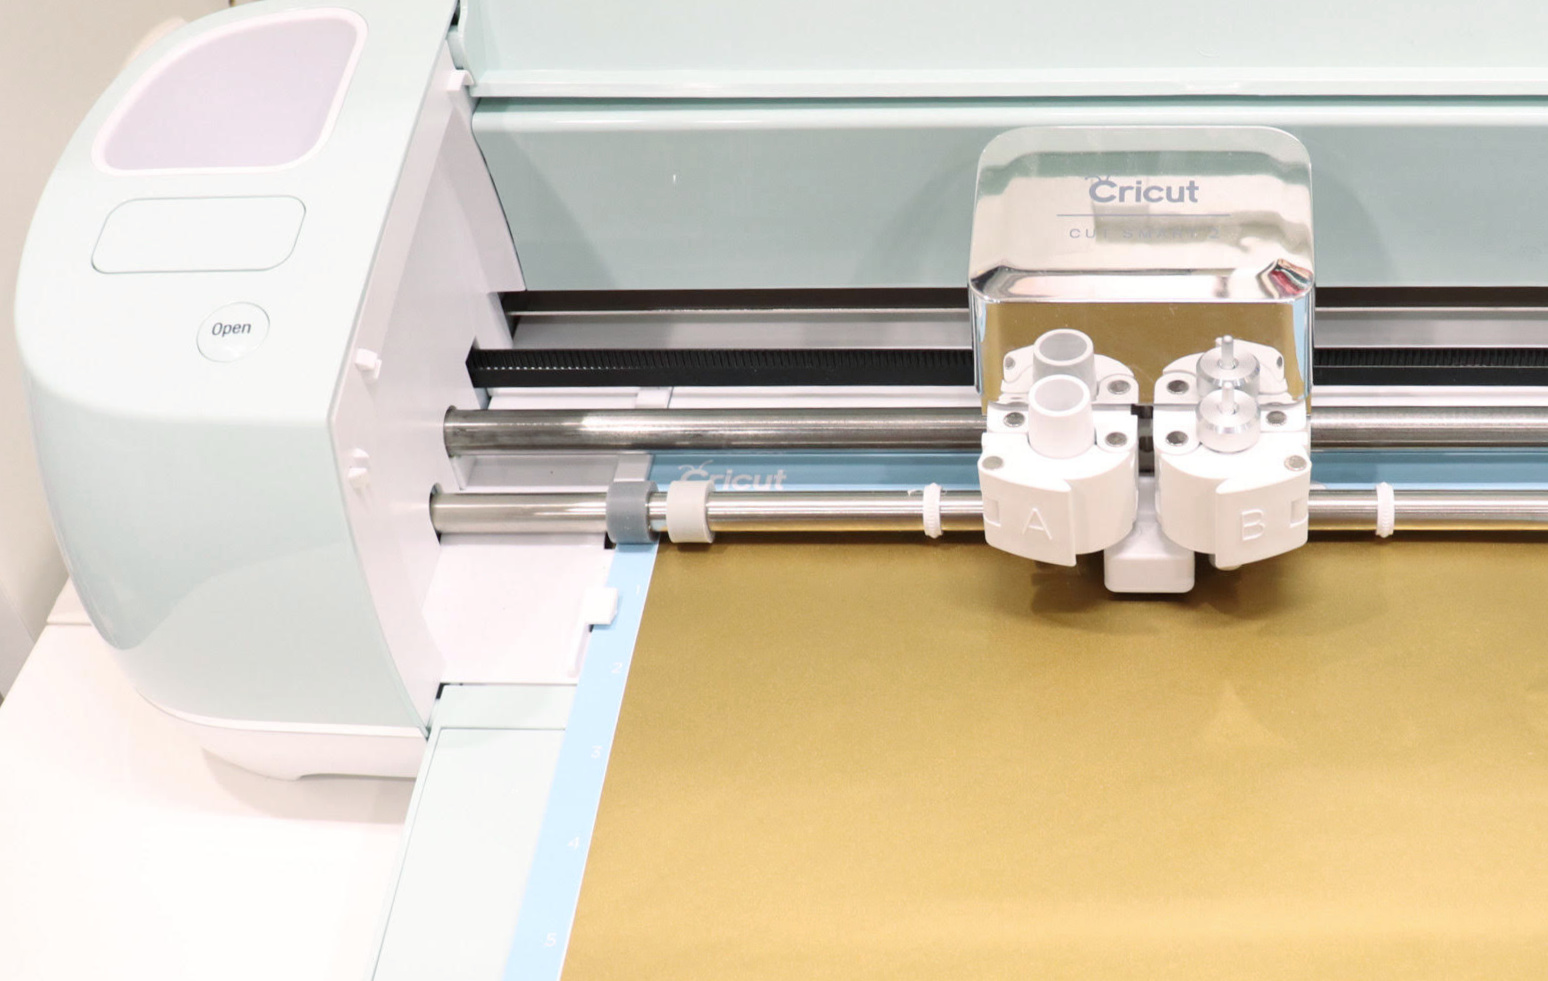
Step 4: Load your vinyl into the Cricut and let it cut your words.
Make sure that the machine material is set to “vinyl.”
Step 5: Weed your labels.
Start by cutting them apart, then peeling away all the vinyl that isn’t part of the words. This includes the centers of closed letters like “o” and “a.”
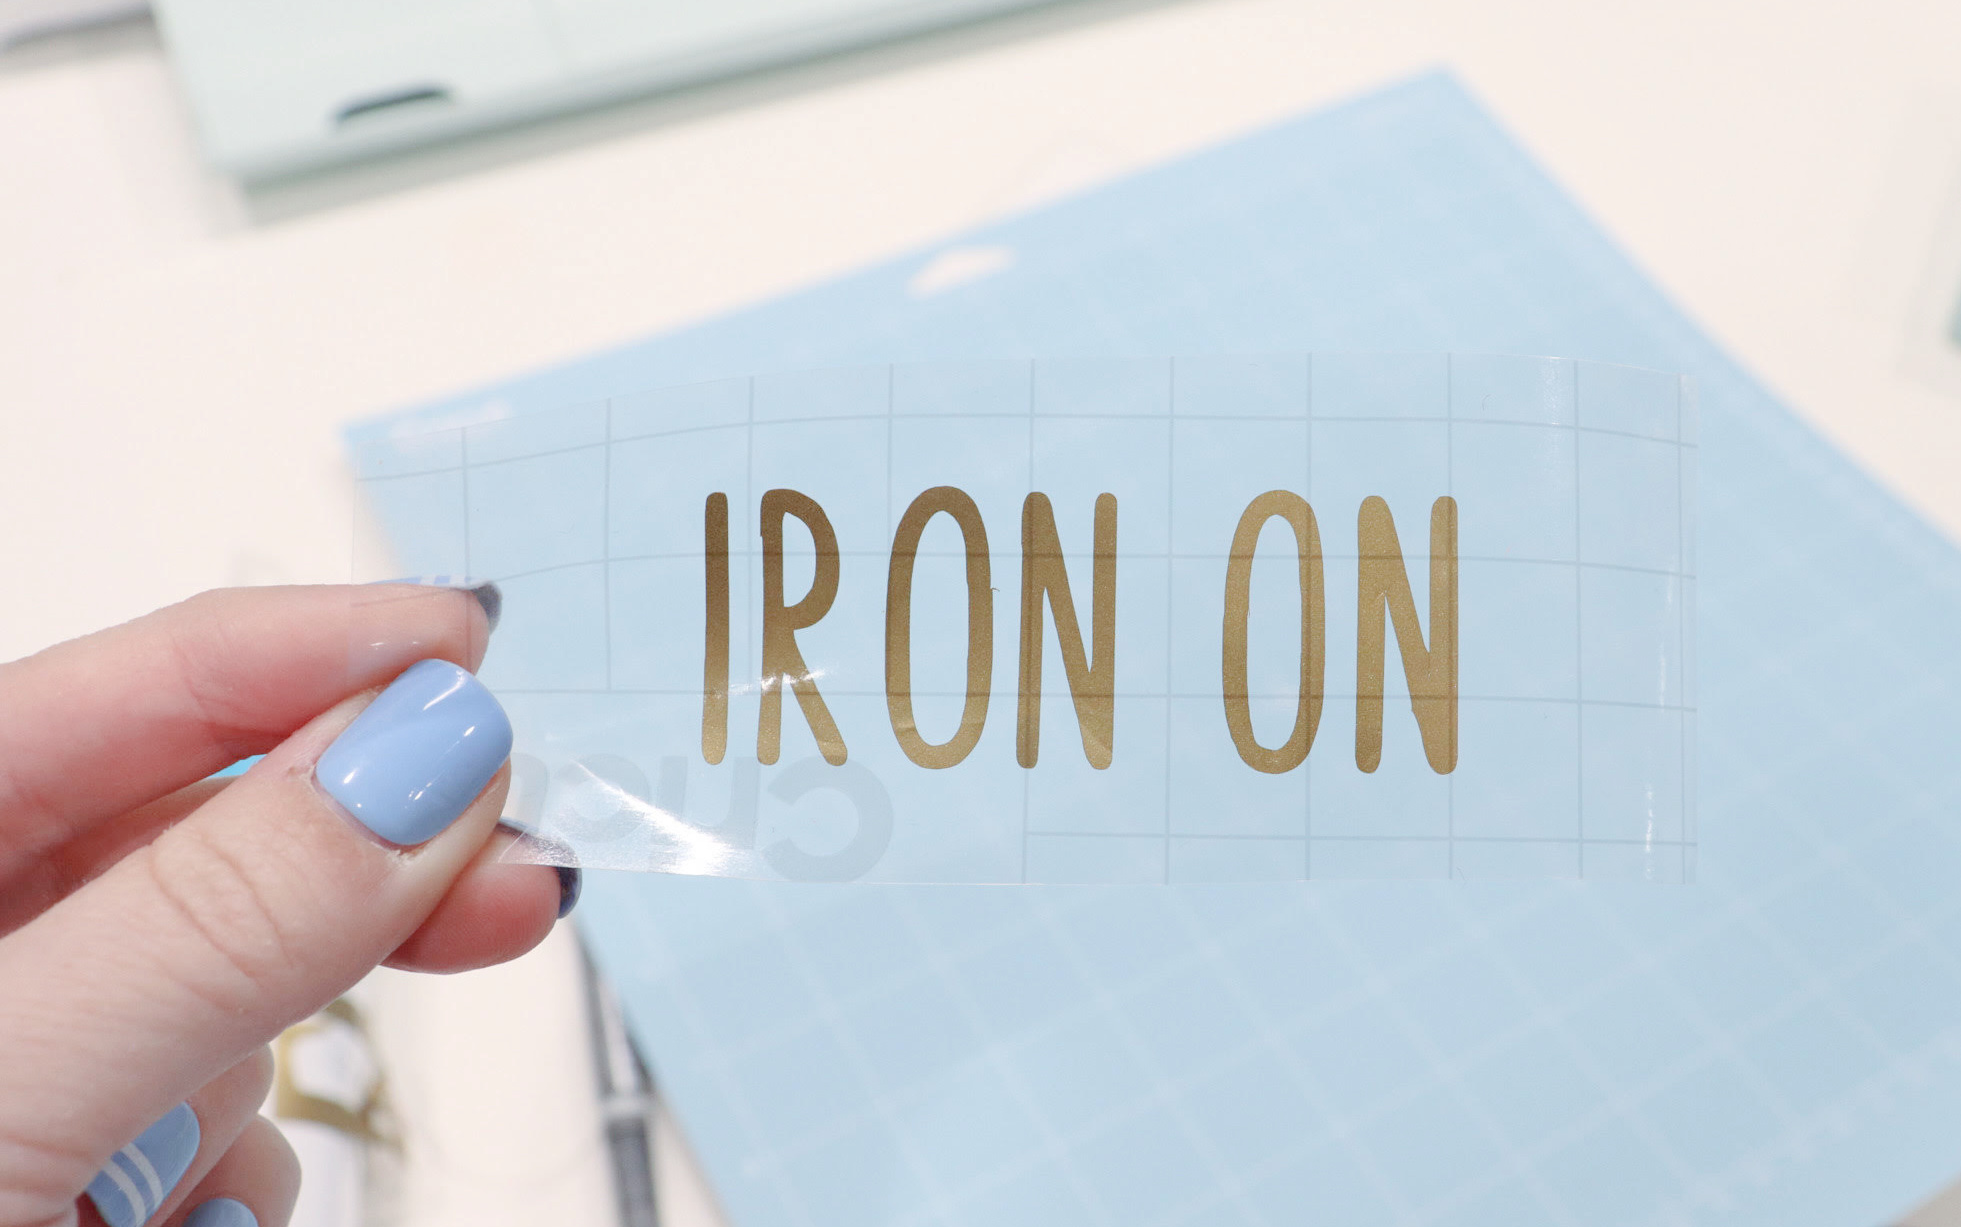
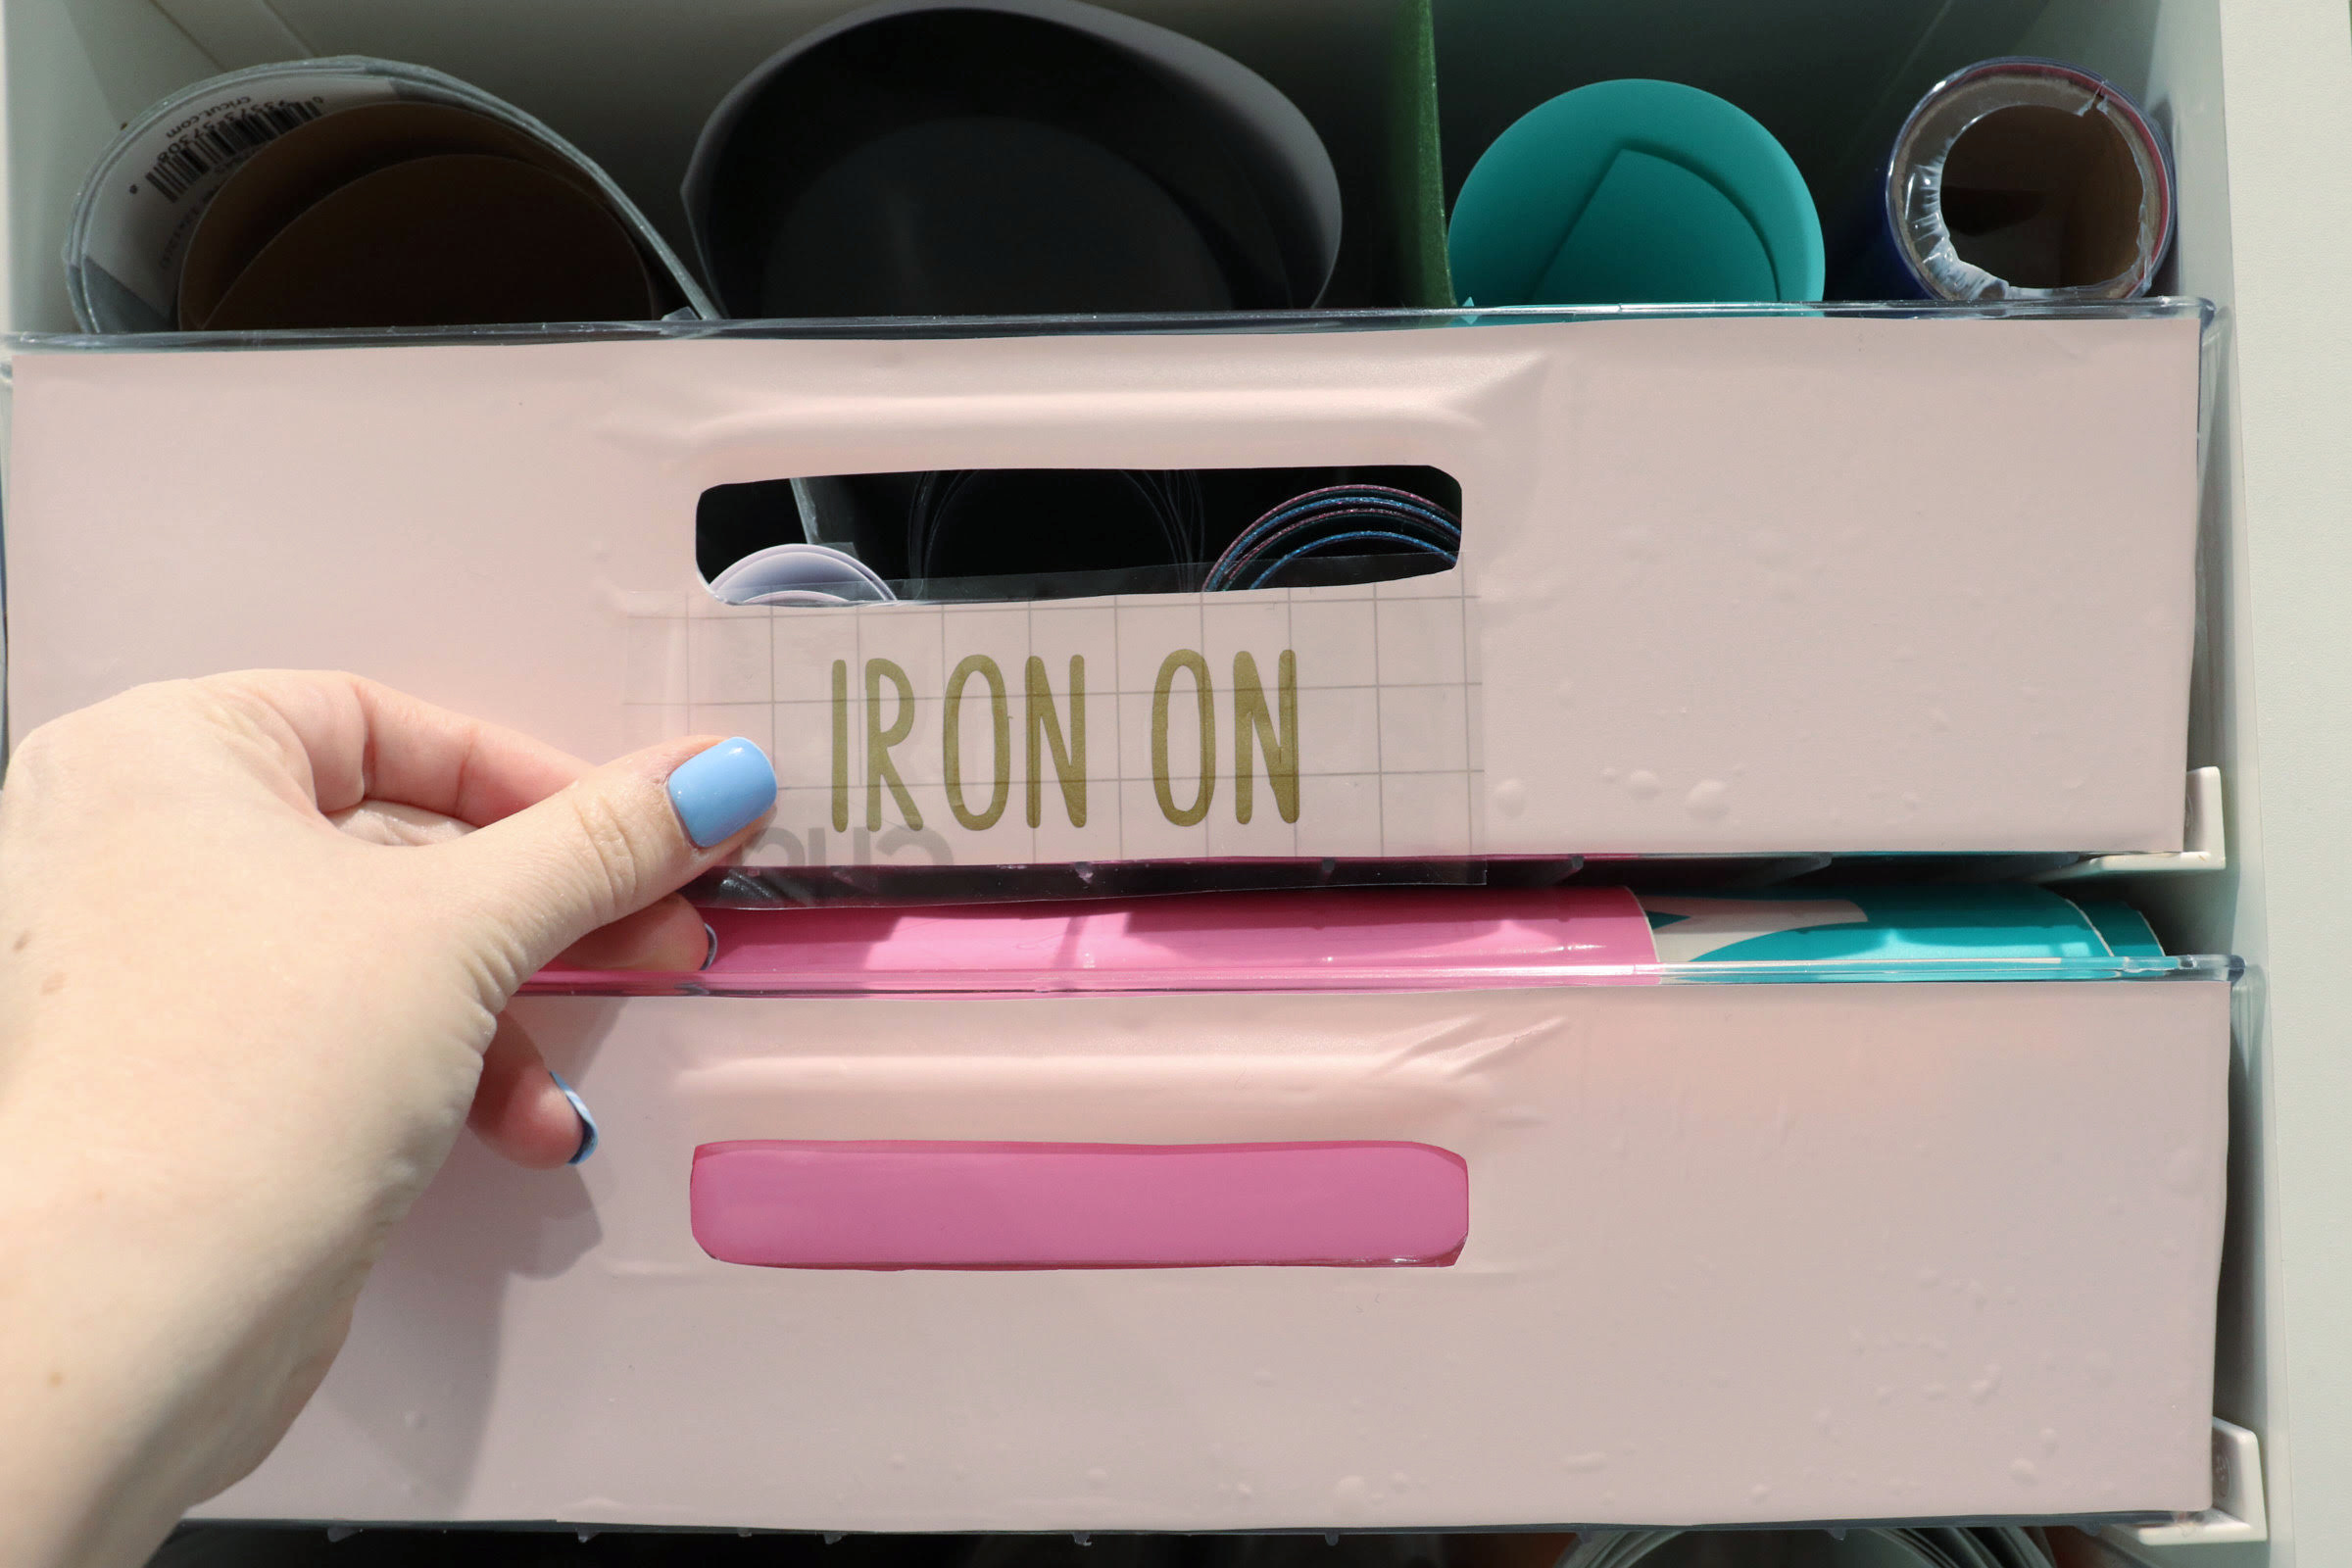
Step 6: Apply transfer tape.
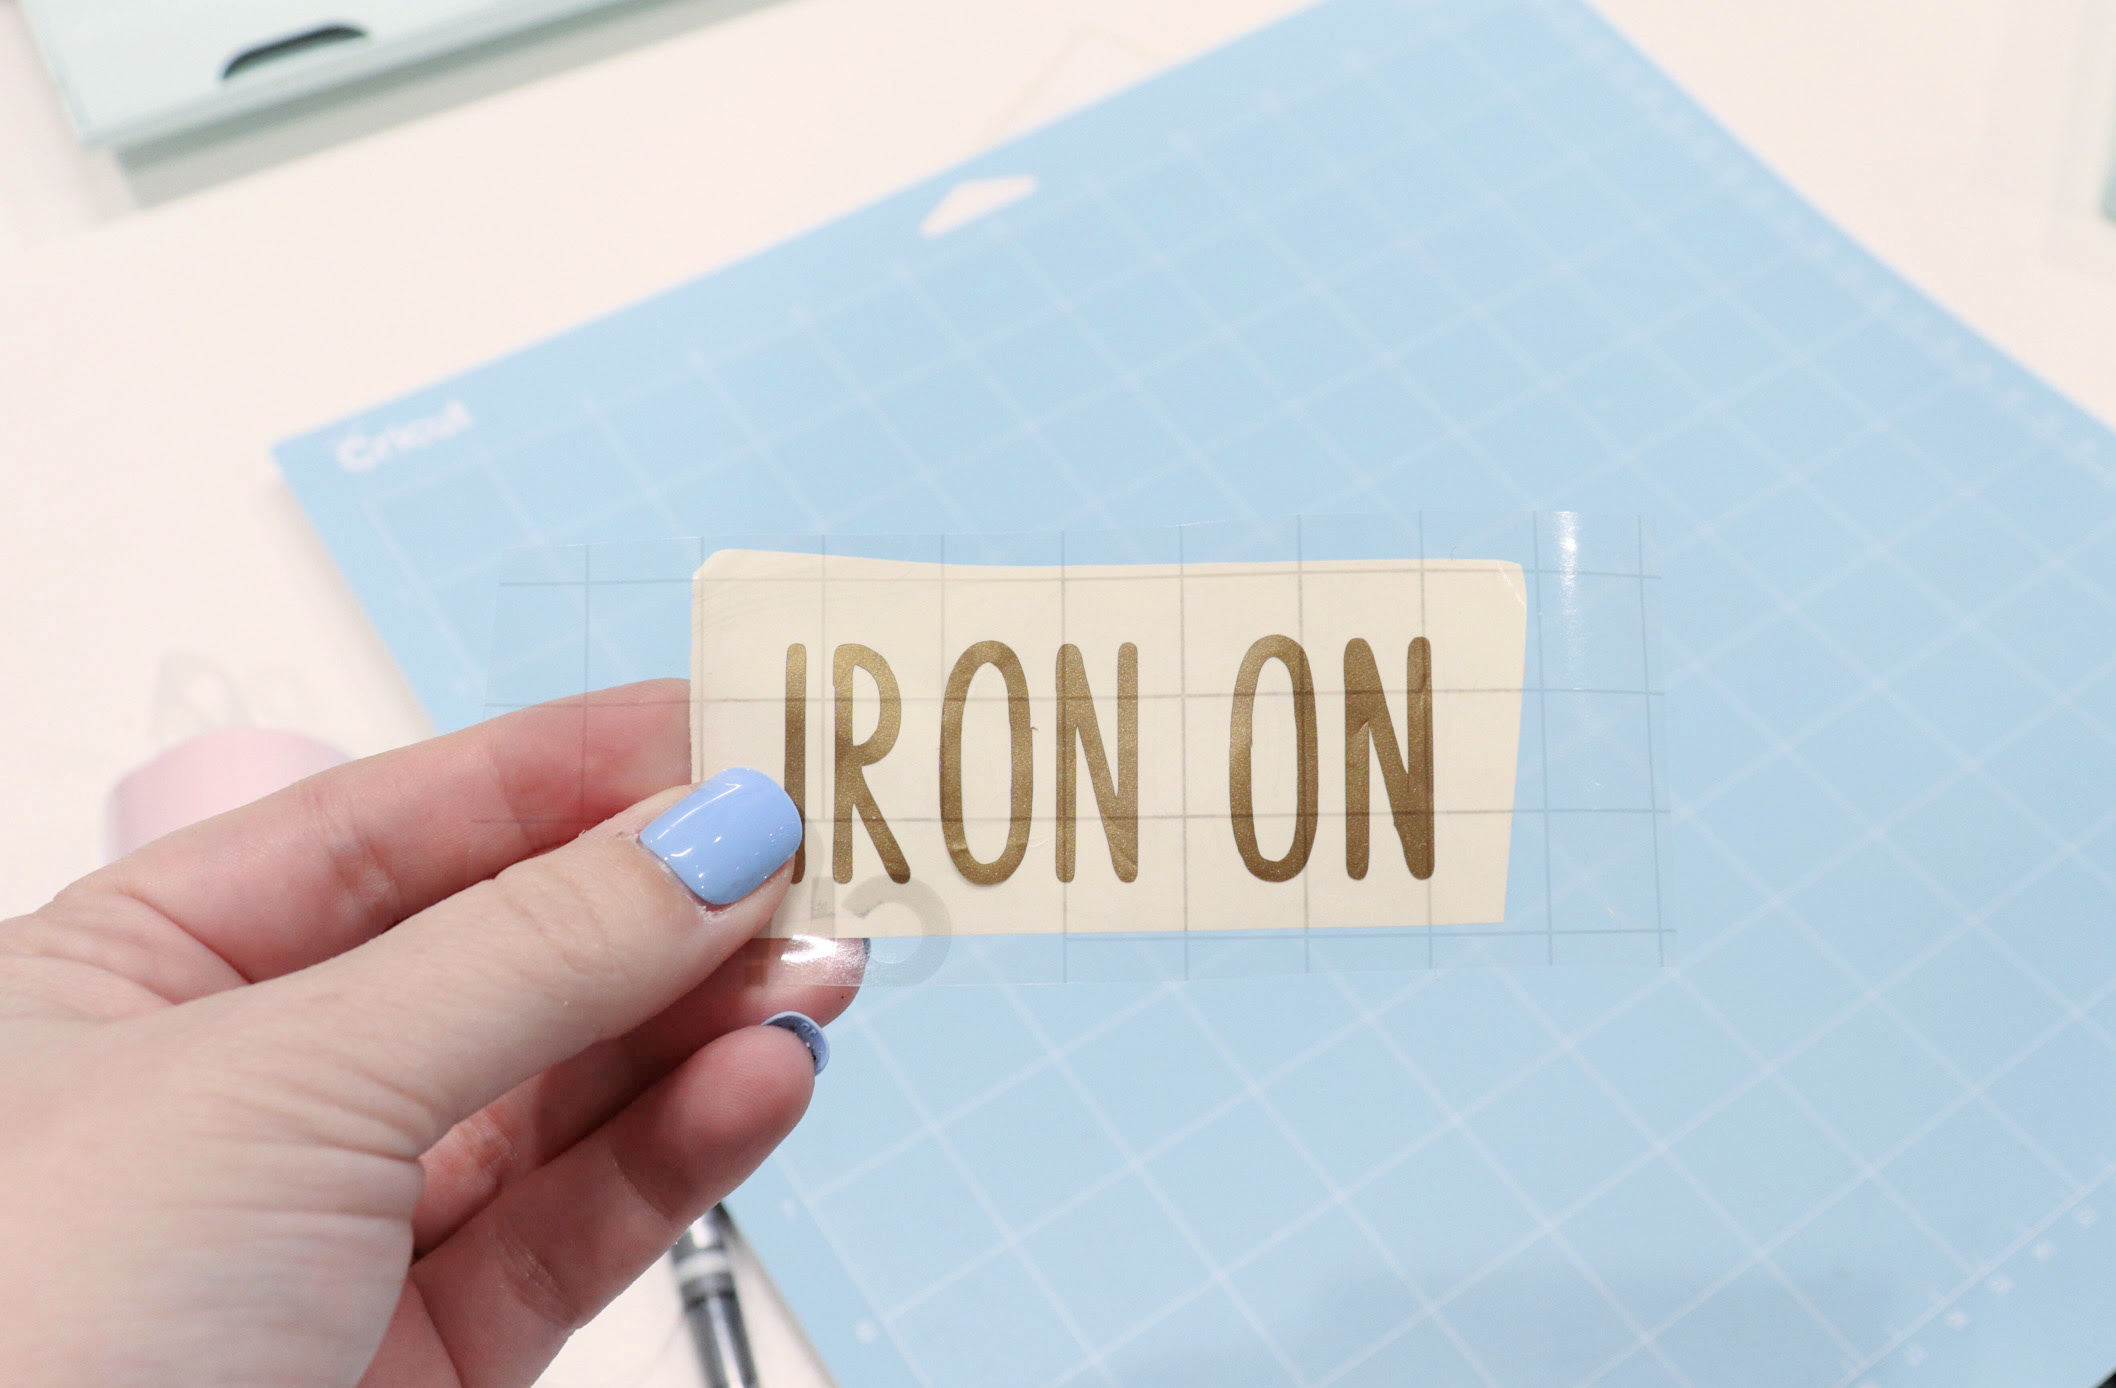
Place a piece of clear transfer tape on top of your vinyl label. Rub firmly with a burnishing tool, then peel up the tape. Your vinyl letters should come off of their backing and be adhered to the transfer tape.
Step 7: Adhere to your bins.
Position each label where you want it, then apply the vinyl/transfer tape to the surface of the bin. Rub once again with the burnishing tool to help the vinyl stick to the surface, then peel off the transfer tape.
It’s that easy! Now you have fun and functional bins that are clearly labeled to help you find and put away all of your supplies.

This system has been so helpful, and it was incredibly easy to do. Plus, I love the way it looks. No matter what type of bins or containers you have, this is a great way to label them and create an organization system of your own. I’d love to see how you organize and label your crafting supplies; make sure to share your photos and ideas in the Amy Latta & Friends Facebook Group so we can all be inspired. See you there!