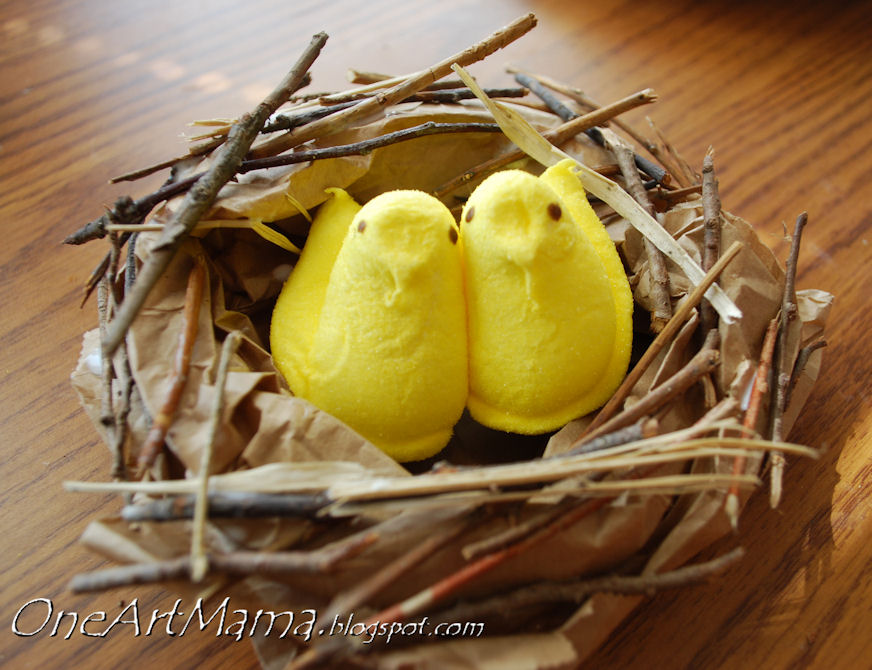
Peeps to the Rescue
This morning, as we do every Tuesday, Little Crafter and I prepared to go to Story Pals at the library. Each week, there’s a different theme and the librarian, Miss June, reads books and leads the kids in songs and games that go along with it. And there’s always a craft…which I think is the major reason why LC loves it so much. But unbeknownst to us, there was a special Kindergarten program going on today that superceded storytime. LC was crushed and I was left with the job of making it up to him. What’s One Artsy Mama to do? Make our own storytime, of course!
First, we needed a theme. Noah has been fascinated with birds, particularly robins, lately and he’d also pointed out a nest craft in the newest Family Fun magazine, saying, “I want to make dat.” So, we decided our theme for the day would be Birds and Nests. A storytime has to have books, so we found a few of his stories that incorporated our theme.
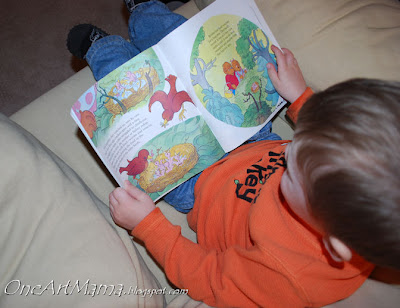
The Berenstein Bears and the Real Easter Eggs by Stan & Jan Berenstein – Sister finds a robin’s nest and the cubs watch the baby birds hatch. Noah is obsessed with the B. Bears right now!
Are You My Mother? by P.D. Eastman – A baby bird hatches in his nest and goes to search for his mama.
D.W.’s Color Book by Marc Brown – D.W. finds robin eggs and a hatching duck while on an egg hunt.
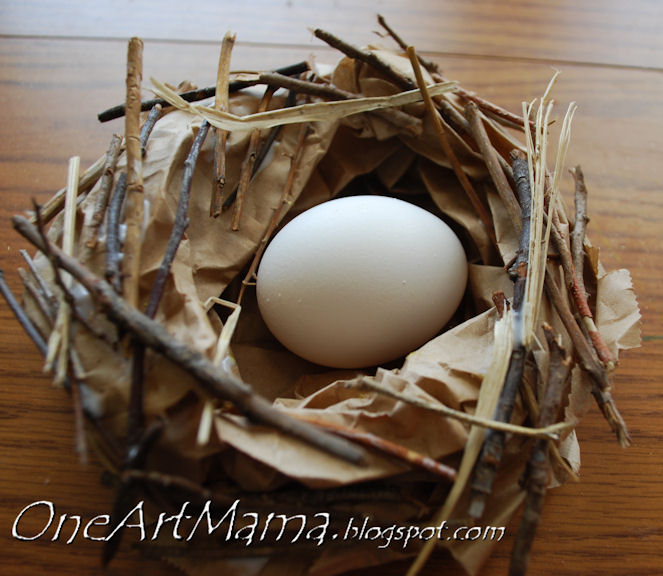
Then, it was craft time! We talked about the things birds use to make their nests…twigs, yarn, dried grass, and pretty much anything they can find. I told Noah we were going to make a nest of our own (he said, “just like a birdie”) using the same things. Here’s how we did it:
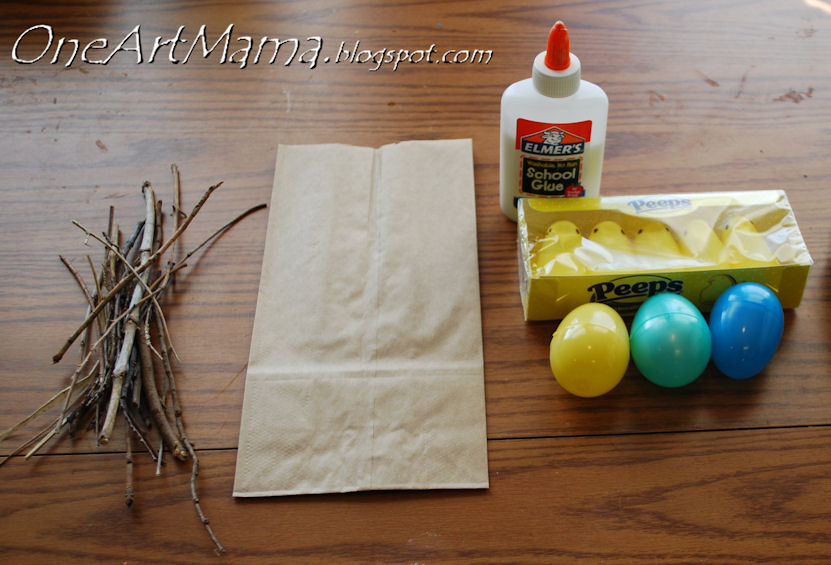
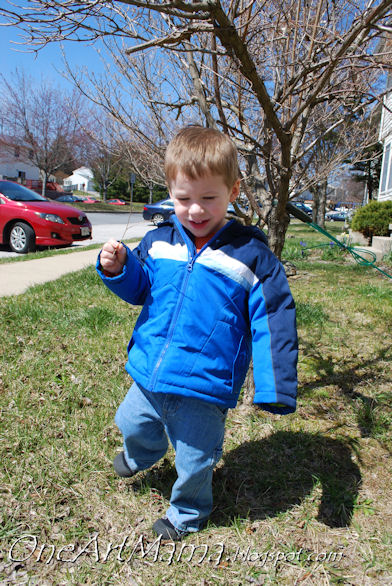
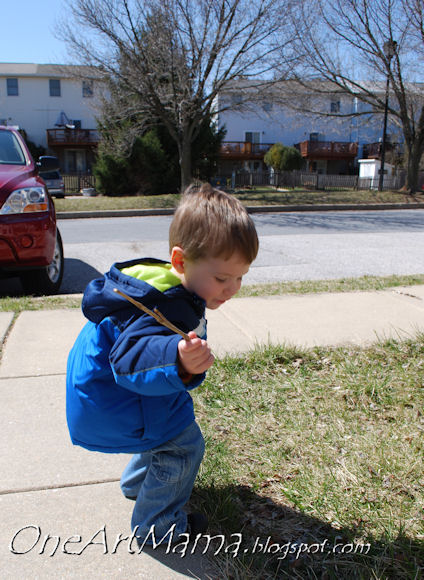
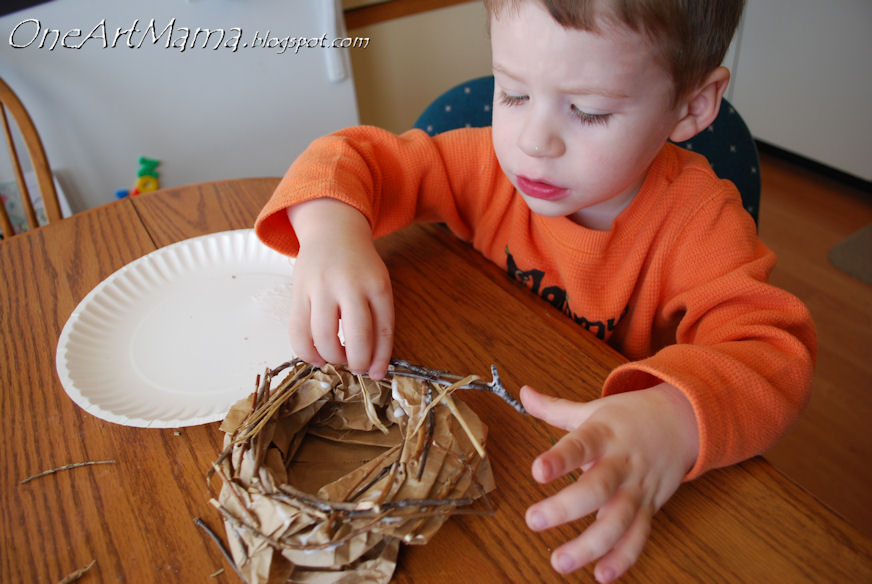
STEP 1: Gather the twigs. Little Crafter loved this part.

STEP 3: Put a puddle of glue on a paper plate. Dip twig pieces in glue, then stick them all over the bag. Noah was a pro at this! It’s big-time messy, but fun!


What a great idea! Thanks for stopping by http://twogingerprinces.blogspot.com! Hope to you see again!
Love it! I am definitely going to be referring back to all of your ideas this summer when I am home with Cooper every day. 🙂
Really cute idea…Looks so real…
You guys have such fun days every day…
My kids would love this – even the baby could make one. Great idea. Thanks for linking to the Kids Can Craft party:)
Hey hun, me and the kids made our own version of this today. Thought you might like to see it 🙂
http://mammymade.blogspot.co.uk/2012/04/easter-craft-making-birds-nest.html
– Adele @ Mammy Made