Ombre Wooden Spinner with FolkArt Ultra Dye
Thanks to Plaid Crafts for sponsoring today’s post; all opinions are honestly my own.
Friends, in case you haven’t noticed, I’m just a little bit obsessed with the new FolkArt Ultra Dye! I first got to play with it at Plaid Headquarters back in March, and I’ve loved it ever since. Here is my latest project using this super-fun new product…I think you’re going to like it!

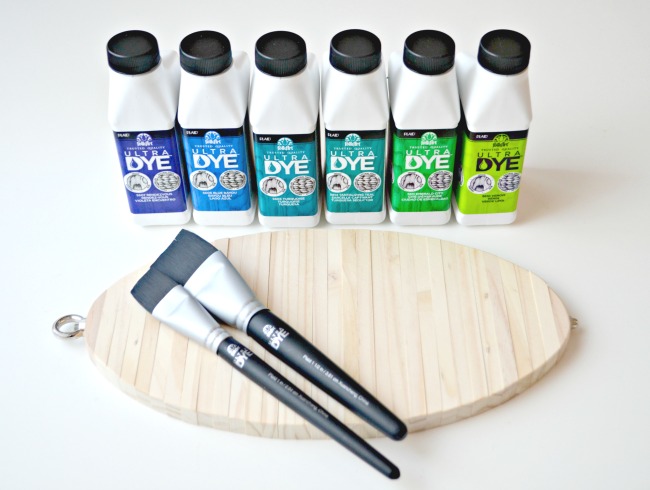
You Need:
FolkArt Ultra Dye {I used Venom, Emerald City, Tantalizing Teal, Turquoise, Blue Bayou, and Rendezvous}
FolkArt Ultra Dye Paintbrush
Unfinished Wooden Spinner Kit
Disposable Gloves
Step 1: Disassemble the spinner and sort into piles for each color.
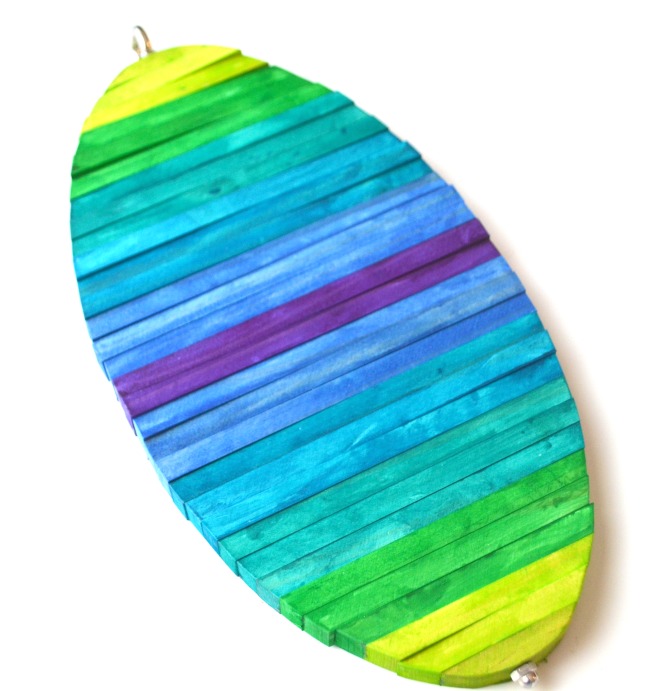
I had six colors and 32 pieces of wood. I wanted an ombre effect that would start at each end and blend in toward a center point, so I allotted six pieces {three from each end} for every color except for the central one, which got two. It’s important to make sure you take the pieces from both ends if you want to duplicate this design since they vary in size.
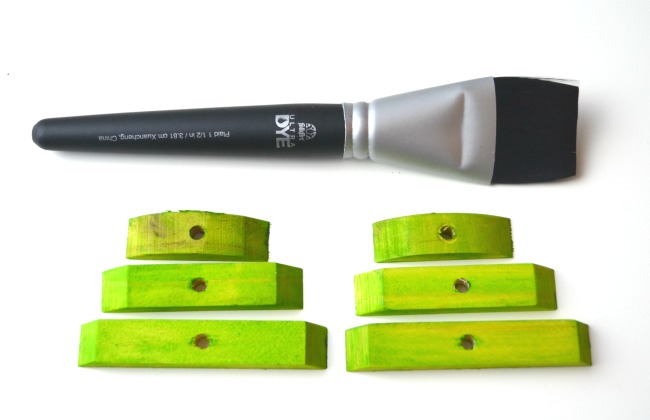
Step 2: Put on your gloves and begin applying dye to the wooden pieces using a FolkArt Ultra Dye Brush.
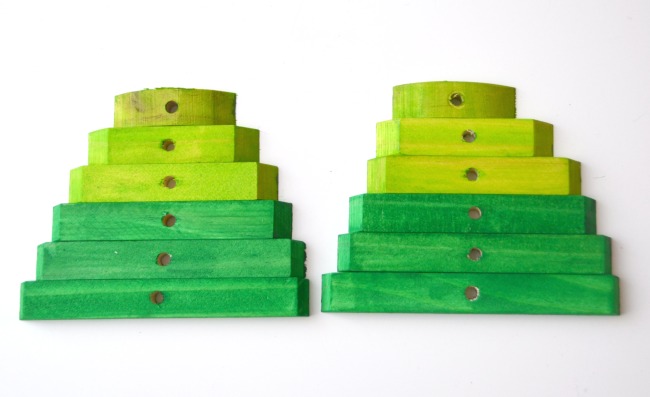
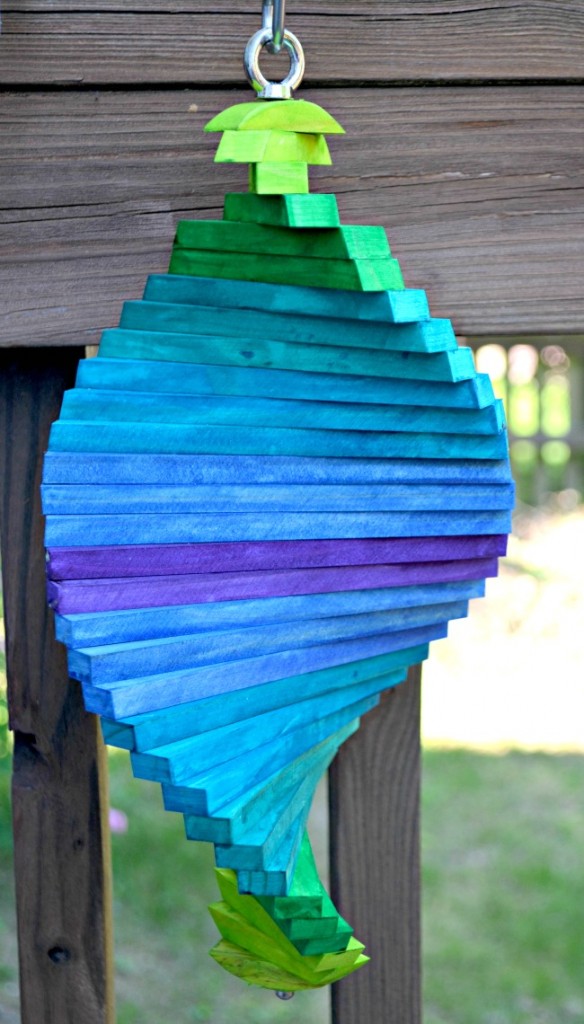
Step 3: Reassemble your spinner by sliding the wooden pieces back on to the long metal piece and twisting the cap back on top.
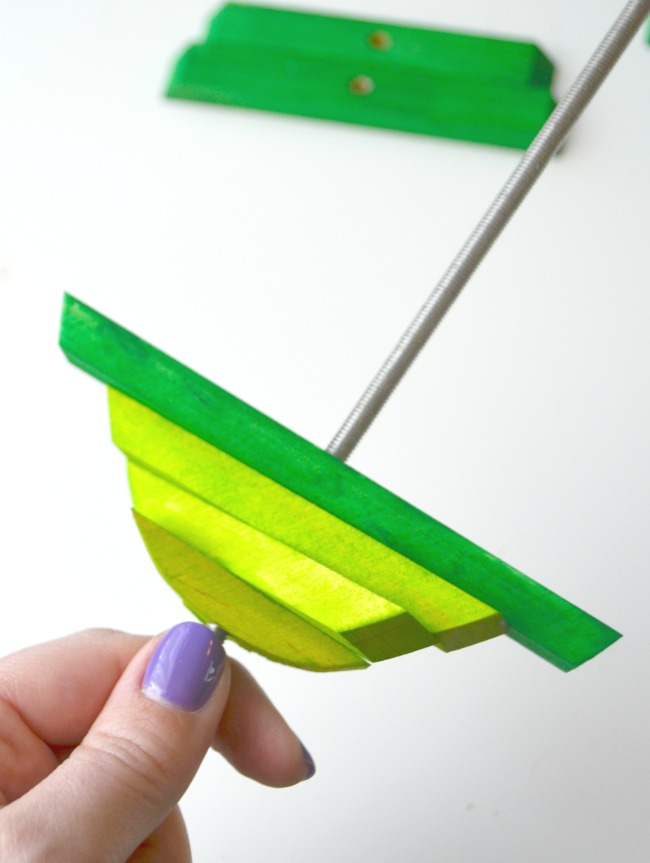
Step 4: Attach the S-Hook and add any ribbon or string you like for display.
Isn’t that easy?! You can create any design you like for your spinner, including stripes, color blocking, a pattern, or anything else you can imagine. The dye is so easy to control that you can actually stencil with it, believe it or not! As a matter of fact, when I was at Plaid Headquarters, I was even able to hand letter with it. The sky’s the limit!
Step 5: {optional} Seal your project.
As I mentioned earlier, the dye is self-sealing and will give you beautiful, lasting results. However, if you want extra protection, you can apply a coat of FolkArt Ultra Dye Satin Varnish. This super-tough polyurethane varnish has a beautiful satin finish that won’t detract from the beauty of your project at all. Like the Ultra Dye itself, the varnish is water-based, non-toxic, and easily cleans up with soap and water. Another option is to use a spray sealer first, then coat the project with Ultra Dye Satin Varnish.
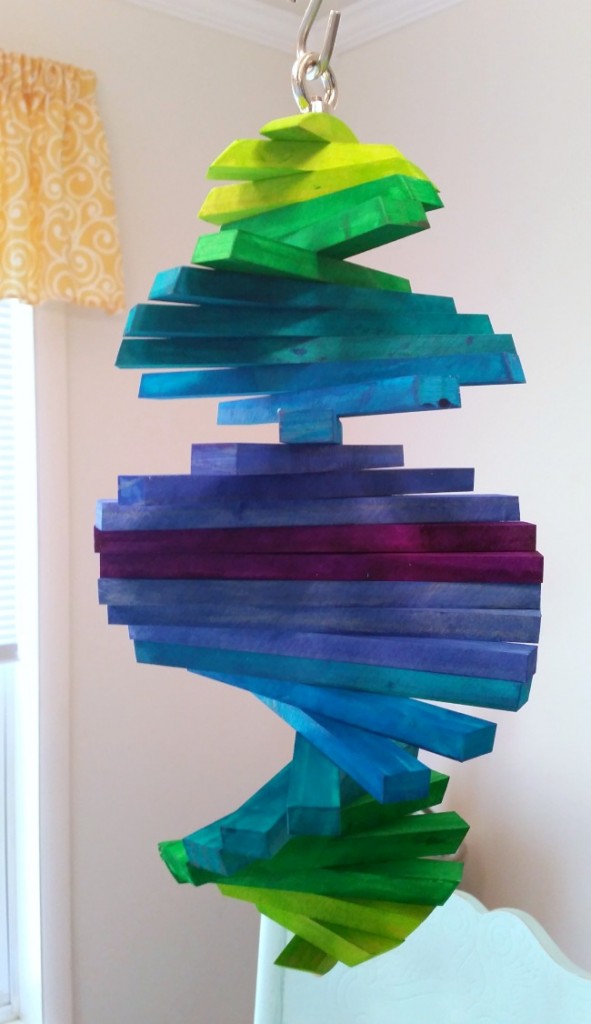
Even when sealed, Ultra Dye is not intended for outdoor use, so you’ll want to find an indoor spot to display your spinner. If you really want to use it outside, take it out with you on a sunny day for everyone to enjoy, then bring it back in when you return indoors.
What do you think? Is this a project you’d enjoy creating for your home this summer? FolkArt Ultra Dye hits stores near you this month; it’s a brand new product and it creates such gorgeous results!

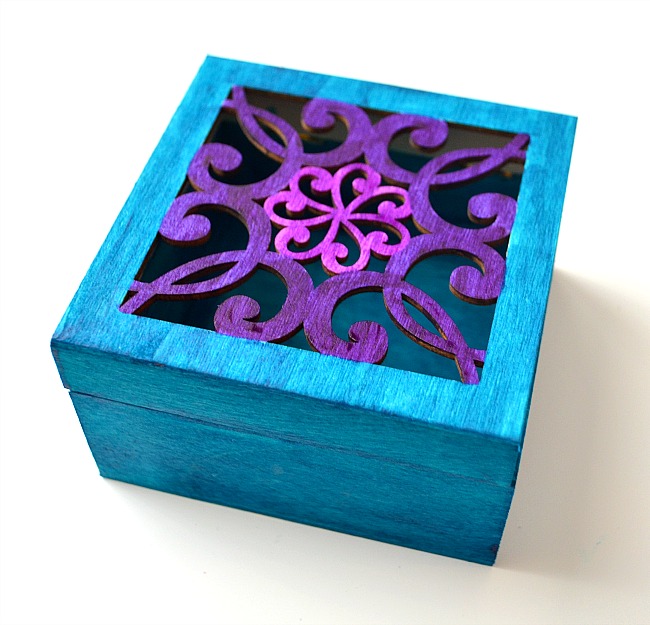
Be sure to check out my dyed jewelry box project too, as well as connecting with Plaid on their Facebook, Instagram, Pinterest, Twitter, and blog for more FolkArt UltraDye inspiration!
Cool, looks like something the big grands would be able to do.
The spinner is so cool. Love the look of the dye on the wood too.
I love this! I’ve always wanted a little spinny guy for the backyard and I love how you added some flair to it!
My Grandma always had these spinners on her porch. I didn’t realize you could buy a kit and make one. I would love to do this. Thanks for the tutorial 🙂
Such a fun summer project!
This is SO awesome! Love how colorful!!
On this very theme, I would like to paint the ‘arms’ of my garden colors in ombre so that it spins through colors appearing to a moving (blur)gradient of color. Any ideas? Thanks!
The spinner is so cool. Love the look of the dye on the wood too.