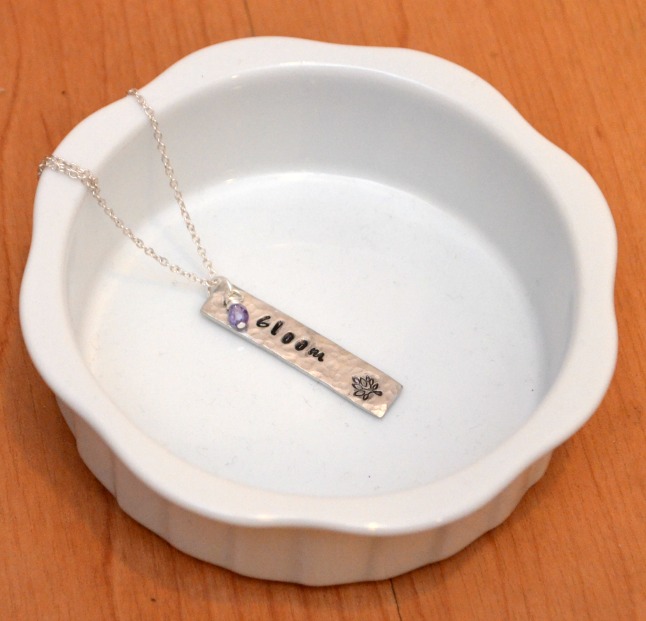
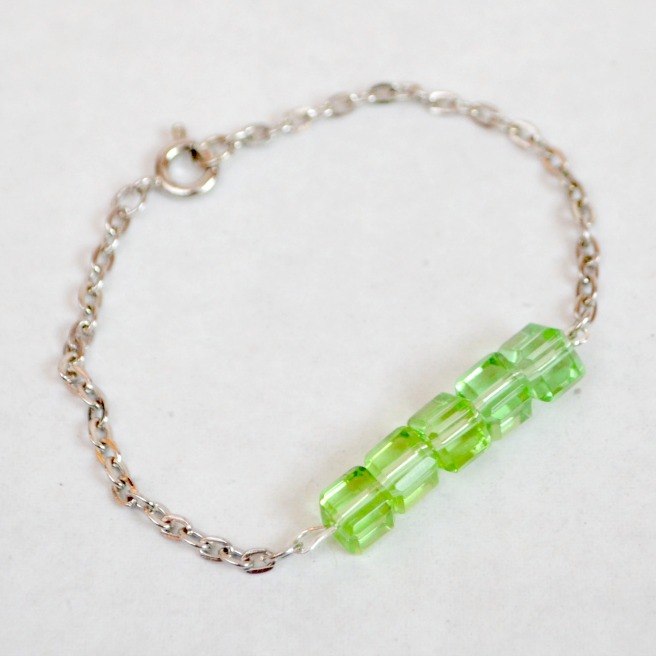
Alex and Ani-Inspired Bracelet
I love bracelets! All kinds, all sizes, all styles. I love to wear them, and I also love to make them. The fashionista in me is crazy about the ones made by Alex and Ani…and the artist in me was determined to use some of my supplies to create something inspired by their collection. Here’s what I created…take a look!

TIME REQUIRED: 15 -20 minutes
DIFFICULTY LEVEL: easy/beginner
SPECIAL TOOLS: metal stamping tools {optional}
SPECIAL SKILLS: basic metal stamping {optional}

Before we talk about materials, let me just say that the sky’s the limit when it comes to making this kind of bangle. Any color, any size, any type of beads will work as long as you love them. A quick peek at Alex and Ani’s collection will show you that anything goes. You don’t have to use exactly what I did, find beads that inspire you, that match your wardrobe, or maybe that are already in your stash just waiting to be used. If you want it to be just like mine, though, I did link to the exact beads and supplies I used in the materials list to save you from hours of searching.
Materials:
{Many of mine were generously provided by my friends at GoodyBeads.com}
– Bracelet Memory Wire
– 6 mm Antique Silver Sand Metal Beads
– 4 mm Lumi Brown Round Druck Czech Glass Beads
– Silver 3 mm Memory Wire End Caps
– Crimp tubes
– Memory Wire Cutters
– Needle nose and Flat Pliers
– Jewelry Glue
– 9 mm Silver Blank
– 4 mm Jump Ring
{optional}
– Steel Stamping Block
– Metal Stamping Hammer
– ImpressArt Anchor Design Stamp
– Black Permanent Marker
– Jewelry Polishing Cloth

Step 1: Cut a piece of memory wire. Make sure it fits your wrist comfortably and the ends overlap slightly. You *can* try to do this with regular wire cutters, but memory wire is super strong and it’s very difficult to cut with anything other than the cutters designed specifically for it.
Step 2: String your beads onto the wire. I used a pattern of one metal bead followed by three glass beads and repeated that seven times. I finished up with one last metal bead. You can create any pattern and use any beads you like!
Step 3: Add crimp beads. Place a crimp bead on your wire right next to the first and last silver beads. Squeeze tightly with pliers to flatten. This will hold your beads in place and keep them from falling to the bottom of your bracelet when you’re wearing it.
Step 4: Stamp and add a small charm. I stamped a little anchor onto my 9 mm blank, added a jump ring, and placed it at the end of all my beads. This step is totally optional. If you’re not a metal stamper, but you like the look, you can buy cute little charms like these 9mm Silver Swirl Charms to use instead! That will give you the look of the little round dangle without the work of stamping it. Just add a jump ring, and you’re good to go!
Step 5: Glue an end cap ball to each end of your wire. Let it dry for a few minutes, and your bracelet is ready to wear!

What do you think? I’m loving the neutrality of it; many of my bracelets are brightly colored, so it’s nice to have something I can literally wear with just about anything in my closet. How will you make yours?
Really cute design ~ I love it!!
Pretty- I agree about the neutral colors
You make jewelry making look so simple!
Love the beads!! Love your bracelets!!
Just saw you on Hallmark H&H & I will probably spend days on your blog & definitely getting your books!! LOVE THIS PROJECT!! I only wish there were more pictures bc I’m totally unfamiliar with some of these materials related to the memory wire. My daughter & I are kinda Alex & Ani collectors. But I definitely love this idea for bracelet looks that they don’t make (colors). **Does this end up with any movement/give (Like A&A) in it or does it need to be measured exactly to slide over your wrist?? Thanks so much for sharing your amazing ideas 🙂
So glad you found the website! Yes, this bracelet does allow for movement.