Crafty Chaos: Etch-a-Sketch Chalkboard Project
Hey, friends! My good buddy Erin is here to share this month’s Crafty Chaos post with you while I’m at Lucky FABB! She’s got a really fun project for you; her boys love it and I do too! Here she is…
Hello to everyone in One Artsy Mama’s land! True to form, it has been completely chaotic around here as we prepare for the arrival of our third little prince in just 7-8 short weeks! A lot of time is being spent transitioning Cameron to Collin’s room, making the boys a “big boy room”, and therefore freeing up the nursery for Mr. Caleb. We didn’t want to redo the nursery because it was still pretty adorable and baby boy friendly and honestly I didn’t have the energy to create a 3rd boy’s nursery.
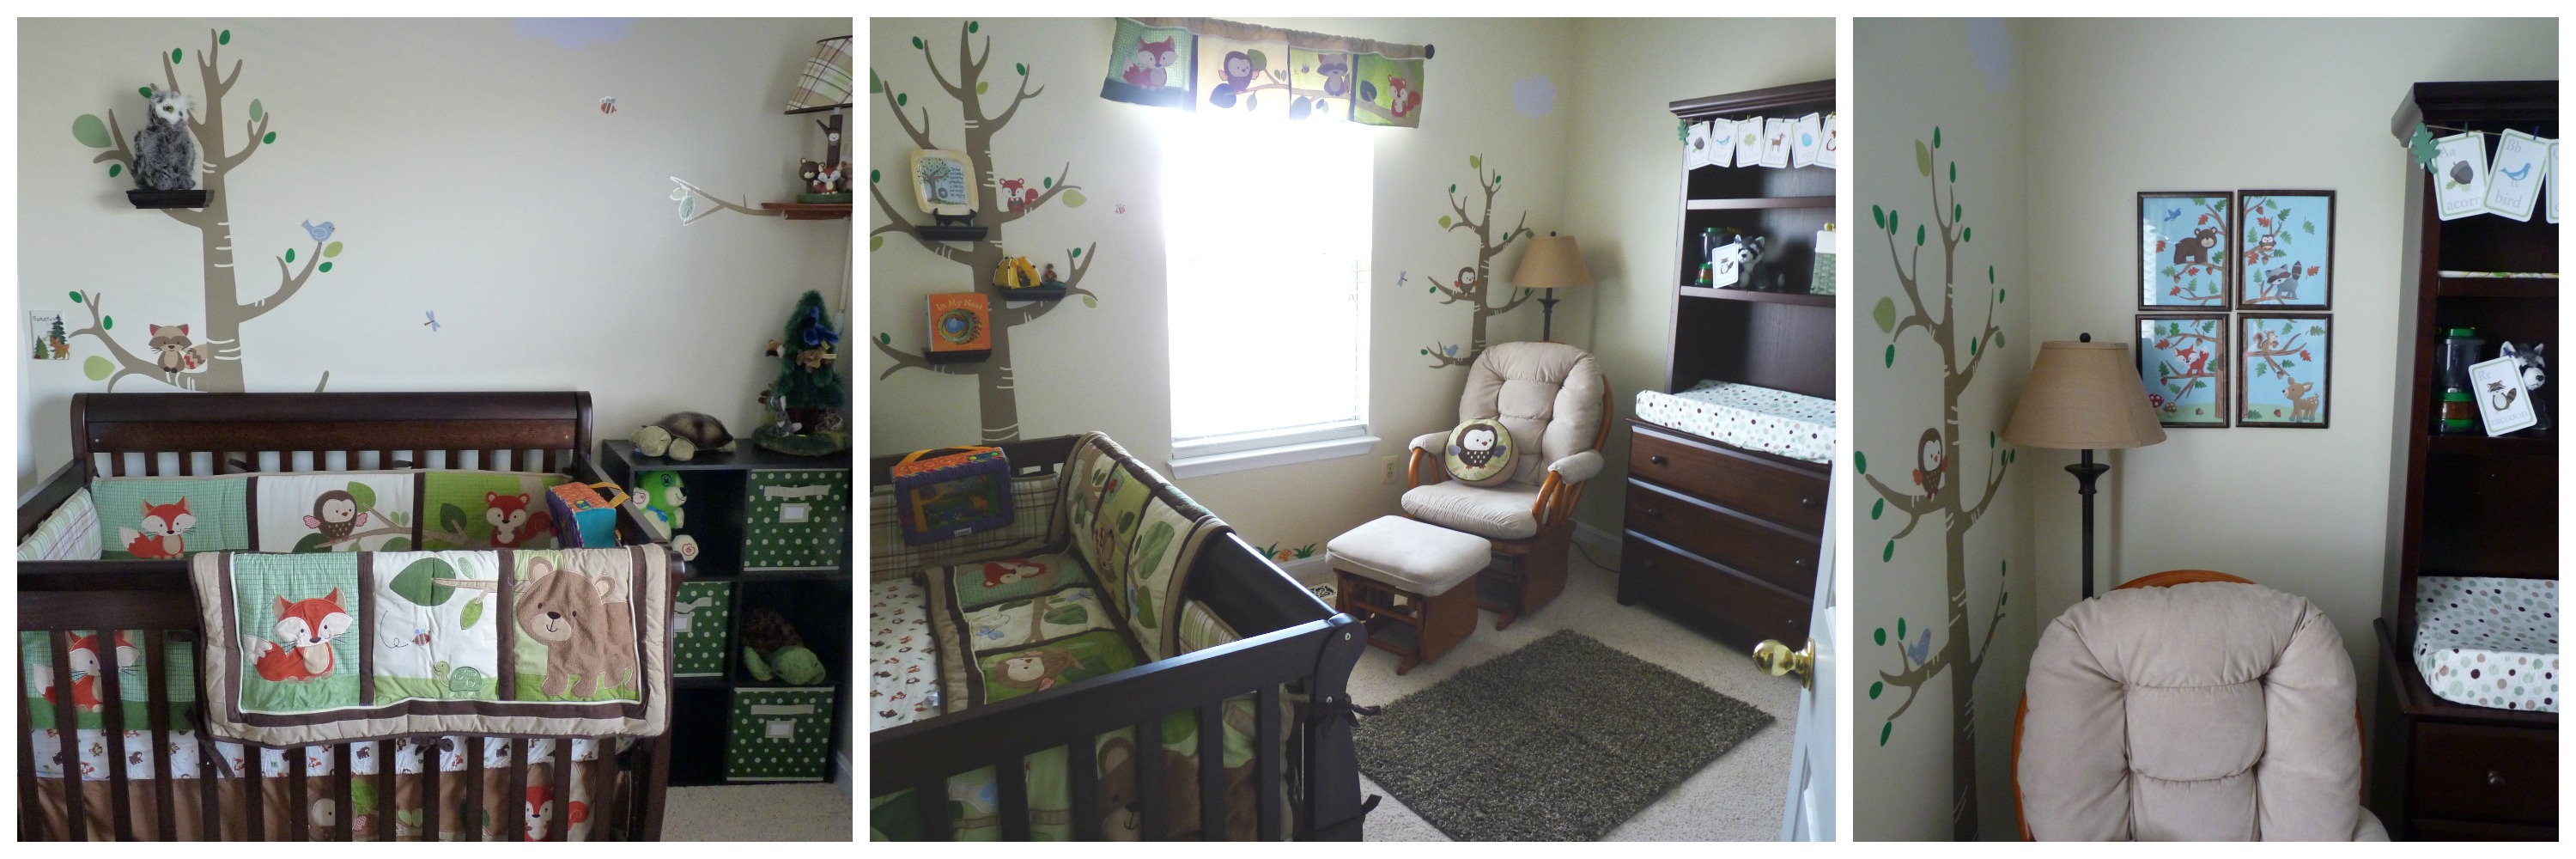
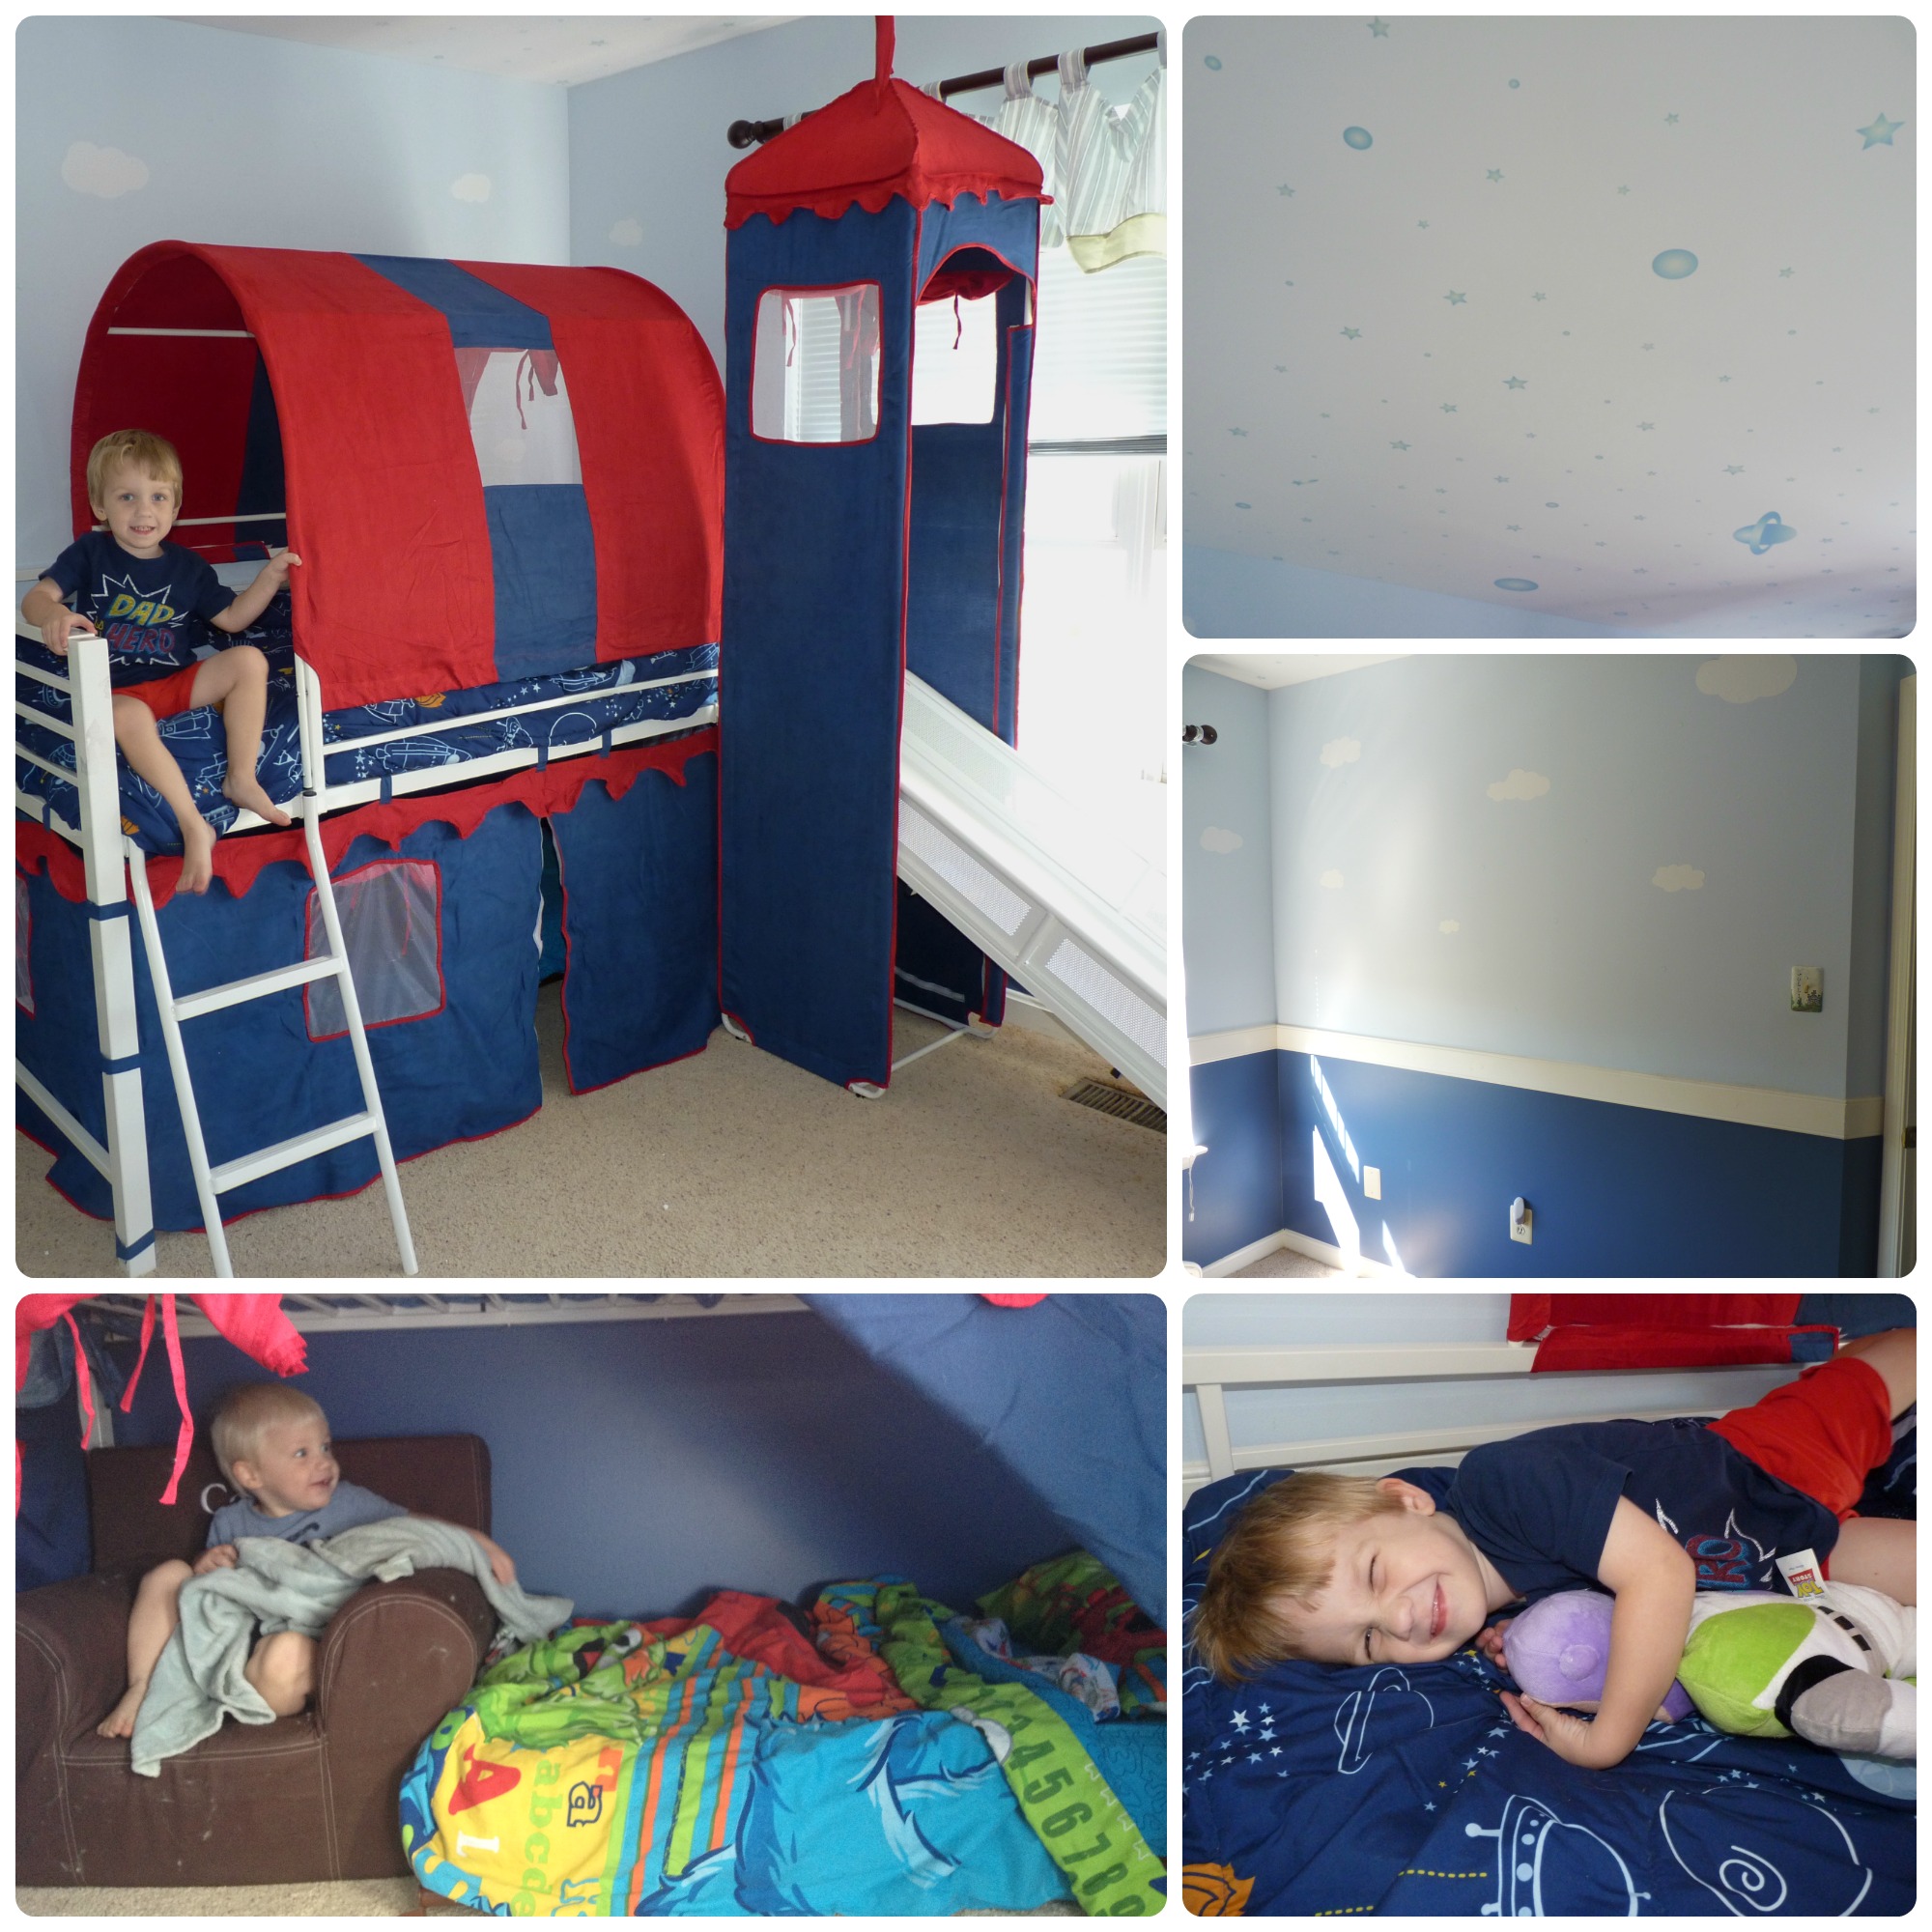
See? Adorbs. Why would I change it? Anyhoo. I began to get excited at the prospect of designing a big boy room for the older boys (they are currently almost 2 ½ and 3 ½), and creating a space that would encourage play, brotherly bonding, and maybe some (ha) sleep. As most young little guys at this age, they are VERY physical and need lots of space to run (yes, even right before bed), so Husband and I did a lot of research, picked out the perfect bed, moved the dresser and changing station into the closet, added the perfect paint color and glow-in-the-dark ceiling stars (no more nightmares!) and the boys fell in love.
Now that the foundation of the room was done, it was time to start adding decorations and personal touches! The boys are super into Toy Story right now, but I don’t want to bombard the room with character images and such, because I know their tastes will change. However, I definitely want to add touches that bring the Toy Story feel in, as well as promote imaginative and creative play (and not take up valuable running space). Which brings me to this awesome project I created over the weekend!

After searching Pinterest and other blog sites, I came to several conclusions. I didn’t want to apply chalkboard paint directly to the wall, because I wanted this to be removable. Magnetic paint doesn’t work too well, and sheet metal is where it’s at. I also knew I didn’t have the time or energy to attach sheet metal to a wall, and then cut and apply molding and around it. And finally, I wanted to add a fun “Toy Story” flair to it!
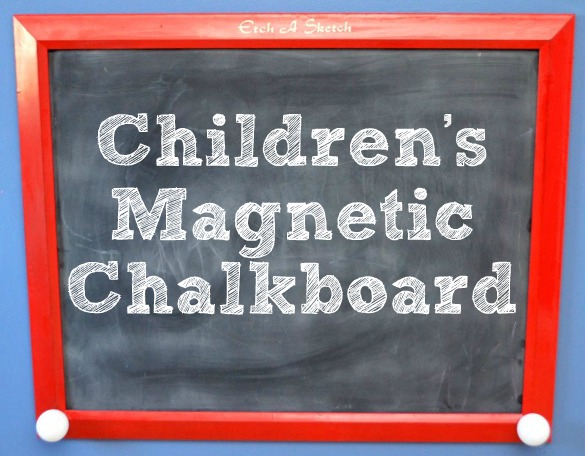
After a trip to the hardware store and Michaels, I came home with a 2×3 piece of sheet metal, tin snips, several cans of spray paint, two wooden doll heads, and one of those pre-framed pieces of artwork that you might see in a doctor’s office.
Up first? Dismantling the art work (which was quite amusing). I took the inserts out of the frame, and used one as a measuring guide for the sheet metal, so it would fit perfectly in the frame. Next was using the tin snips to cut out the metal (be careful of sharp edges!)

Time to add color! I had found the perfect Etch-A-Sketch red, as well as chalkboard paint, and took all the dismantled pieces to the back porch. The chalkboard paint required two coats with a 24 hour dry time, and I might have done 4-5 coats with a 20 hour dry time. I used the entire can of red paint, because I really wanted to get good coverage!

The next day, I conditioned the chalkboard (just rub chalk all over it, and wipe it off), and began to assemble the pieces. One thing a pre-framed piece of artwork doesn’t have? Those little tabs that hold in the picture. So I got creative. Thank you leftover duct tape from our Buzz Lightyear party.
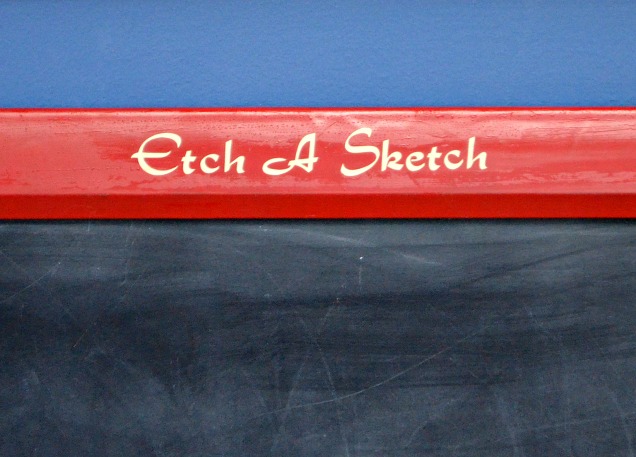
Next up was adding all the little extras that really made it look like an Etch-A-Sketch. I had researched the font used in the Etch-A-Sketch logo (rondo, in case you cared), downloaded it, and then designed my own logo in my Silhouette software. I happened to have a pretty awesome gold/yellow vinyl that matched the color of the logo perfectly, so my Cameo cut it, and I stuck it on!
For the knobs, I used wooden doll heads (with the flat bottoms), spray painted them white, and Husband used his drill to screw them on to the bottom. I would like to mention that I have no fear and enjoy using power tools, however pregnancy has made me a bit…clumsy. HA. There also may or may not have been a lot of um, “ball” jokes throughout this part of the project.

While the boys napped, I downloaded a few of their favorite Toy Story characters, printed them out on cardstock, cut them out, and covered them in contact paper. I added magnets on the back, and voila, a perfect little Toy Story magnetic play set (that I can change out when tastes change)! We’re working on name recognition as well, so I printed out the boys’ names too which has been already helping.

I also did a quick font design in Silhouette Studio, and made labels for an eraser and a chalk container (chalk container was a buck at Michaels).

Once the boys woke up, I used large Command Velcro Strips to attach the board to their wall (making sure it was eye level to them) and let them have at it.

The boys have been LOVING this board, and we’ve already done a lot of number and letter drawing, as well as imaginative play with the magnets. I have another project that I’d like to start working on for their room, but we’ll see how the timing work out as we prepare for Caleb’s arrival in November!

I love those Toy Story magnets; this is a fabulous idea!
Thank you for providing the name of the font “Rondo!” Our break room at work is going to be Toy Story themed, and we’re making an Etch-A-Sketch board. Thank you!!
Hey how do I get the etch a sketch logo? I am trying to make a mirror my sons room. Thank you!