Monogram Jewelry Box and Tassel Necklace
I don’t know about you, friends, but I love a good challenge! Back in January, when I attended the Craft and Hobby Association Mega Show in Anaheim, I got to participate in a really fun blogger networking event hosted by FaveCrafts. At the end of the event, they handed out some amazing swag bags just filled to the brim with all kinds of crafting supplies, and they issued us a challenge. Our job was to create an original project using some combination of the products we’d received, and they would publish it in a brand new e-book!
I gladly accepted the challenge {and the goodies!} and here’s what I made!
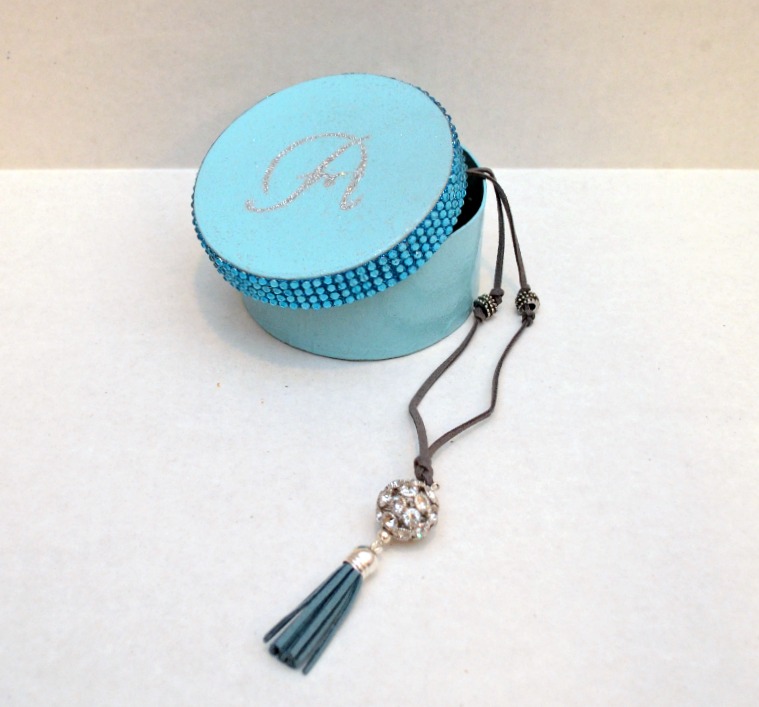
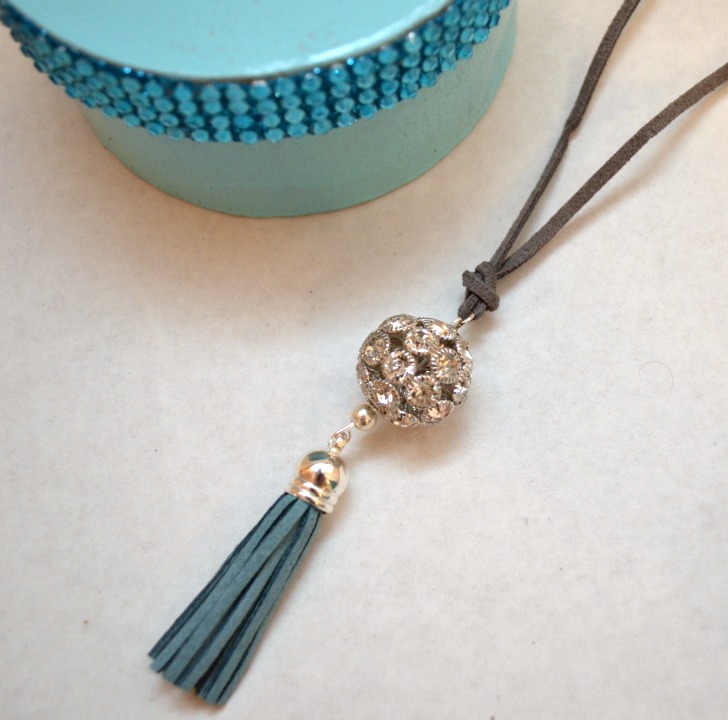
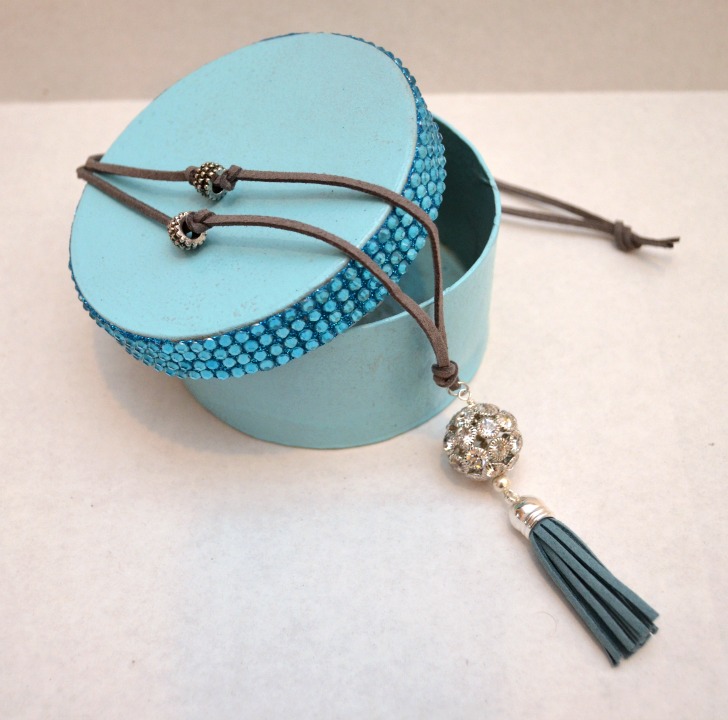
MONOGRAM JEWELRY BOX and TASSEL NECKLACE
Materials:
{As I mentioned above, almost all of these materials were generously provided by sponsors}
Box:
– round unfinished box
– Krylon ColorMaster Spray Paint: Ocean Breeze
– Darice David Tutera Adhesive Rhinestone Sheet: Turquoise
– Mod Podge
– Fine Silver Glitter
– Martha Stewart Adhesive Silk Screen Alphabet
– Sponge Brush
– Scissors
Necklace:
– Darice Jewelry Tassel: Suede Teal
– Darice Rhinestone and silver beads
– Grey leather cord
– Eye pin
– Jewelry pliers
– Scissors
THE BOX
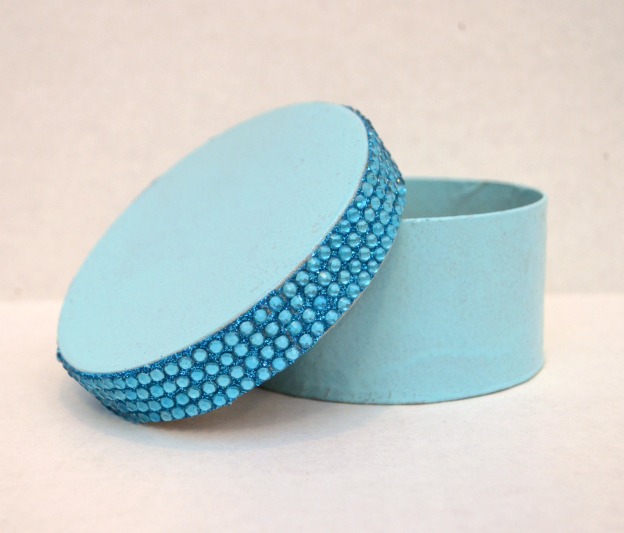
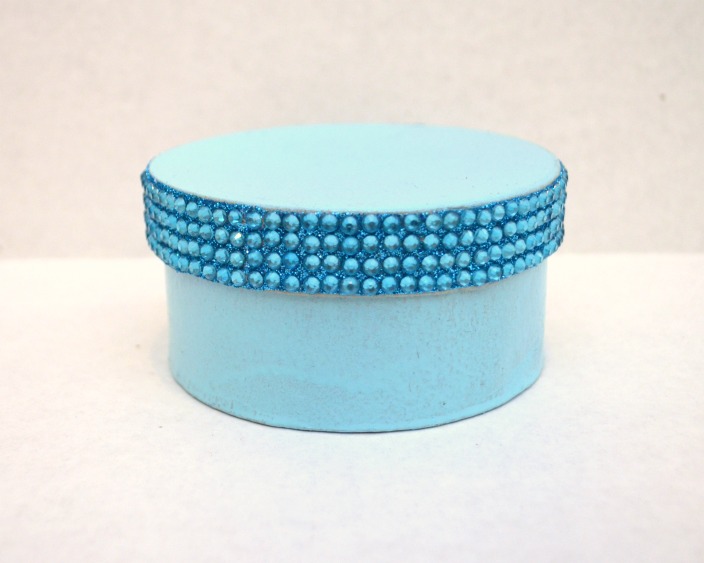
Step 1: Spray paint the box! I made sure to follow the tips my friends at Krylon gave me and did several light coats rather than trying to overdo it all at once, which makes drips and a big fat mess. This worked much better and I was really pleased with the result!
Step 2: Cut and apply adhesive rhinestones around the edge. This was really easy to do and I love the bling it added1
Step 3: To add a monogram, place a silk screen stencil on top. Apply Mod Podge to the stencil area. Remove the silk screen, then sprinkle the area with glitter. Let it dry, then tap off excess glitter.
THE NECKLACE
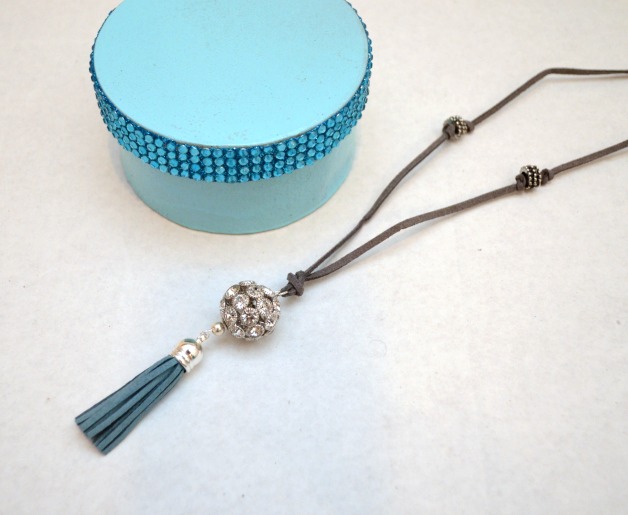
Step 1: Place the round rhinestone bead on an eyepin and form a wire loop. I also added a small silver bead because the hole of the rhinestone bead was so large.
Step 2: Attach the tassel to the loop at the bottom of the eye pin.
Step 3: Add a jump ring to the loop at the top of the eye pin. Thread a piece of leather cord through the jump ring and tie a knot.
Step 4: Partway up one side of the leather cord, tie a knot. Add a silver bead, then tie a second knot above it. Measure the same distance on the other side of the cord and repeat.
Step 5: Tie a knot at the top of the leather cord to finish the necklace.
These projects work great separately or together! You can definitely make the necklace without making the box, or vice versa, but together they make a really nice gift idea! Thanks again to the CHA Sponsors for the materials and to FaveCrafts for issuing a fun challenge! If you want to see what some other bloggers created, head on over and download the free e-book with all of them inside!




I love the box…beautiful…and the necklace is cute too…very creative.