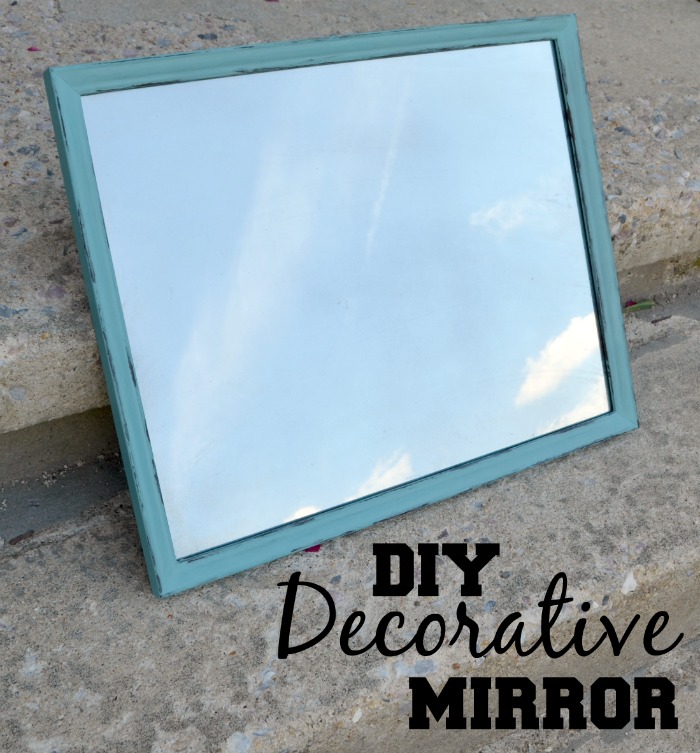
Make Your Own Decorative Mirror
This post is part of a sponsored campaign with Plaid Crafts and Blueprint Social. All opinions are honestly my own.
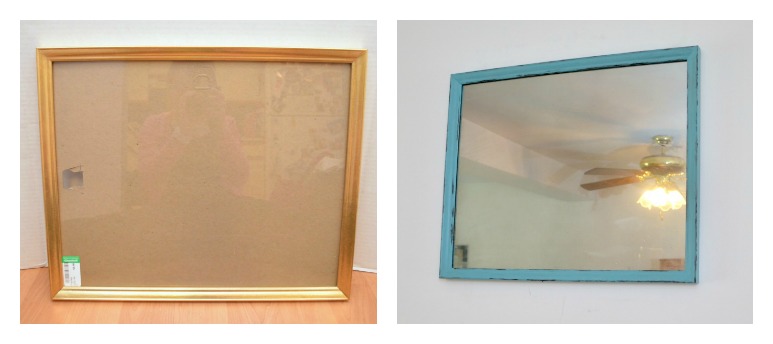
I don’t know about you, friends, but I absolutely love taking a piece of furniture or decór that’s not-so-awesome and giving it new life. Recently, on a treasure-hunting mission at the local Goodwill store, I came across a large gold frame that must have once held a piece of framed art. It was less than $2, and I immediately saw possibilities for it. So, I grabbed it and brought it home where I could redo it with the help of some FolkArt® Home Decor™ Chalk acrylic paint and wax. Now, instead of a tossed-aside empty frame, it’s a gorgeous distressed decorative mirror in my entry way. Take a look at how easy it was to do…
Materials:
– large frame with glass
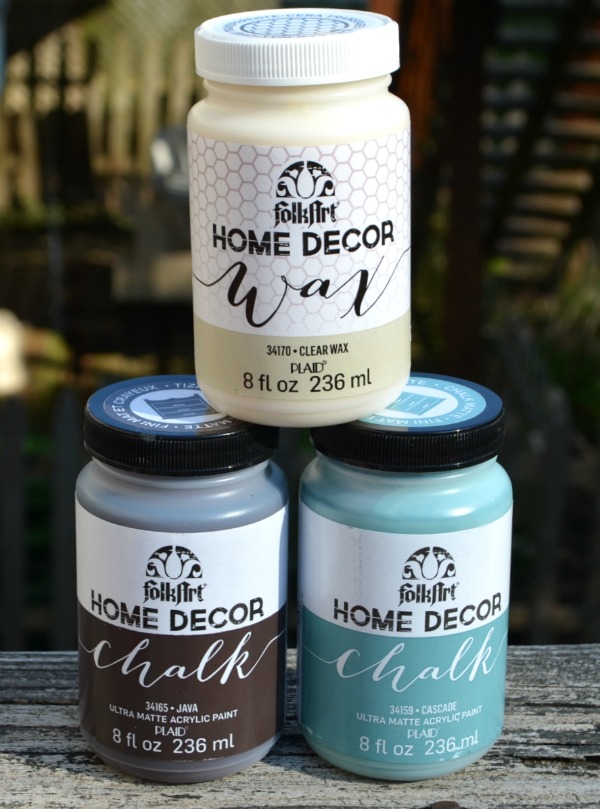
– FolkArt® Home Decor™ Chalk acrylic paint {Java and Cascade}
– FolkArt® Home Decor™ Wax {Clear}
– Krylon Looking Glass Mirror-Like Paint
– Krylon Clear Sealer
– paintbrushes
– soft cloth
– medium grit sandpaper
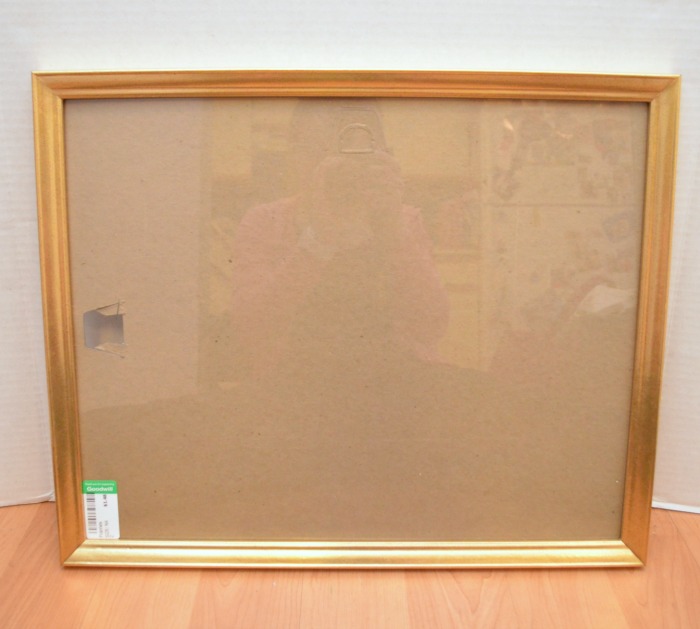
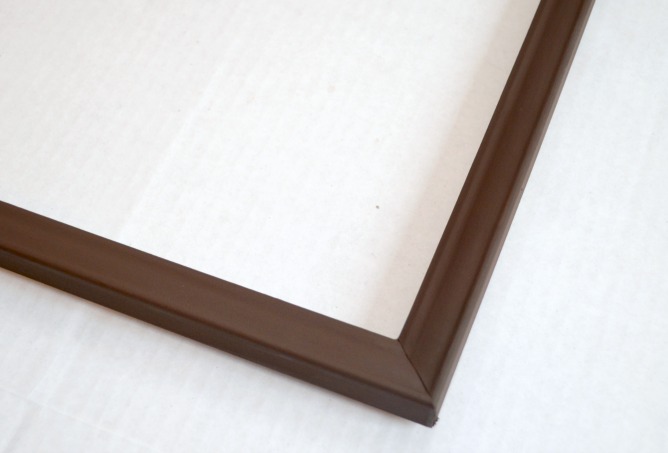
Here is the frame as it looked when I brought it home. As a side note, I exuberantly showed it to hubby, saying, “Look what I found! Less than $2!” He was not impressed. All he could see was an empty frame. But I saw more!
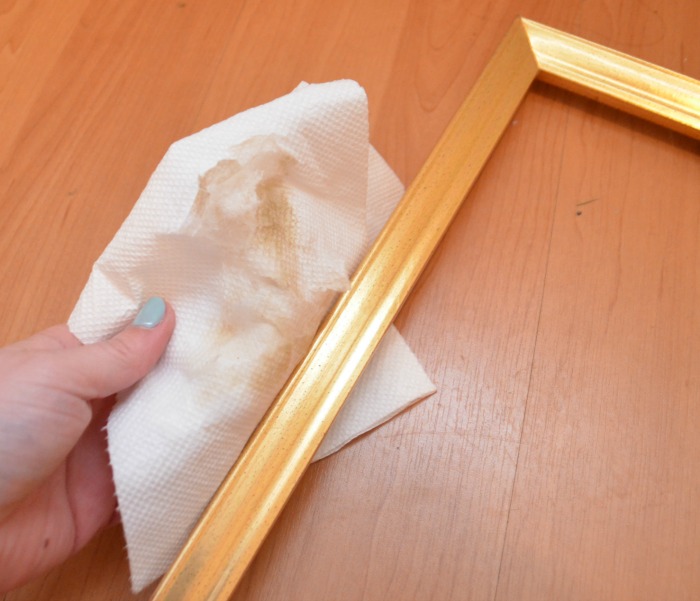
Step 1 was to clean that dirty sucker! Yuck-o! One of my favorite things about the Folk Art Chalk products is that they require virtually no surface prep…just wipe and paint…which is perfect for impatient crafters like me. No sanding or priming or anything else that takes up a ton of time. Just get the dirt off and then you can do the fun part.
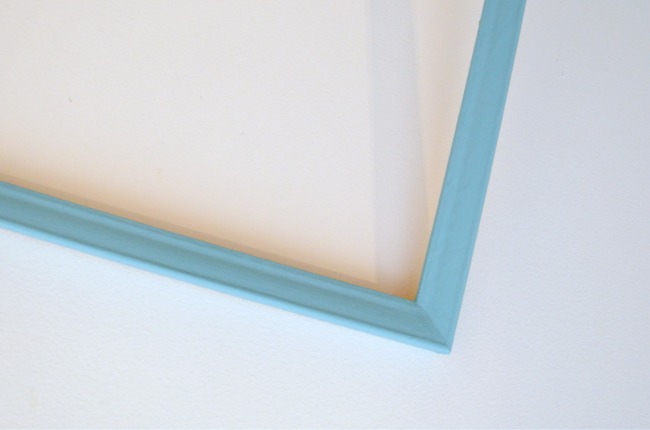
Step 2: Apply a coat of Folk Art Chalk in Java. Let it dry, then add a second coat. The paints dry in a matter of minutes, so I was able to do two coats really quickly.
Step 3: Paint two coats of Folk Art Chalk in Cascade over top. These paints are perfect for layering so that you can sand them and get the perfect distressed look and feel. {Even if you do have to explain to the hubby why on earth you’re sanding off the paint you just applied}…
Of course, Java and Cascade just happen to be the colors I chose to use because they match my decór and are some of my personal favorites. But you’re not limited to what I chose…this line of paints is available in 16 colors, plus the clear and antique wax. You can find them at your local JoAnn Fabric & Craft Store or online and choose your own favorites.

Anyway, moving on…
Step 4: Once the paint is completely dry, use a medium grit sand paper to lightly distress it. For the best results, go along the edges in places where paint would naturally start to come off over time to give an authentic aged look.

Step 5: Apply clear wax using a soft cloth. Buff until you get your desired finish. That’s all there is to transforming the frame itself! It looks like a totally different piece, doesn’t it?
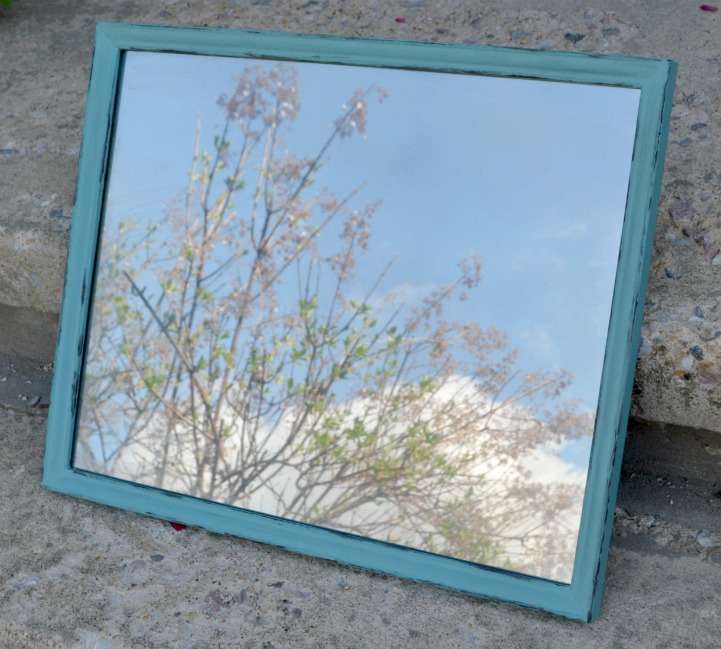
Now we have to talk about that mirror. When I bought the frame, one of the first things I noticed was that it was not a standard size, which meant it would be almost impossible to find another piece of art or a photo to fit nicely inside. I didn’t want to spend a fortune on a custom mat either. So, I decided that instead, I’d turn it into something else, a mirror. To achieve that, I used Krylon Looking Glass Mirror-Like Spray. First, I cleaned the glass, then I sprayed several light coats of the Looking Glass Spray, following the directions on the can. Once I was pleased with the finish, I sprayed it with a light coat of Clear Sealer. When everything was dry, I reassembled the frame, and voilá! A new old mirror!
As a side note, do you have any idea how hard it is to get good photographs of a mirror?! Try it…you’ll see! Sometimes you just end up giving up and taking a fancy selfie… {seriously, how cool is it that this used to be a regular old piece of glass?!}
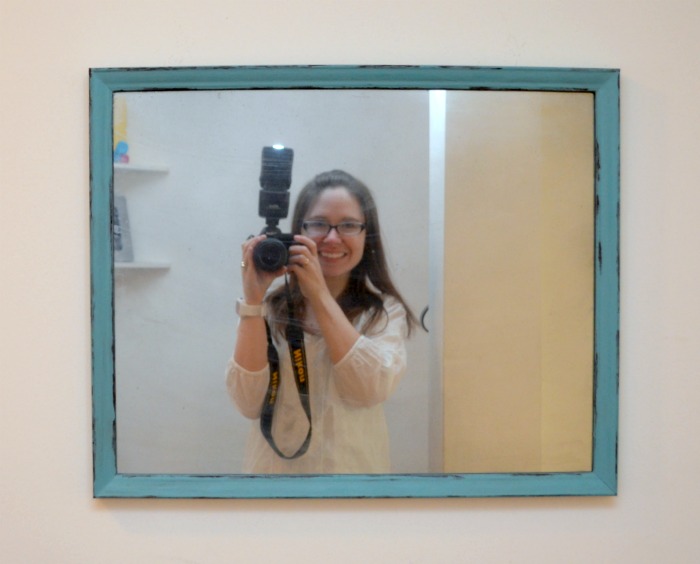
Isn’t it a far cry from what I originally brought home from Goodwill? I’d say that was $2 well spent! Now, it hangs in my foyer, and it’s actually quite helpful having a mirror right there by the door so I can do a last minute, “Is there anything in my teeth” check before I head out! It was super easy to do too, and people are shocked when I tell them it’s just a redone photo frame.
 What about you? What kind of repurposed decór does your home need? The makers of FolkArt are hosting a Pinterest Contest over on the Plaid Facebook Page, and they want you to show them what inspires you to restore your decór. The contest runs from May 14 – June 3, 2014, and you have a chance to win $250 plus a complete collection of the new FolkArt® Home Decor™ Chalk paint, valued at $150!
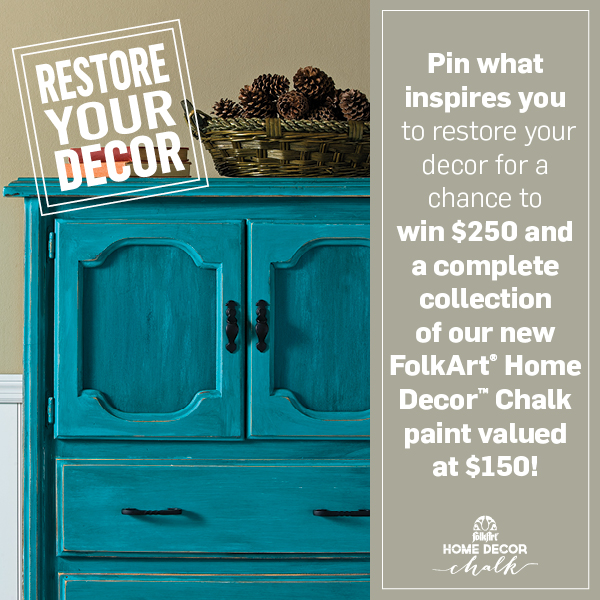
So, what are you waiting for? Hop on over and start pinning!
For more ideas, inspiration, and crafty news, check out Plaid’s:
blog // newsletter // Facebook // Twitter // Pinterest // Instagram // YouTube // Google+

Love it! I’ll be thinking all day about where I can put another mirror!
How pretty! Great way to upcycle pieces!
I absolutely LOVE your new mirror…you did a great job! 😀
Nice!! My mom is redoing her living room in “shabby chic” so this is an awesome idea for her!!
That is pretty darn awesome! I am most intrigued that you can spray on a mirror! I had no idea something like a spray can was even available! Good job on the mirror and thanks for educating me! 😀
Fun! I love chalk paint, and those colours are fabulous!
Very cool!! Love that chalk paint!!
Love how this turned out. I think I would chalk paint my entire house if I could. 🙂
Love it!! I want to try the Folkart wax. The mirror turned out fabulous!!
It turned out great! I love chalk paint!!