DIY Beach Bag with Dye Resist Technique
Are you a beach lover like me? I’ve got just the project for you as you get ready to hit the sand and surf this summer! Take a look…

TIME REQUIRED: 40 minutes plus drying time
SKILL LEVEL: beginner
SPECIAL TOOLS/SKILLS: none
– white bag
– Elmer’s School Glue Blue Gel
– newspaper
– RIT Liquid Dye
– salt
– old towel or sheet
– large bucket or basin
– measuring cup
– hot water
– gloves
– wooden spoon or stick

*Before I start the tutorial, I just wanted to say that the Rit Studio has a great tutorial for this “Sink or Bucket” method of dyeing on their site, which I followed. You will want to check that out too because it will answer your questions and fill in any info I may have left out!*
Step 1: Place newspaper inside your bag. This keeps the glue from going through to the other side or gluing the bag together.

Step 2: Use the gel to create whatever design you want! You can faintly see mine; two sets of waves and the words, “Sun. Sand. Sea.” This is a fun step to let little crafters help with too! They can make anything they like! Then, let it dry completely.

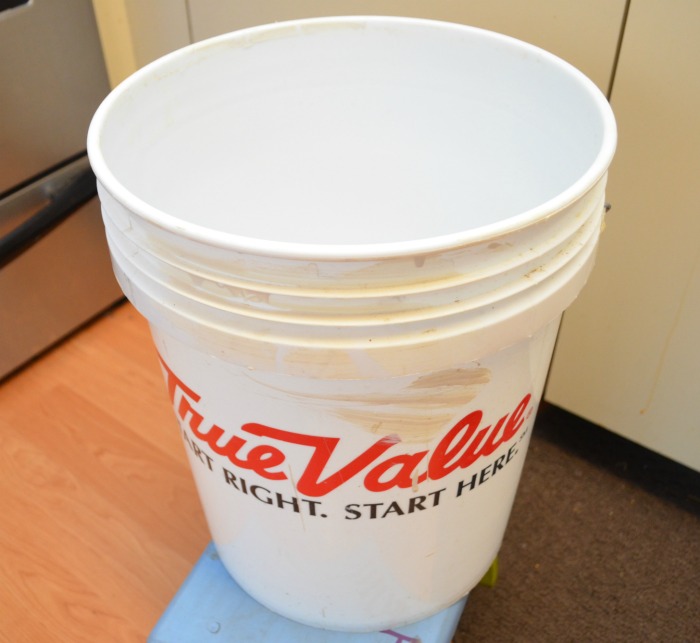
Step 3: Prepare for dyeing your bag! You will need a large bucket filled with very hot water. Naturally, I decided to do this project when hubby was out of town on a business trip, so I just rummaged around in the laundry room and found two of these giant plastic buckets from our local hardware store. I have no idea why he had them or what he intends to do with them, but I figure he can do it just as well if one of them is dyed blue, right?
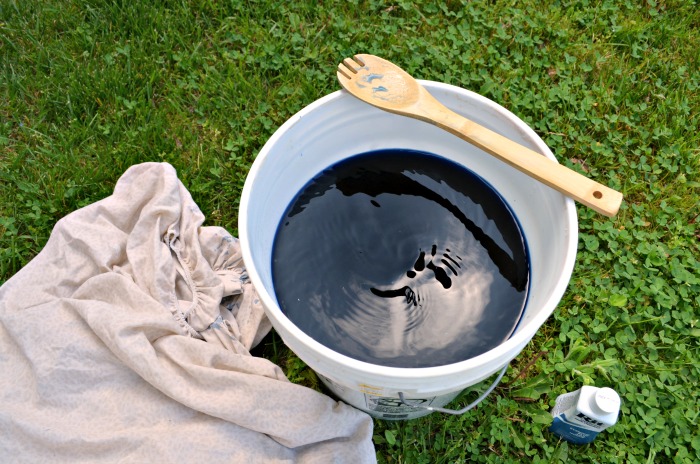
I decided to do my dyeing outdoors, just in case. It was a beautiful and unseasonably hot day, and that way I didn’t have to worry about potential mishaps that would require me to explain to my husband why our floor and/or carpet was now blue…

Step 4: Add your liquid dye to the hot water and stir it around. I had a wooden utensil that I rarely use, so I decided to use that. You could also get a paint stirrer or something else to do the job. I used about half the bottle of dye; you can use more or less depending on the color you want.
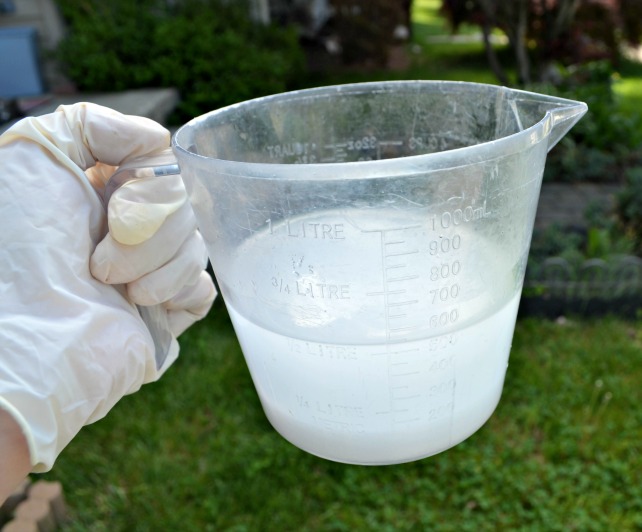
Step 5: Dissolve 1 cup of salt in 2 cups of hot water and add to dye mixture. This helps ensure even, vibrant color distribution.
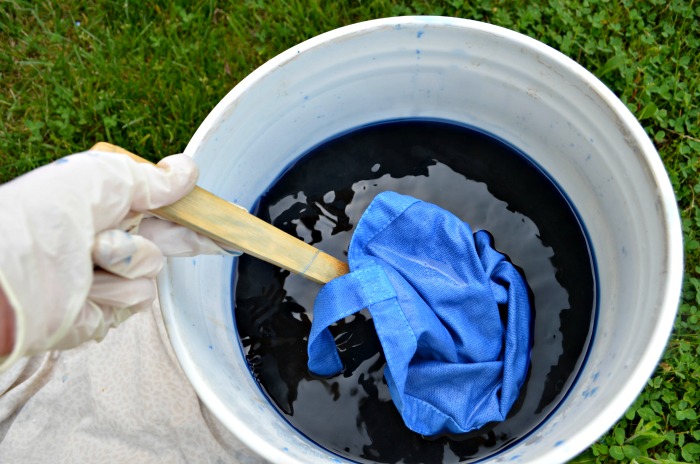
Step 6: Wet your bag with warm water, then add it to the dye bath. Stir it continuously, moving it up and down and from side to side for approximately ten minutes.
P.S. Ten minutes is a looong time to stir something continuously. You may feel something like this when you check the timer and realize you still have six minutes to go.

Step 7: Remove your bag from the dye bath. The color at this point will be darker than it will be after drying. Wring out the excess dye. Then, rinse it off with warm water, then progressively cooler water until there’s no more dye coming off and the water is clear. Let your bag dry completely.

Step 8: Wash your bag to get off any excess glue gel. It’s a good idea to wash it separately or by hand the first few times, just to avoid turning anything else colors in case any more of the dye comes off.

All that’s left to do is fill it with all your beach must-haves and use it!

I have to admit that prior to doing this project, the idea of using dye terrified me. I’ve had about eight bottles and six boxes of RIT dye down on my shelf for months now, but was always too nervous to try it. But, I came, I saw, I showed that dye who’s boss! I figured the worst that could happen was that I’d end up looking like a Smurf for awhile, right? I am so excited about the way it turned out, and I’m super proud of myself. The resist technique worked perfectly using the Elmer’s glue gel, and I think it’s a neat effect! I’m already brainstorming about ways we could do this on t-shirts and other surfaces.

Pretty awesome, huh? What do you think? What design would you put on your bag?


That is so cool! great new bag!
If you wash it in the future, you probably will want to do it separately. I also use the Shout color catchers whenever I am washing something that I’ve dyed. Your project turned out very cute.
Wow, your bag turned out so well! I’ve used Elmer’s for a similar project and I love how it works for ‘Batiking’!
Very cool, I love how your bag turned out! I’ve always been nervous to try dye too, but it doesn’t seem that bad. And I didn’t even know that Elmer’s glue gel existed!
Yay! You dyed!! 🙂 Your bag turned out super cute! Isn’t the elmer’s glue thing pretty awesome:) I tried it last week and love how my project turned out!
Cute bag and cute idea!
Thanks, KC!!
That was my first thought when I was watching this technique … oh tee shirts, how cute would that be ! Have you done any tee shirts yet using this technique ? We want to see it when you do. I love the beach bag too, it turned out so cute !
No, I haven’t yet, but I totally plan to! I think my son would love helping me with that!
What a great technique!! I never would have thought of that!
I love how it turned out…you did a great job!!!
Looks so beachy…
I love the wave design and I’m super jealous of your teacher handwriting.
I love it – I’m personally a big fan of Smurf blue 😀
I love how this turned out Amy! Glue! What a great idea!
I love this bag! Perfect for summer!
That gel glue is pretty cool! I’ve never dyed anything either, but growing up, my mom used to dye things all time. Curtains, sheets, stuff for church plays…It somehow skipped a generation 🙂
Love it! It turned out great. This technique is so fun!!
This is awesome!! I’m definitely trying this out soon 🙂
This turned out so cute! What a fun and easy idea!
Great bag! I love the waves!
So fun! I love it!!