Wooden Planter Stand
Thanks to Thompson’s® WaterSeal® for sponsoring today’s post. All opinions, as always, are honestly my own.
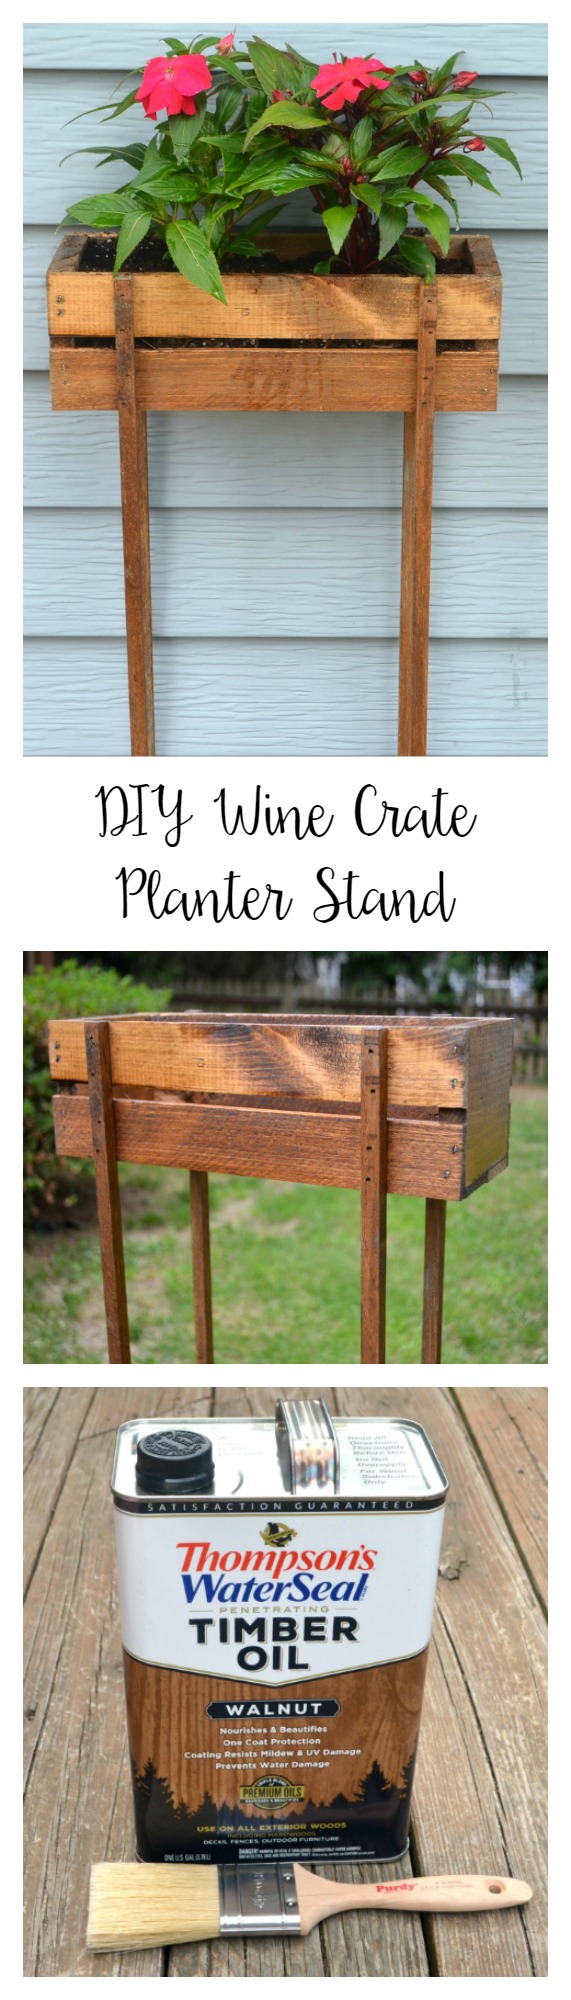
Friends, this year, I’ve been working hard on transforming our outdoor spaces and making them into beautiful spots where we love to spend time. I’ve already shared about our DIY Rose Garden, our Patio Makeover, my Outdoor Banner, and more. Today, I want to show you the latest thing I created, a planter stand made from a wine crate. Take a look at how easy it is to make your own!
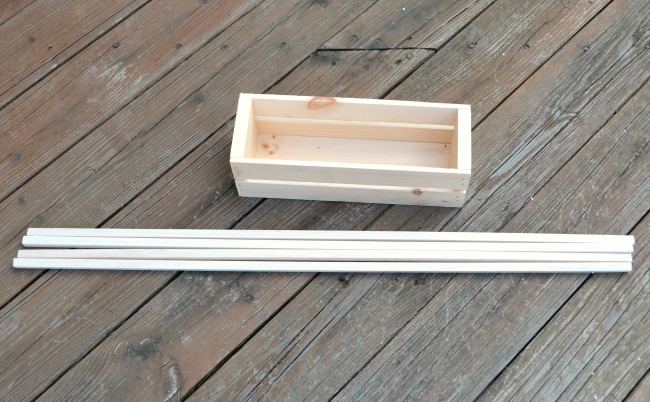
You’ll need:
an unfinished wine crate
4 – 3/4″ x 48″ pieces of wood
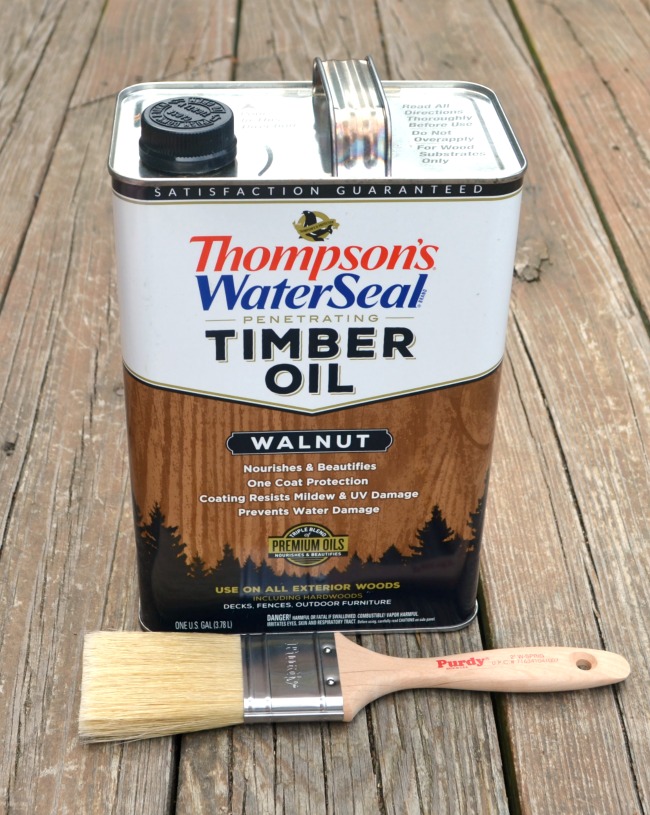
Thompson’s® WaterSeal® Penetrating Timber Oil: Walnut
hammer and nails {I used the RYOBI AirStrike}
paintbrush {mine was the Purdy White Bristle Sprig}
disposable gloves
Step 1: Sand the crate.
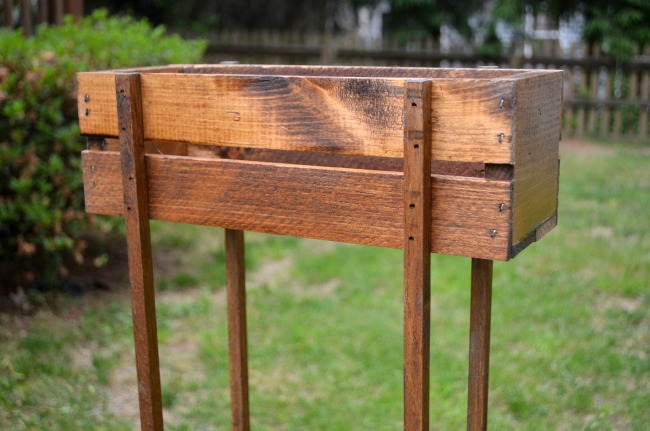
Step 2: Measure 2″ in from each side of the crate to place each of the legs.
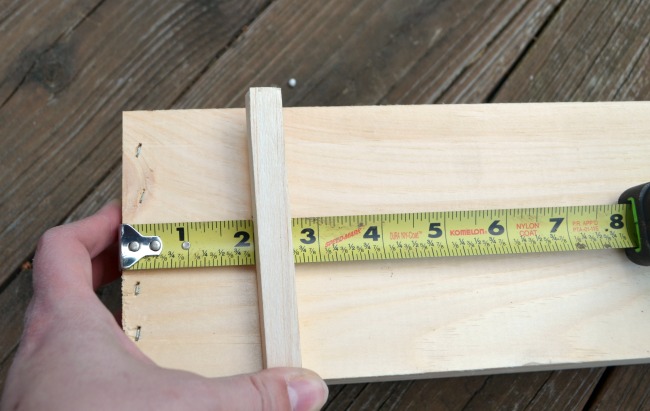
Step 3: Secure them in place using the AirStrike or hammer and nails.
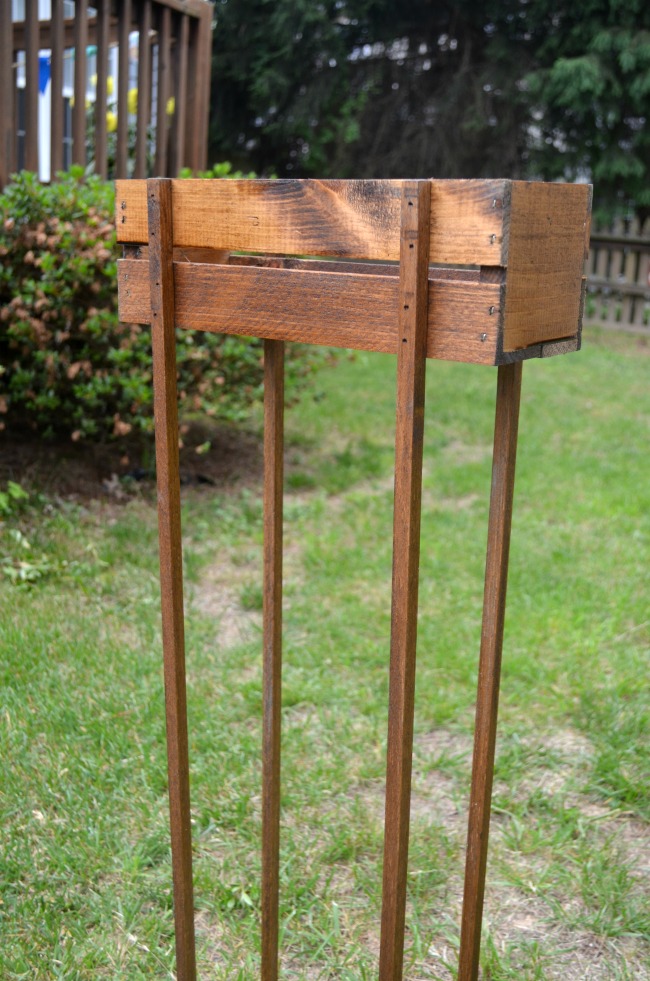
Step 4: Stain the planter.
I decided to use Thompson’s® WaterSeal® Penetrating Timber Oil because instead of having to stain and then waterproof my planter in two separate steps, Timber Oil provides both beauty and protection all in one coat. It’s designed with a triple blend of deep penetrating premium oils that protect the wood from water damage, while the coating resists mildew and UV damage. It also contains premium iron oxide pigments to provide long-lasting beautiful colors that hold up to wear and tear and minimize lap marks and color streaking.
Thompson’s® WaterSeal® Penetrating Timber Oil exceeds the industry standard for waterproofing wood, provides year-round protection, and even reduces marring and visible scratches. You can apply this oil stain with a paint pad, a brush, a compression driven sprayer, or a roller, depending on what works best for your project. For mine, the Purdy White Bristle Sprig brush was the perfect size and applied the stain so smoothly and easily!
Staining is really simple to do. Start out by putting a drop cloth down and placing your unfinished wood crate on top. Make sure you thoroughly sand it to get rid of any splinters or rough edges. Then, all you need is your choice of Thompson’s® WaterSeal® Penetrating Timber Oil, a brush, a disposable paint pan and liner, and gloves. Shake the can well, pour a small amount of Timber Oil into the paint pan, then apply it to the wood.
The secret to getting a beautiful finish is to use the Timber Oil sparingly. You’ll be surprised by how far one brush full can go. Only apply a thin coat at the rate the wood can absorb it, which is pretty quickly! Any spots that have excess product or look especially wet may end up tacky. You also want to avoid drips. Once you’ve covered every surface of your project, let it dry completely and it’s ready to use! Last year, I used Timber Oil for both my Pallet Bench and my Rustic Fall Crate, so I knew how easy it is to apply and how beautifully it holds up in all kinds of weather.
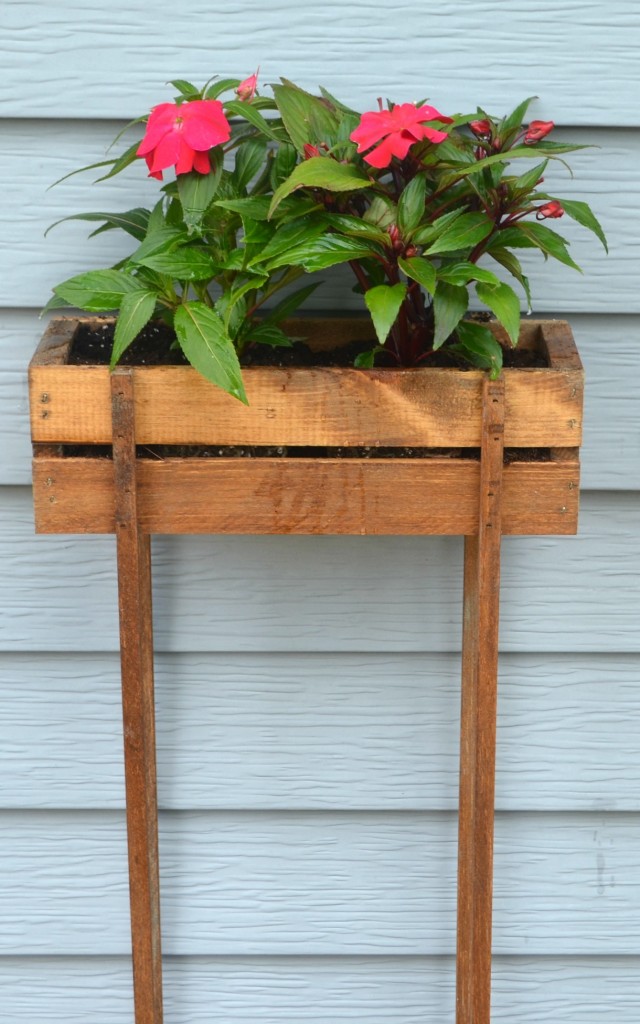
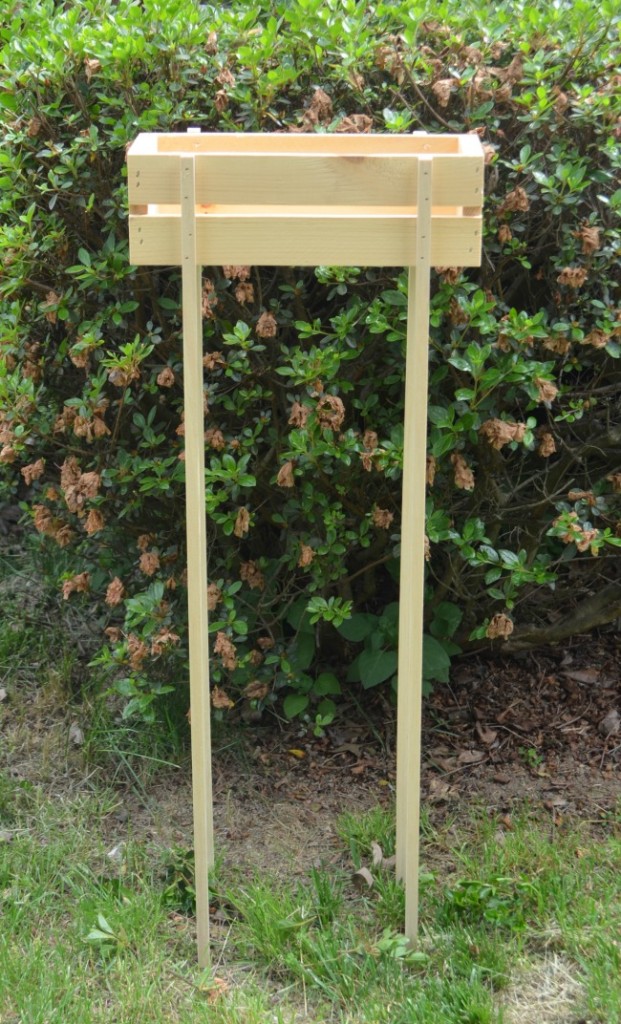
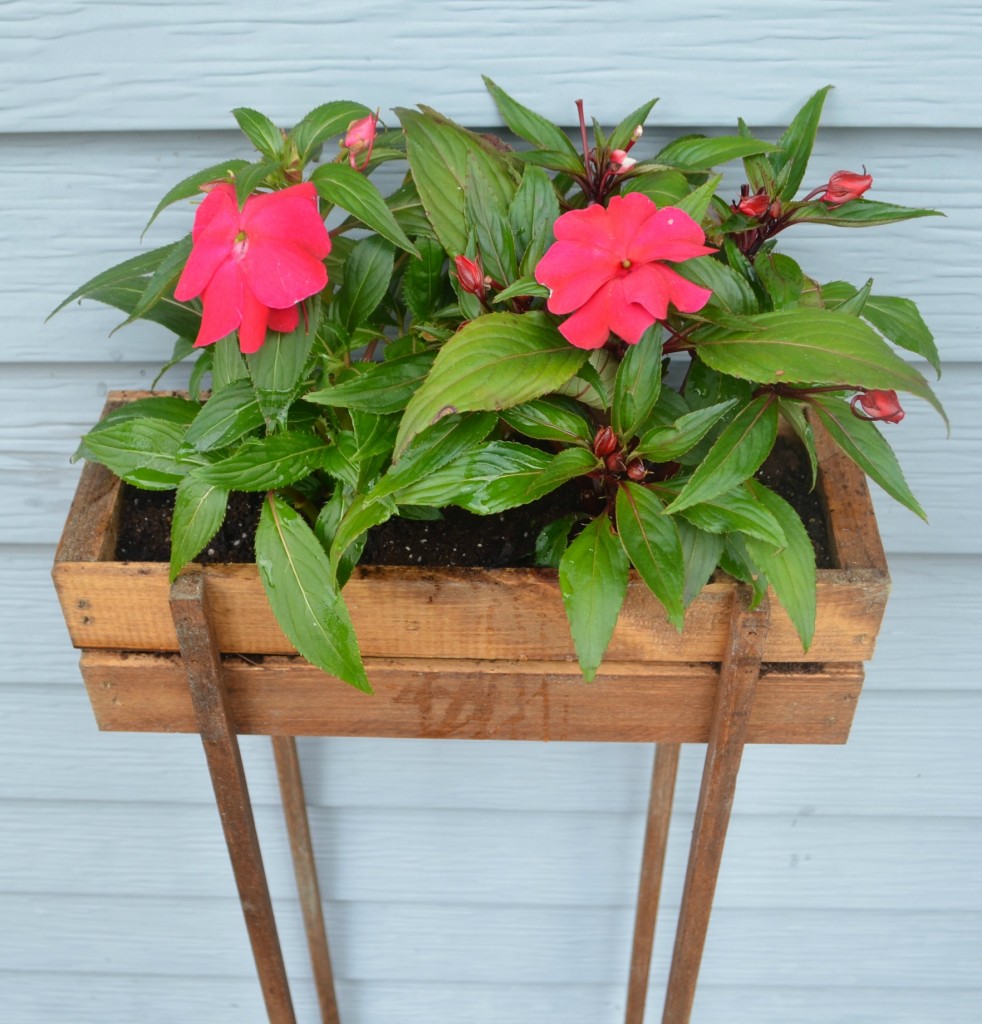
Once your planter is complete, it’s time to add flowers! Choose your favorites and plant them inside. My particular crate only has a very small gap in the bottom, so it was fine as is, but if yours has a big one, you can place another thin piece of wood on the inside to prevent your soil from falling out.
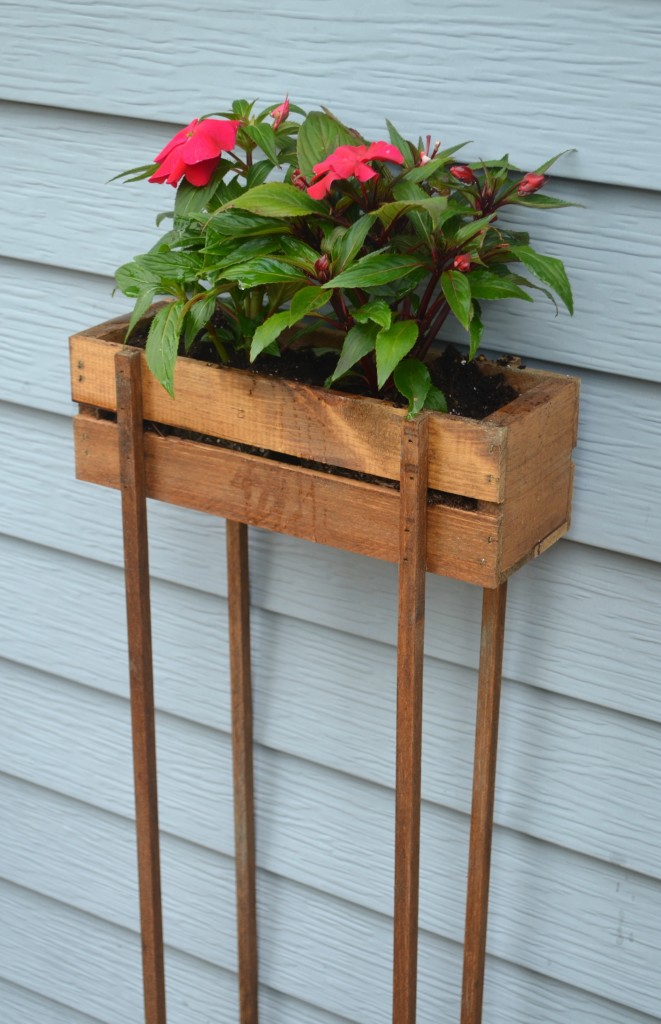
This planter design works best if you actually dig four small holes and “plant” the legs of it into the ground. If you want it to be free-standing on a porch or deck, you’ll want to attach a few pieces of wood between the legs about 2/3 of the way down to help make it a bit more sturdy.
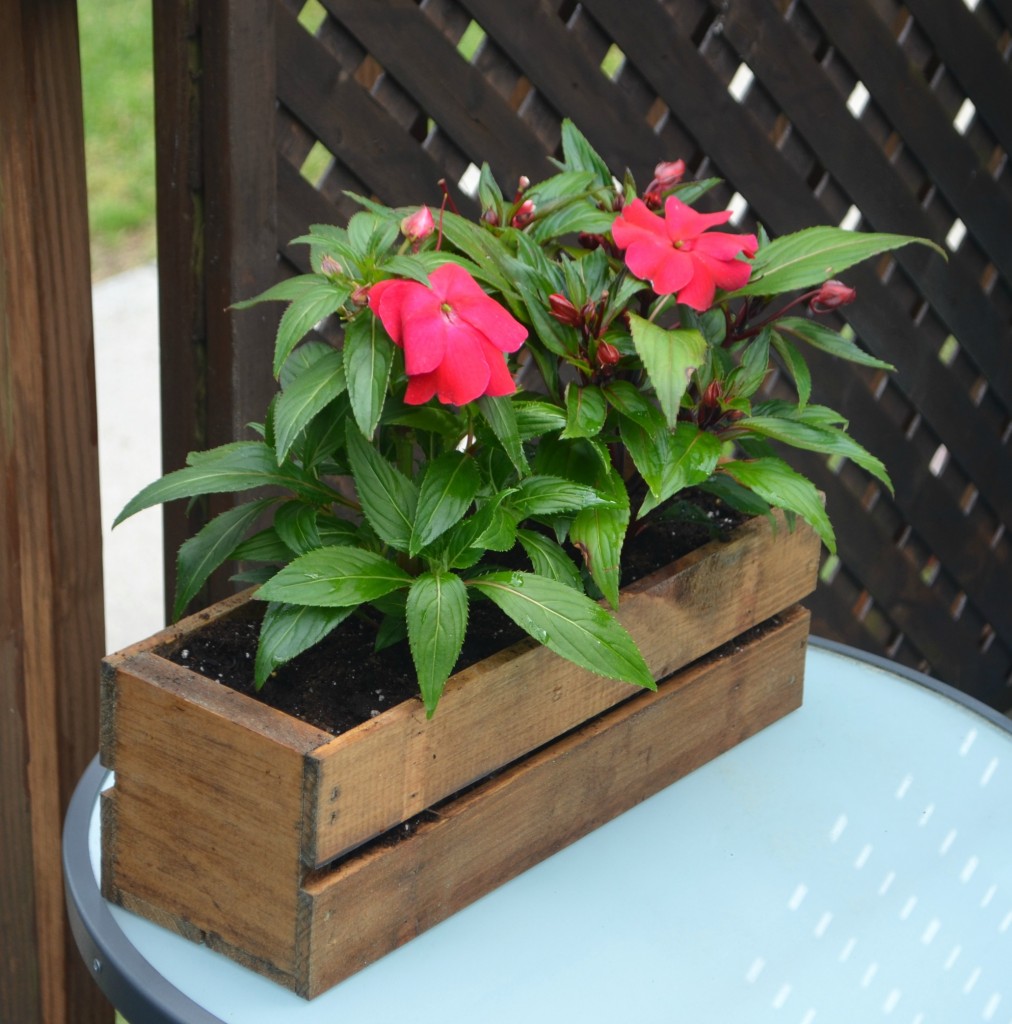
If you are looking for a planter that can sit on a table instead, simply stain your crate and don’t worry about adding anything else to it. Easy peasy!
What do you think? Is this a project you’d like to tackle this summer?


What a beautiful finish! I just used Thompson’s on a recent project – I love it!
I am kicking myself! I recently stained a planter box I made for my patio and didn’t even think about using Thompson’s Water Seal to weather proof it. Lesson learned.
Love this little project! A great way to spread some flowers around and I love how the timber oil makes the planter look!