Embossed “Shine” Sign with Hand Lettering
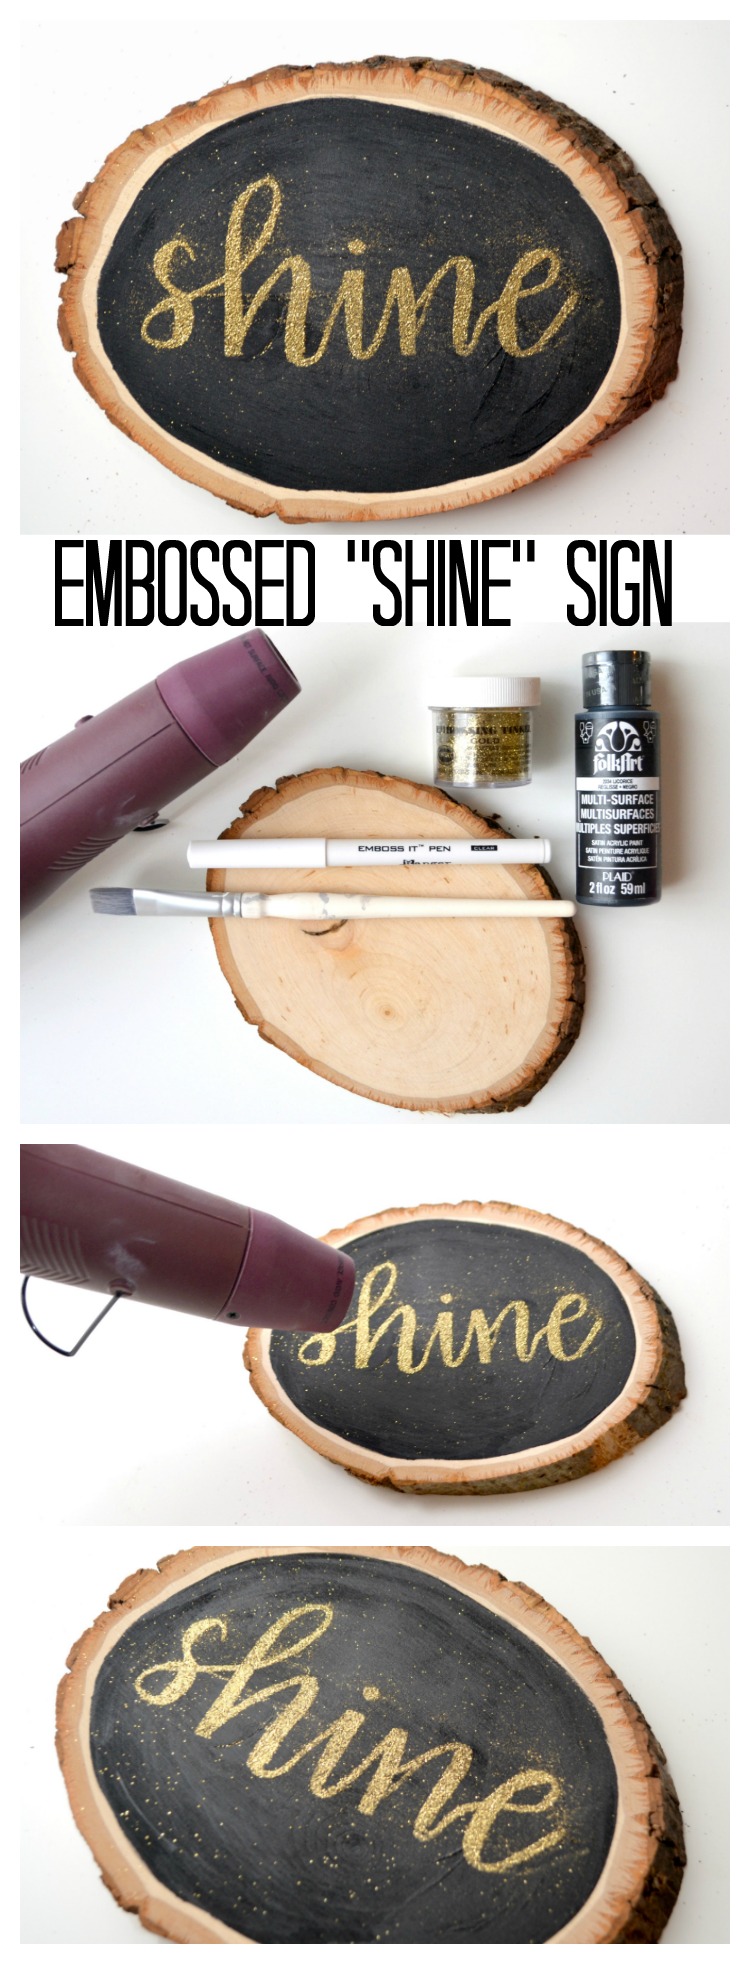
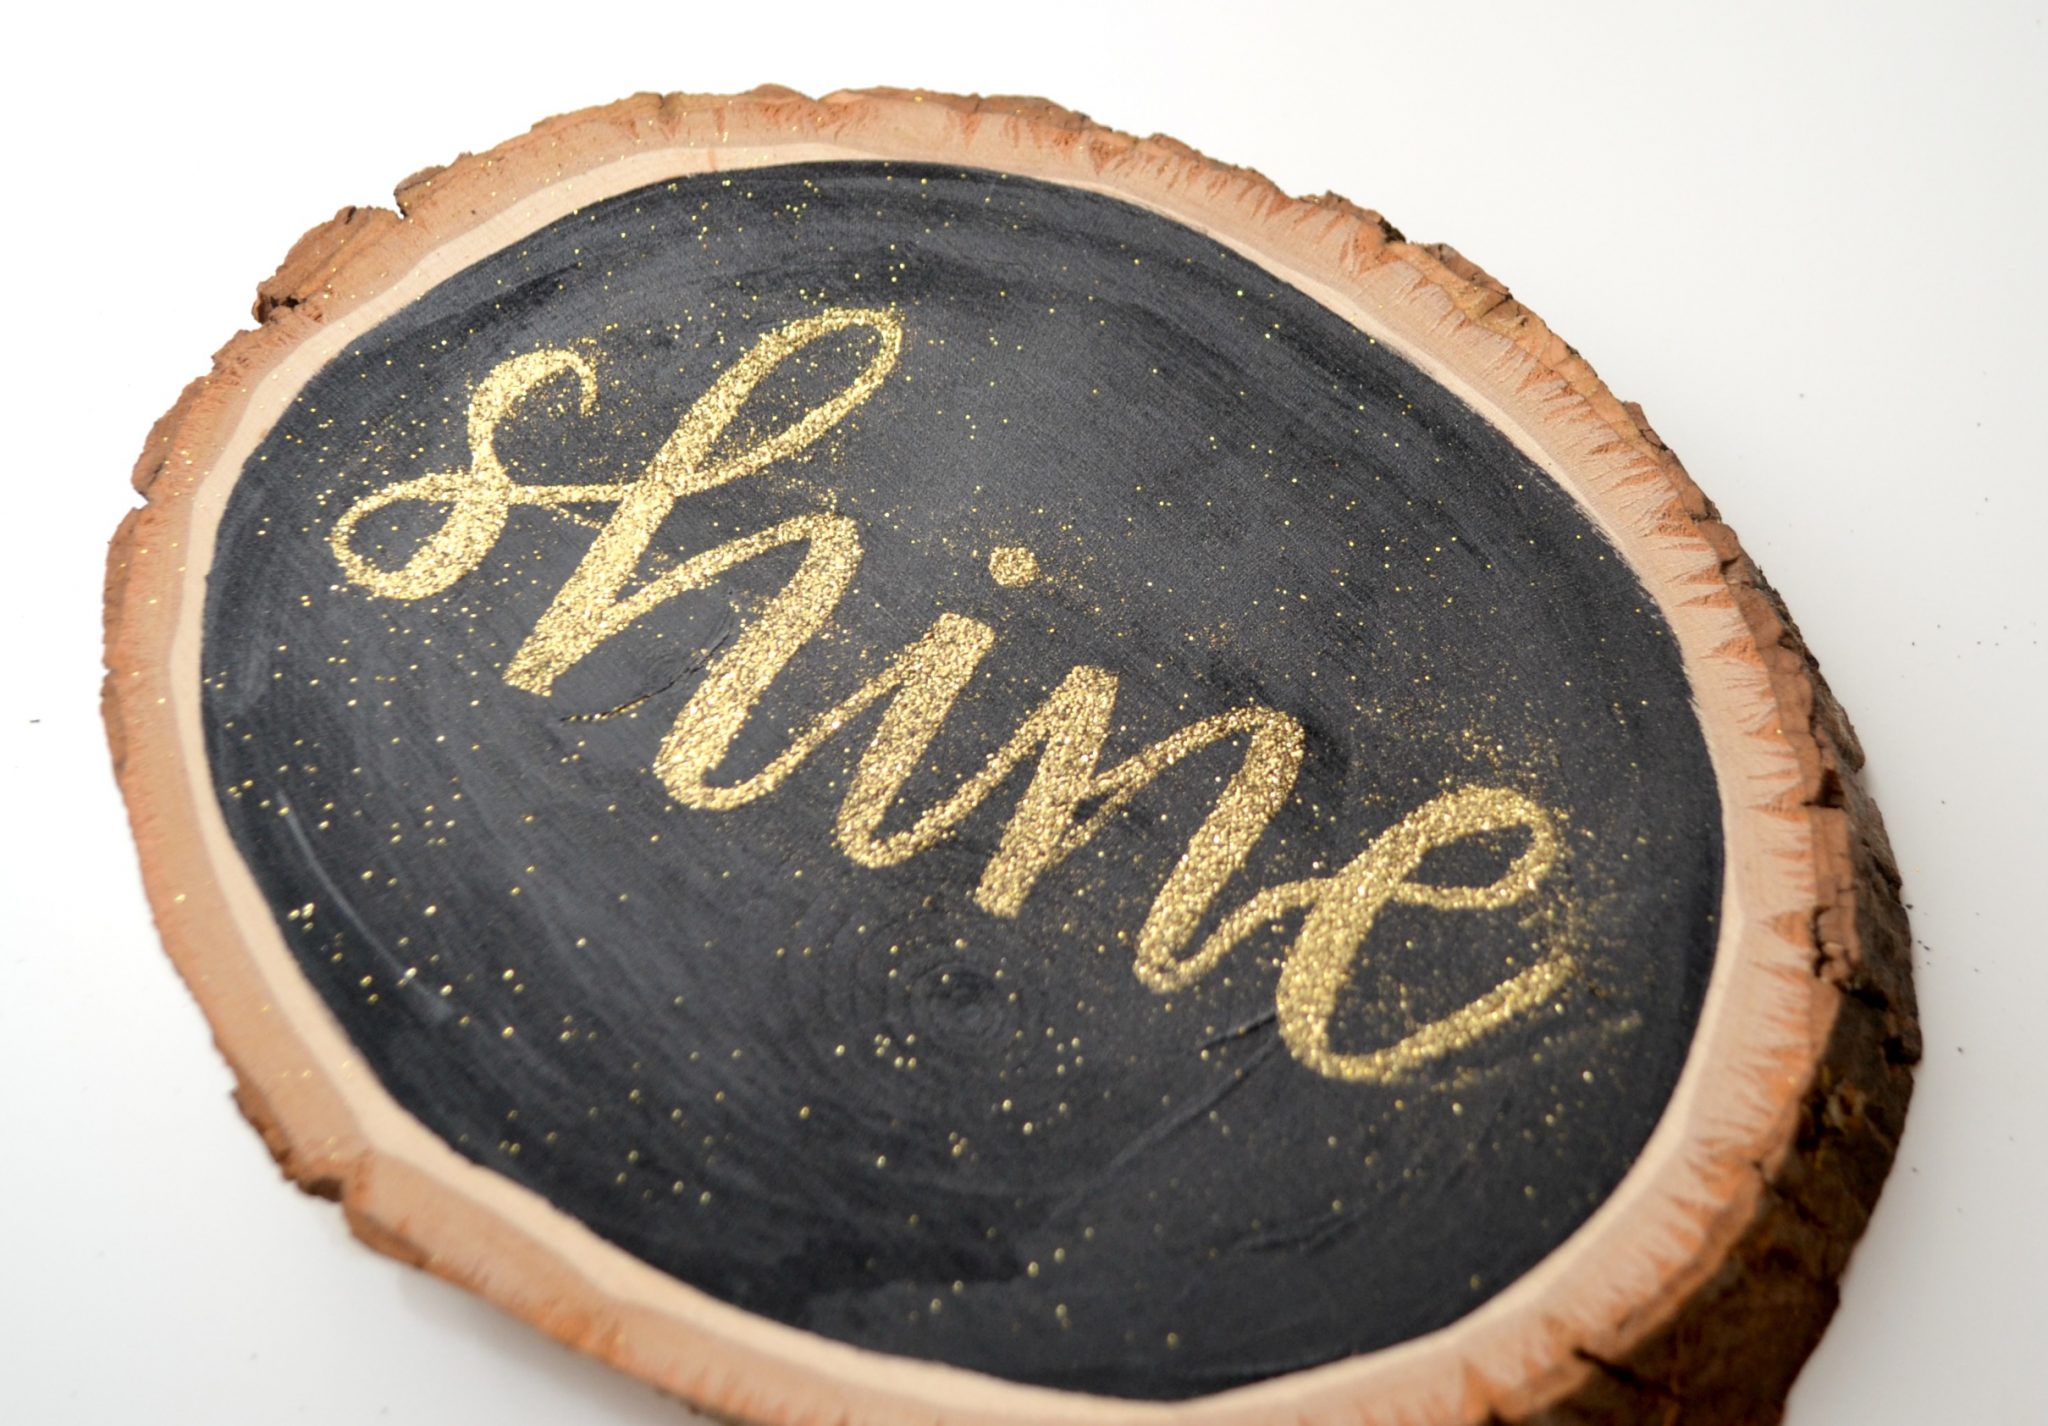
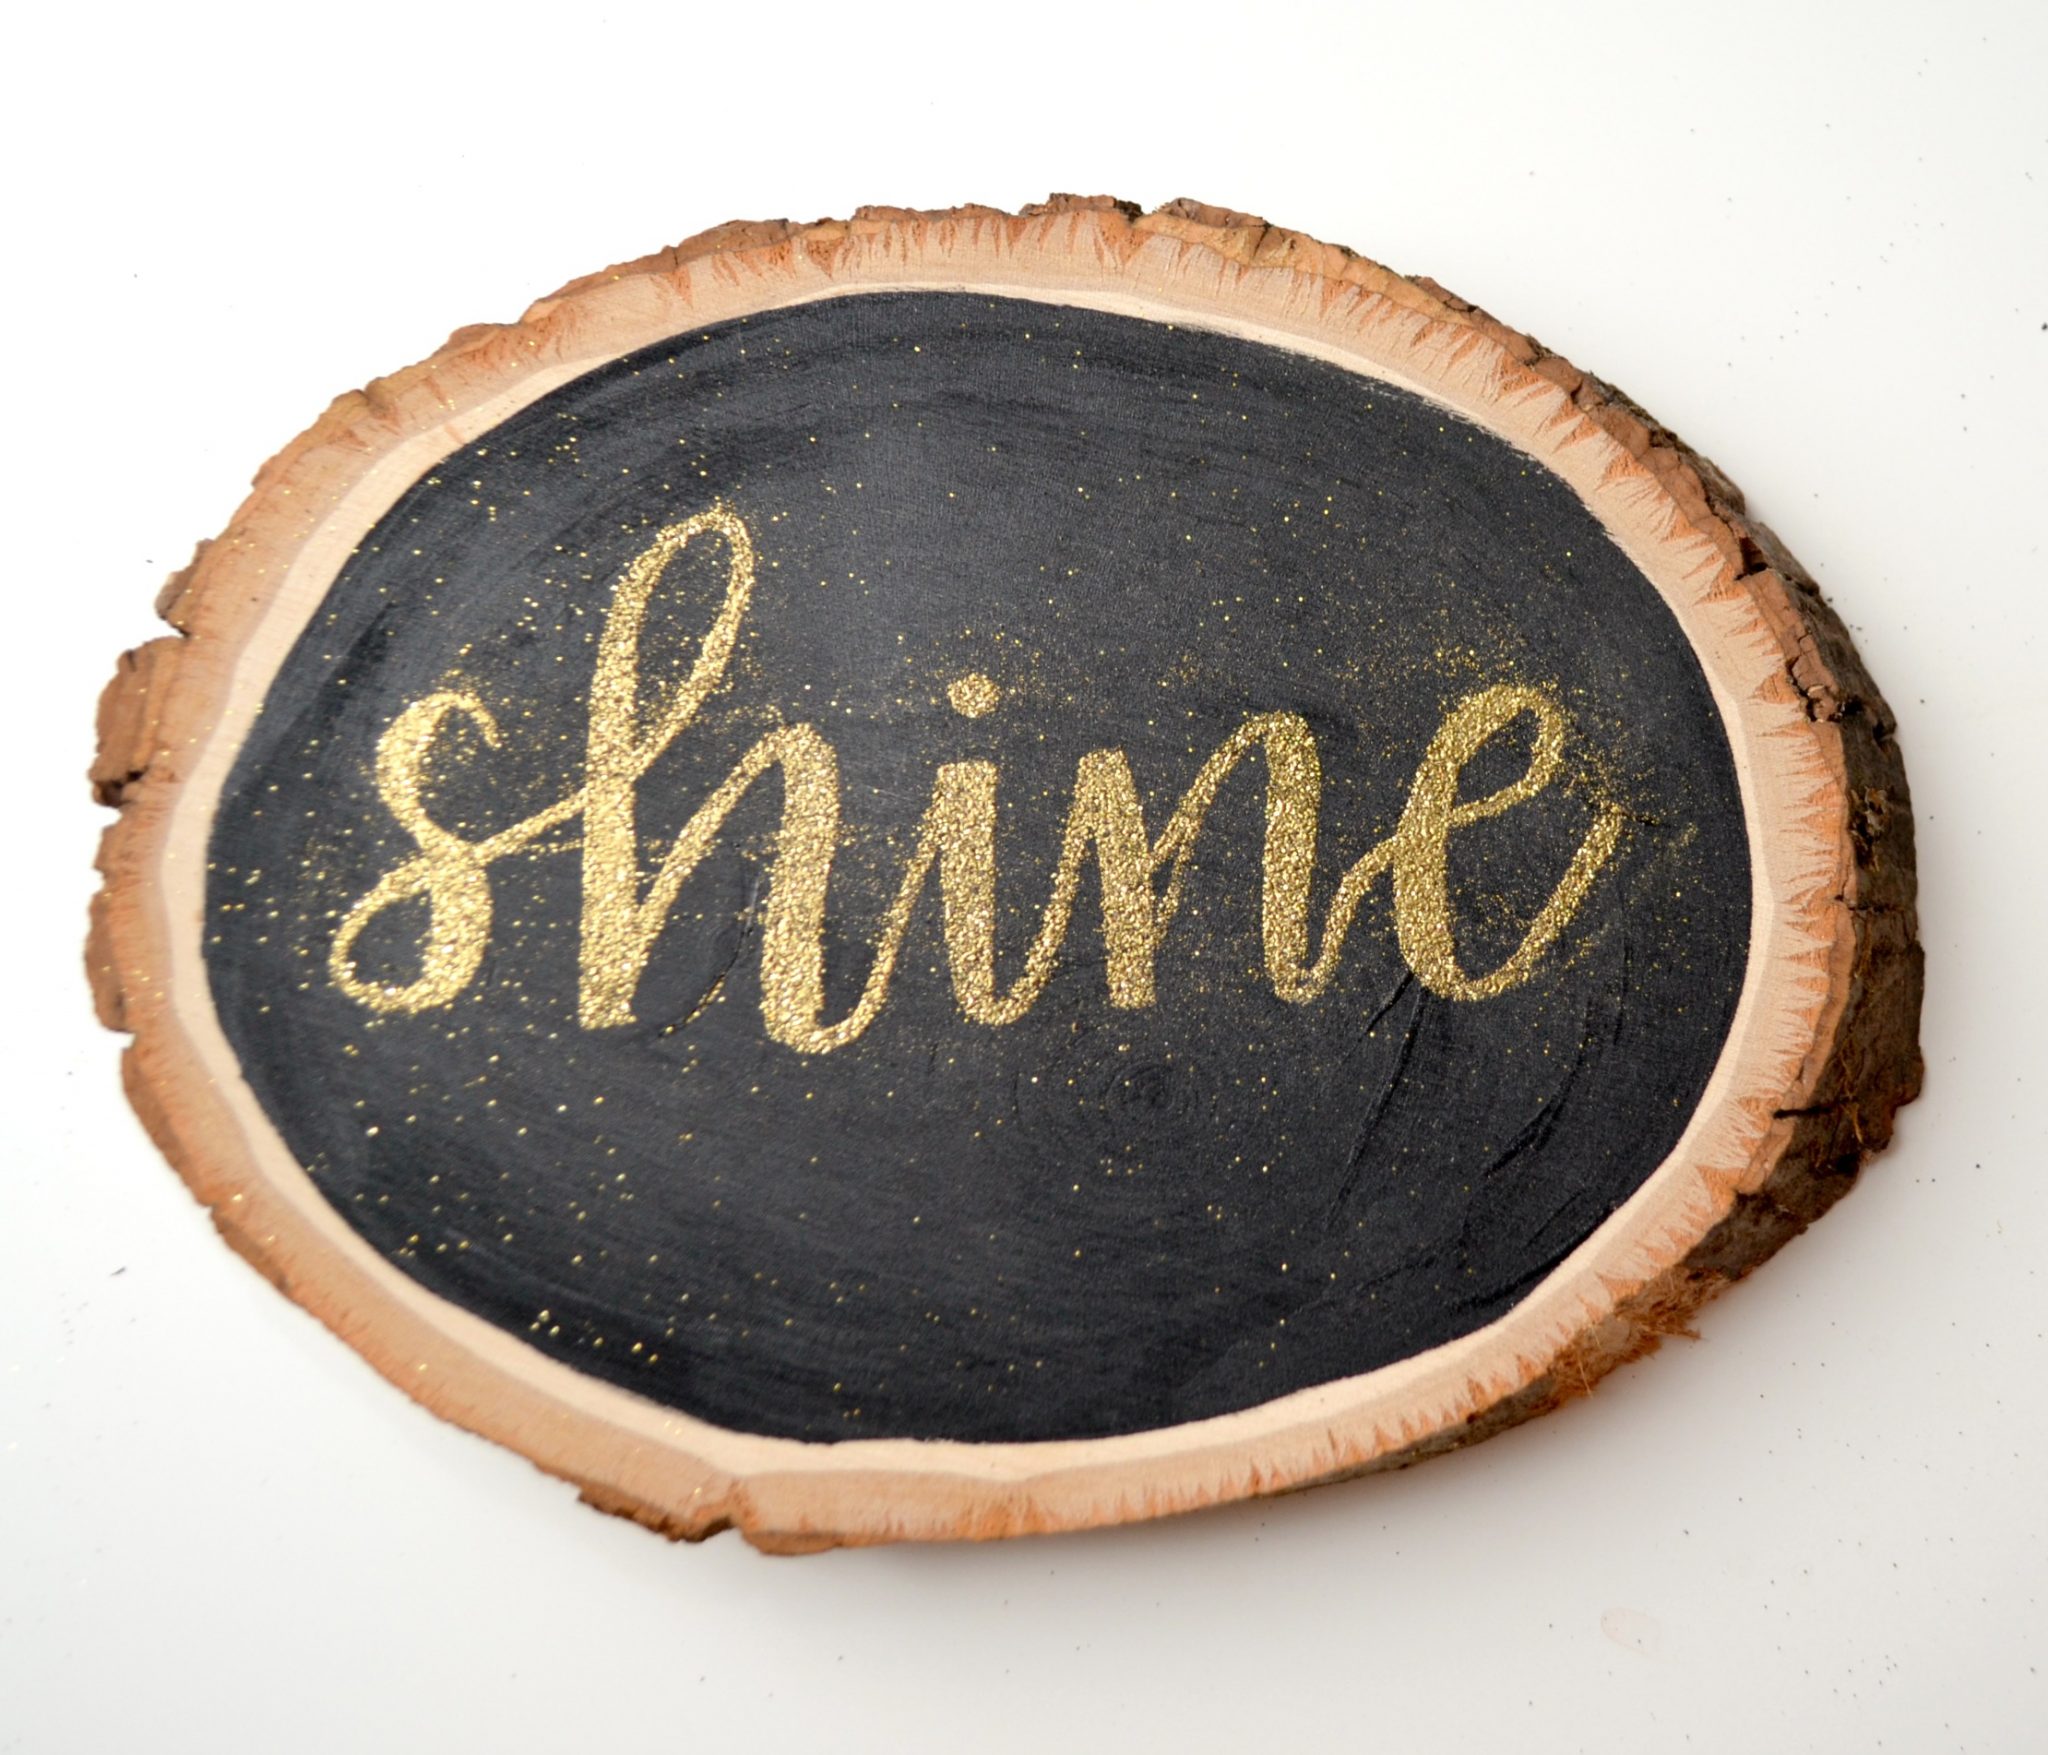
Have you been seeing all the gorgeous embossed lettering projects all over Instagram lately? I sure have, and I decided I needed to try it out for myself! I actually already owned a heat tool and embossing powder from my long ago days as a Stampin’ Up! demonstrator before Little Crafter was born, so all I needed was a pen to test out this fun lettering technique. Here is the first project I created, and it was so easy to do…take a look.
Embossed “Shine” Sign
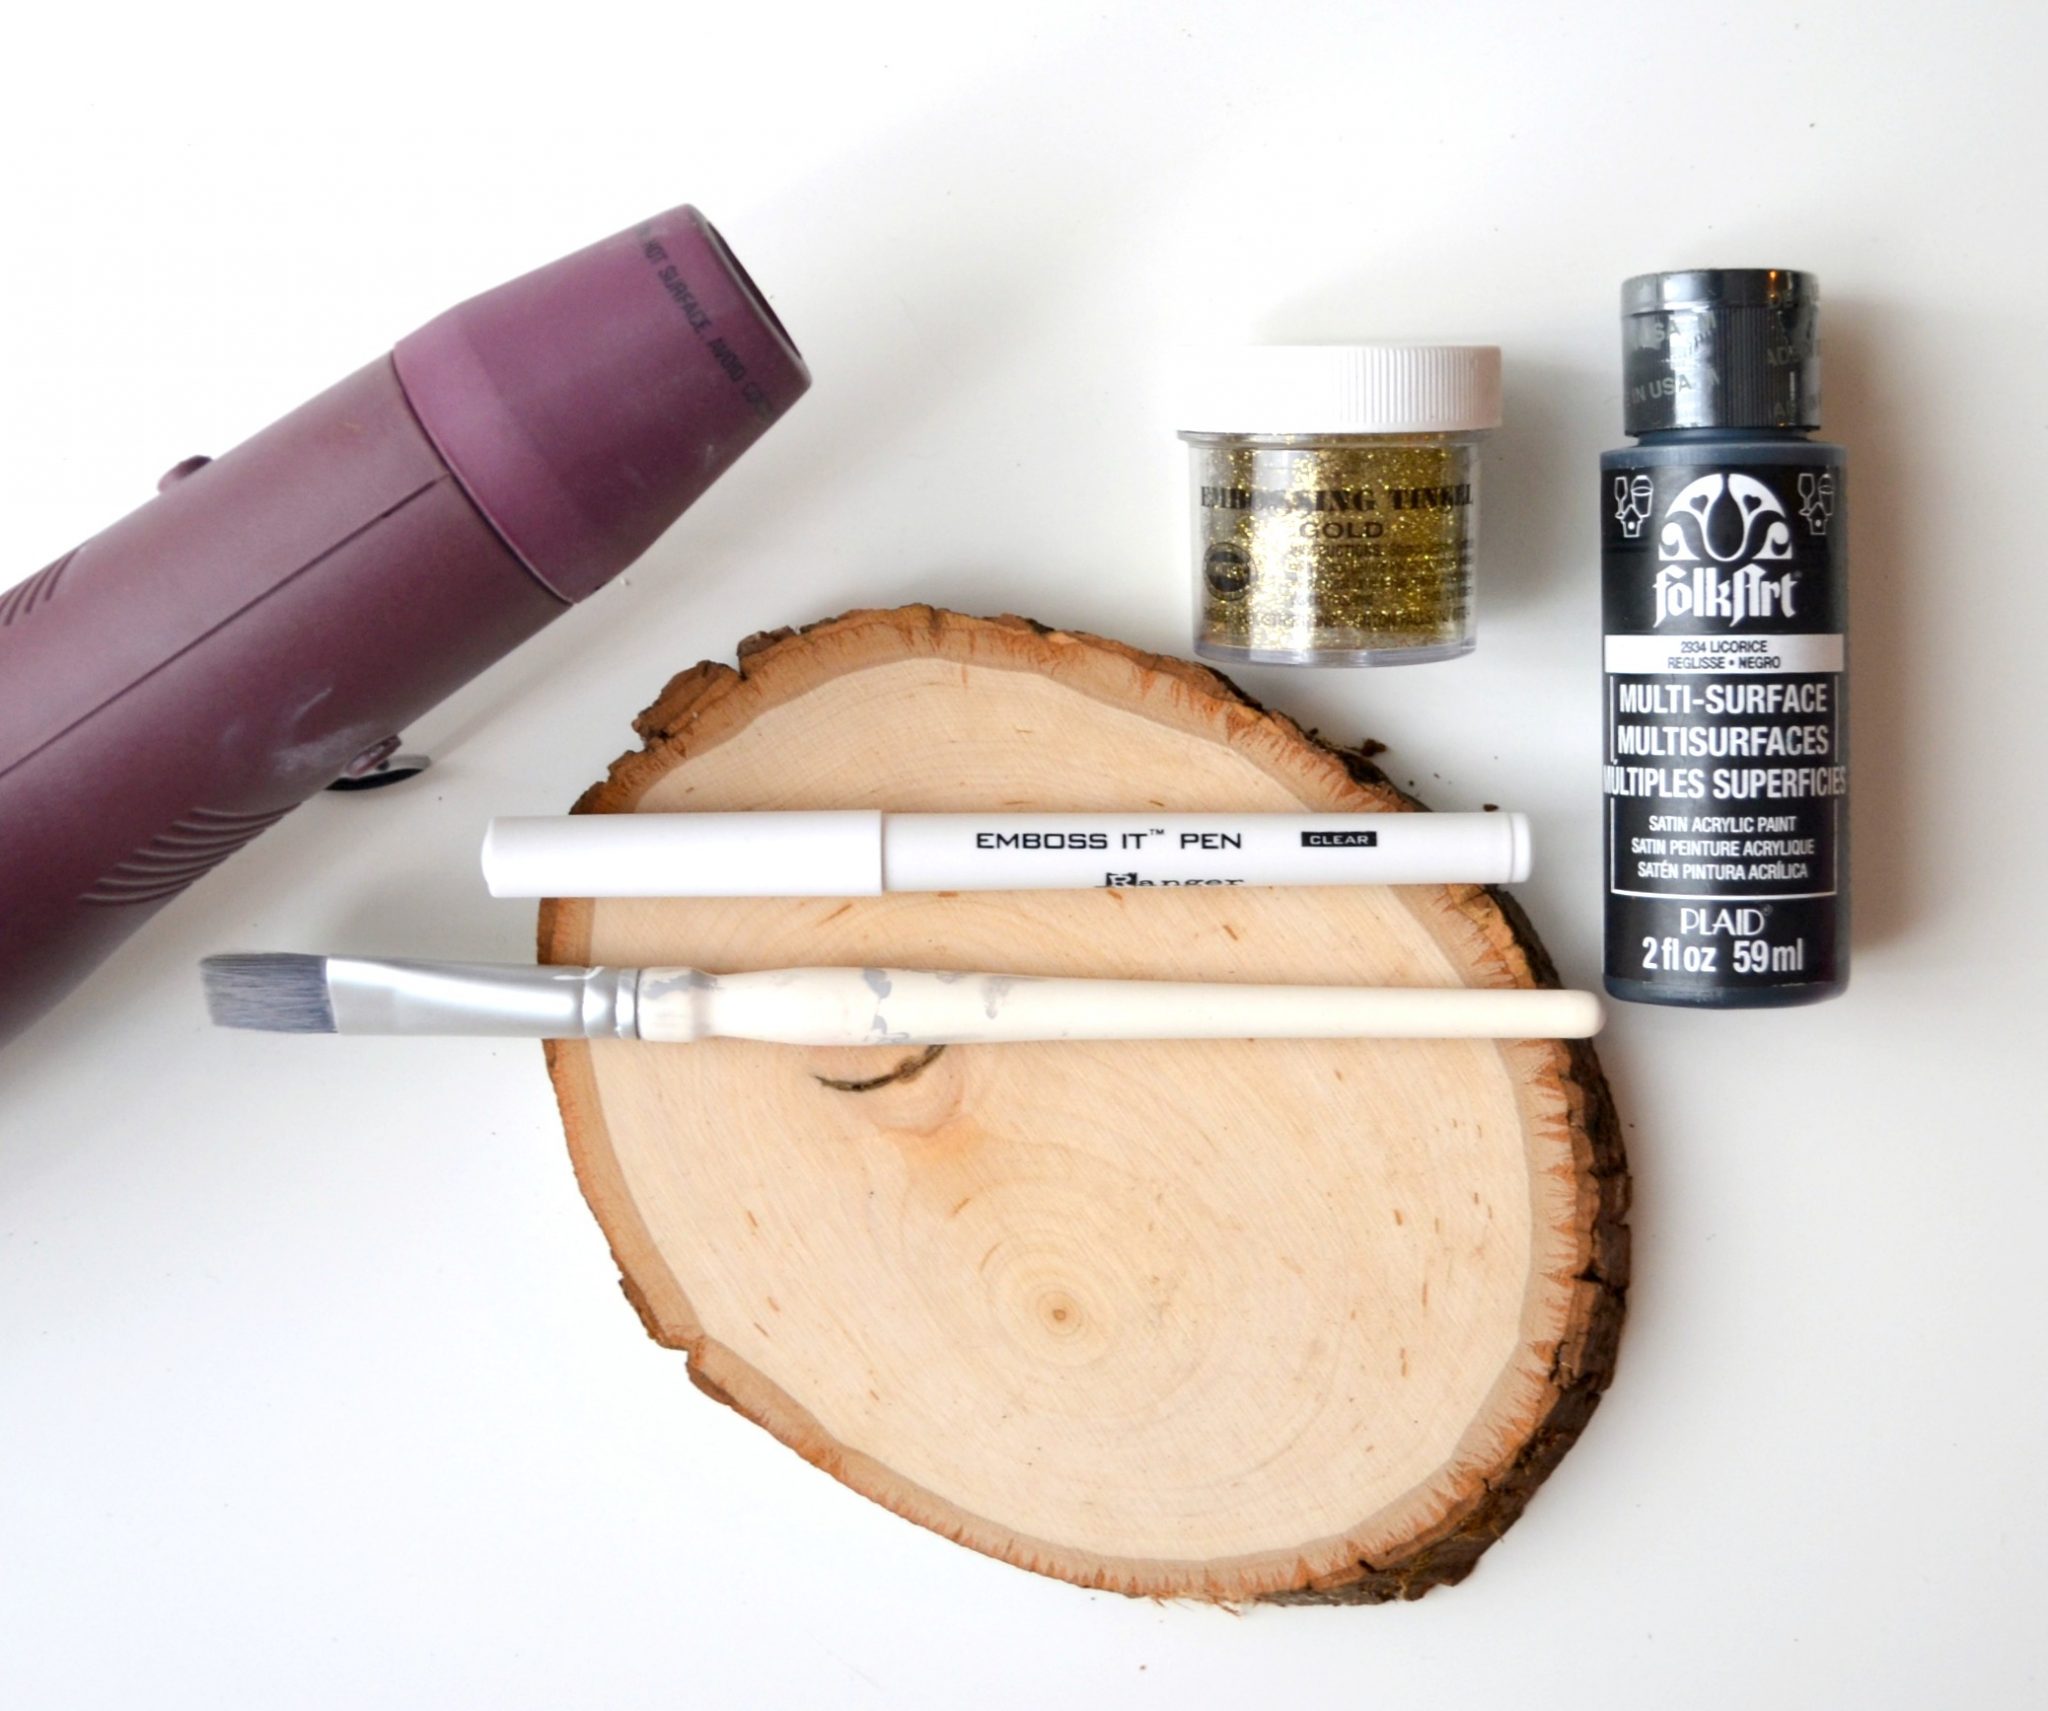
You’ll need:
Basswood Round
FolkArt Multi-Surface Paint: Licorice
Paintbrush
Ranger Emboss It Pen: Clear
Gold Embossing Powder
Heat Tool
The Process:
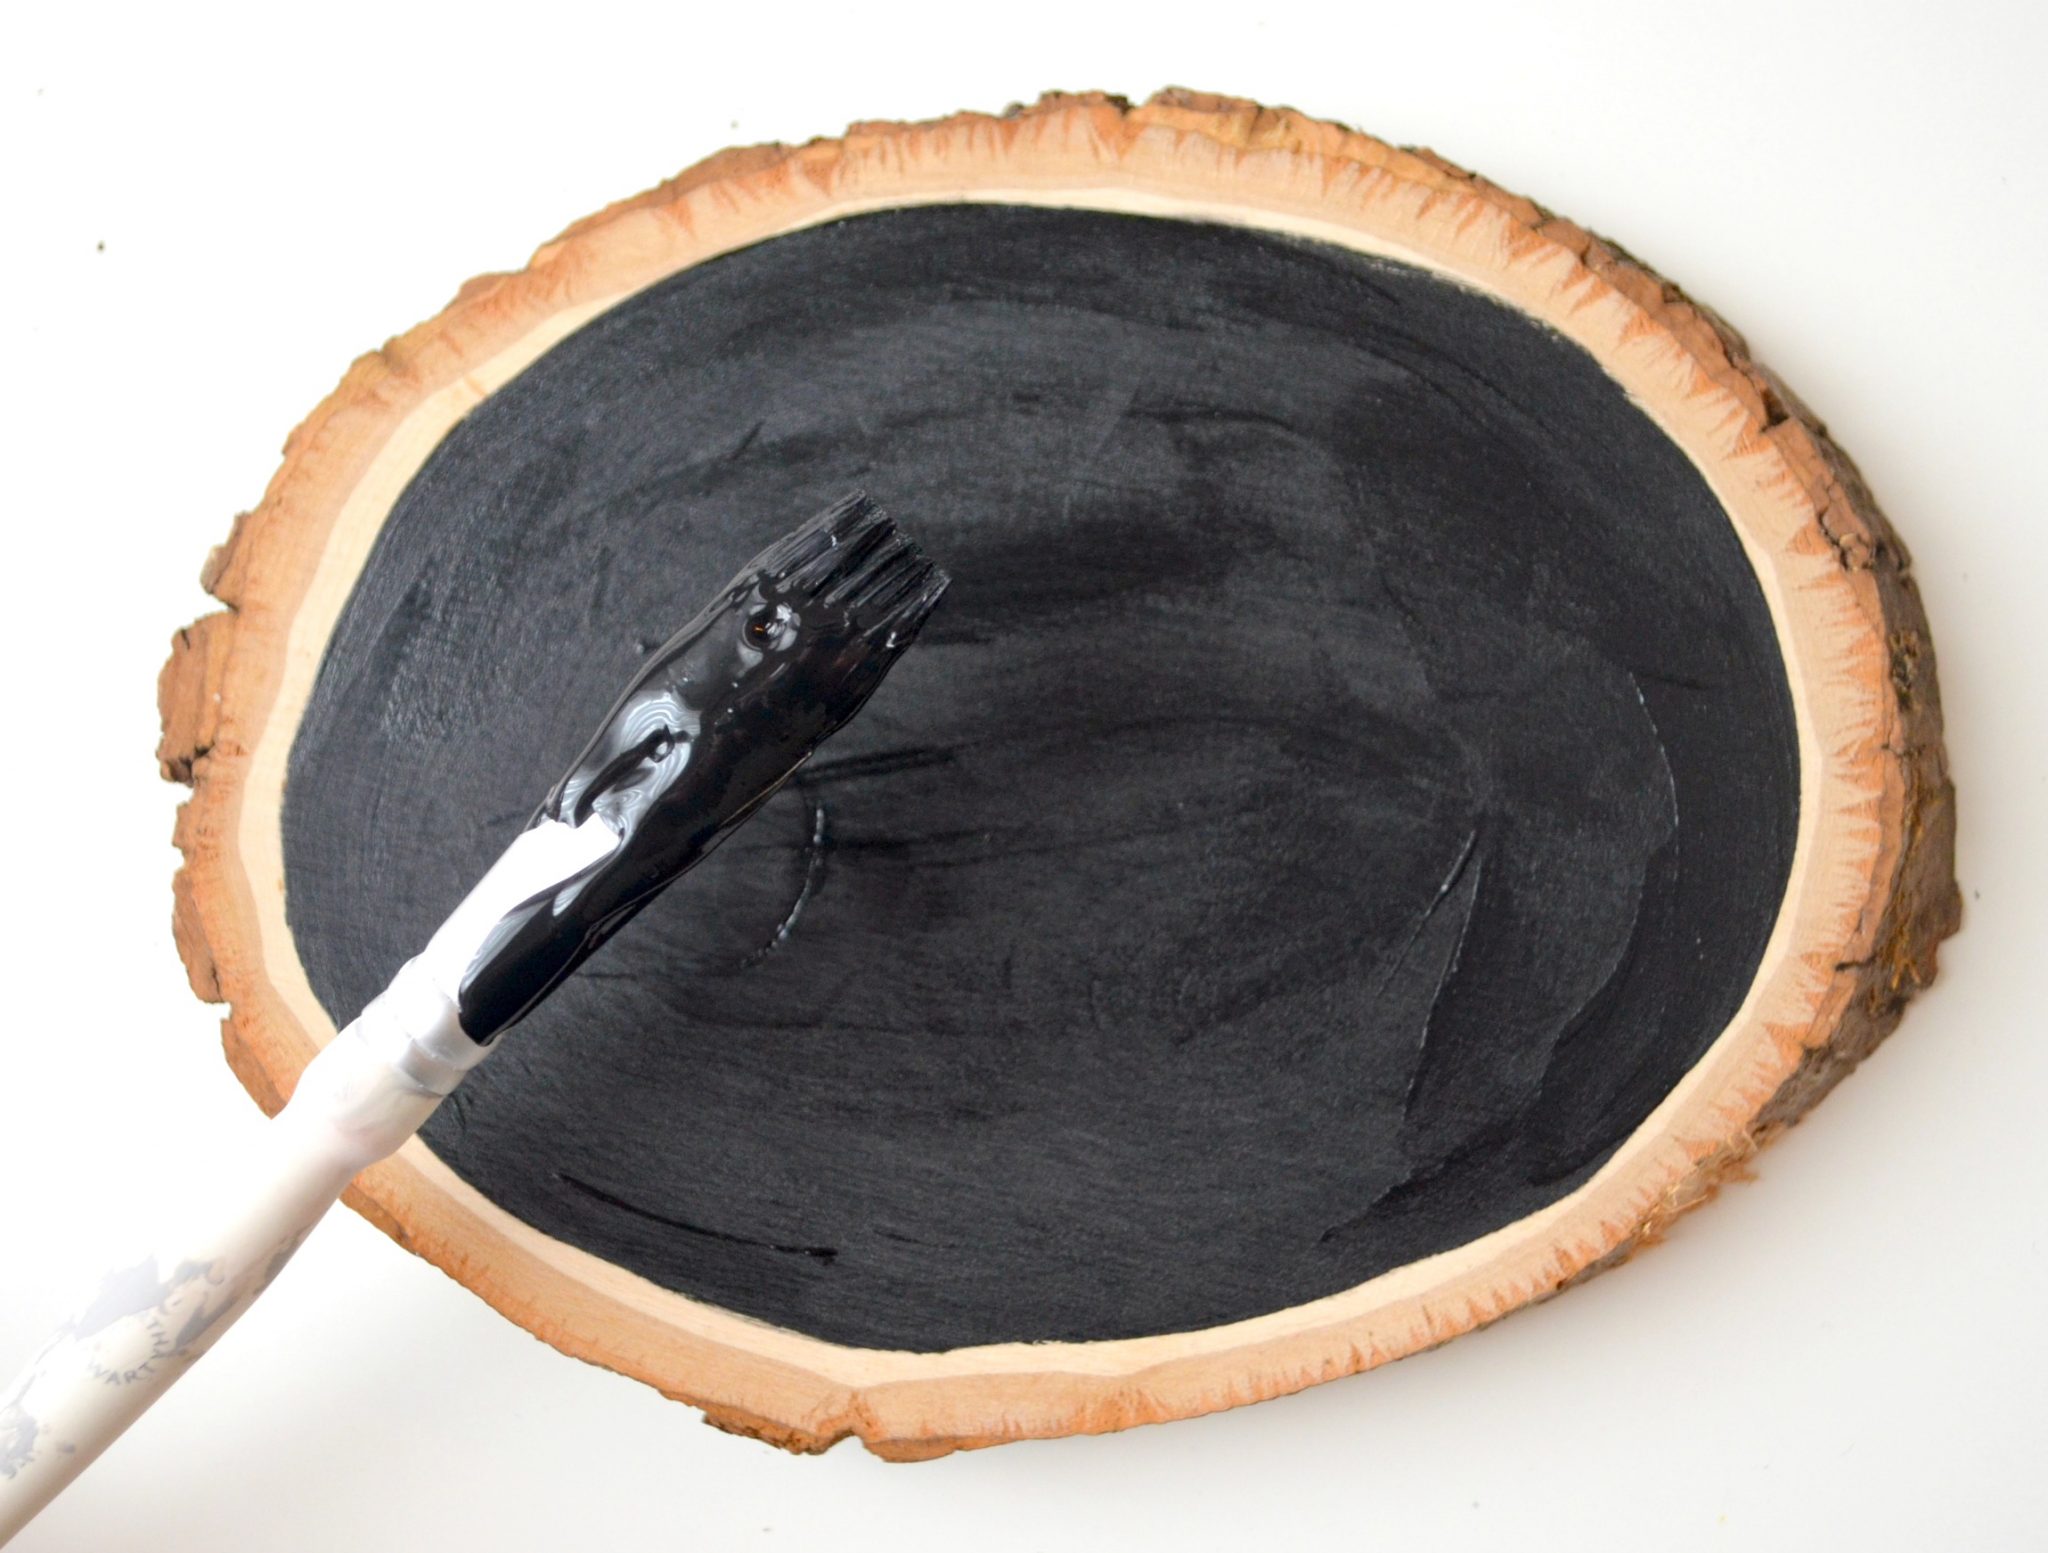
Step 1: First, paint the top of your wood round black.
You can paint as close to or as far from the edge as you like. I prefer to leave all of the darker edge plus a little bit of the lighter part visible just to keep the rustic, natural look in tact.
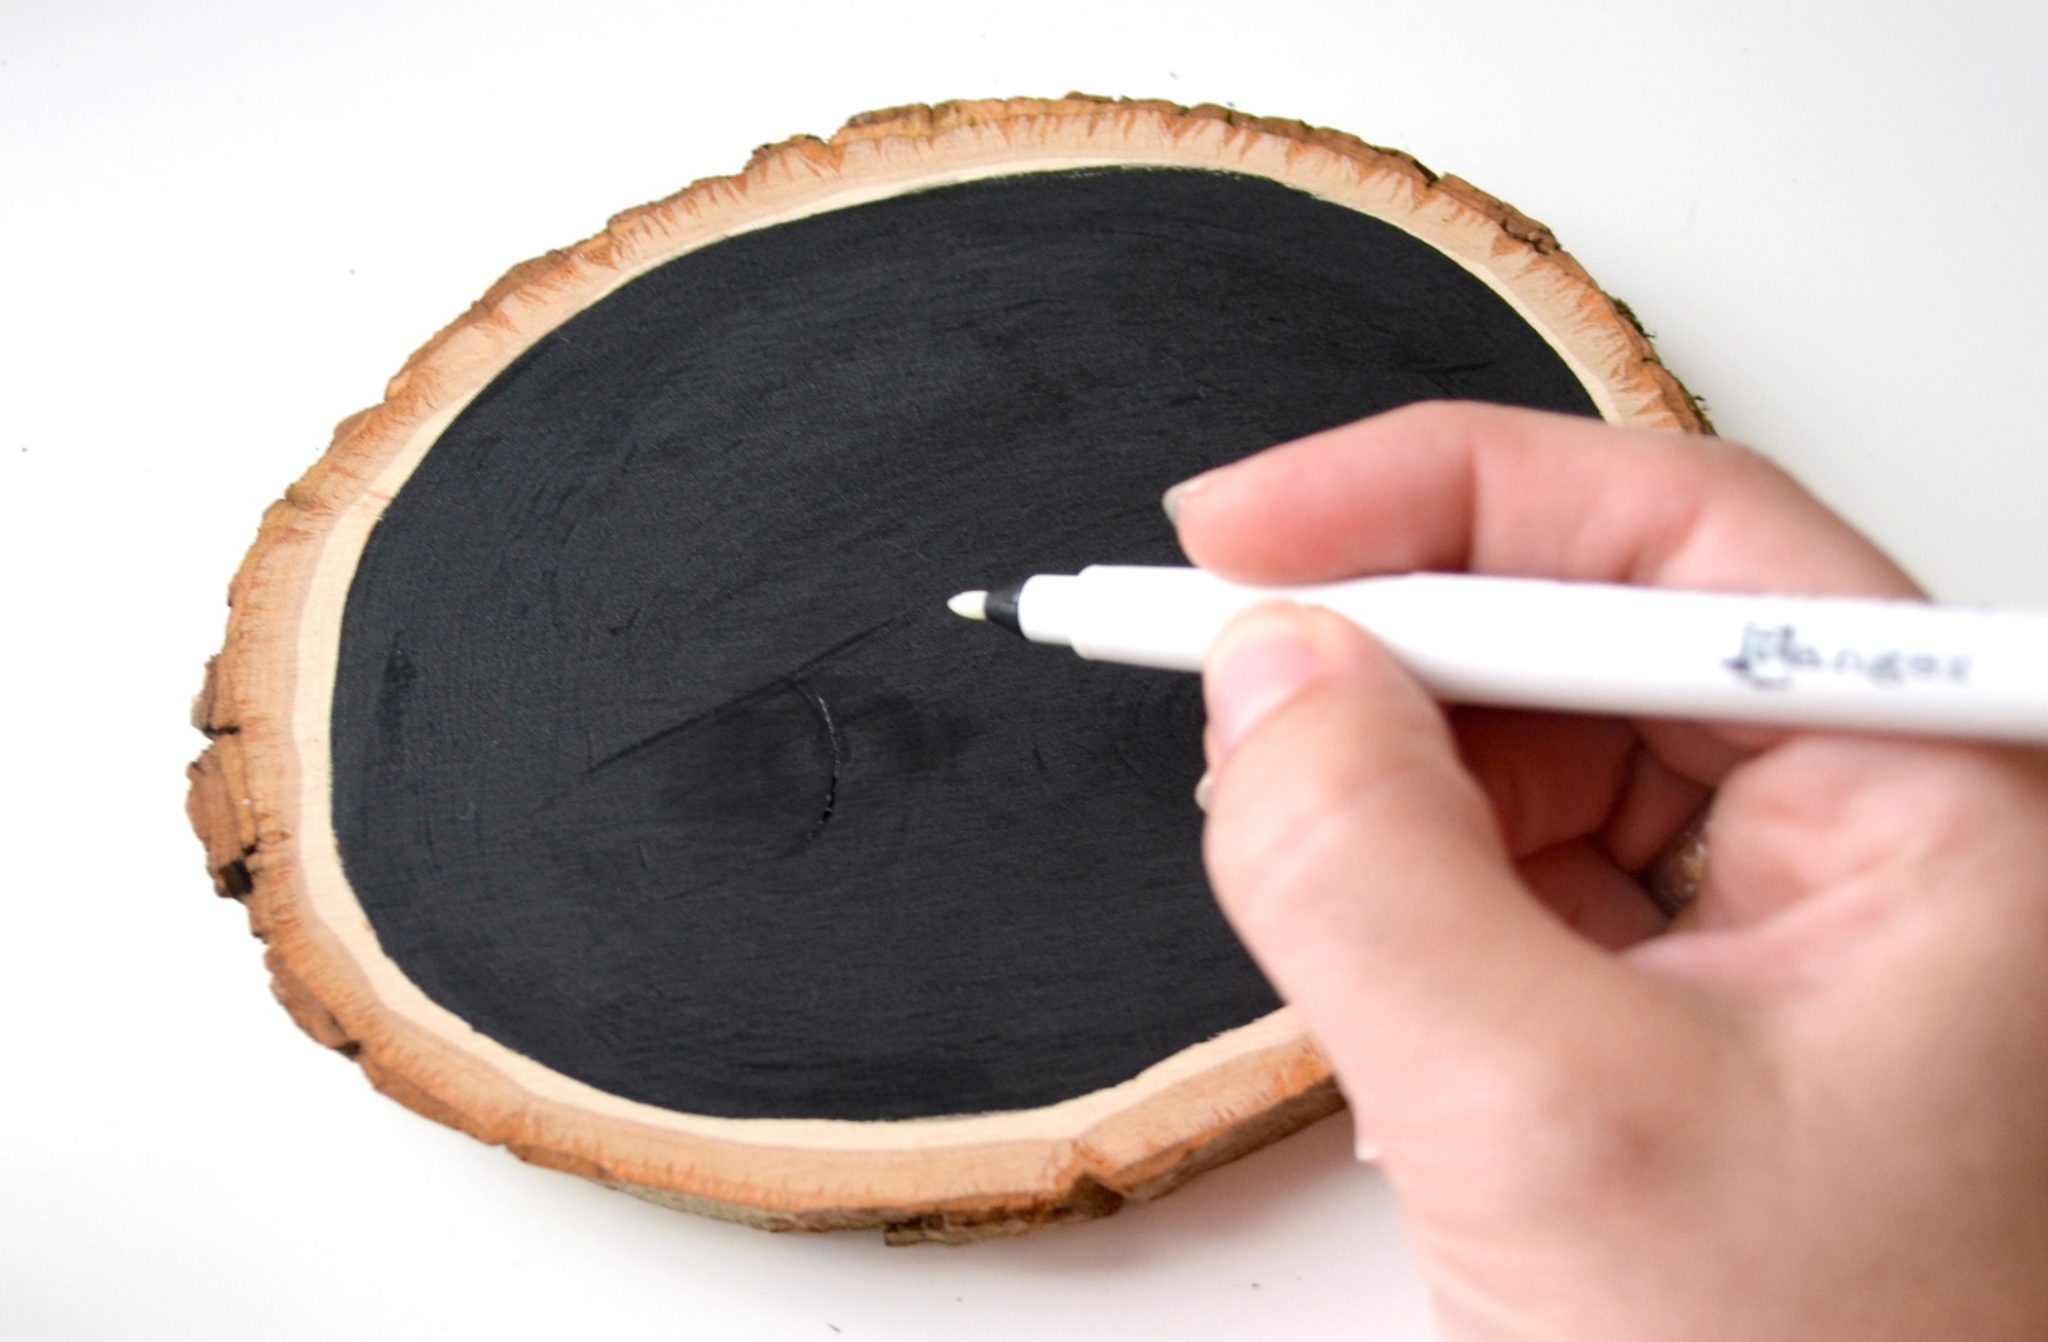
Step 2: Use your clear Embossing Pen to letter a word or phrase onto your painted wood round.
Make sure your paint is completely dry first! Since this is not a brush style pen, you’ll have to do faux calligraphy, thickening your down strokes by hand rather than letting the pen do the work. It’s a bit tricky since it’s hard to see the clear ink on the dark background, but still totally do-able. {If you’re brand new to the wonderful hobby of hand lettering, check out my beginner tutorials, complete with step by step photos to get you started!}
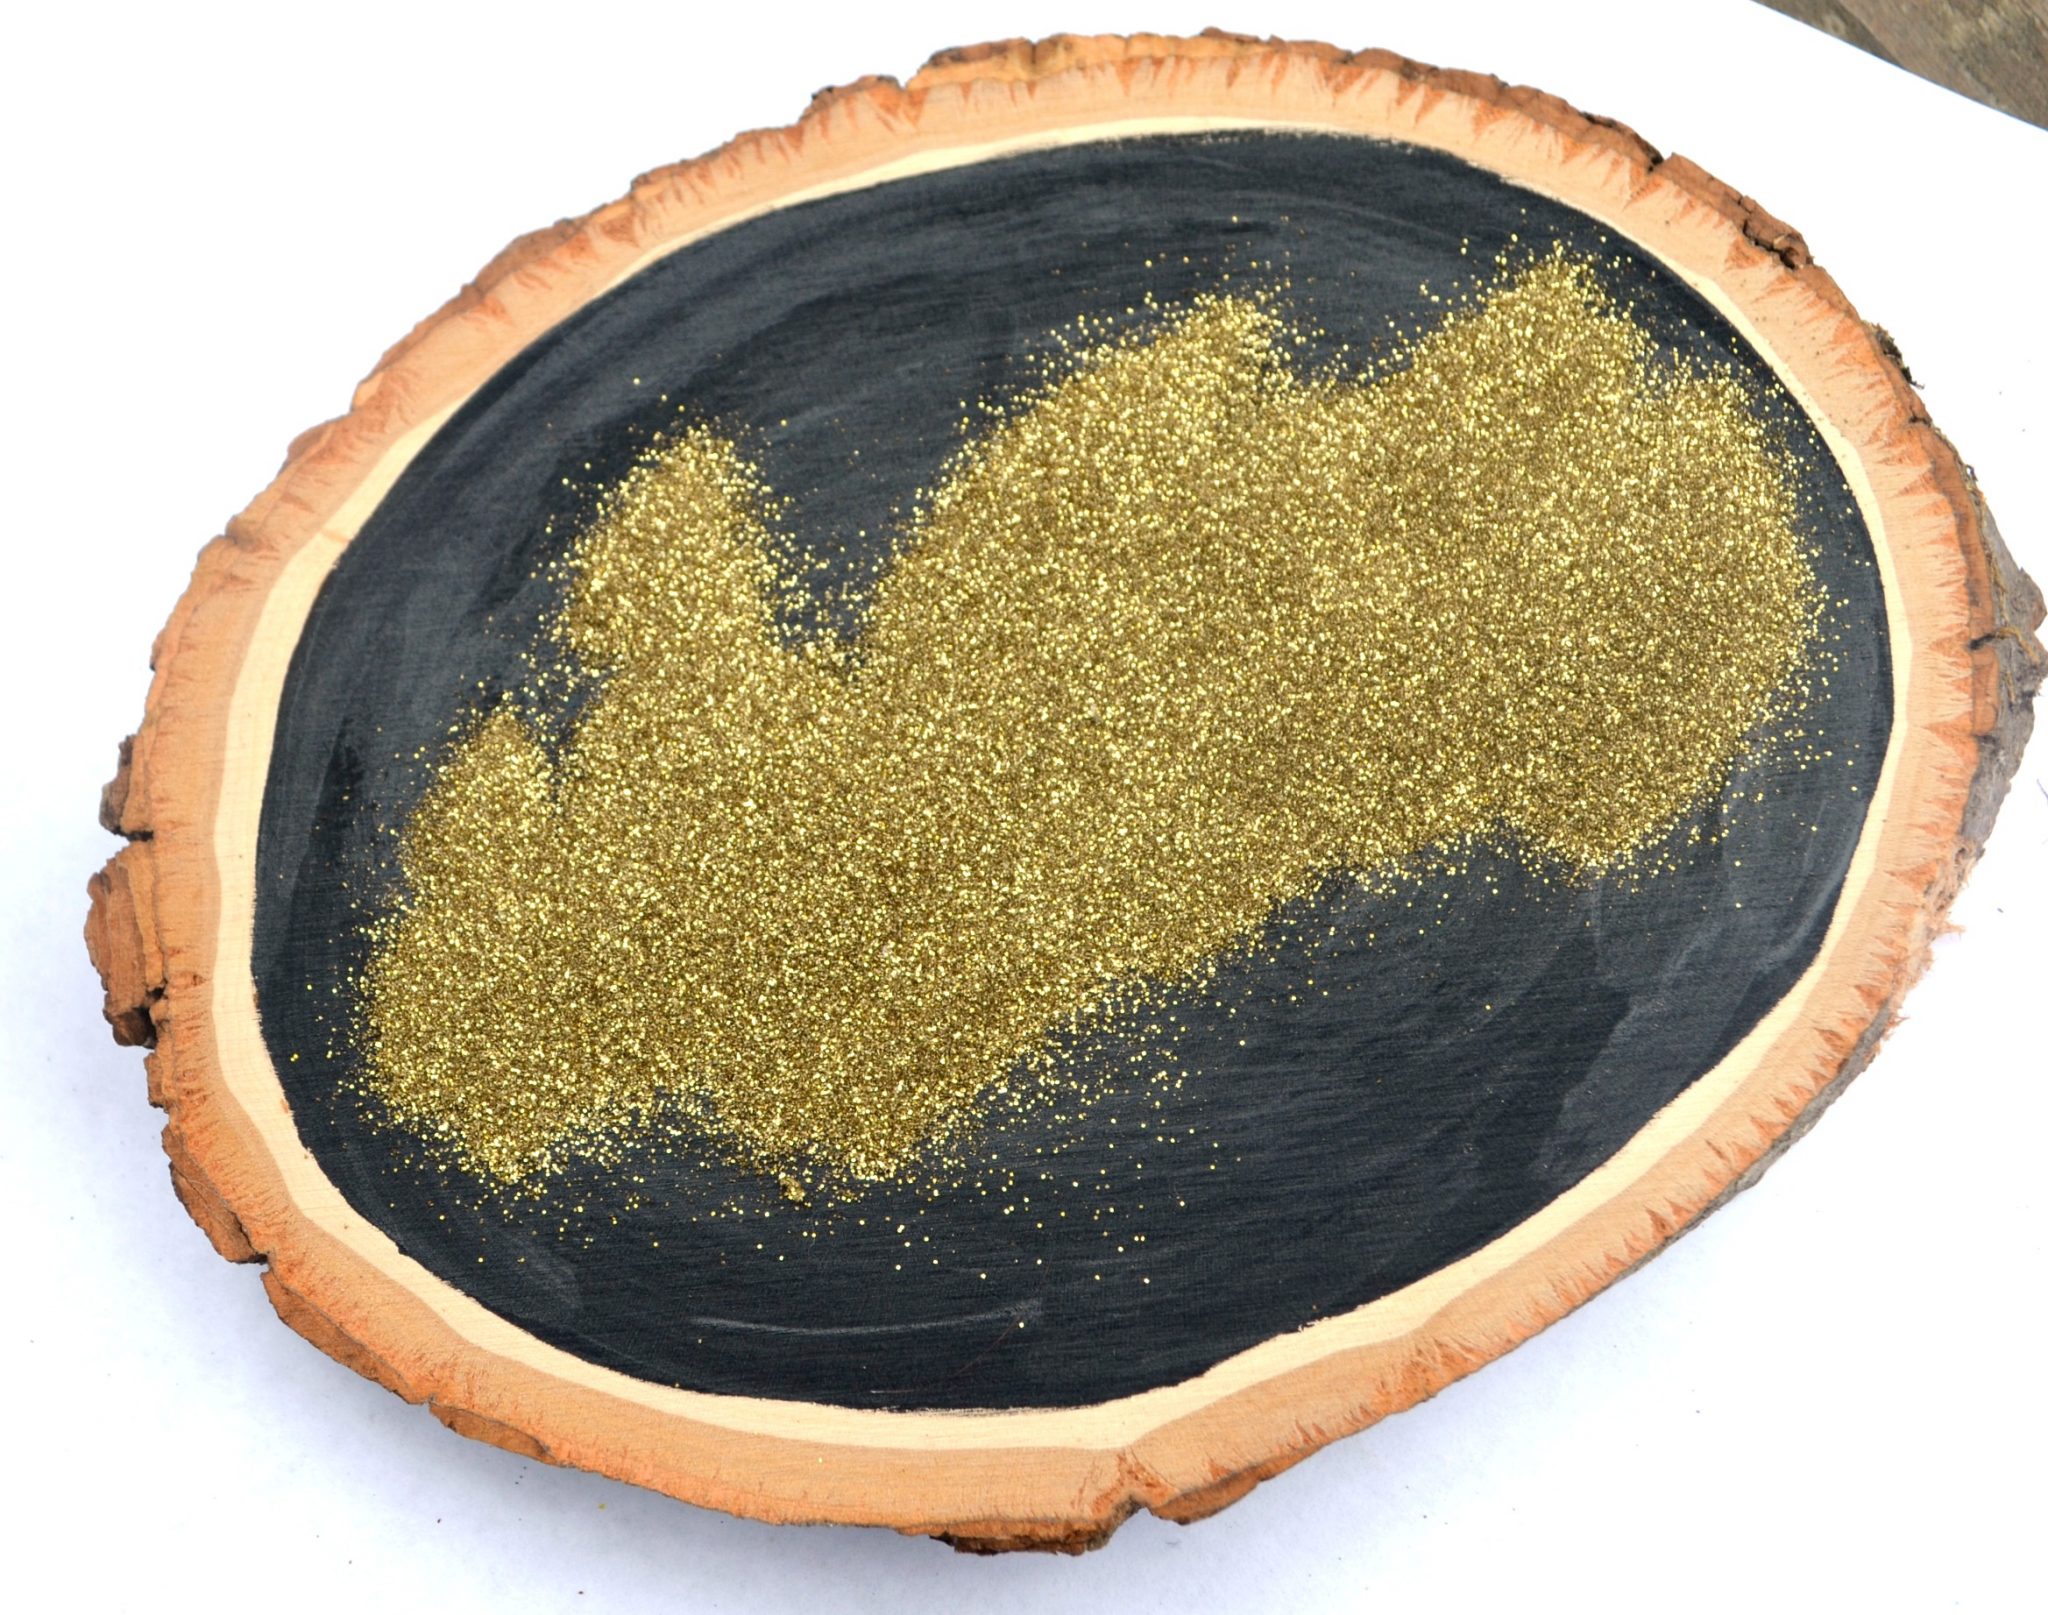
Step 3: Next, sprinkle the surface with your embossing powder.
Make sure to completely cover all of the ink. You’ll want to do this relatively quickly while the ink is still wet enough for the powder to stick, but luckily it doesn’t dry too fast.
Step 4: Shake off the excess powder.
Tip: To save as much of your powder as possible, shake the extra onto a piece of paper or card stock, then carefully pour it back into the container. I like to do Steps 3 and 4 outdoors if I can just to avoid a glittery mess in the house.
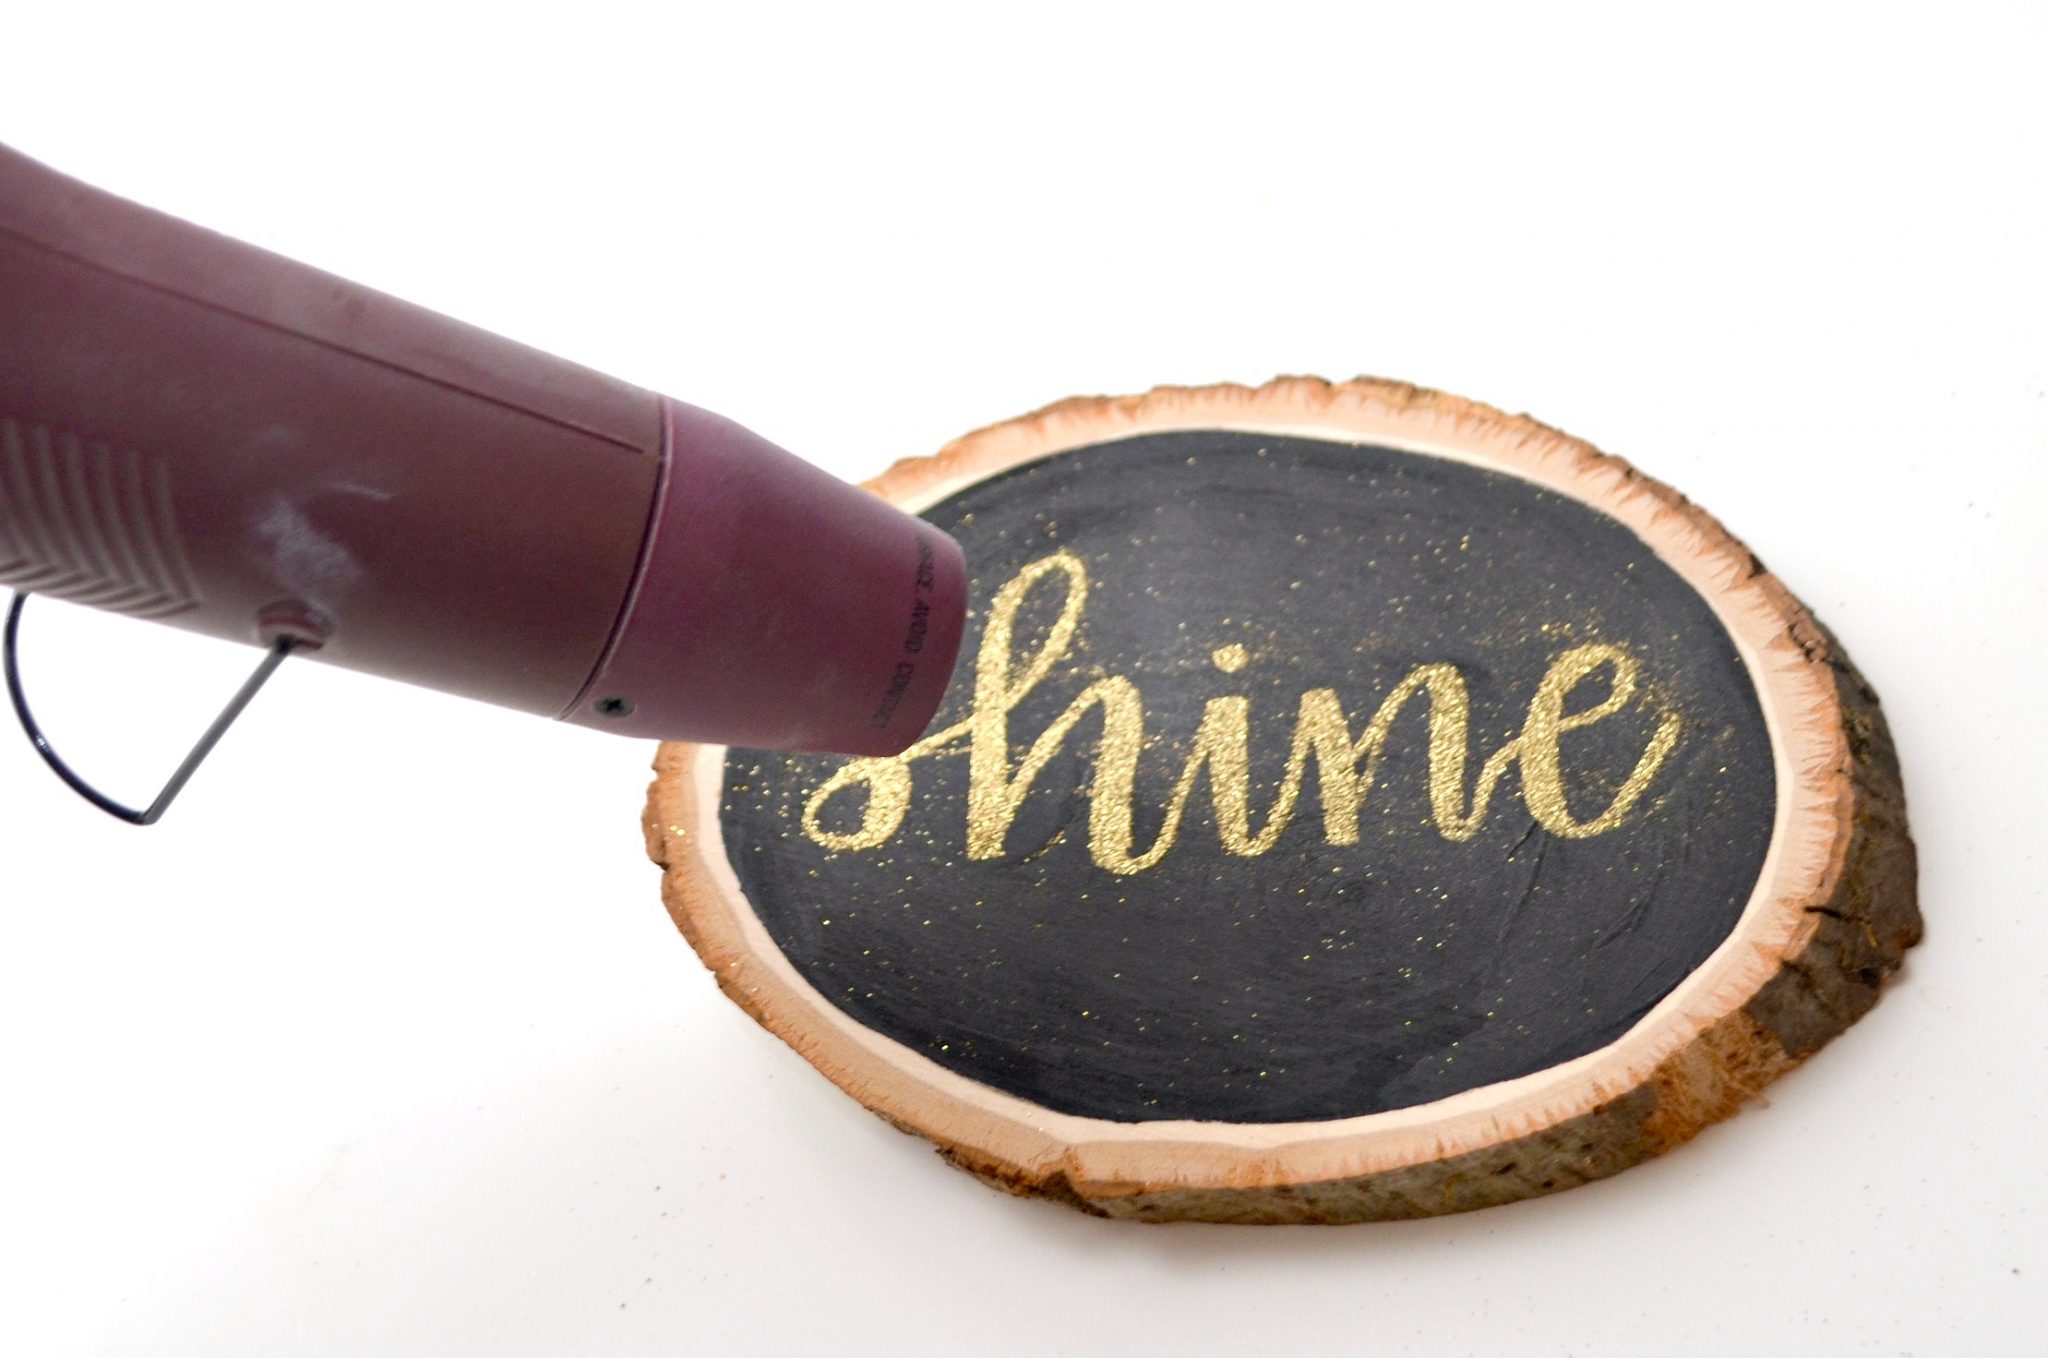
Step 5: Finally, heat your letters with an embossing heat tool.
No, a hair dryer won’t work. You need the concentrated air and heat that comes with one of these tools. Your heat tool should come with instructions, but they’re very simple to use. Just hold it a few inches from your lettering and watch for it to visibly change. You’ll see the individual flecks of powder melt together and become more shiny.
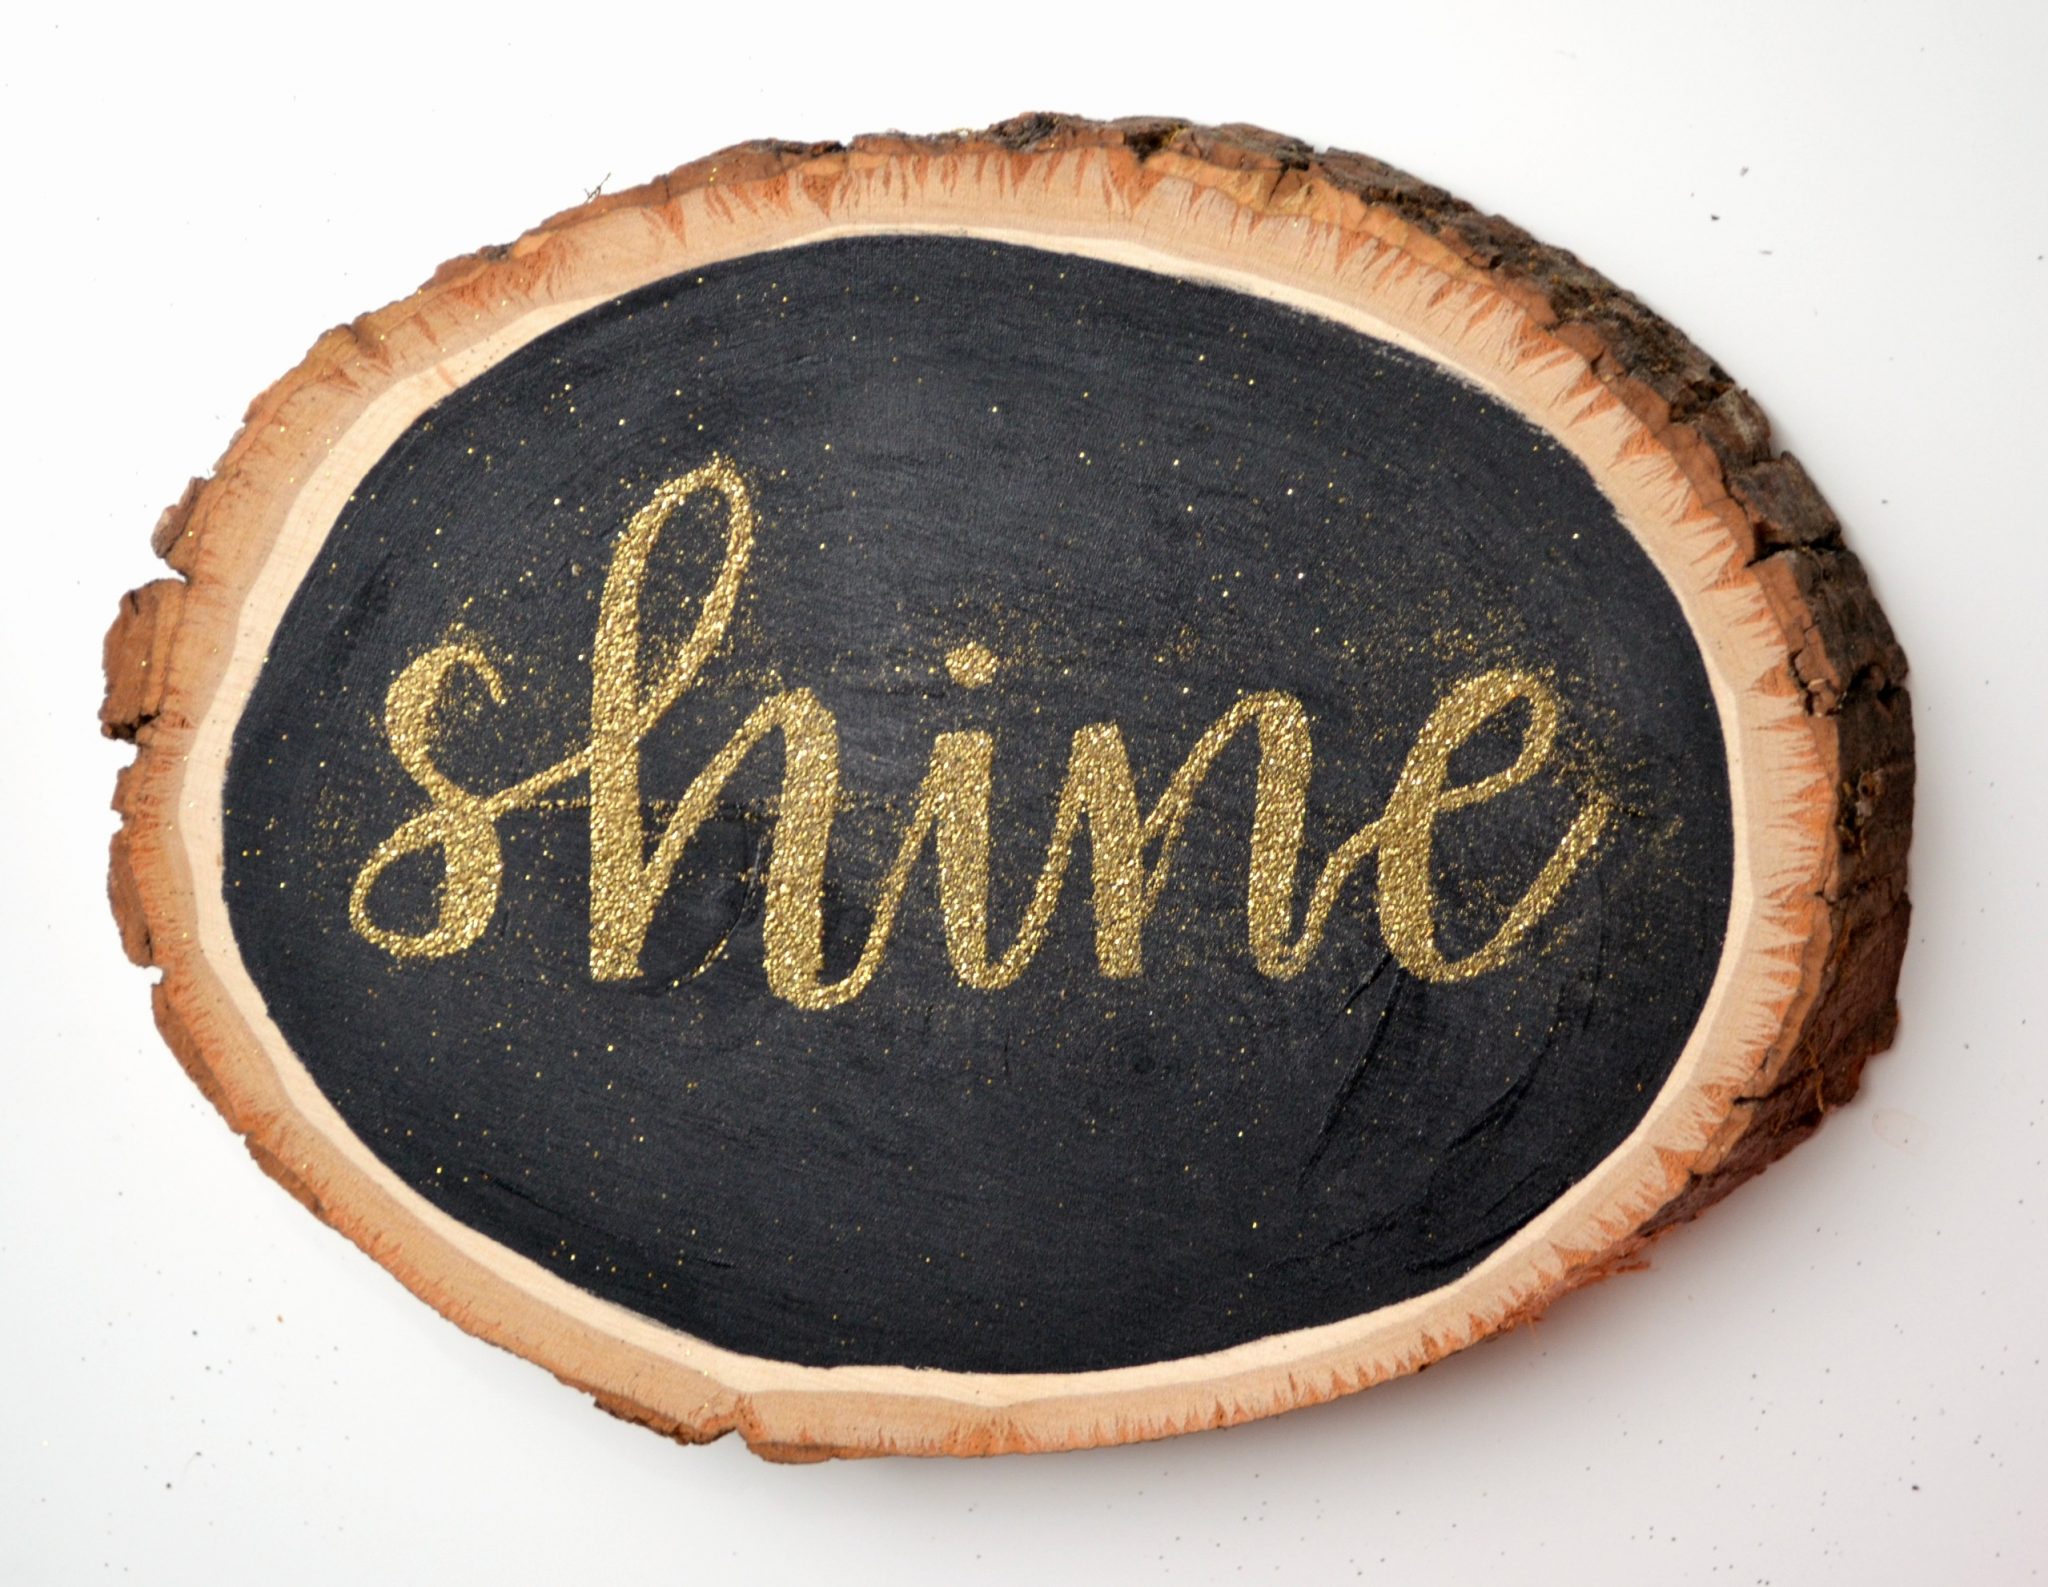
That’s all there is to it!
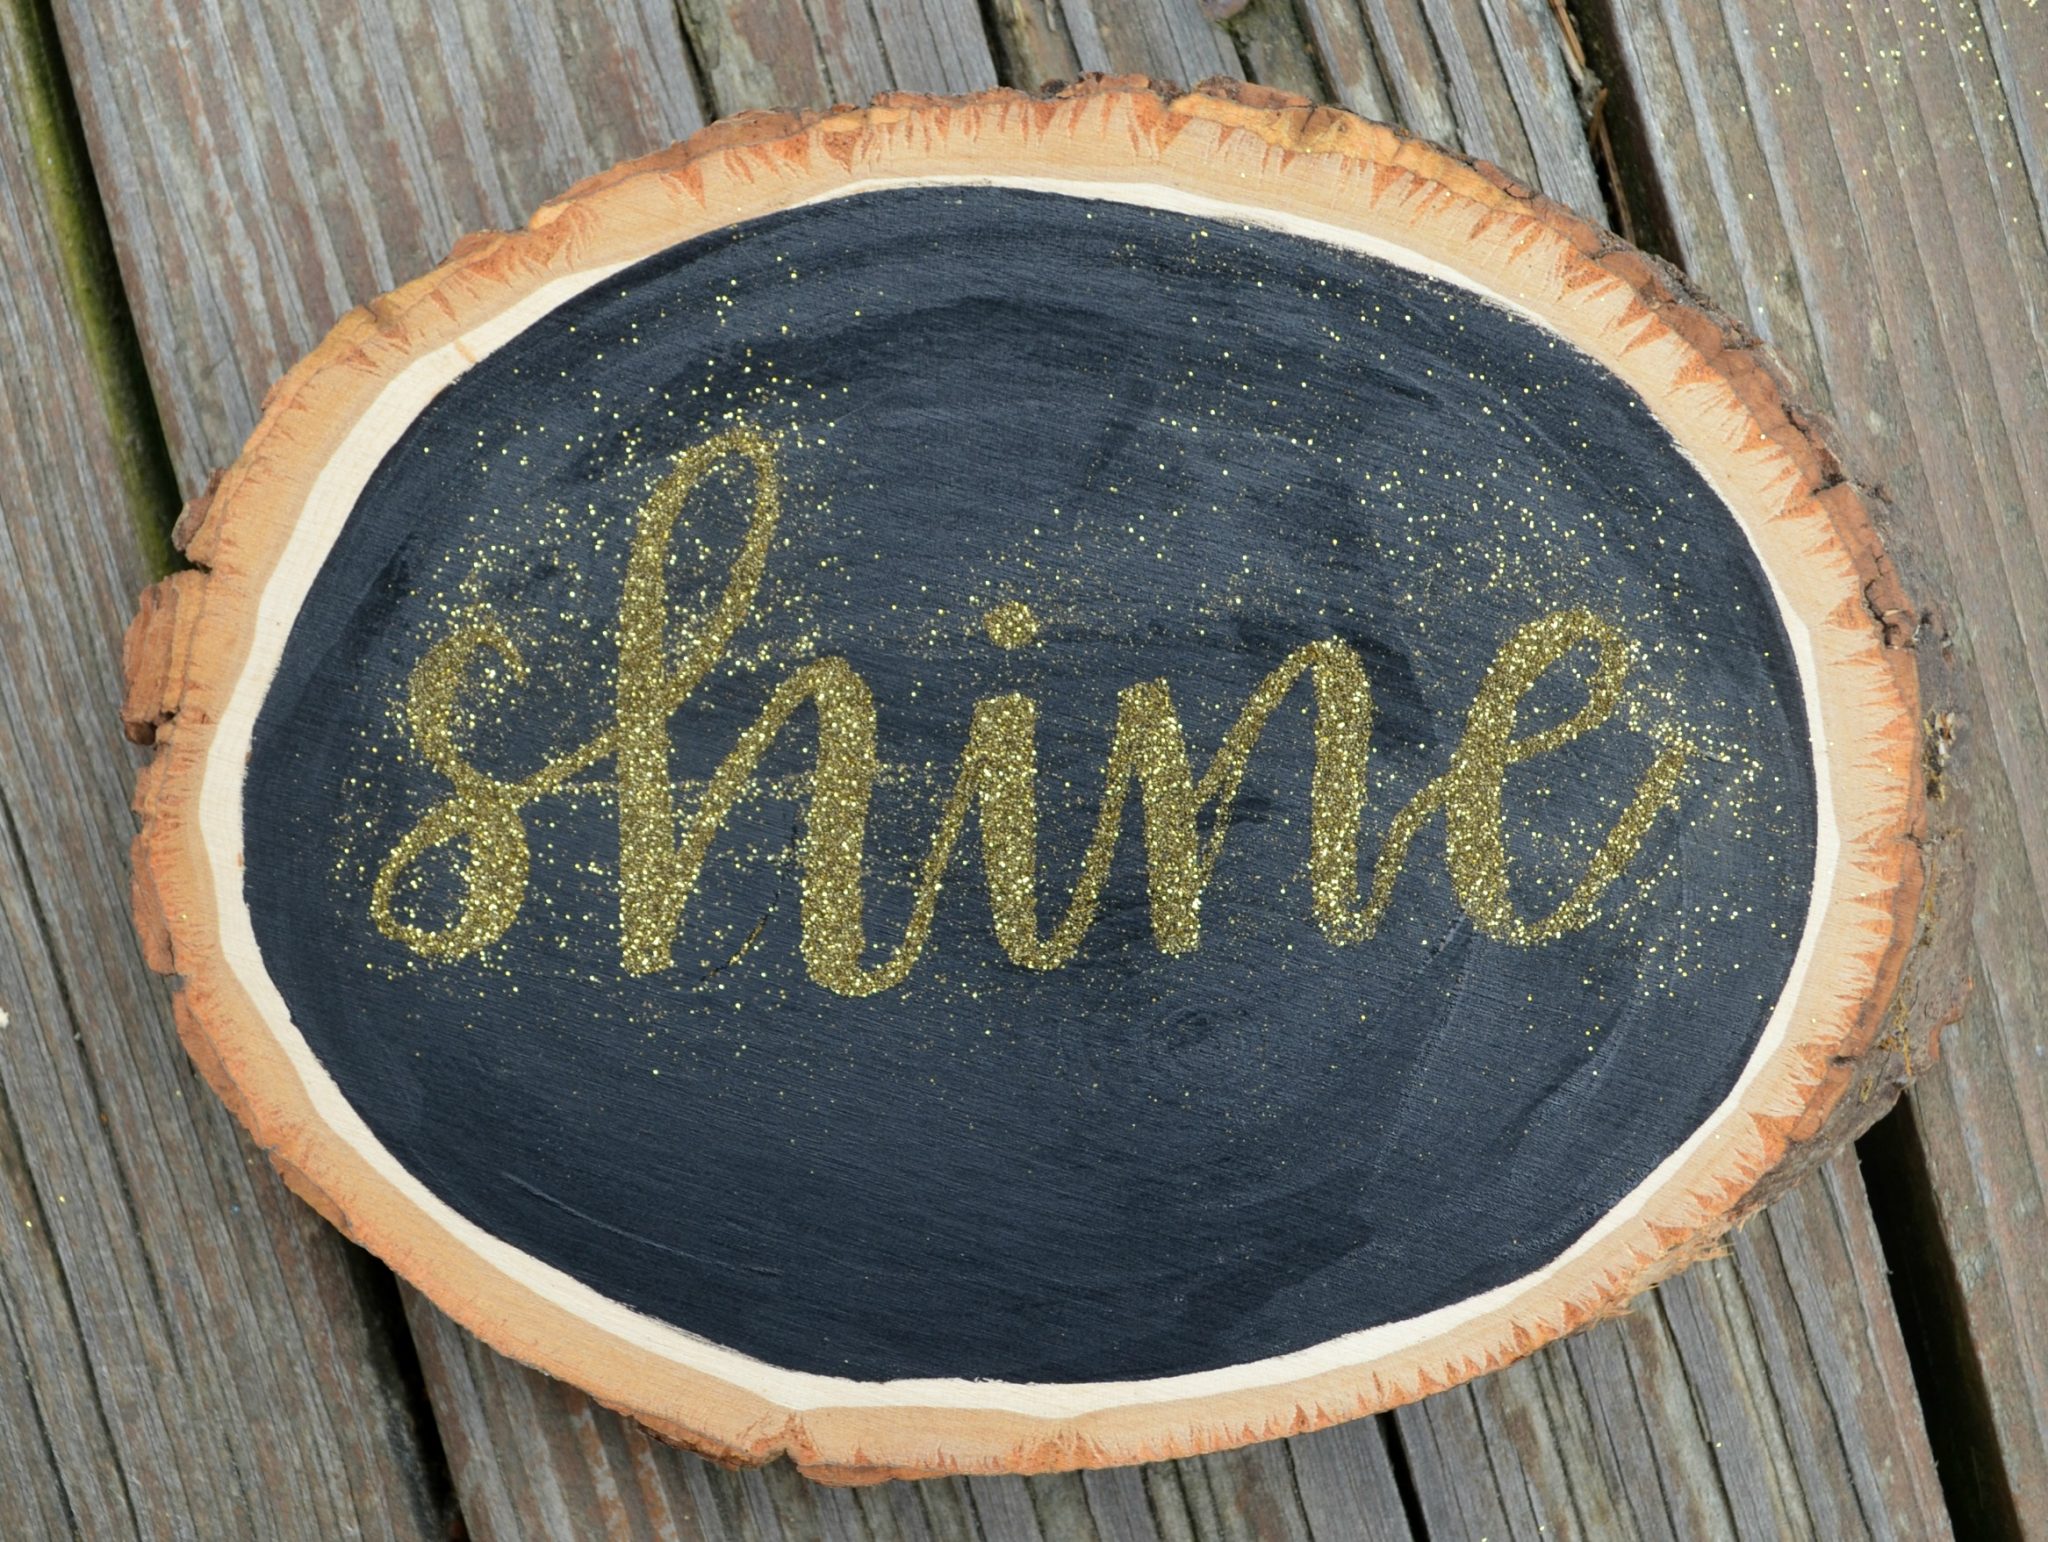
As I mentioned, this is my first embossed project involving lettering, and in retrospect, I would have done a few things differently. First, although I thought my paint was sufficiently dry, apparently it wasn’t quite dry enough, which meant that lots of small specks of the powder stuck to various places on the surface and stayed there even when I tried to wipe them off. I’ve decided they’re just going to be stars. 😉 Also, there’s a spot on the “n” where I have a small gap between my lines that I’d fix if I were to redo the project. Otherwise, I’m pleased with how it turned out.
Whaddya think? Is embossing a technique you’d like to try in your own lettering projects?



OH YES! Gorgeous sign with that gold embossed handlettering! I love that embossing pen, totally rock!