Rustic Stained Crate
Thanks to Thompson’s® WaterSeal® for sponsoring today’s post. All opinions, as always, are honestly my own.
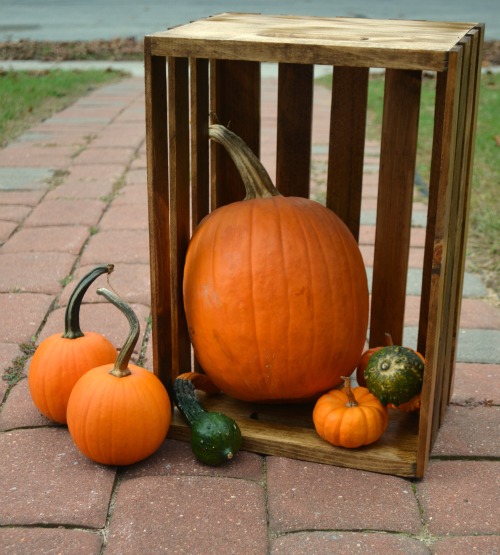
Friends, I don’t know what it’s like where you live, but here in Maryland, we’re definitely having fall weather! It’s been just plain chilly the past few days, which always puts me in the mood for scarves, warm drinks, sitting by the fire, and fall decorating! I’ve been wanting to add a few more pumpkins and gourds to my front porch display, and I decided that a crate would be the perfect thing to hold them. I wanted it to look rustic rather than new, though, so I needed to stain it first.
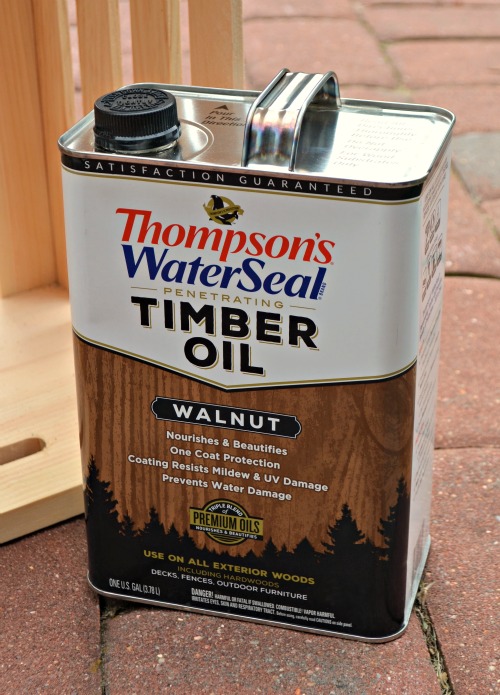
I decided to use Thompson’s® WaterSeal® Penetrating Timber Oil because instead of having to stain and then waterproof it, the Timber Oil provides both beauty and protection all in one coat. It’s designed with a triple blend of deep penetrating premium oils that protect the wood from water damage, while the coating resists mildew and UV damage. It also contains premium iron oxide pigments to provide long-lasting beautiful colors that hold up to wear and tear and minimize lap marks and color streaking.
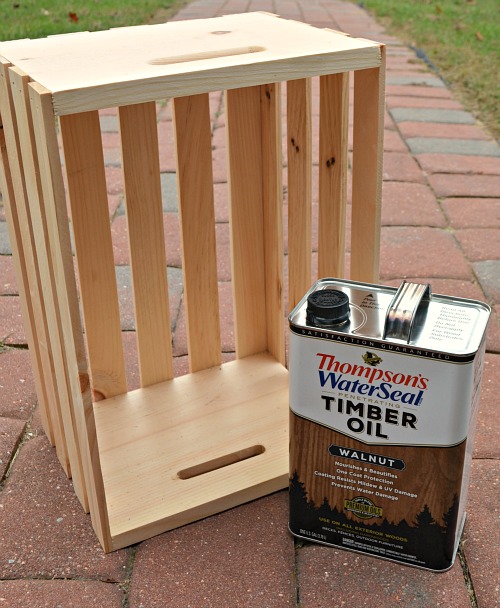
Thompson’s® WaterSeal® Penetrating Timber Oil exceeds the industry standard for waterproofing wood, provides year-round protection, and even reduces marring and visible scratches. You can apply it with a paint pad, a brush, a sprayer, or a roller, depending on what works best for your project. I recently used the Redwood color for my DIY Pallet Bench, so I knew I liked the product, but I wanted a different shade for my crate. This time, I went with Walnut.
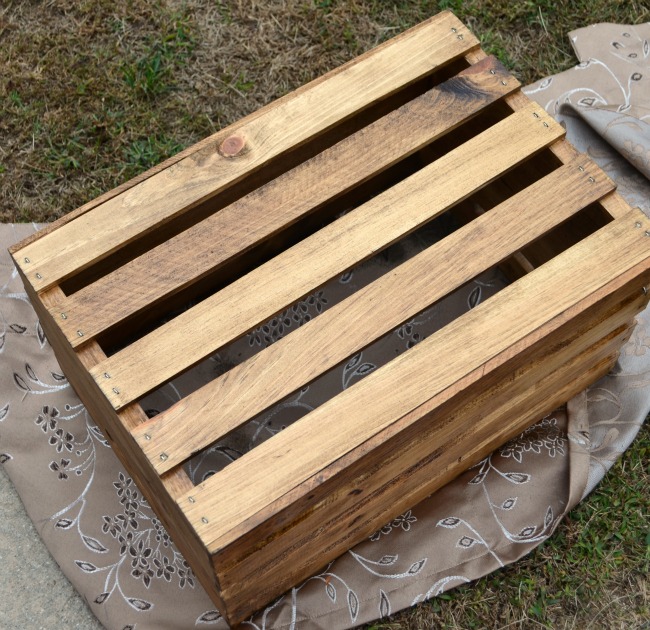
Staining is really simple to do. Start out by putting a drop cloth down and placing your unfinished wood crate on top. Make sure you thoroughly sand it to get rid of any splinters or rough edges. Then, all you need is your choice of Thompson’s® WaterSeal® Penetrating Timber Oil, a brush, a disposable paint pan and liner, and gloves. Shake the can well, pour a small amount of Timber Oil into the paint pan, then apply it to the wood. I tried a sponge brush this time but found that a regular brush holds up better.
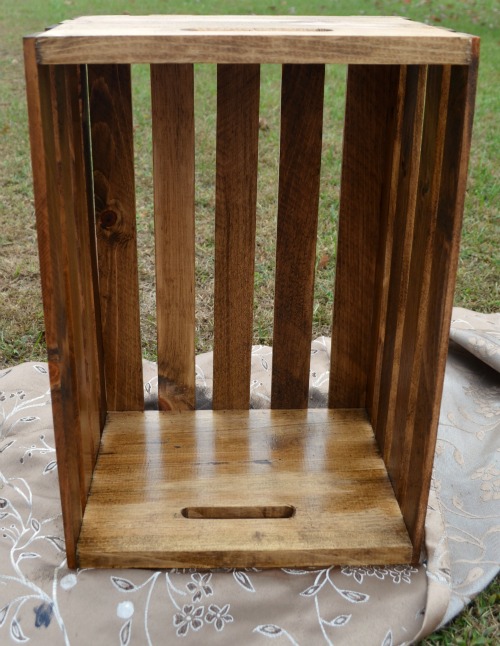
As I learned when staining my bench, the secret to getting a beautiful finish is to use the Timber Oil sparingly. You’ll be surprised by how far one brush full can go. Only apply a thin coat at the rate the wood can absorb it, which is pretty quickly! Any spots that have excess product or look especially wet may end up tacky. You also want to avoid drips. Once you’ve covered every surface of your project, let it dry completely and it’s ready to use!
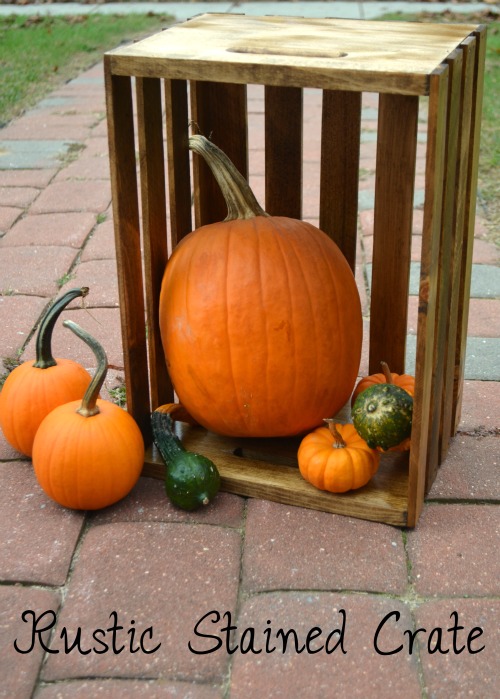
I love the contrast of the bright orange pumpkins against the dark wood, don’t you?! It’s amazing how something as simple as one coat of stain can completely alter the look of my crate.
Here it is along with the rest of my front porch display, including the Give Thanks sign I built all by myself! What do you think? I especially love the look of the Walnut next to the white sign with the pops of orange. The original color of the crate would have blended right in with the hay bale and wouldn’t have looked rustic at all. I’m loving the way it turned out, and I hope you do too. What do you have on display this fall?

