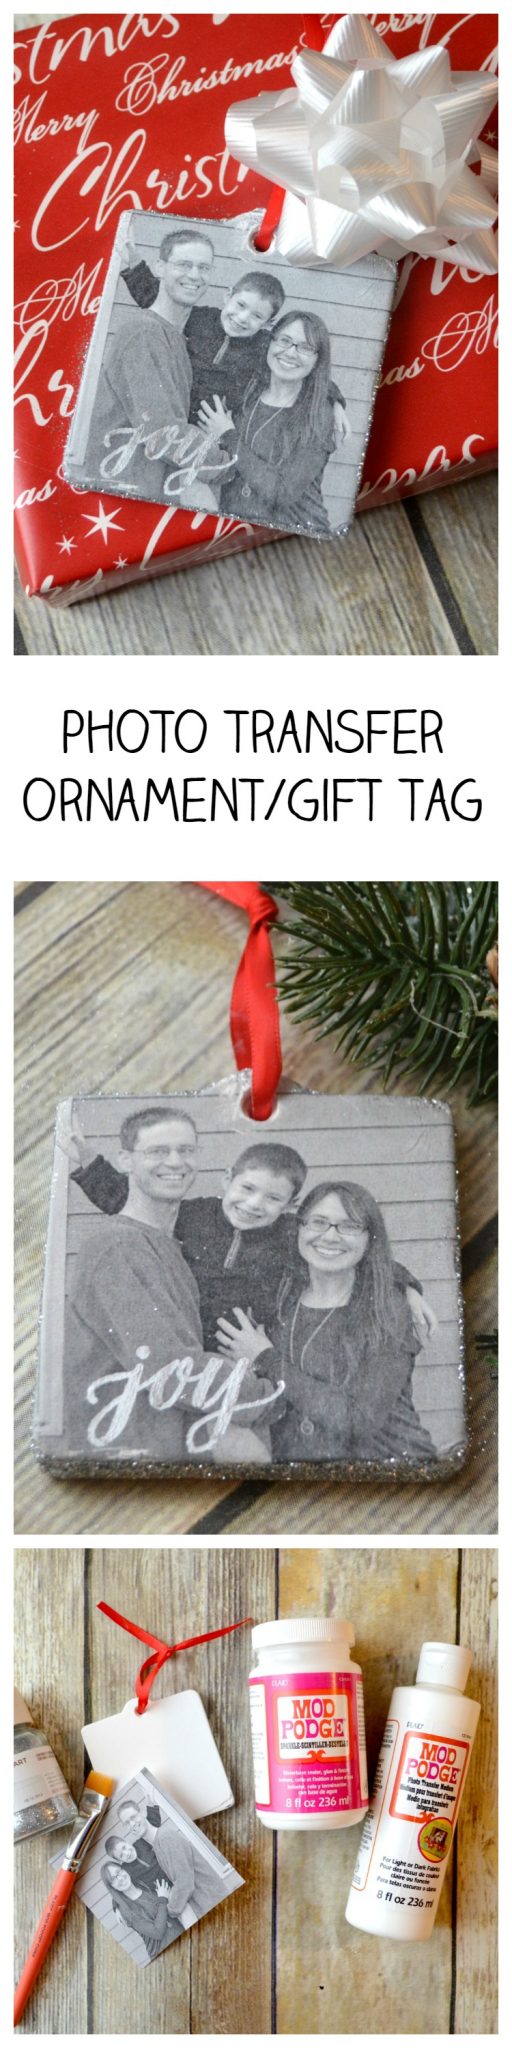
Photo Transfer Ornament and Gift Tag
Thanks to Plaid Crafts for sponsoring today’s post; all opinions are honestly my own.
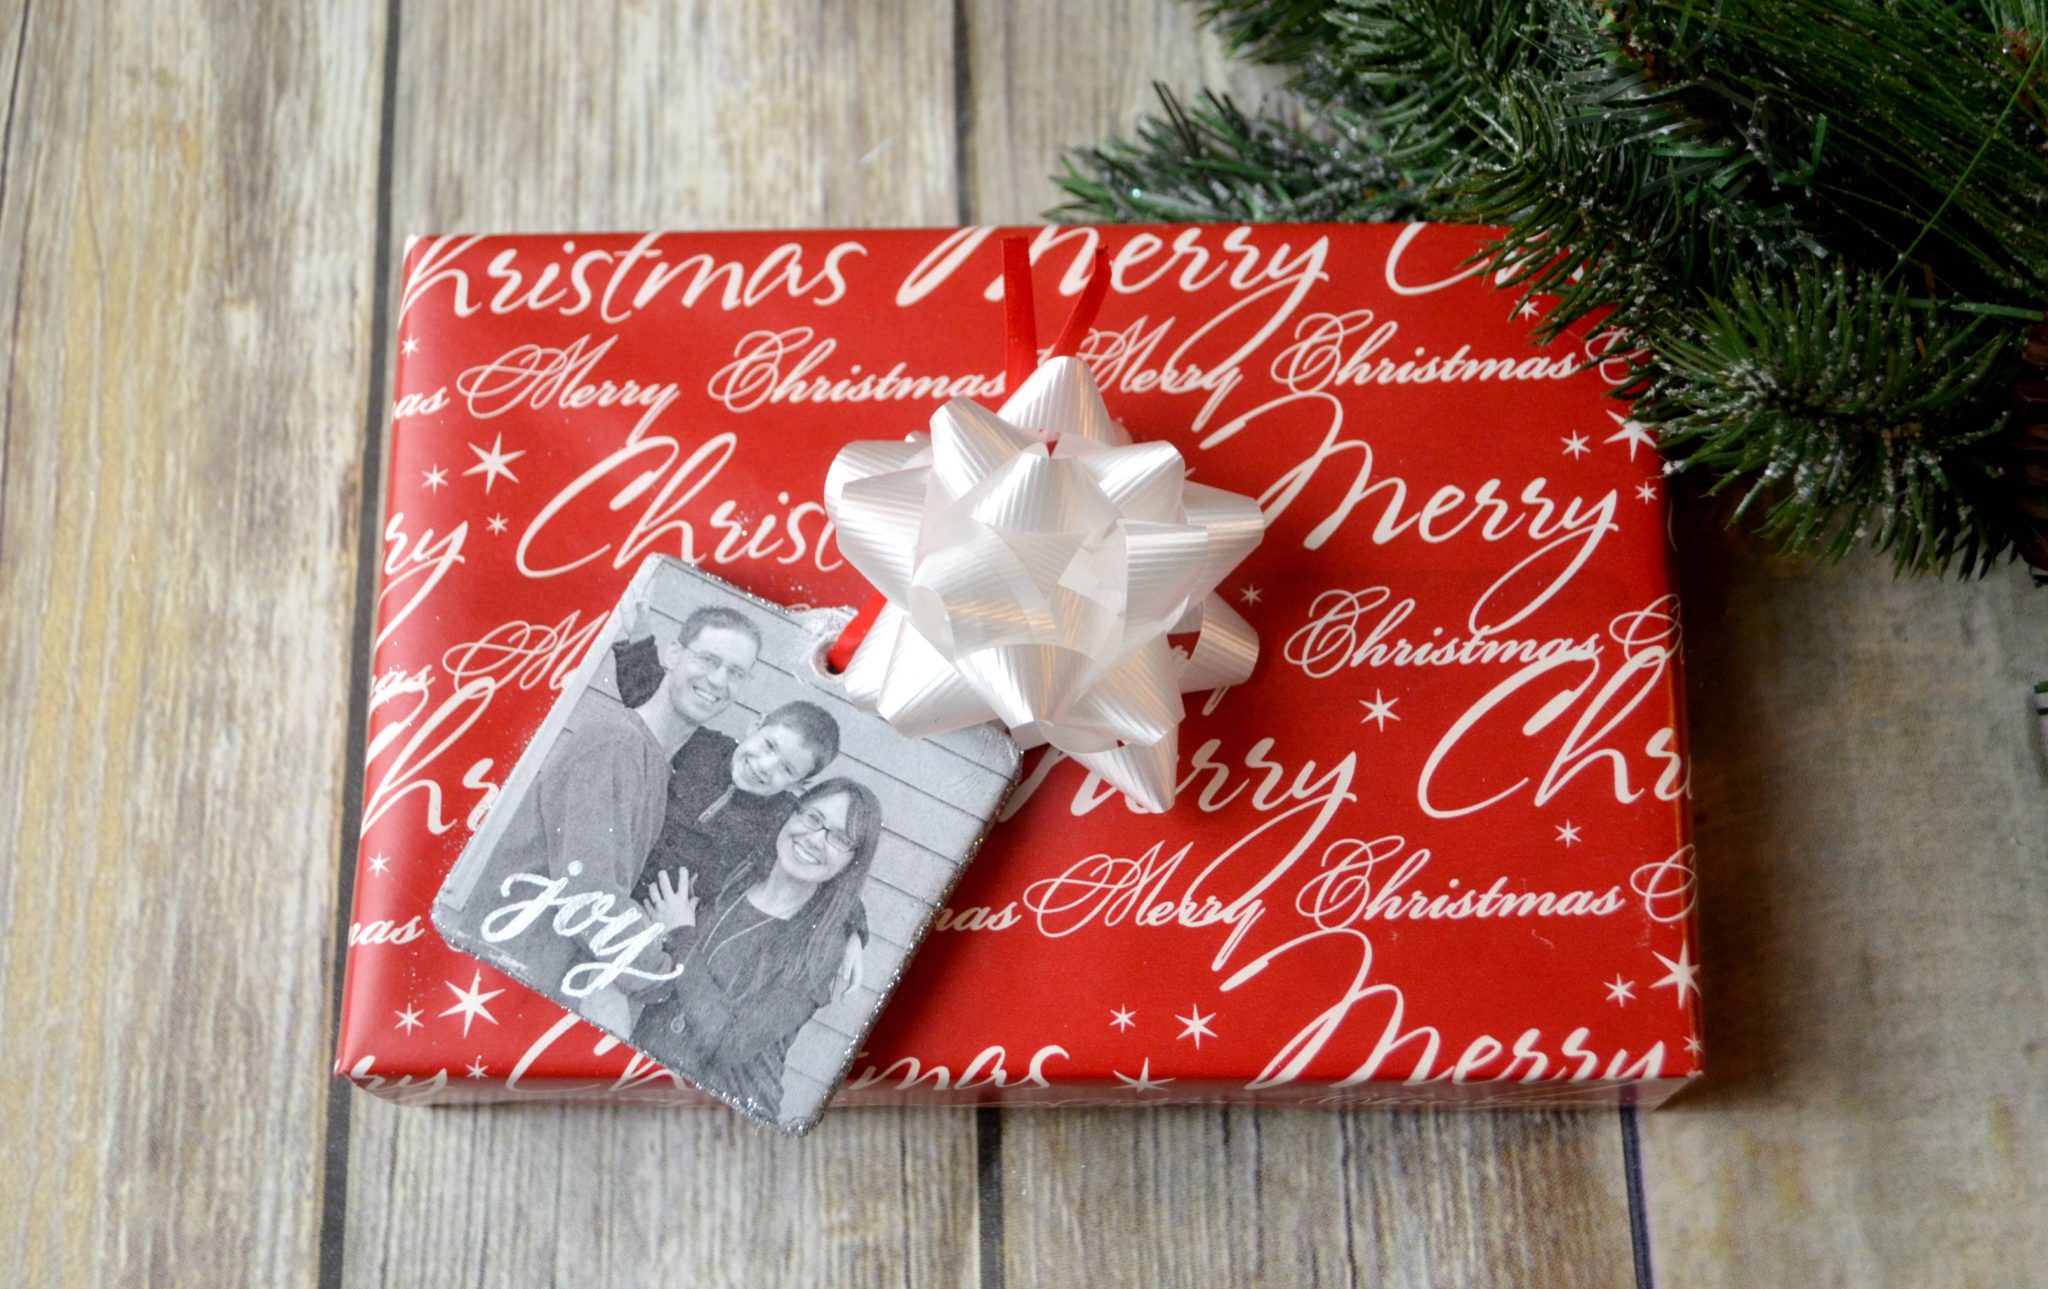
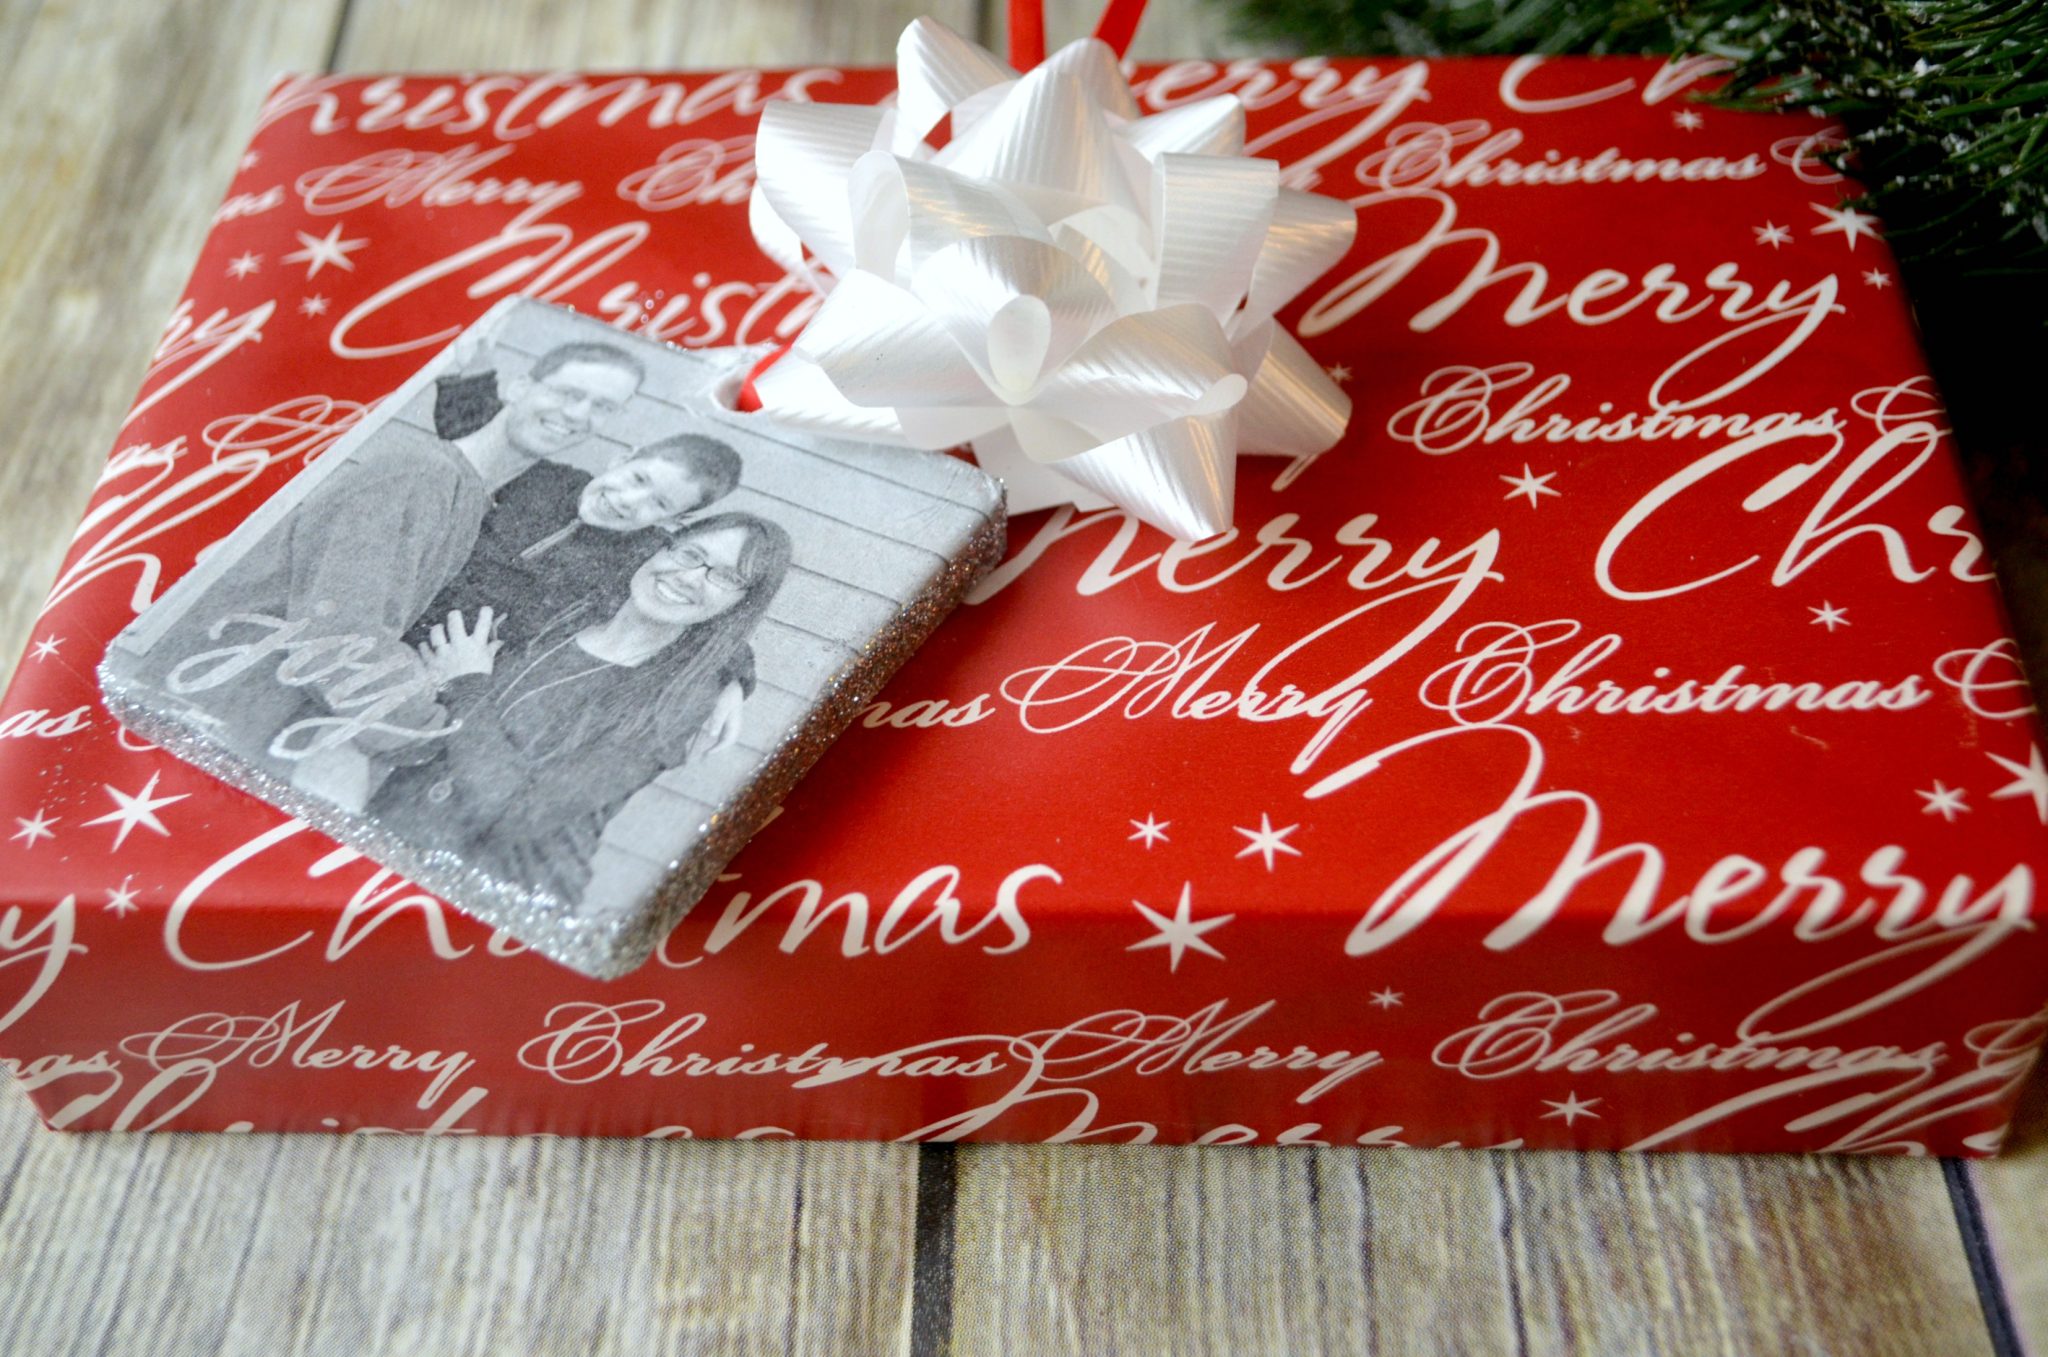
I am always looking for fun ways to wrap and personalize the gifts I give. Don’t you think it would be fun to get a present that had a photo gift tag you could re-use for years to come as an ornament? Me too! Here’s how to create one…take a look!
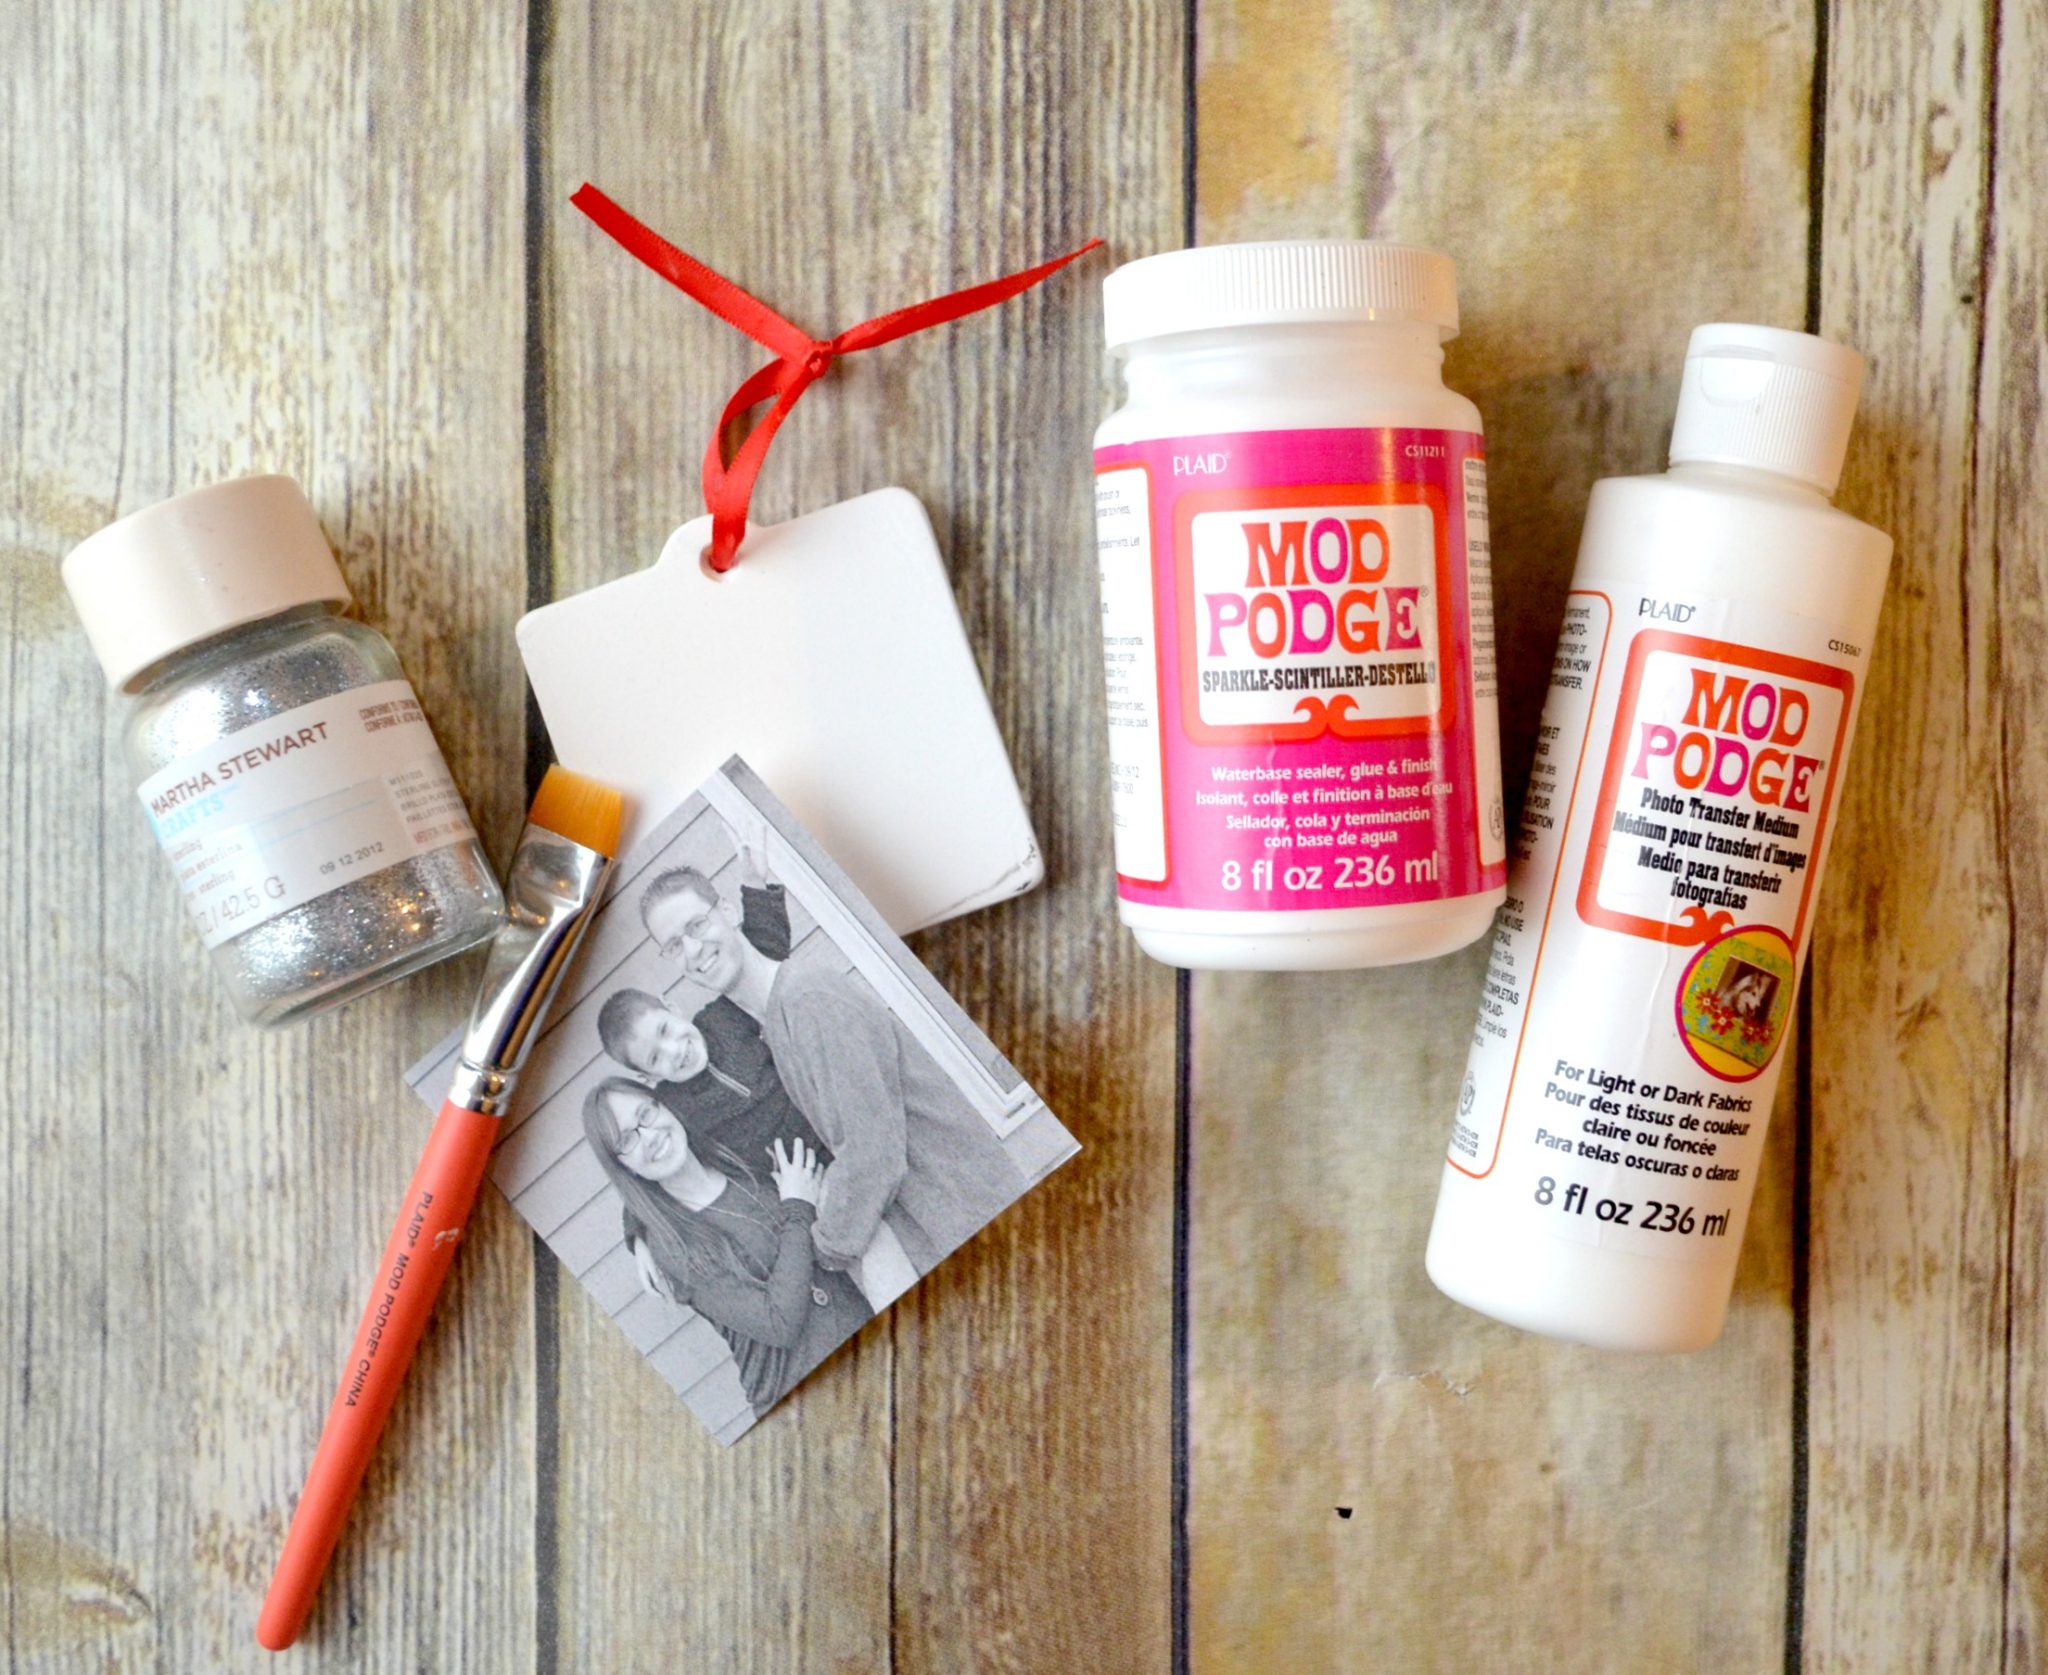
You’ll need:
Mod Podge Photo Transfer Medium
Mod Podge Sparkle
Mod Podge Brush
Squeegee or Brayer {optional}
Sponge or Sponge Brush
White Ceramic Ornament
Fine Silver Glitter
Scissors
Shallow bowl or plate
Wax Paper or Aluminum Foil
Your Photo {printed or copied with dry toner}
Silver Metallic Paint and liner brush {optional}
Creating Your Ornament
Step 1: Trim around your image. Make sure that it has been printed on a laser printer or copied with dry toner. Other kinds of inks aren’t waterproof, so they won’t give you the same result. Also, be sure that if your image has any text involved, you’ve reversed it before printing, or it will be backwards on your finished product!
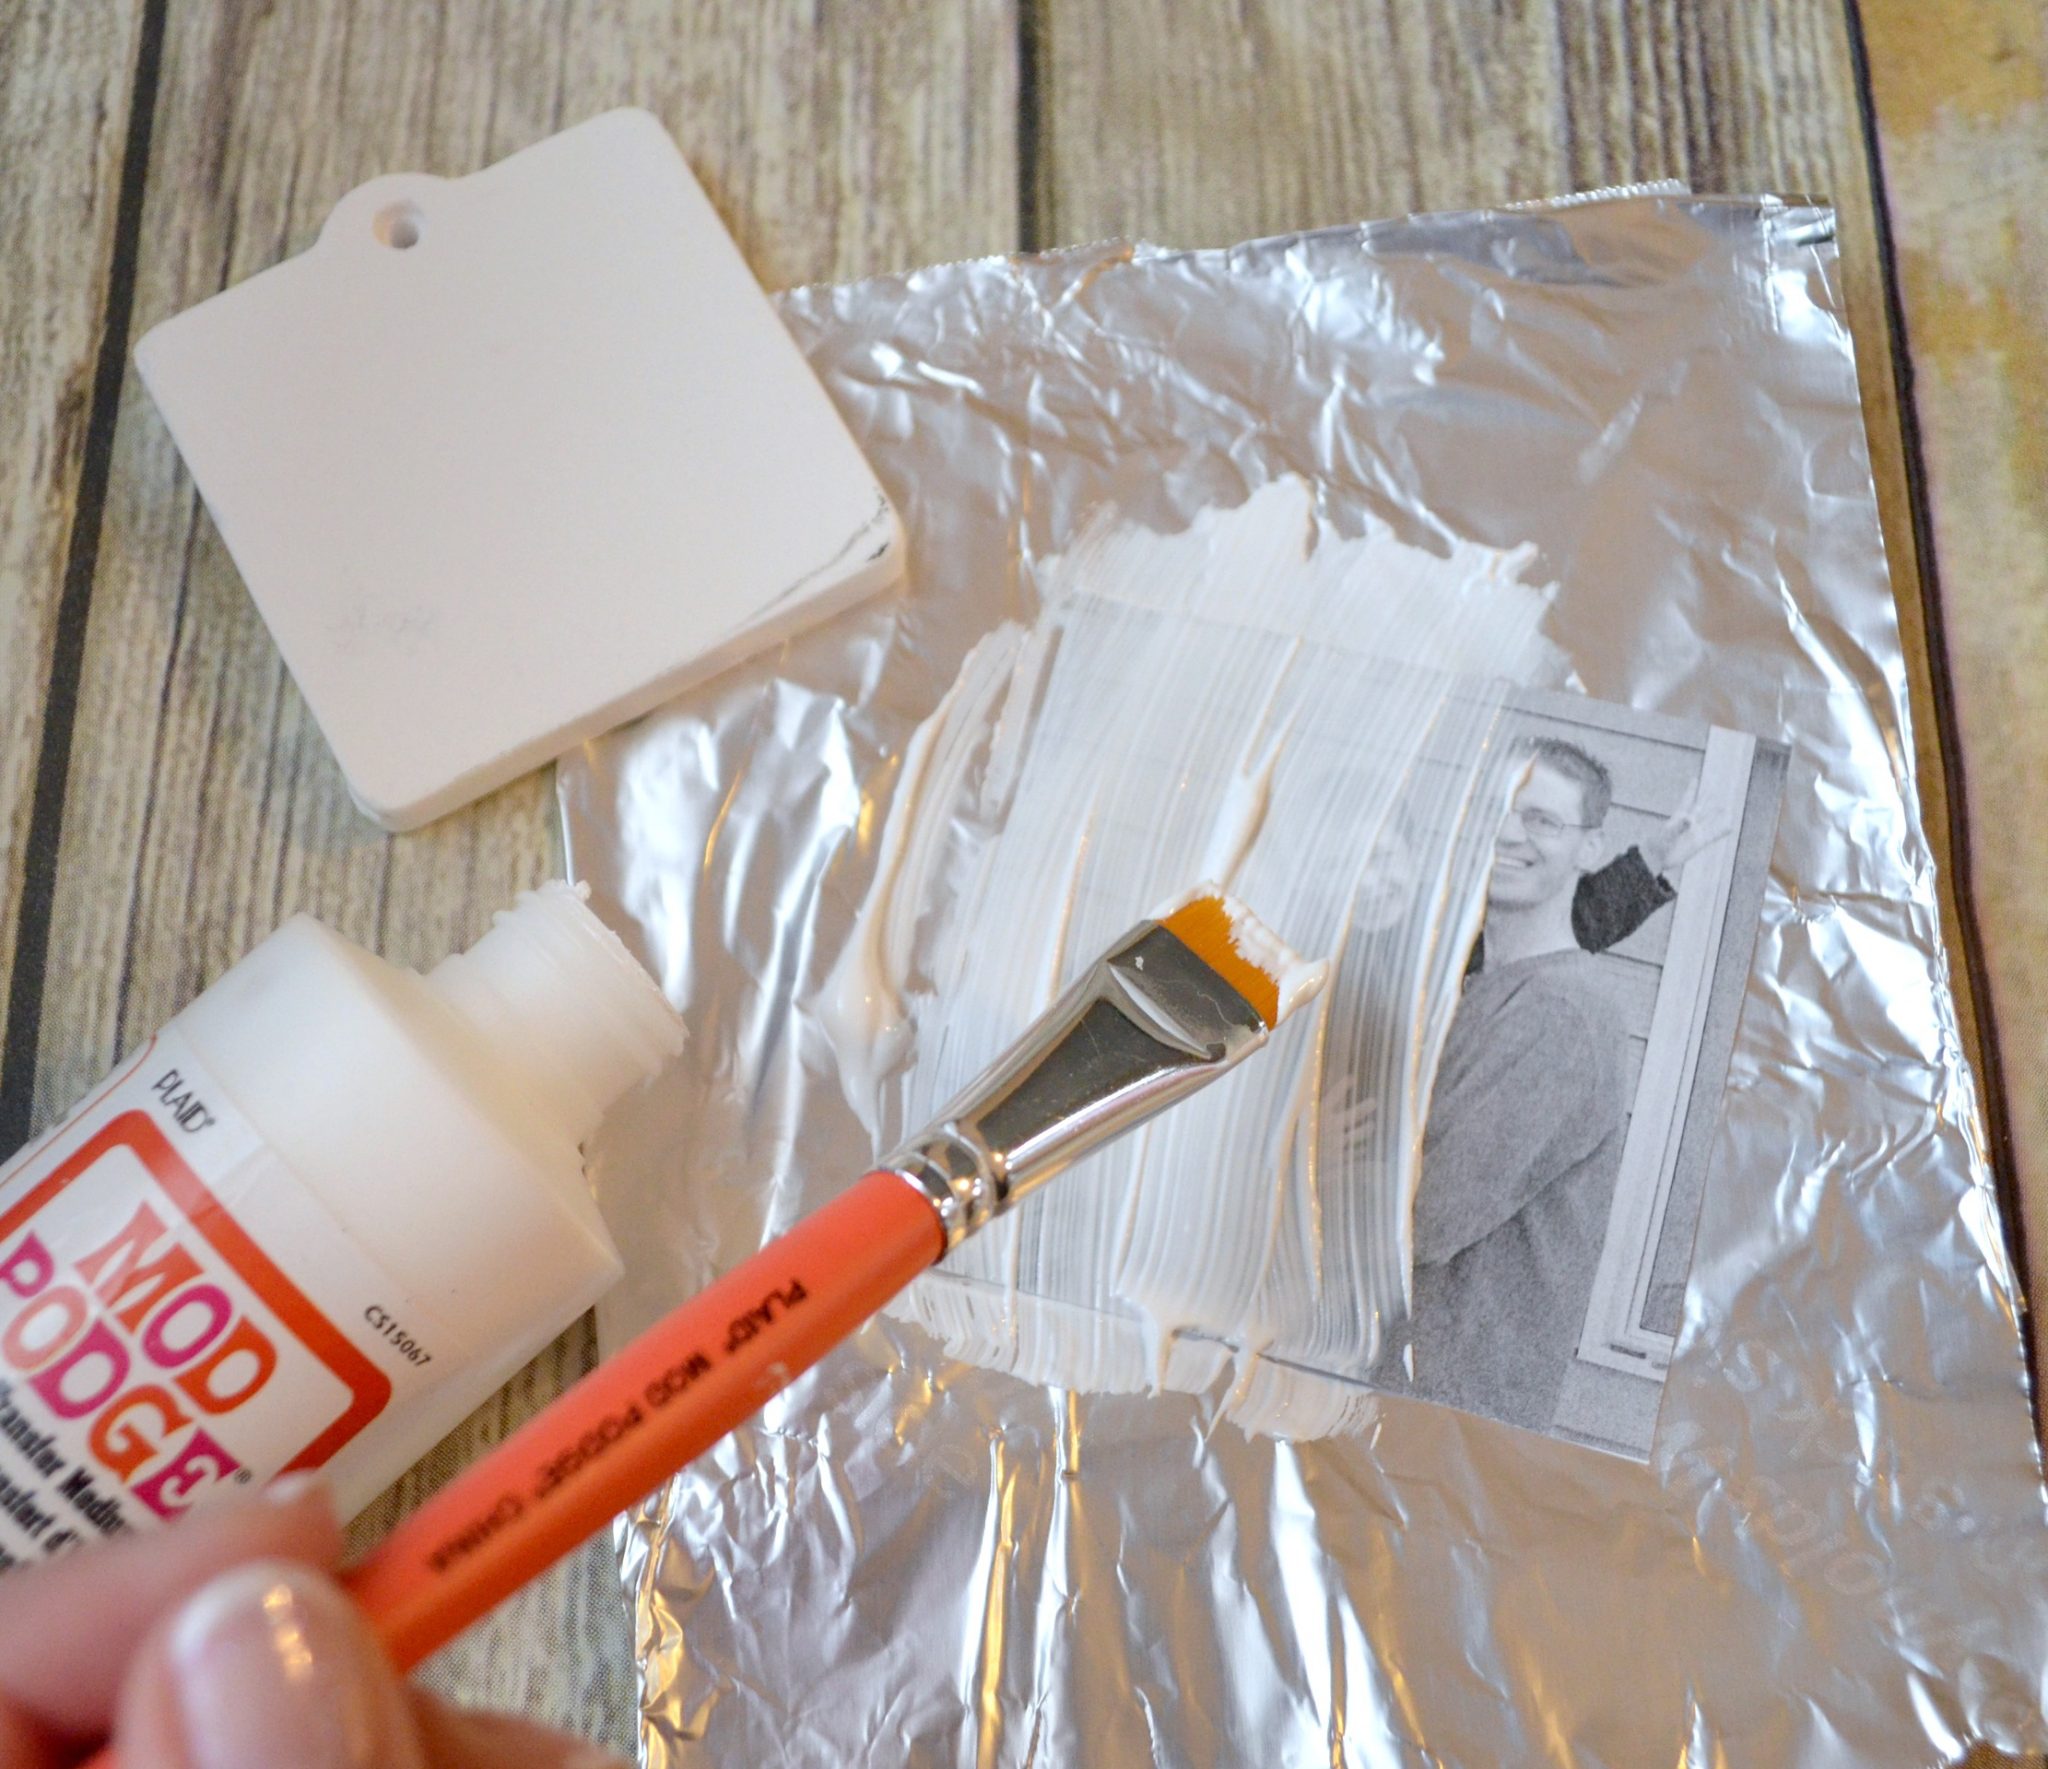
Step 2: Apply a thick, even coat of Mod Podge Photo Transfer Medium that covers the entire image. I like to place my image on aluminum foil or wax paper for this step to protect my work surface. You should barely be able to see the photograph through the Mod Podge when you’re finished.
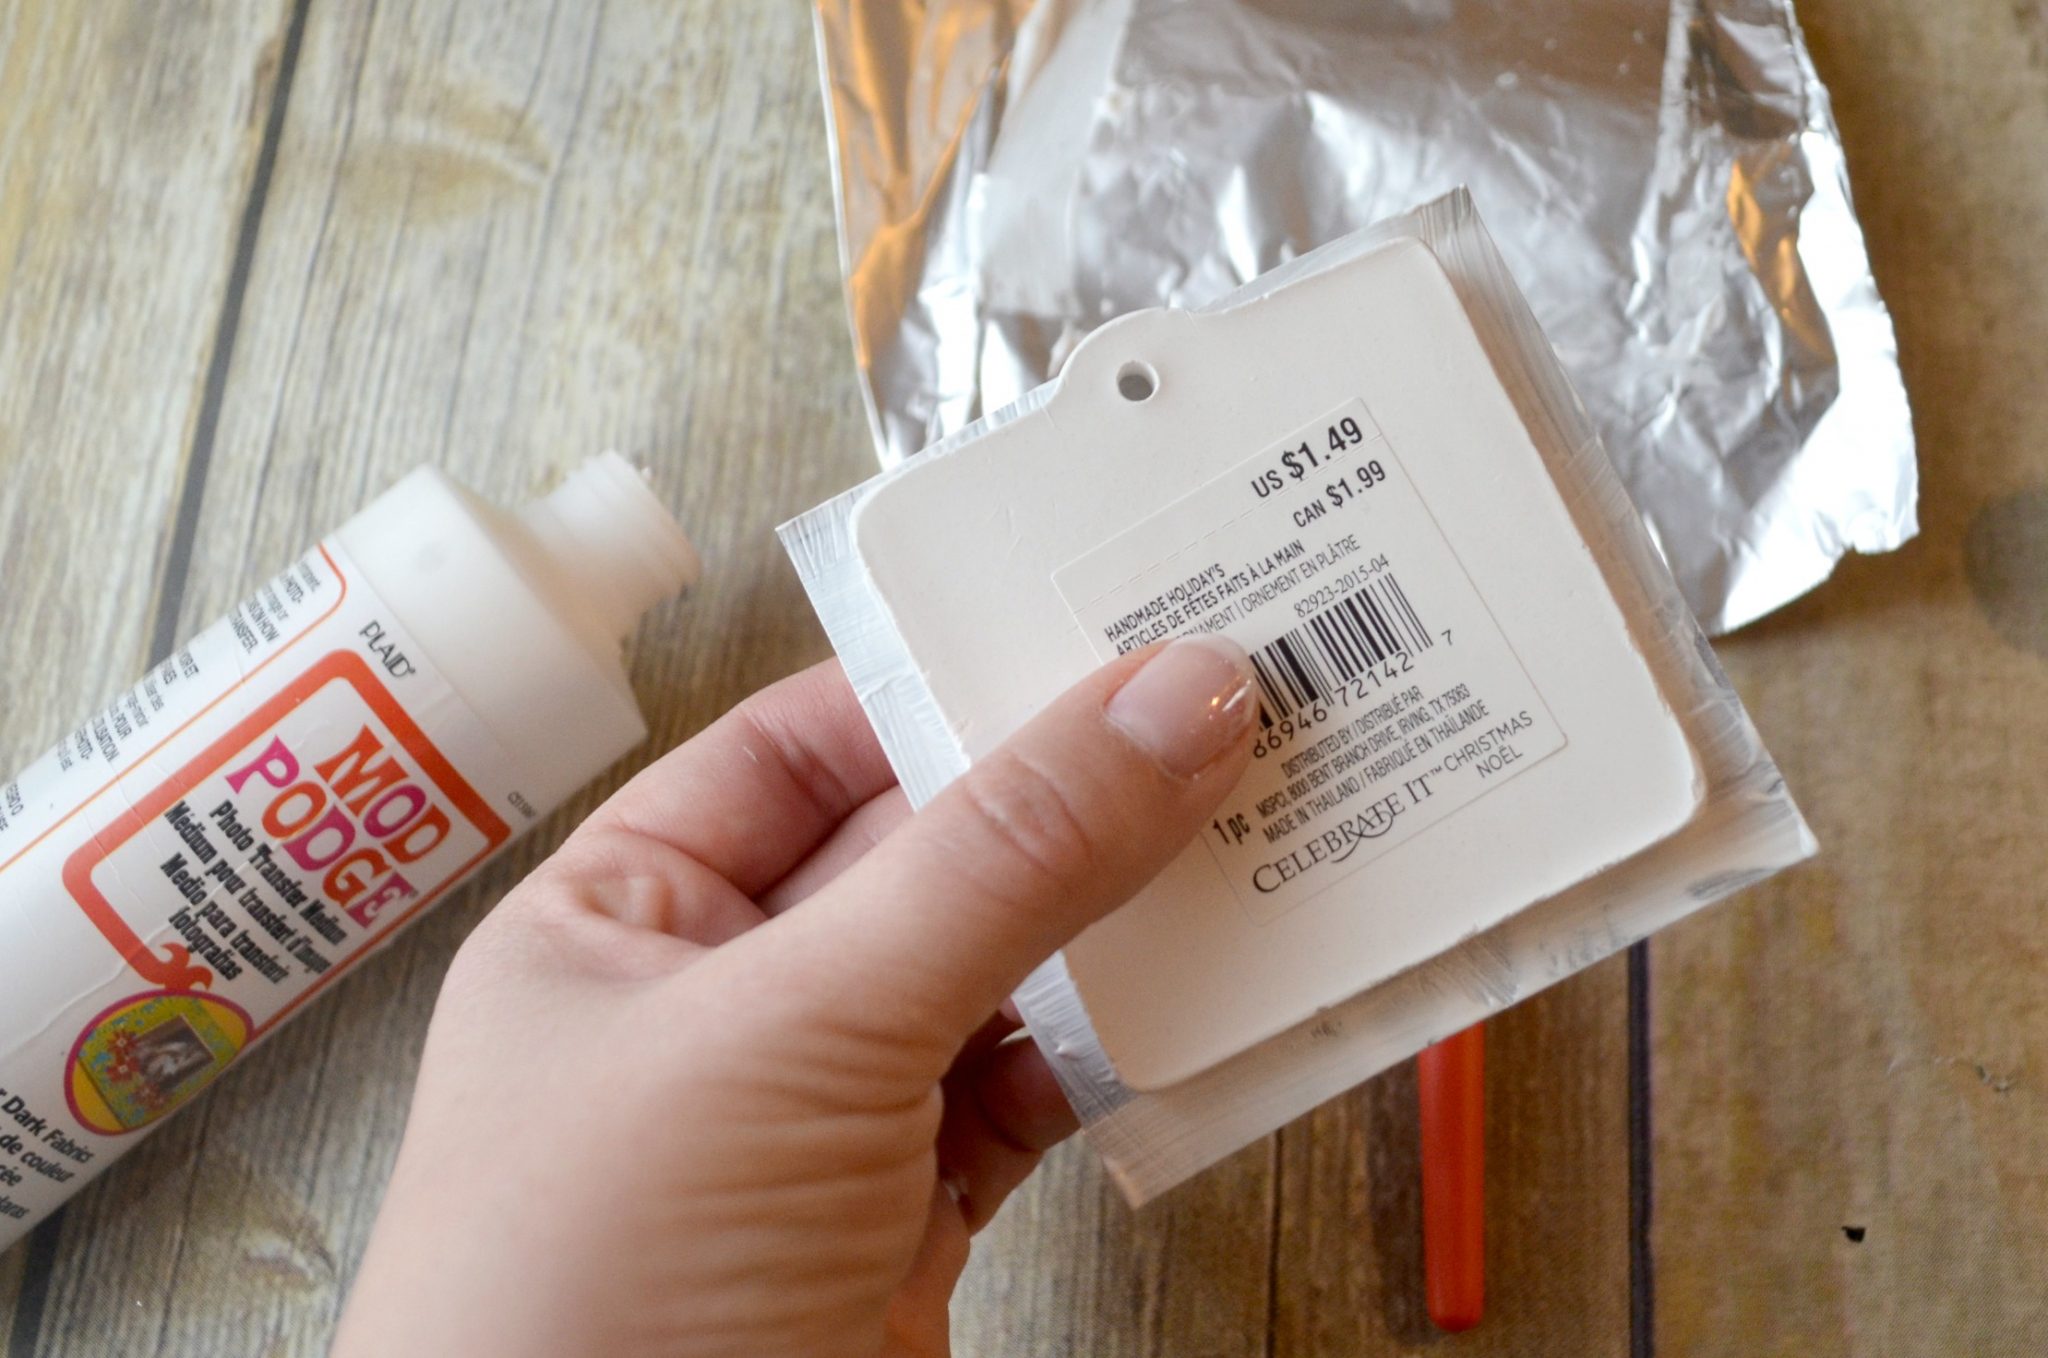
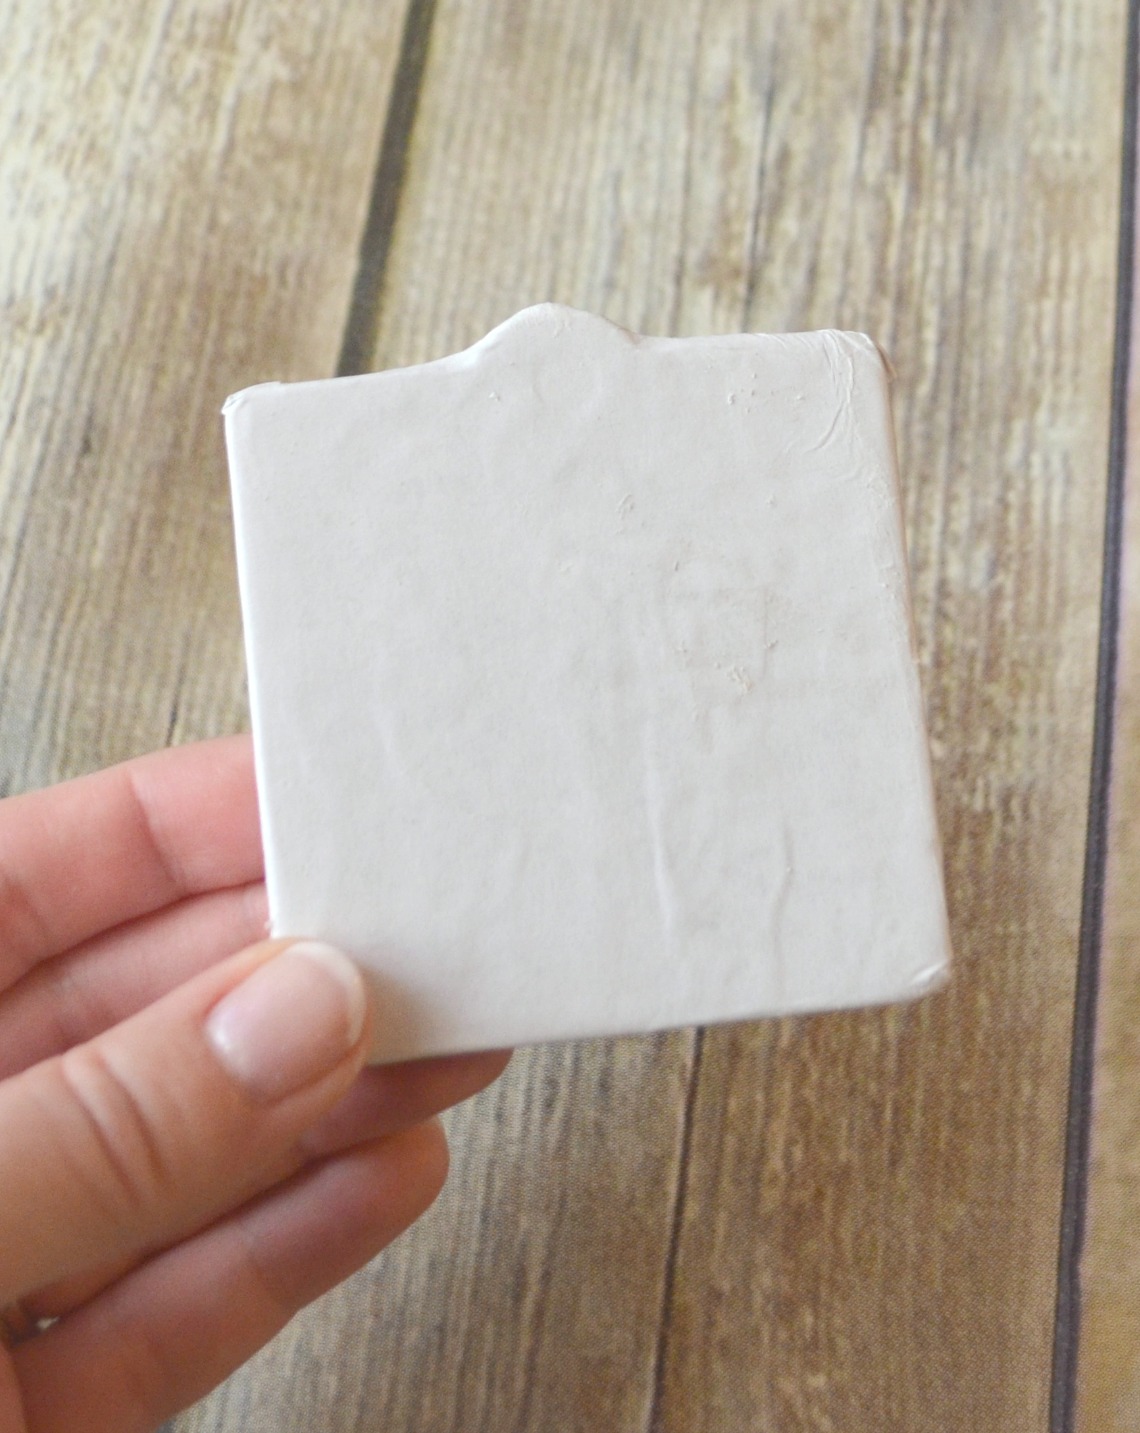
Step 3: Carefully flip your design over and place it on the surface of your ornament. Try to do this without touching the side with the Mod Podge Photo Transfer Medium at all, because you don’t want to remove any of it or make fingerprints. Another option is to flip the ornament facedown and lay it on top of the photo, then turn the whole thing over.
Step 5: Press the design down firmly and make sure to eliminate any bubbles. On a surface like this, I find that my fingers usually do the trick just fine, but if you want to, you can use a brayer or squeegee tool to help.
I wrapped the extra part of my photo around the edges to give the illusion that the image continues onto the sides of the ornament. This way I didn’t have to worry about cutting my photo too small.
Step 5: Wait 24 hours. This is *the* hardest step for me! I am so not a patient person or crafter, and I hate waiting for things, but if you try to move on to the next part too soon, it won’t work {trust me, I know}. The Mod Podge Photo Transfer Medium needs time to do its thing.
Step 6: Wet a sponge or sponge brush and squeeze out the excess water so it’s just damp. Begin applying it to the image. You’ll immediately see the image coming through and the paper starting to peel and roll away. Continue to rub with light pressure, causing the excess paper to be removed, leaving just your transferred design.
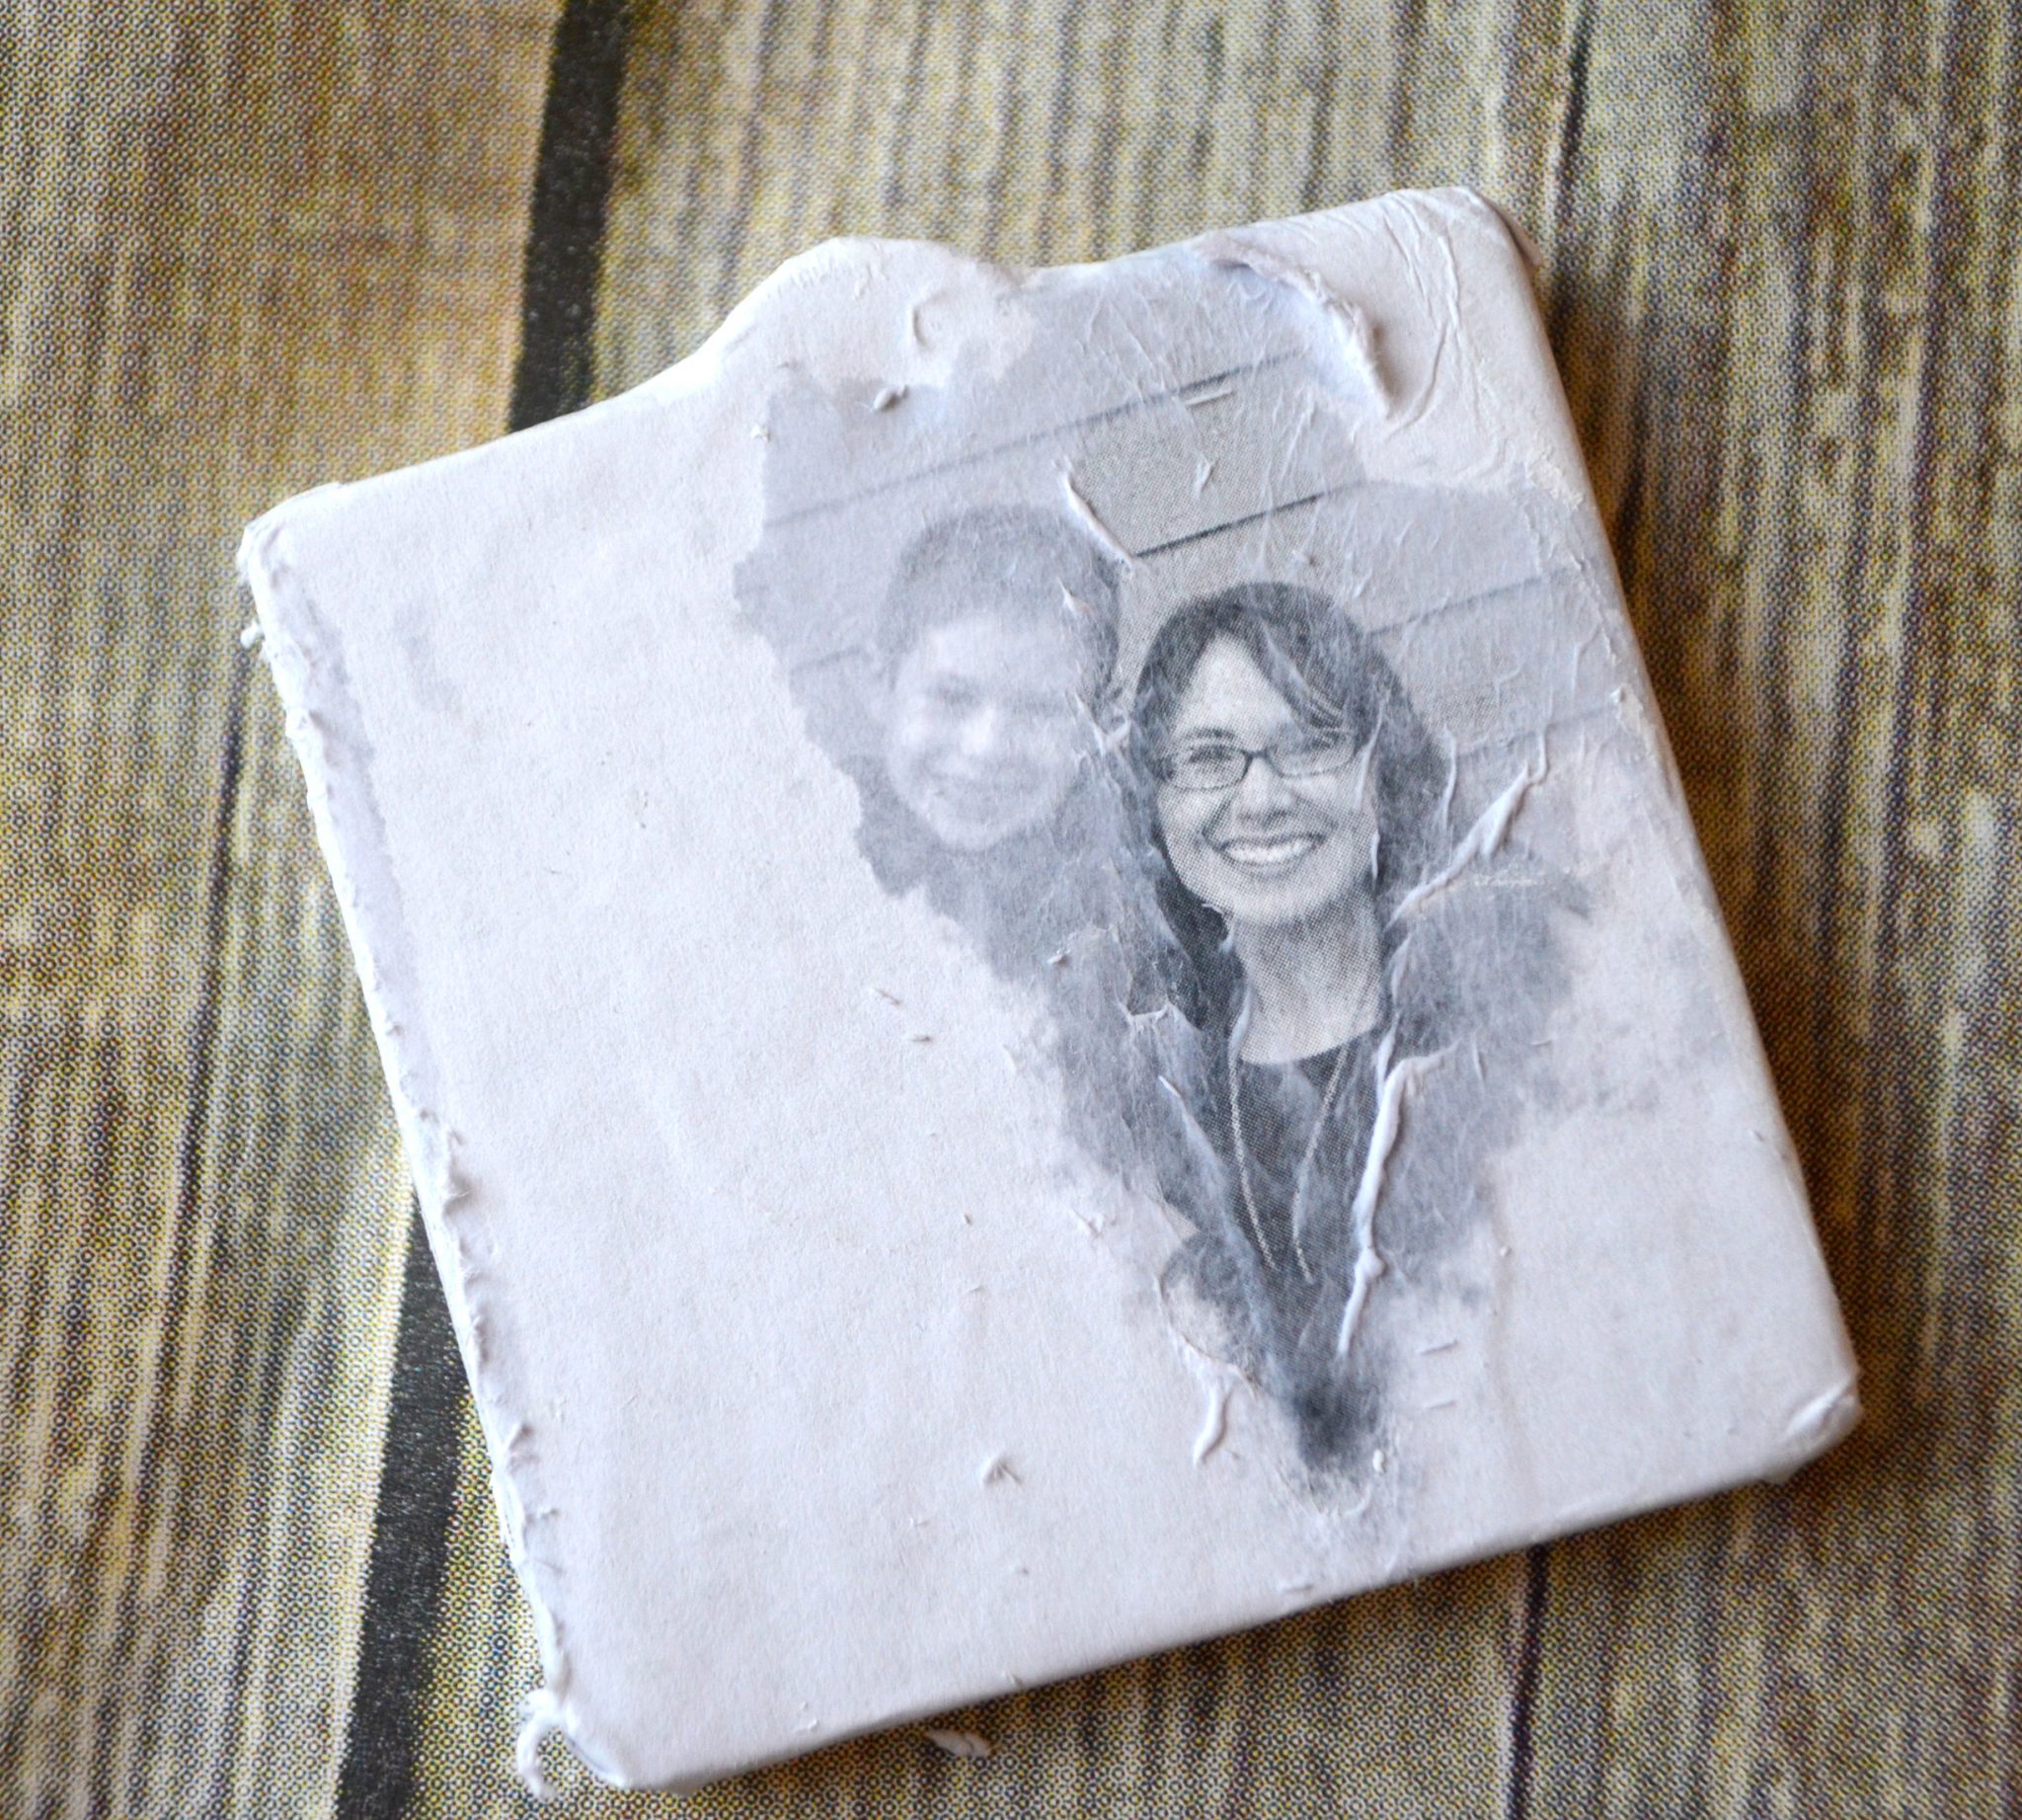
*You will need to repeat step 6 at least once if not more!*
It will seem like you got all the paper off while the design is wet, but as it dries, you’ll notice a white haze that indicates more of the backing is still present. Just continue repeating the step with the wet sponge until all the haze is gone from the dry image. Remember to rub lightly so you don’t disturb your transfer itself.
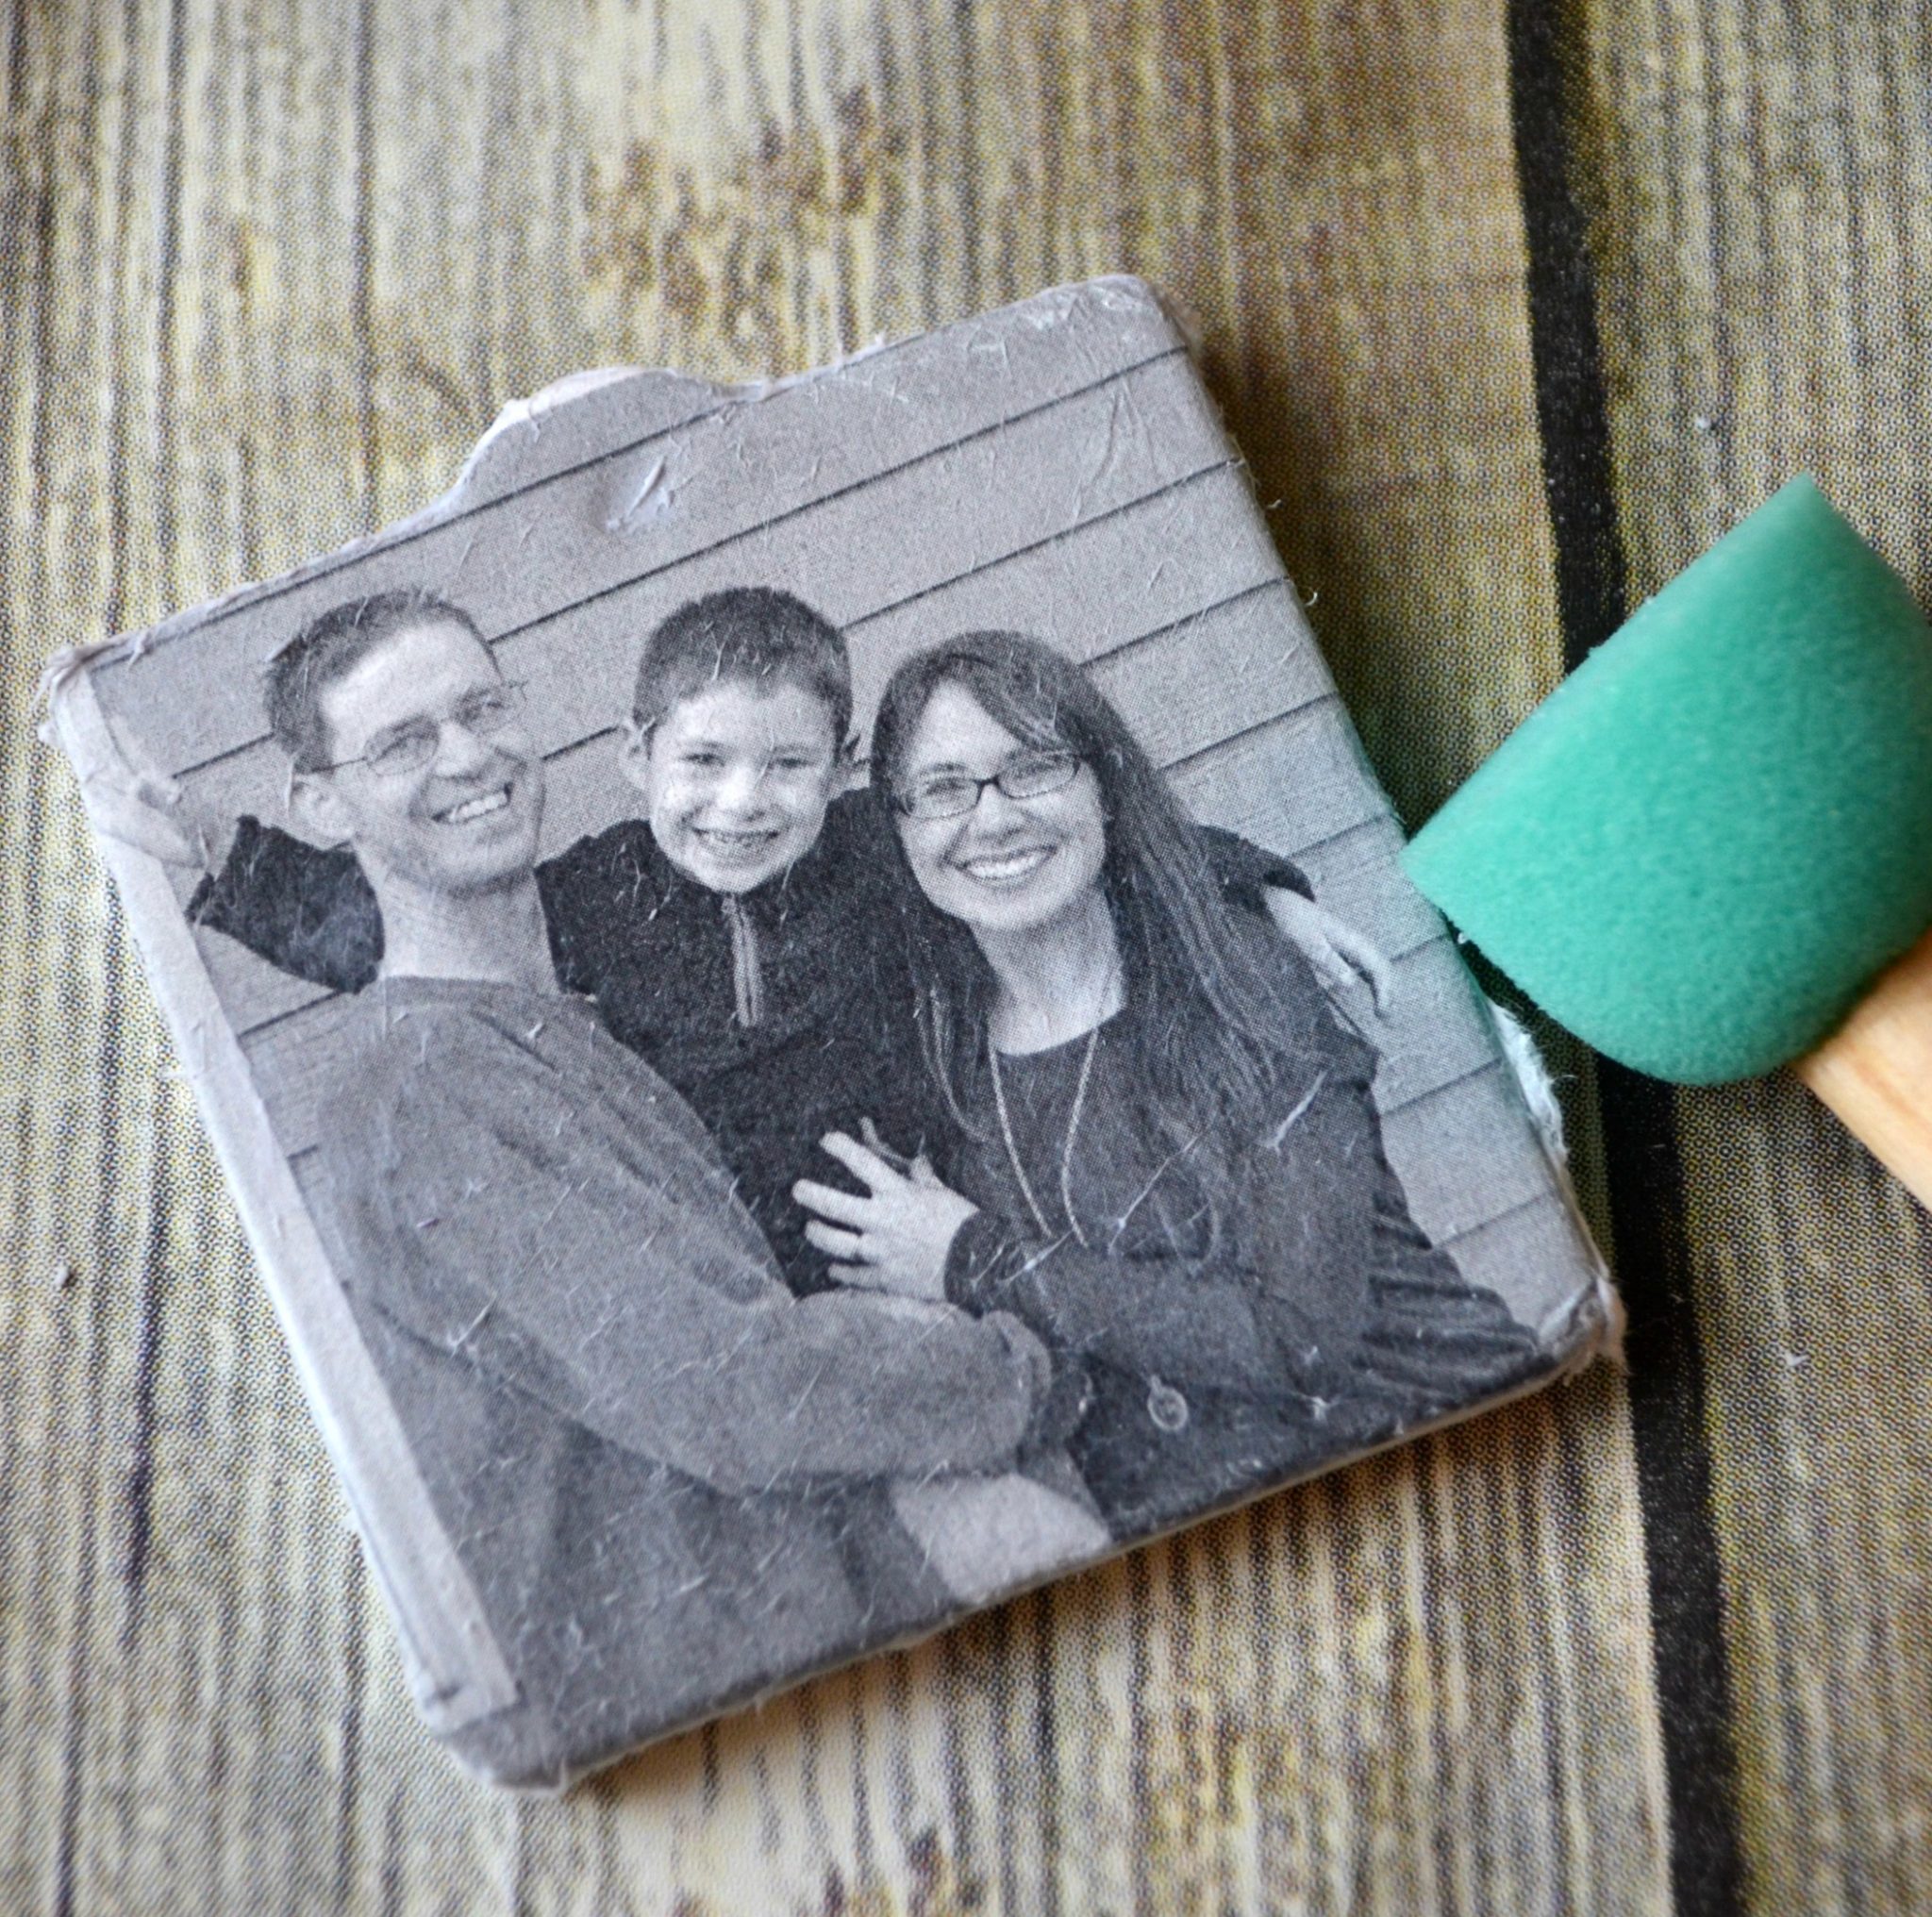
Once you’re sure you’ve successfully removed all the extra paper from your image, it’s time to finish up the ornament by adding a few special touches.
Step 7: Gently pierce the image where the hole of the ornament is. You can put the ribbon hanger back in now or wait until the glitter is finished. If you do replace it now, make sure not to tie it yet so that you have easy access to the top side of the ornament.
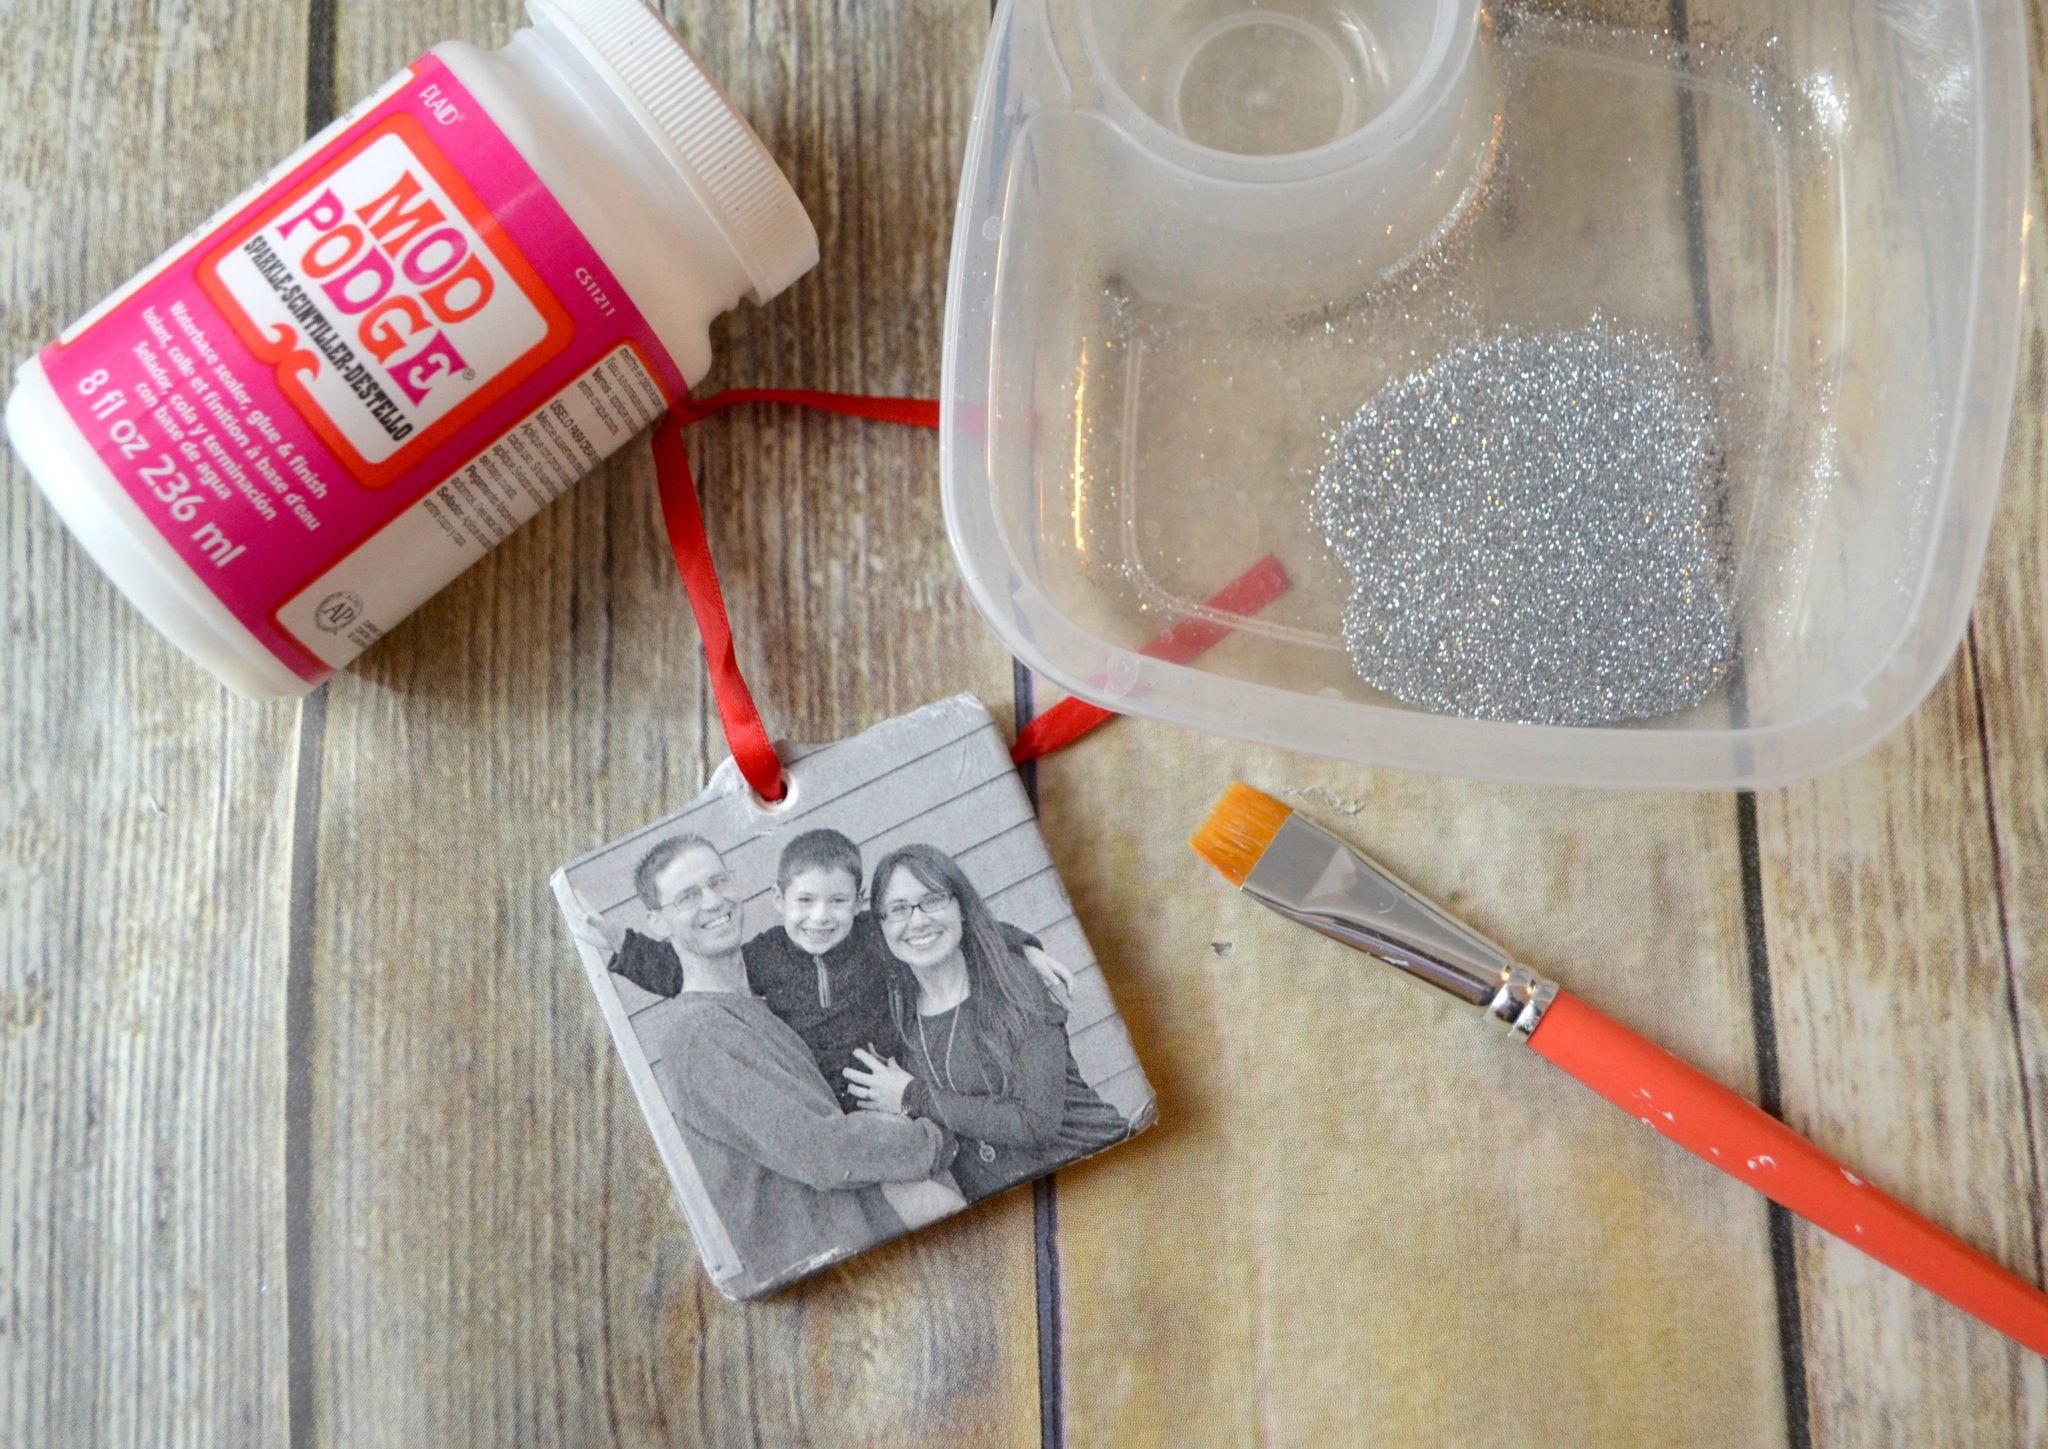
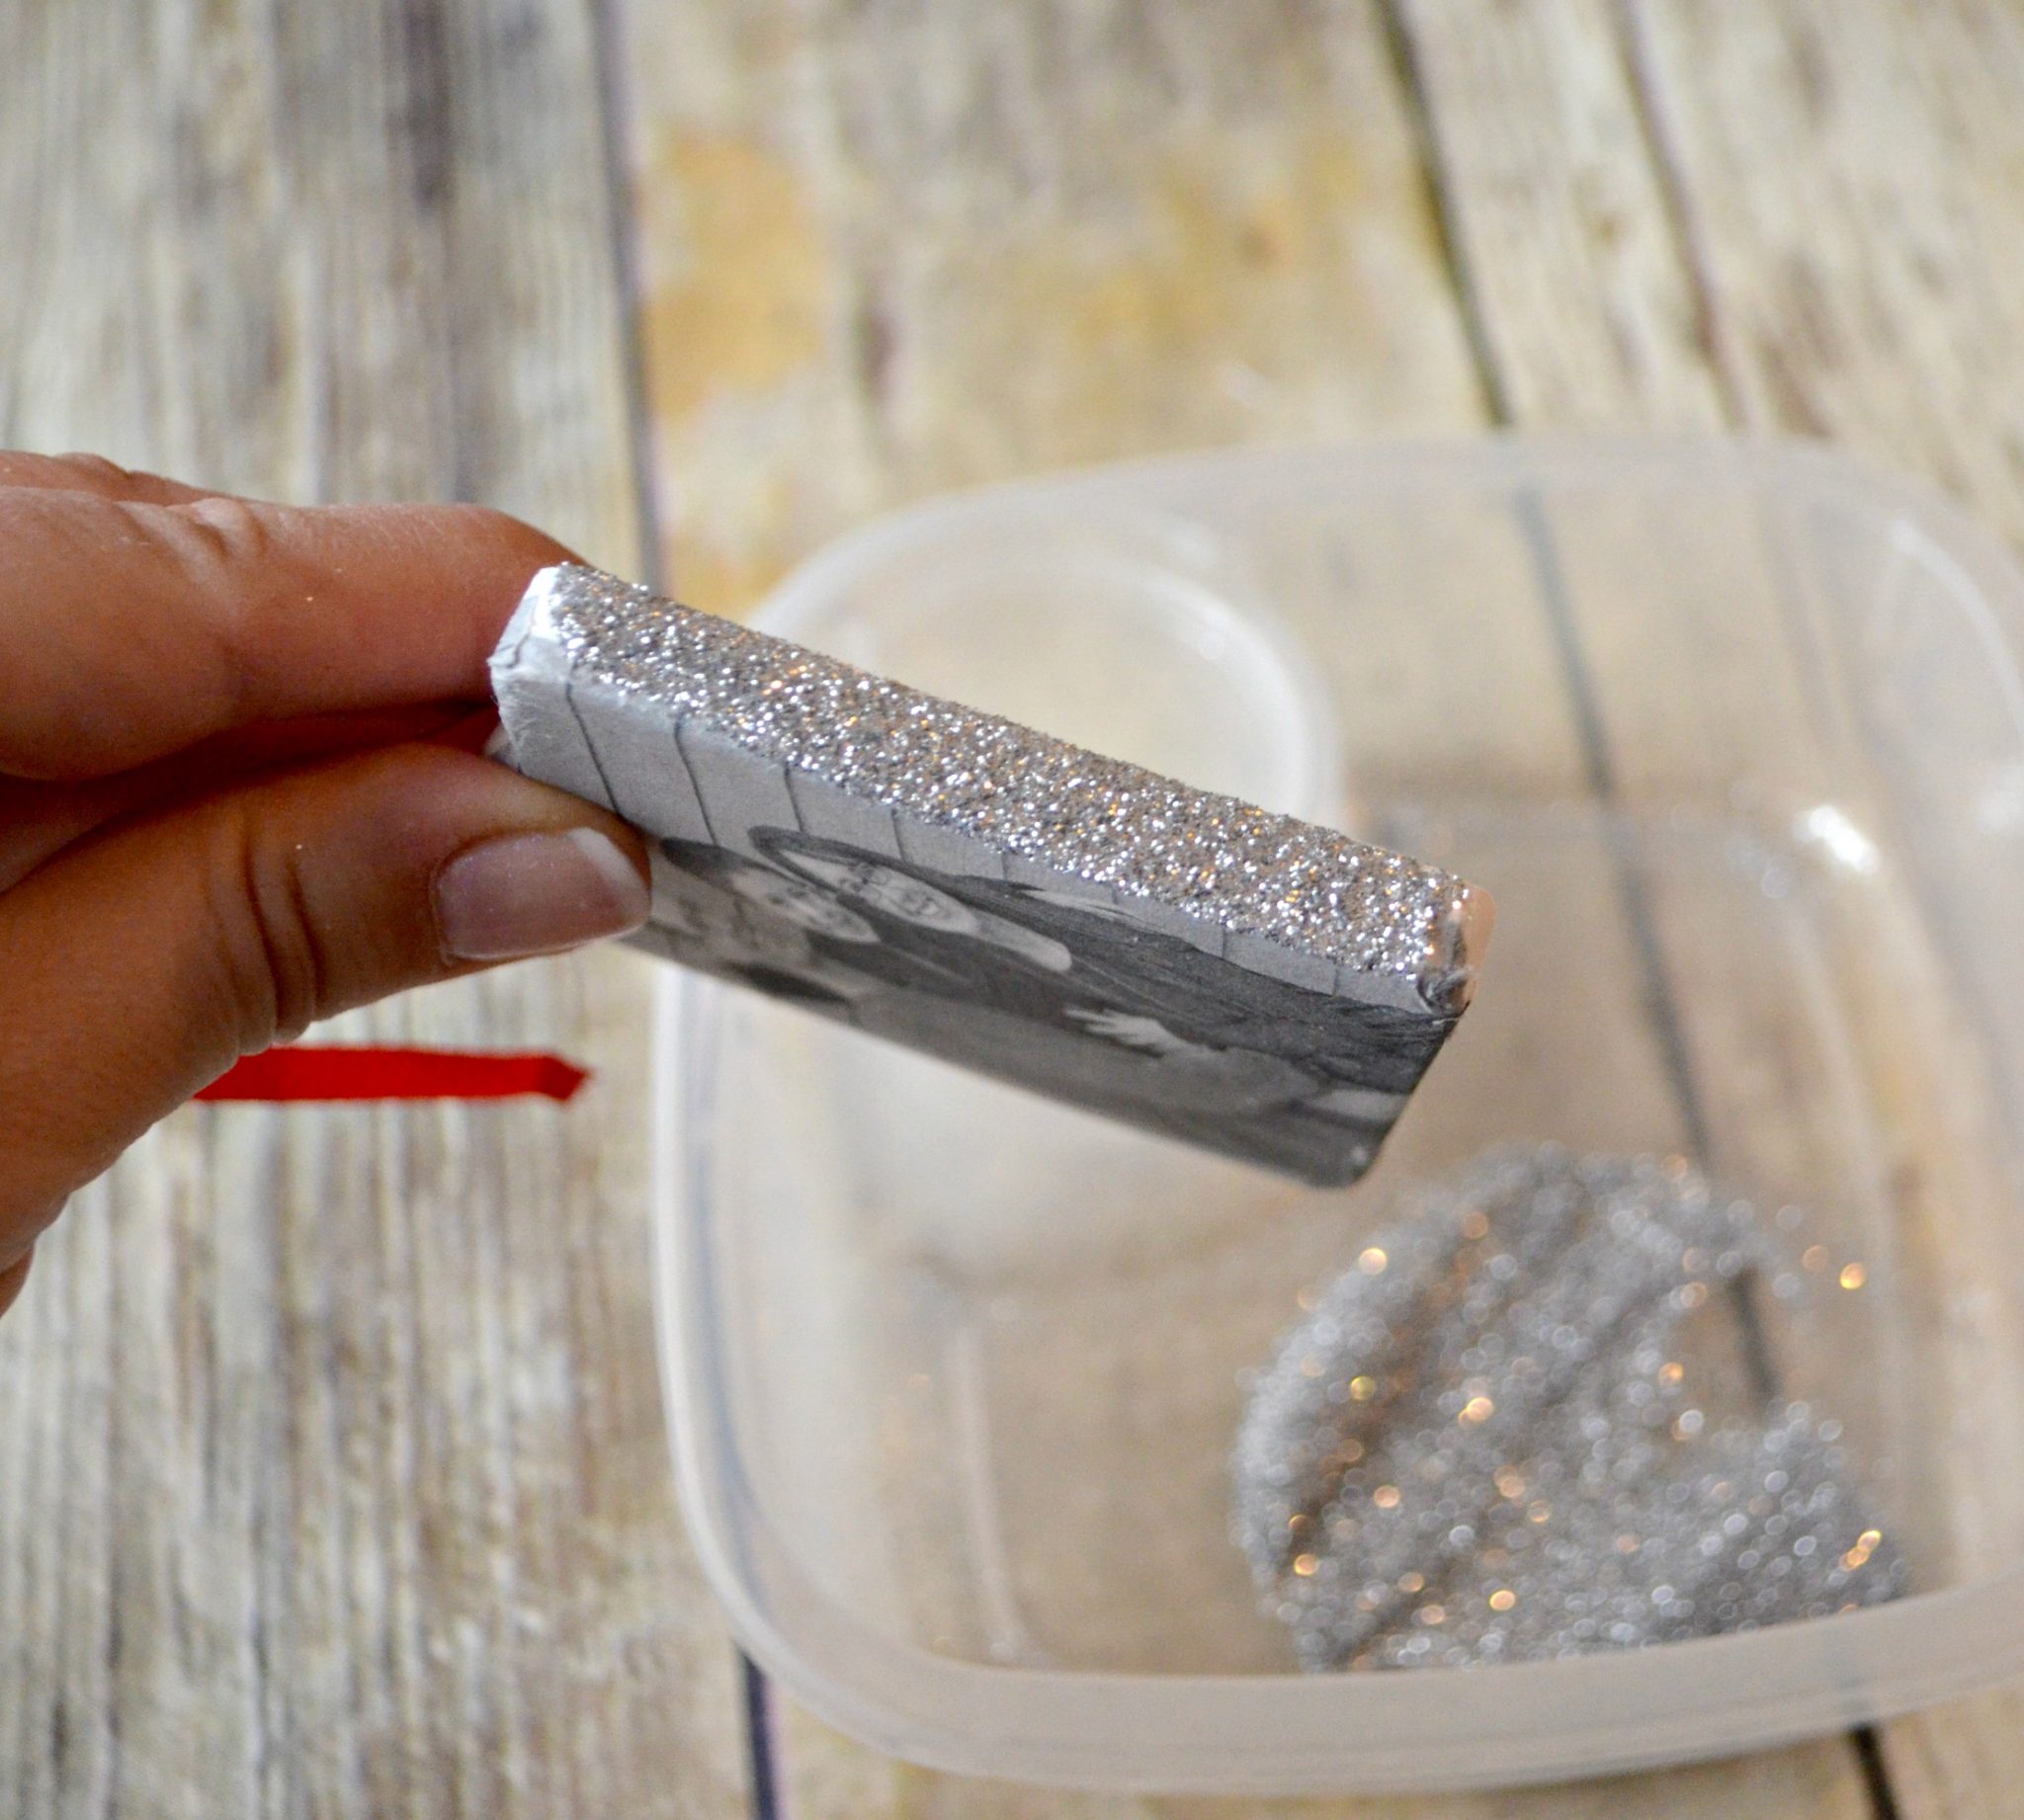
Step 8: Pour some glitter into a shallow dish that your ornament fits into easily. Apply a coat of Mod Podge Sparkle to one side of the ornament, then dip that side into the glitter. Continue working around the sides of your ornament until the whole thing is glittered!
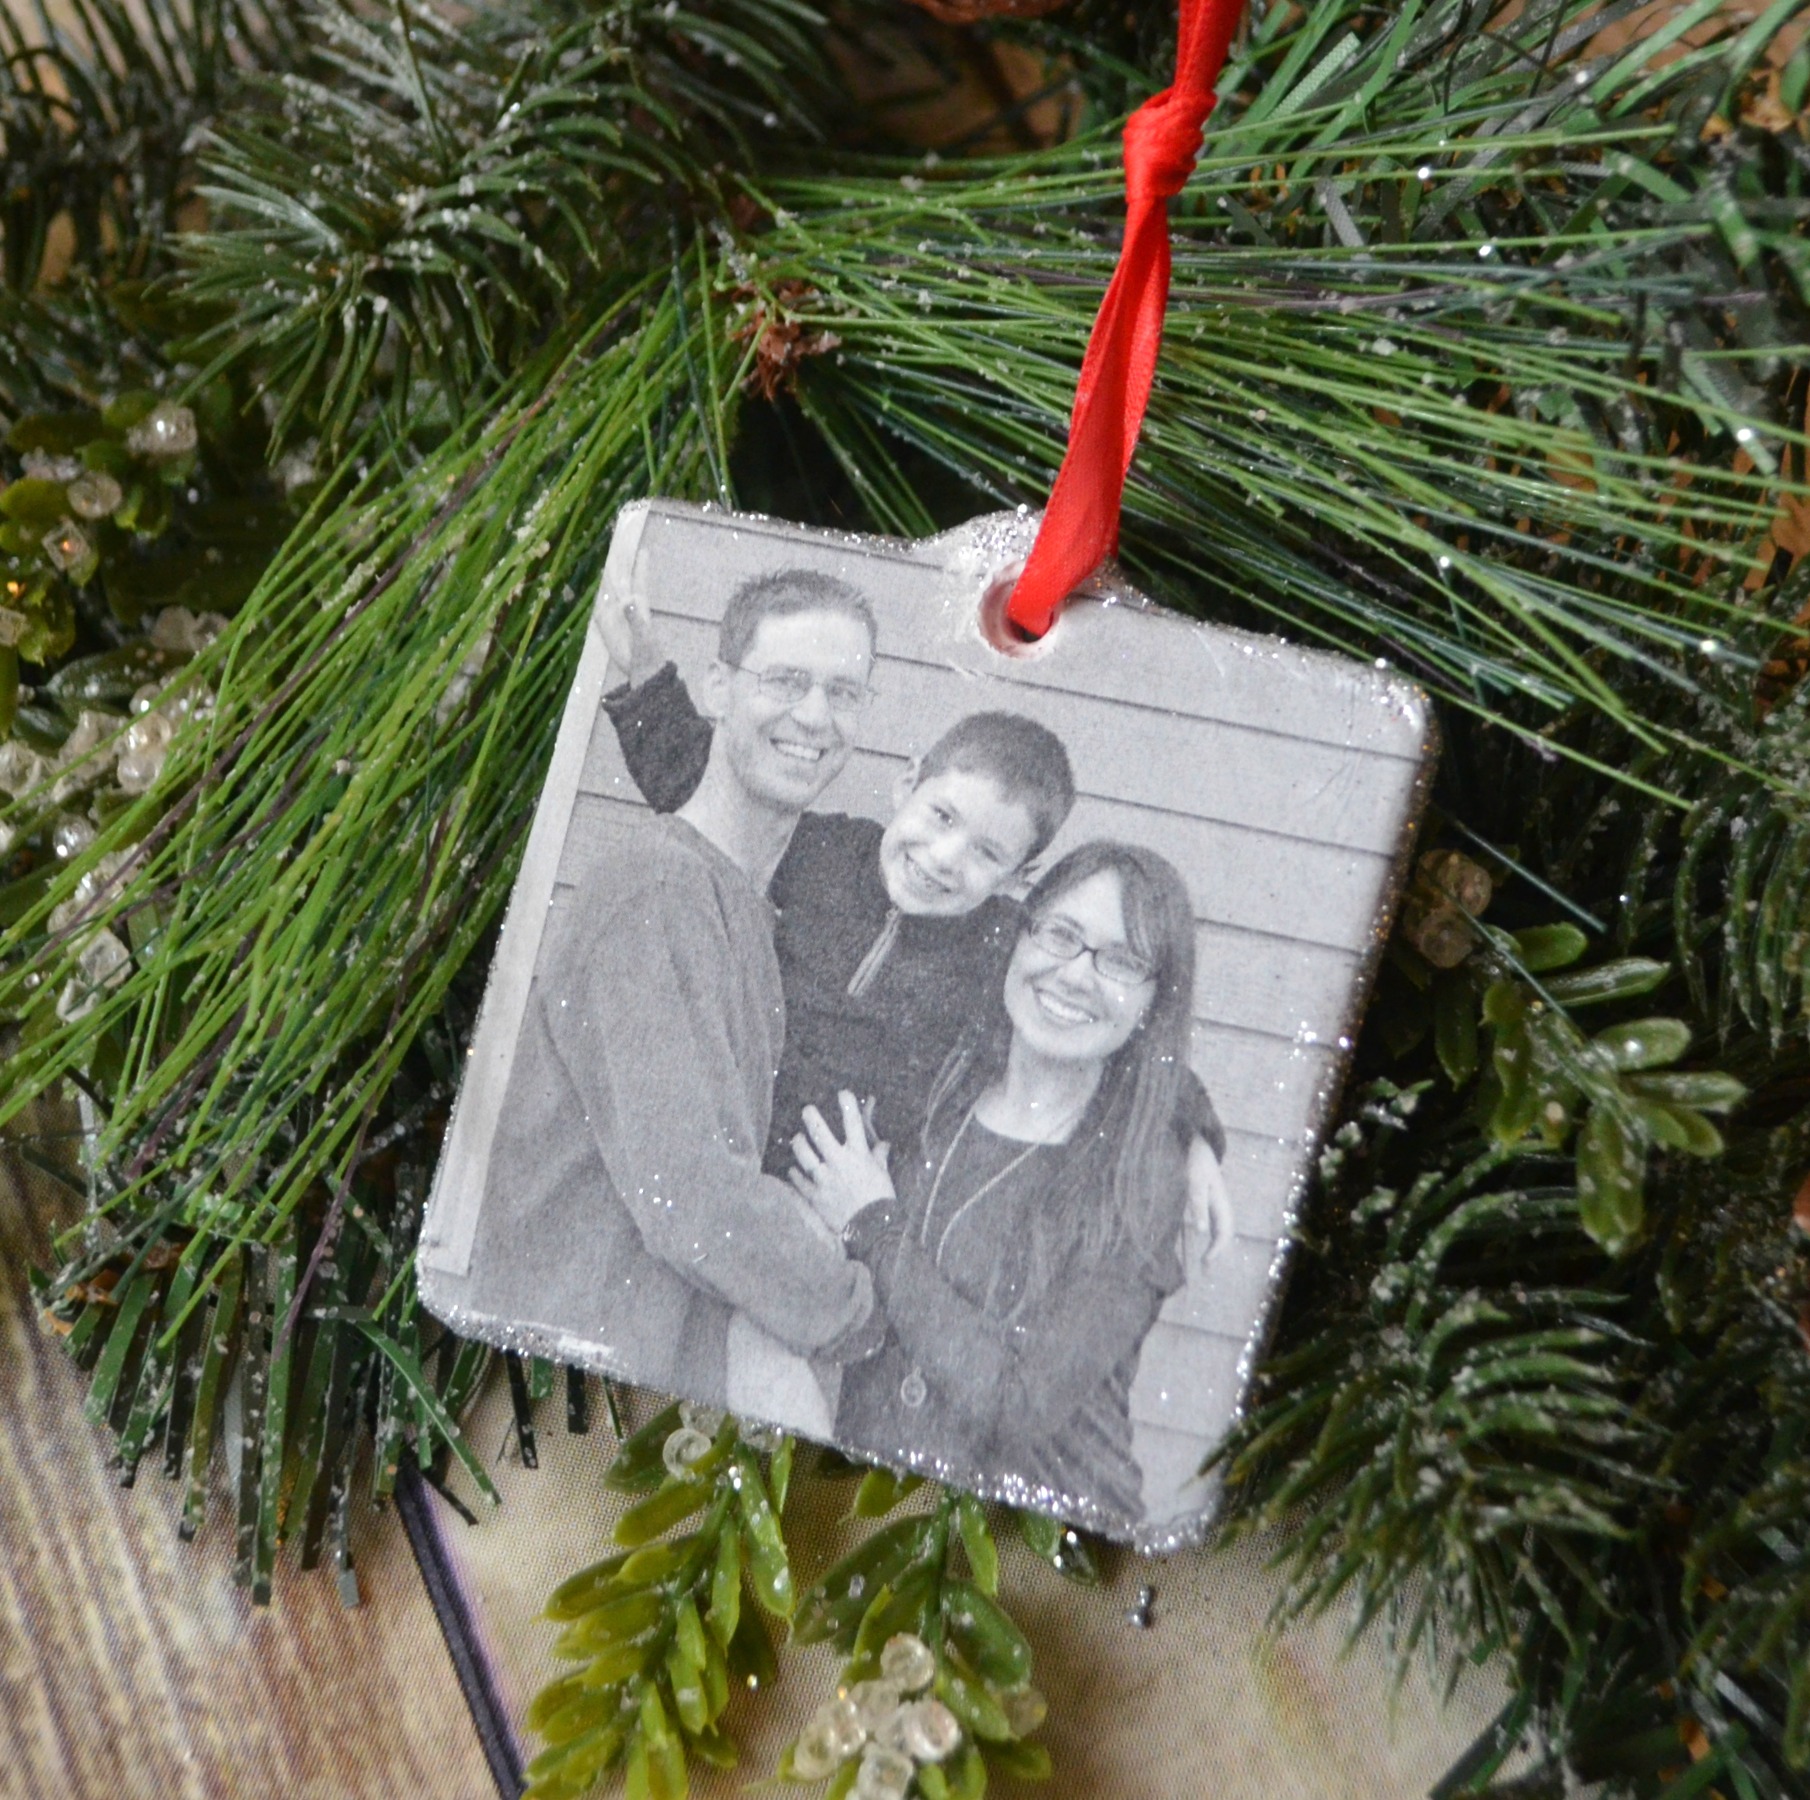
Step 9: Tie your ribbon hanger. I chose to use the original ribbon because I have a lot of red on my tree, but you can use any color and style you like! If you are pleased with your ornament as is, you can stop right here. If you want to make it even more personal, though, you can add one more finishing touch.
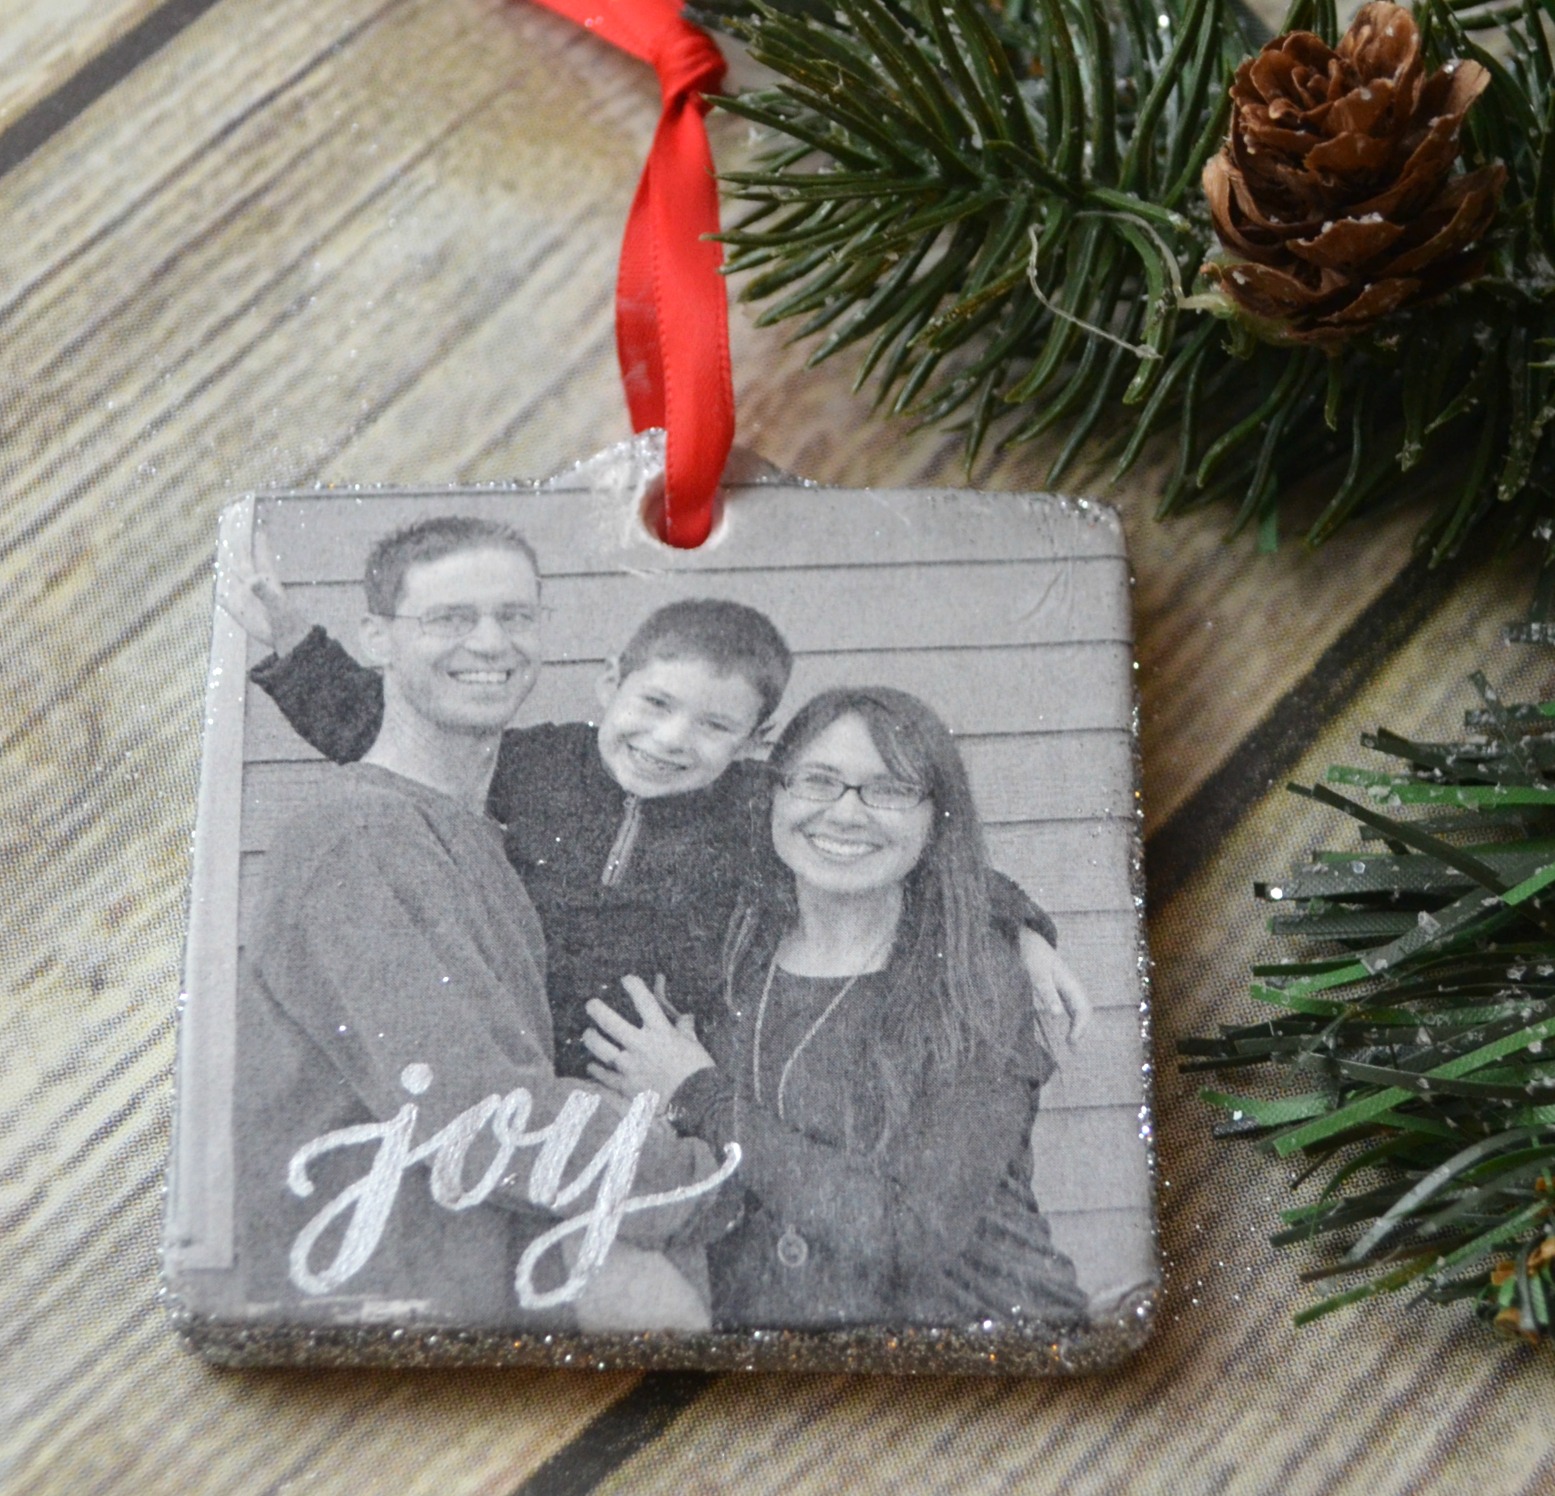
Step 10: {optional} Hand letter a message, name, or date on top of your photo. If you’ve never tried hand lettering before, I have a super-easy, step-by-step photo tutorial that will get you started. Or, you can use alphabet stickers instead.
Once everything is dry, your ornament/gift tag is ready to be displayed on your tree or tied onto a loved one’s present.
I don’t know about you, but I’d love to find one of these attached to my Christmas gifts. These little ornaments are an inexpensive way to personalize your packages and they’re something the recipient can enjoy for years to come.
There are a few thing to note about Mod Podge Photo Transfer before you begin working with it. First, there is definitely a learning curve. Make sure you follow the instructions, like using the proper kind of ink and waiting the allotted amount of time, so that your project has the best possible chance to be successful. The amount of Mod Podge you apply matters too; if you don’t use a thick enough coat, your image will not transfer, so apply it liberally. Another note is that if you’re working with a text only image, the text as well as the white background will transfer. I was imagining that somehow just the ink would stay and the background would all disappear, but that’s not what happens. I confess that I had a few craft fails before I got the hang of it, so don’t be frustrated if you do too. You can do it!
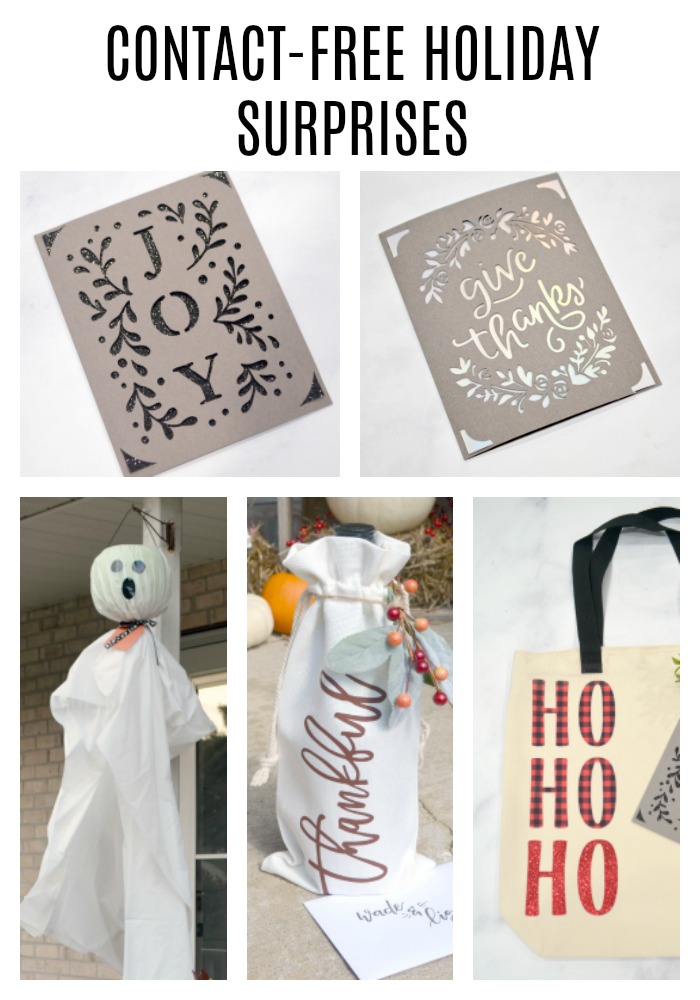
Today, the other Plaid Creators are also sharing creative DIY ideas using Mod Podge Photo Transfer, so be sure to stop by their blogs and check out all the other fun things you can make this holiday season or anytime!
Hope you enjoy all the projects! For more inspiration, make sure you’re following Plaid Crafts on Facebook, Twitter, Pinterest, Instagram, and their blog The Plaid Palette.