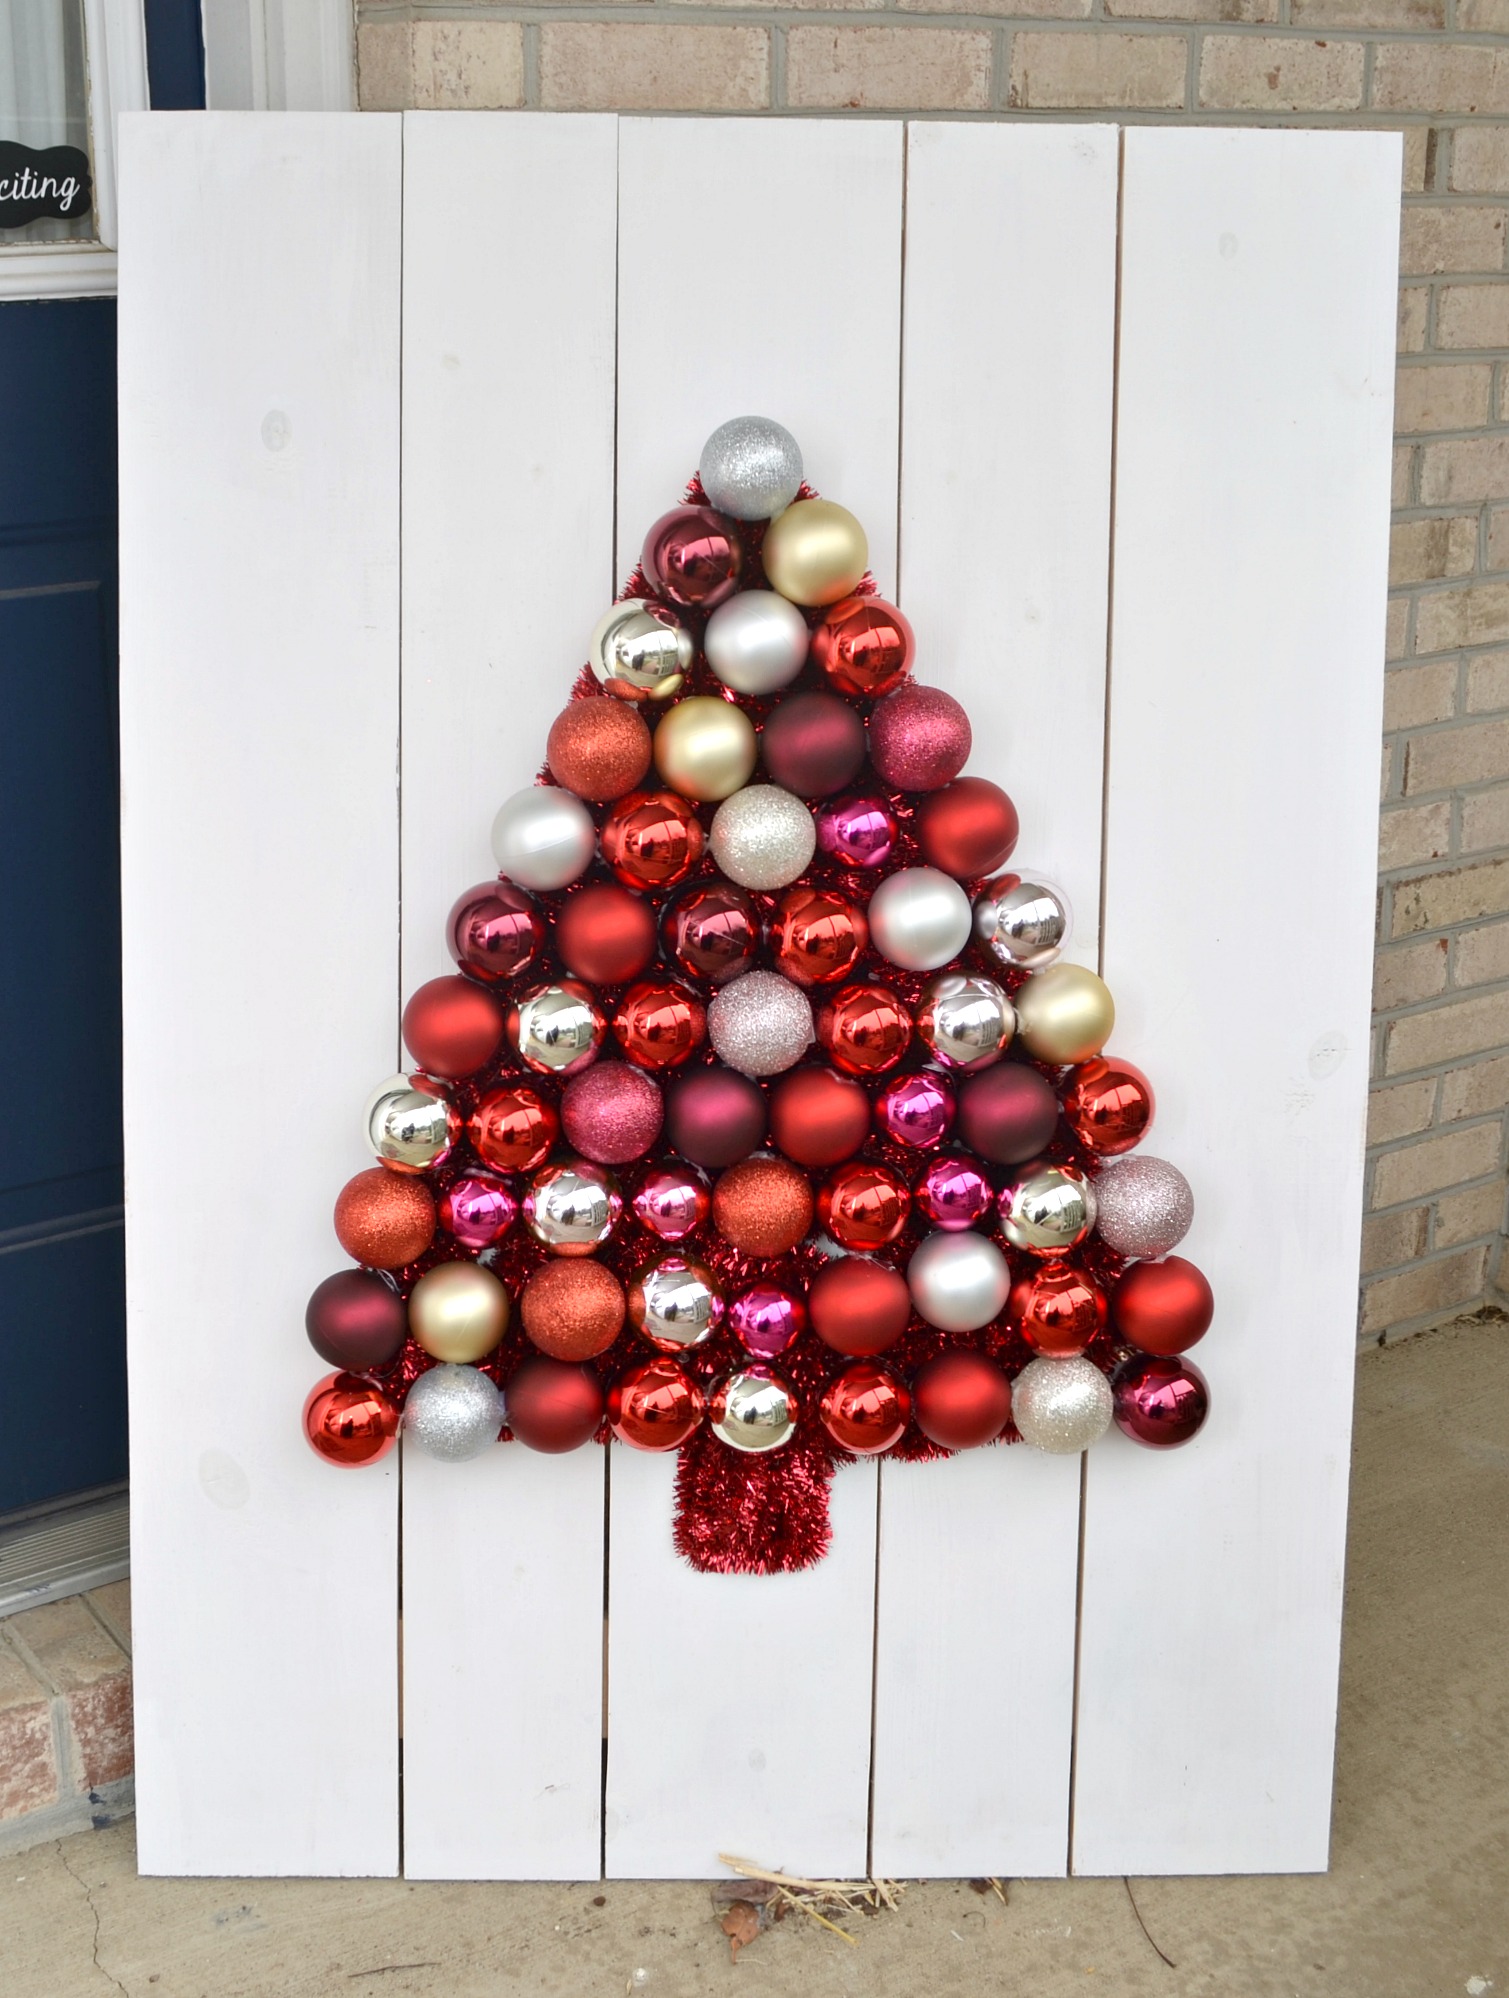
DIY Ornament Tree Display
Friends, today I want to share with you a project that’s without a doubt the biggest Christmas decoration I’ve ever created. In fact, aside from our tree itself, it’s the largest piece of holiday decor I own, my DIY Ornament Tree Display.
Before I start, though, I need to make sure to give credit where it’s due. This project was not my own idea, it was the topic of December’s DIY Workshop at Home Depot. I first saw it on a television commercial, then it started popping up on some friends’ blogs and I knew I had to have one too! I got the official Home Depot instructions and bought my materials. Although I do own the tools to cut the lumber myself, I had a friendly associate do the cutting for me in store so I didn’t have to worry about fitting those long boards in my car! This is NOT a sponsored post, I wasn’t part of the Home Depot campaign, I just saw it and wanted to do it and then I had to share it with you!
FolkArt Home Decor Chalk paint in Adirondack White
Assorted Ornaments {I used 65}
Hot Glue Gun and Glue Sticks
I used two coats of FolkArt Home Decor Chalk in White Adirondack to create a pretty matte finish.

Step 4: Arrange and glue your ornaments in place.
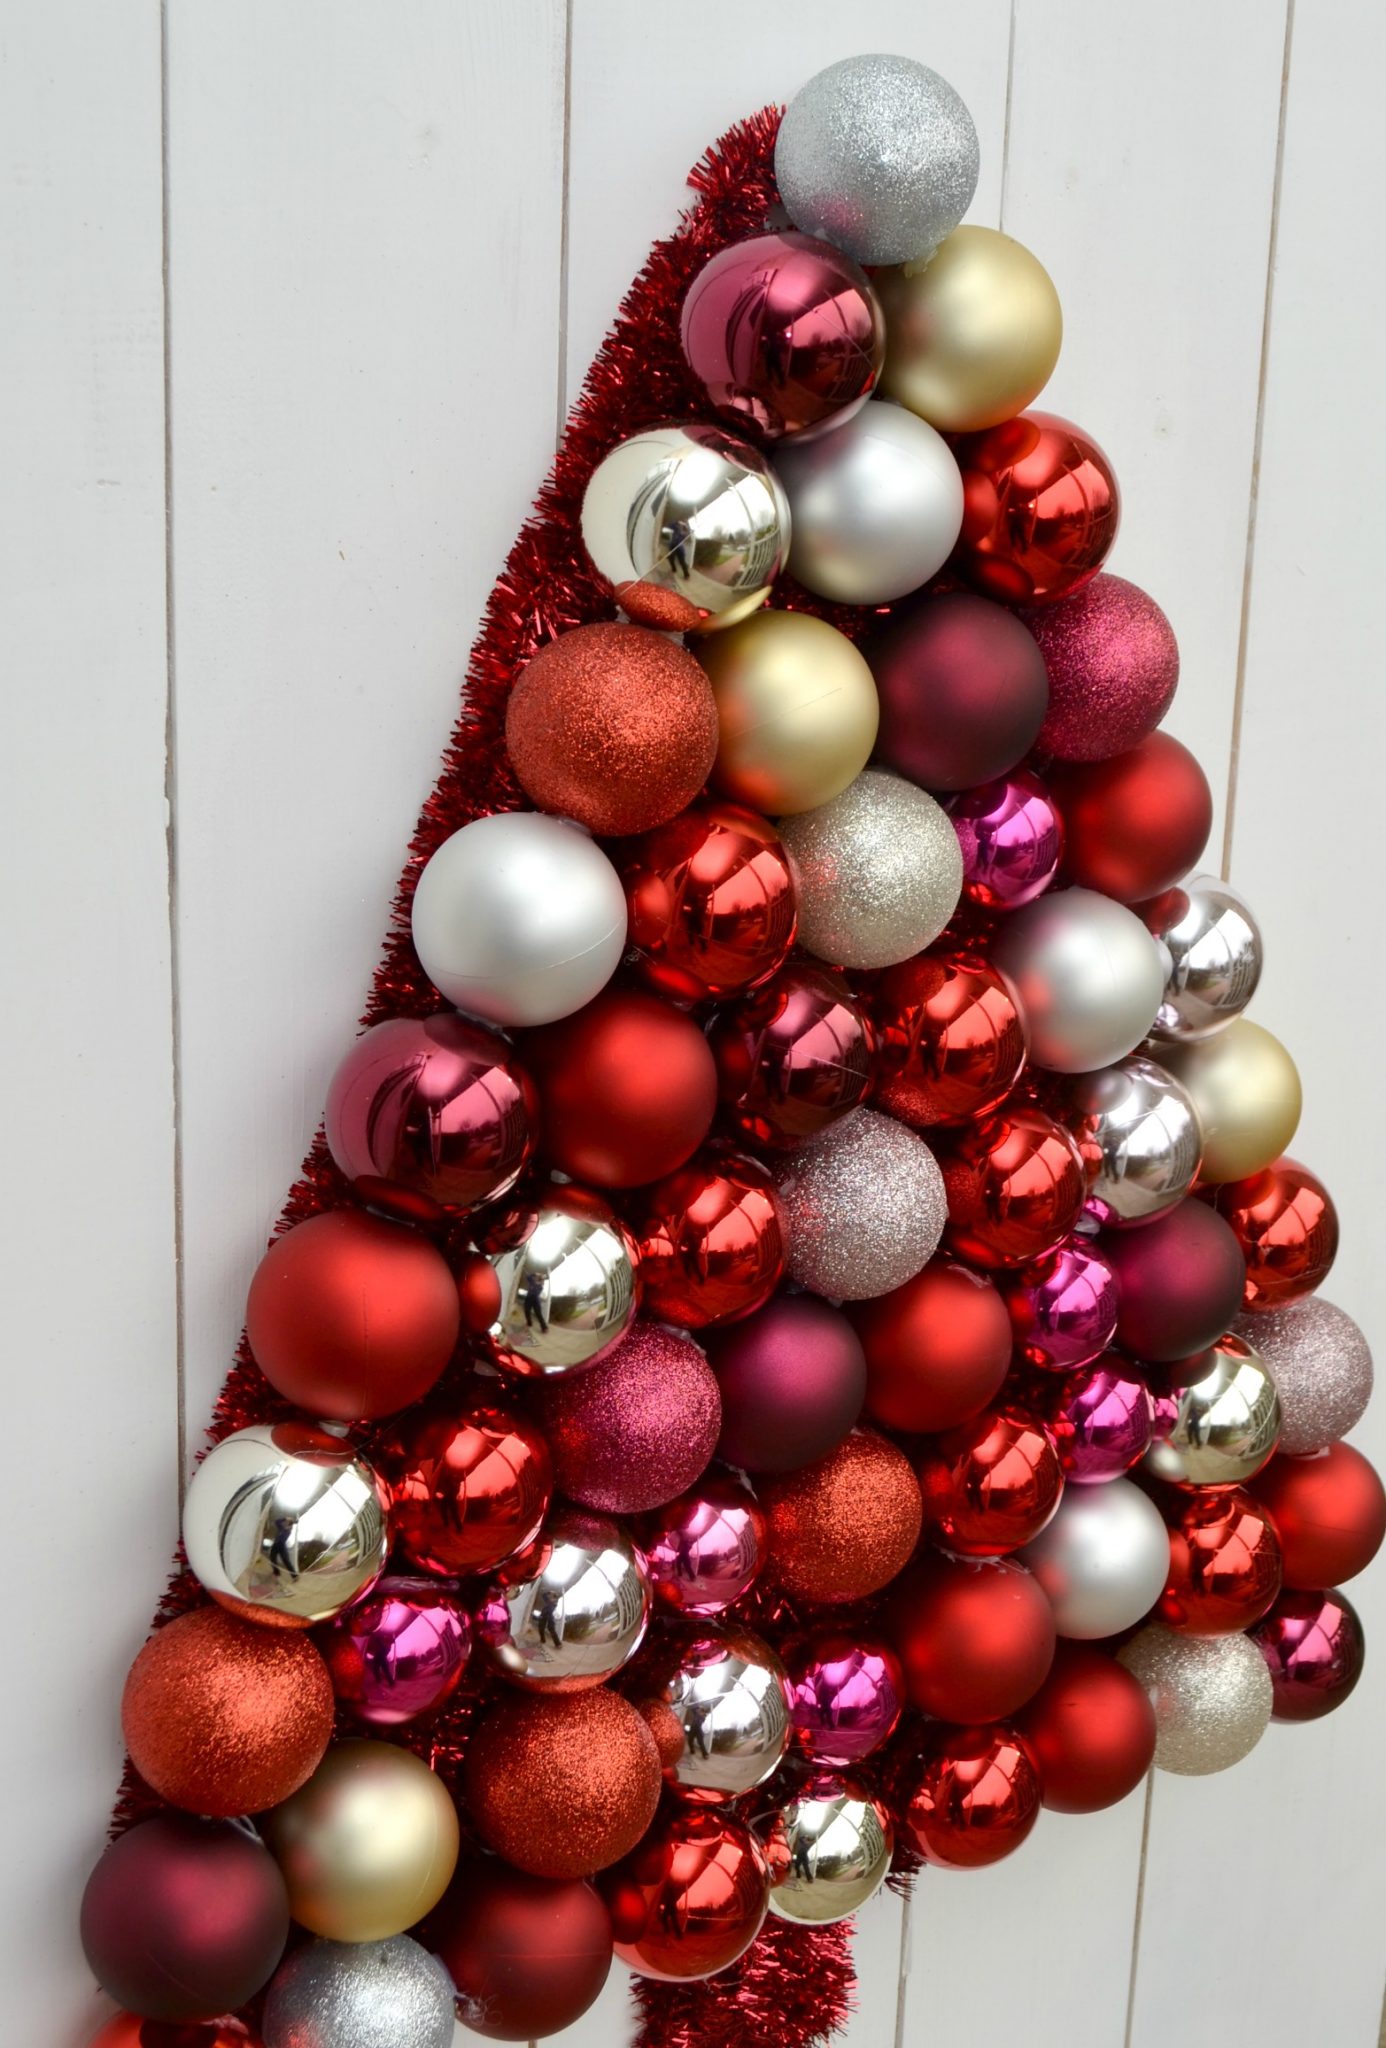
If you check out the work of the other bloggers, you’ll see that some of them glued their ornaments in every direction, while others, like me, glued the tops to the garland/board so you can’t see them. The effect is totally different and equally fabulous, depending on which style you choose. I tried to lay out my ornaments first to make sure I spaced out the various colors and finishes well. I didn’t want all the shiny ornaments in one spot or all reds in a clump, for example. I used hot glue to make the ornaments stick to the garland as well as to each other. By the way, I definitely recommend shatterproof ornaments, if you have the option.

Once your ornaments are glued in place, you’re ready to put your creation on display! I actually had envisioned this project turning out about half as big as it did, so at first I wasn’t sure where to put it, then my hubby suggested using it on our front porch! It turned out to be a fabulous idea and I’ve gotten a ton of compliments on it from neighbors and other folks who have come to the door.
This project can turn out looking completely different based on the choices you make. Whether you paint or stain the wood and what color{s} you use makes a huge difference, and so do the colors of the ornaments you use. Here are links to some folks who actually posted about the project via Home Depot; check them out and see which one best fits your style!
Domestically Speaking
Find It Make It Love It
My Sister’s Suitcase
Thistlewood Farms
2 Bees In A Pod
My Uncommon Slice of Suburbia
Unskinny Boppy
Virginia Sweet Pea
Designed Decor
The Creative Mom
A House and A Dog
Little Vintage Nest
All Things Thrifty
A Pumpkin and A Princess
The Crafting Chicks
Finding Silver Pennies
Live Laugh Rowe
Blooming Homestead
Refresh RestyleInfarrantly Creative Simply Designing
Girl Loves Glam
The Rustic Life
The Glam Farmhouse
She Leaves A Little Sparkle