Scrappy Fabric Star Ornament
As a quilter, I always have plenty of fabric scraps on hand. If you find yourself in the same boat, here’s a fun project you can create that uses three 5” squares. It’s perfect for leftover pieces of a charm pack, or other scraps you can trim to create the squares. Grab your fabric and let’s make a Scrappy Fabric Star Ornament together!

How to Make a Scrappy Fabric Star Ornament
This project requires very few supplies and is so simple to create that you’ll find yourself wanting to make a whole galaxy of stars! Not only are they adorable on the tree, they make a great tie-on for packages, too.
Materials
- (3) 5” fabric squares
- fusible interfacing
- twine/ribbon
- button
- needle and thread
- wooden bead (optional)
- scissors/rotary cutter and mat

Instructions
Cut your fabric squares in half diagonally.

Fold each triangle in half.
You will only need one of each color triangle (3 total) for one star, so you can actually create two ornaments from your three 5” squares.

Iron a piece of fusible interfacing inside each folded triangle.
I cut the interfacing triangle slightly smaller so that it wouldn’t stick out past the fabric.
Topstitch a 1/8” seam around the folded triangles.

Arrange the triangles to form a star.

Sew a button in the center to attach the three layers together.

Add a hanger.
I threaded a piece of twine through a tapestry needle and poked it through the fabric at the top of the star. You can also use thin ribbon for the hanger and thread it through, or glue it to your fabric. Feel free to add wooden beads, jingle bells, a bow, or any other embellishments you like to the hanger.

Crafting Tips
- Charm packs (also known as 5” stackers) are pre-cut fabrics from a collection that have already been trimmed into 5” squares. If you plan on making a bunch of these ornaments, I recommend investing in a pack, because they have a great variety of coordinating fabrics and save you the effort of making the 5” square cut.
- In addition to topstitching around the edges of your triangles, feel free to quilt them using any pattern you like.
- Try using different sizes and styles of buttons in the center of your star for a different effect.
Frequently Asked Questions
That’s totally up to you! You can use something small that blends in, something large that makes a statement, or something in between.
You can either stitch around your triangles by hand (it’ll just take a little longer!) or you can seal them shut with fabric glue around the edges.
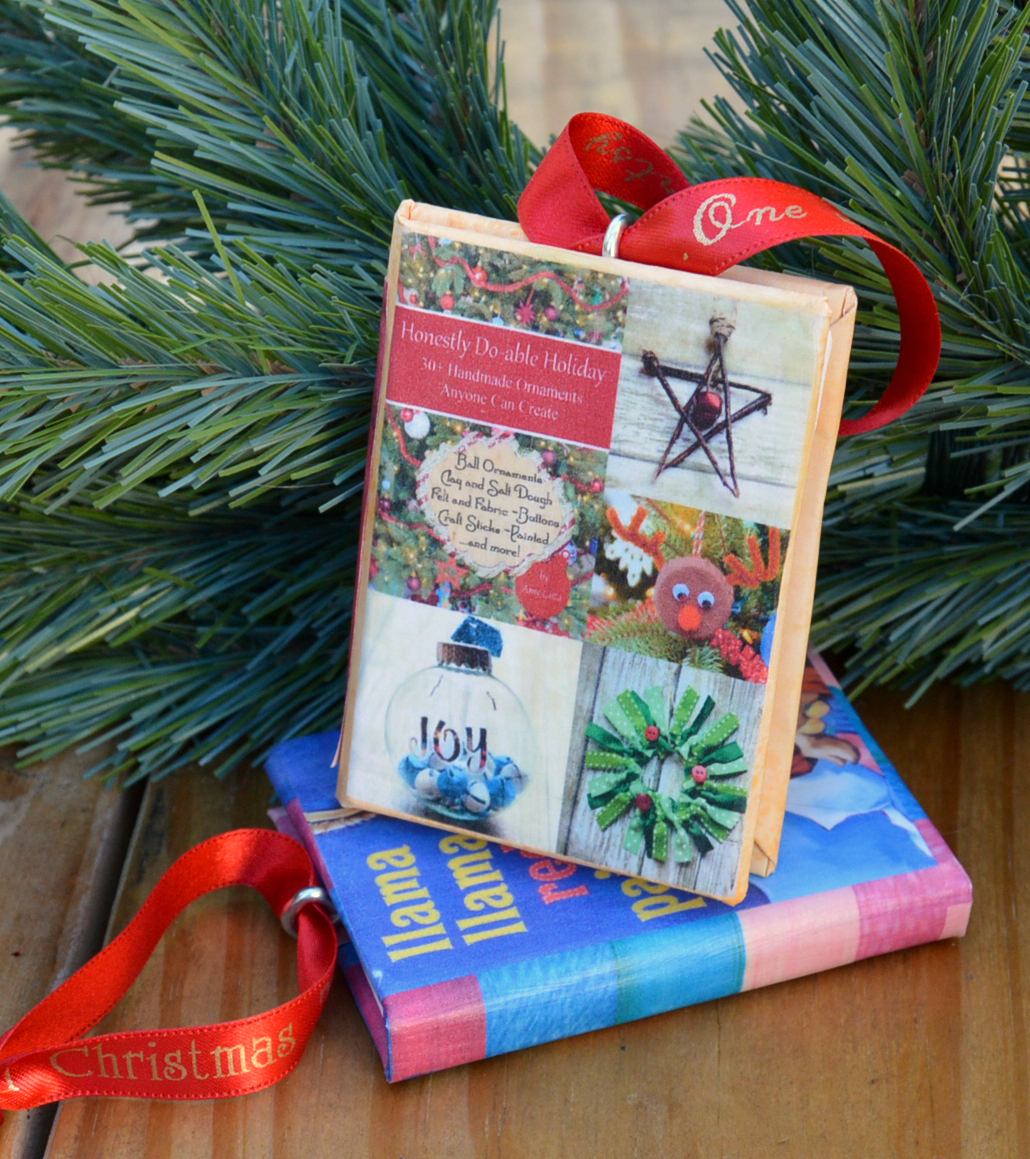
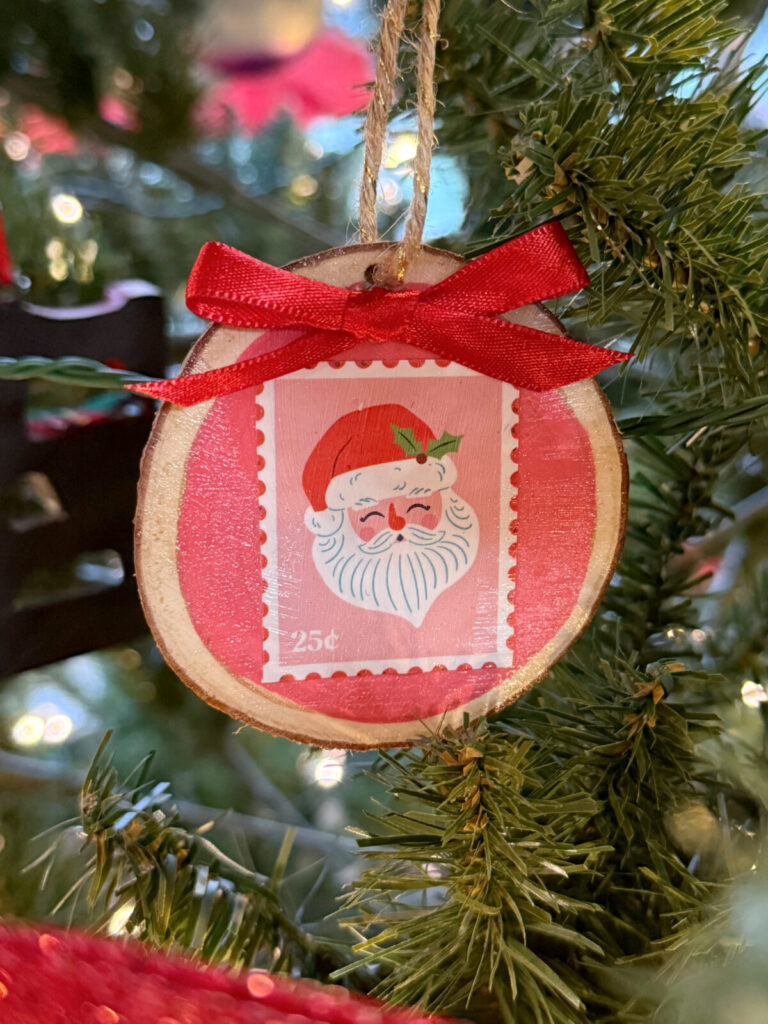
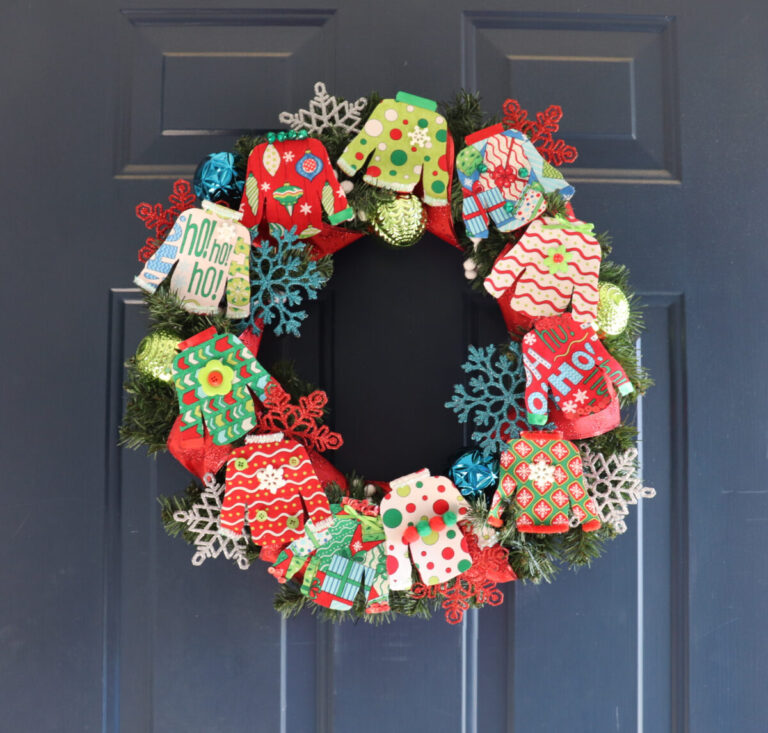
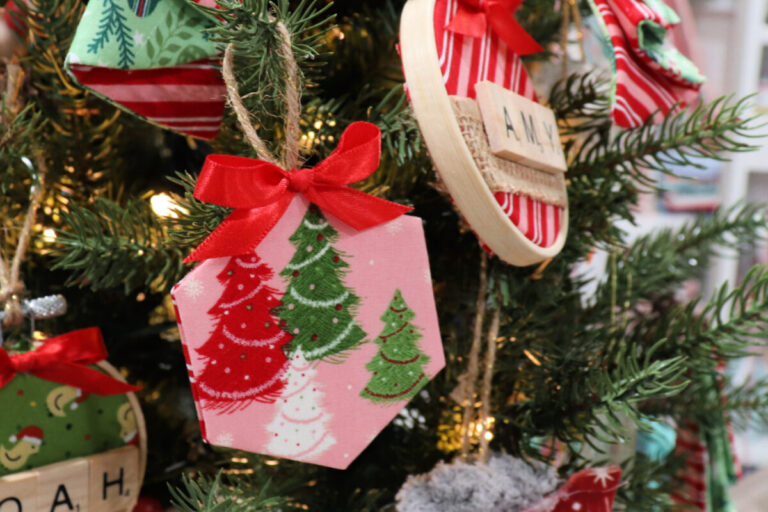
More Christmas Projects
Take a look at these other holiday craft ideas for more inspiration!

If you try any of these crafts, I’d love to see how they turn out! Make sure you’re part of the Amy Latta & Friends Facebook Group so you can share your project photos and we can all inspire each other. See you there!

Scrappy Fabric Star Ornaments
Equipment
- scissors or rotary cutter
- sewing machine
- needle and thread
- iron
Materials
- 3 5” fabric squares
- twine or ribbon
- wooden bead (optional)
- fusible interfacing
Instructions
- Cut each 5” square in half diagonally.
- Fold the triangles in half.
- Topstitch 1/8” from the edge of each triangle.
- Layer the three triangles to form a star.
- Sew a button through all three layers in the star’s center.
- Add a hanger.