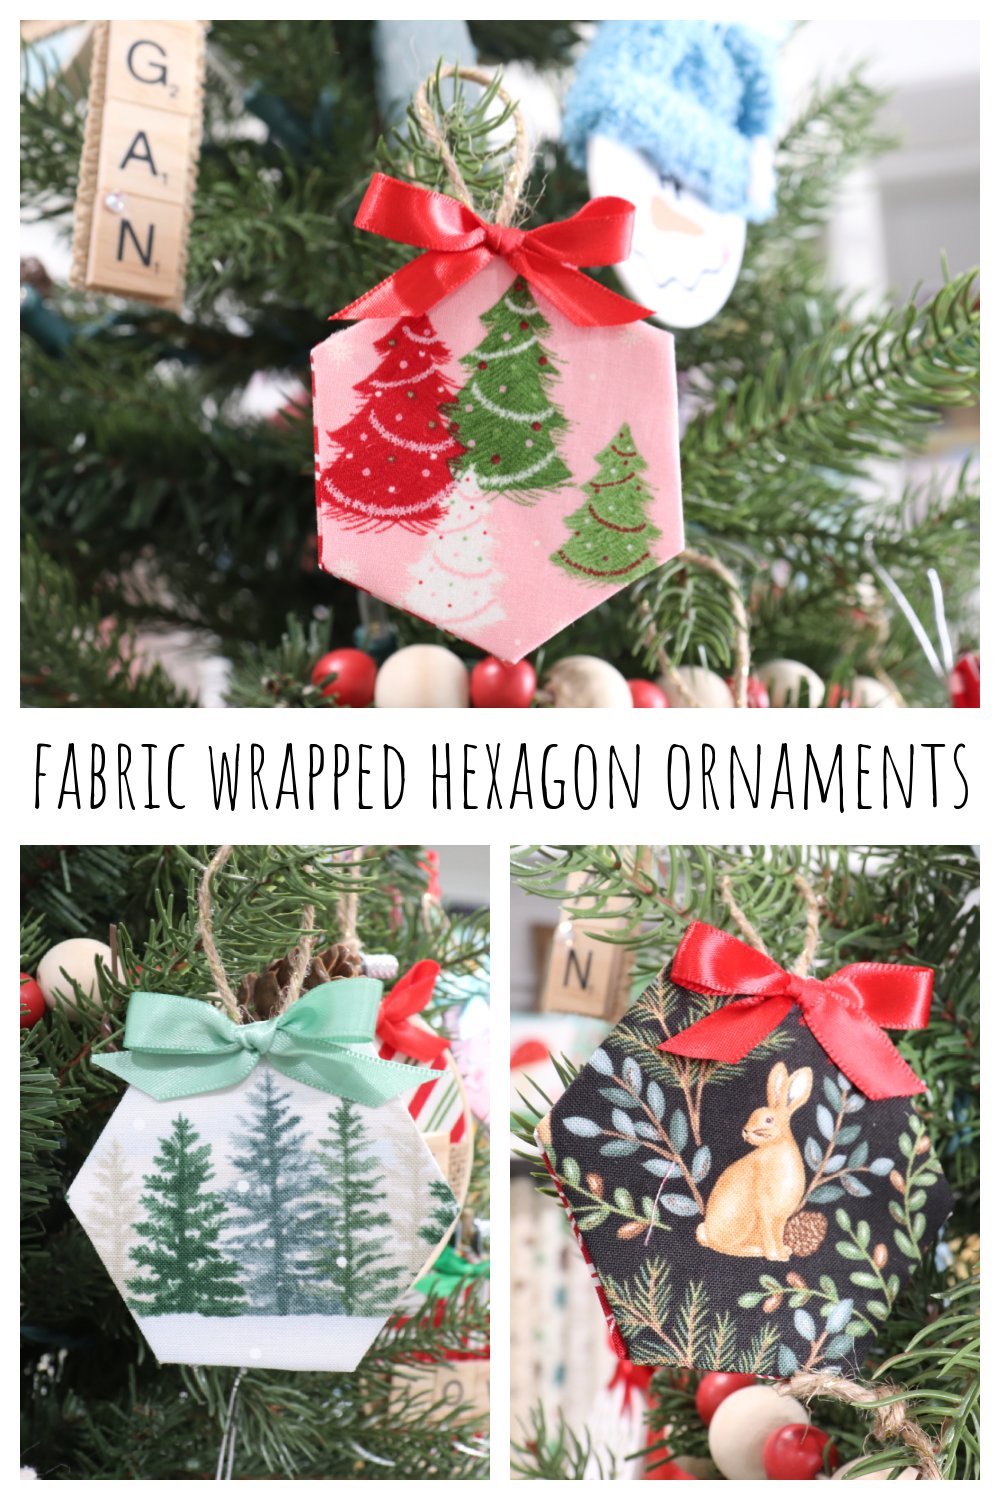
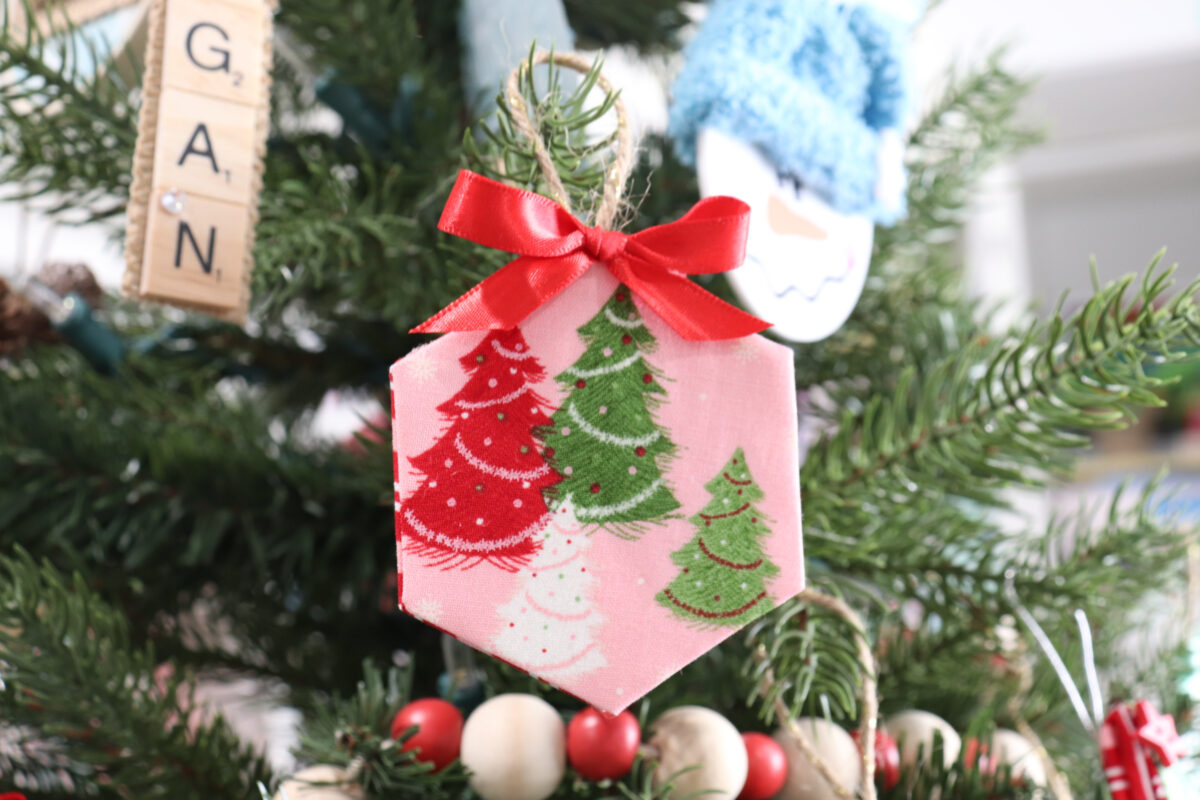
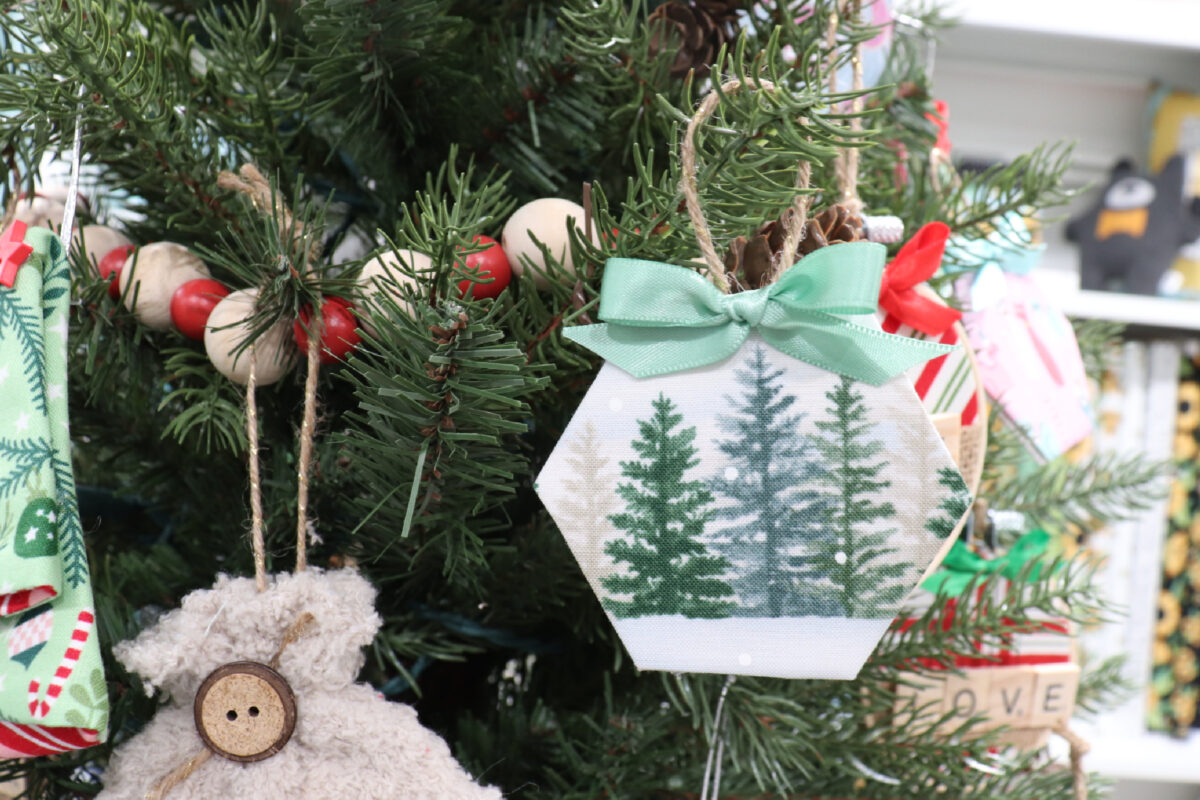
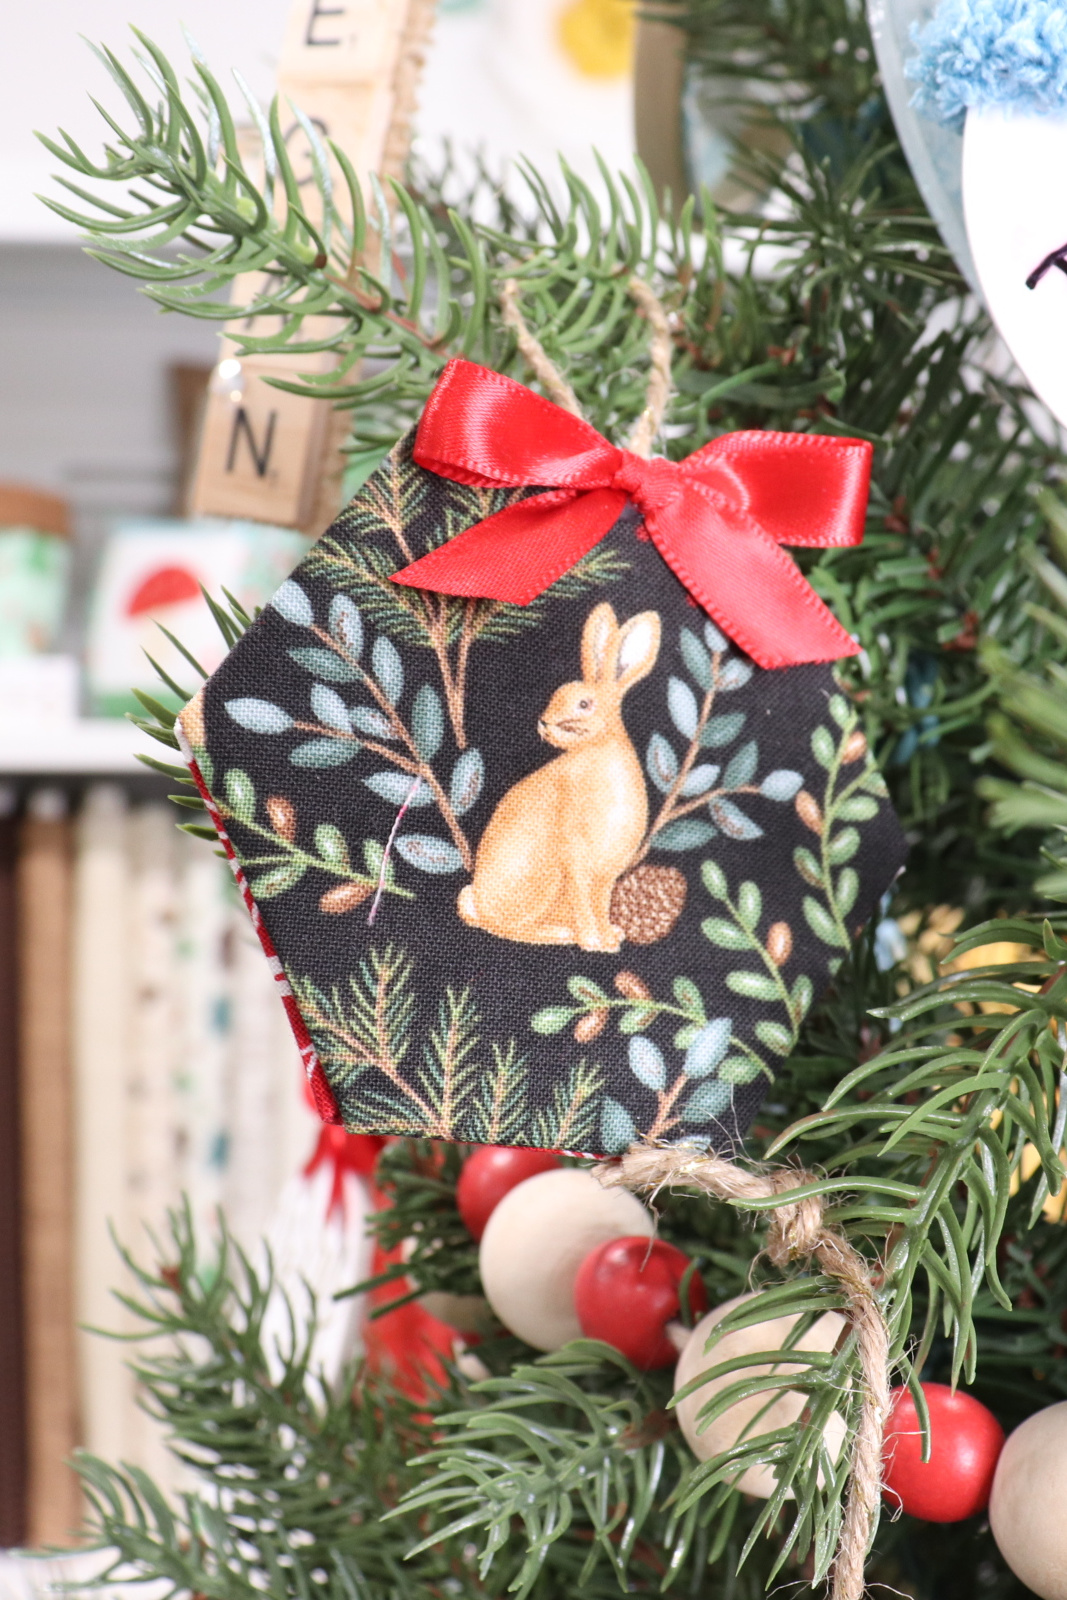
Fabric Hexagon Ornaments
If you’re looking for a way to turn your leftover fabric scraps into festive holiday decor, you’re going to love this project idea! Fabric Hexagon Ornaments are quick, easy, and inexpensive to make, and you can personalize them for everyone on your gift list.
How to Make Fabric Hexagon Ornaments
This project is a great introduction to the art of English Paper Piecing, and it’s easy enough for crafters of all ages to enjoy. Grab the materials below, and let’s get creative.
Materials
- 2” Hexagon Paper Pieces, pre-cut (2 per ornament)
- Fabric scraps, at least 3 1/2” square
- Glue stick (I recommend the Tombow MONO Glue Stick)
- Scissors
- Ribbon
- Twine
- Hot glue gun and glue sticks
Instructions
Trim your fabric into two 3 1/2” squares.
Make sure to pay attention to the fabric pattern and center any images you want in the middle of your ornament. One square will be the front of your ornament, and the other will be the back.
Flip your fabric right side down and place a paper hexagon in the center.
It’s up to you whether you want a flat edge or a point to be the top.
Starting with one side, use the glue stick to apply a line of glue to the hexagon.
Fold the fabric over the edge and press it down into the glue.
Repeat, working your way around the hexagon until all sides are glued down. Make sure to pull gently as you work to ensure that the fabric is taut.
Repeat for the other hexagon.
Lay your back hexagon face down and use hot glue to add a loop of twine for the hanger.
Apply hot glue around the edges of the shape, then place the front hexagon face down on top.
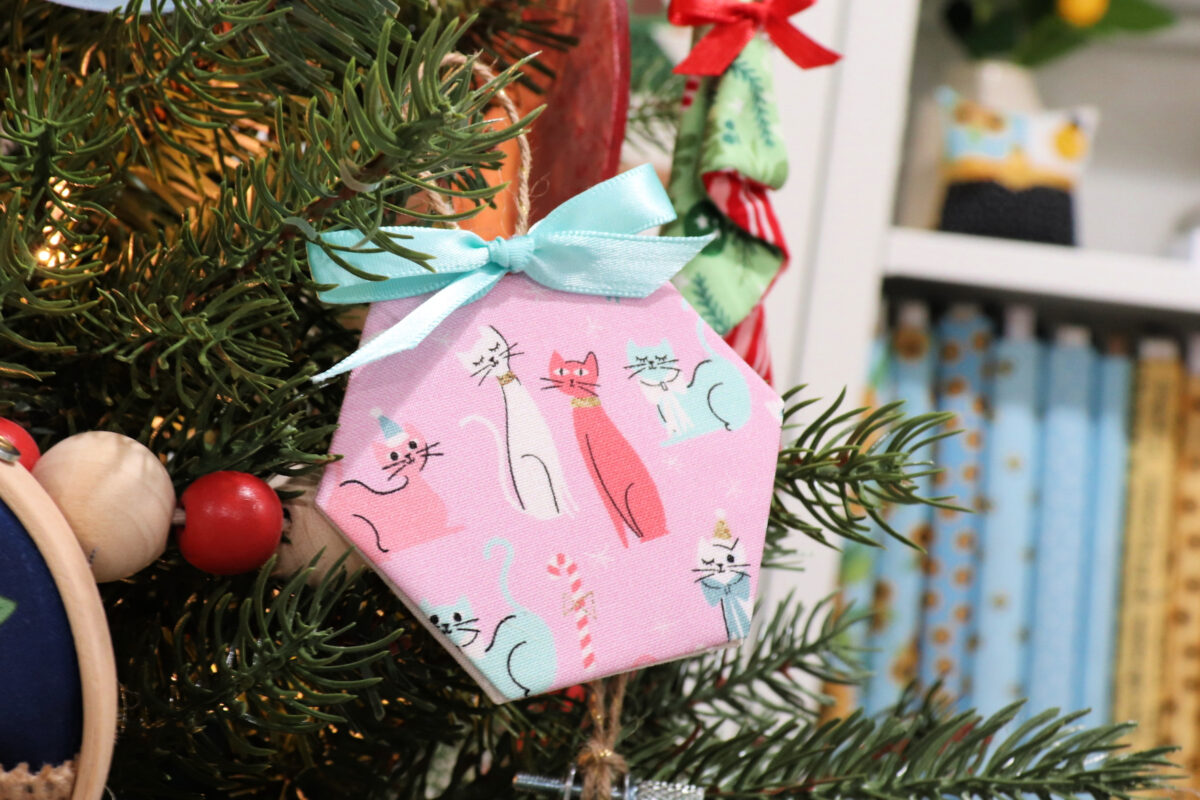
Optional: Glue a ribbon bow to the top of the front side.
I think this is a cute extra embellishment that finishes off the ornament. However, if you choose not to add a bow, your ornament can be reversible.
The final step is to hang your ornament on the tree, or tie it onto a gift package and give it away!
Crafting Tips
- You can create these ornaments with any size (or shape) of pre-cut paper piecing shapes.
- This project is a great way to use up leftover fabric scraps from other projects. It also works nicely with a pack of pre-cut 5” fabric squares.
- Try gluing buttons, letter tiles, sequins, or other embellishments to the ornament to make it even more personalized.
- Add a keyring to the twine loop and your ornament can double as a keychain!
Frequently Asked Questions
Try your local quilt shop or craft store. They can also be purchased online.
English Paper Piecing is a variation of patchwork that originated in England in the 1770s. It involves wrapping fabric around paper shapes, then hand sewing the shapes together to create a design. In our case, we’re not sewing the shapes together, though, just gluing two of them back to back.
Check out this fun ornament tutorial that involves sewing shapes together to form a star! Or, make use wrapped hexagons to make a flower shaped coaster.
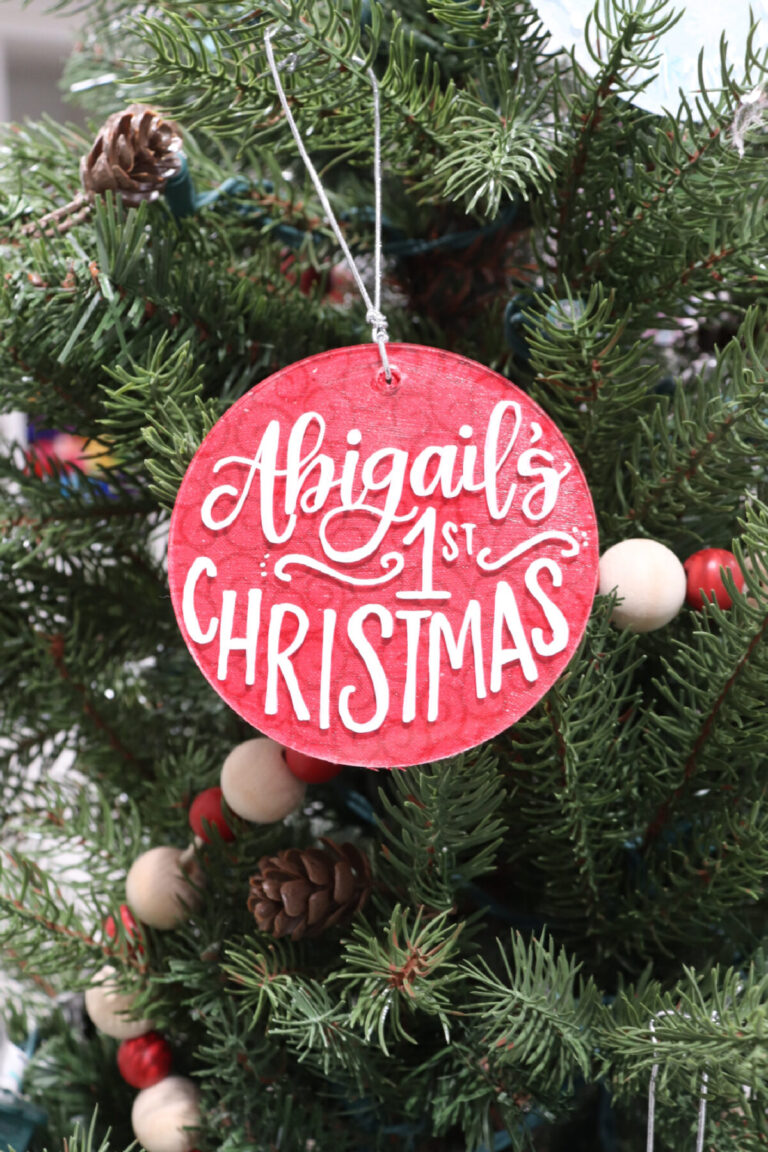
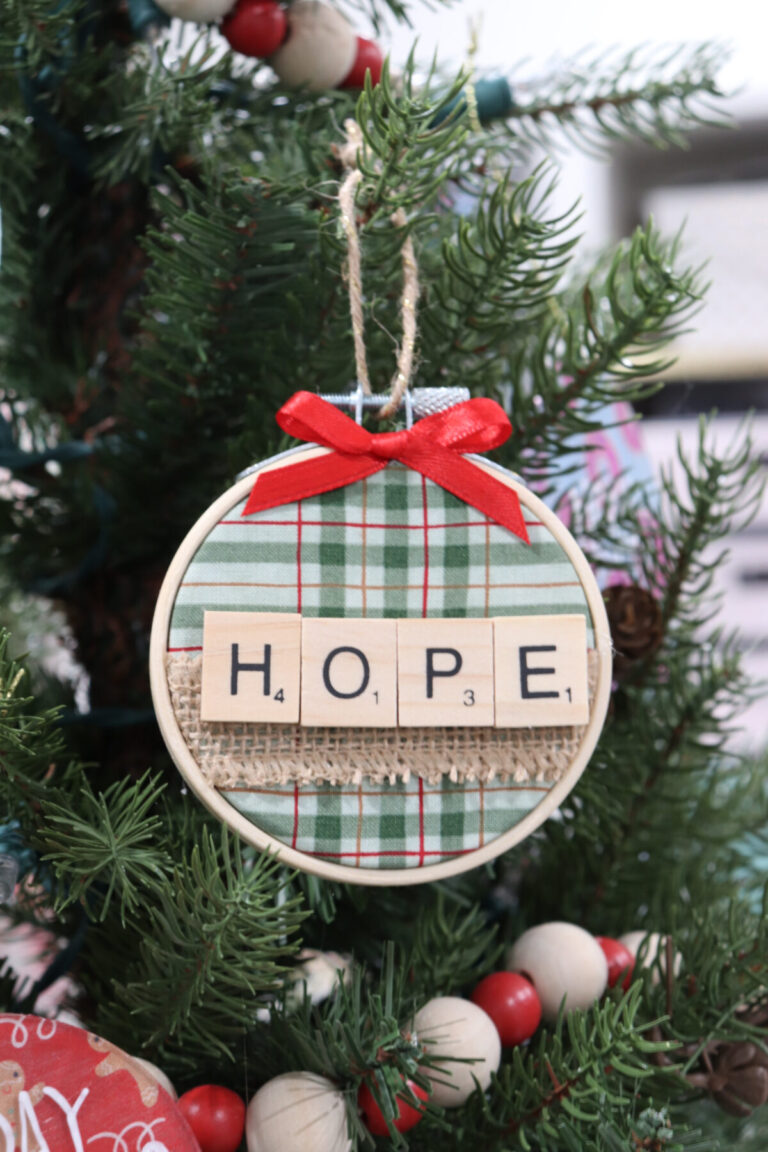
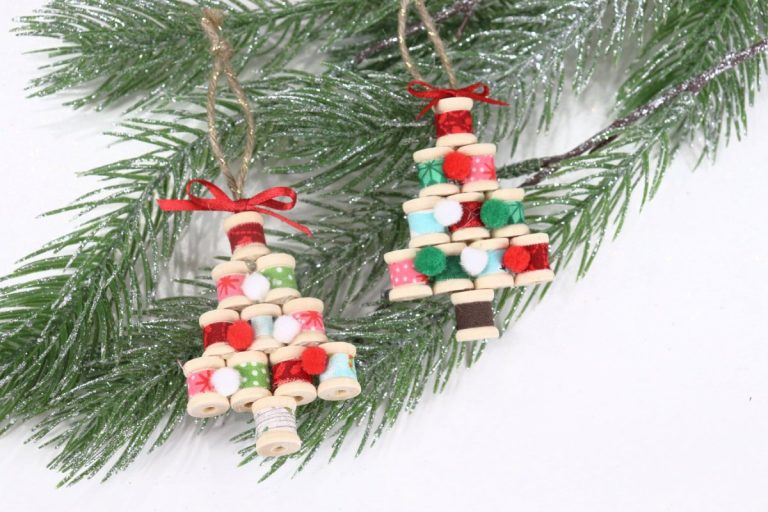
More Ornament Projects
If you enjoyed this craft, here are some more tutorials for simple DIY ornaments that you can try.


If you try making any of these ornaments, I’d love to see how yours turn out. Make sure you’re in the Amy Latta & Friends group on Facebook so you can share your latest project photos and we can all inspire one another. See you there!