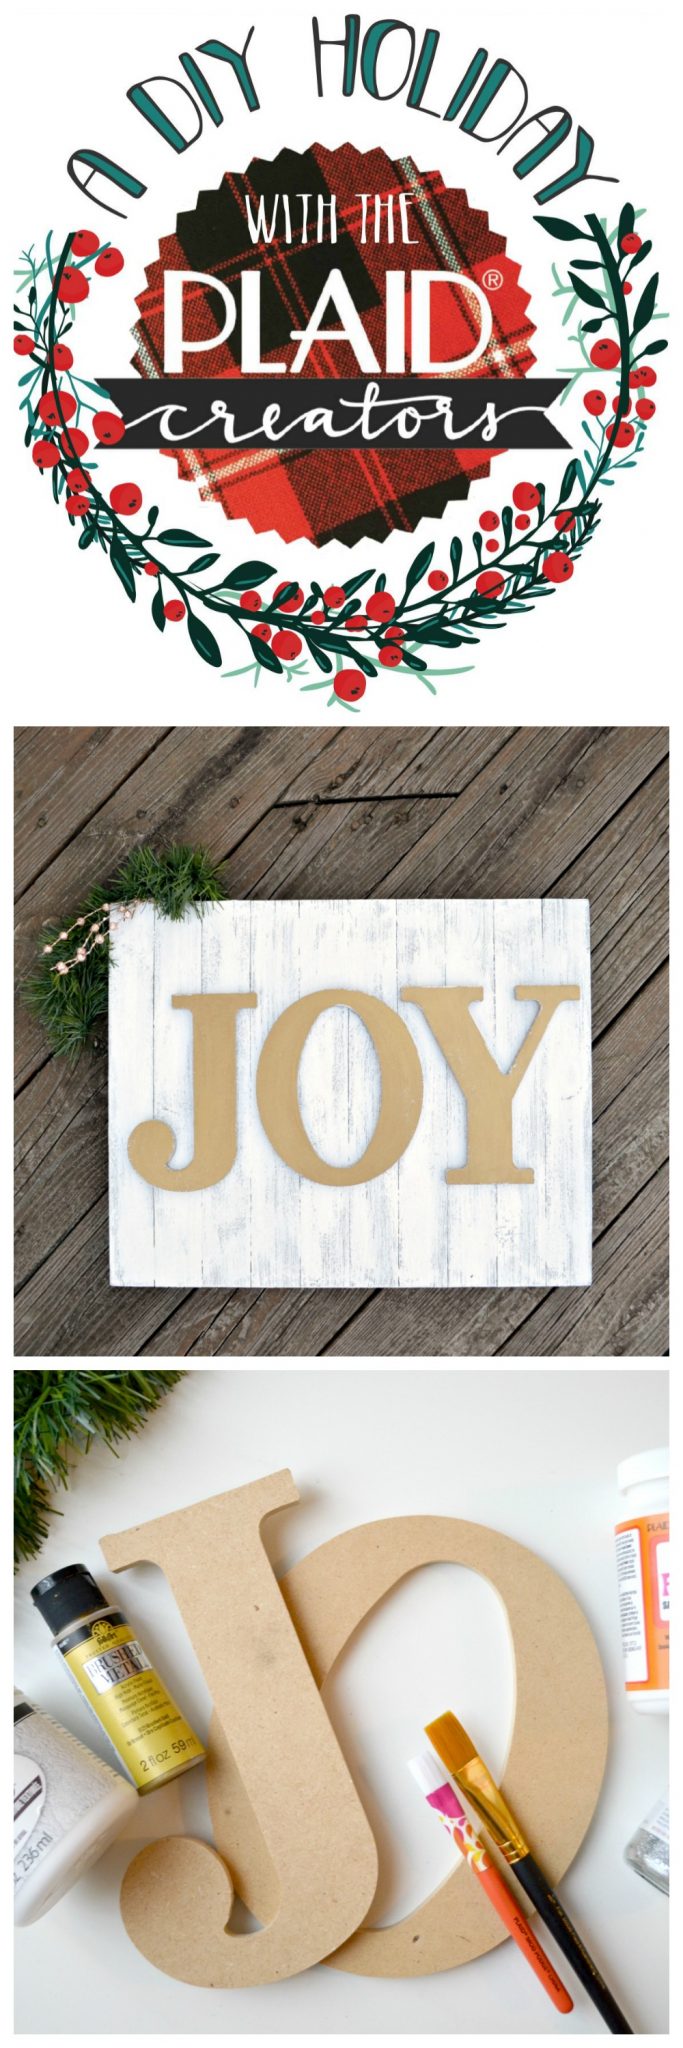
Glittered Metallic Holiday Message
Thanks to Plaid Crafts for sponsoring today’s post and Facebook Live event. All opinions are honestly my own.
*Enter to win a $200 gift card for craft supplies at plaidonline.com at the end of this post!*
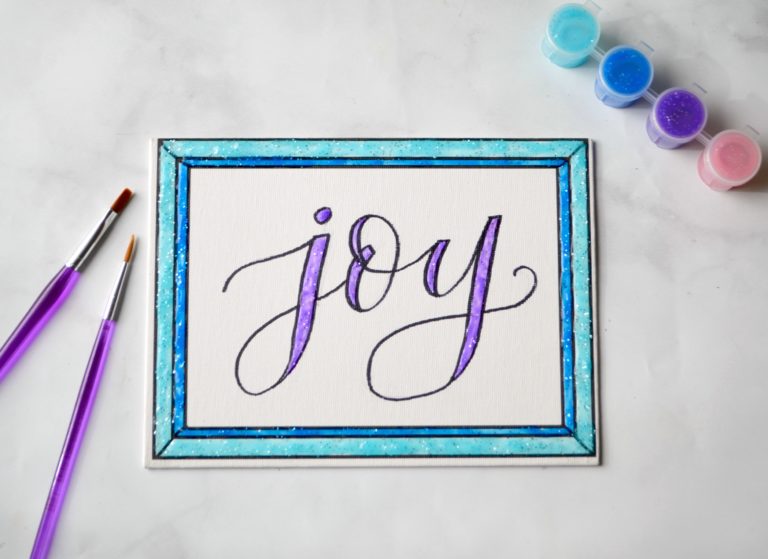
Raise your hand if you’re ready to get started on your holiday crafting! Although I don’t put up all our decorations until after Thanksgiving, I do start creating ahead of time. I like to make some of my gifts, and each year I also add a few new ornaments and pieces of home decor to our collection. In the past, my decorations have been mostly red, but in the past couple of years, I’ve started adding more white and metallic accents. I love things that sparkle and shine, and I enjoy being able to leave them up a little longer when it’s still winter, but Christmas is over. This year, the first thing I made is a Glittered Metallic Holiday Sign that’s perfect for celebrating the season. I can’t wait to show you how to create one for your home too!
Here’s a video “how-to,” plus you can scroll down for step by step photos, instructions, and supply links!

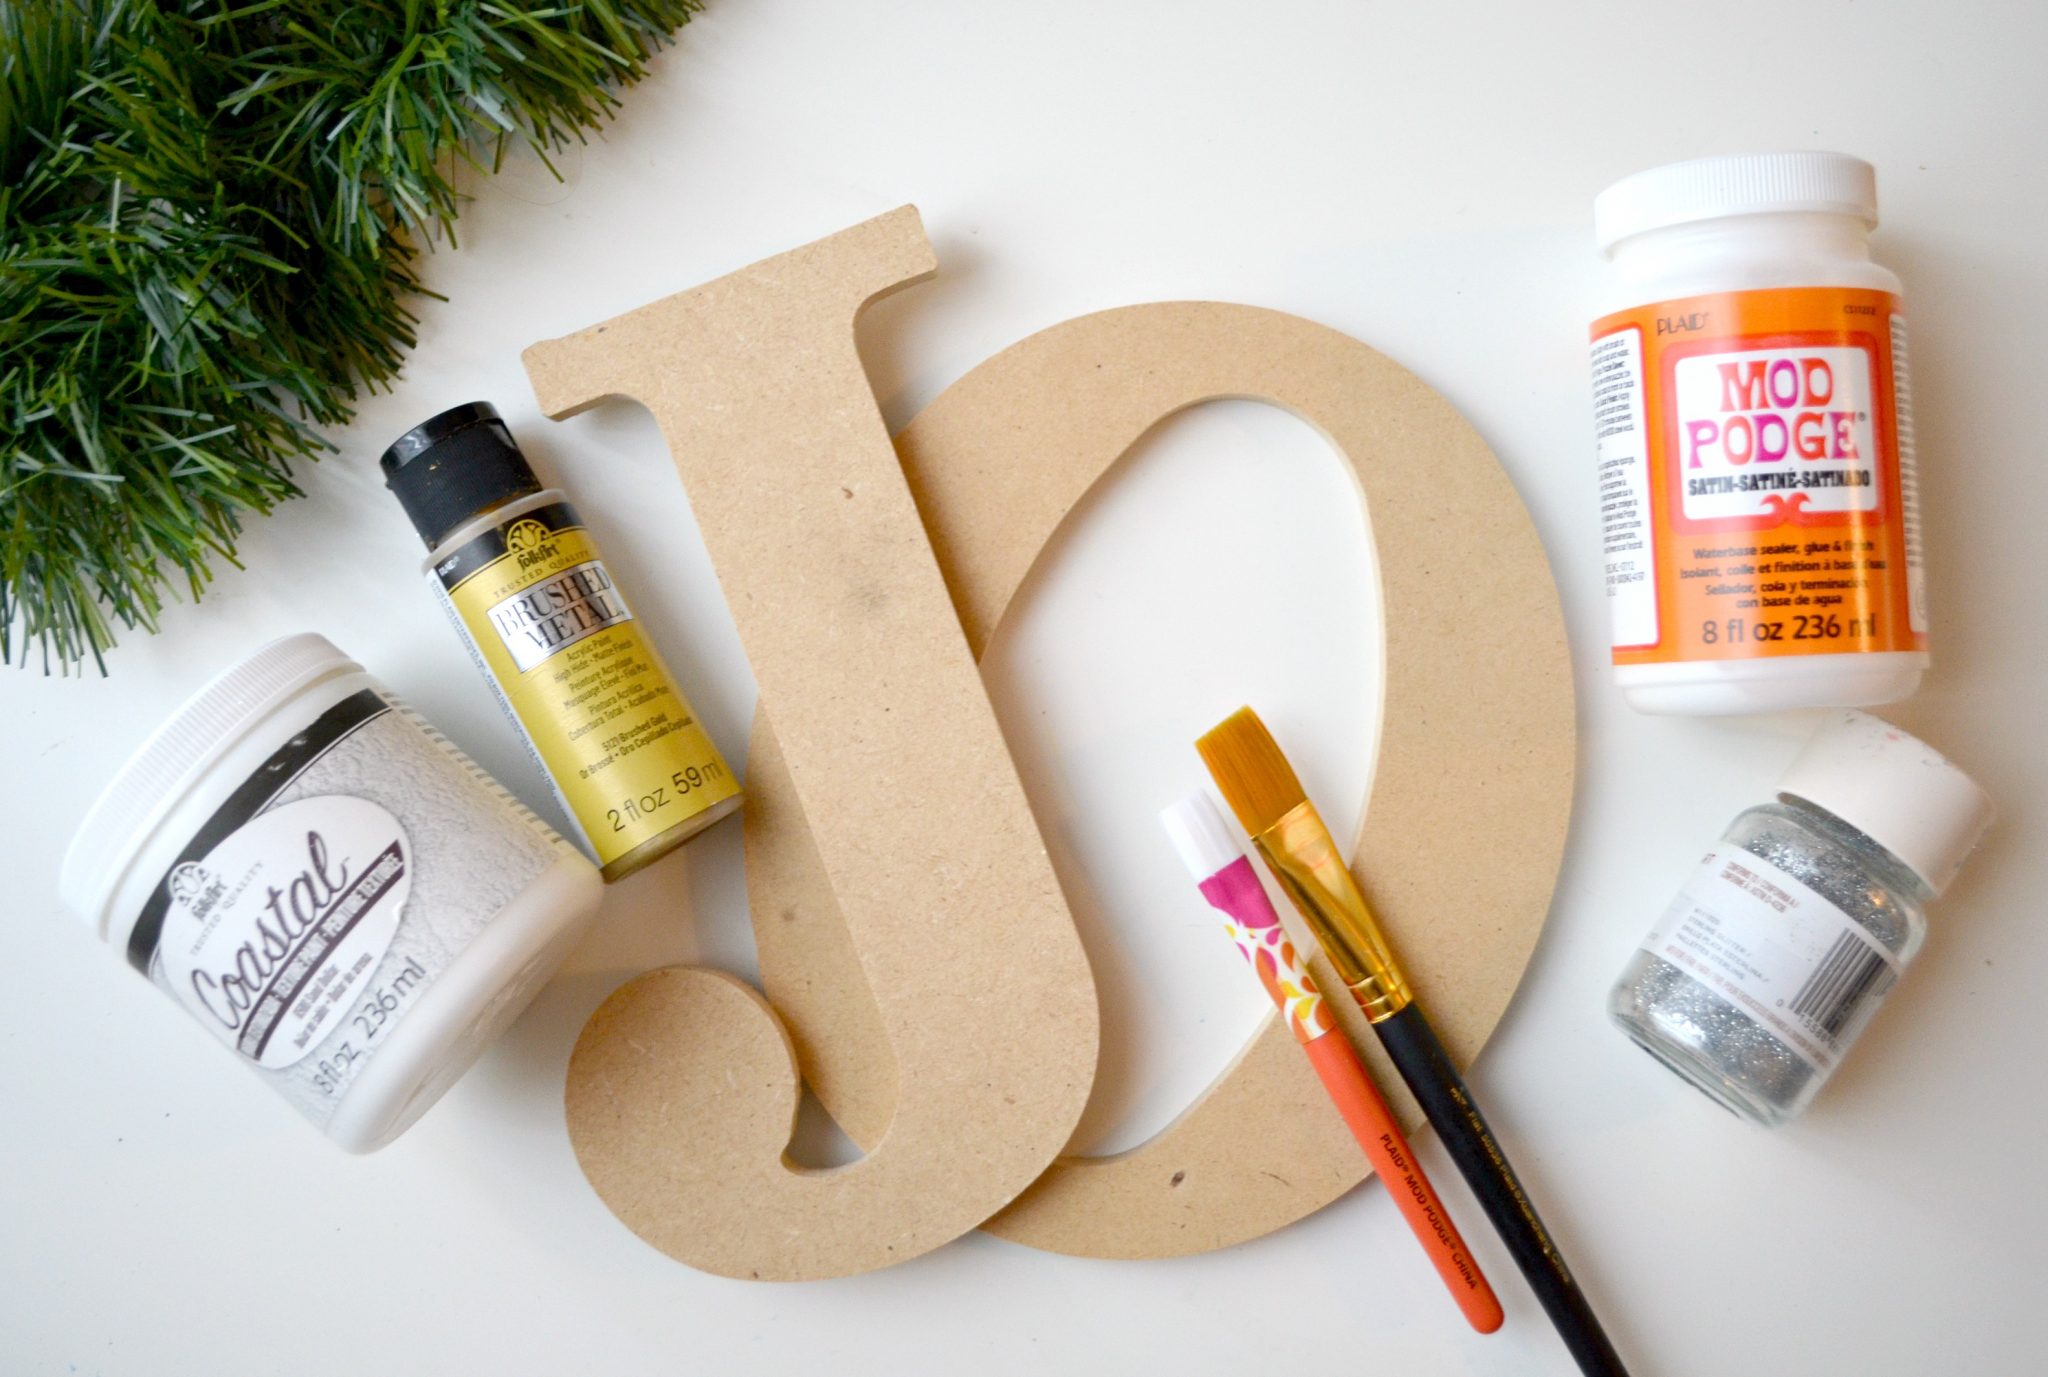
You’ll need:
FolkArt Coastal Paint: Sand Dollar
FolkArt Brushed Metal Paint: Brushed Gold
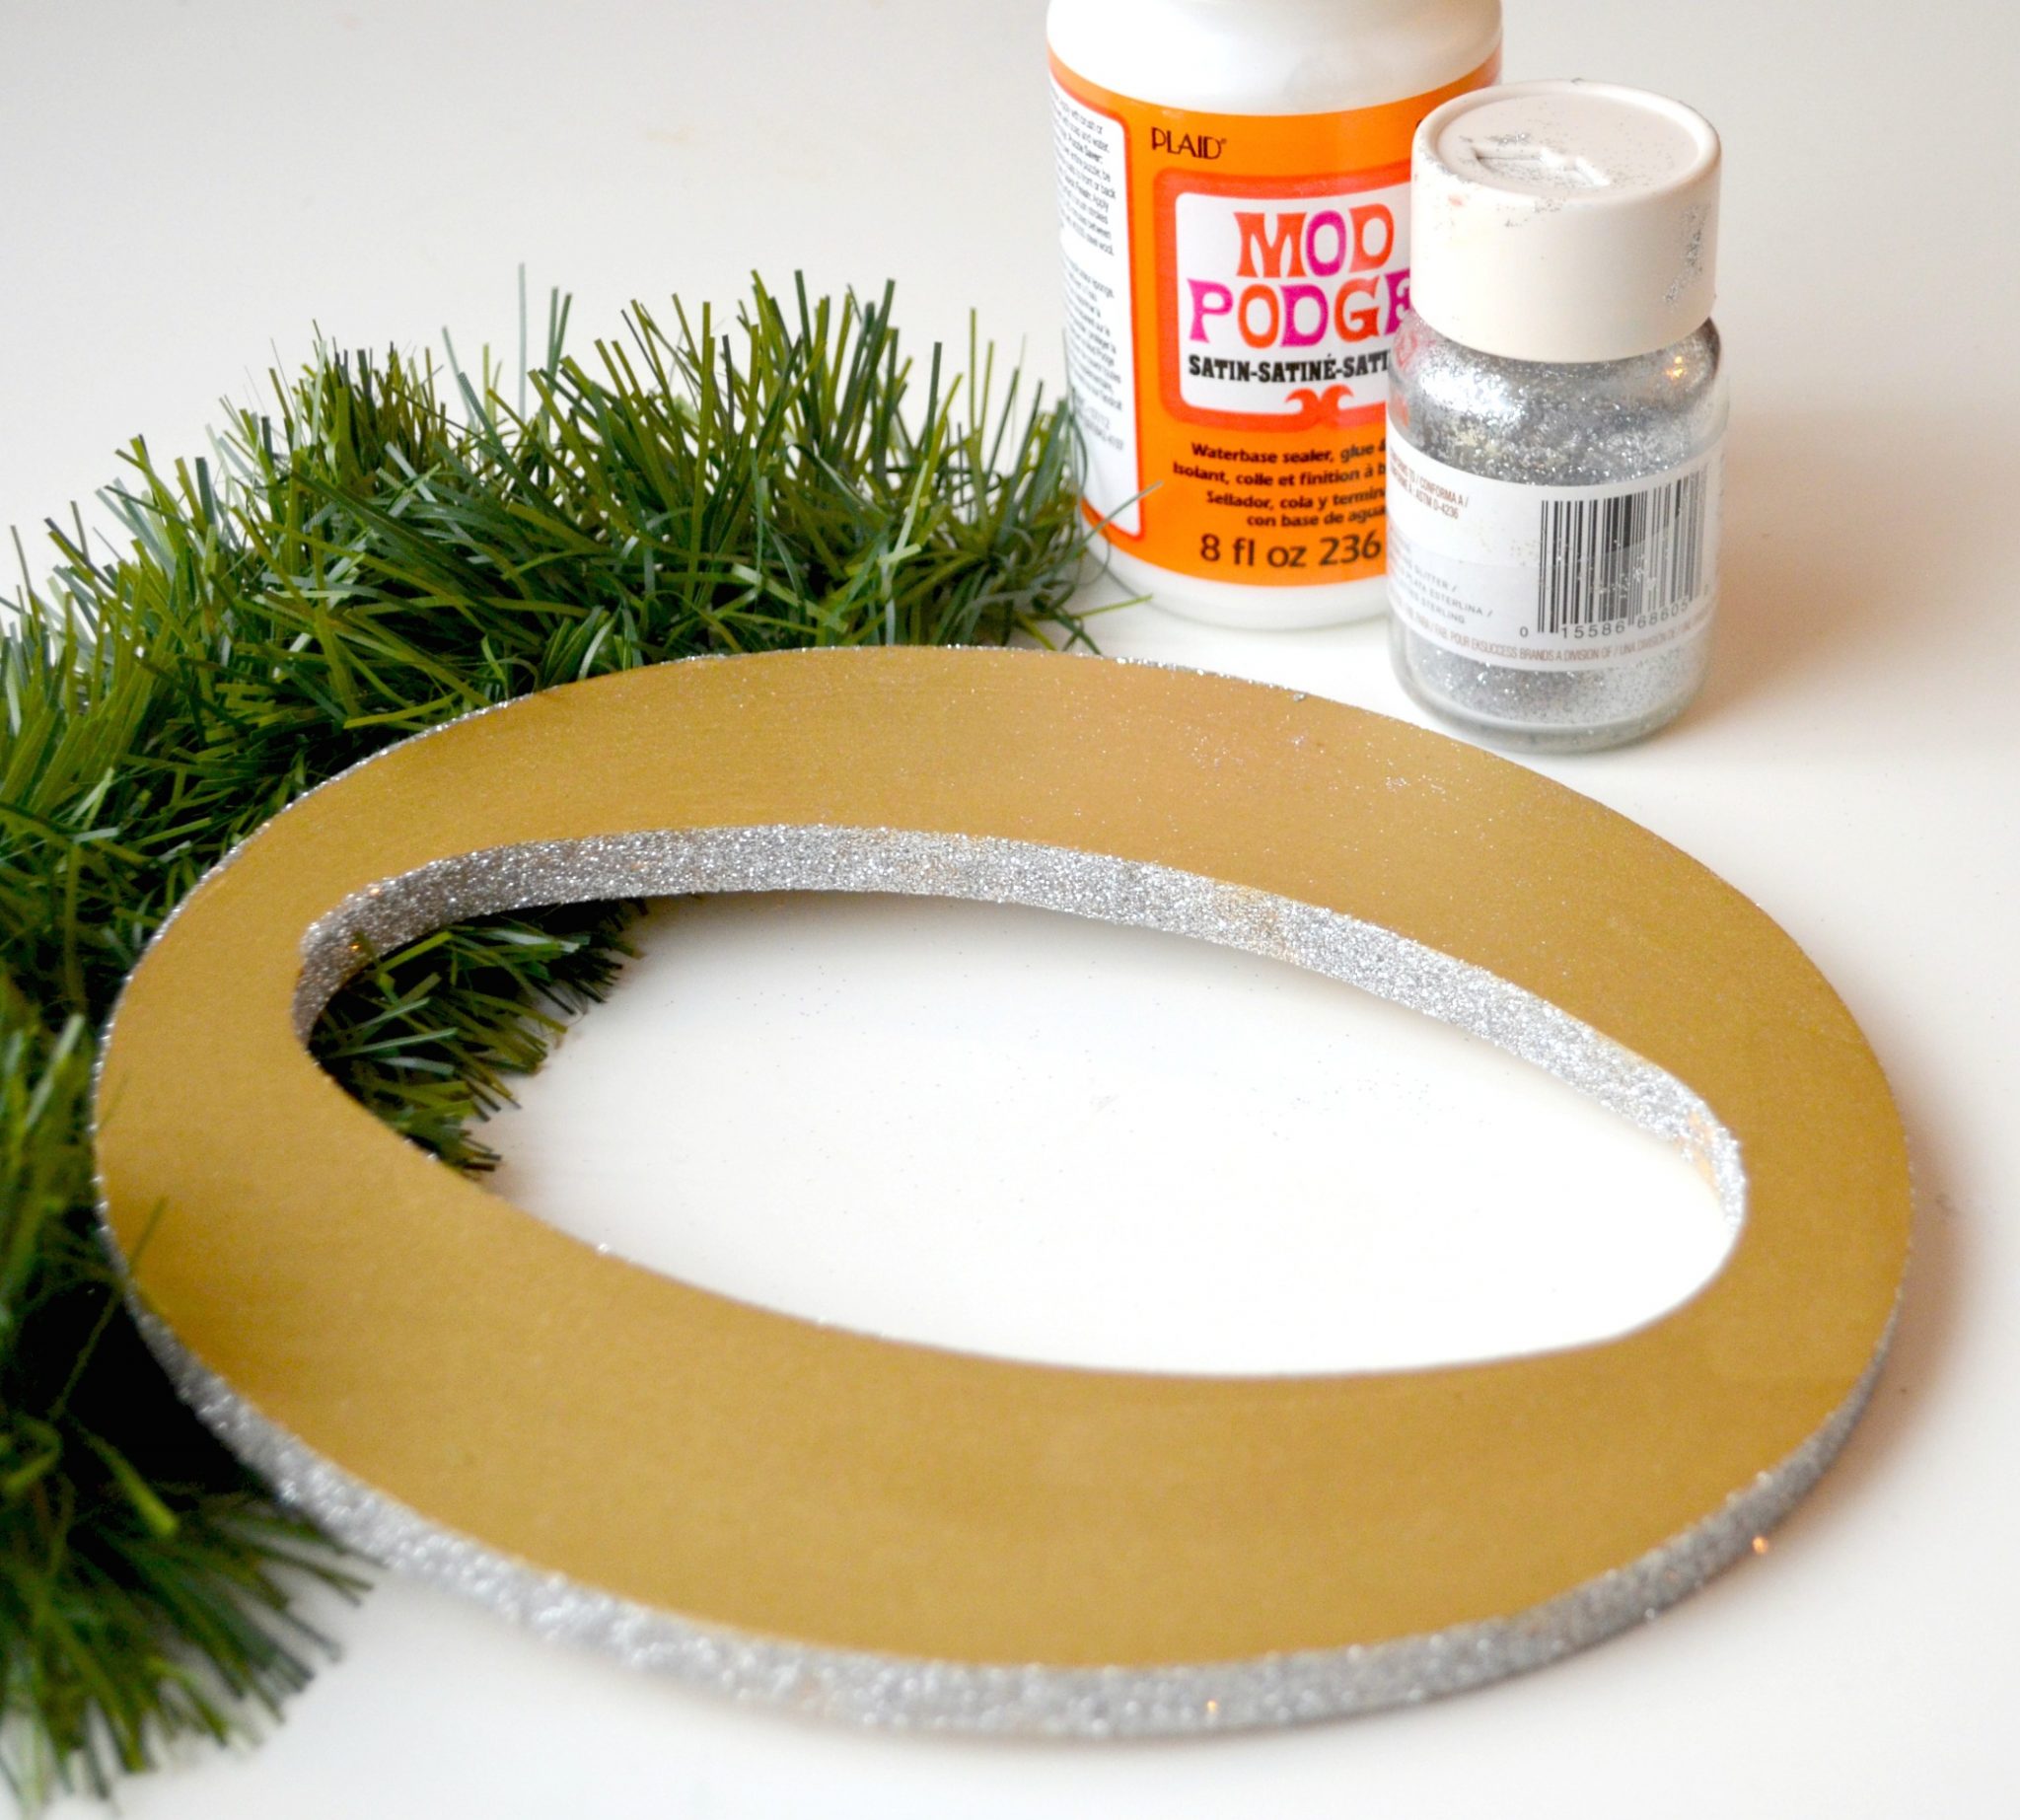
Mod Podge
Paintbrushes
Mod Podge Decoupage Brush
Fine Silver Glitter
Wooden Letters: J, O, Y
Strong Glue or Adhesive
11×14 Wooden Sign
To make it extra simple for you to create your own sign, you can purchase most of the supplies in just a few clicks on the Plaid website AND take advantage of this sweet deal! Save 25% on any purchase of craft supplies over $25 at Plaid Online with code OneArtsyMama by 12/31/17. Cannot be combined with any other offer.
All you have to do is go to the special landing page for my project and the full supply list is there, along with clickable links to buy just what you need. Once you have your materials, it’s time to start crafting!
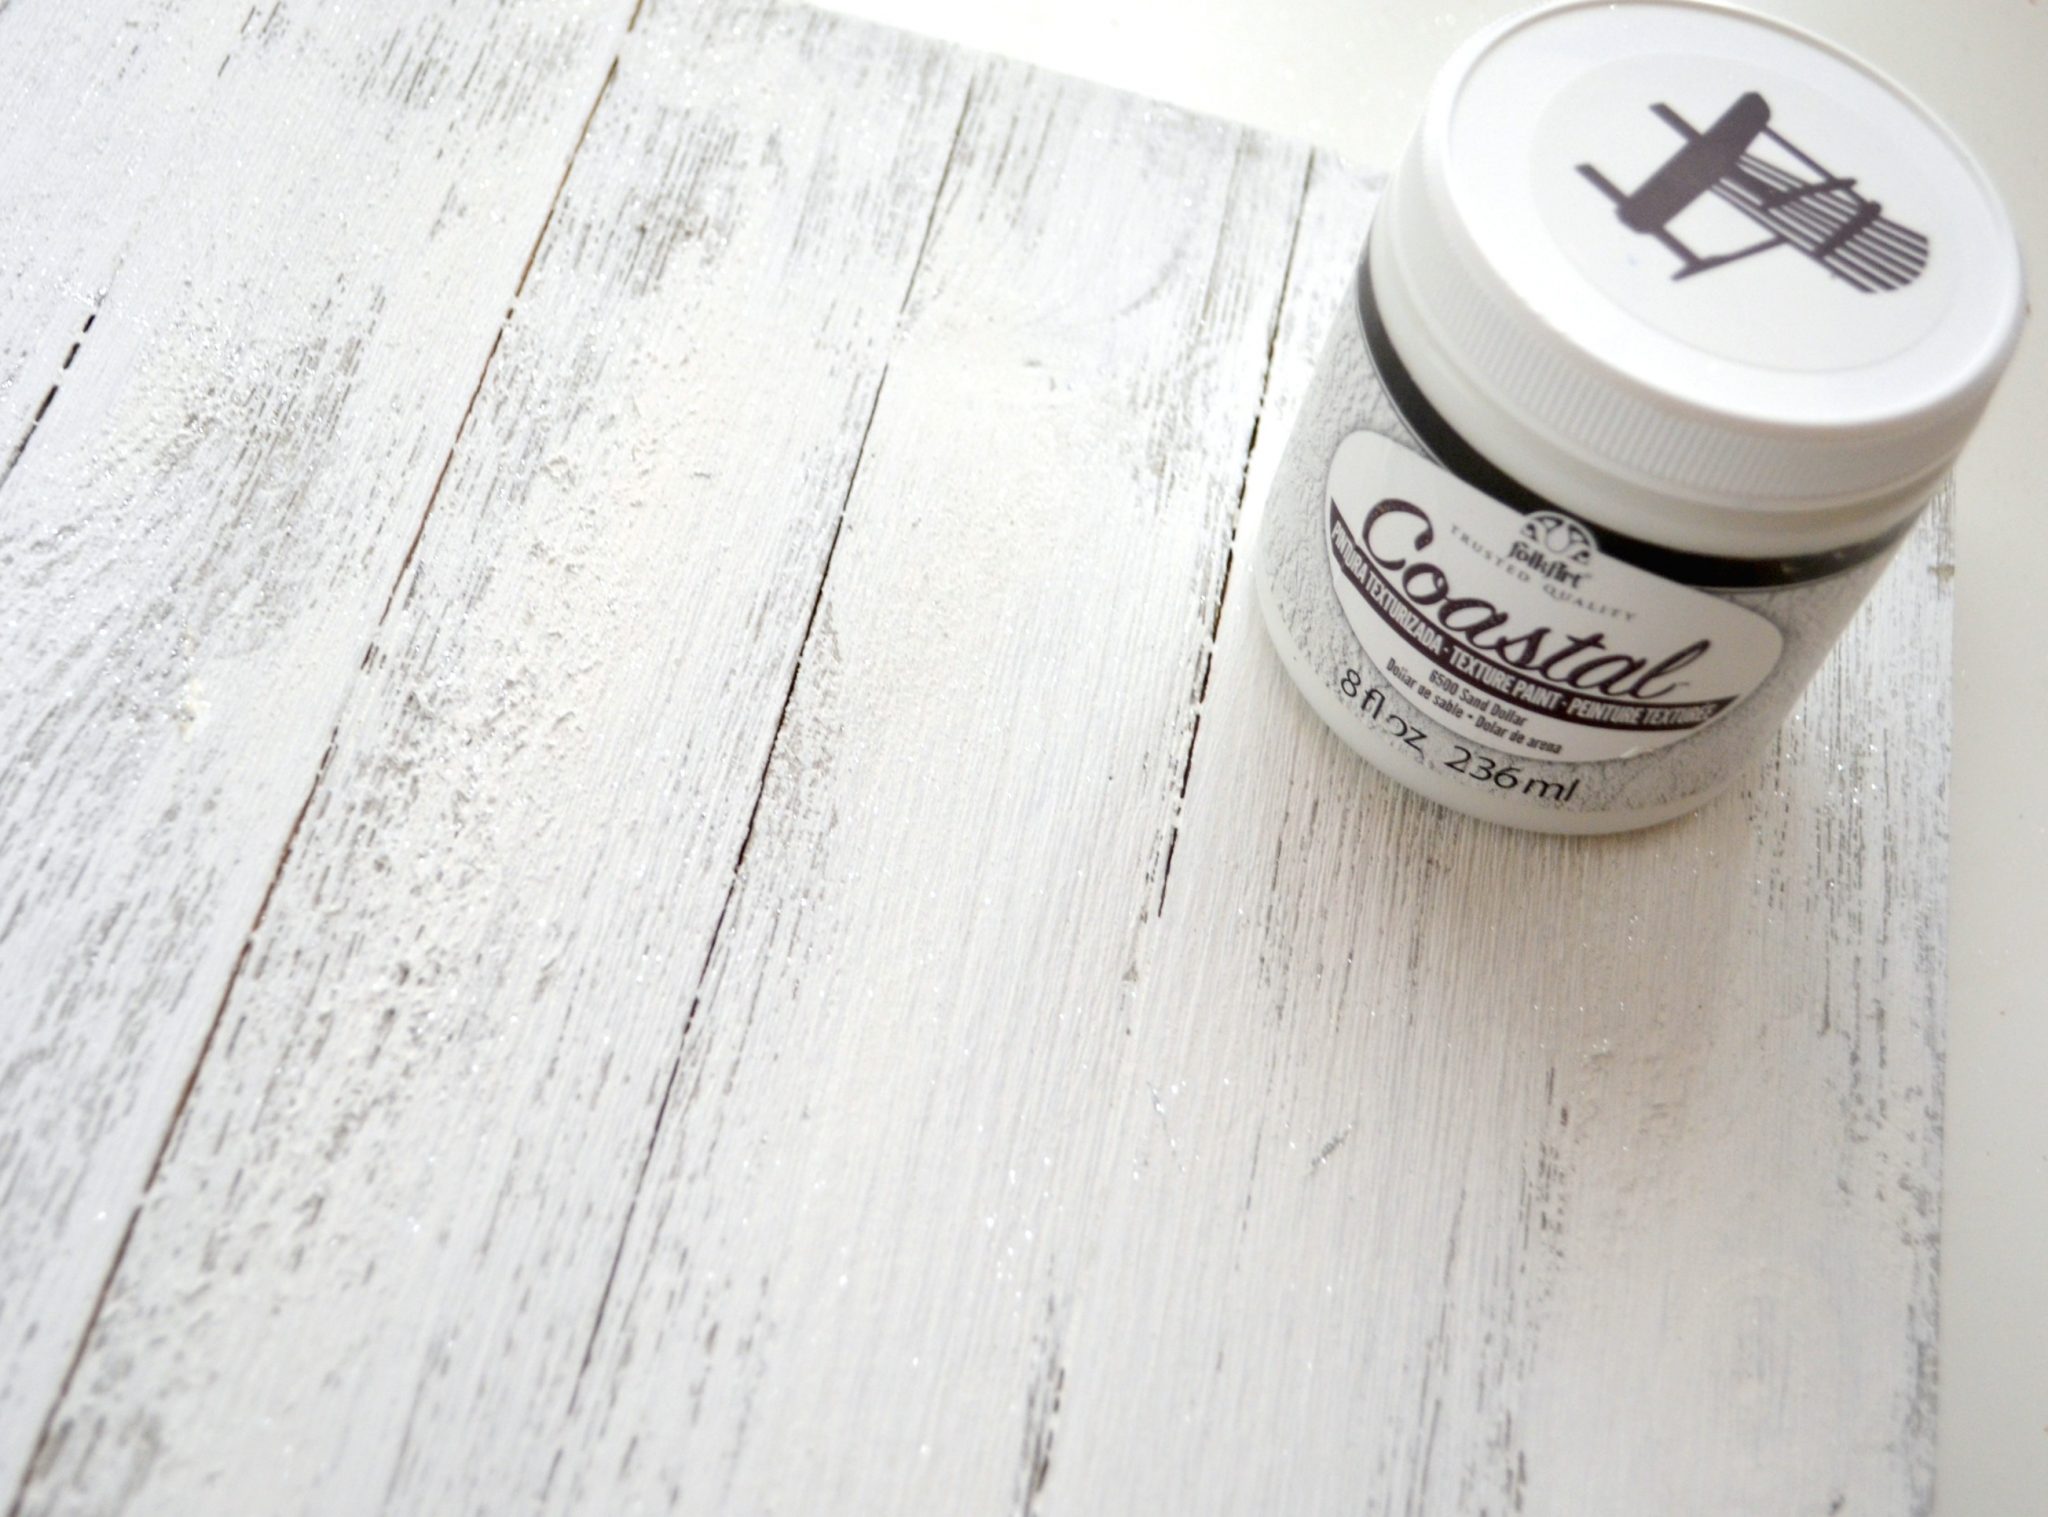
Step 1: Paint your sign with FolkArt Coastal texture paint in Sand Dollar.
I am a huge fan of this paint line, because I absolutely love the texture it provides…so much more interesting than your standard multi-surface or even chalk paint. I wanted my sign to look weathered, so Coastal paint was the perfect choice. I applied just one coat, and the beauty of it is that you don’t have to cover every single spot. You want some areas to have more paint and others to have less, so just brush the paint on and see what happens naturally! Set the sign aside and let it dry completely while you work on the letters.
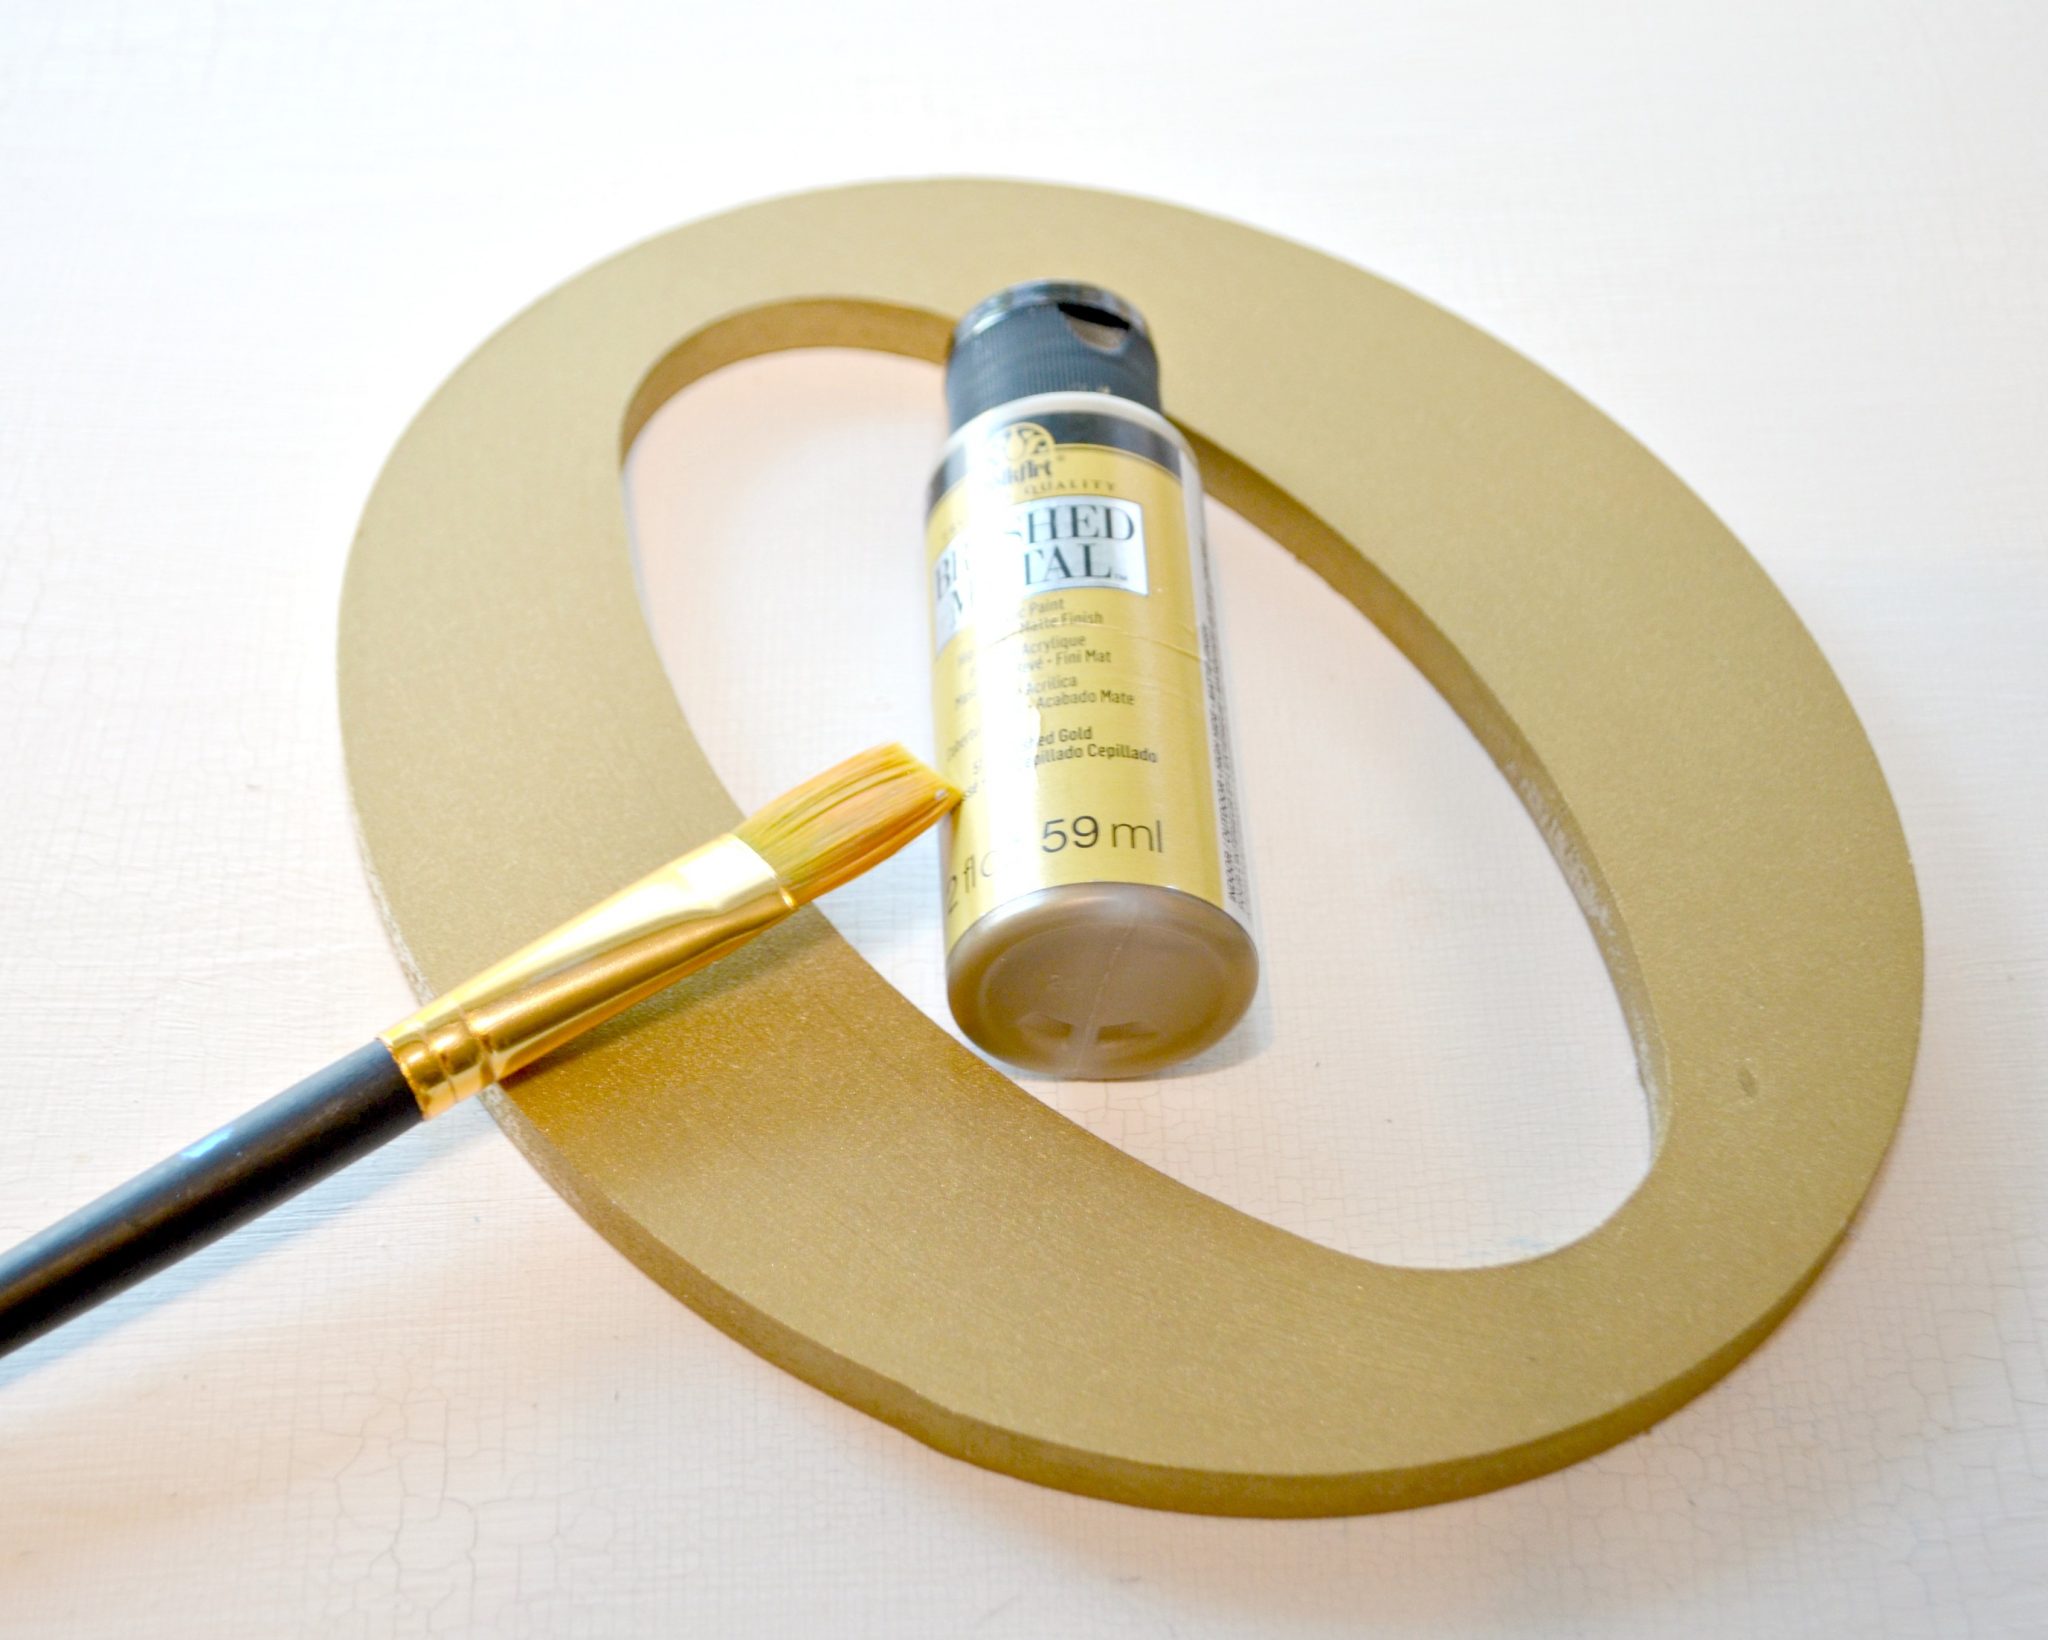
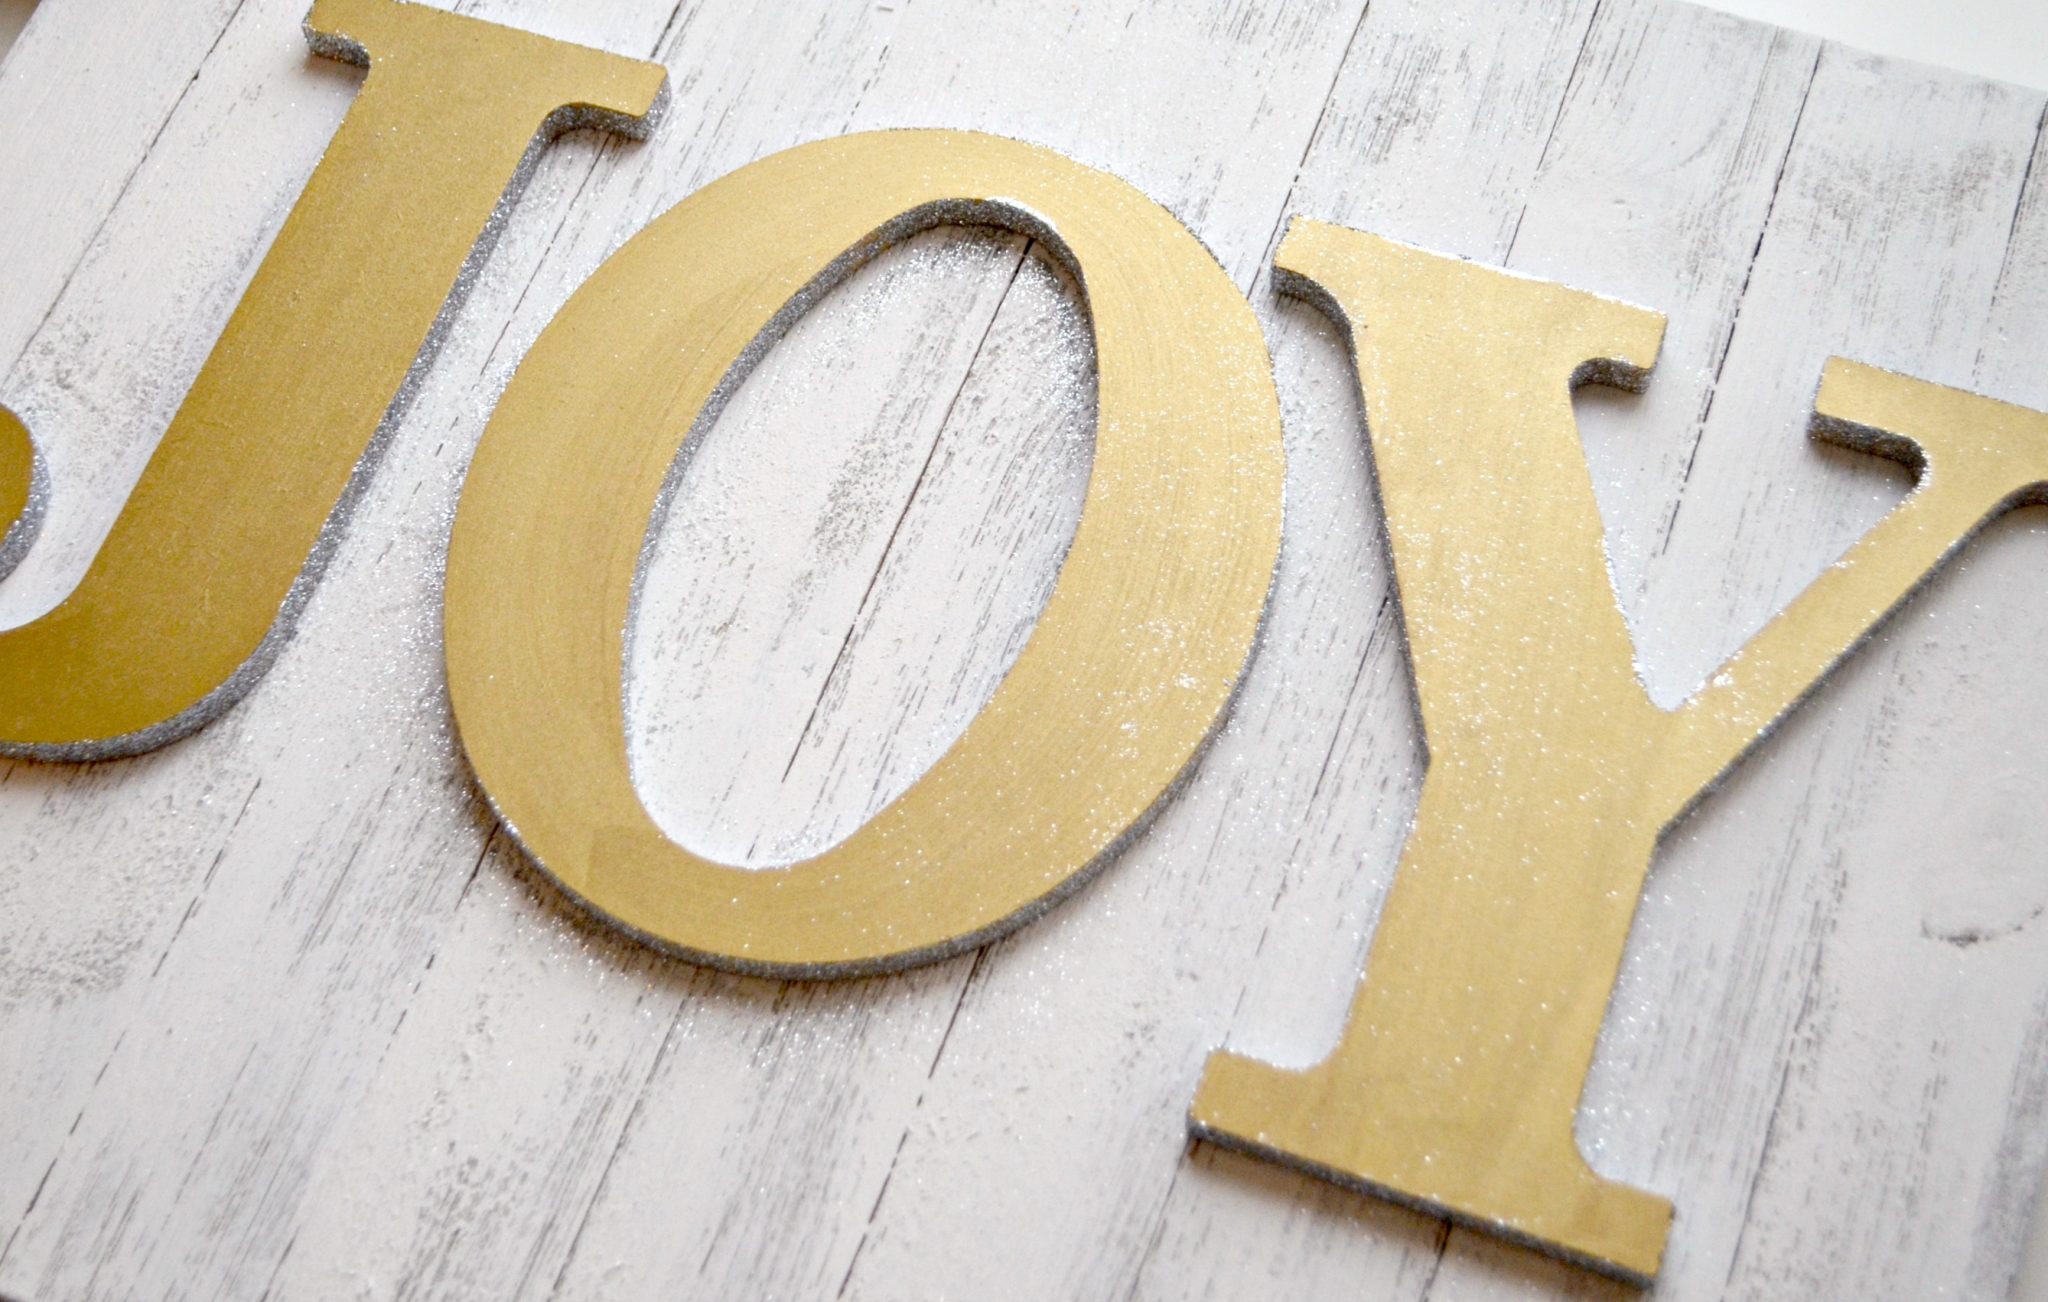
Step 2: Paint the top surface of your letters with FolkArt Brushed Metal in your choice of color.
I used Brushed Gold, but if you prefer, you can use another shade or one of the silvers. It only took one coat to get total coverage on my letters. Because the Brushed Metal paint has that gorgeous sheen to it, brush strokes can sometimes be visible, so be sure to go back over the surface with long, continuous strokes before you let it dry so that you get the smooth look you want. Let the letters dry completely before you attempt to glitter the edges. Trust me, I learned this the hard way.
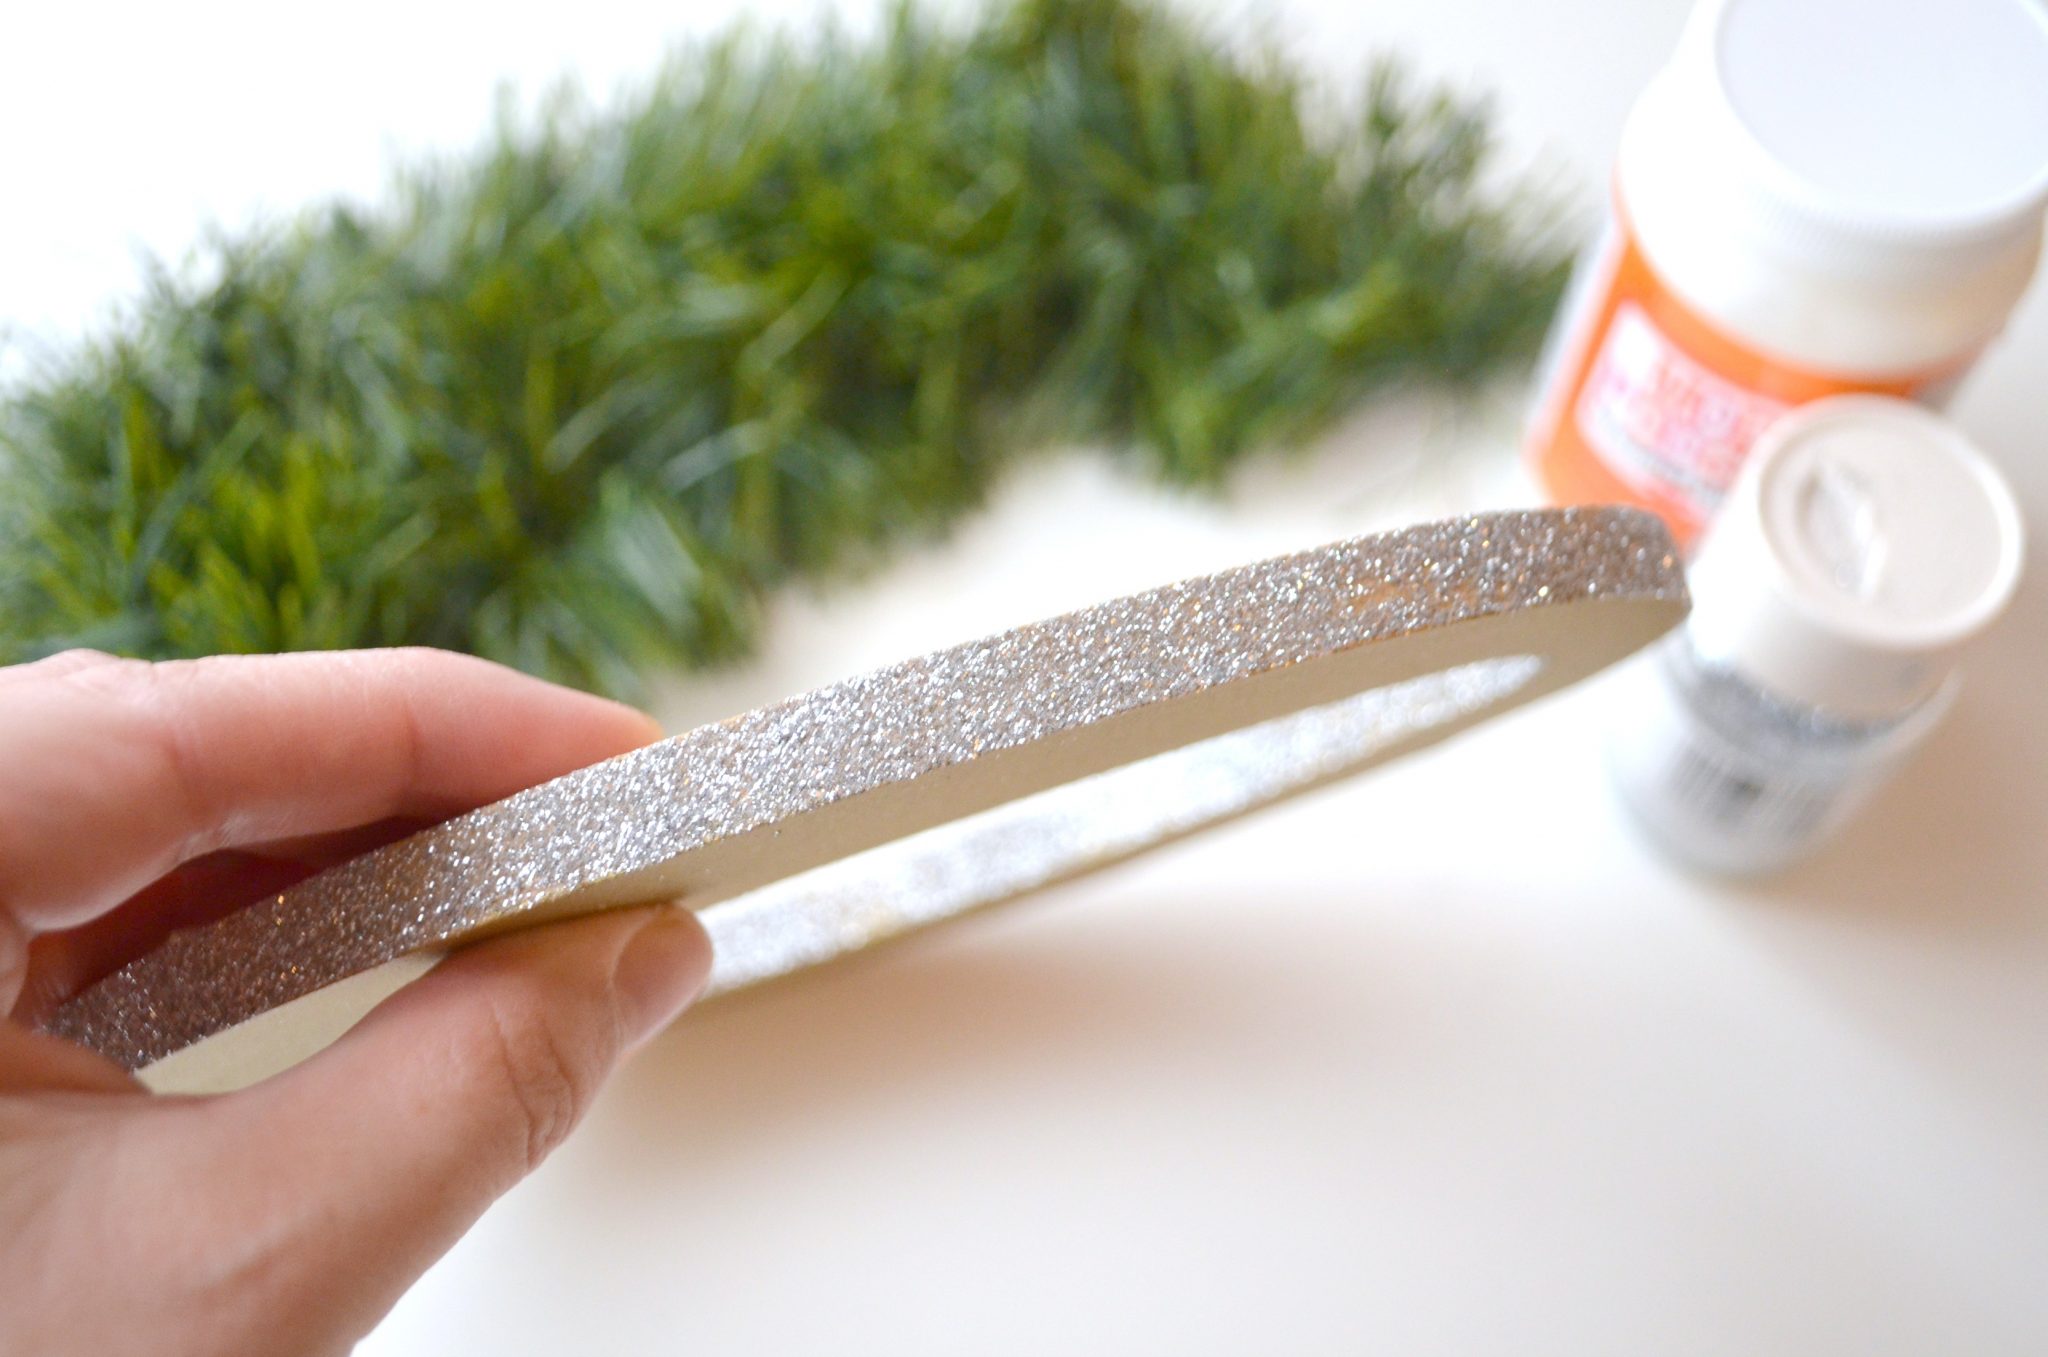
Step 3: Apply Mod Podge to the edges of your letter. Then, while the Mod Podge is still wet, sprinkle with extra fine glitter.
You’ll want to do small sections at a time so that the Mod Podge doesn’t dry before you apply the glitter.
When you finish, gently tap your letter to remove excess glitter. I like to do this over a piece of paper so that I can fold it and funnel the extra glitter back into my container to use another time. If you see any spots you missed, just add a little dab of Mod Podge and touch them up.
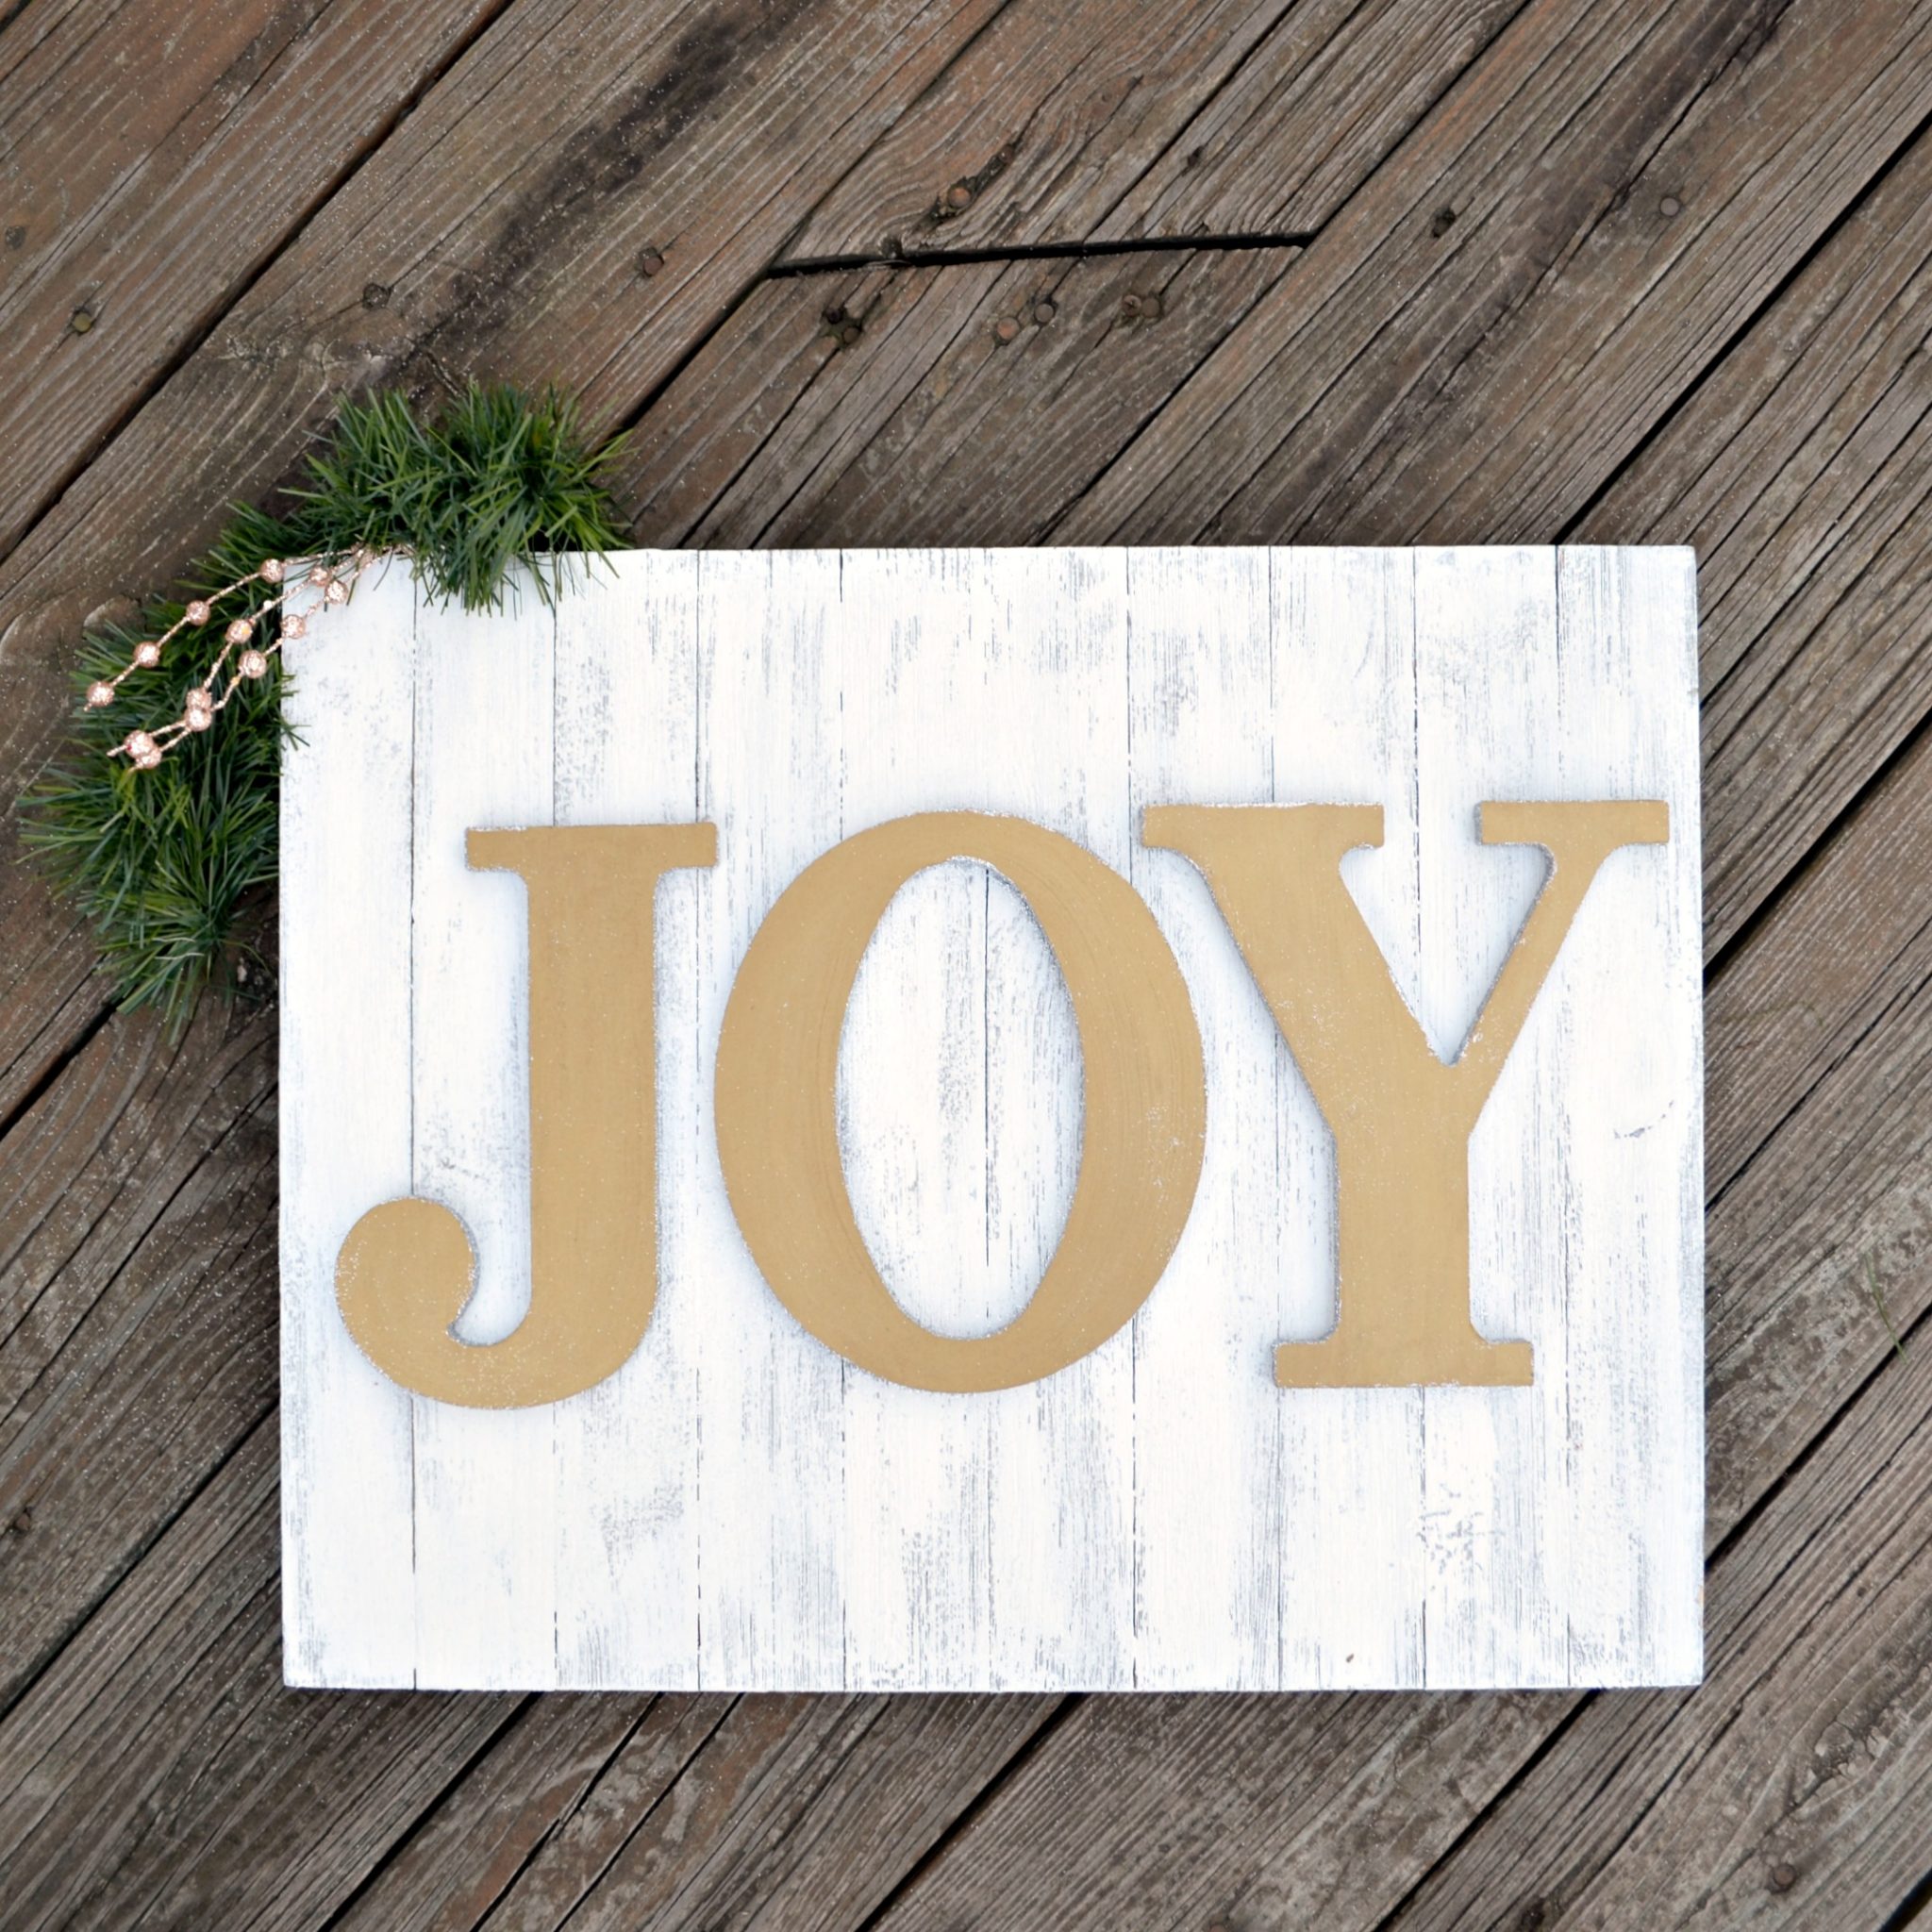
Step 4: Glue your letters to the wooden sign.
You can certainly measure for precise placement if you like, but I confess, I just eyeballed it. Use whatever type of glue you like best for a strong bond.
That’s all there is to it! Your sign is ready to display as you welcome the holiday season!
Of course, you can personalize this sign any way you like by using a different word or choosing other colors for your paints and glitter. You can also eliminate the sign and use the 3D letters instead! Paint them with Brushed Metal and add glitter to the sides, then you have a way to spell out a gorgeous message on the mantle. I’d love to see you put your own personal spin on the project or recreate mine for your own home.
Just head to the Plaid Crafts website to grab the supplies, then when you’re finished the project, share a photo in the One Artsy Mama & Friends Facebook group so we can all be inspired! Remember, I’m looking out for your budget too, so use the code OneArtsyMama to save 25% on any craft supply purchase over $25! On the Plaid website, you’ll find the greatest variety of products and colors, including everything you need to make the other 8 projects shared by my fellow Plaid Creators.
ENTER BELOW TO WIN A $200 PLAID ONLINE GIFT CARD TO BUY YOUR FAVORITE HOLIDAY KITS! BY CLICKING EACH BLOG NAME ON THE RAFFLECOPTER YOU WILL NOT ONLY GET TO SEE EACH PROJECT AND KIT AT PLAIDONLINE BUT YOU WILL GET ONE GIVEAWAY ENTRY FOR EACH VISIT.
Disclosure: Giveaway open to US residents 18 years and older only, void where prohibited. Winner will be chosen at random by the Rafflecopter and contacted via email.
Good luck, friends!
I like the FolkArt ® Enamels™ 8 Color Set kit.
I would buy the stencils, some chalk paints, and some of the acrylic and metallic paints. Buy all the crafty things!
Chalk paint, I have my grandmothers hutch I want to paint and use to store all my craft goodies
I need some new brushes. Also, I would like to give chalk paint a try.
Love the “JOY” project. I’d order those supplies 1st.
This is absolutely beautiful.
Thank you for the inspiration
and tutorial, Amy,
I love your project a lot 🙂
Their advent fireplace project is absolutely darling!! I would definitely have to snag that one 🙂
Even though I’ve used Mod Podge before, I’d get the Beginner Mod Podge kit for the Staples and book!
Great idea.
Have to give it a try.
thanks for sharing.
Oh my word, there goes my birthday money! The DIY window cling paint would get used for homeschool geography (we do map tracing on the storm door), the craft paints would get used for freezer paper stenciling t-shirts (my obsession), and I LOVE that sand dollar paint you used!
I would love to get some chalk paints for my Girl Scout troop – I think it would make for a fun project!!
Awesome!!
I love Plaid craft products! I have been using them for more years than I care to tell!
you inspire me, and I think I will attempt one in silver…
I want to buy the mod podge melts to do kids crafts at church camp next summer.
I especially love the Lighted Snowman Canvas!
I just love the JOY craft. I truly believe in the word JOY as in Jesus Others Yourself. I think if people thought this way we would have such a beautiful world.
thanks so much for this post.
I’d start with a mod podge kit and add some of the best seller paint kits.
Love it! Simple enough for me to do!
Love the JOY sign. I also would like to try the fabric paint for pillows and canvas bags. Also, would have to have some decoupage supplies. I have loved doing decoupage projects for a long time. Thanks for a wonderful give away.
I love the joy craft
I’d buy the kit to make the joy sign and make it with the family so everyone can help! ❤️
I would love to get the Essential Mod Podge ® Decoupage Tool Kit.
I’d buy the supplies to make this project, some chalk paint and new brushes.
I’d buy some Martha Stewart silkscreens!
I would copy this Joy project, but do the word peace instead. Love this!
I would buy as many kits as I could with the $200 gift card.
This is gorgeous! I would love to buy and try the Coastal paint and some new brushes!
Crafting is my happy place! I’d love a chance to win some new supplies
Absolutely love the DIY idea! So beautiful. Thanks!
Thank you!
I would love to Win! I’m so excited to make decor and items for the holidays! Thank you for the opportunity !
I would get like ALL the stencils (my hand is super shaky so stencils are the best!) and also maybe the Donna Dewberry One Stroke Fall beginner kit- those colours! I’m still a beginner with lettering and crafts so a beginner kit would be nice!
I would love to win! Love your ideas!
Just happen to have a pallet plaque can use. Not quite as big as yours but will work. Was made for another sign but can use for Joy sign now. Pretty much any signs I make are made with pallet boards, who ho, free lumber. Good sanding and we have a sign ready to be made.
Love your sign the way you painted tops of letters with sparkle on sides of letters. Just added another project to my list but that’s why am starting with my projects earlier than usual.
Happy Thanksgiving