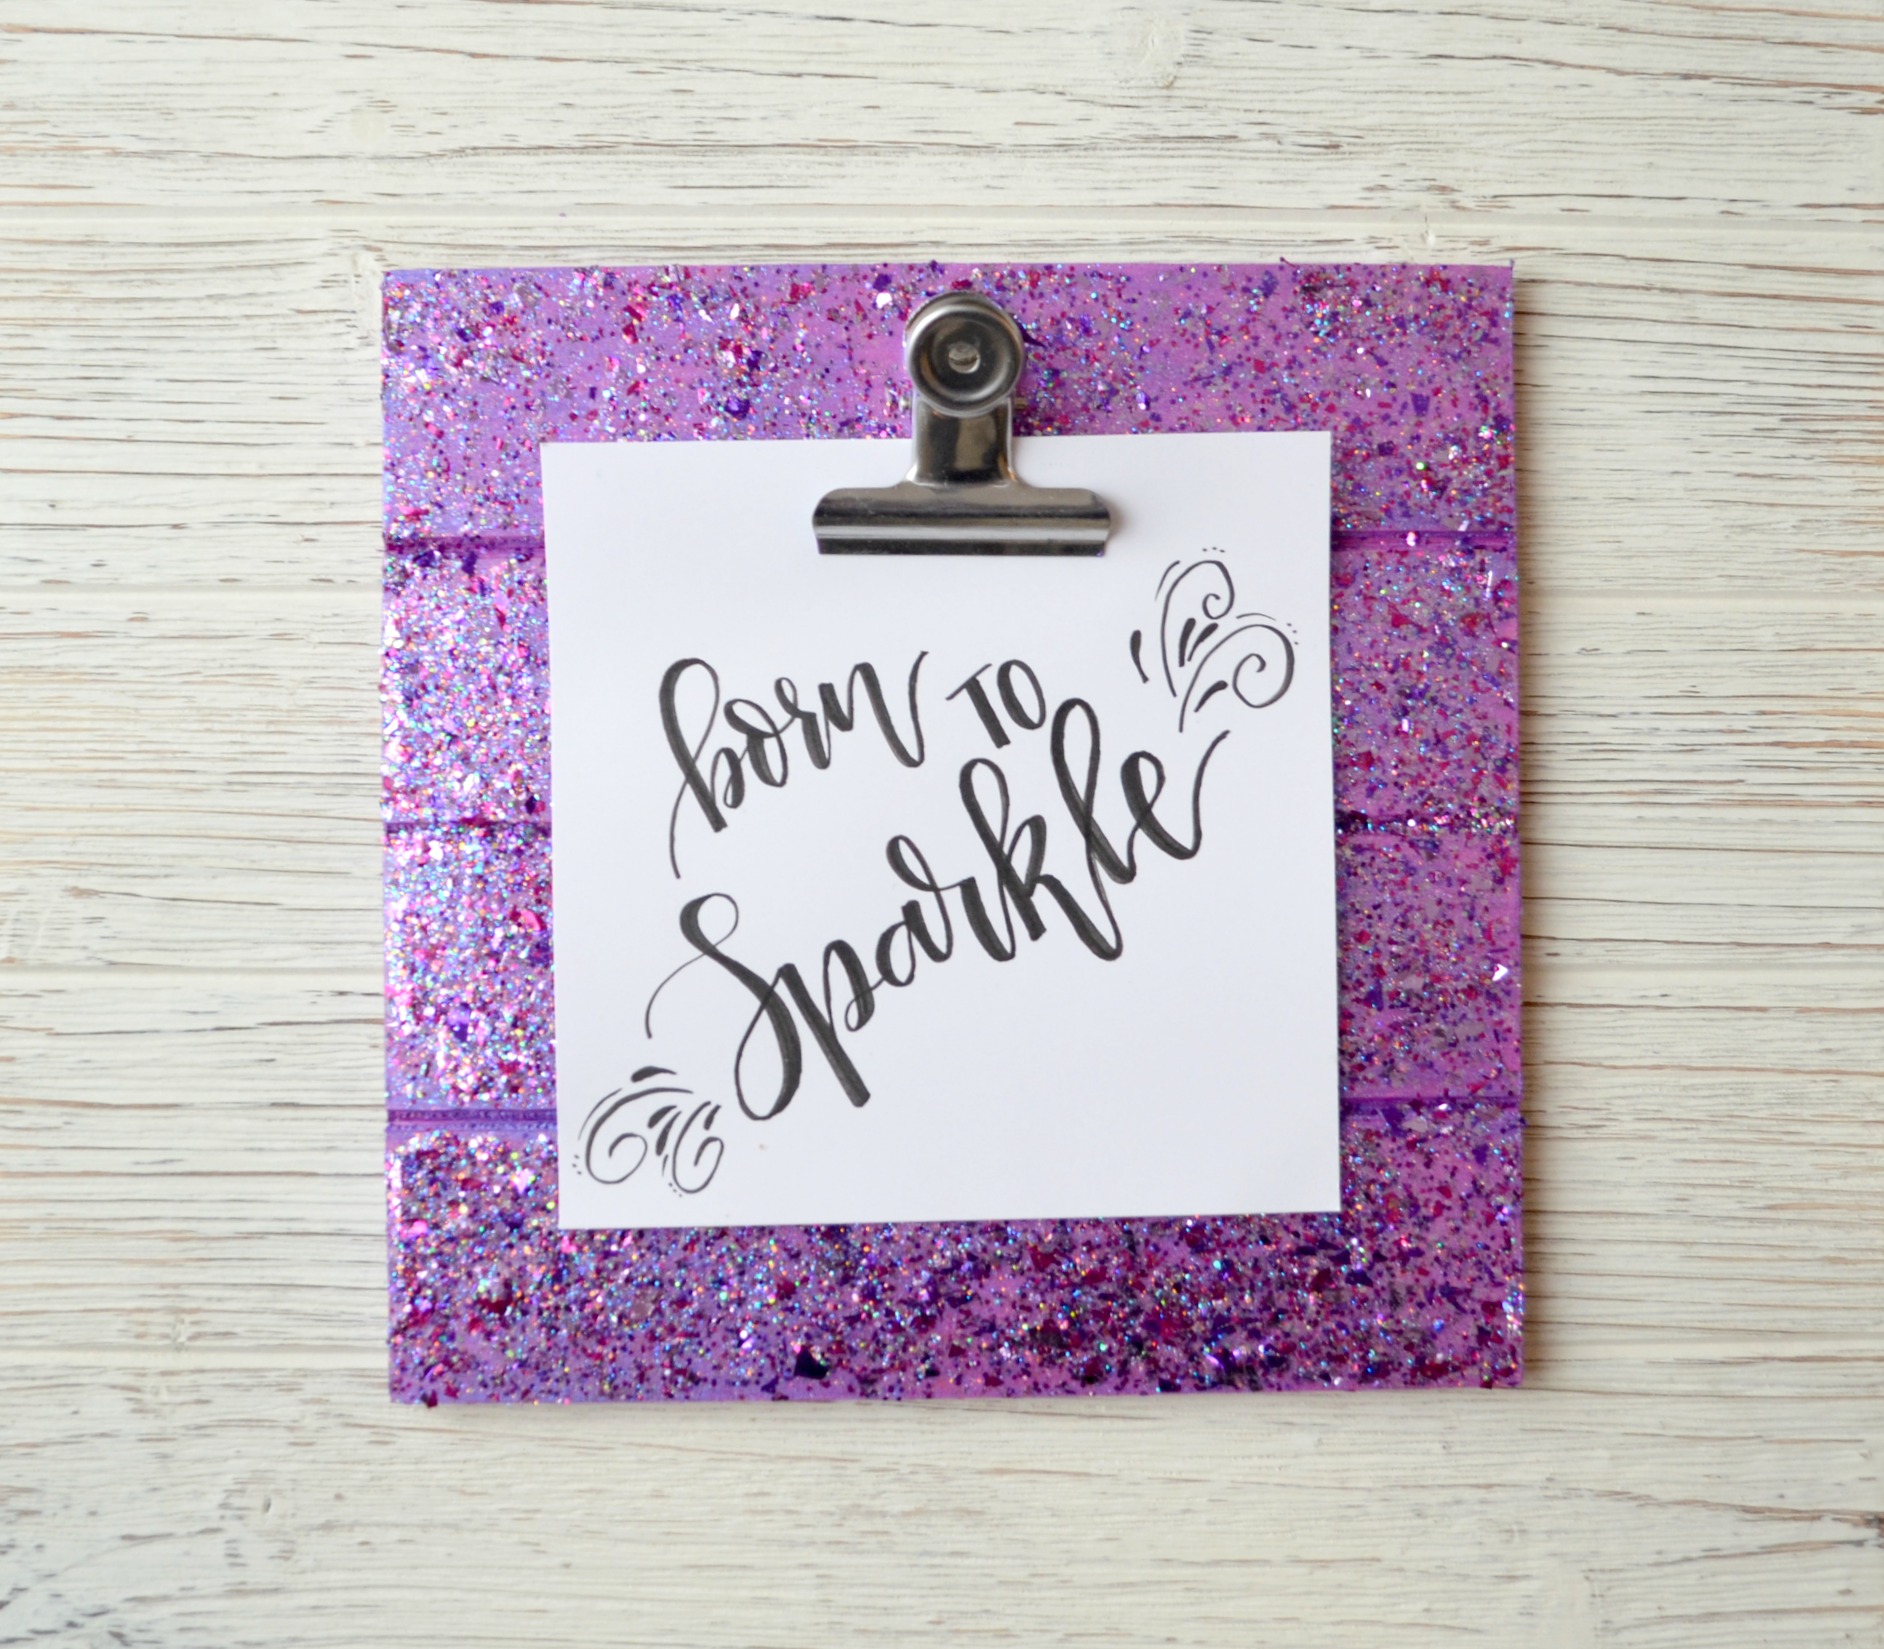
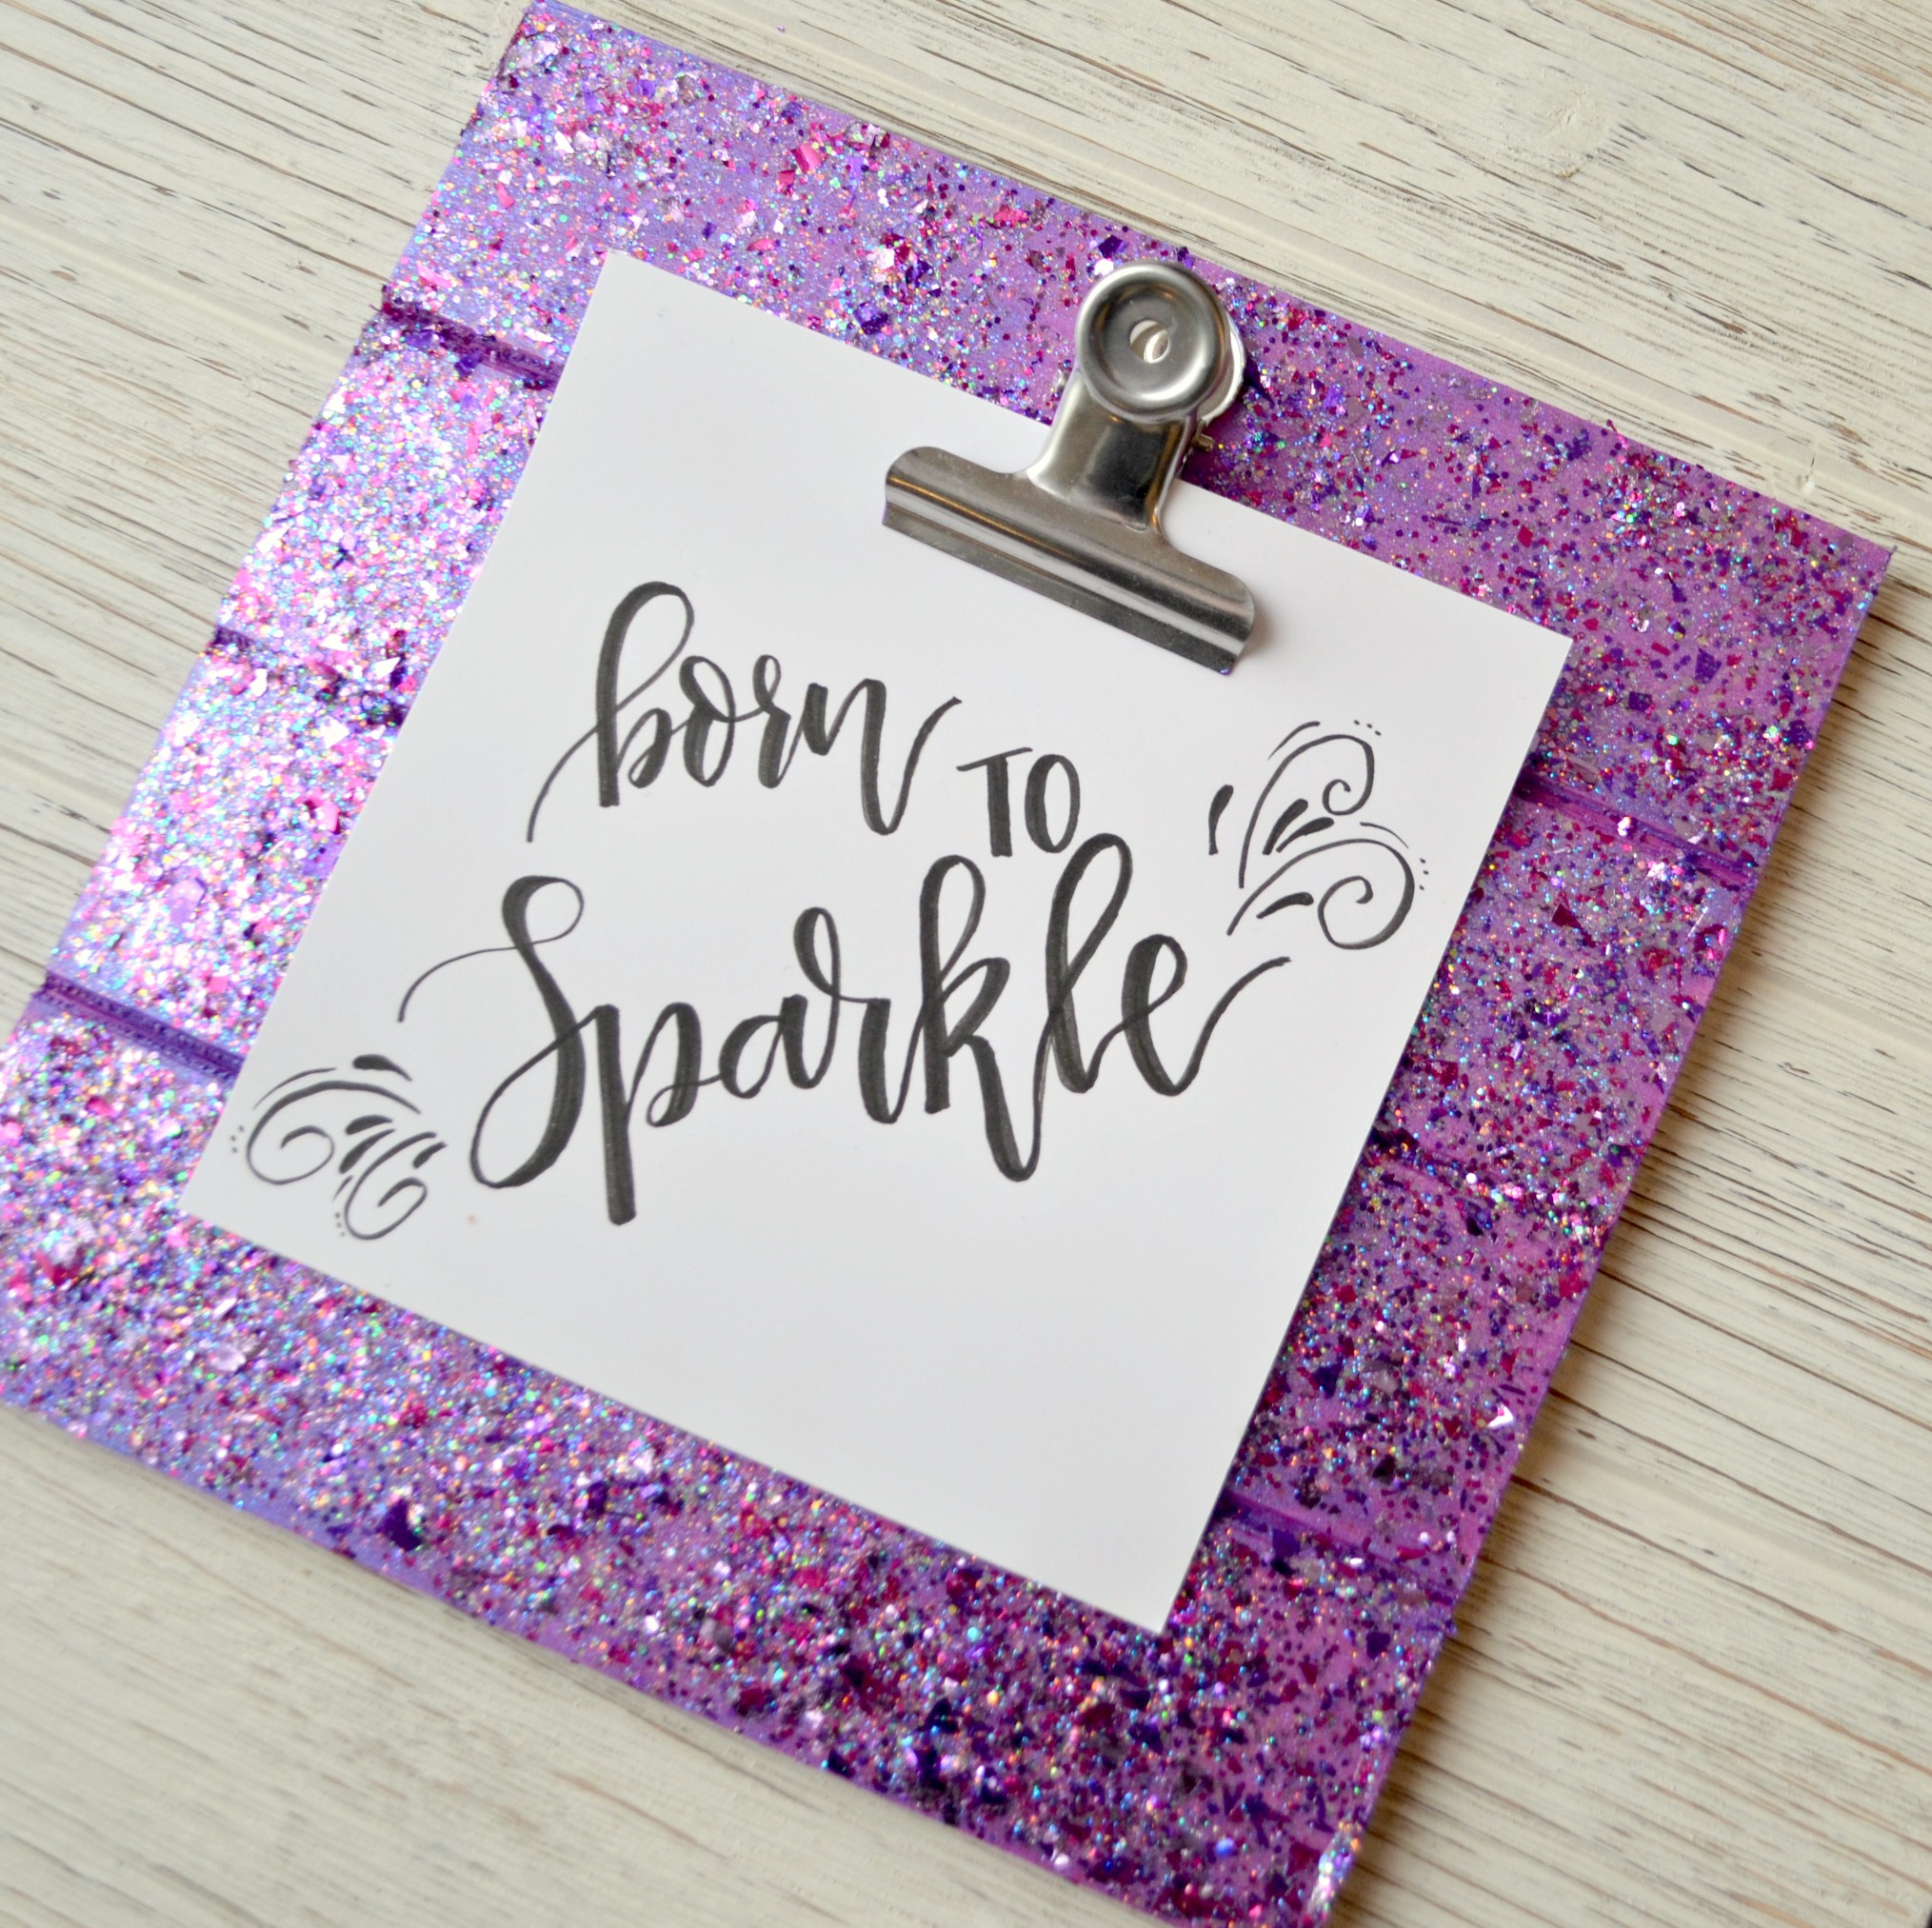
FolkArt Glitterific Sparkly Clipboard Sign
Friends, I am soooooo excited about the new product I get to share with you today! It’s called FolkArt Glitterific, and it’s absolutely perfect for anyone who loves the sparkle of glitter but hates the mess it creates. Today, I’m going to use it to make a super-simple clipboard. All you need are four basic supplies. Take a look…I think you’re going to be as obsessed with this as I am.
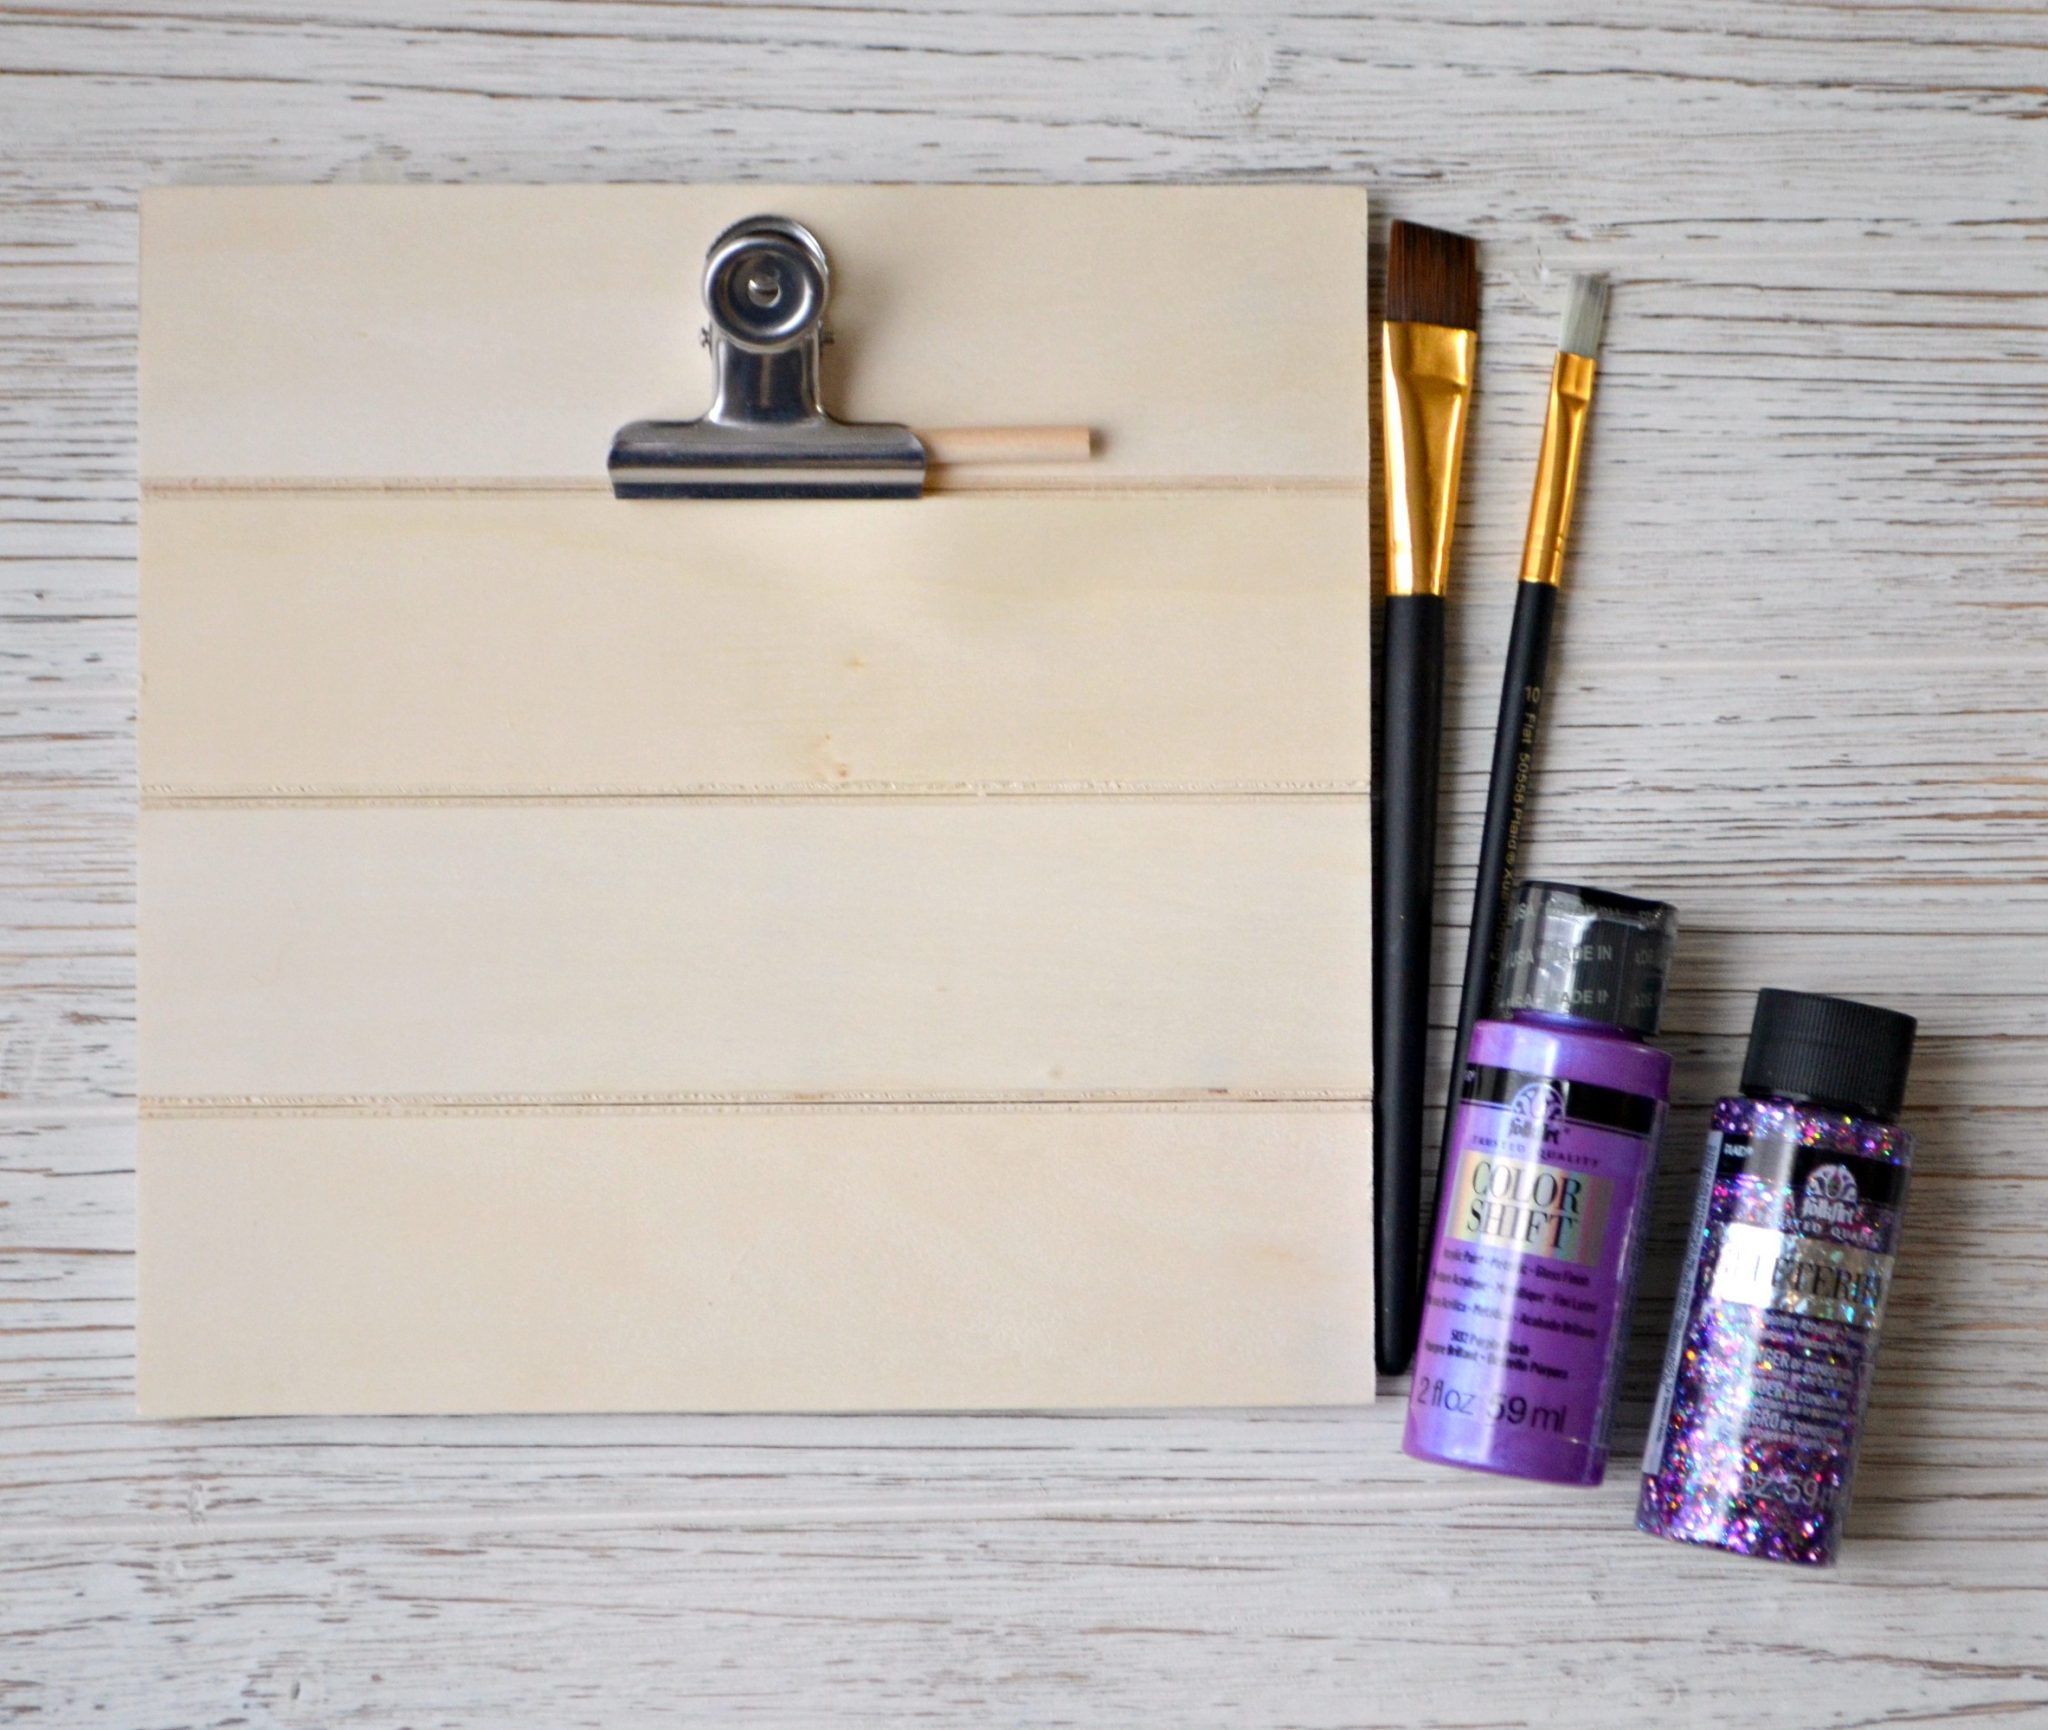
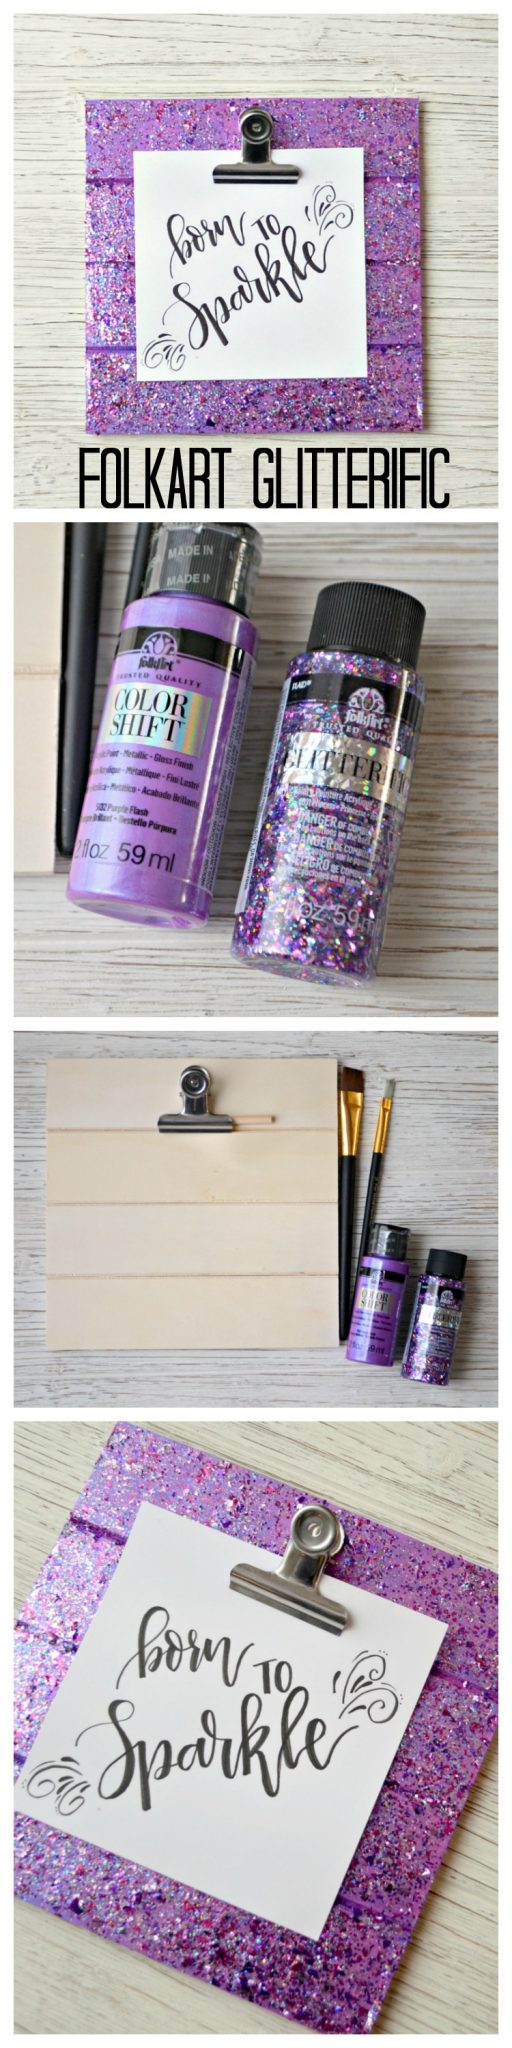
You’ll need:
wooden clipboard
paintbrushes
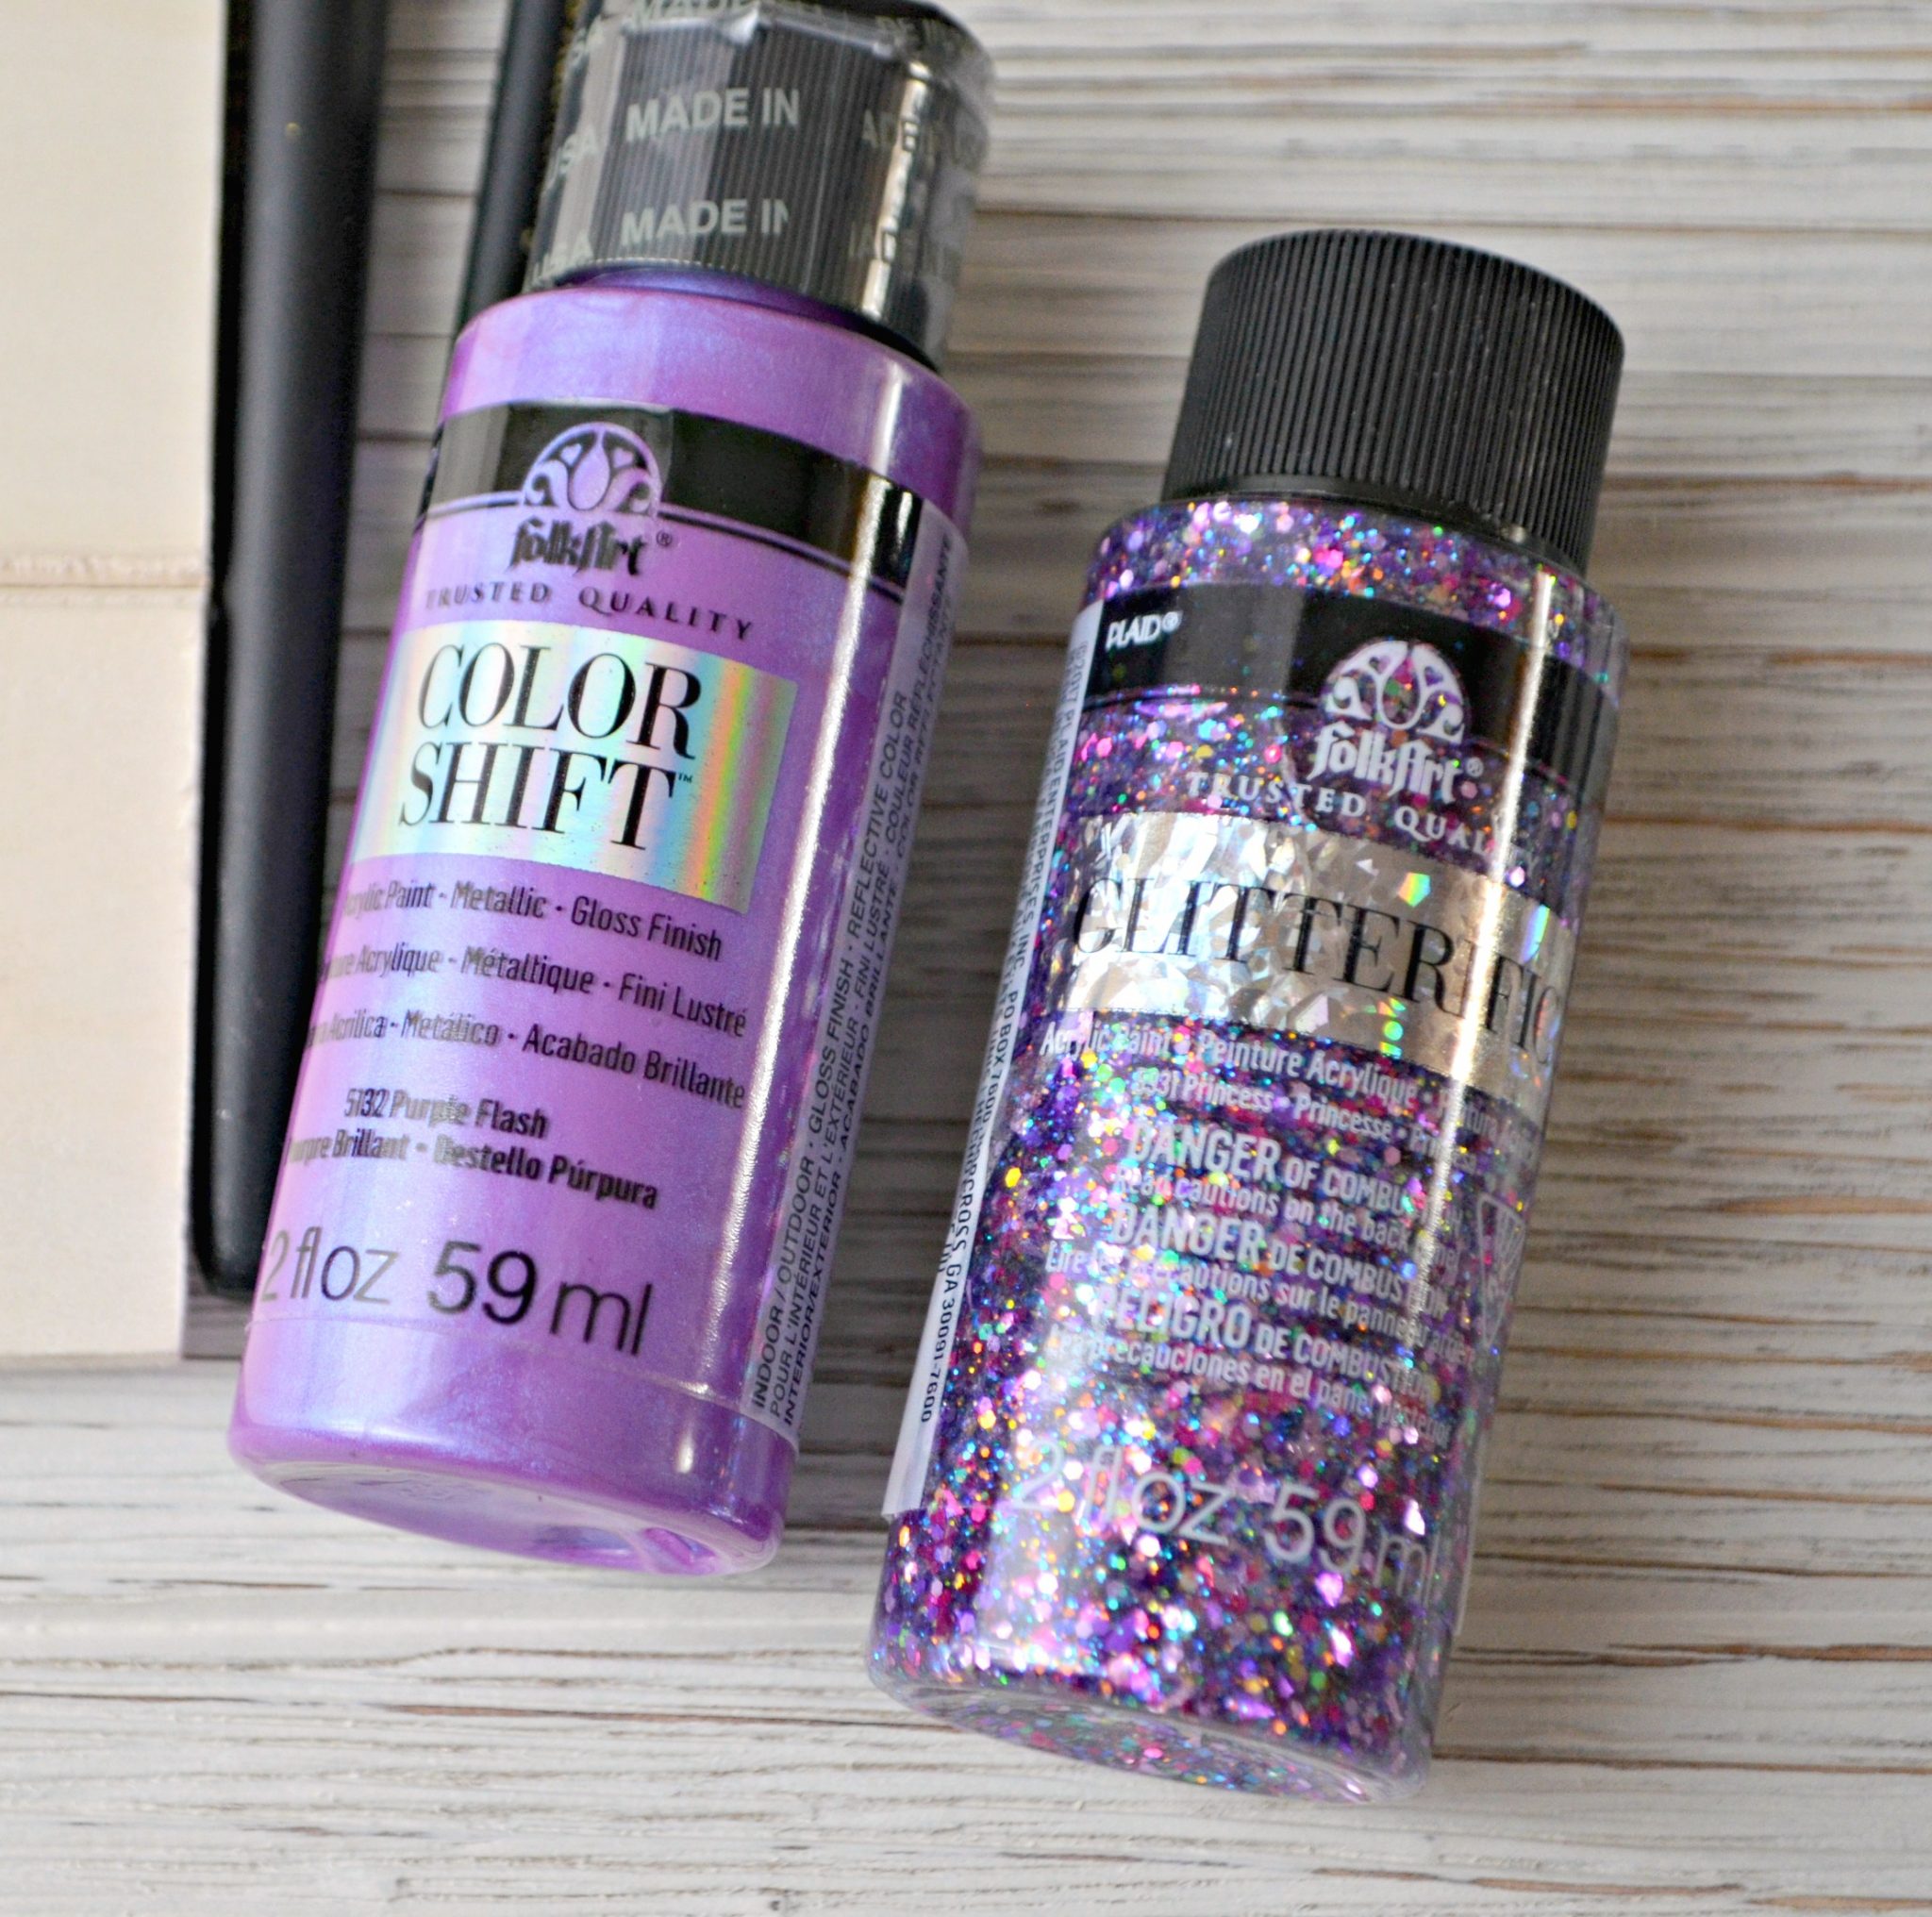
FolkArt Color Shift
FolkArt Glitterific
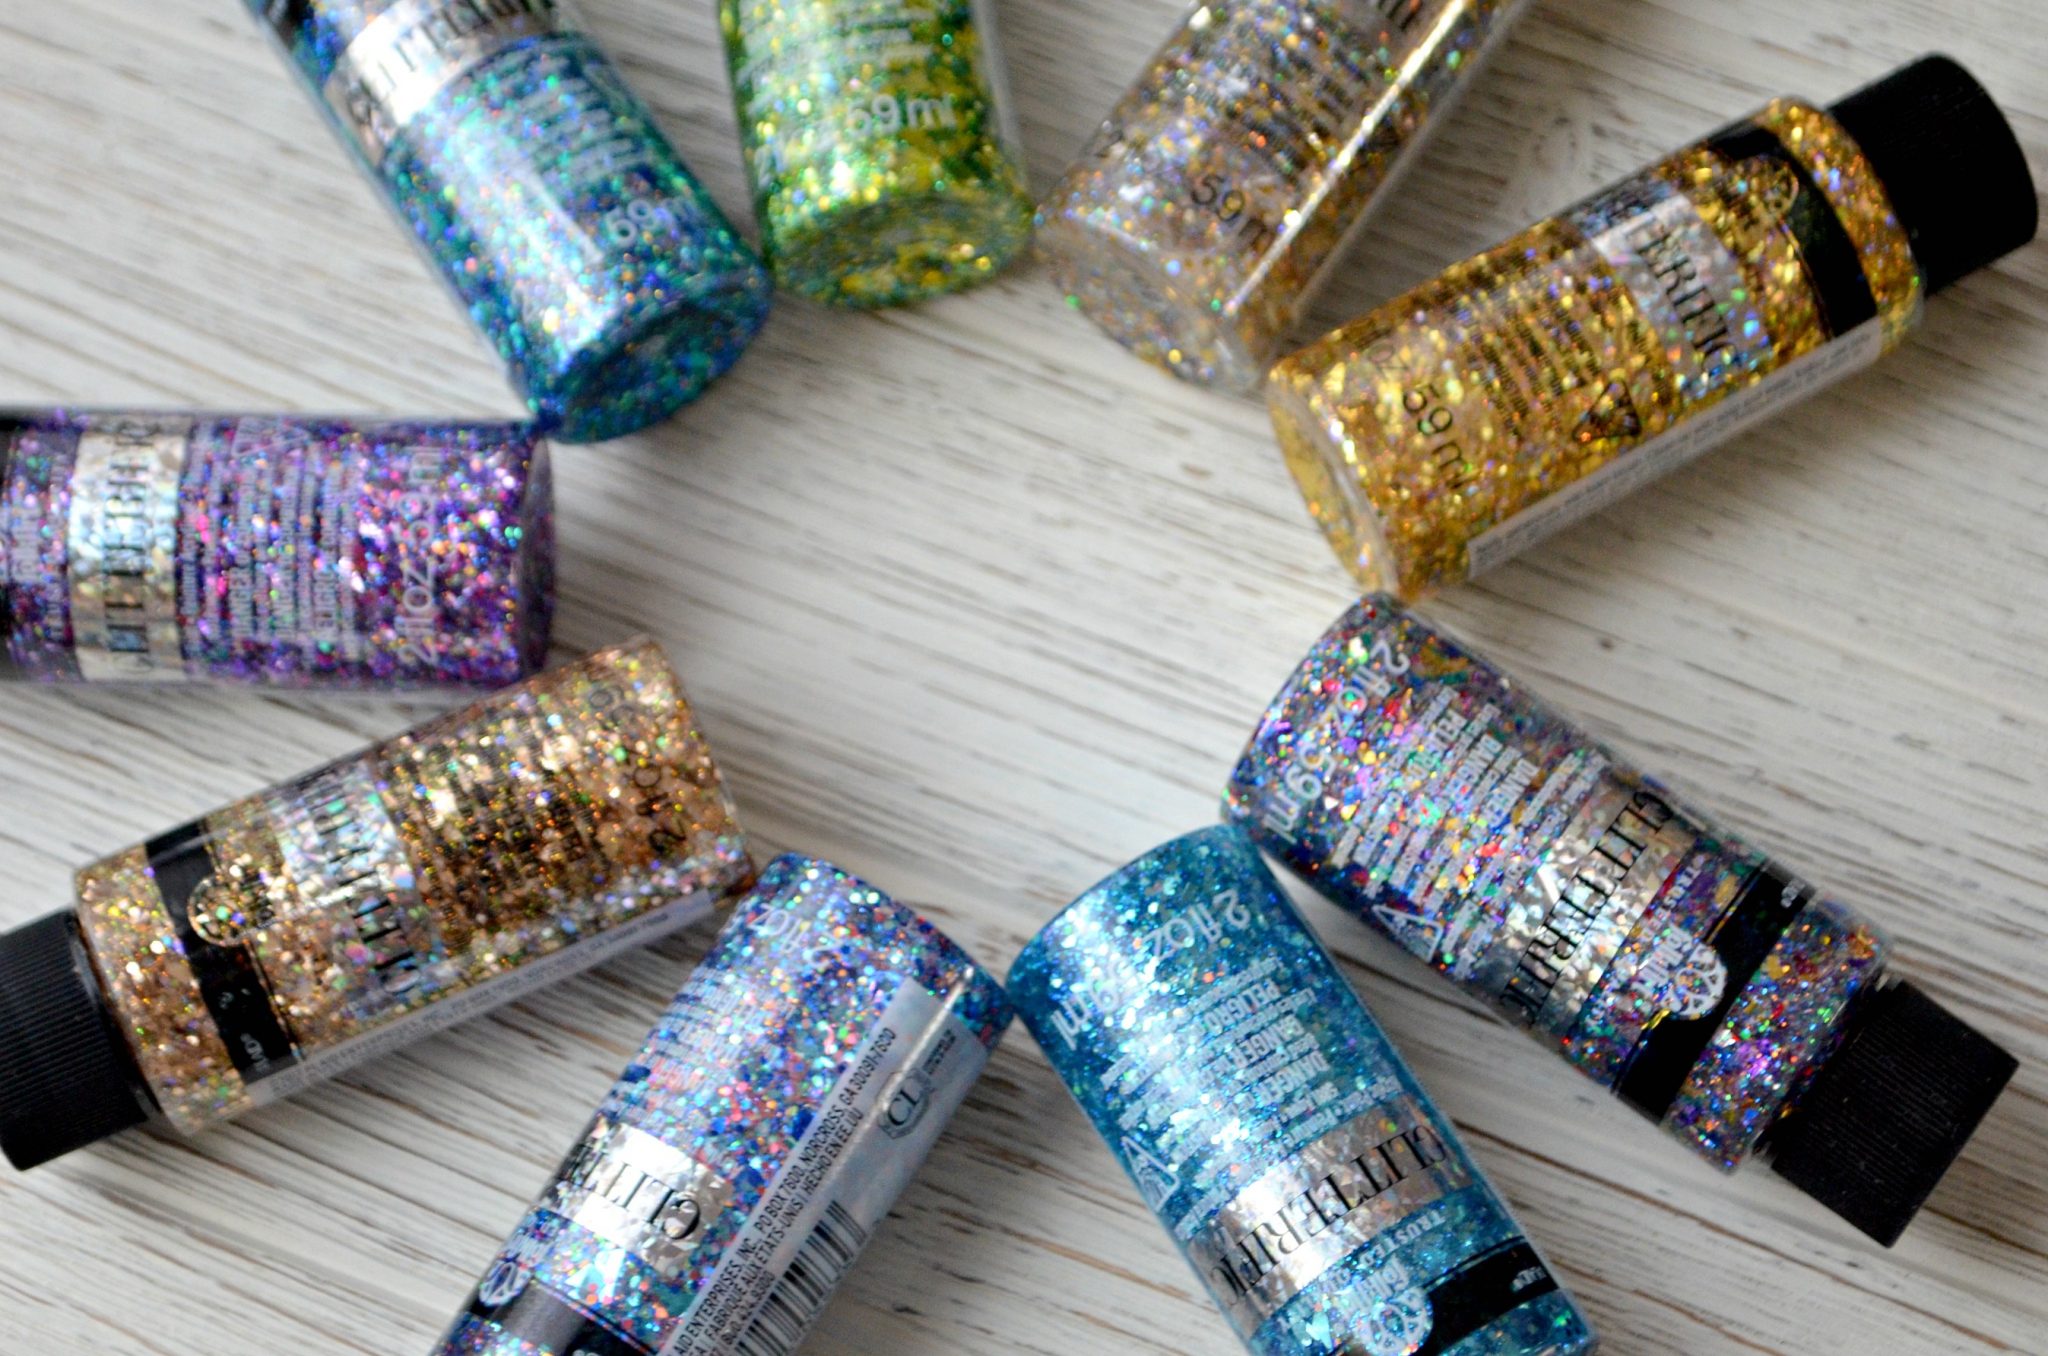
Glitterific is available in 21 different colors, and since it comes in clear 2 oz bottles, you can see exactly what each one looks like. What you see on the outside is what you get! Here are just a few of my favorites…how gorgeous are these?
Glitterific is made up of glitter particles in multiple sizes and colors suspended in a clear base. Because the base is clear, you’ll most likely want to give your project a background coat of another paint first. You can use acrylic paint, metallic paint like FolkArt Brushed Metal, or a specialty paint like my personal favorite, FolkArt Color Shift! If you want a more subtle background, you can do your base coat in black, white, or another neutral. Personally, I like to use metallics or a color that matches the glitter formula I’m using.
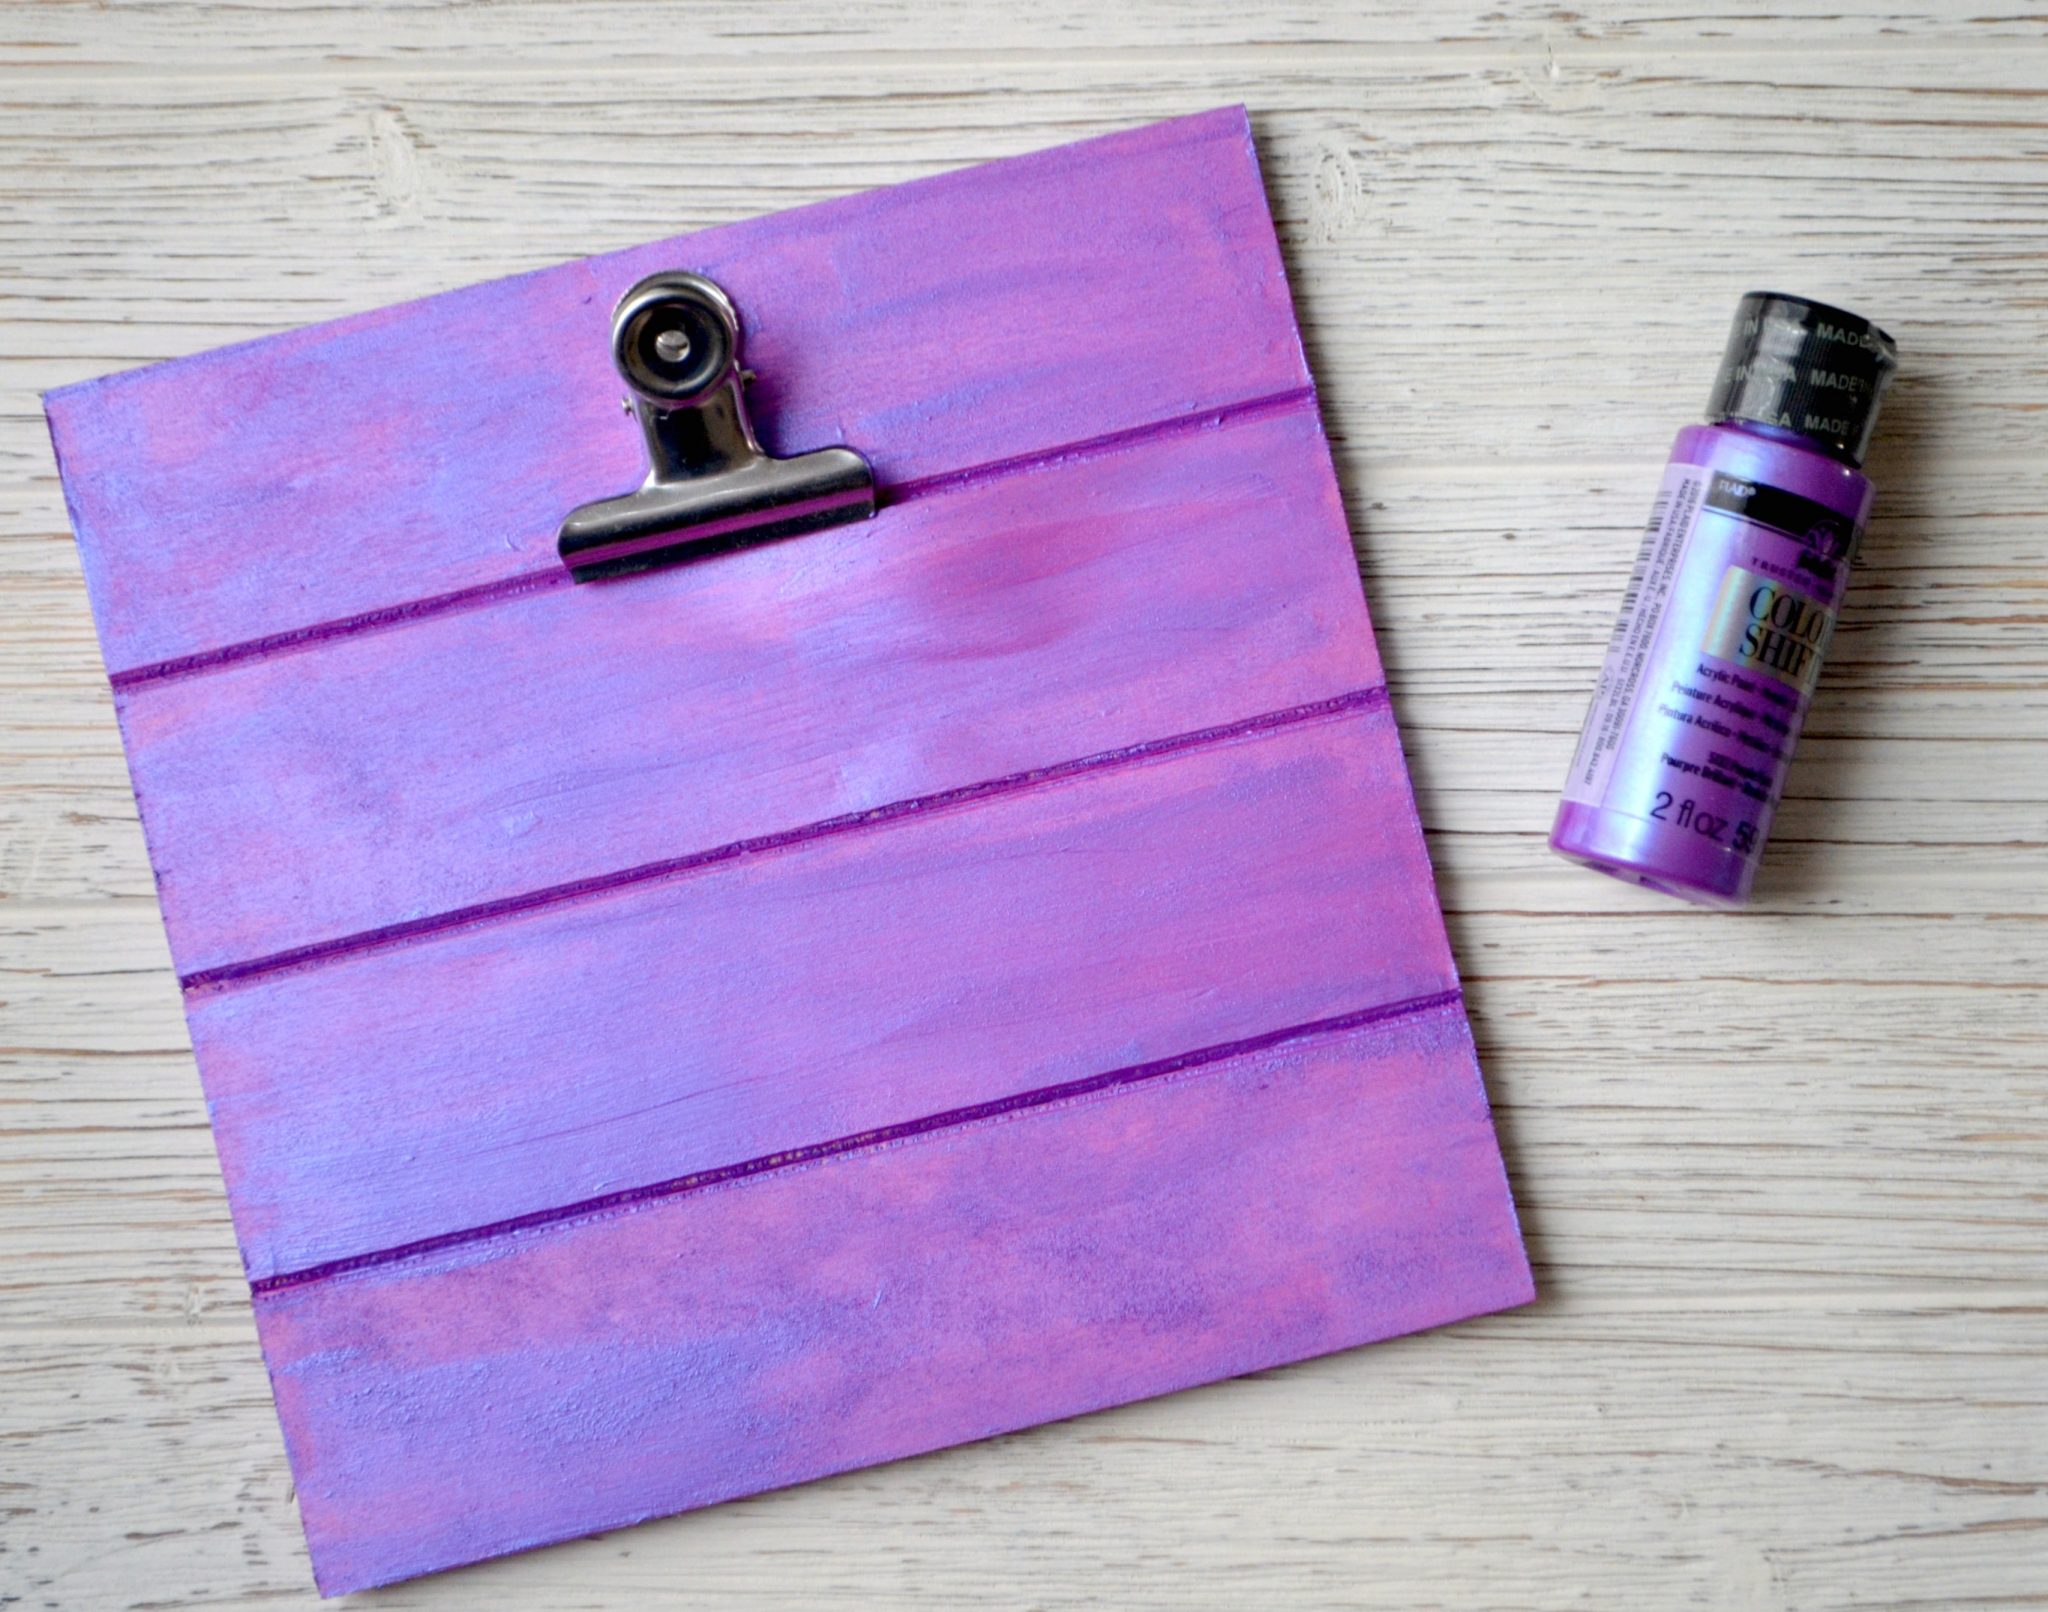
Step 1: Give your project a base coat of your choice of paint.
You can see here the way that Color Shift appears to be different shades when the light hits it in certain ways. Sometimes this particular color looks more blue, while other times it looks more magenta/purple. One coat will do, since it’s just the background and will be mostly covered by the glitter. Let it dry completely before moving on, because you don’t want it to mix with the Glitterific.
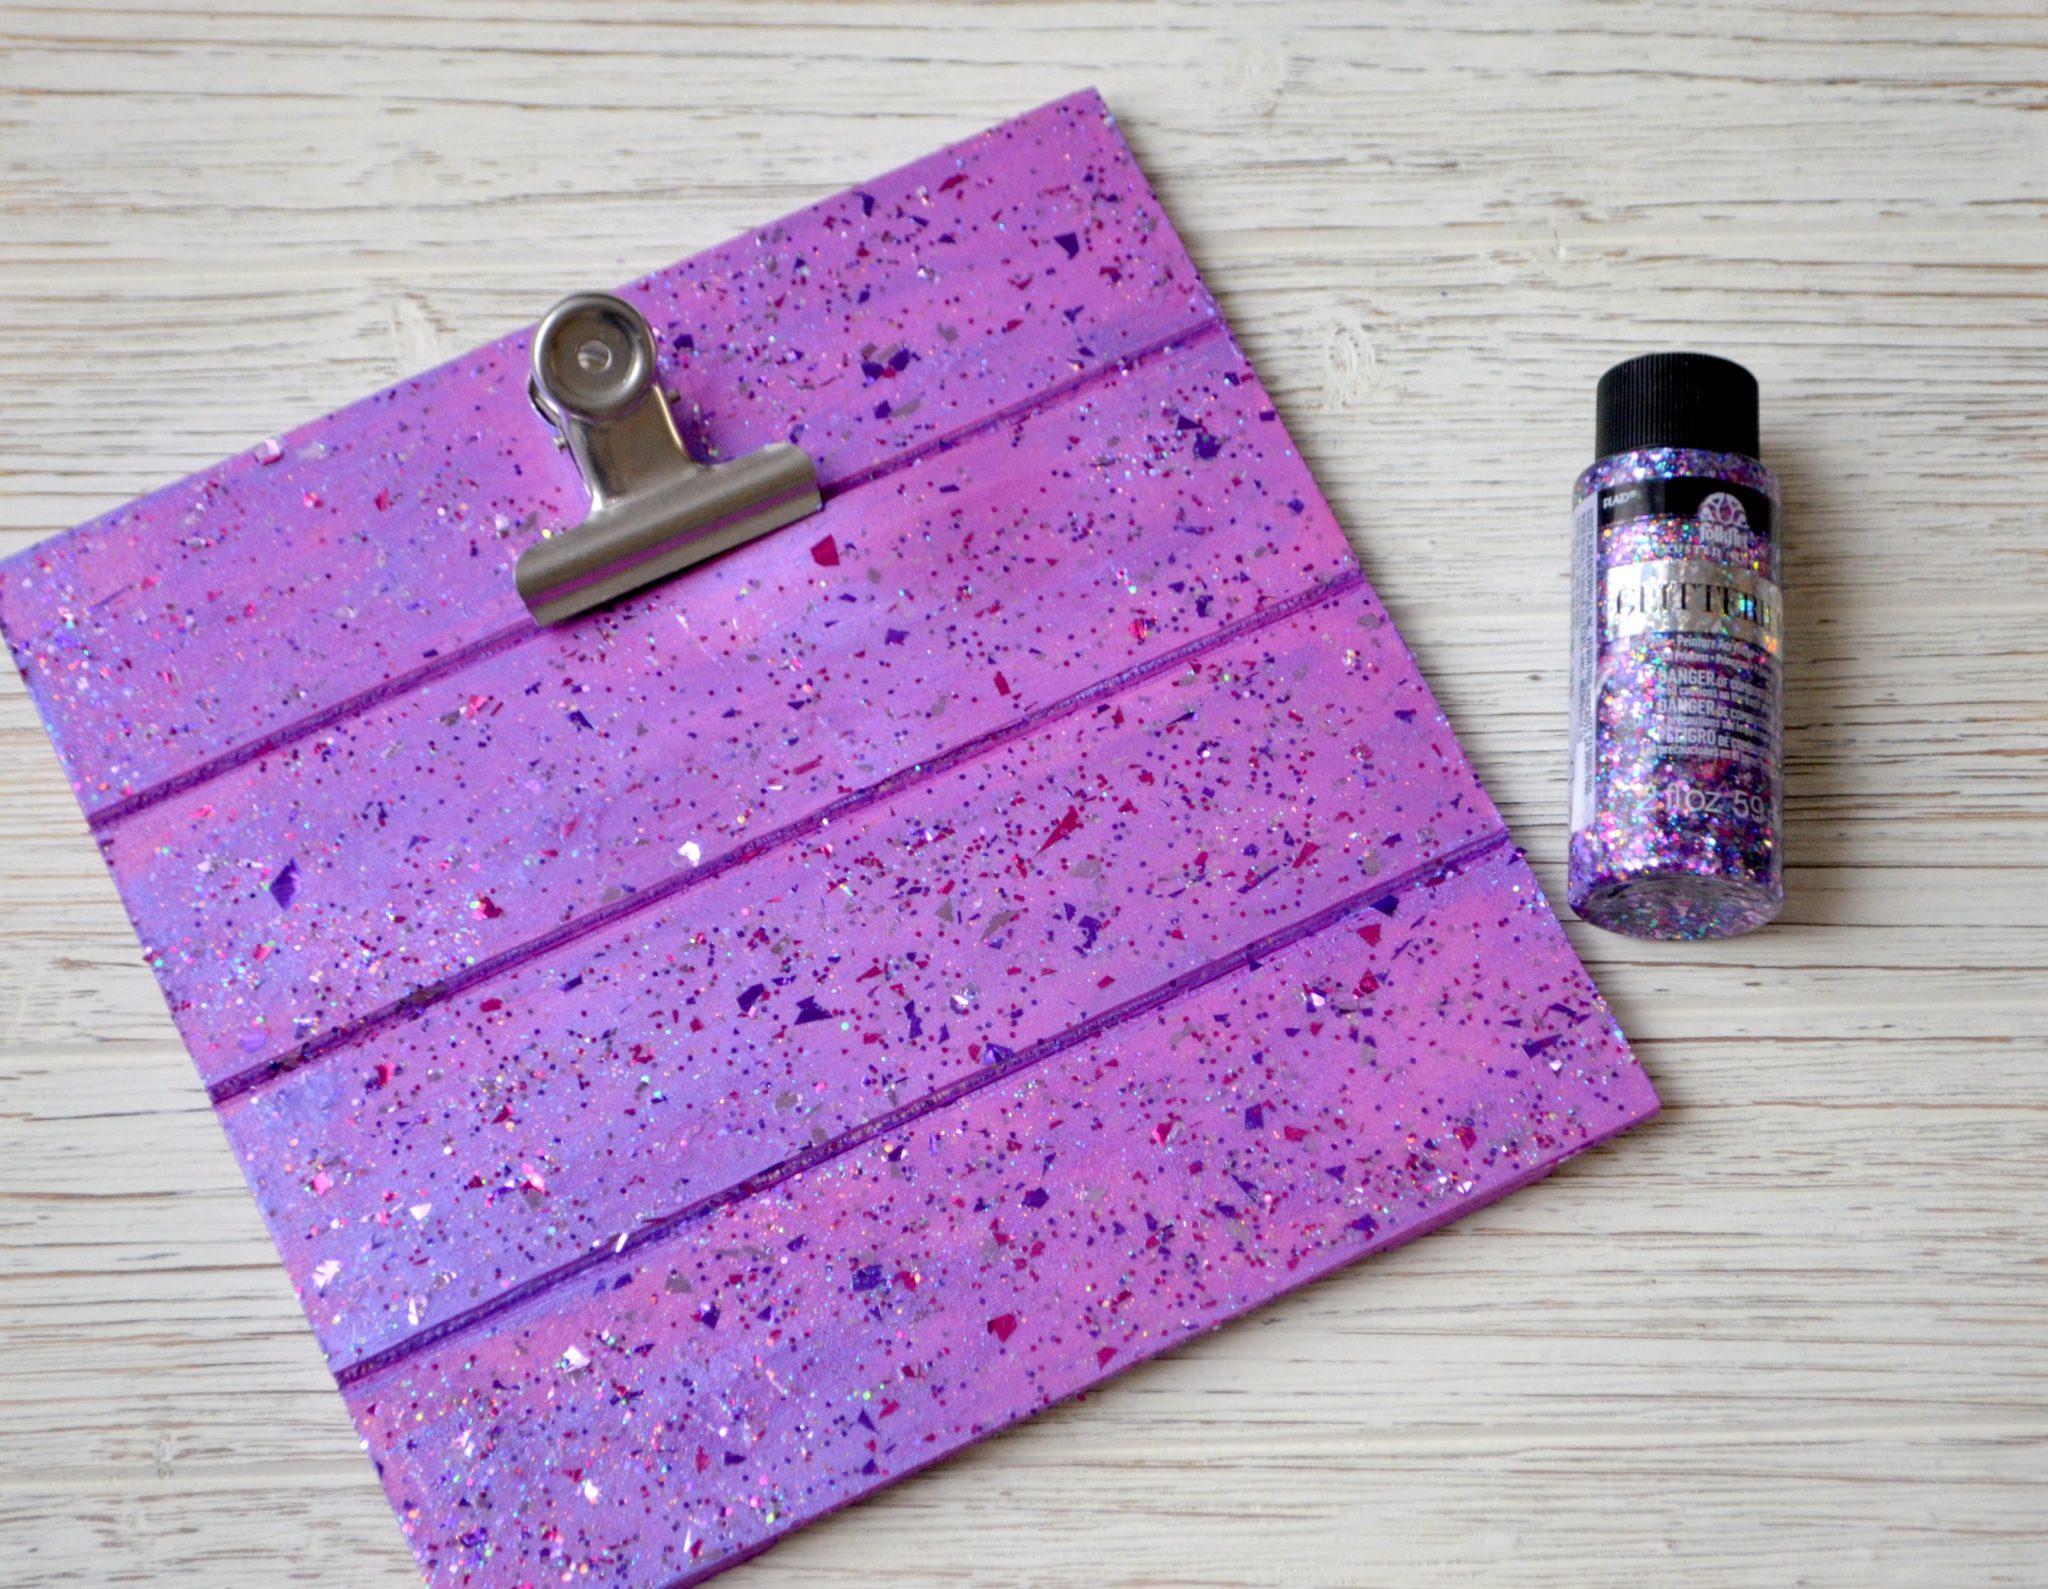
Step 2: Apply a coat of Glitterific.
The best way to do this is to lightly brush the surface of your project using a soft paintbrush or sponge and “lay” the formula down. If you spread the paint too much by over-brushing, the glitter particles will get too far apart and you won’t get the sparkly coverage you’re looking for.
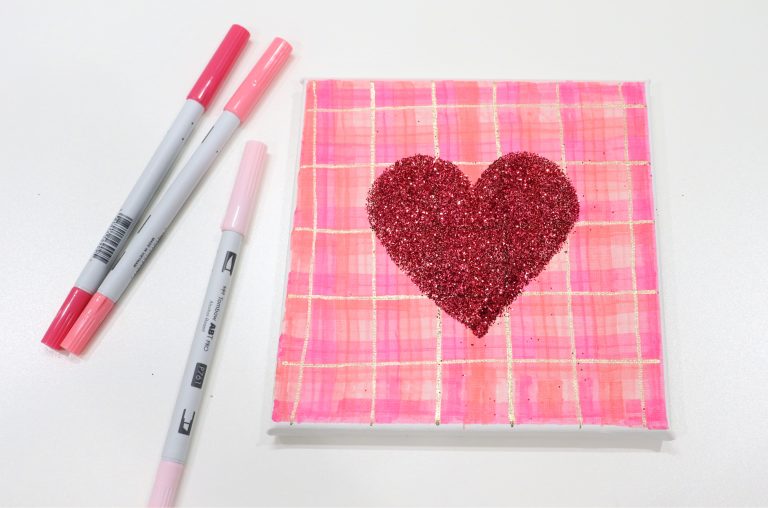
This is the look you’ll have after one coat. It’s very pretty and shiny, and it has the appearance of confetti. If you like it as is, you can certainly stop, let it dry, and call your project finished. If, however, you want a more solid cover of glitter, you’ll want to continue on to the next step.
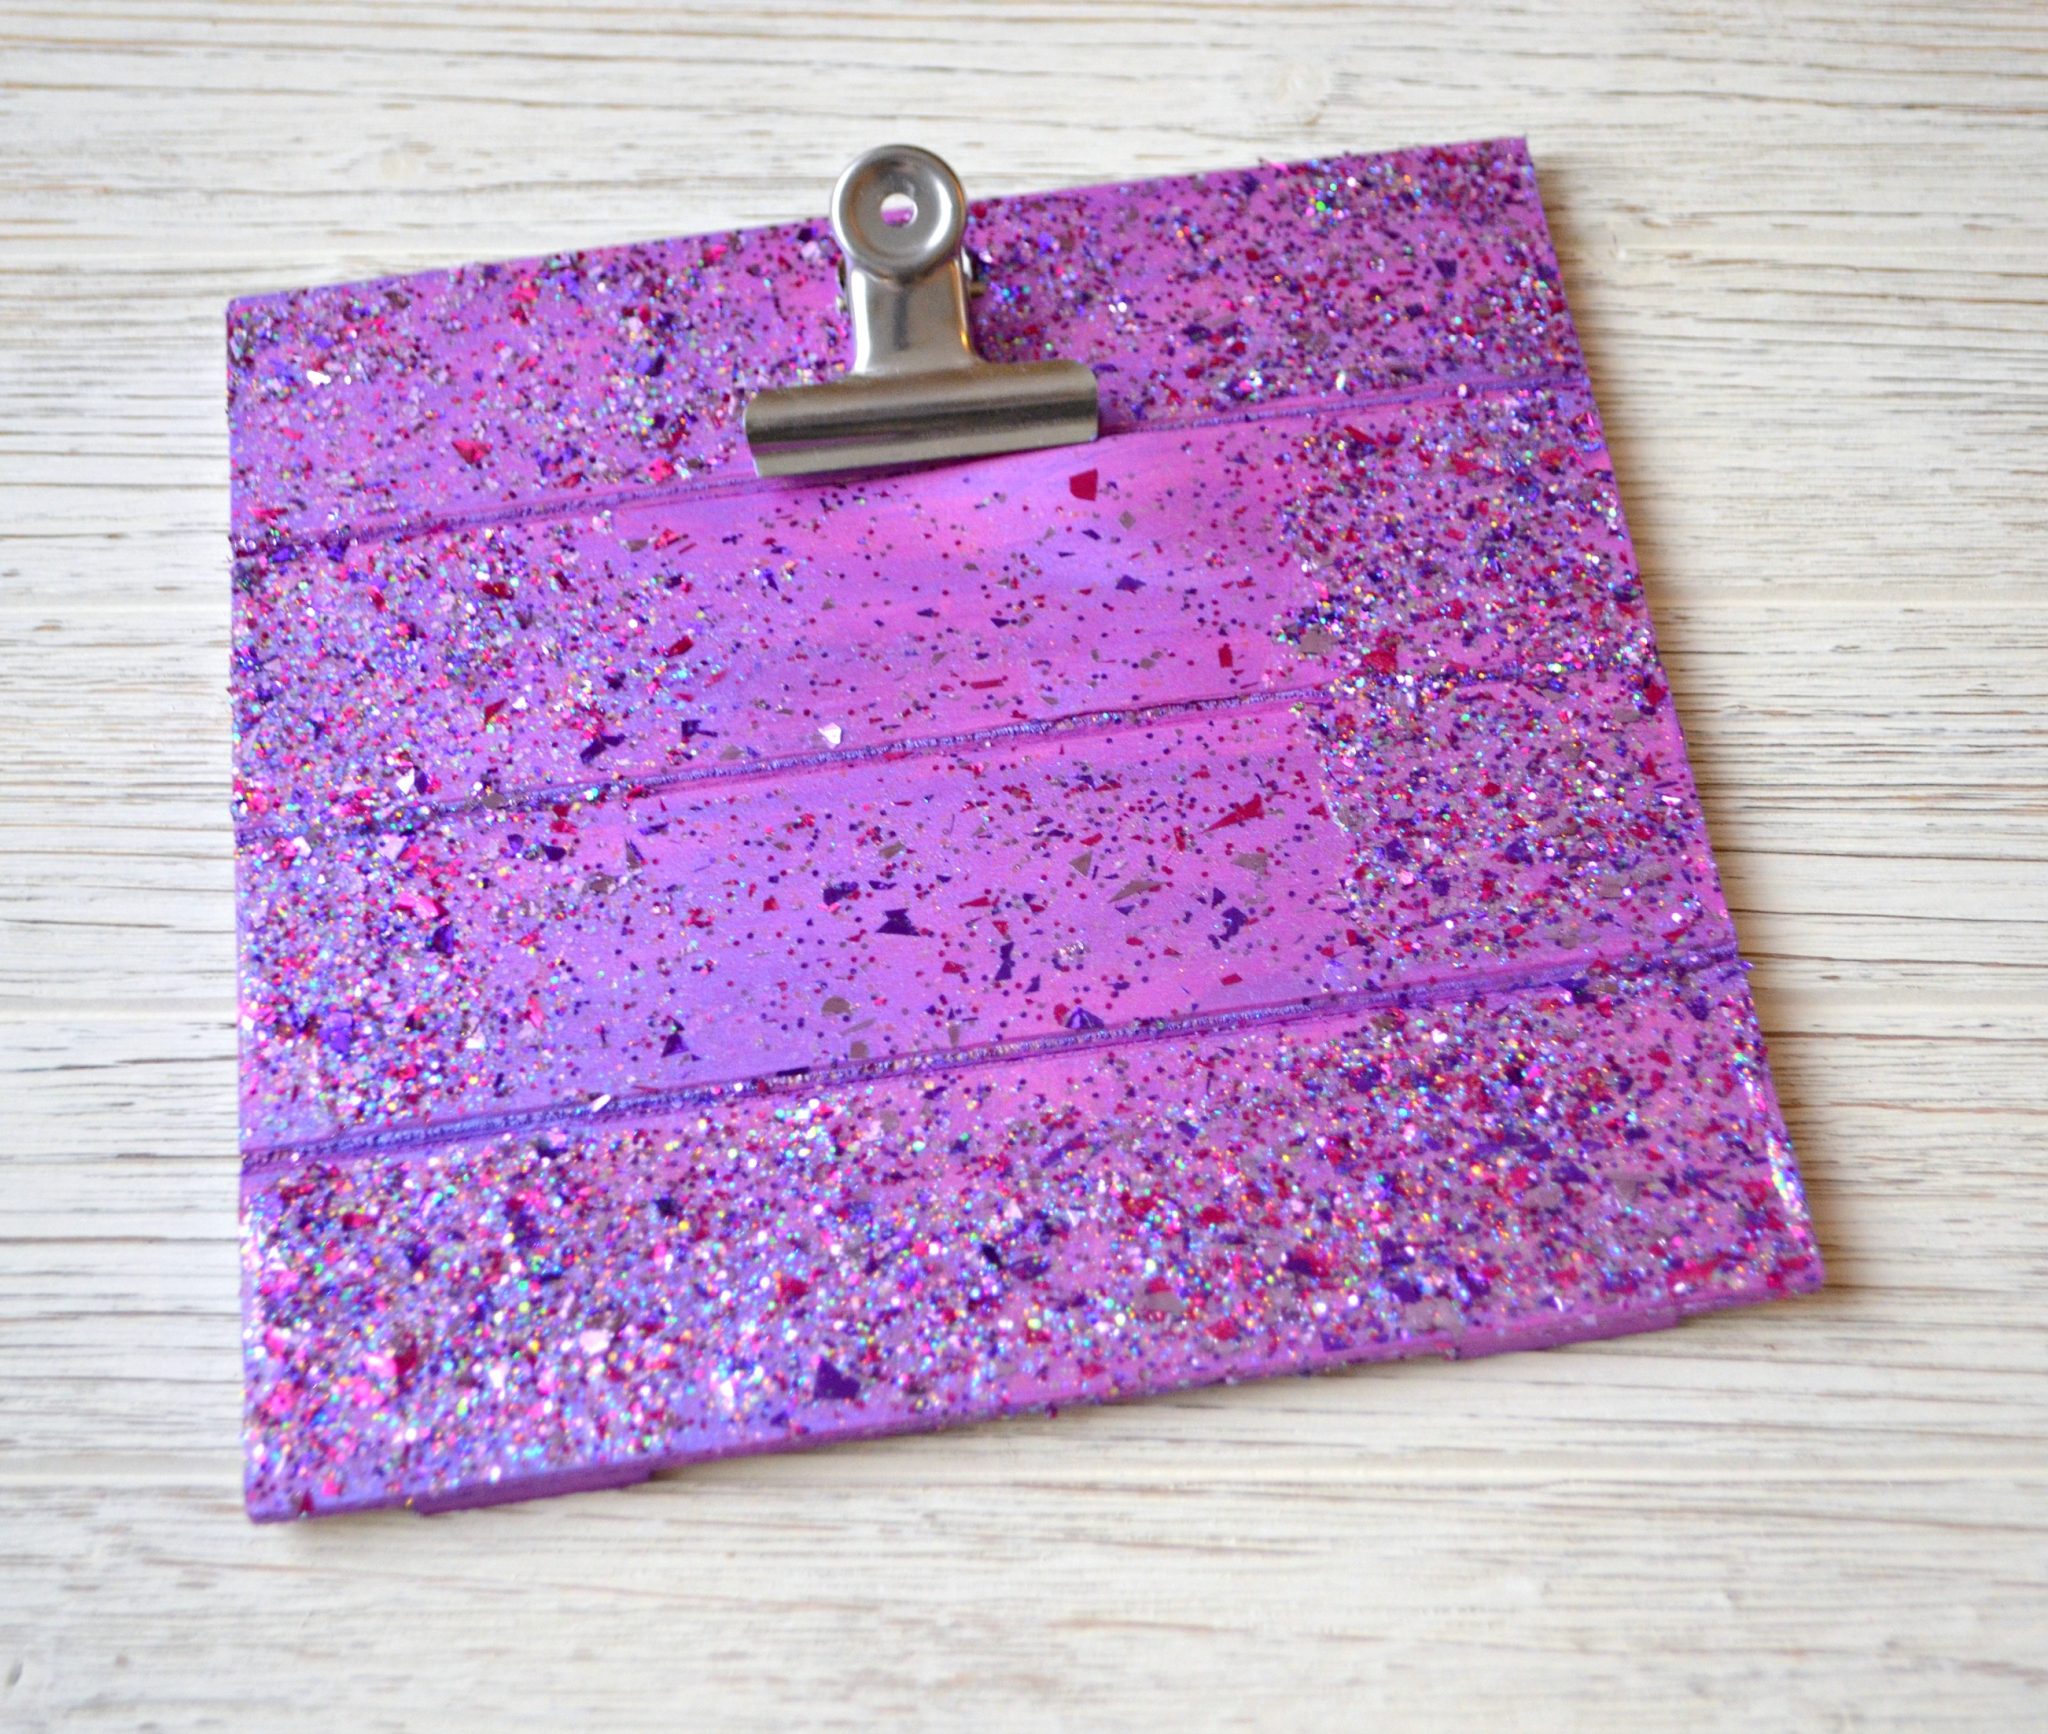
Step 3: Apply a second layer of Glitterific.
Now that your first coat is in place, it will be easier to get the second layer to stick where you want it. Using your brush or sponge, apply a thick coat over top of the first one. Now your project will really shine!
In the image below, I left an area in the center with just one coat so you can see the difference side by side.
Because the glitter is already suspended in the clear base, no sealer is necessary! Your glitter is totally sealed and protected; it won’t flake off or make a mess in your house. Hooray!
That’s all there is to it. The paint will be dry to the touch in about an hour, and will cure in 24 hours. For easy clean up, since Glitterific is water based, all you need to do is wash out your brushes with soap and water.
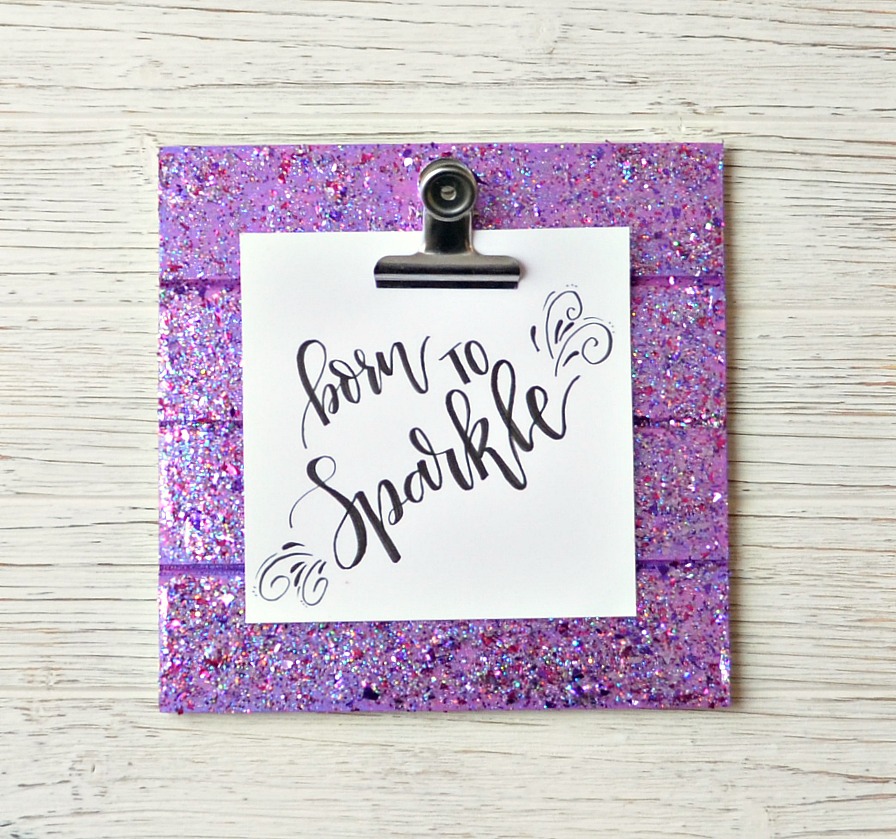
Since I personally can’t help but to letter all the things, I added a quick little hand lettered message to my clipboard. I love that I can easily change the message anytime I want.
What do you think? Do you love this as much as I do? If you’re already starting to think of sparkly project ideas, you’ll be glad to know that Glitterific can be used on many types of surfaces, including wood, paper mache, canvas, metal, rigid plastics, terra cotta, glassware, ceramics and fabric. However, it is for decorative purposes only, so it should never be washed, placed in a dishwasher, or used for serving food. Also, keep in mind that Glitterific is designed for indoor use. You can find it coming soon to your local craft store and plaidonline.com. I can’t wait to see what you create!

Very pretty… perfect paint for glitter lovers…
Very pretty. I bought some red glitterific a few weeks ago. Thanks for the demonstration on how to use it.
Ok I don’t see red in your link. Lol. I’ll have to double check what I have. And then buy some glitterific.