Free Hand Lettering Practice Sheets: P
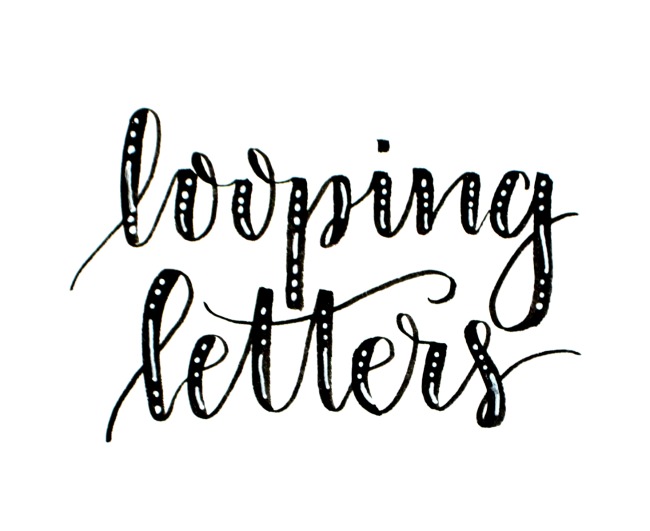
Can you believe we’re already 16 letters into the alphabet? Today, we’re focusing on how to form the capital and lowercase versions of the Brush Script P! If you’re new to lettering, be sure to take a look at the first post in the series to familiarize yourself with the basic brush lettering technique. Otherwise, let’s dive right in and get to work practicing our “p”!
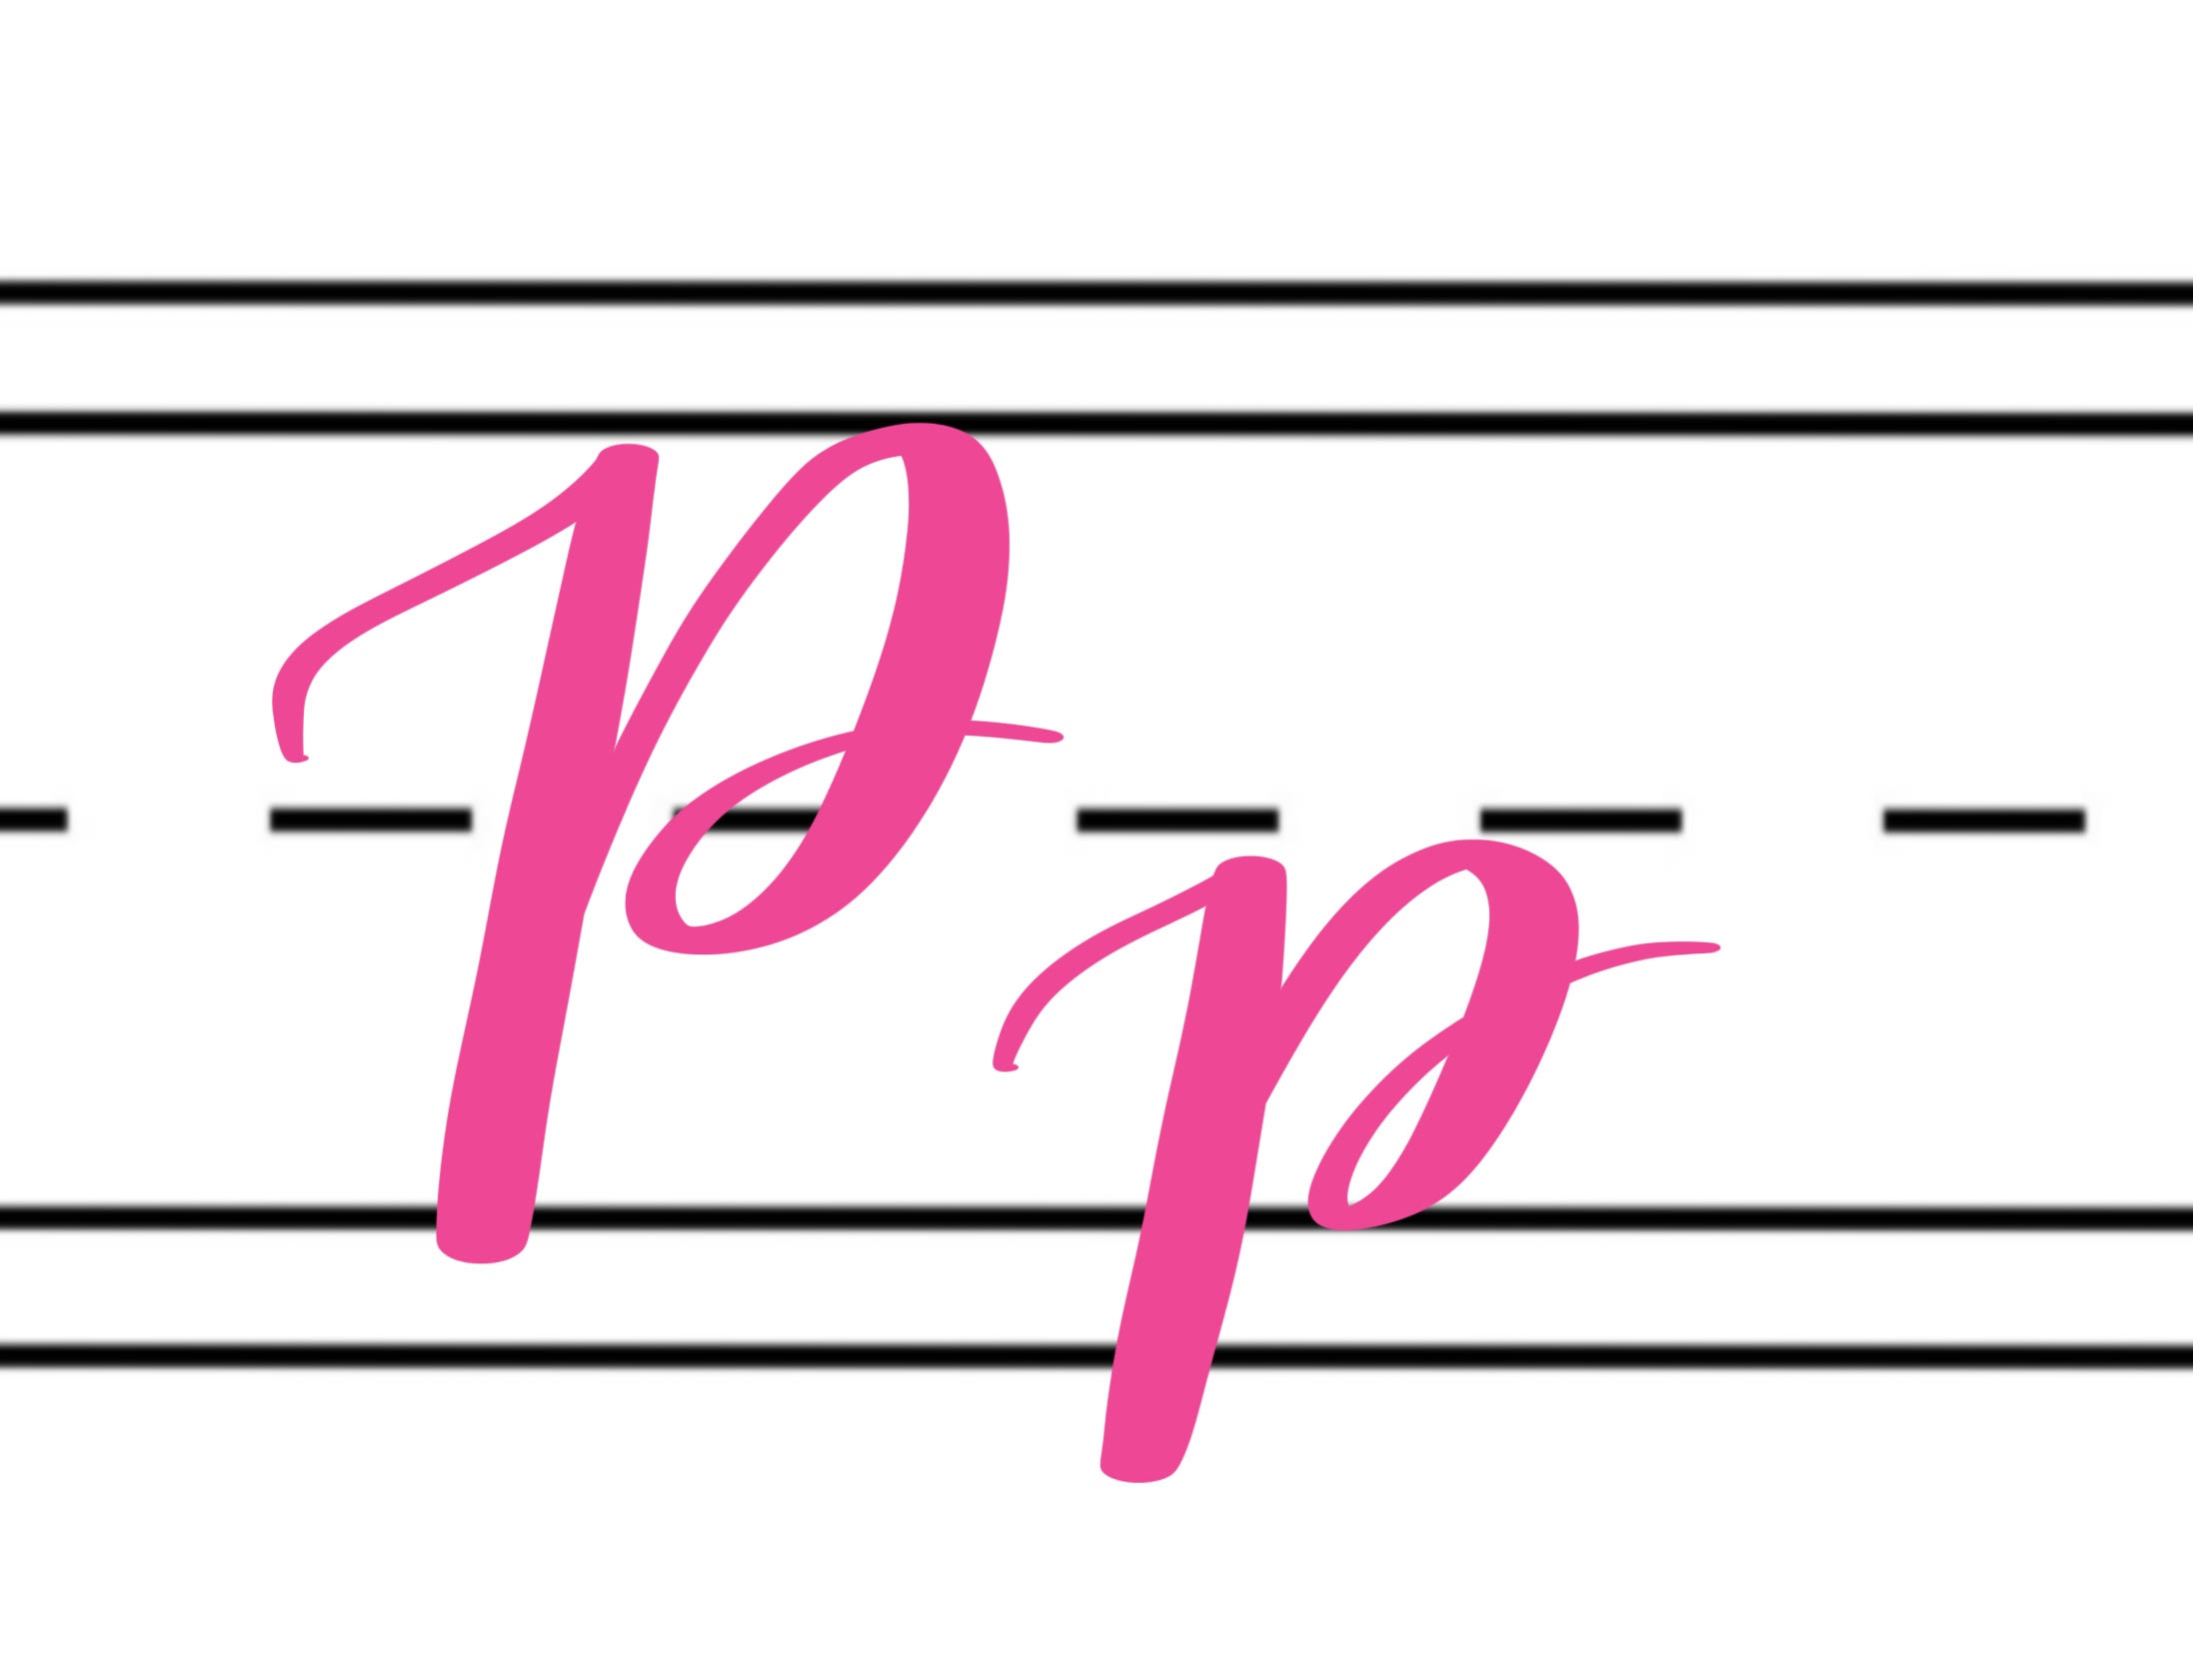
Here’s a quick look at the basic forms of the Brush Script P. The line the letters are sitting on is called the baseline, and the line that’s second from the top is called the cap height. The line in the center is the x-height. These terms will come in handy shortly when we talk about the differences between the capital and lowercase “p.”
Drawing a Capital Brush Script P
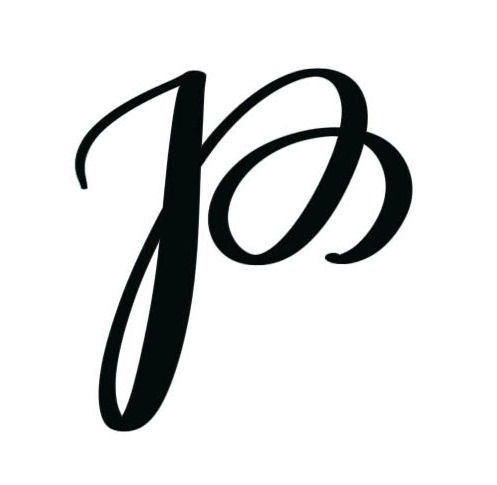
As we get farther into the alphabet, you’ll find that many of the remaining letters are just combinations of shapes we’ve already learned. P is a great example of this. The left side is just a downstroke with a quick upstroke to start it for a bit of flair. The right side is our overturn with a loop, just like we first learned for the letter “b.” Put them together, and we have a capital P.
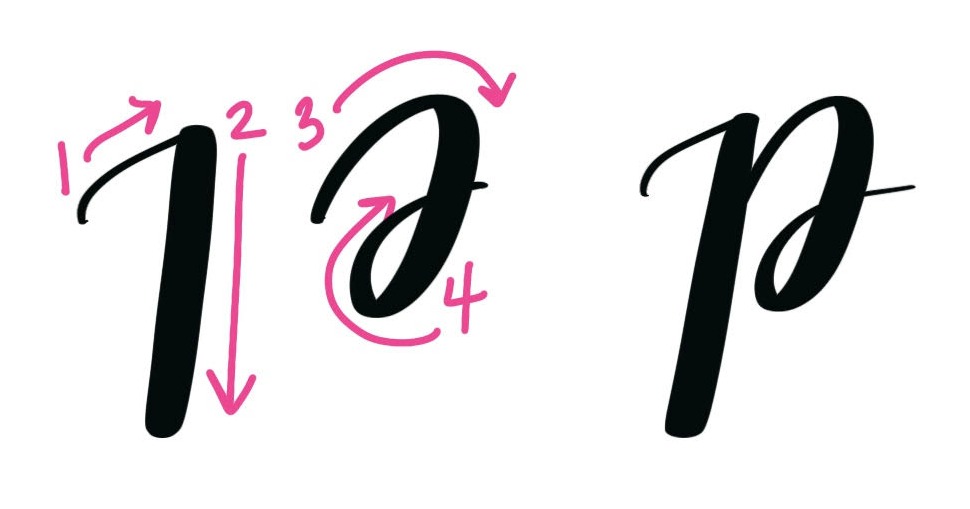
An even simpler version starts with a plain downstroke. Either one looks great with the rest of the Brush Script alphabet. As the artist, you get to choose your favorite versions of each letter; it’s part of forming your own unique style!
Drawing a Lowercase Brush Script P
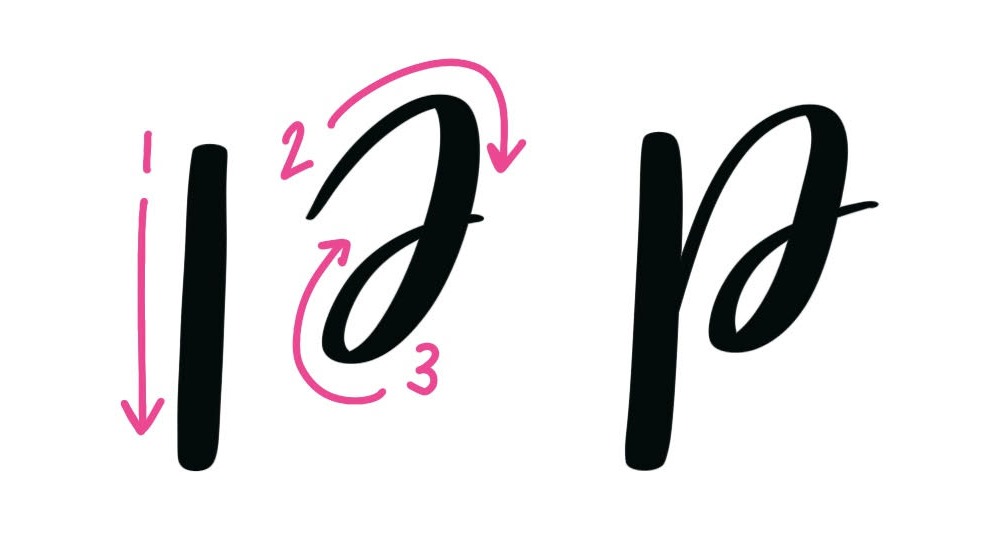
The lowercase “p” is exactly like the capital one, except for it’s size and position. The capital P goes from the baseline to the cap height line and the rounded part stops at the x-height {the dashed line}. A lowercase p extends below the baseline and is only as tall as the x-height. The formation of the letter shapes is the same.
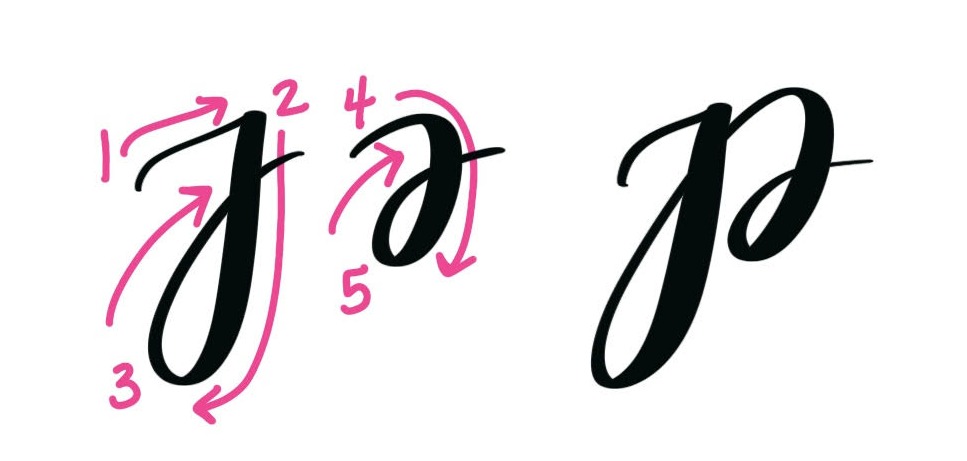
If you like, you can add a little extra embellishment by creating a large loop after your first downstroke before you go into the overturn. This part of the shape is just like our lowercase “j.”
Once again, it’s up to you to choose and use your favorite style! Normally, you’ll be connecting the lowercase “p” to another letter; however, if it happens to be the last letter in your word, you can embellish by curling the line around a little extra at the end.
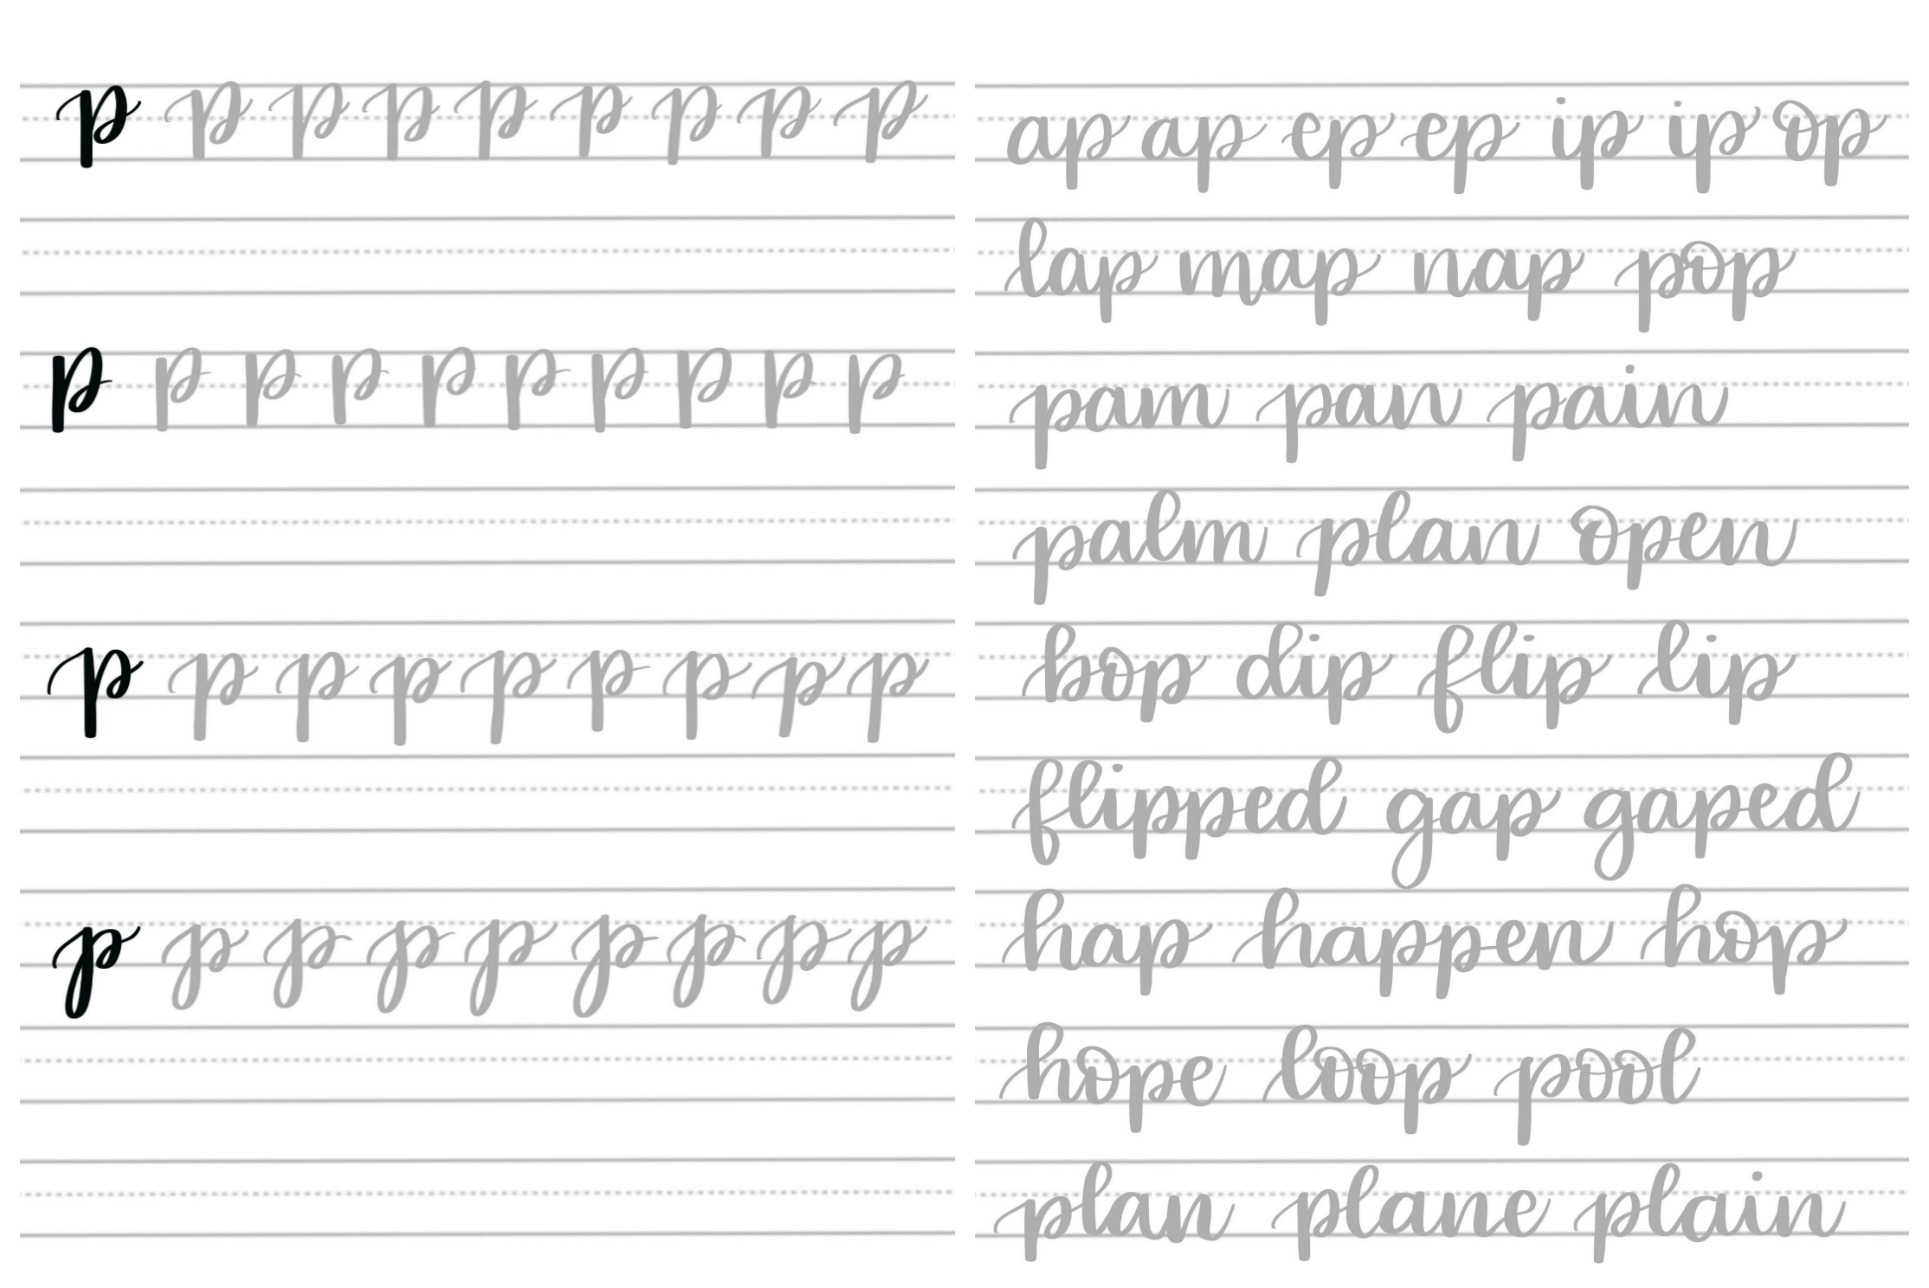
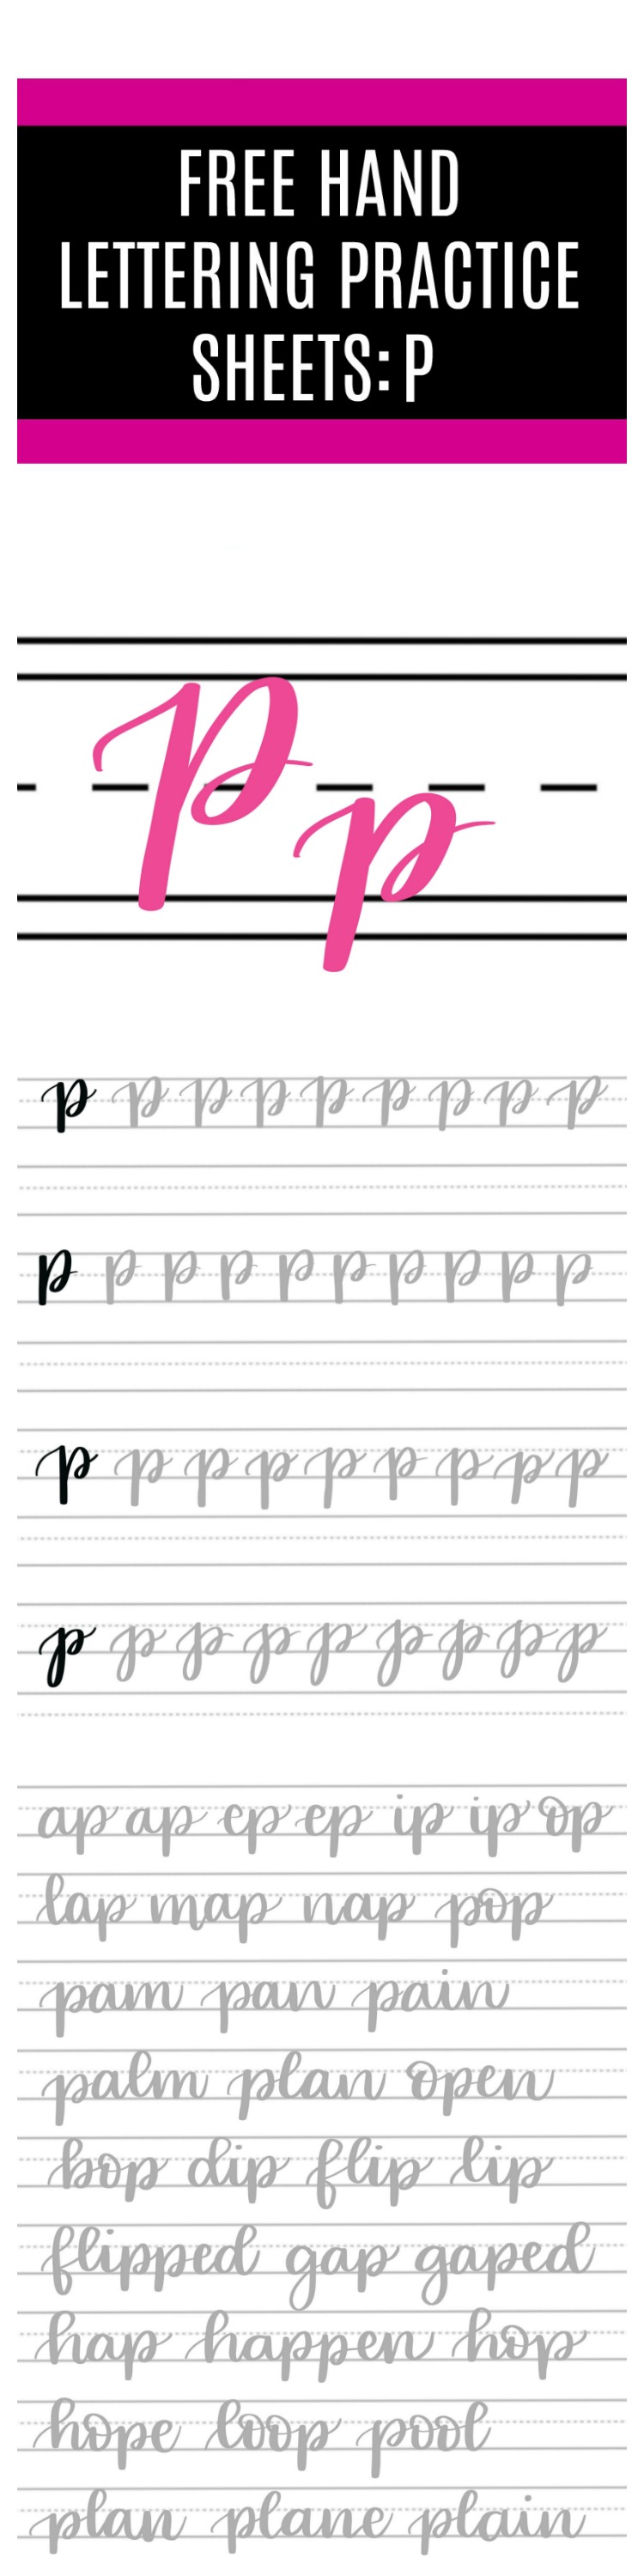
Here are the free practice pages to help you master the letter P. To use them, just download the files and print them out or upload them to your favorite digital lettering app. Feel free to use them as often as you like for personal practice.
Download the free practice pages here
PS. Don’t miss the rest of the series!
Practice: A Practice: B Practice: C
Practice: D Practice: E Practice: F
Practice: G Practice: H Practice: I
Practice: J Practice: K Practice: L
Practice: M Practice: N Practice: O
Practice: P Practice: Q Practice: R
Practice: S Practice: T Practice: U
Practice: V Practice: W Practice: X
As you practice, I’d love to see your progress. Share your photos in our Amy Latta & Friends Facebook group or on Instagram.

2 Comments