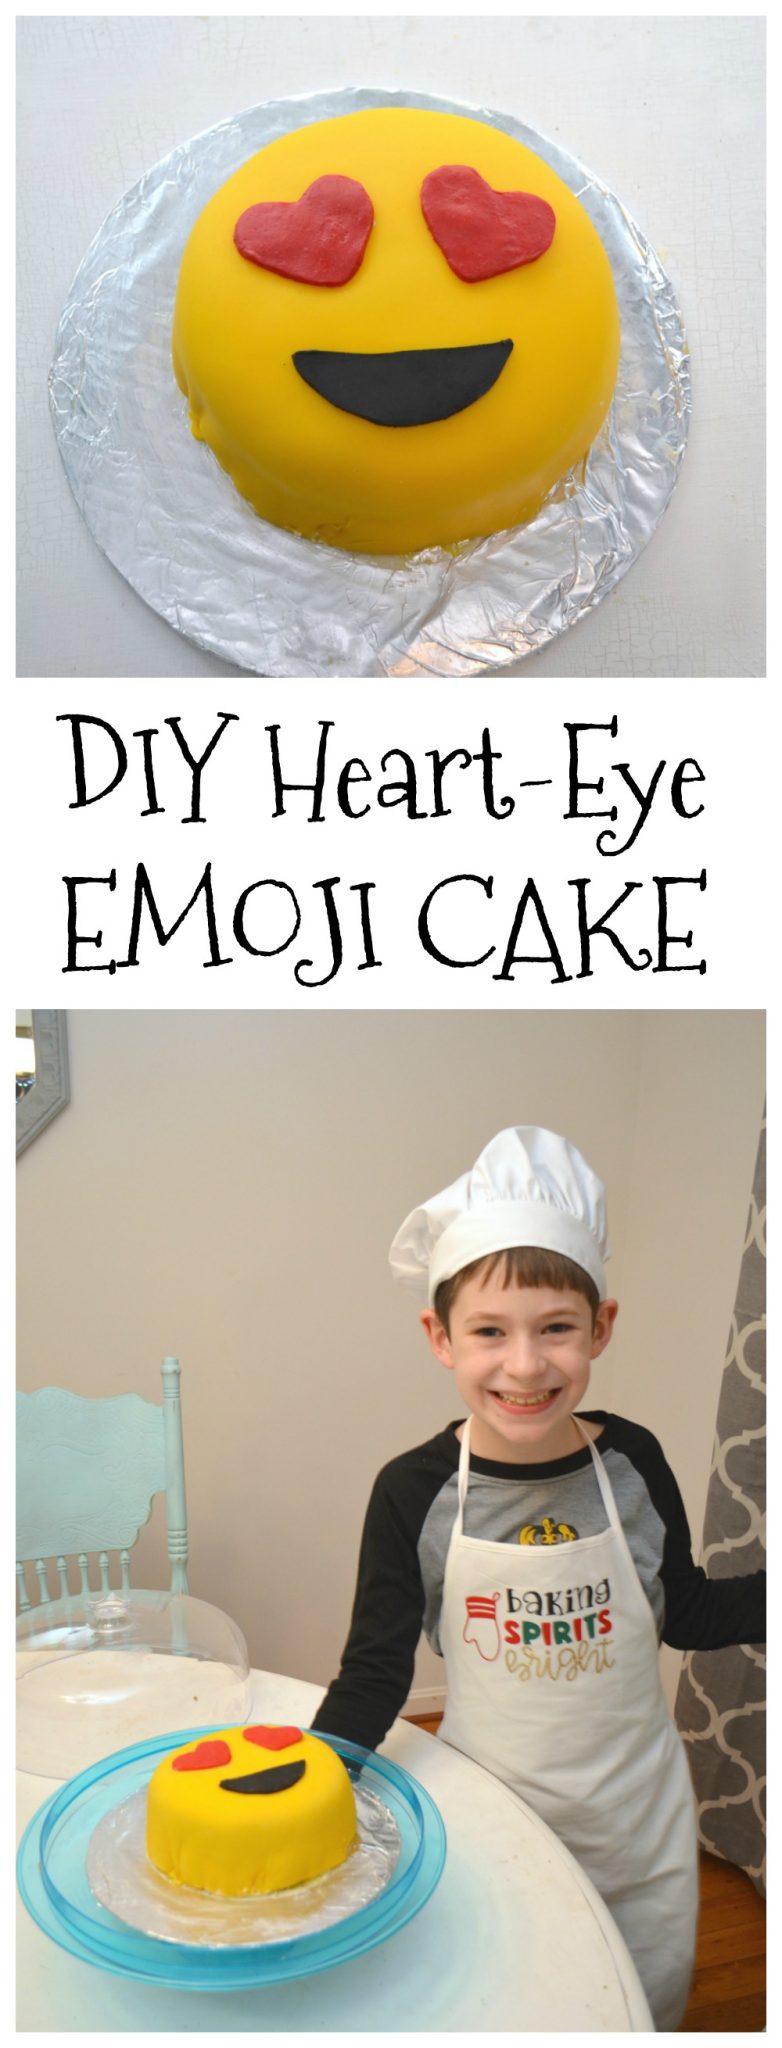
Heart Eye Emoji Cake
When I first started this blog in 2011 (at the time, called One Artsy Mama), it was because I wanted a place to share the creative things I was doing with my son, “Little Crafter.” My hope was to give other moms a resource for ideas they could do for and with their kids. Over time, as LC grew and went off to school, the focus of the site shifted to other types of projects and an emphasis on hand lettering. However, I wanted to let you all know that Little Crafter is still creating! In fact, he has discovered a passion for baking, which has been great for my taste buds and unfortunate for my waistline. We have been binge-watching the Netflix series “Nailed It” together, and it inspired him to create his own emoji cake. It turned out incredible, and he wanted me to share it with you so you can try it at home too. Check it out…

DIY Emoji Cake
Materials
- 1 box cake mix
- 1 can buttercream frosting
- fondant (yellow, black, red)
- rolling pin
- wax paper
- small sharp knife
- confectioner's sugar
- Cricut Explore Air 2 & cardstock
- 6" round baking pan(s)
- shortening & flour for pan
Instructions
- Bake two 6" round cakes according to package directions, or from scratch if you prefer. Make sure to grease and flour the pan before baking.
- Allow cakes to cool, then stack one on top of the other with a layer of buttercream frosting in between.
- Spread an even coat of buttercream frosting over the top and sides of the cakes.
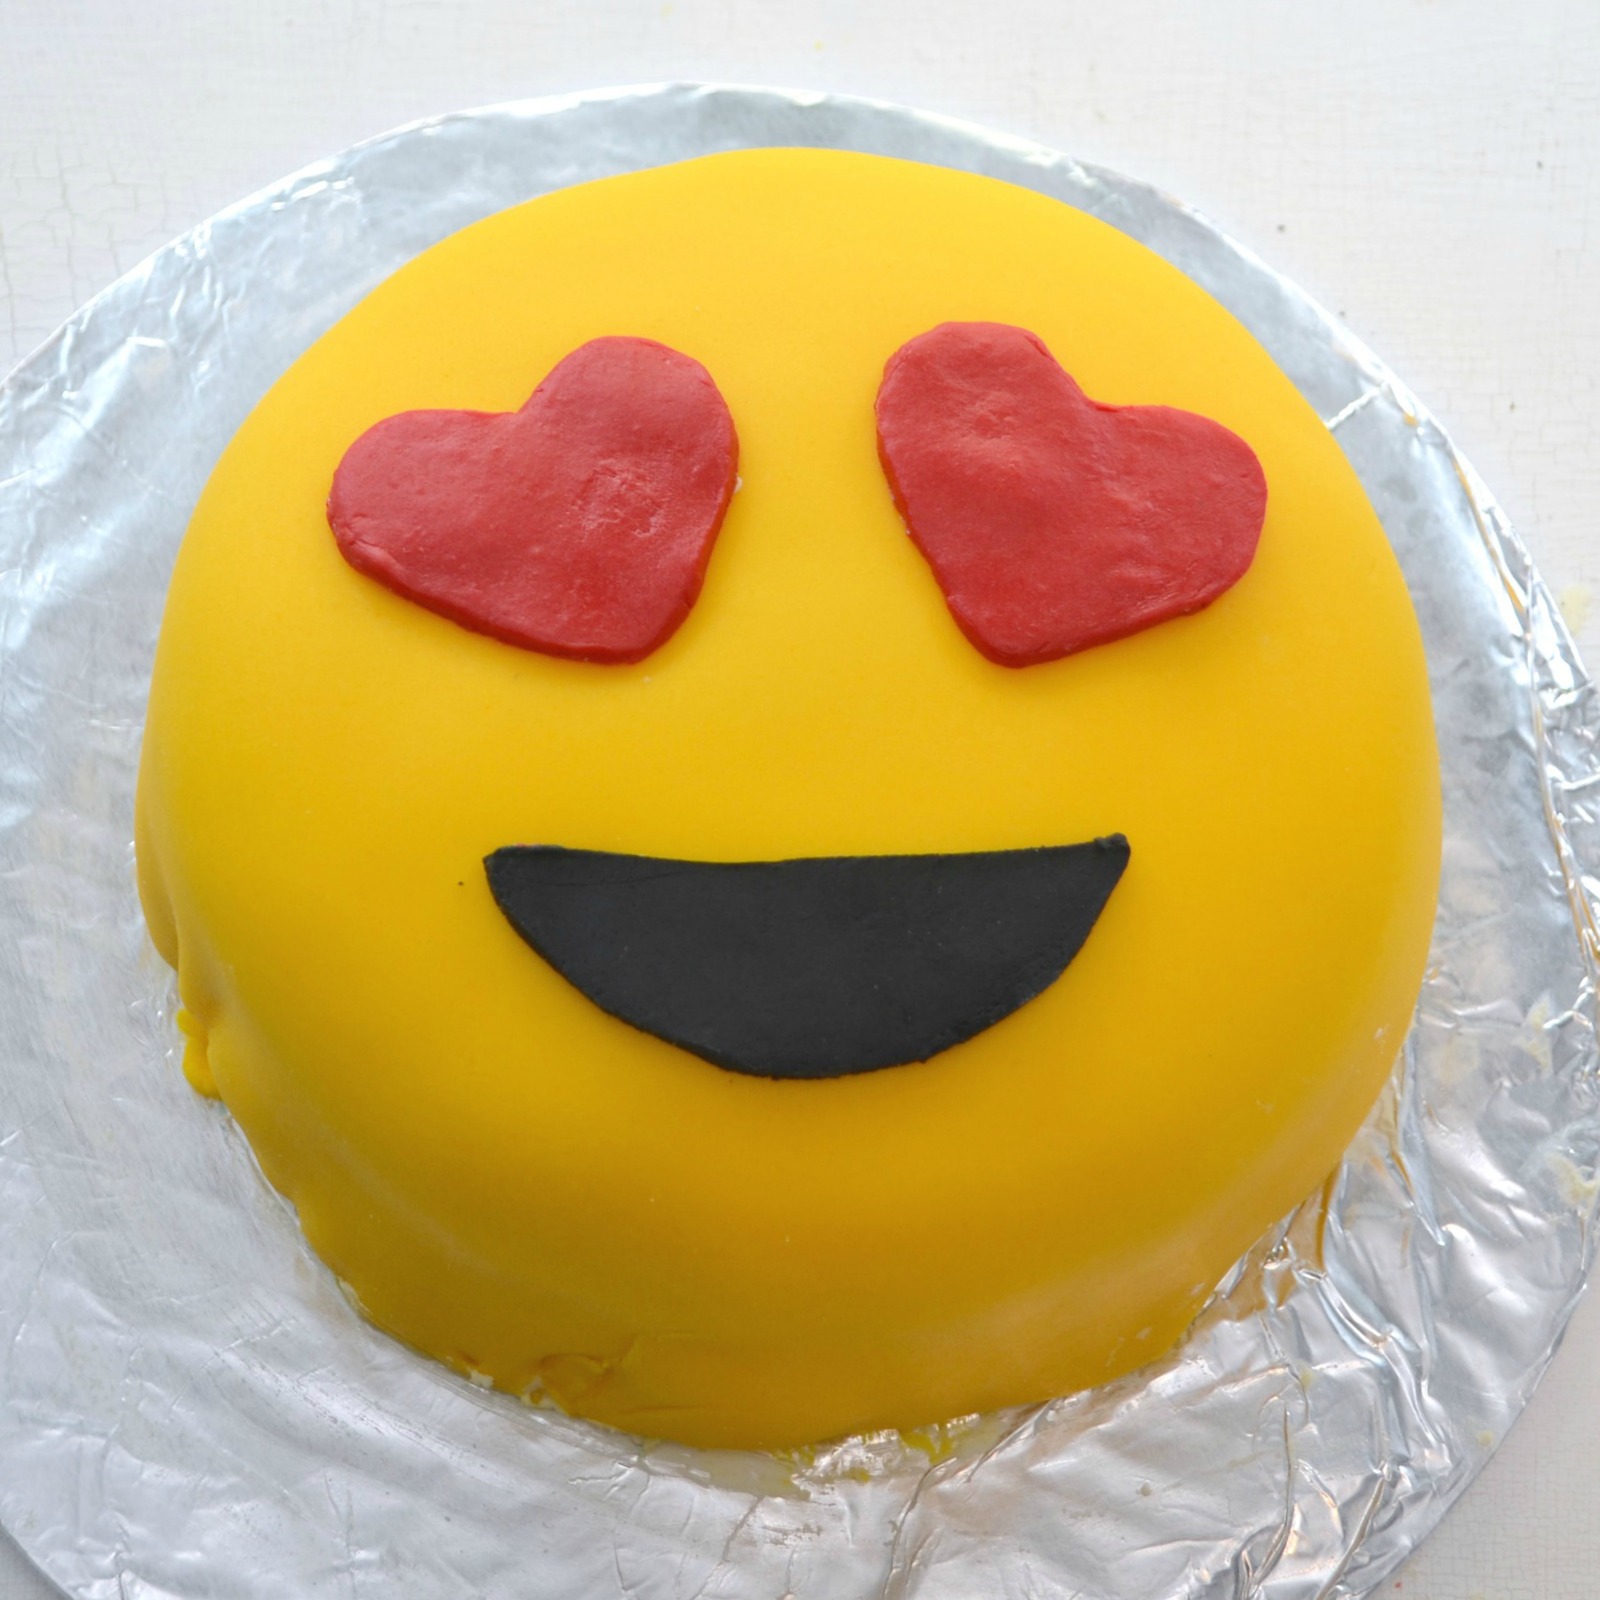
- Use your Cricut or scissors to cut a pattern for the emoji's face. We imported an emoji image into Cricut Design Space and sized it to 6," then cut it from cardstock.
- Roll out your red fondant on top of wax paper sprinkled with confectioner's sugar. Use the heart pattern as a guide and cut two hearts from the rolled fondant.
- Repeat the previous step using black fondant and the smile.
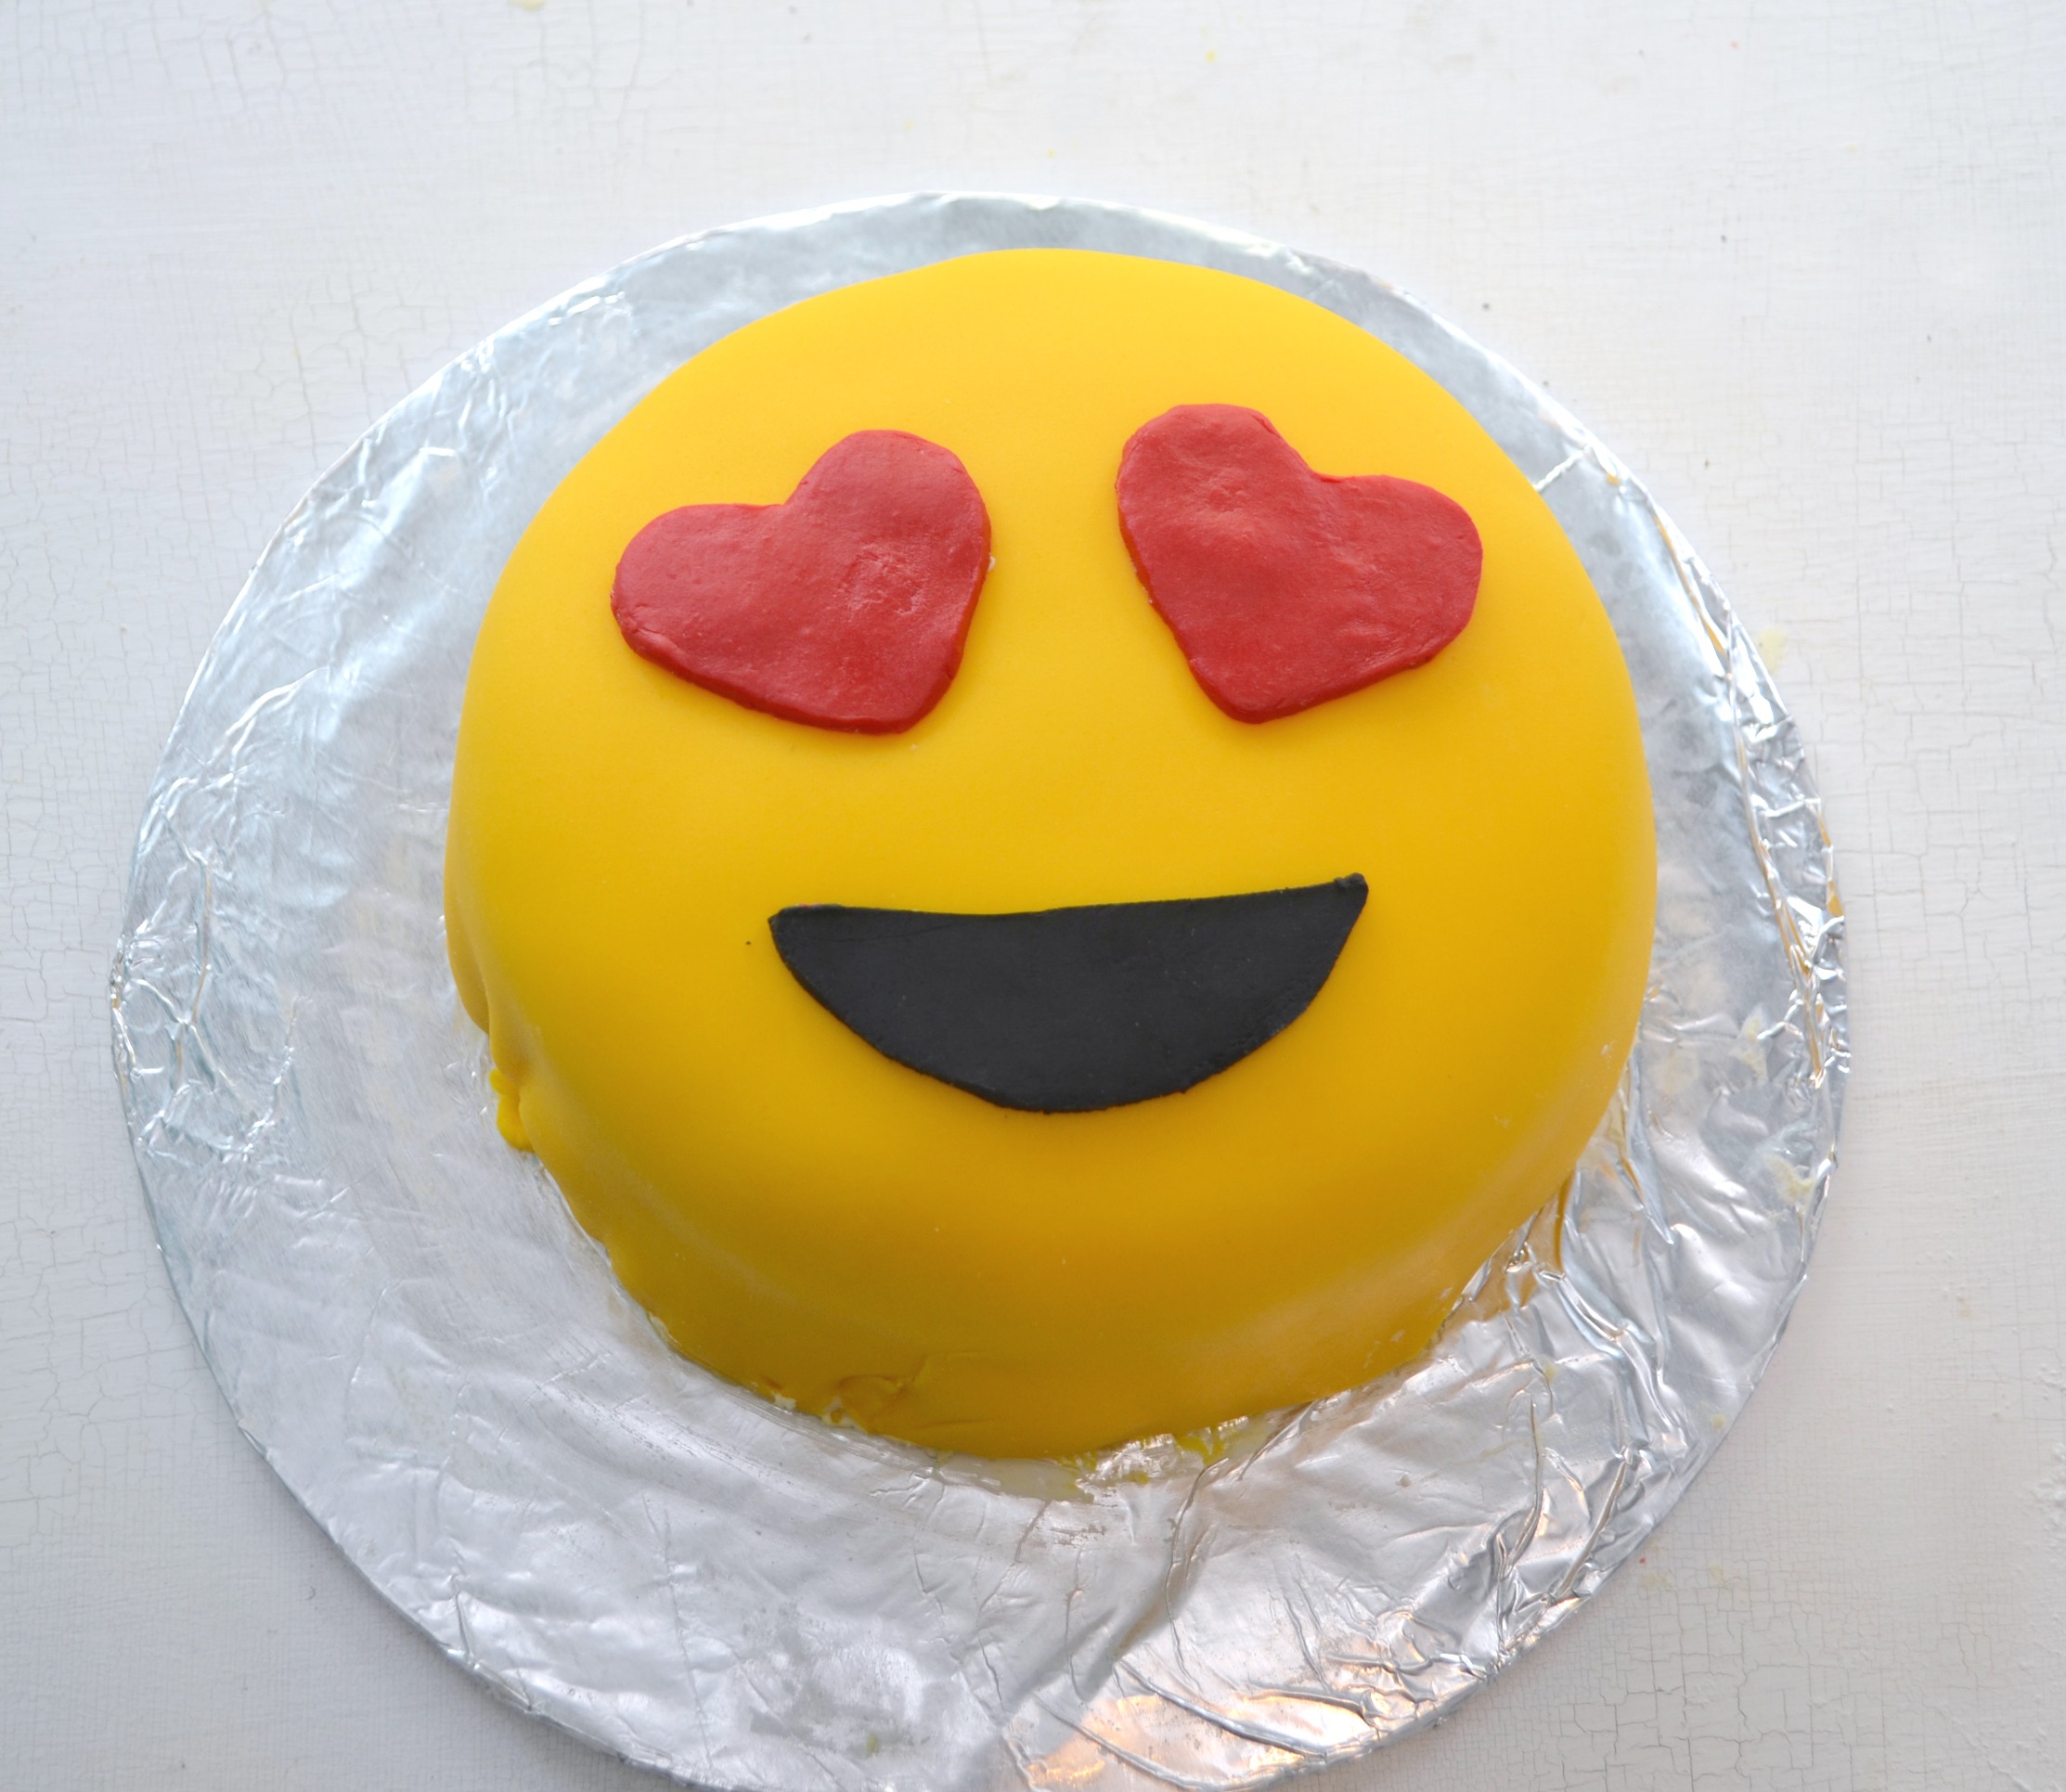
- Roll our a large piece of yellow fondant to cover the cake. Gently use the rolling pin to help drape it over the cake, then smooth it with your hands or a smoothing tool. Trim the excess.
- Attach the eyes and smile.
This was the first time either of us had worked with fondant, and it was actually way less intimidating than we thought! It’s a lot like working with modeling clay, which we’re both quite familiar with. The trick is to cover your wax paper and the fondant itself with confectioner’s sugar so it doesn’t stick when you roll it out.
The other trick we employed was to use the Cricut Explore Air 2 to help us with the size and position of the emoji’s facial features. I uploaded an actual heart-eye emoji to the Cricut DesignSpace app and resized it to 6″, which was the size of our cake. We cut the design from a piece of cardstock, which gave Little Crafter paper stencils to place on the red and black fondant and cut around, as well as a template for where to stick the finished eyes and mouth. This made it look exactly like its digital counterpart, much more so than free-handing the features would have done.
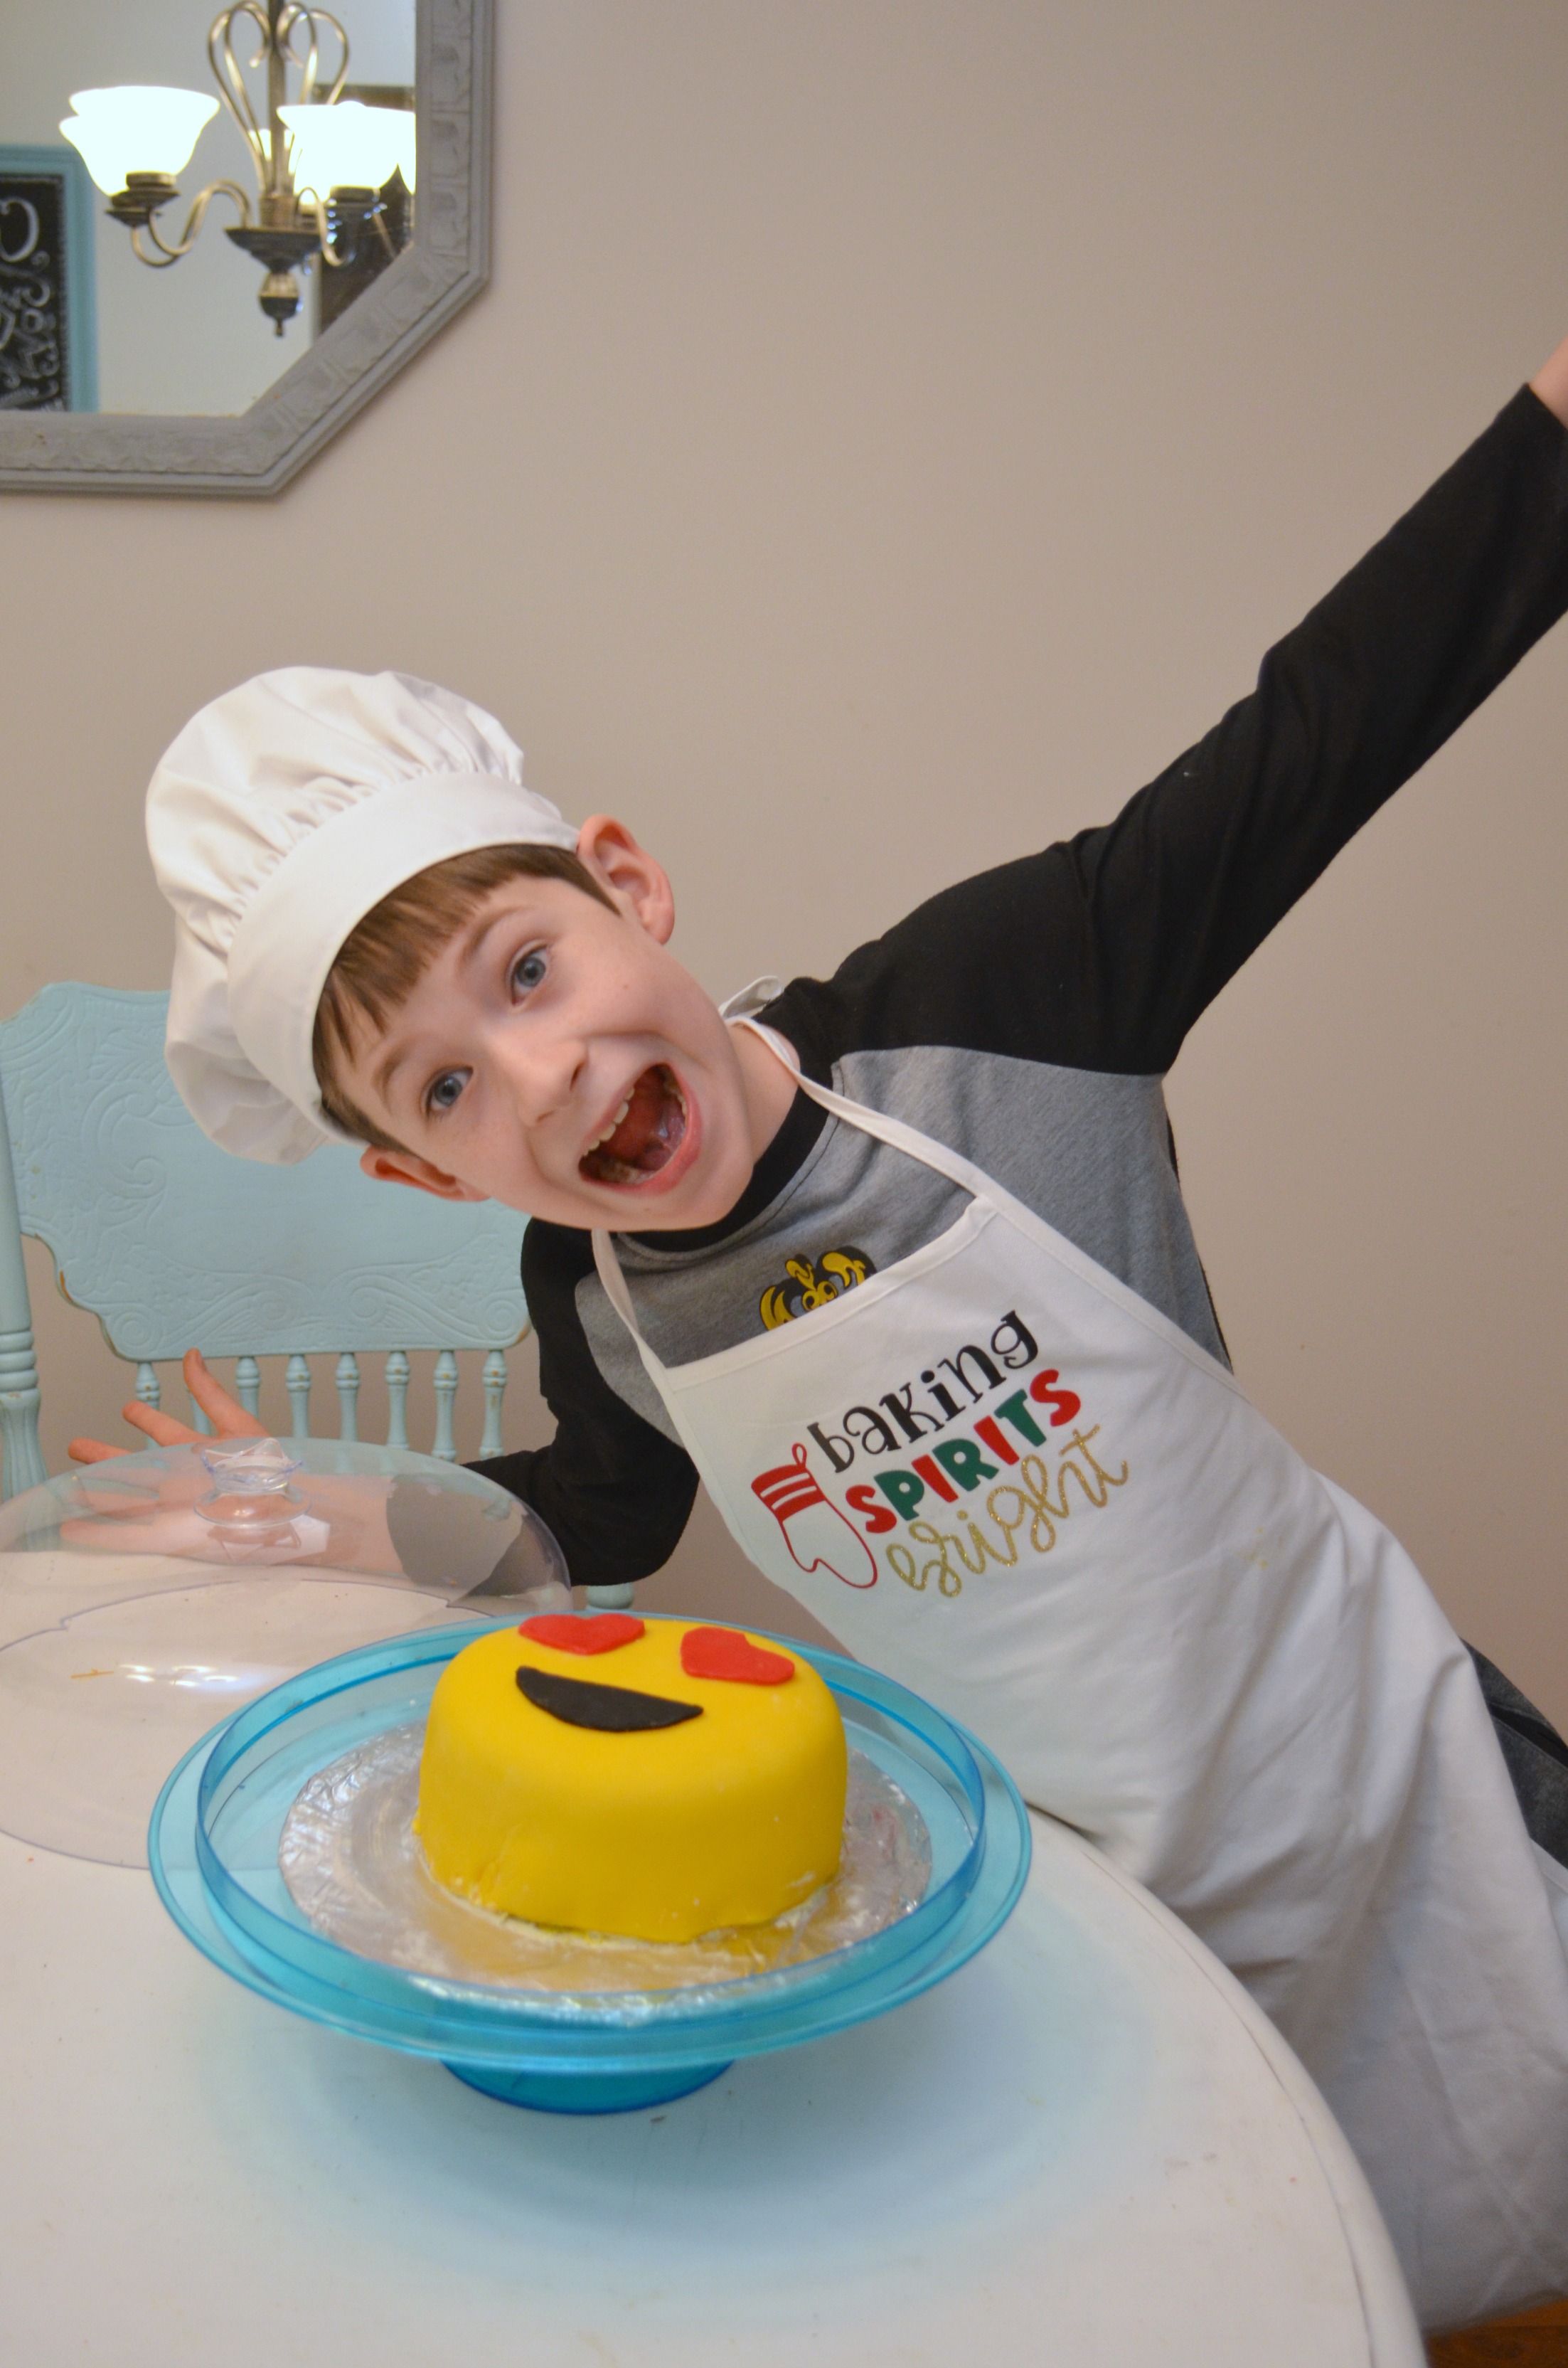
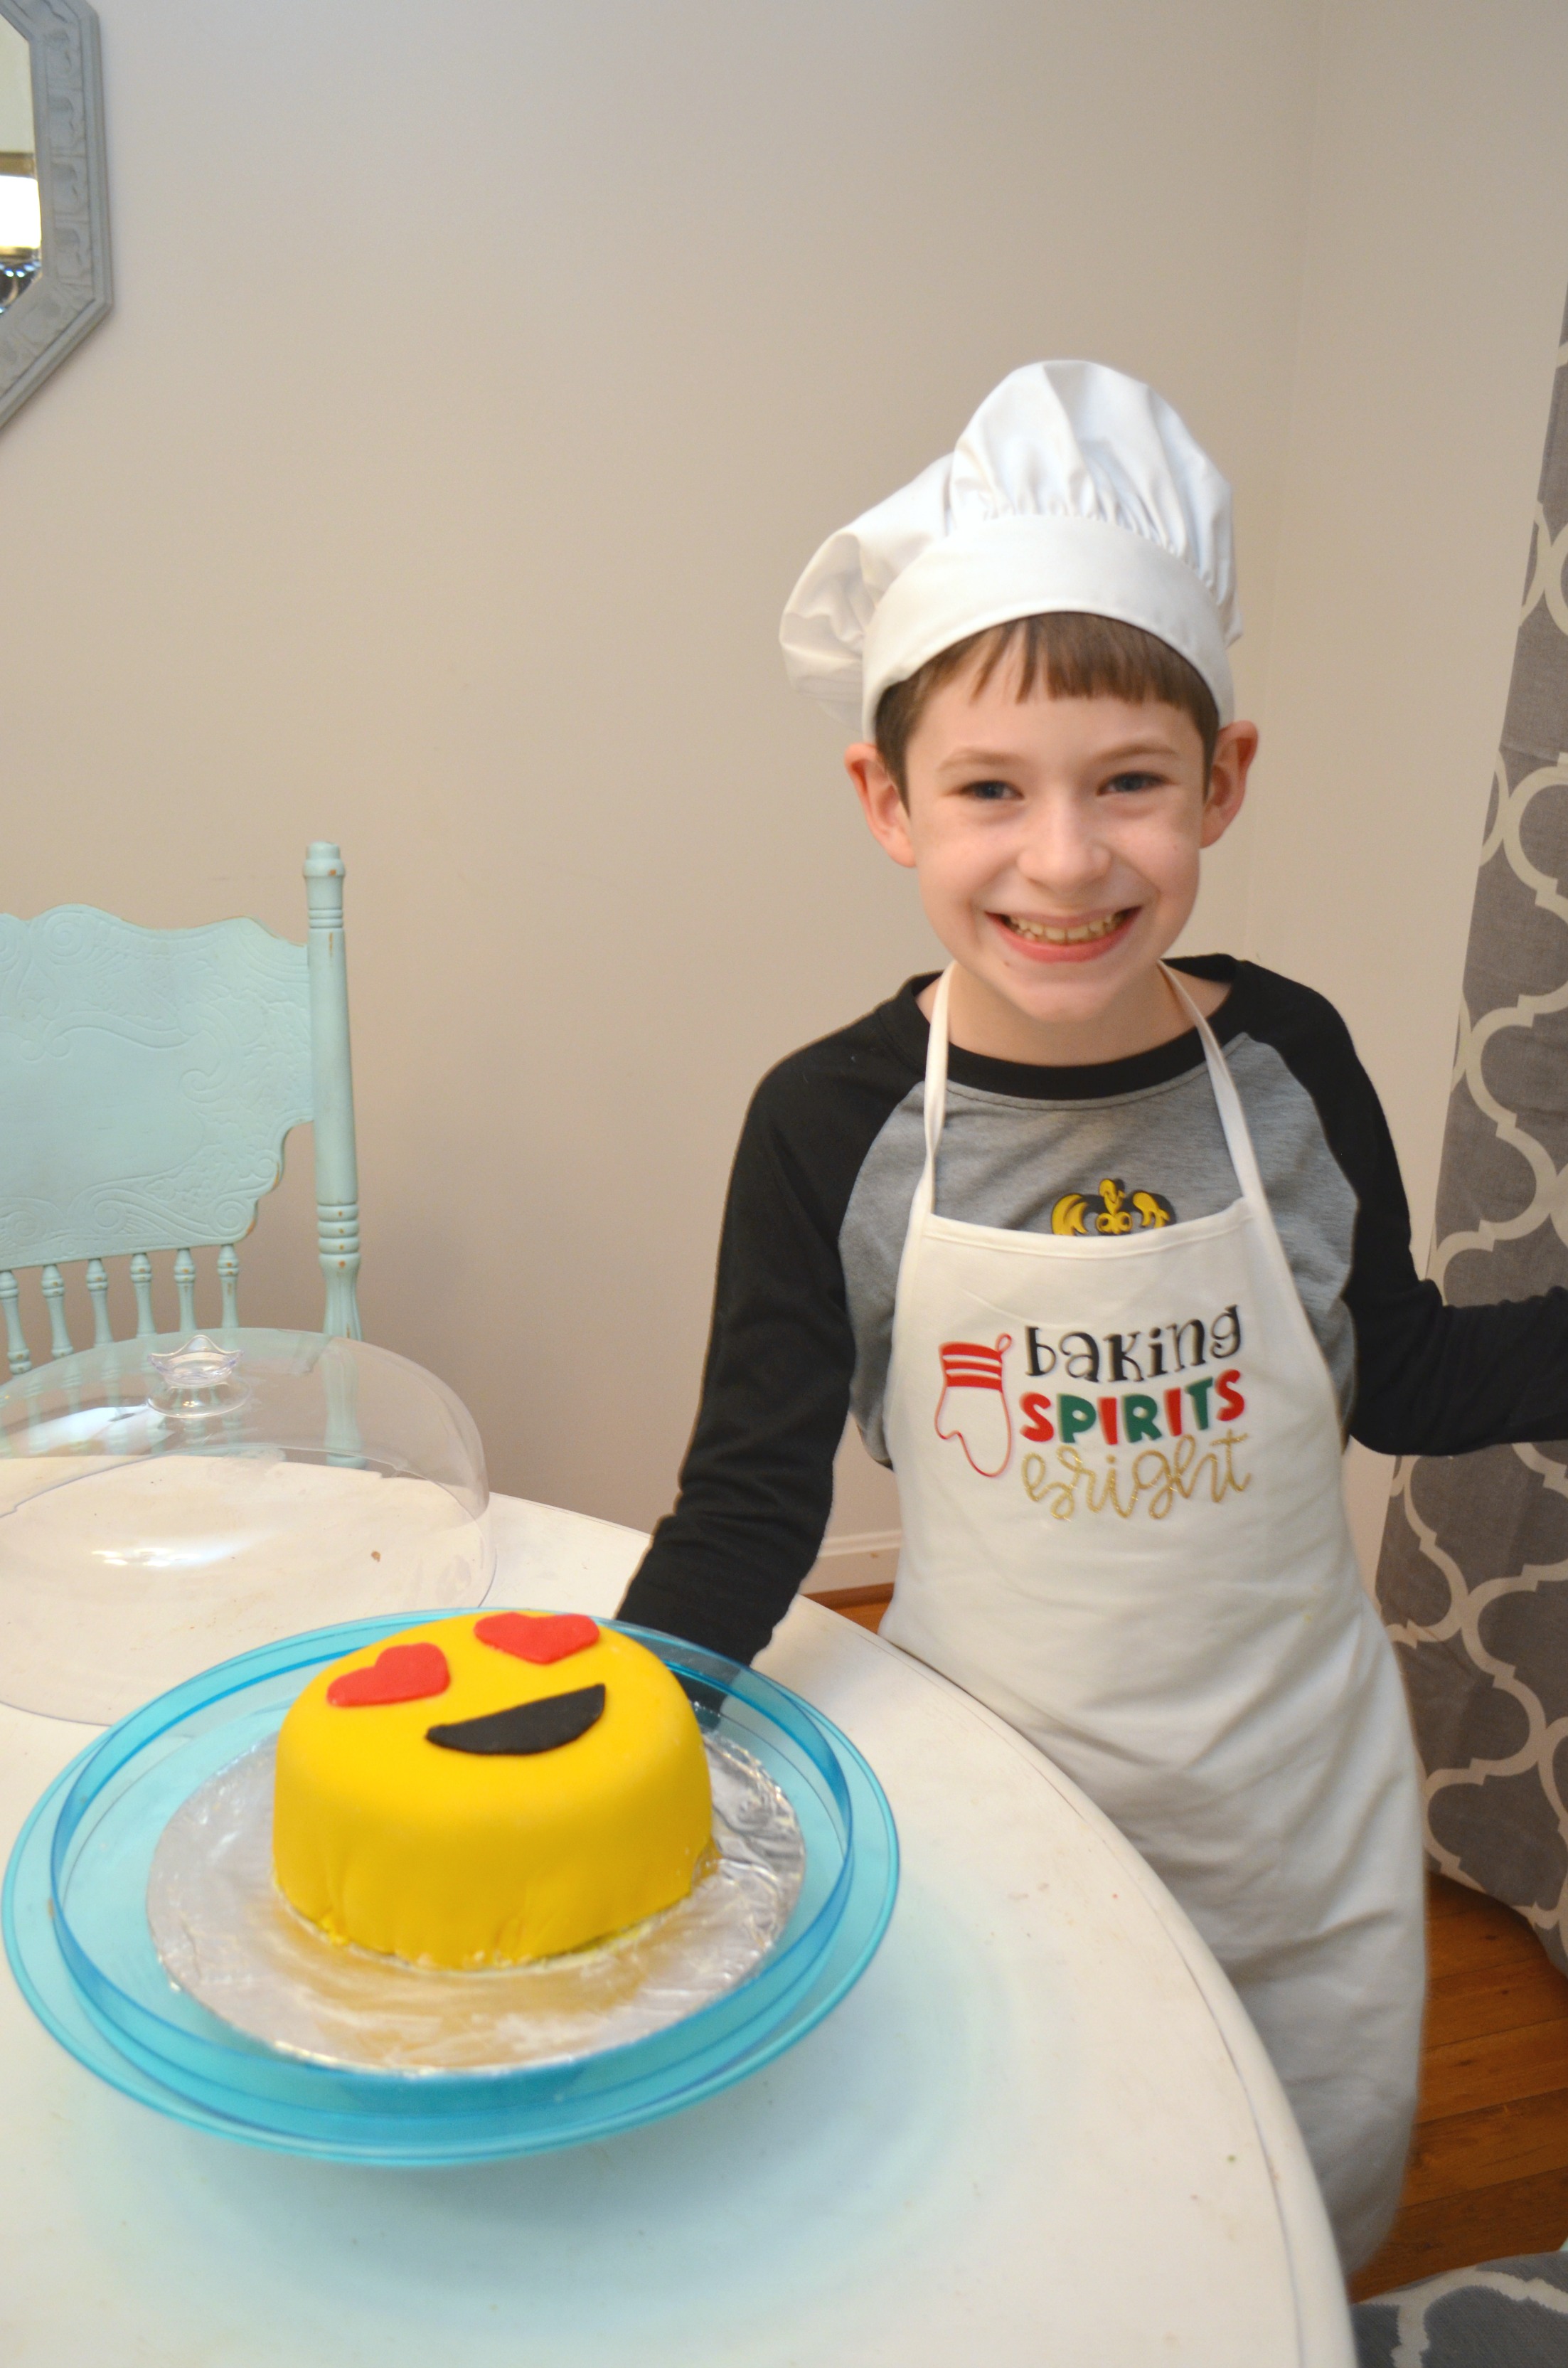
I was incredibly impressed with how well this cake turned out, especially considering that Little Crafter did a good 90% of the work all by himself. The only assistance I provided was to transfer the rolled yellow fondant onto the cake and to program the cutting on the Cricut. Otherwise, it’s totally Little Crafter’s masterpiece.
He wants you to know that if he can do it (at just 11 years old), you can too…and because he’s the total opposite of camera-shy, he also made this ten minute tutorial video. Check it out to see the full process.
If you like this project, be sure to leave a comment so I can share it with him, and don’t forget to Pin it for later!
Be sure to check out our other recipes, kids’ crafts, and holiday projects!

What an incredible young man! I think you have a budding tv chef on your hands! 🙂 Excellent job on the cake and on the video!
What a cute idea!! This cake looks amazing!! I think sometimes, it’s all about presentation! I absolutely LOVE your cake stand.