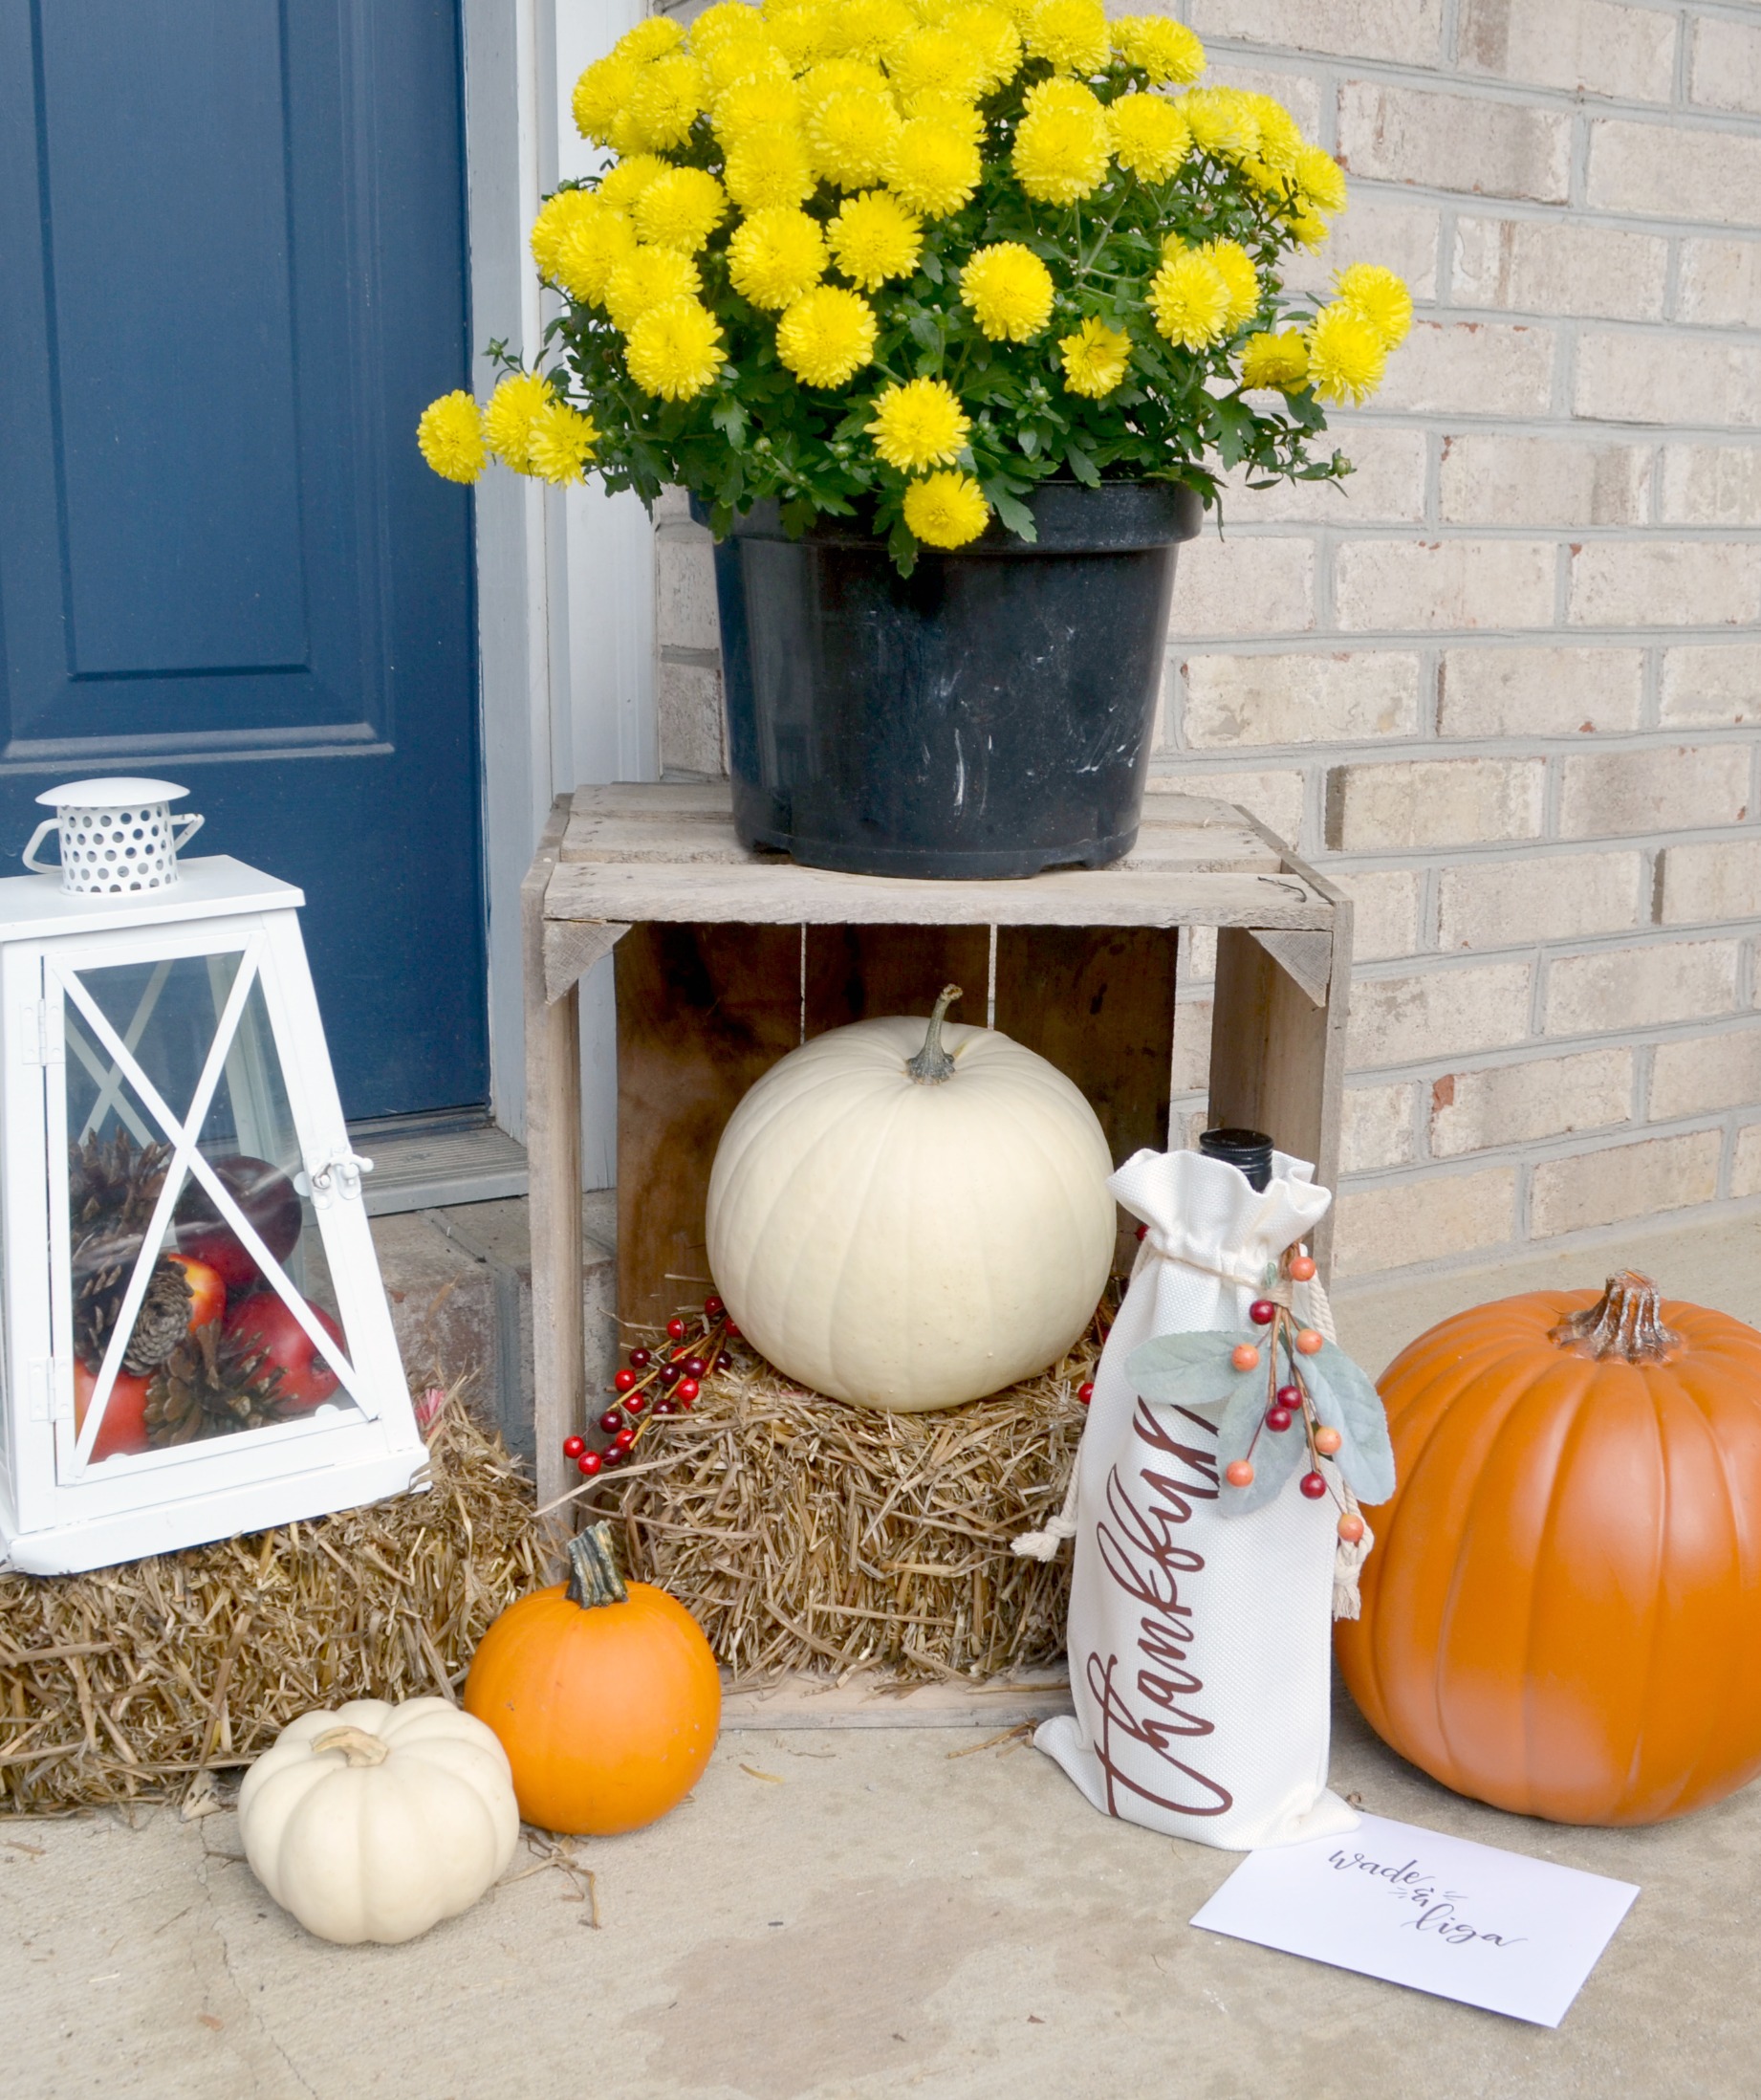
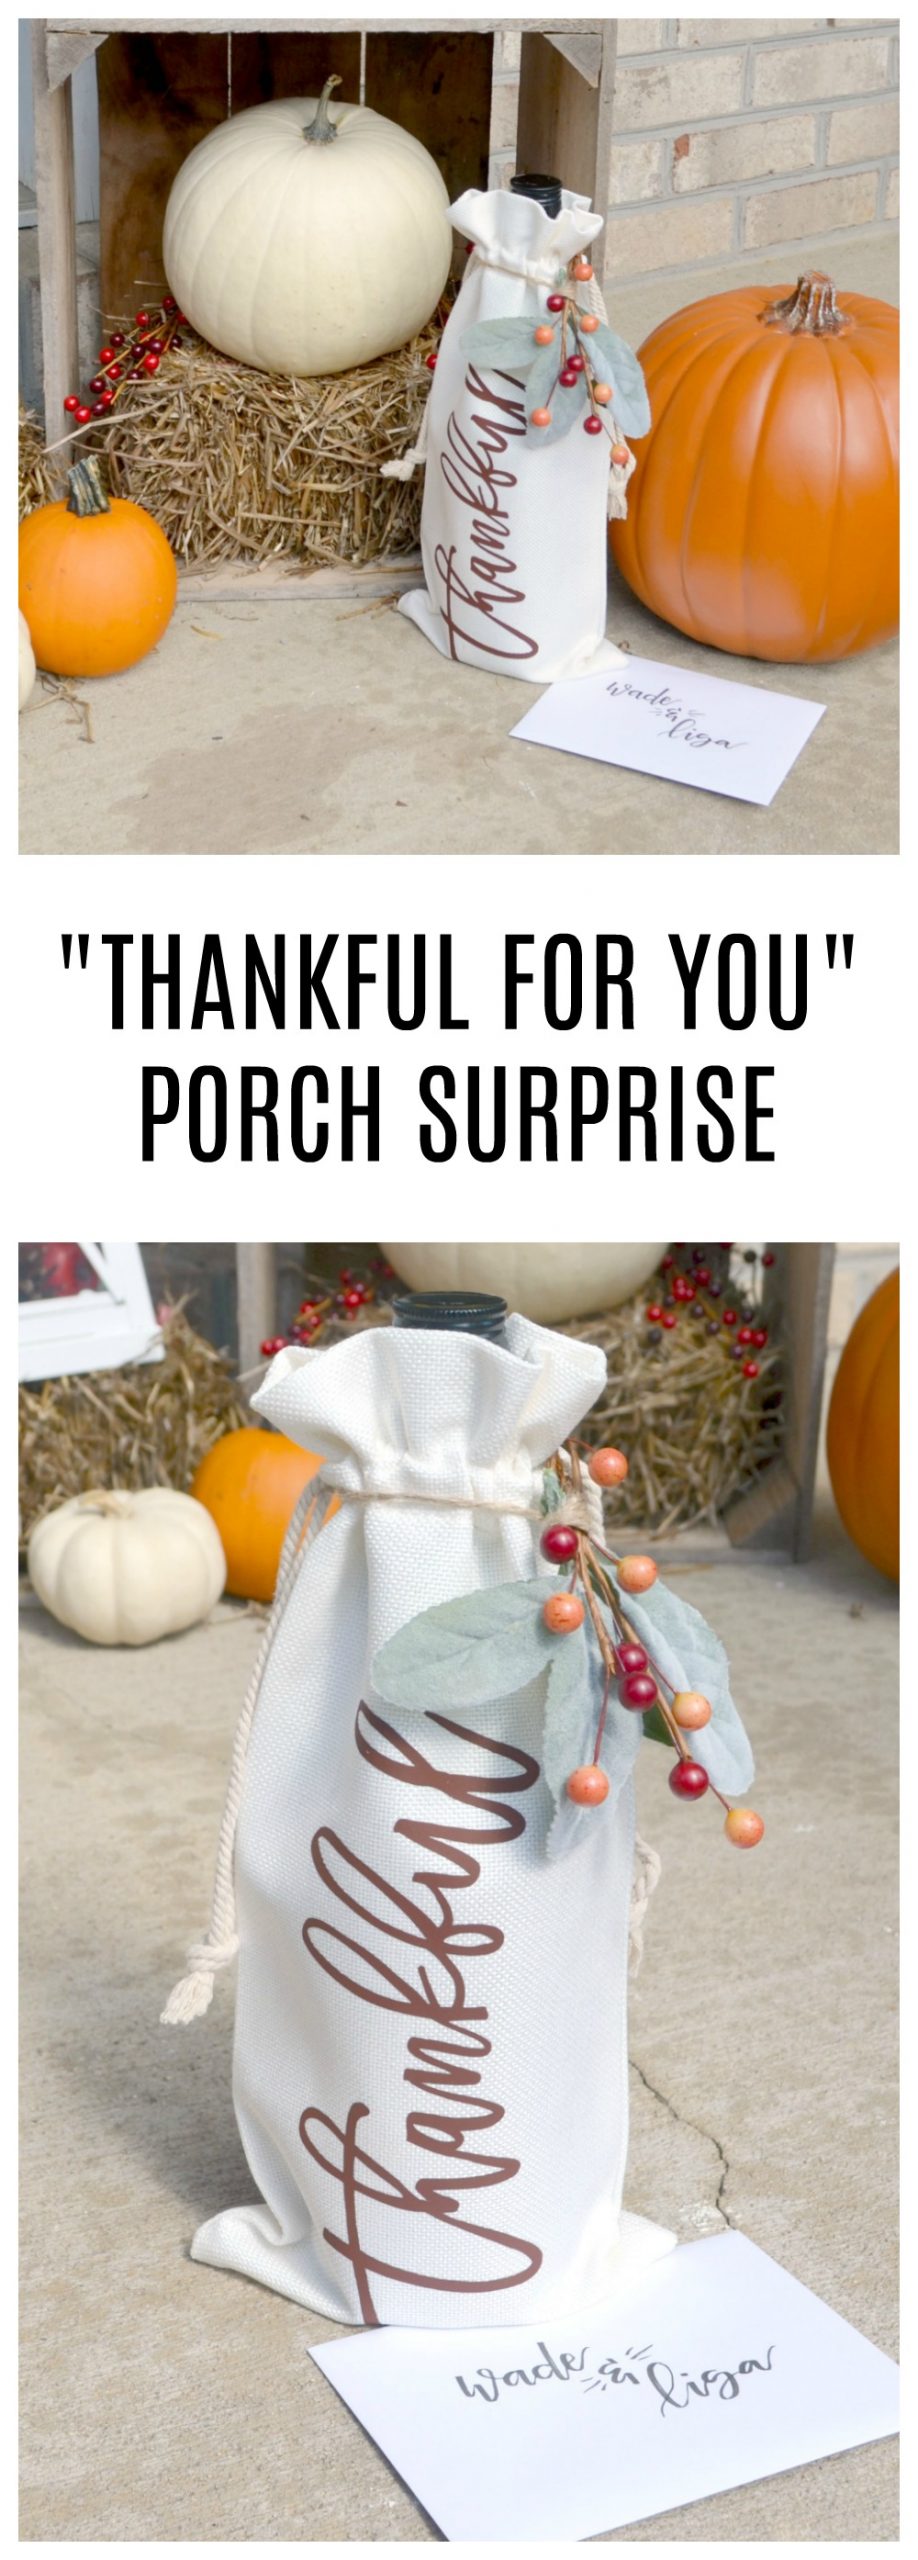
Thankful for You Porch Surprise
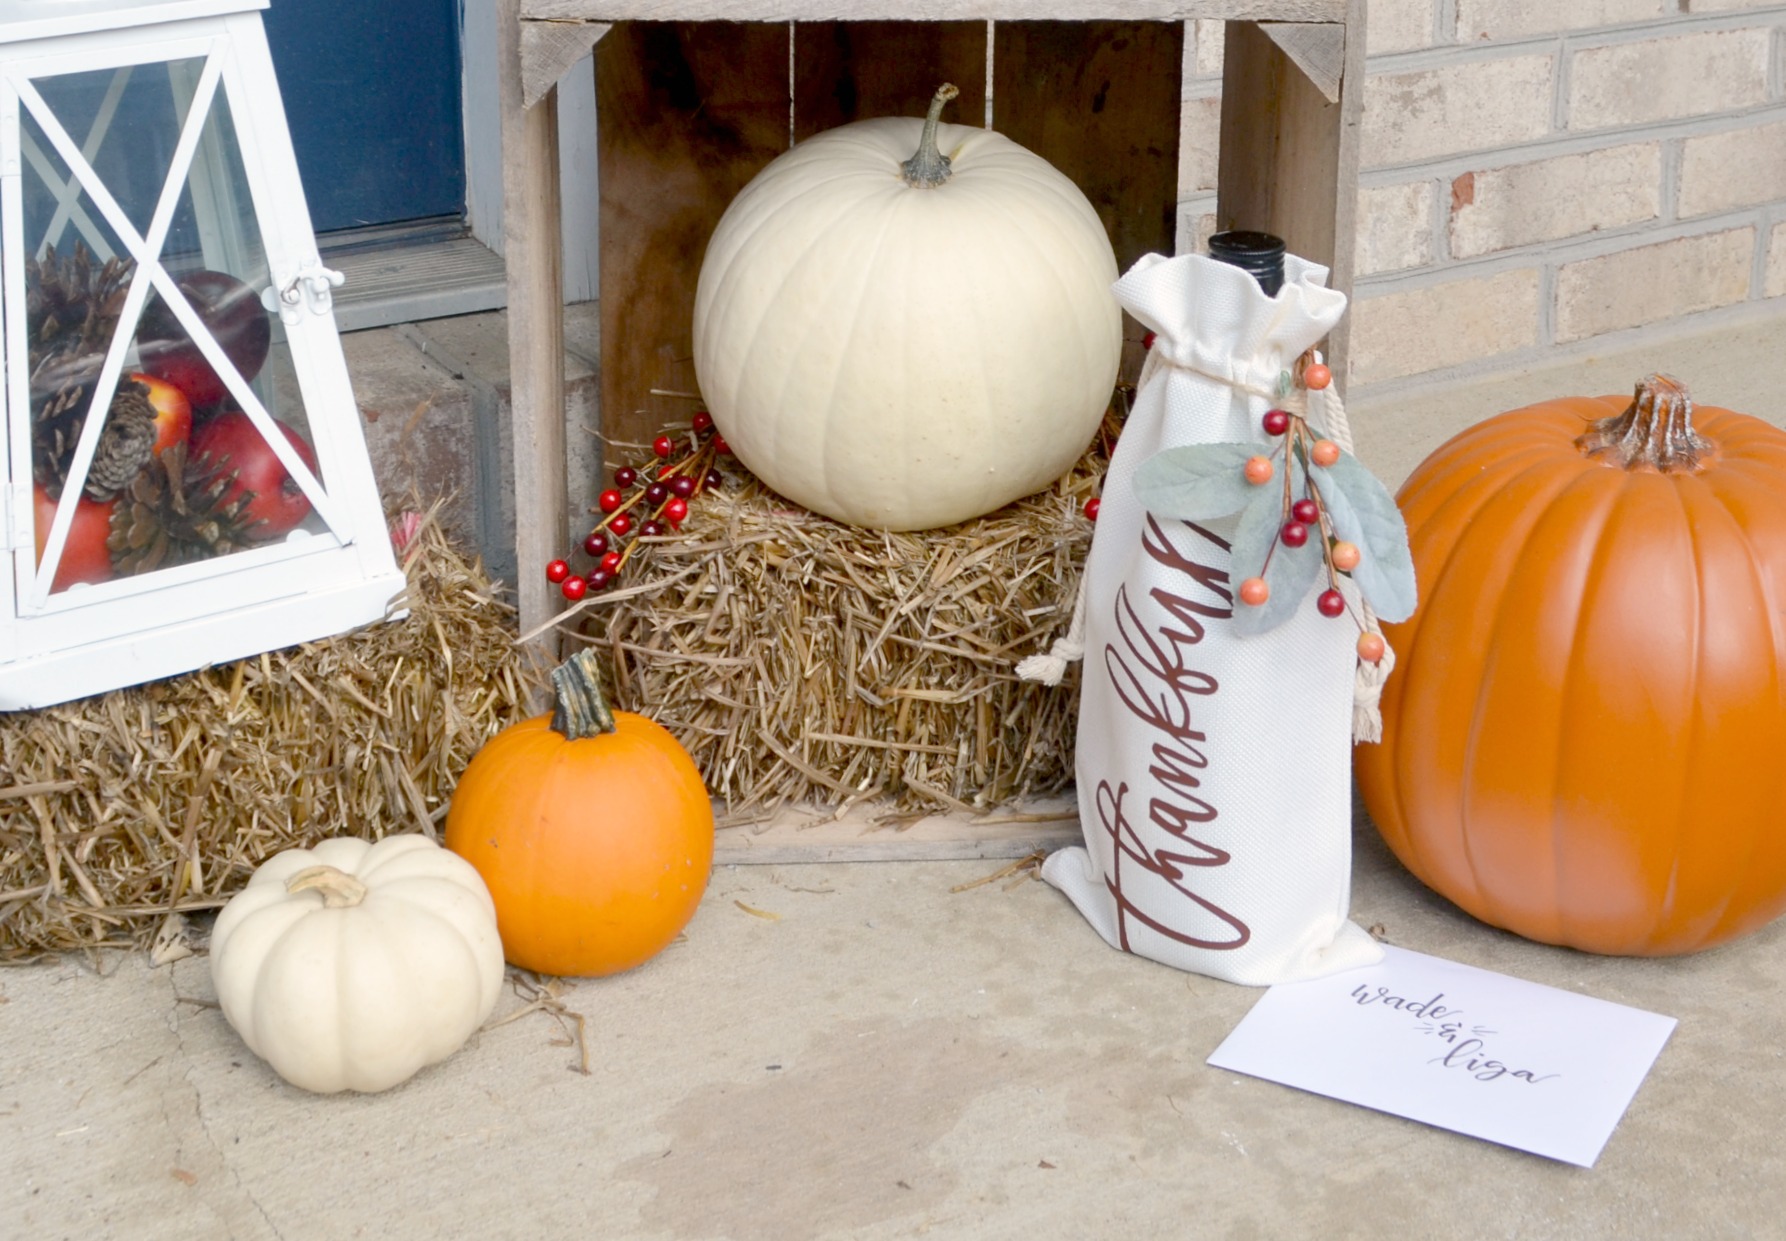
From the Macy’s Parade to large gatherings around the dinner table, some of the traditions we cherish most at Thanksgiving will look different this year. However, we can still show the people in our lives how thankful we are for them…even if right now it has to be from a distance. This “Thankful for You” porch surprise is a little way to bring joy to your friends, family, or neighbors. Here’s how I personalized a wine (or sparkling cider) bag for a special gift.
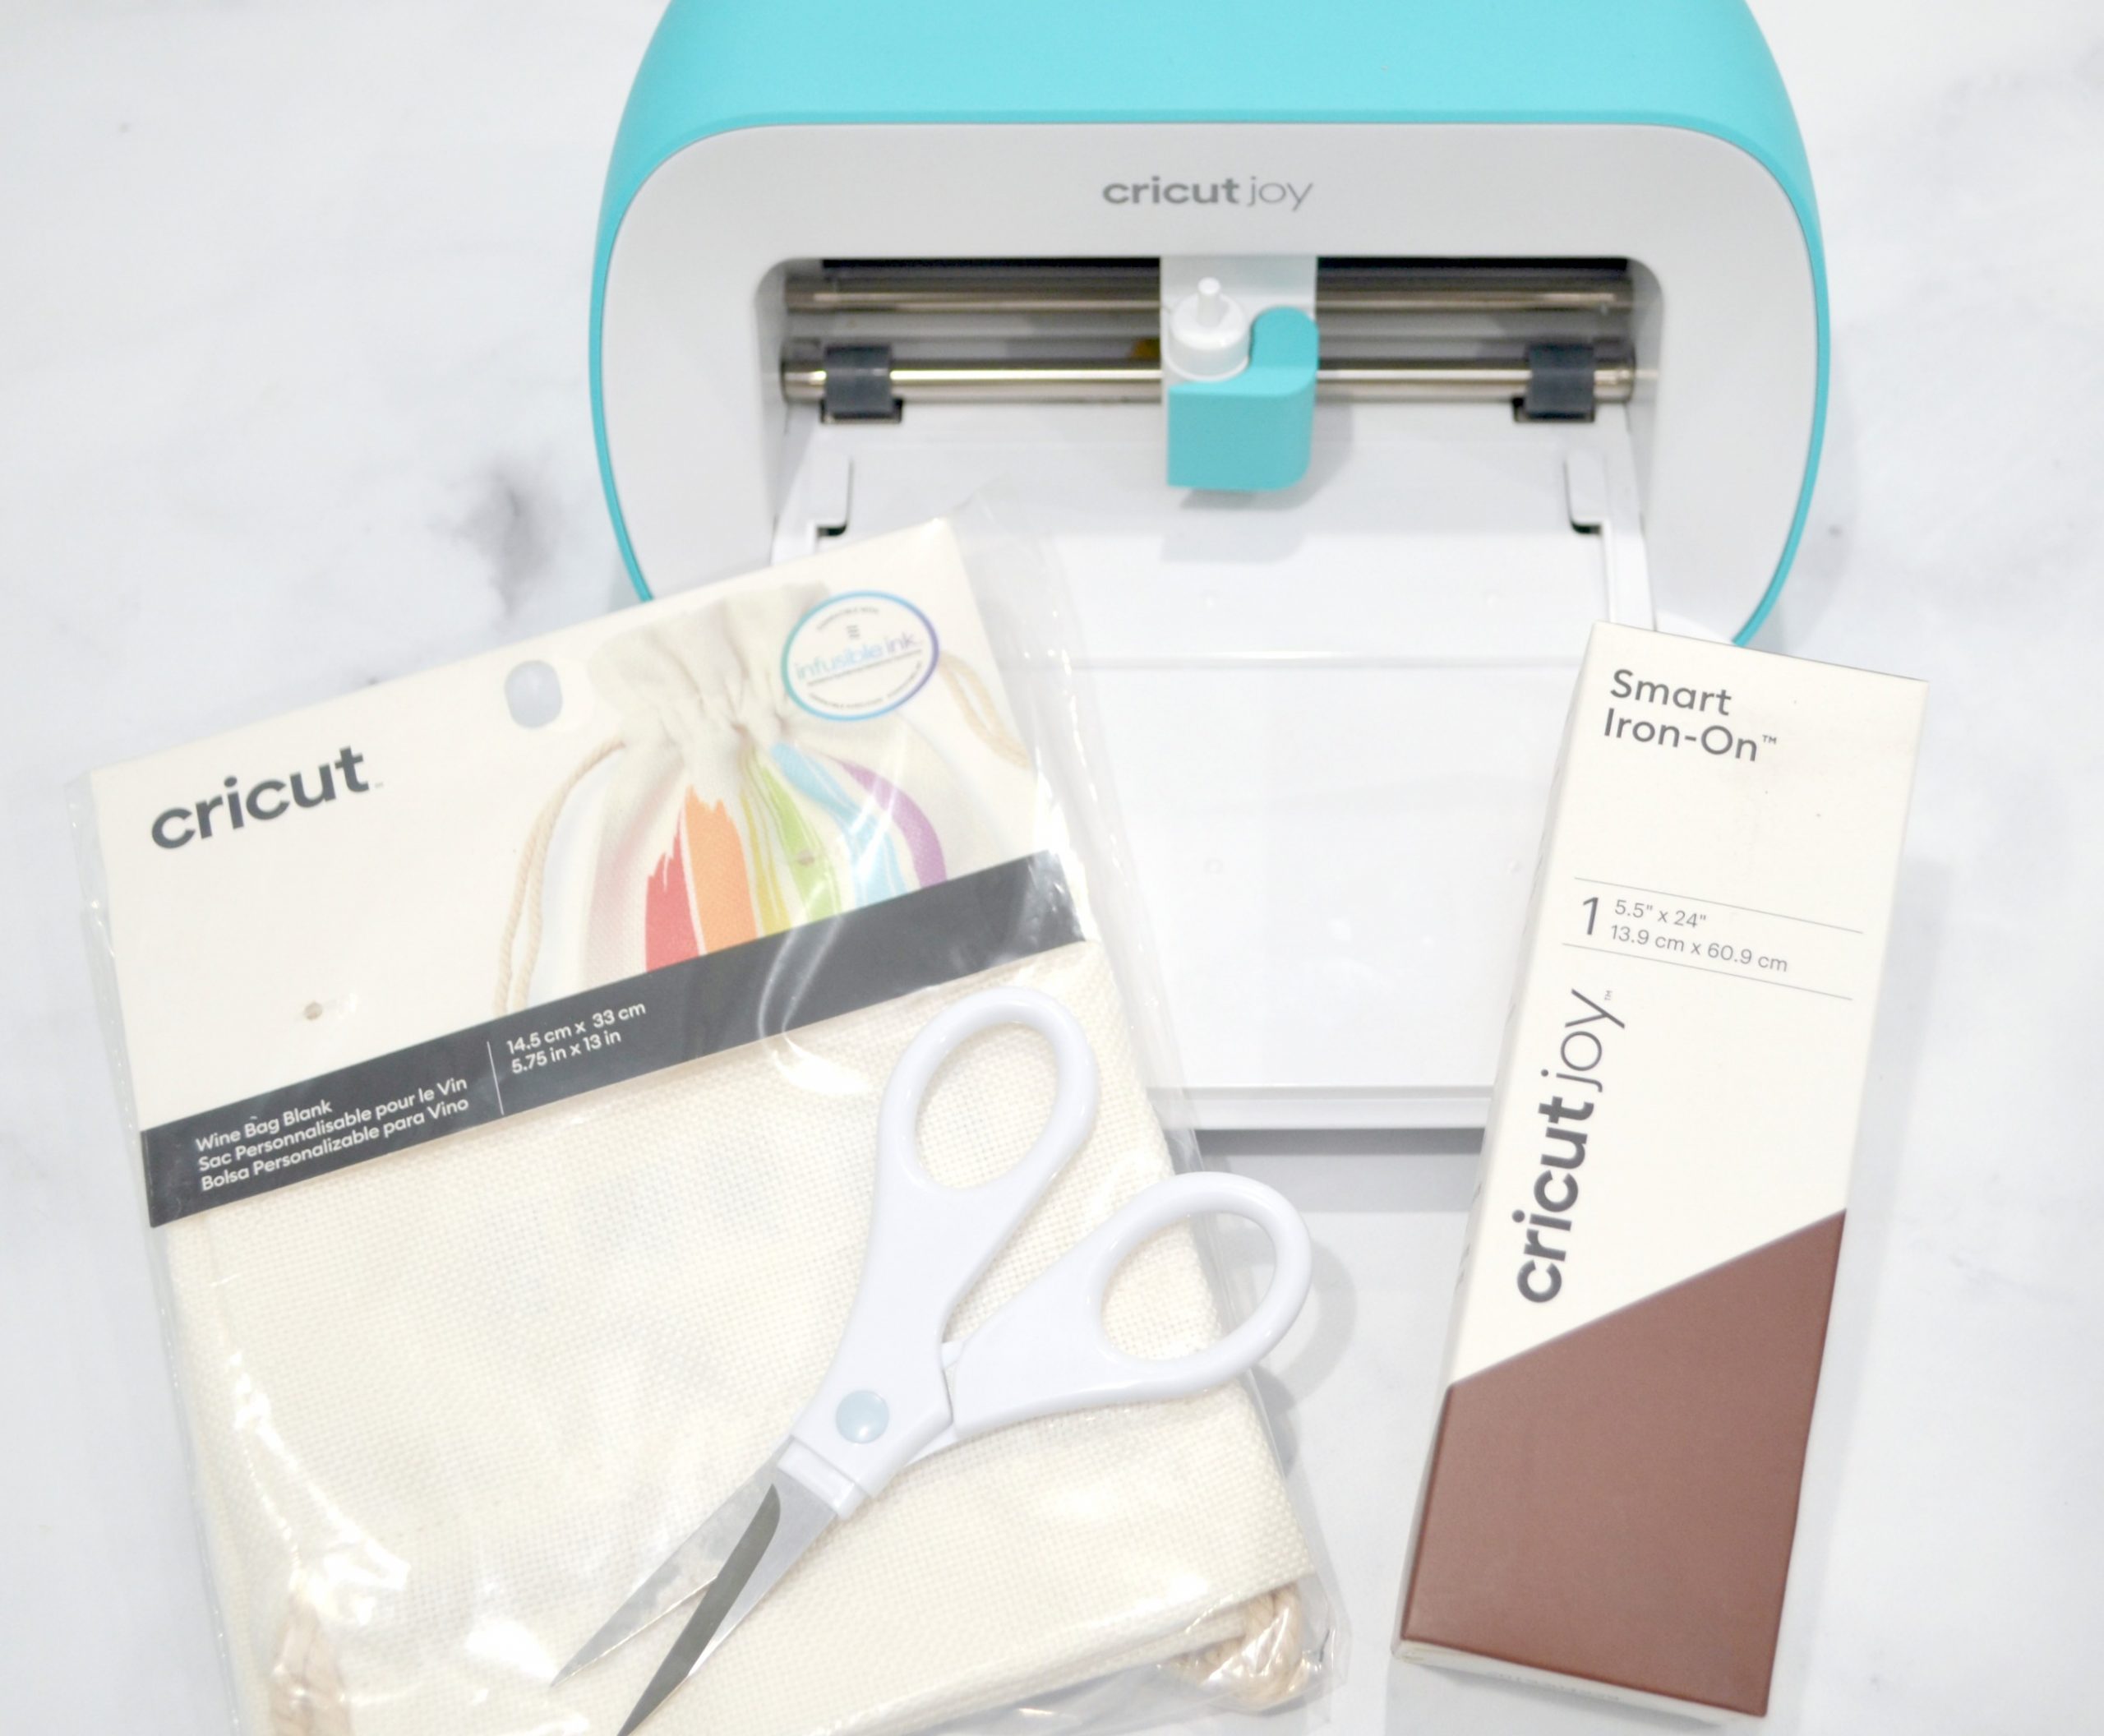
You’ll need:
Smart Iron-On, Brown
Cricut EasyPress 2 and EasyPress Mat (or folded towel)
Basic Tool Kit (Scissors, Weeder, etc.)
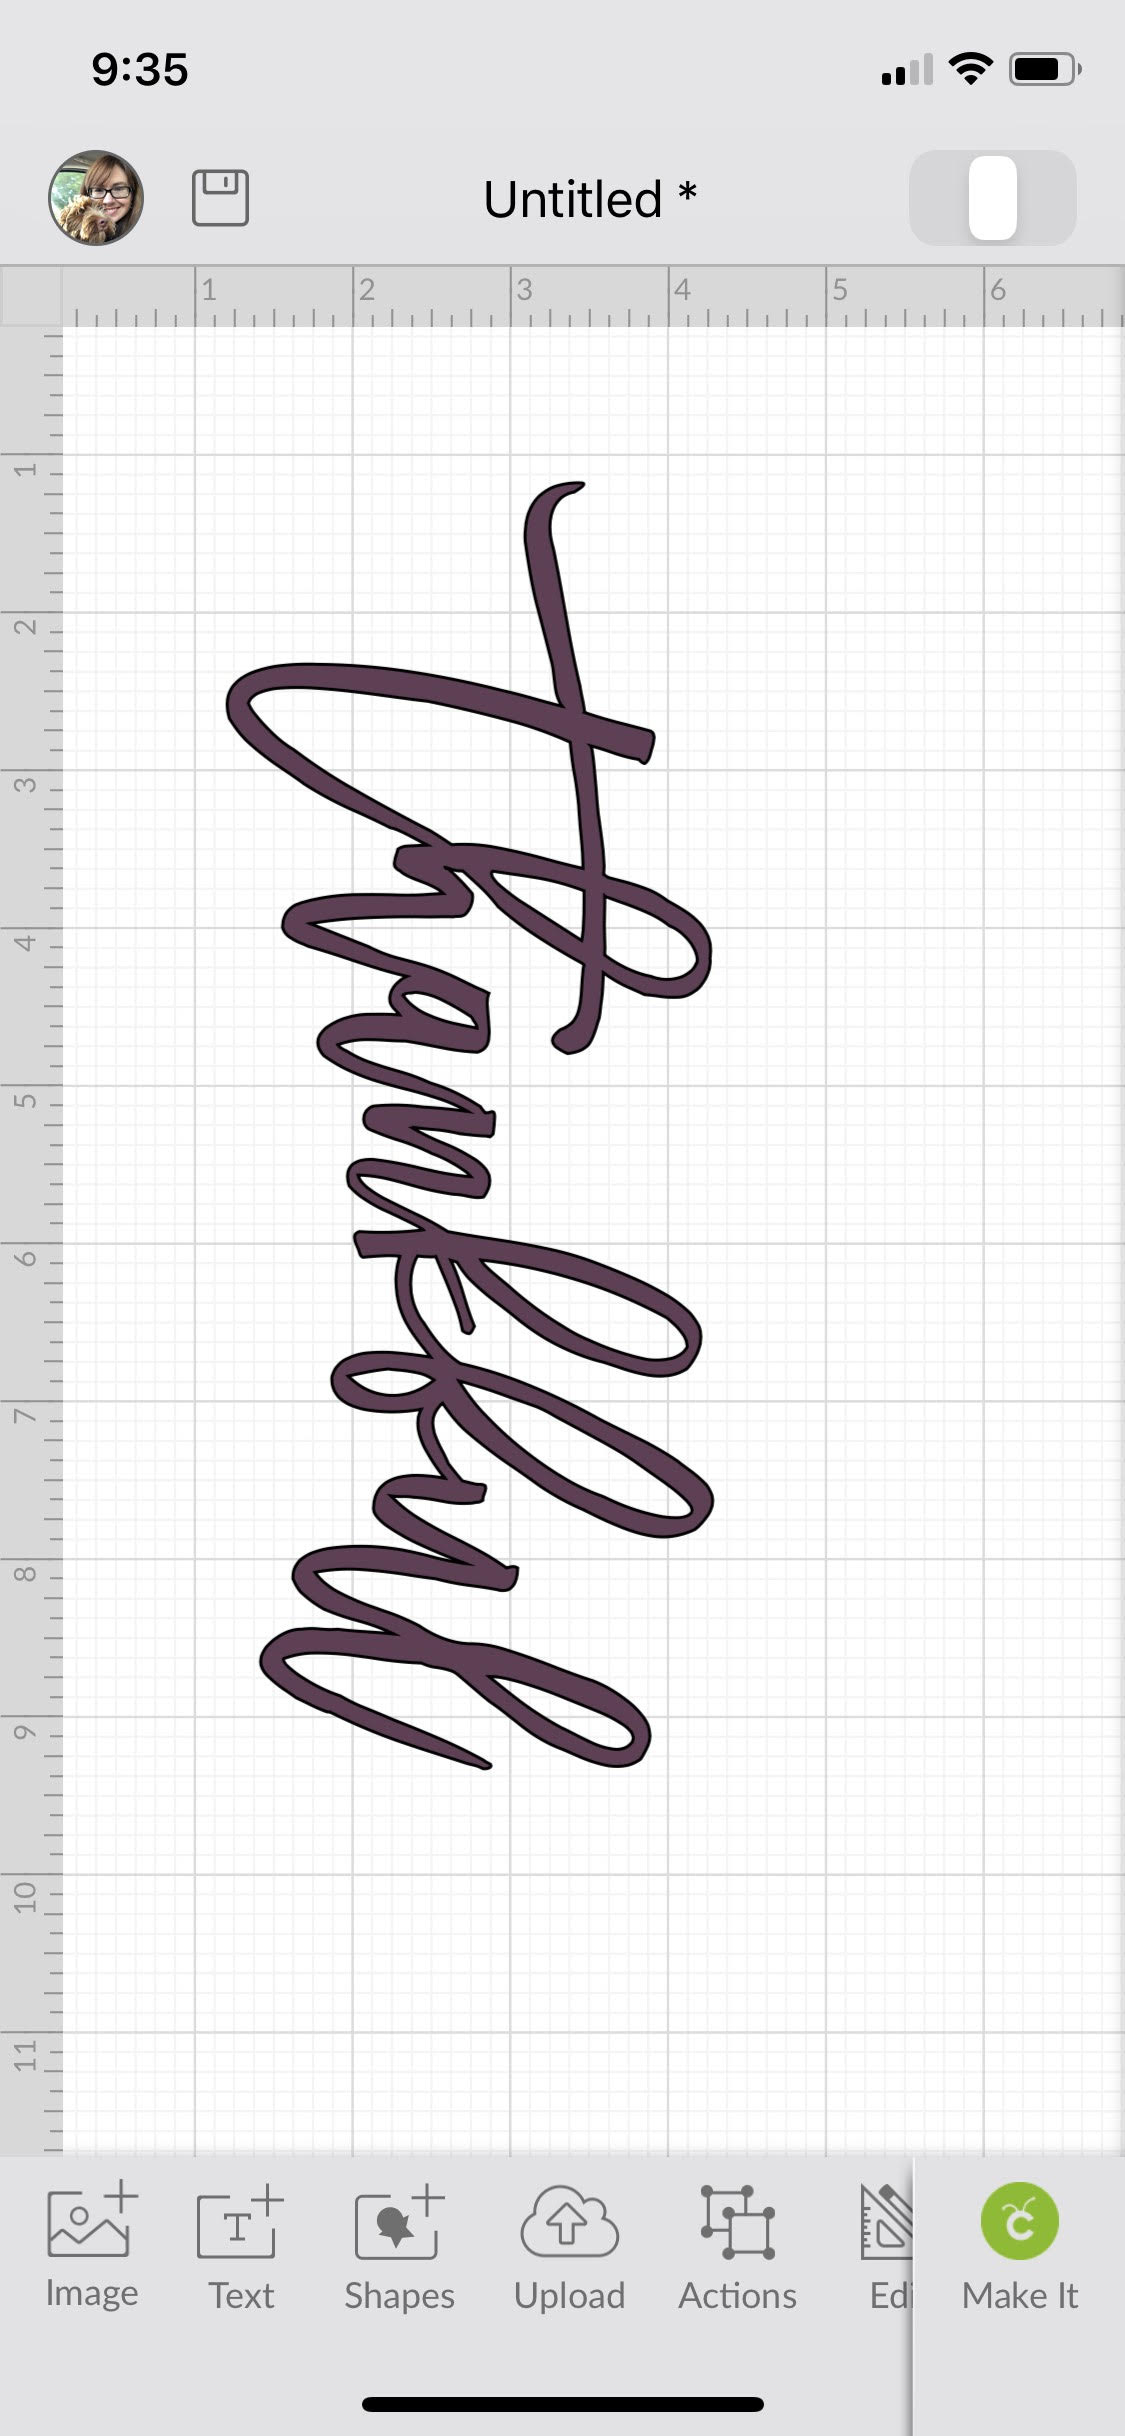
Step 1: Choose a design and size it to fit the wine bag.
I used “Thankful” (#M1853BF8C) from the Cricut image library. Because the Cricut Joy specializes in long, thin cuts, I rotated the image 90 degrees, then sized it to approximately 3″ x 8″. If you’d like to use this exact image and size, just click here for the project file and select, “Make it!”
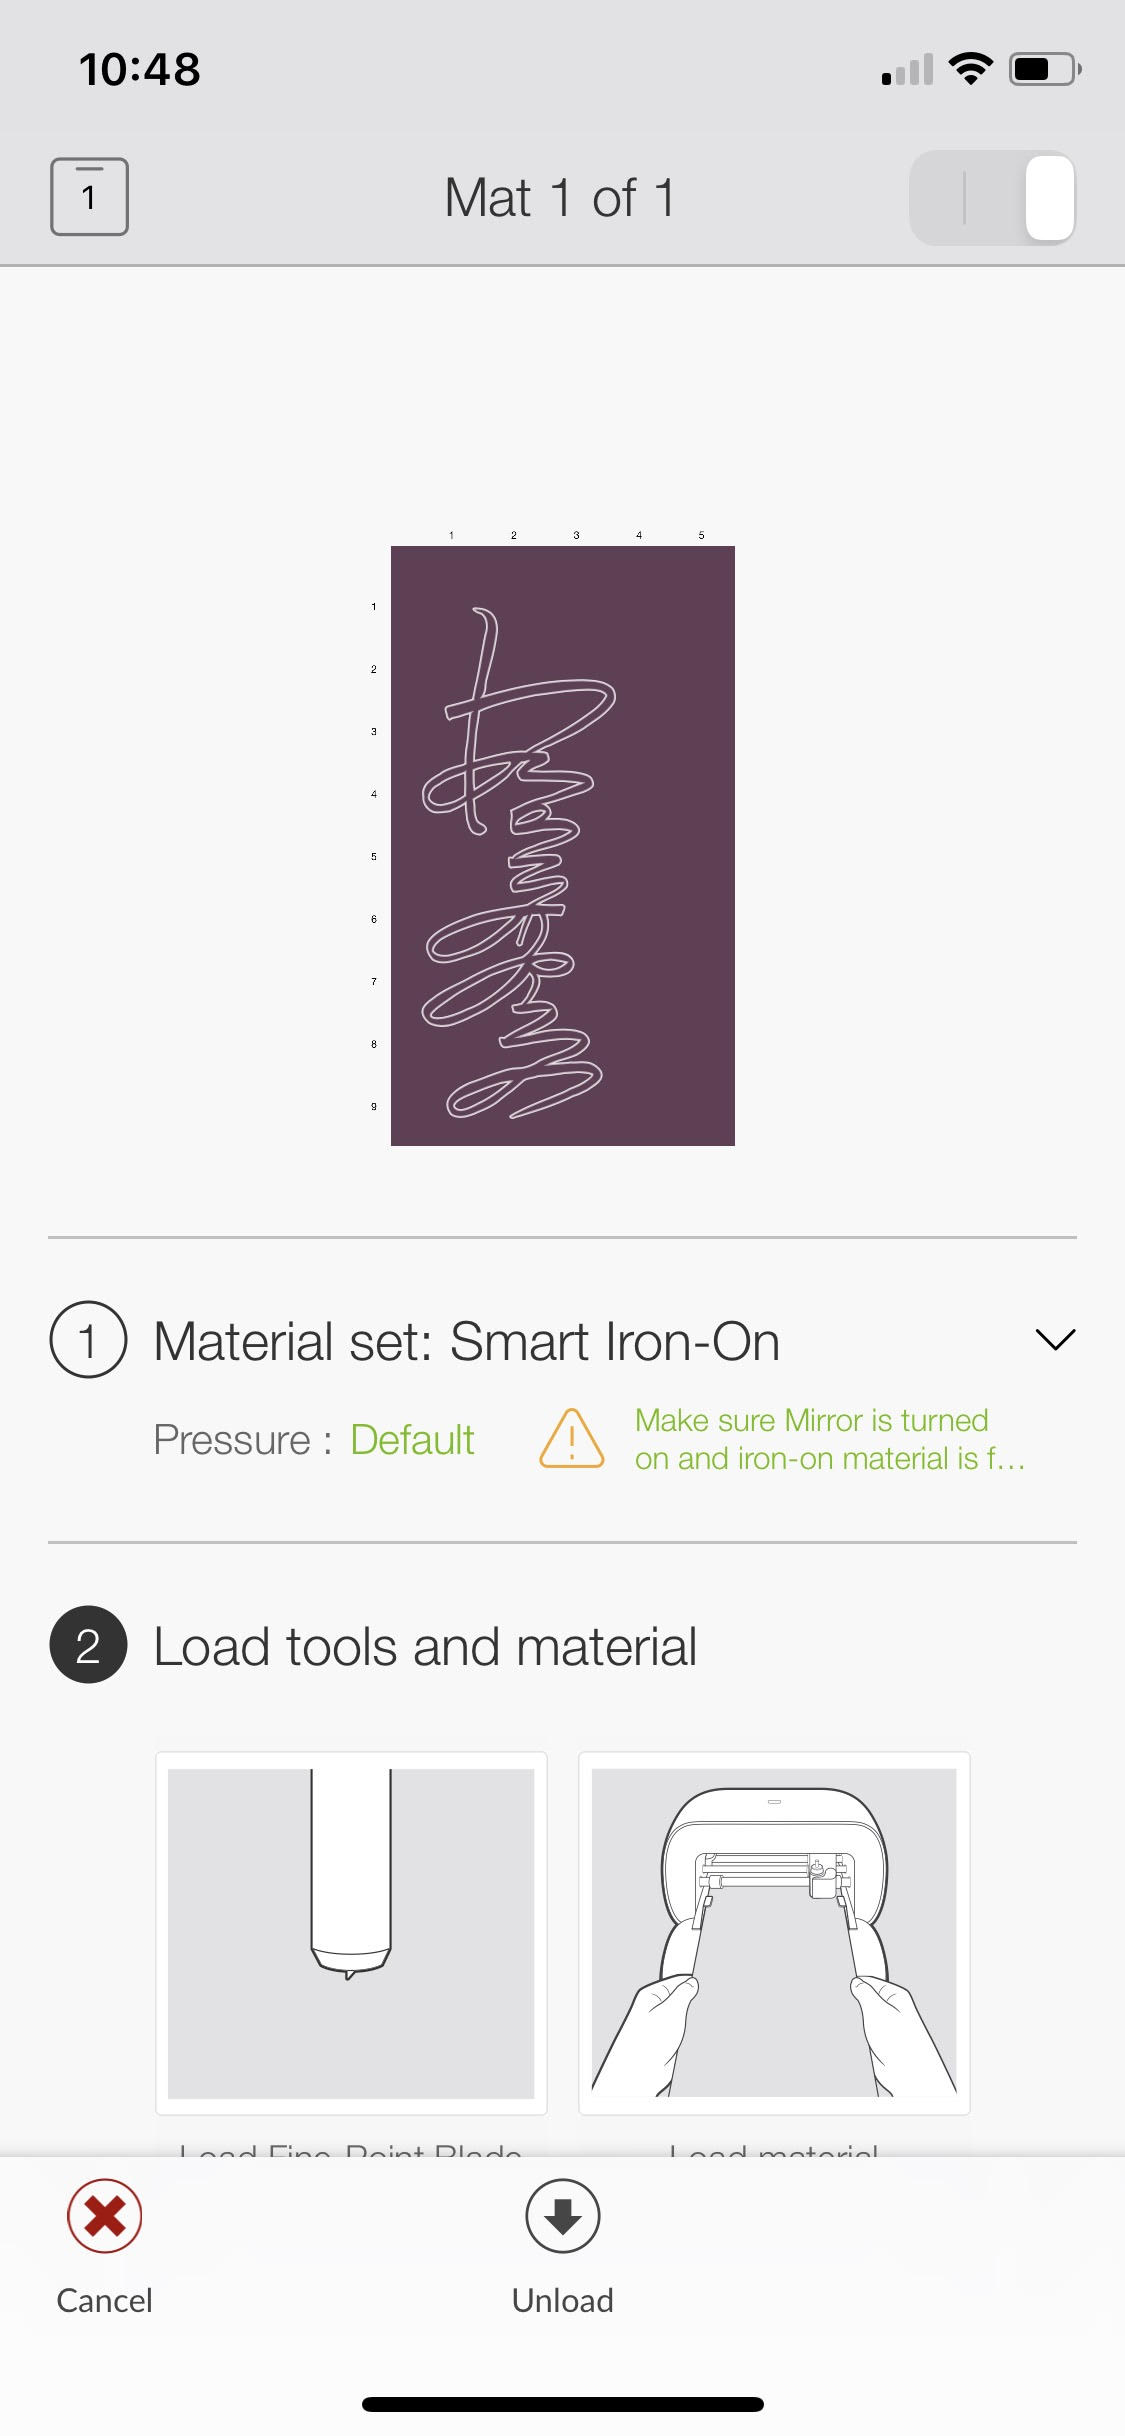
Step 2: Send the design to the Cricut Joy.
Because we’re working with Iron-On, don’t forget to mirror the image before making the cut! Follow the prompts in Design Space to load Smart Iron-On (I used brown) into the machine and press “Go.”
Step 3: Weed your vinyl.
This means you’ll remove all vinyl from the adhesive backing that isn’t part of your design, including the centers of looping letters. If you have trouble getting the small pieces off with just your hands, the weeding tool is a big help!

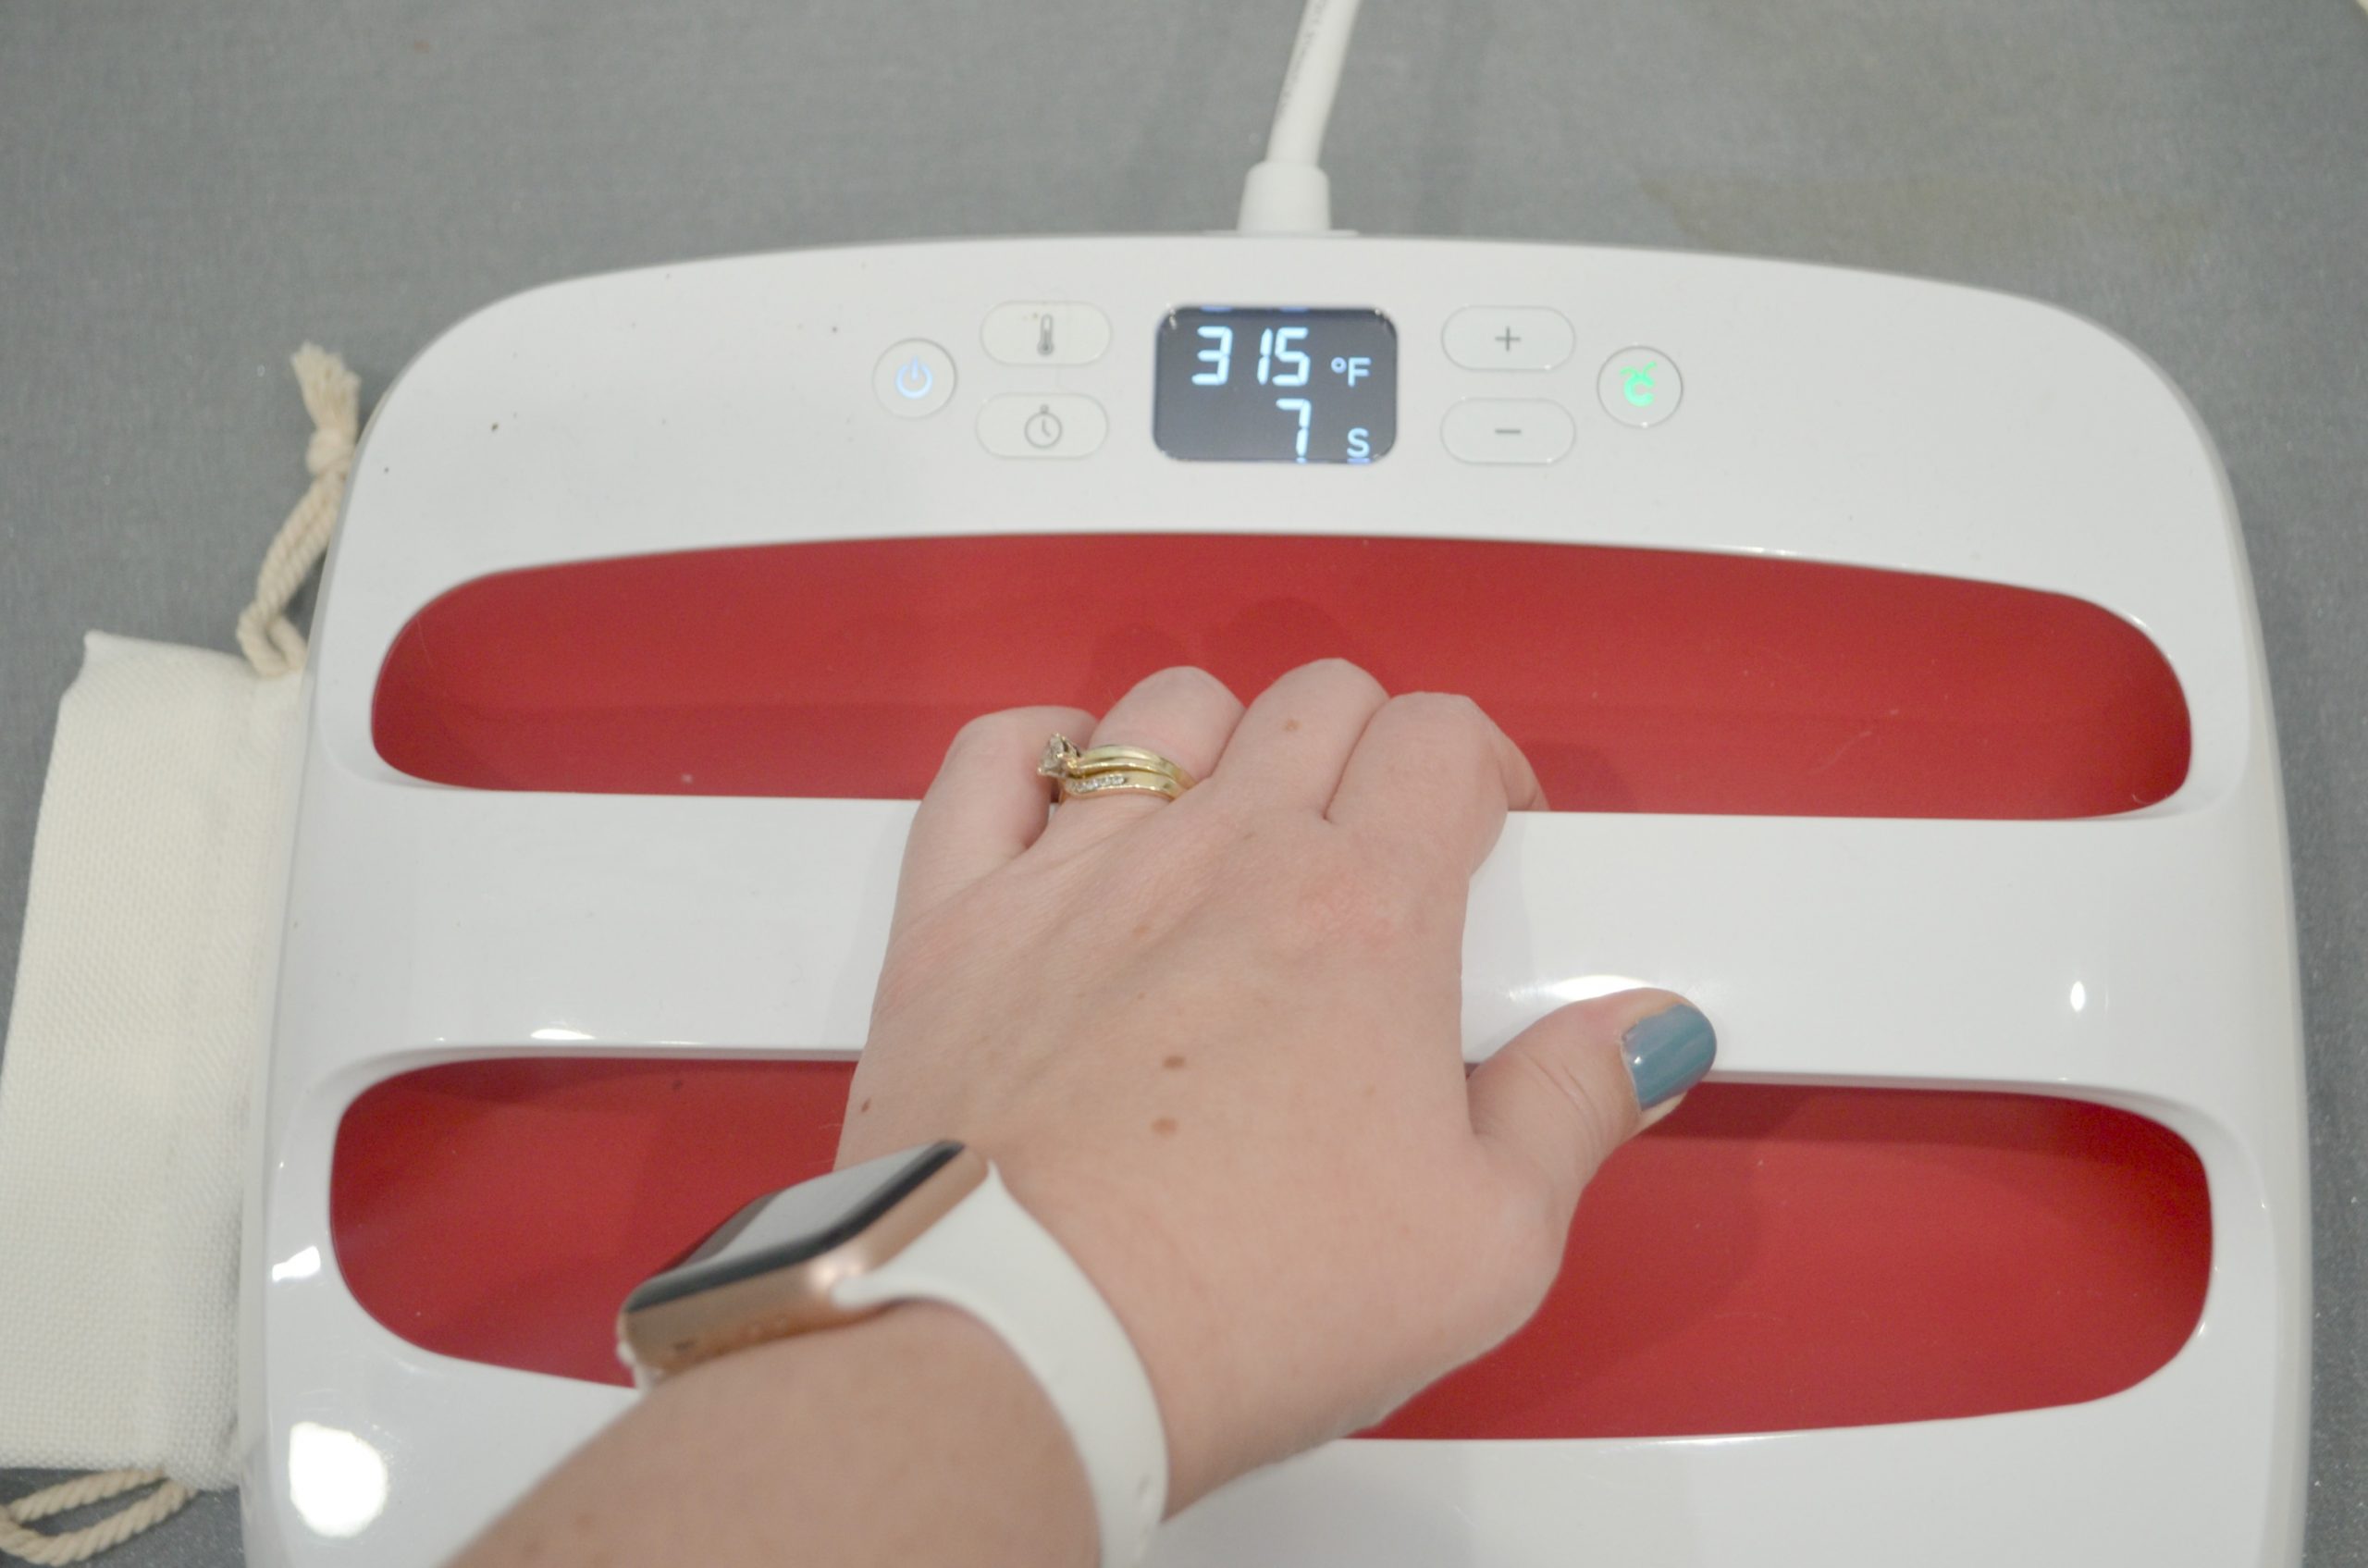
Step 4: Preheat your Cricut EasyPress based on the Heat Guide instructions.
Go to the Heat Guide and select your material and base. This is the result I got for Smart Iron-On and the Wine Bag Blank.
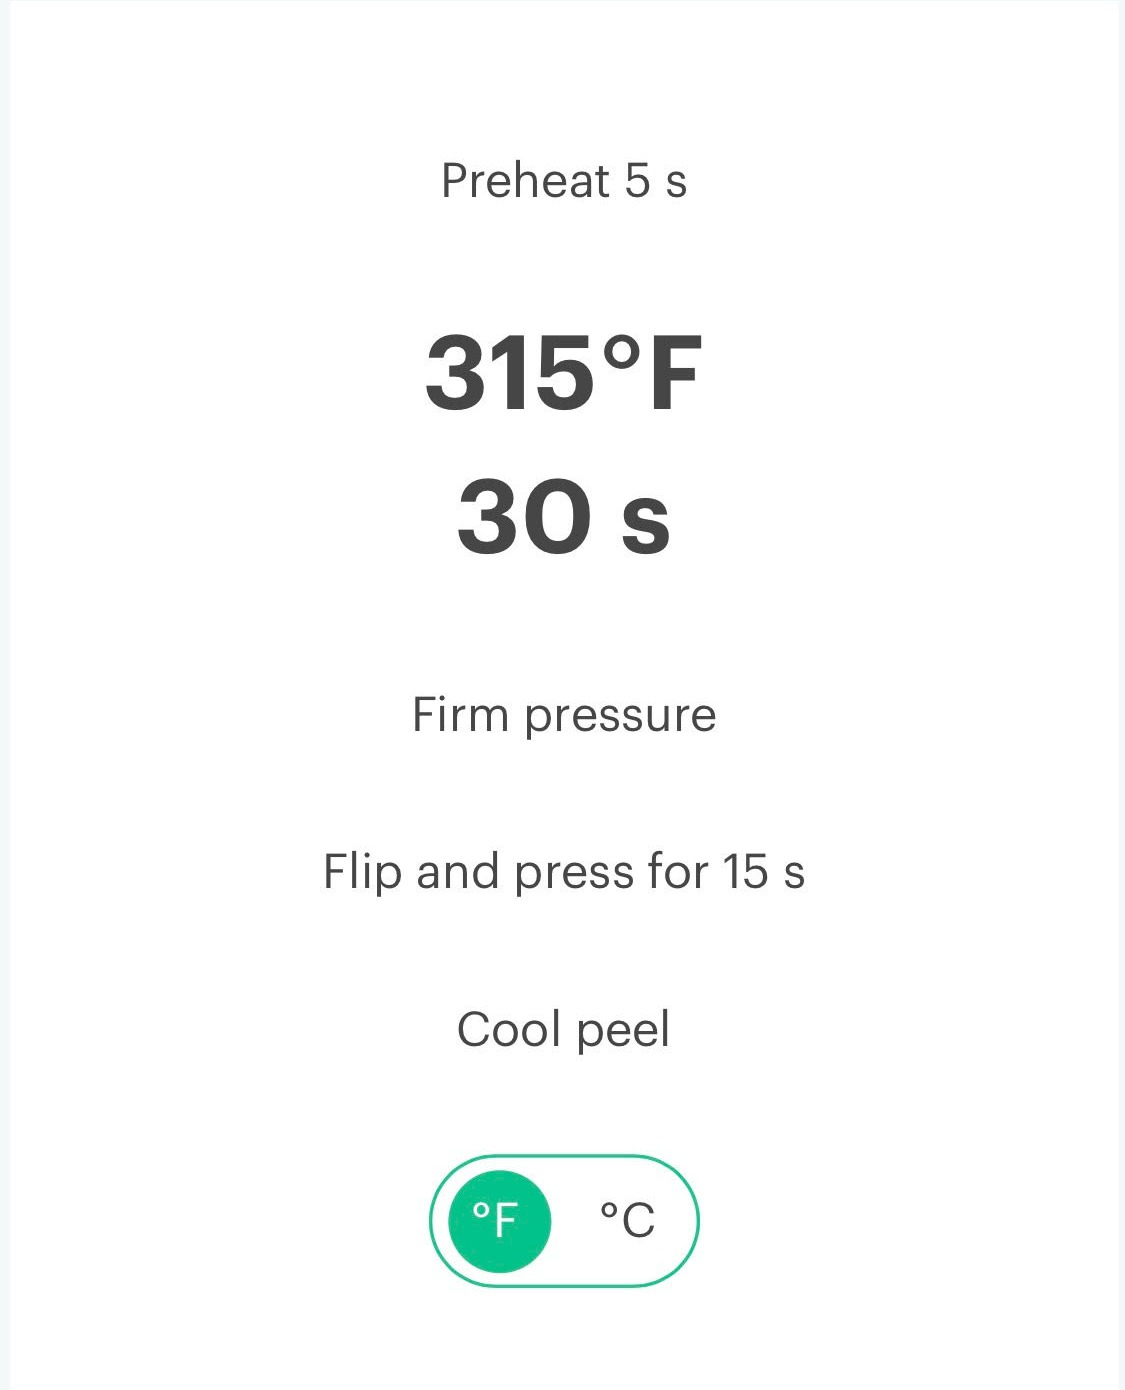
Step 5: Use the EasyPress to heat set your design.
First, preheat the wine bag for 5 seconds to remove any excess moisture and wrinkles. Then, place your design in the center of the bag, using the clear adhesive backing to hold it in place. Hold the EasyPress on top with firm pressure for 30 seconds, then flip the bag over and press for 15 more seconds. The Smart Iron-On is cool peel, which means you need to wait until the project is cool to the touch before removing the clear adhesive. If you peel too soon, some of the vinyl might come off with the backing.
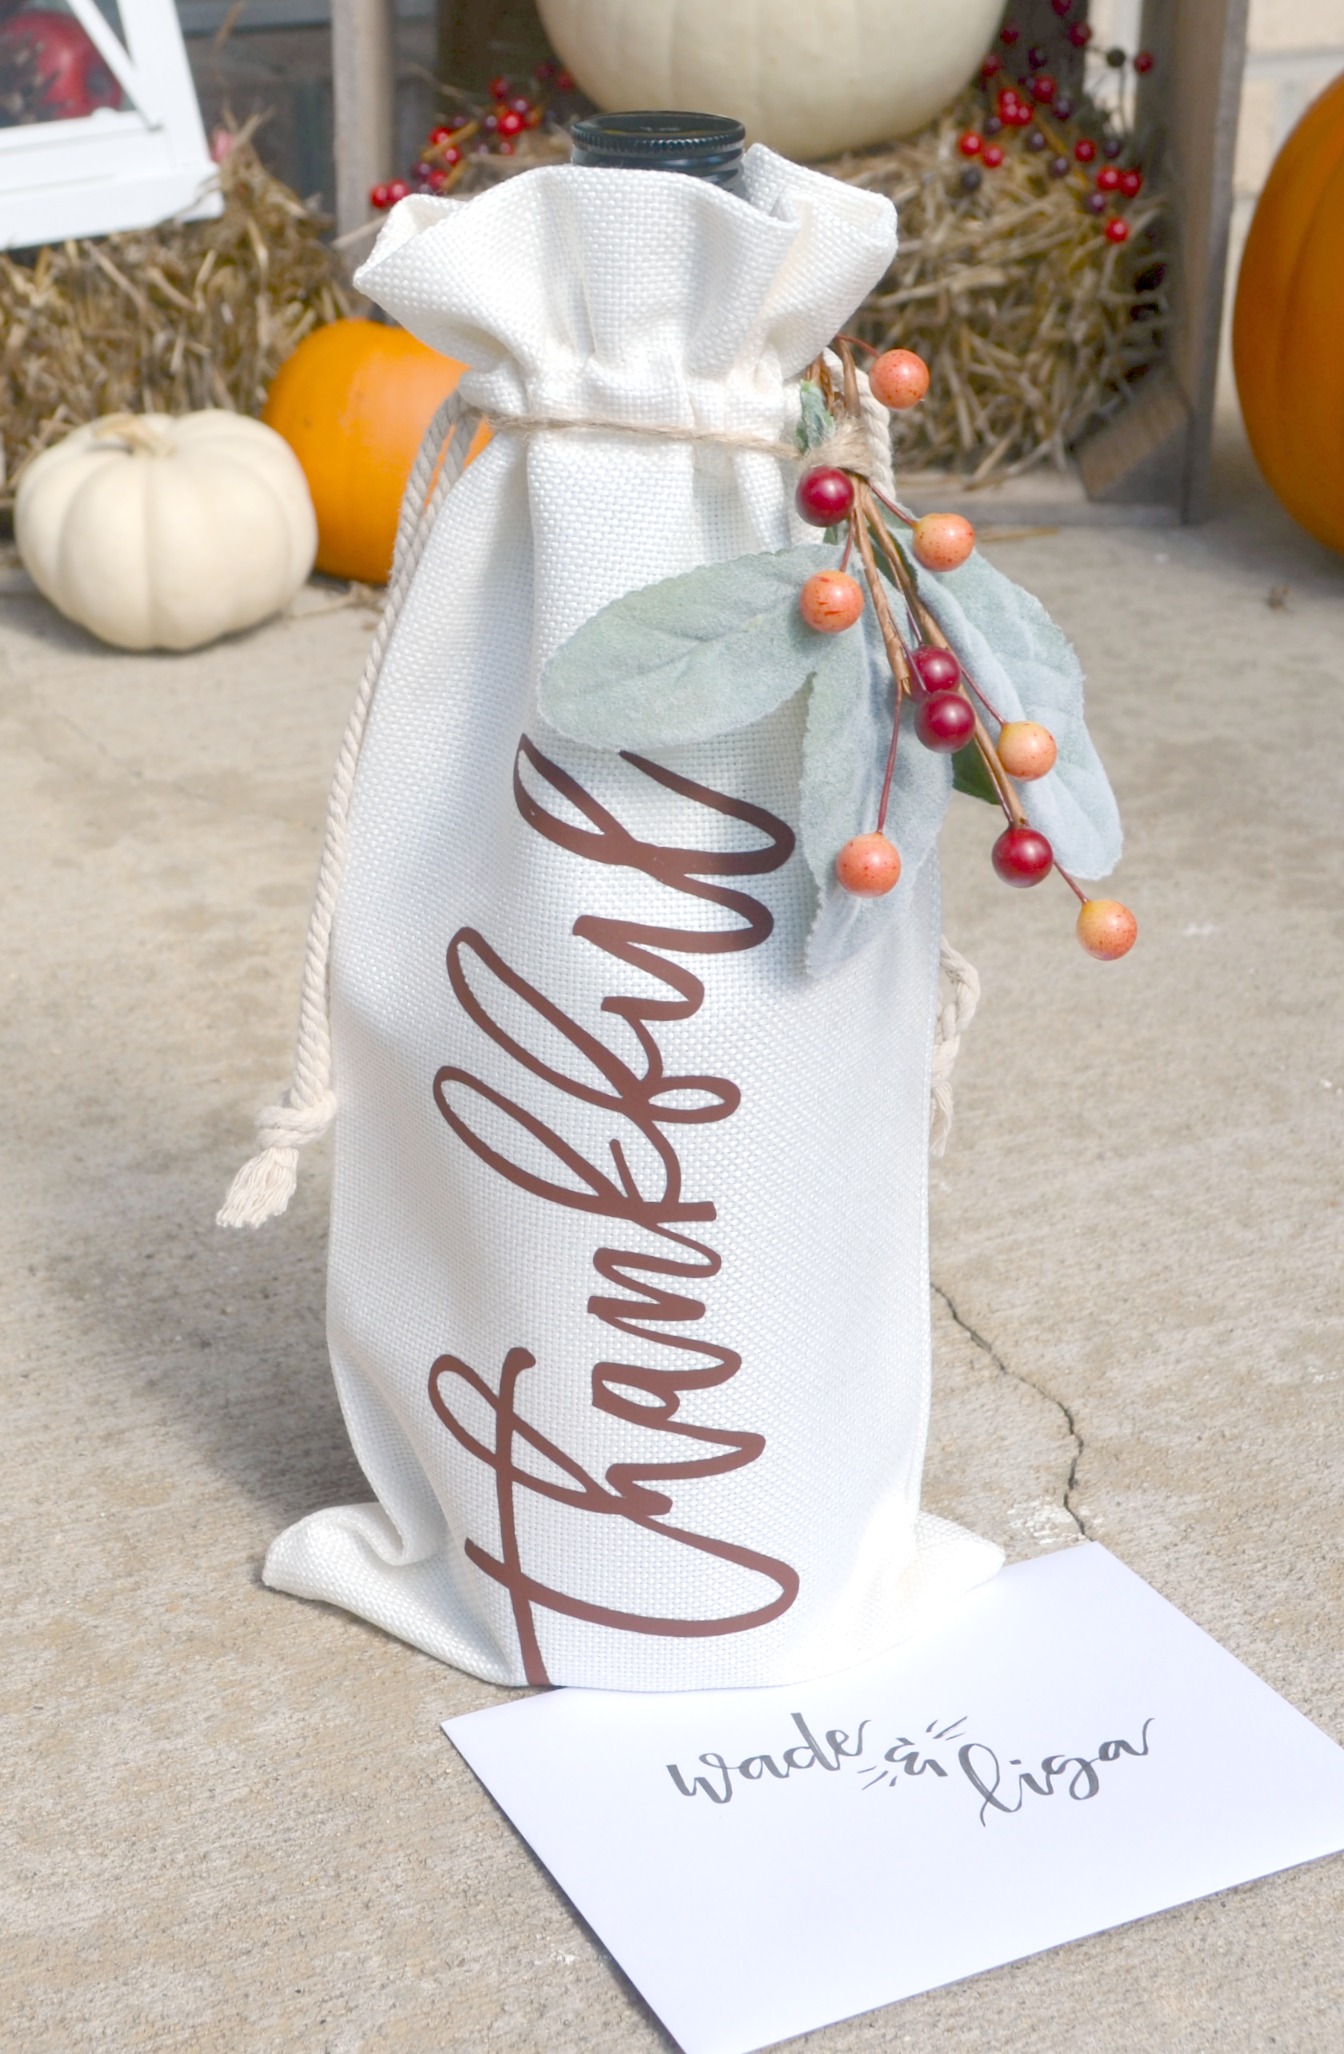
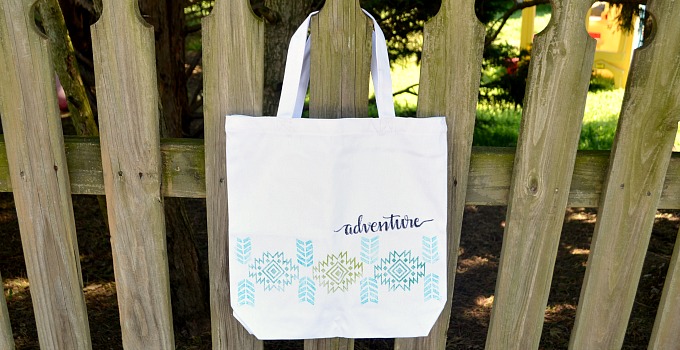
That’s all there is to it; now your bag is ready to fill and deliver! I added a bit of extra seasonal decoration to mine by using twine to tie a few artificial leaves and berries around the top.
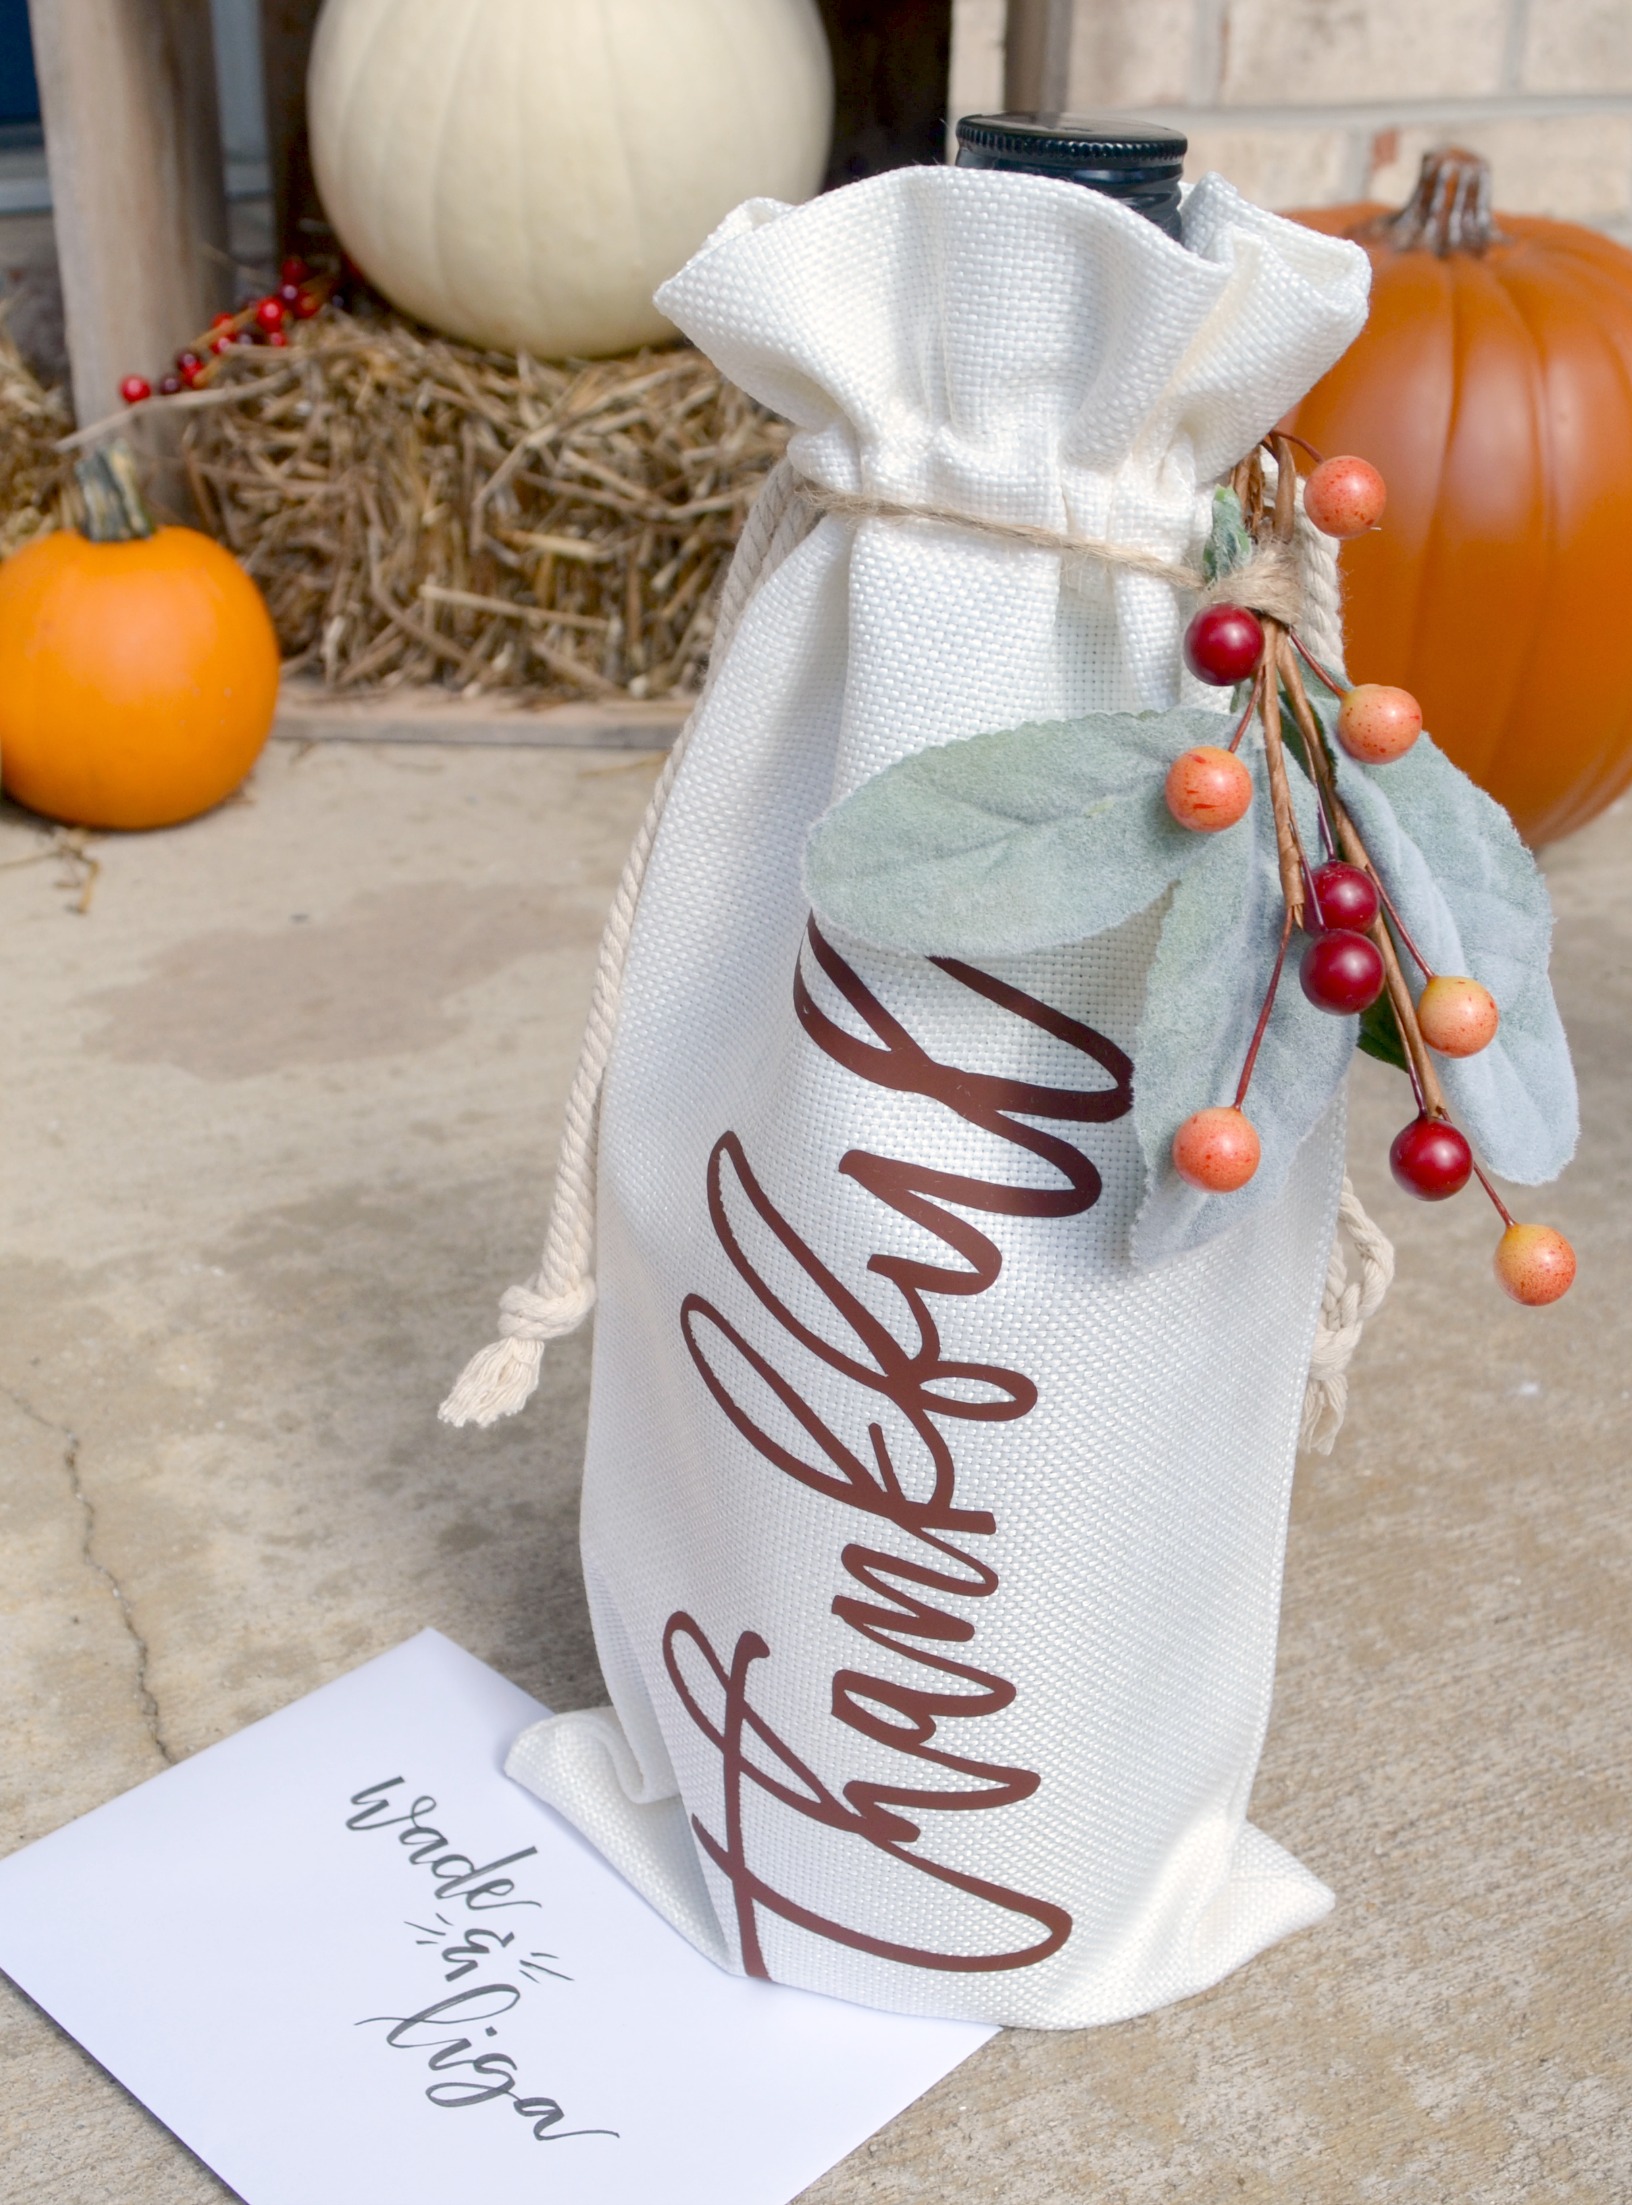
This is a thoughtful way to let your neighbors, friends, and family know how grateful you are to have them in your life, even if it’s at a bit of a distance right now.
This project is a perfect companion for a Thanksgiving card made with the Cricut Joy Insert Cards! Stay tuned for full instructions on that, coming soon!
If you try this project, I’d love to see how it turns out! Be sure to join the Amy Latta & Friends Facebook Group and share your photos so we can all be inspired. Want to save the idea for later? Here’s a great image to save to Pinterest!

Love this idea of a porch surprise, Amy! Thanks for joining in the Creative Crafts Fall Edition. We’d love for you to share over at our Linky Party too!
https://creativelybeth.com/creative-crafts-linky-party-10/
Have a great week!
Creatively, Beth
Such a perfect gift! Thank you so much for sharing!