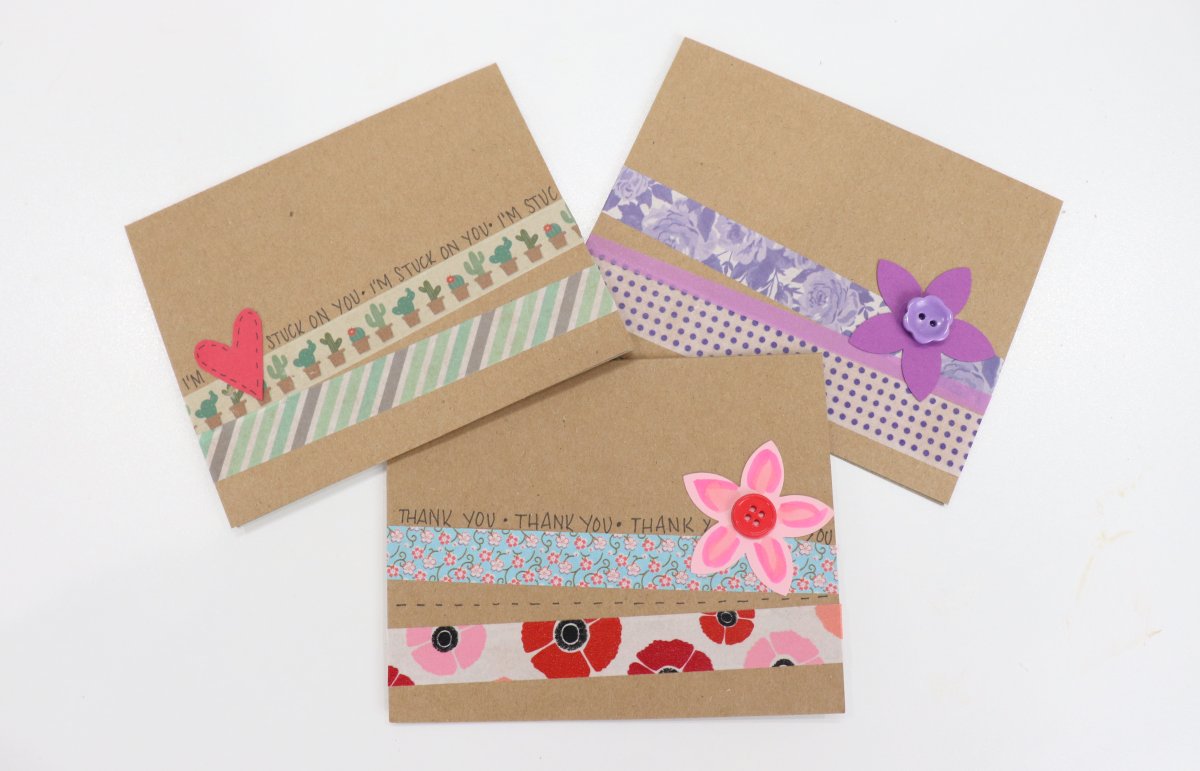
Easy Washi Tape Cards
I don’t know about you, but I get really excited anytime I receive a handwritten note. In today’s digital world, we’re all so used to emails and texts, that sometimes the simple act of giving or receiving a physical card can be a big deal. Today, I want to share with you how to create a washi tape card. It’s incredibly quick and easy to do, and requires no artistic skills whatsoever, but it can make a huge difference in someone’s day. Ready? Let’s get started.
You’ll need:
cardstock (I like to use white or kraft color for the card and other colors for accents)
scissors
washi tape
glue or other adhesive (I used Tombow MONO Adhesive)
optional: paper cutter, fine tip marker, paper punch
Step 1: Cut and fold your card.
A standard card is half a sheet of cardstock, or 8.5″ by 5.5″, folded in half (4.25″ x 5.5″). However, feel free to cut your cardstock to whatever size you like.
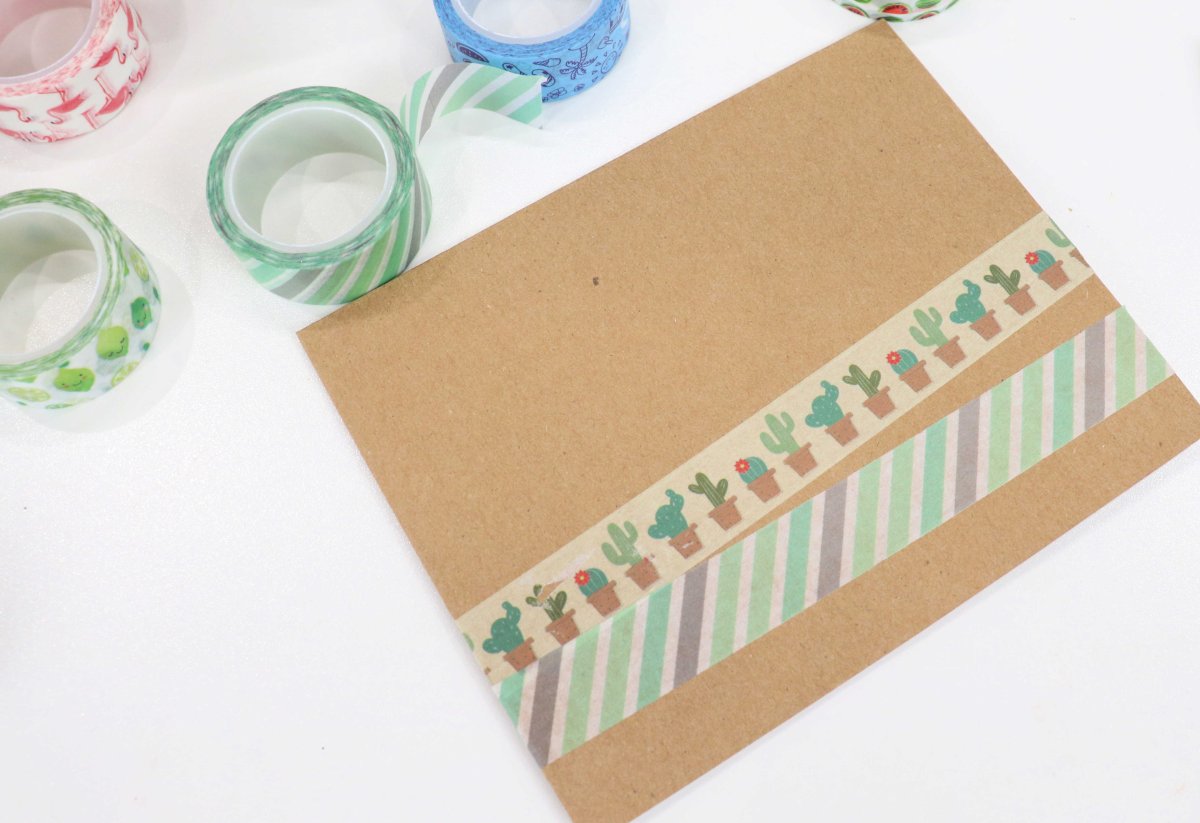
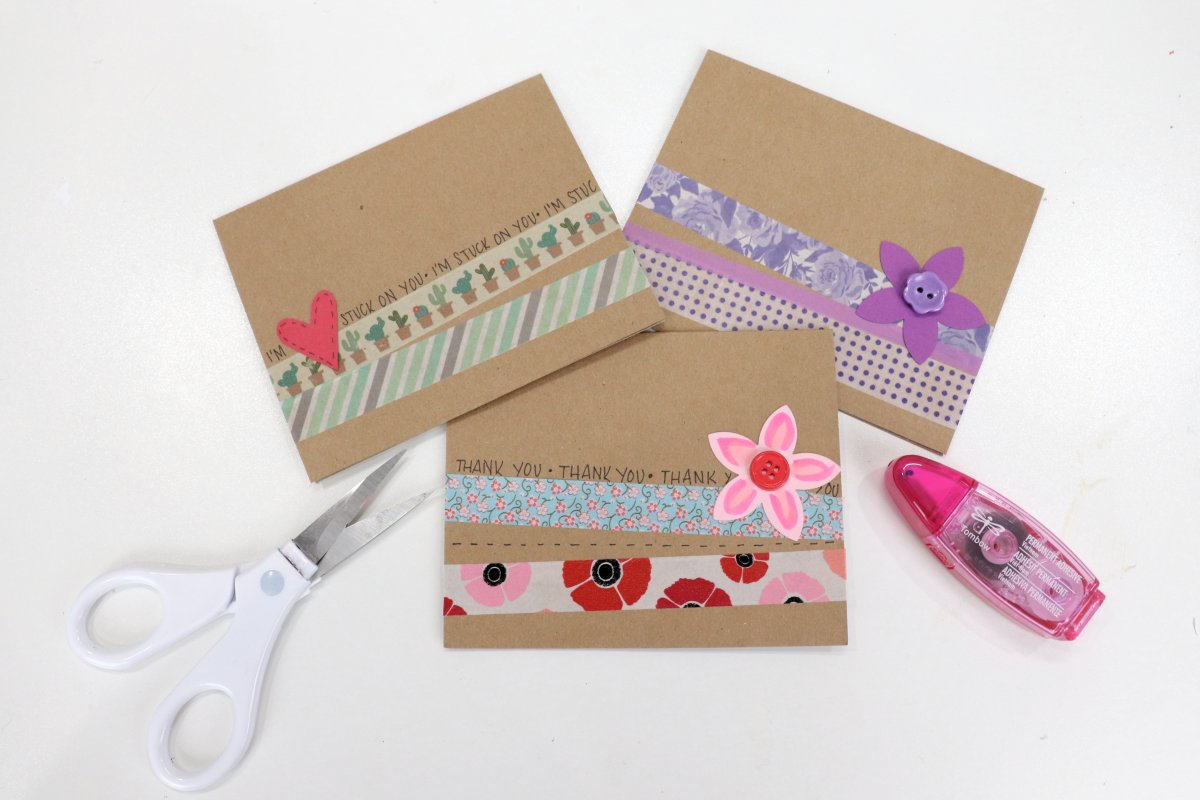
Step 2: Apply 2-3 stripes of washi tape across the front of the card.
This is the fun part, because you get to choose any patterns and colors you like! I like to purposely put my tape stripes on different diagonals, because then I don’t have to worry about lining everything up perfectly straight. You can even have the tape overlap a bit in some spots.
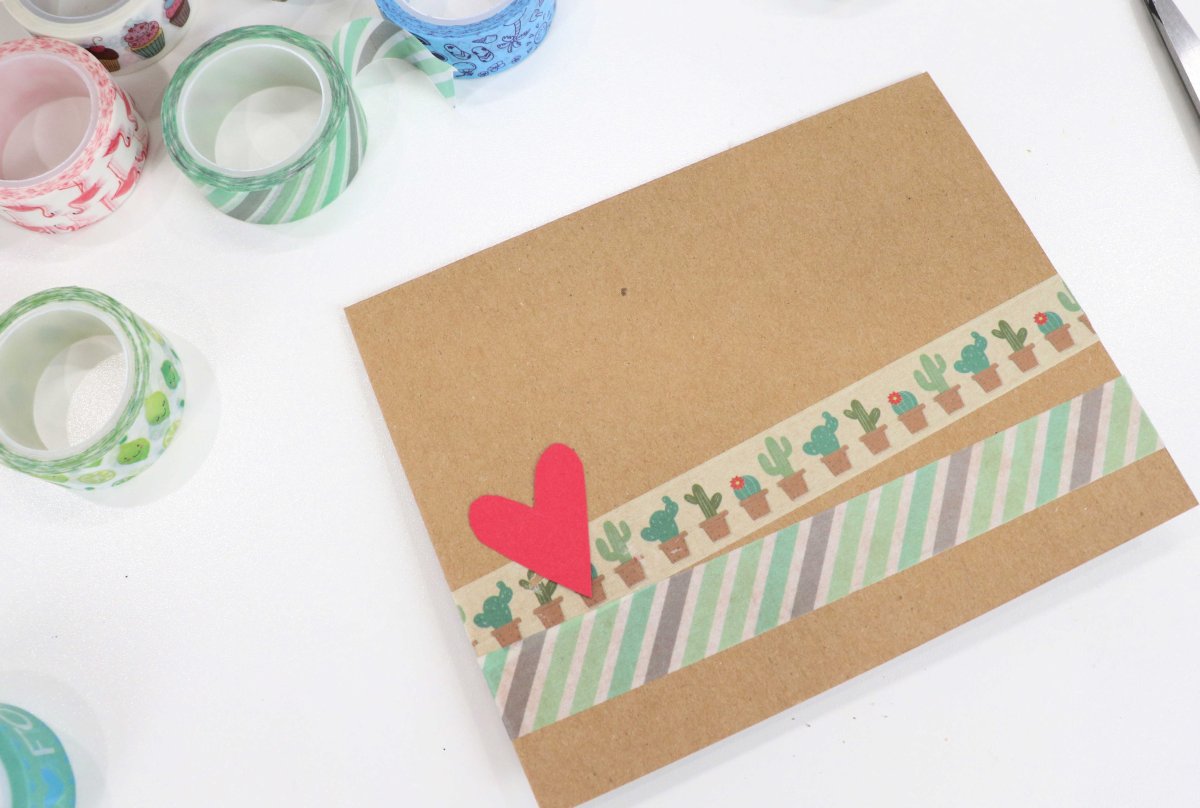
Step 3: Cut or punch out a shape from colored cardstock and adhere it to the card front.
You can use any shape you like: a heart, a flower, a shamrock, a leaf, or anything else that goes with your tape designs. Sometimes I freehand cut these (like the heart you see below), while other times I use a paper punch. Another option is to cut out a custom shape using a Cricut or other electronic cutting machine.
If you like the look of your card as is, you can stop right here, write inside, and give it away! Or, continue on to the next step.
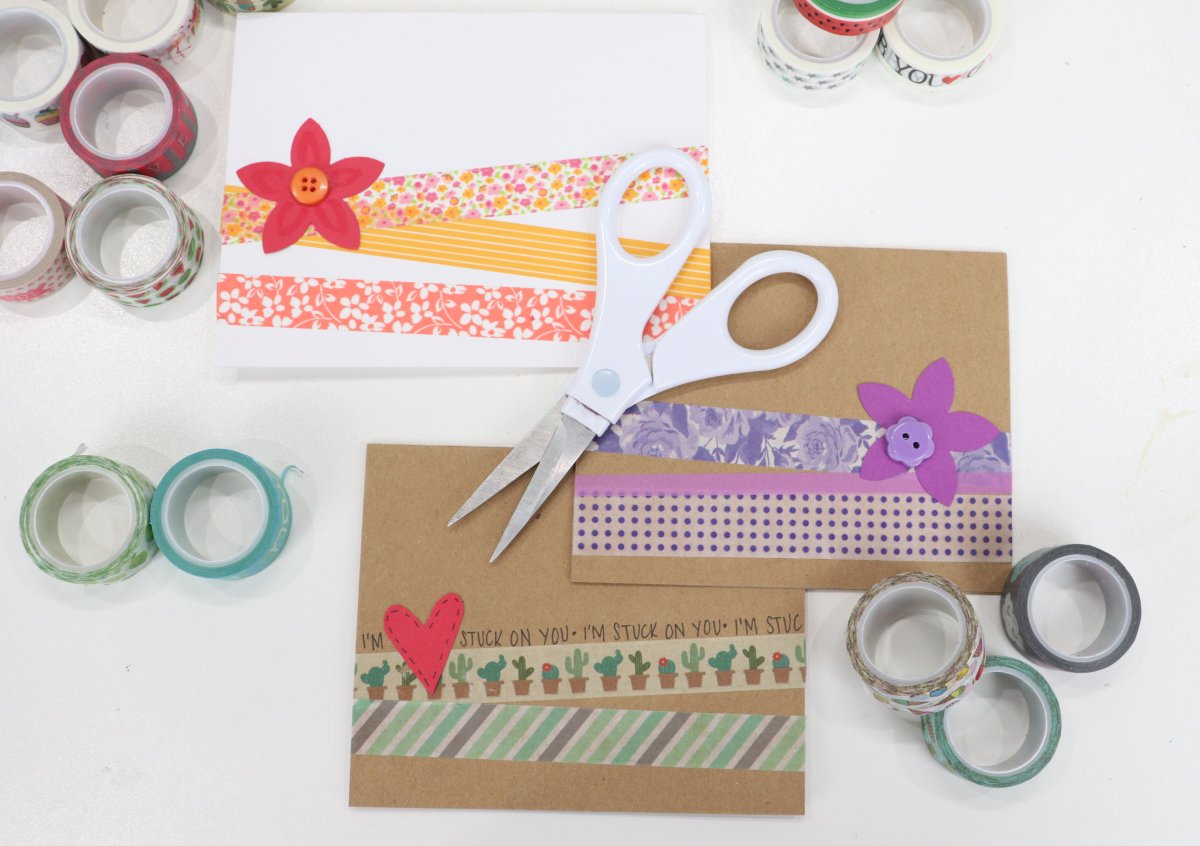
Step 4: (Optional) Add words and/or other embellishments.
Markers are great for adding a message or details to your cutout shapes. Another fun idea is to use something three-dimensional, like a button, for the center of a flower.
These cards only take about five minutes to create, and are so easy and inexpensive! I like to have a few on hand for when I need to say, “thank you,” or “thinking of you,” but you can also make them one at a time as you need them. What do you think? If you try this project, I’d love to see how your cards turn out! Make sure you’re part of the Amy Latta & Friends Facebook group so you can share your photos and we can all be inspired by each other.
Don’t forget to save this project and/or share it with a friend. Also, be sure to check out my brand new book, Practice Makes Progress: My Creative Journal for more crafty inspiration.


15 Comments