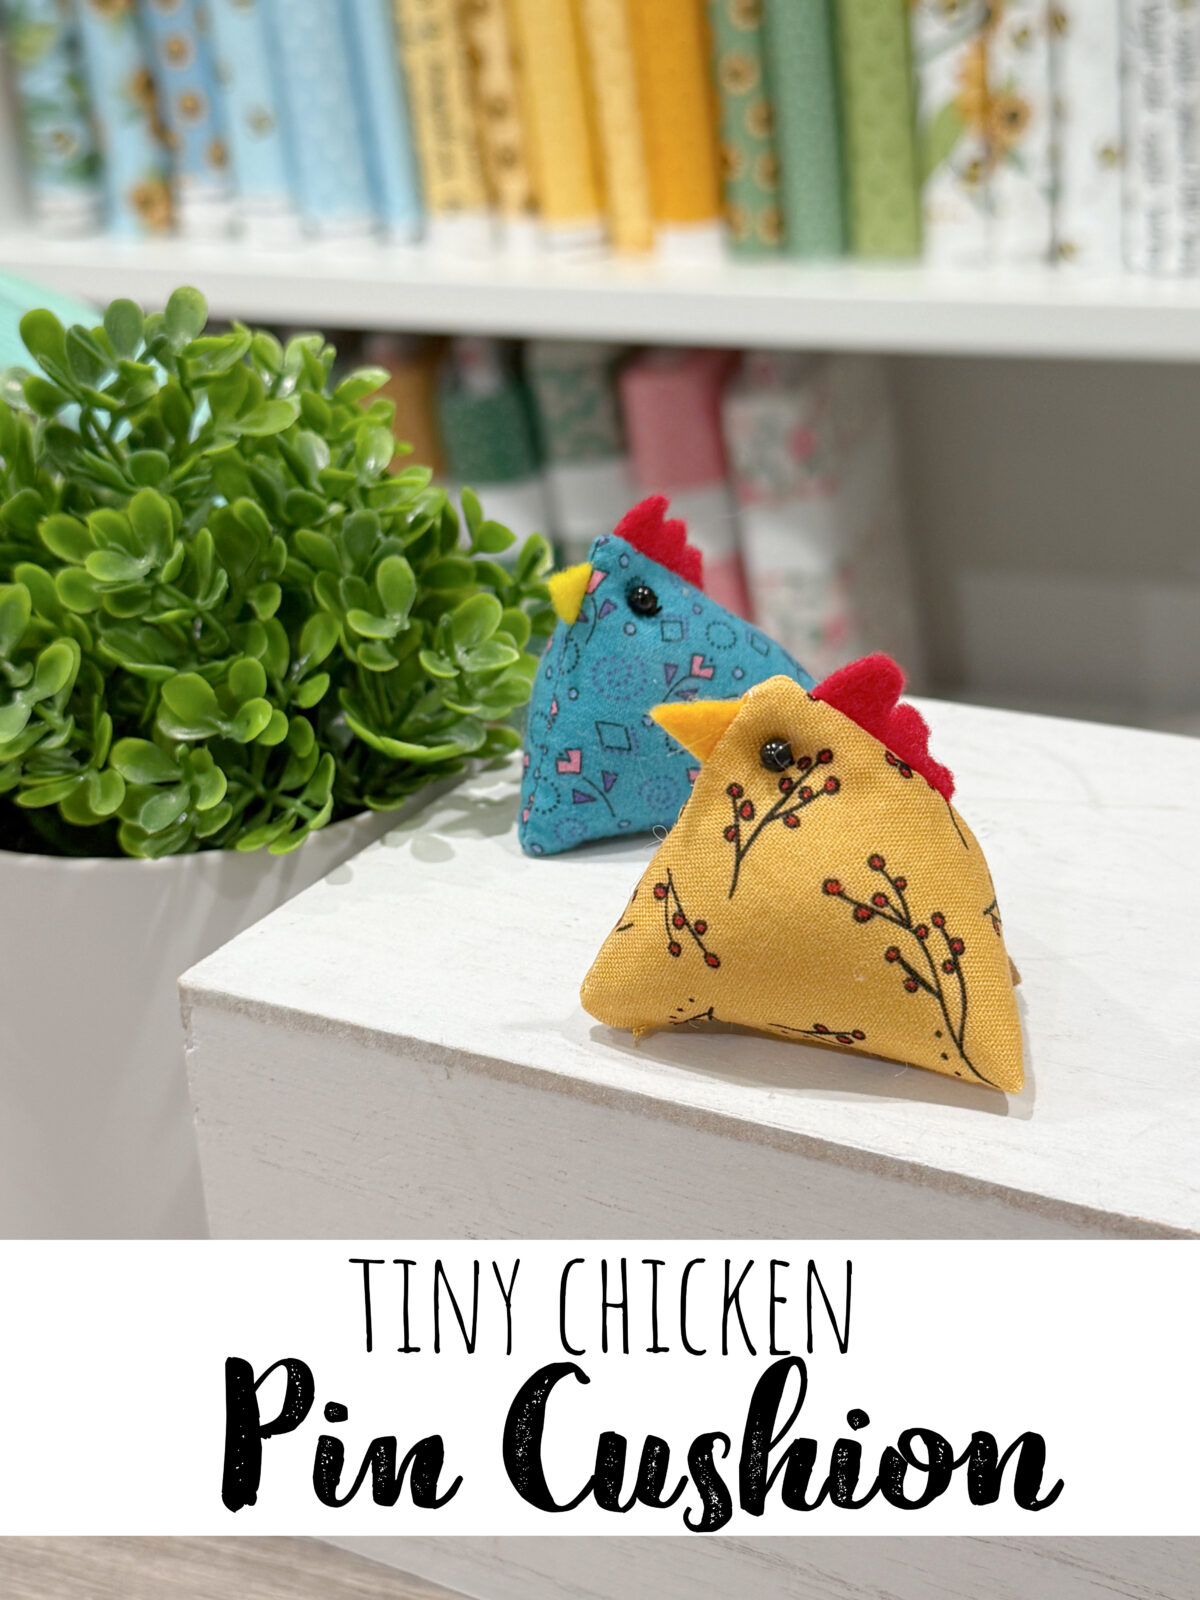
Tiny Chicken Pin Cushion
When I was at Quilt Market in Houston, I saw the most adorable little chicken pin cushions. I thought they were so sweet, and decided I wanted to make some for myself. Here’s how I did it, and you can, too!
How to Make a Tiny Chicken Pin Cushion
This cute little project is incredibly quick and easy to make, and is a great way to use up a few fabric scraps. Just gather the materials below, and let’s get started.
Materials
- (2) 2.5” squares of fabric
- felt scraps (red, yellow, and your choice for the tail)
- 2 small black beads
- needle and thread
- filler: Poly-fil, Poly Pellets, uncooked rice, etc.
Instructions
Cut your felt into small shapes for the comb, beak and tail.
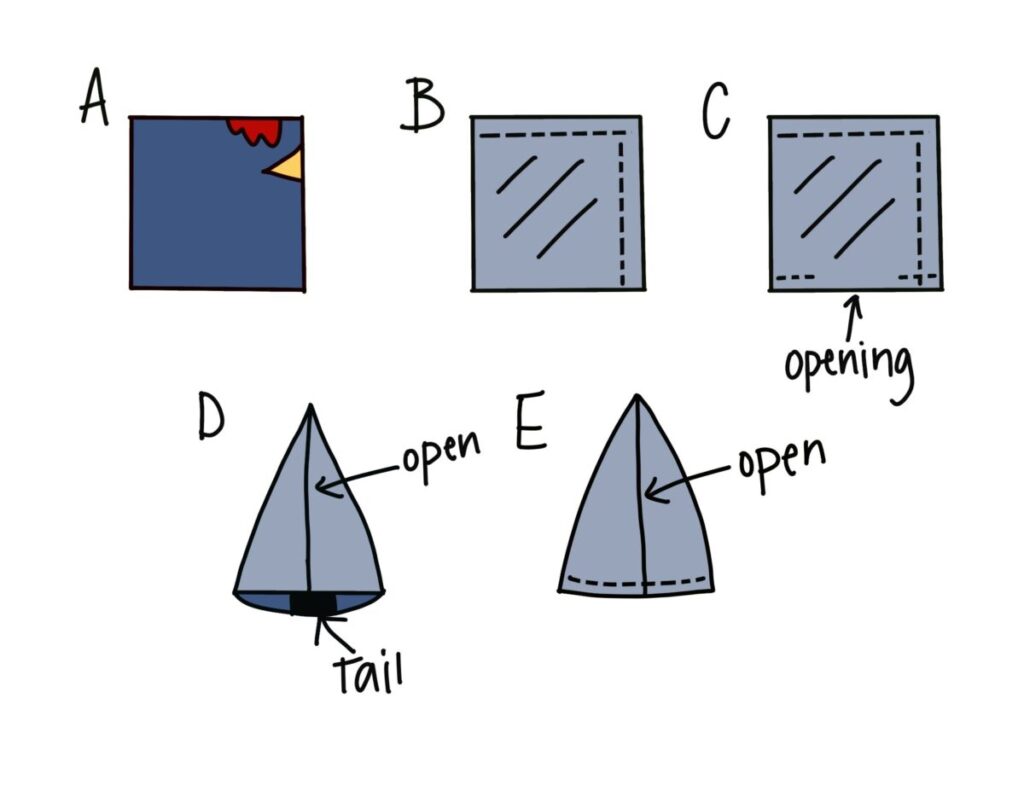
Lay one of the fabric squares right side up and place the felt comb and beak shapes on top, lining up the edges. (See fig A)
Place the second square on top, right side down, and sew across the top and down the right side with a 1/4” seam. (See fig B)
Sew a short 1/4” seam on each side of the bottom to secure the corners. Leave an opening in the center of the bottom for turning. (See fig C)
Line up the side seam (right side) with the open edges (left side) to form a pyramid shape. Place the tail inside the bottom area, then sew a seam across the bottom. (See fig D,E)
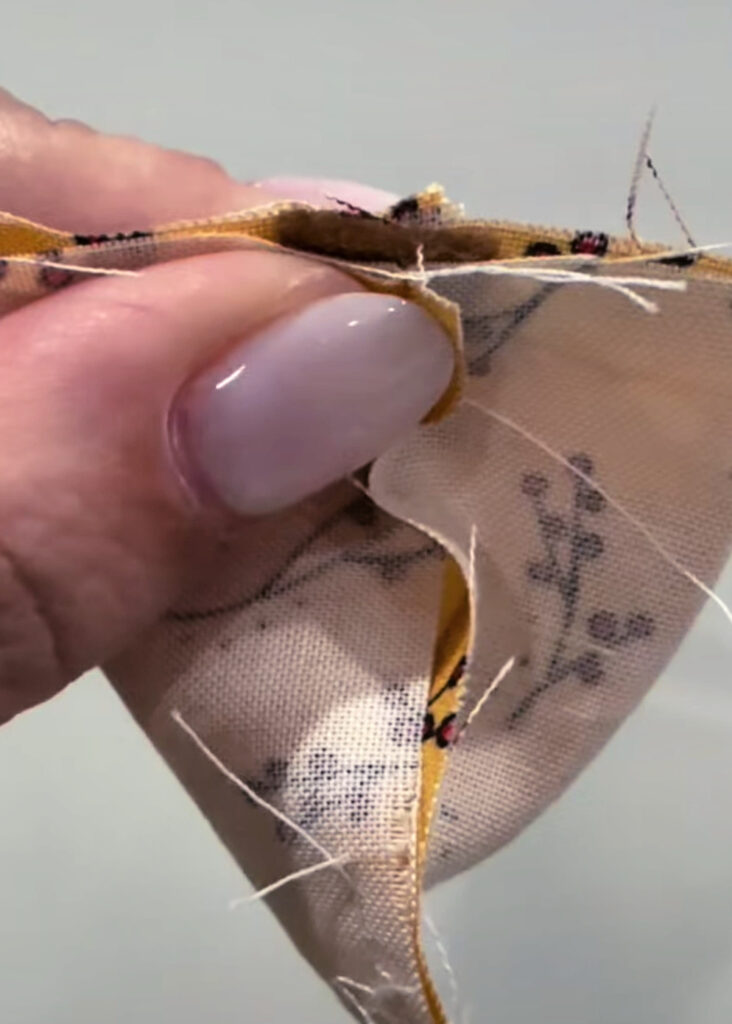
Turn right side out and fill with a mixture of Poly-Fil and a heavier filler. I used Poly Pellets, but you could also use dry rice or sand.
Hand sew the opening shut.
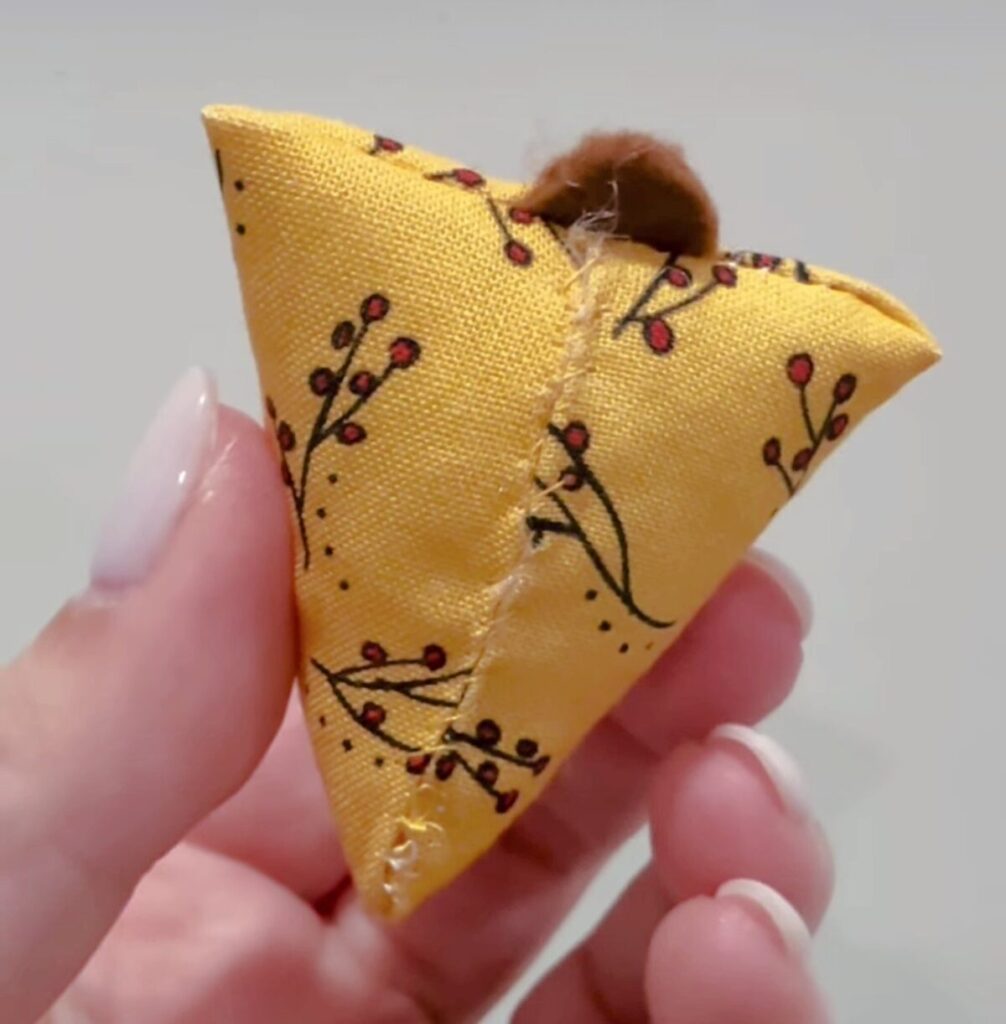
Glue or sew the eye beads in place.
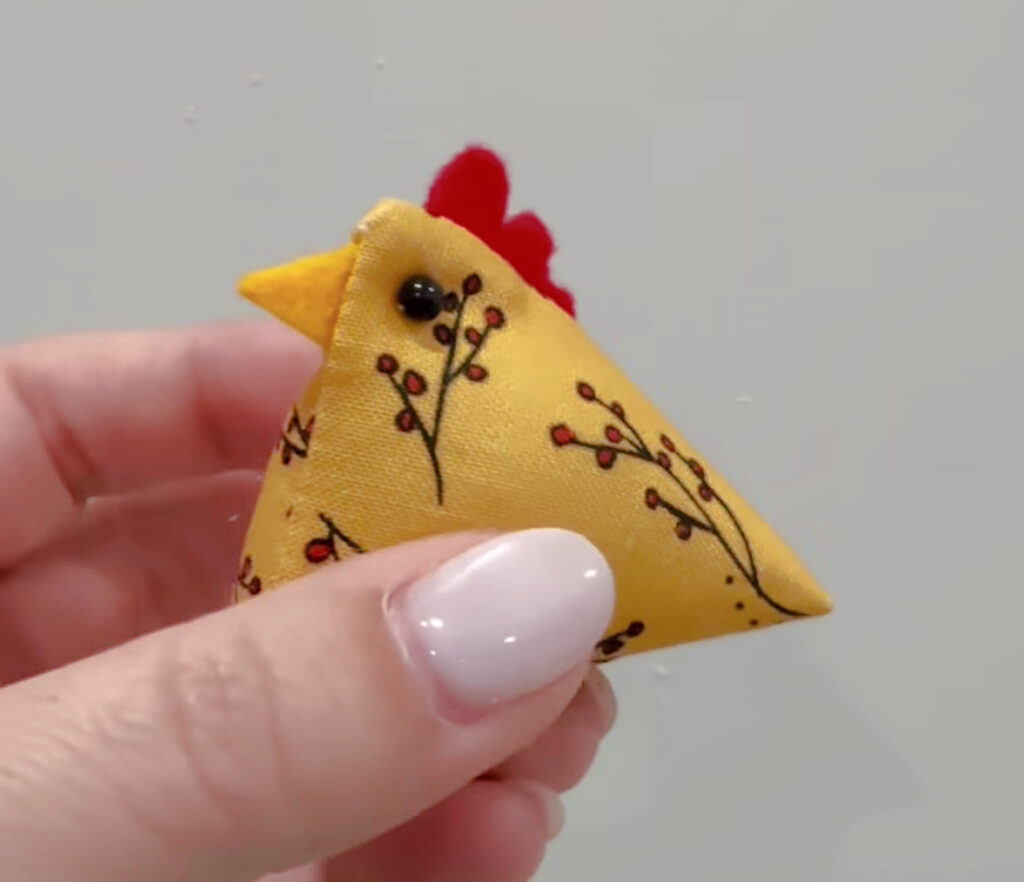
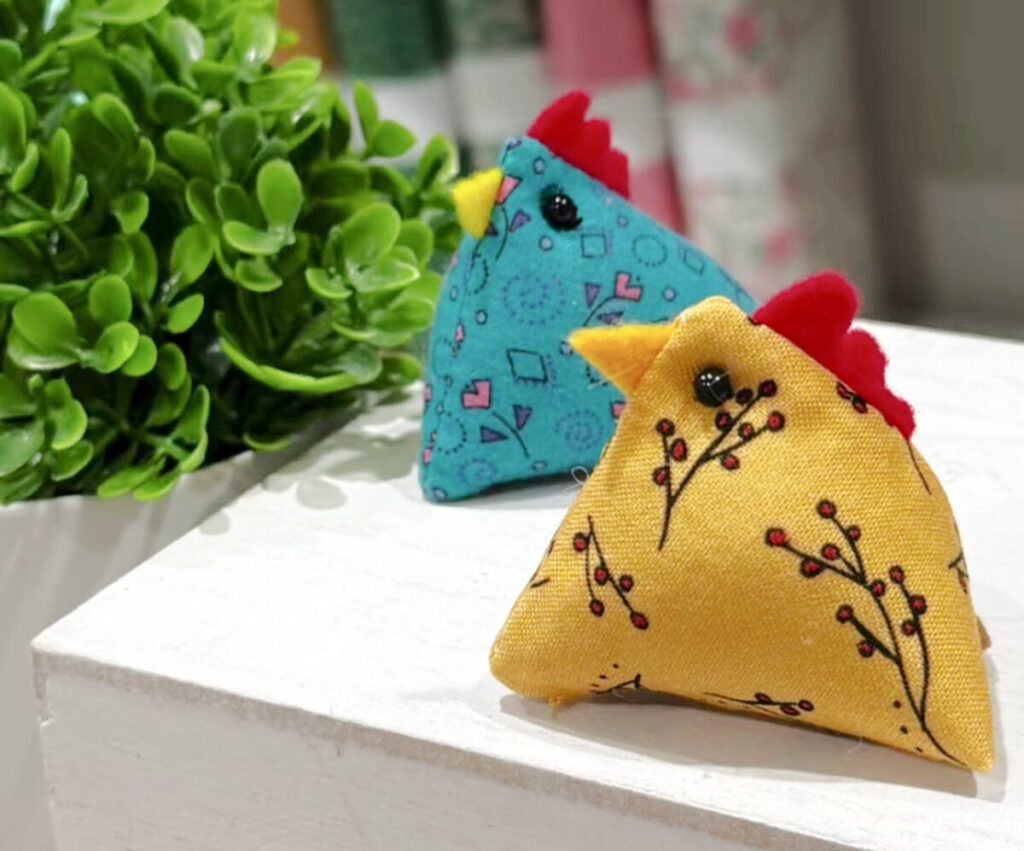
That’s all there is to it! You can make up one of these little guys in less than half an hour, and they look so cute next to your sewing machine. They also make fun little gifts for anyone in your life who sews.
Crafting Tips
- While you can make these from any type of fabric, I recommend quilting cotton.
- If you’d like a larger chicken, just change the size of your squares! Try using 3” or even 4” squares to start and you’ll get a bigger pin cushion.
- Typically, I give my chickens traditional red combs and yellow beaks, but feel free to switch things up and make yours as colorful as you like.
Frequently Asked Questions
No, but they’re very simple to freehand. The beak is just a triangle, the tail is a semicircle, and the comb has three little bumps.
I used half Poly-Fil and half Poly Pellets for mine, but you can use whatever you prefer. The more pellets/sand/rice you use, the heavier your pin cushion will be. Sand makes the chicken very solid, while the other fillers are lighter.
More Sewing Projects
If you enjoyed this little tutorial, check out these other sewing and quilting project ideas.
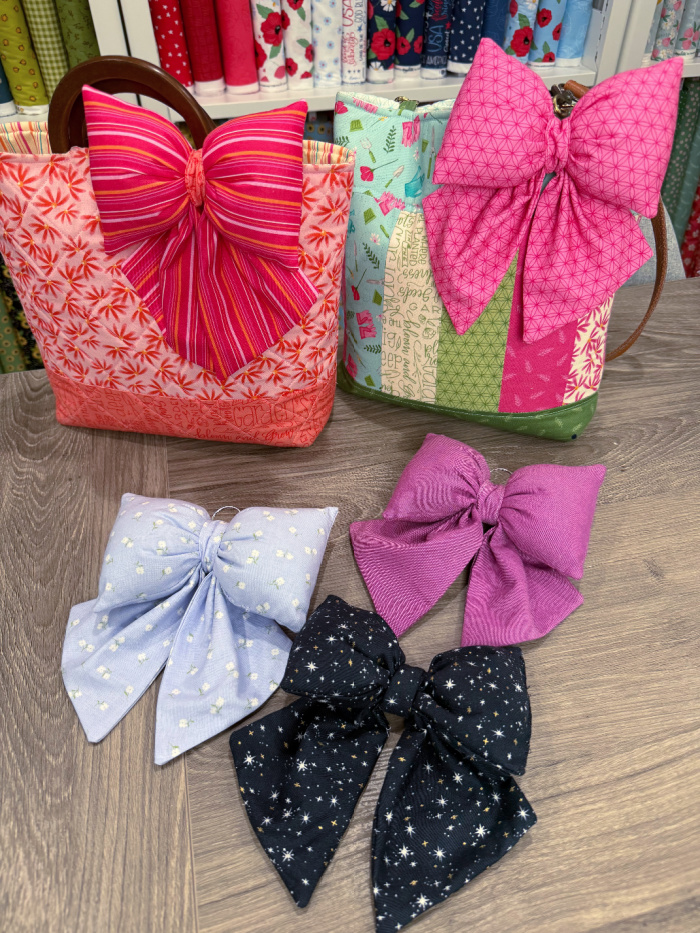
If you try making your own tiny chicken pin cushion, or any of these other fun projects, I’d love to see! Make sure you’re in the Amy Latta & Friends Facebook Group so you can share photos and we can all inspire one another. See you there!