Paper Bag Pumpkin
Fall is in the air and it’s time to decorate for the season! This paper bag pumpkin is a quick and easy craft project you can create using materials you already have on hand.
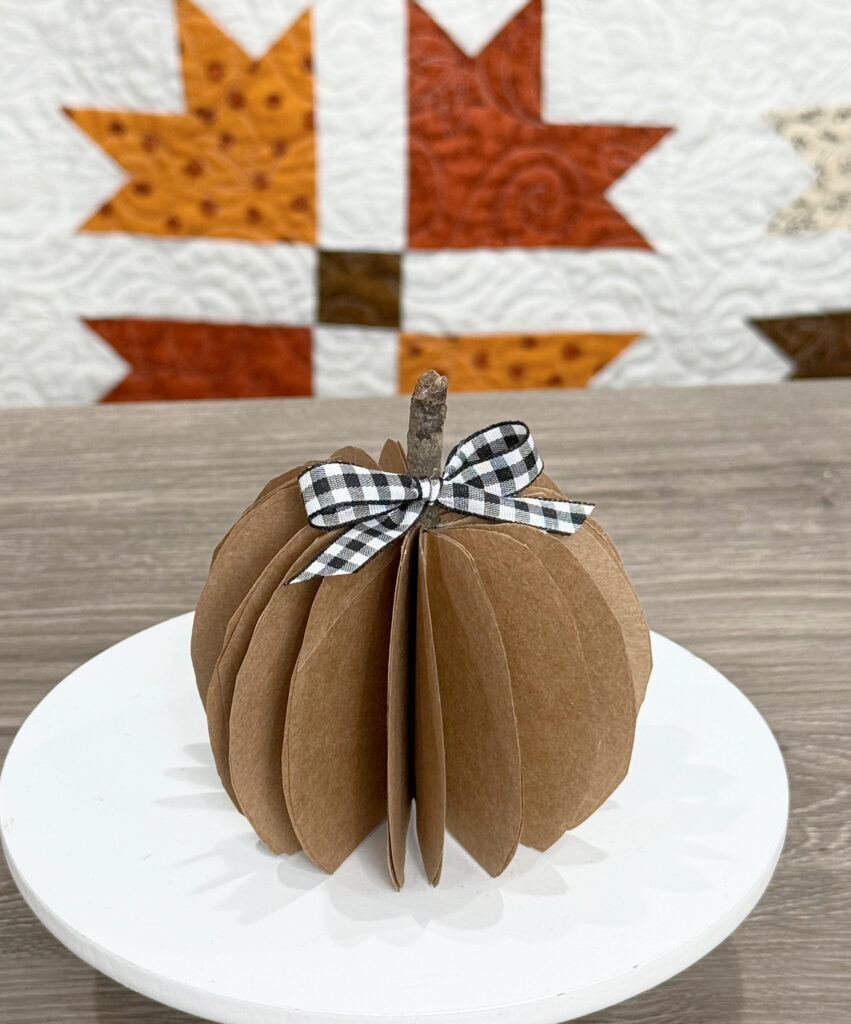
How to Make a Paper Bag Pumpkin
This is a simple project that’s perfect for crafters of all ages. Just grab the basic supplies below, and let’s get started.
Materials
- paper grocery bag
- scissors
- pencil
- glue stick
- twig
- hot glue gun and glue
- ribbon
Instructions
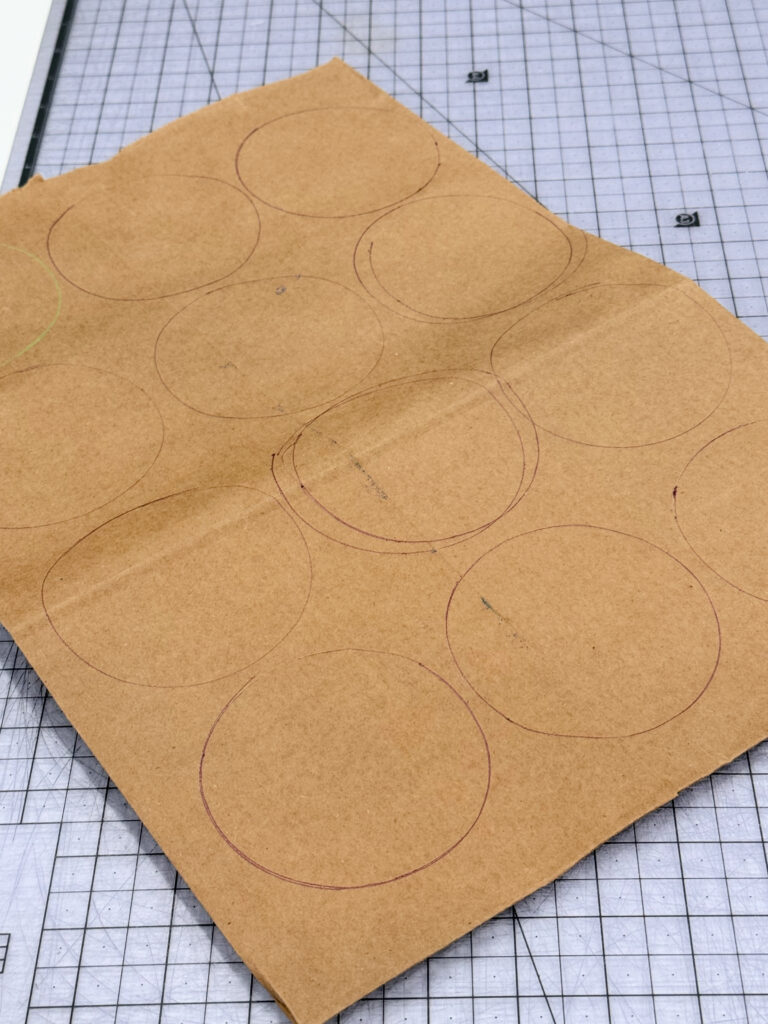
Trace ten 3 1/2″ circles onto the front of your paper bag, then cut them out of both layers for a total of 20.
I traced the lid of a jar that happened to be the correct size. Try looking around your house for a bowl, lid, or other round object that’s size you want.
Fold each circle in half. Cut off one of the points to create a flat edge.
This is what will allow your pumpkin to stand up. Use your first piece as a guide for trimming the others, so they are all about the same.
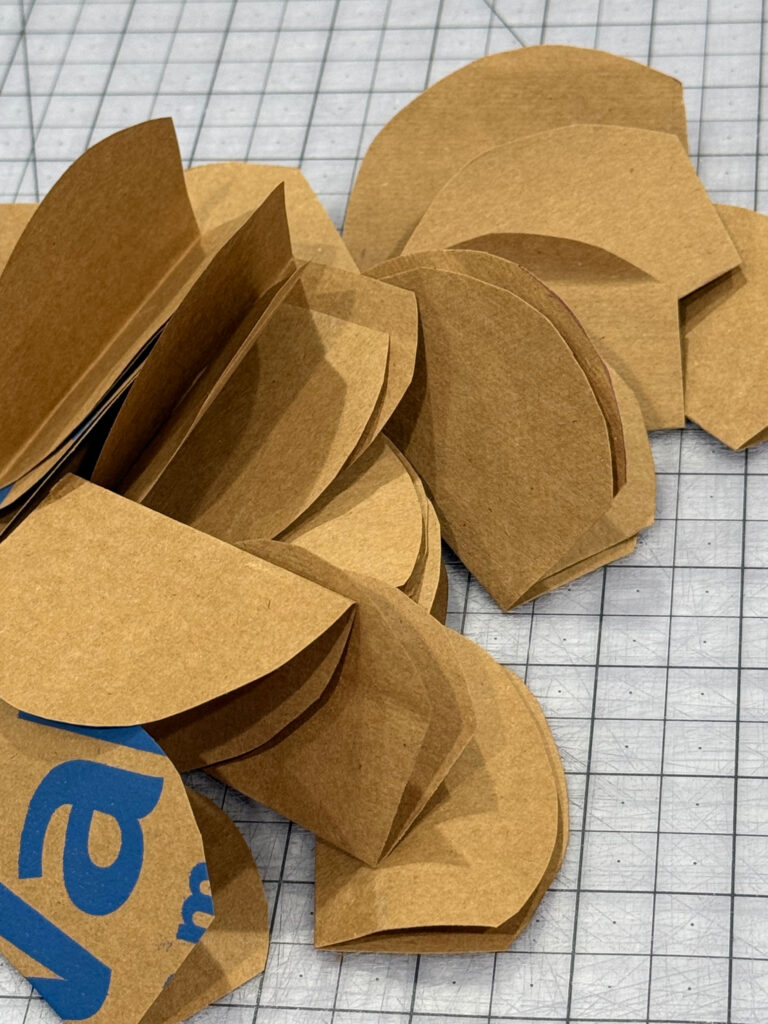
Optional: You can also slightly shape the top of the half circle to give it a more pumpkin-like appearance.
Use a glue stick to attach the half circles together in a stack.
Glue the outside part of one shape to the outside of the next one, keeping the folded inner parts open.
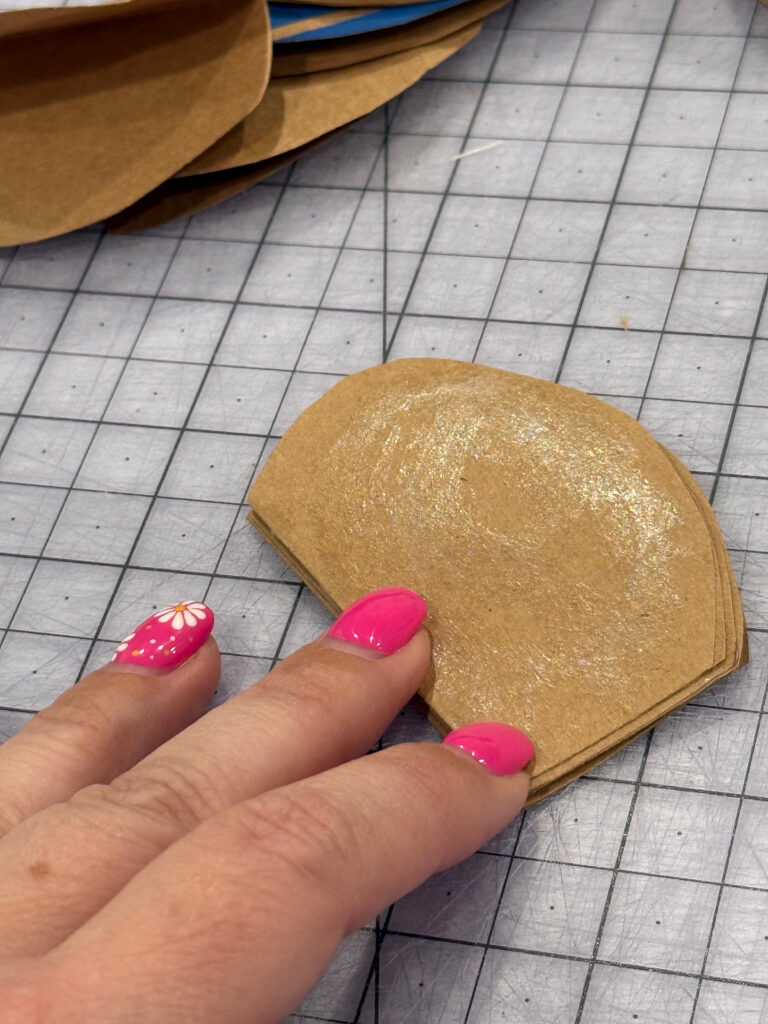
When your stack is complete, carefully open it up and glue the top piece to the bottom one.
This will form your 3D paper bag pumpkin.
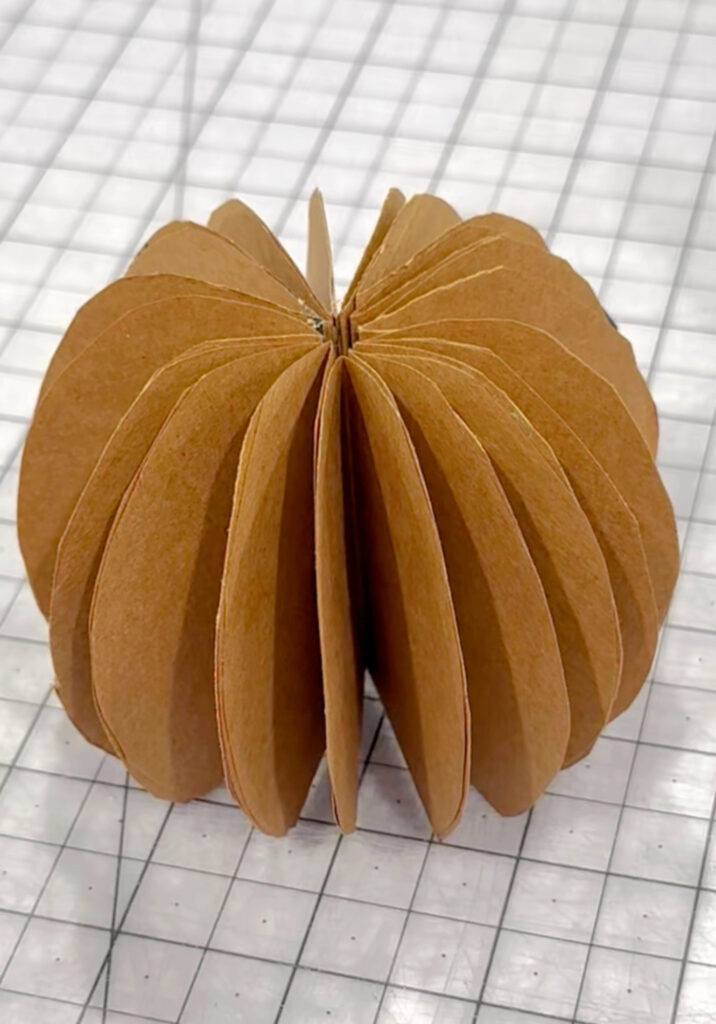
Using hot glue, add a stick for the stem and a ribbon bow.
I used black and white plaid ribbon, but you can also use orange or any other fall color.
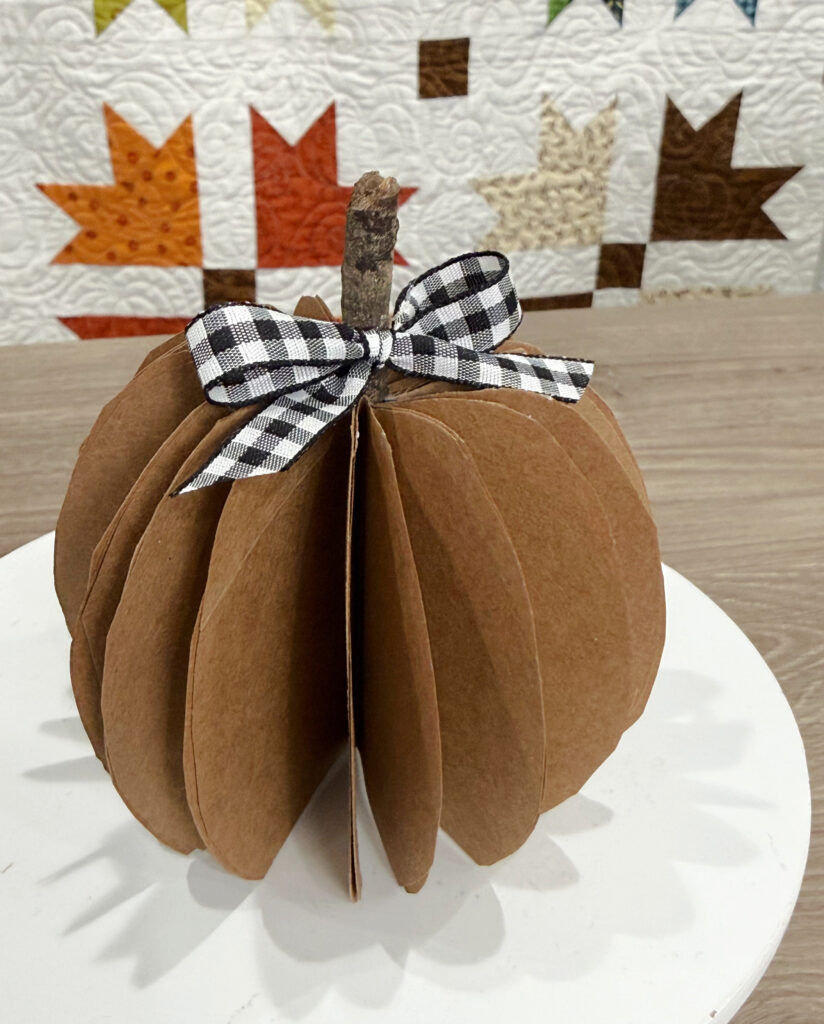
Now your pumpkin is ready to display on the mantel or a shelf in your home.
Crafting Tips
- Try using larger or smaller circles to get pumpkins of varying sizes.
- Instead of glue sticks, you can also use an adhesive runner or double sided tape to attach the shapes.
Frequently Asked Questions
Try the same technique, but cut your circles from orange construction paper or cardstock instead of the paper bag.
The more circles you use, the more full your pumpkin will be. The fewer you use, the more sparse it will look. Feel free to use as many as you like, but I recommend using at least 20.
More Fall Projects
If you enjoyed this project, check out these other fall craft ideas.
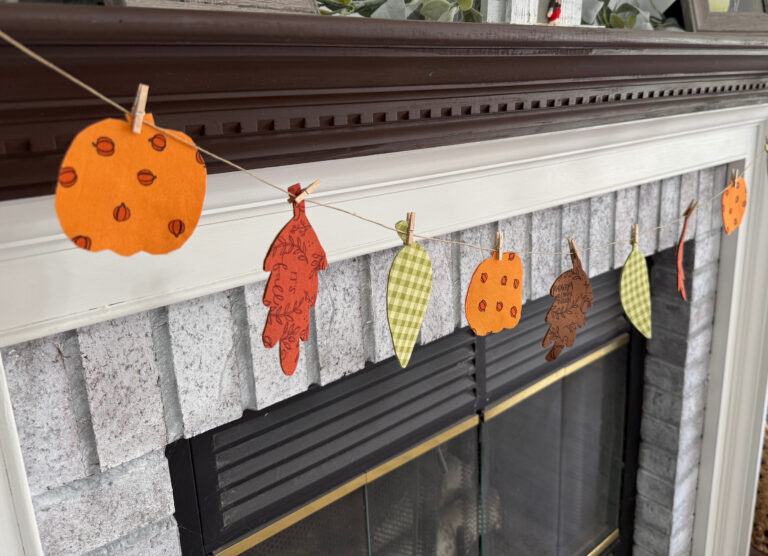
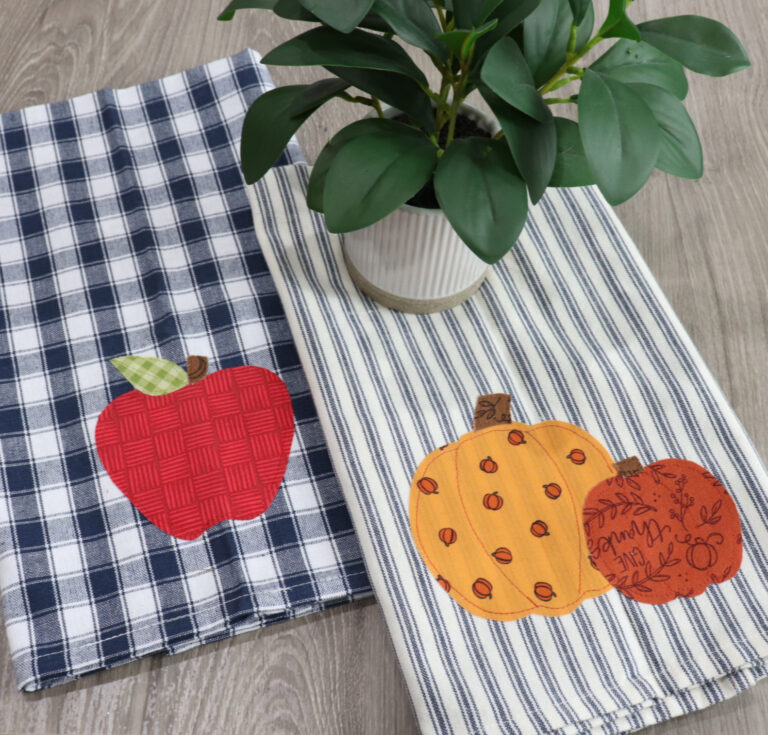


If you try any of these autumn projects, especially the paper bag pumpkins, make sure to share your photos in the Amy Latta and Friends Facebook group so we can all be inspired. See you there!