Fabric Pumpkins
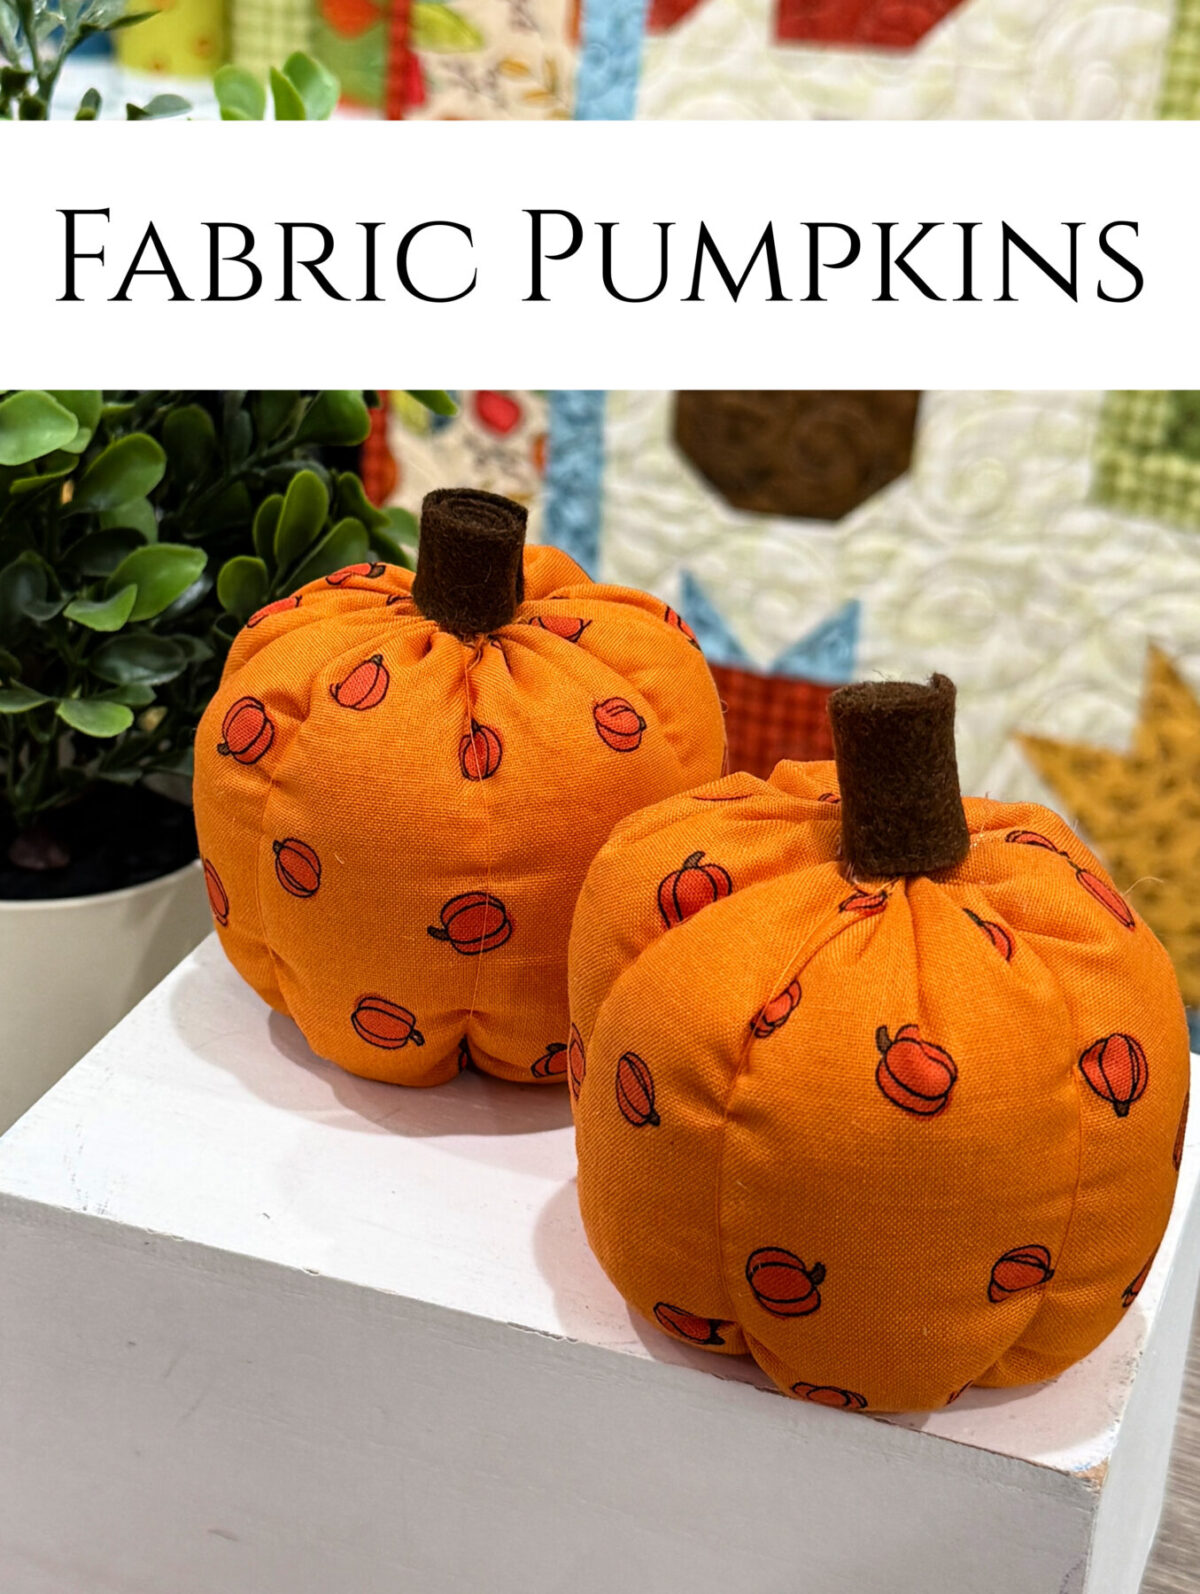
Decorate your home for fall with these adorable fabric pumpkins!
How to Make Fabric Pumpkins
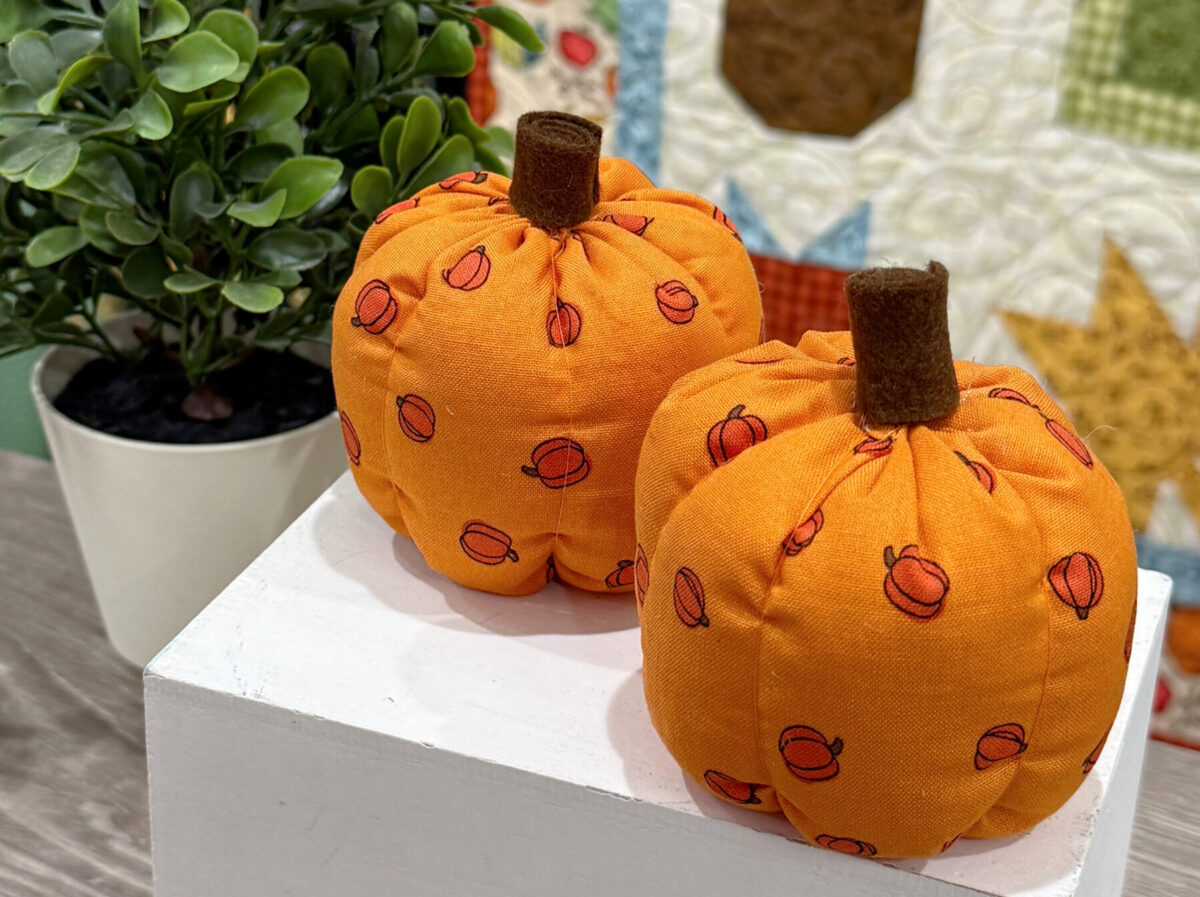
These fabric pumpkins are perfect for displaying on your mantel, shelf, or table during the fall season. Gather the supplies below and let’s get started.
Materials
- 5″ x 10″ rectangle of fall fabric
- Poly-Fil
- Poly Pellets
- thread
- hot glue gun and glue sticks
- 3/4″ x 4 1/2″ strip of brown felt
Instructions
- Fold fabric in half with right sides together. Sew a 1/4″ seam along the short edge.
This will form a circle of the fabric. - Use a needle and thread to hand sew a running stitch around one long edge. Pull tight and tie off.
This will be the bottom of the pumpkin. - Repeat to sew a running stitch around the other long edge. Do not pull tight yet.
- Add Poly-Pellets to the bottom third of the pumpkin. Then, stuff the remainder with Poly-Fil.
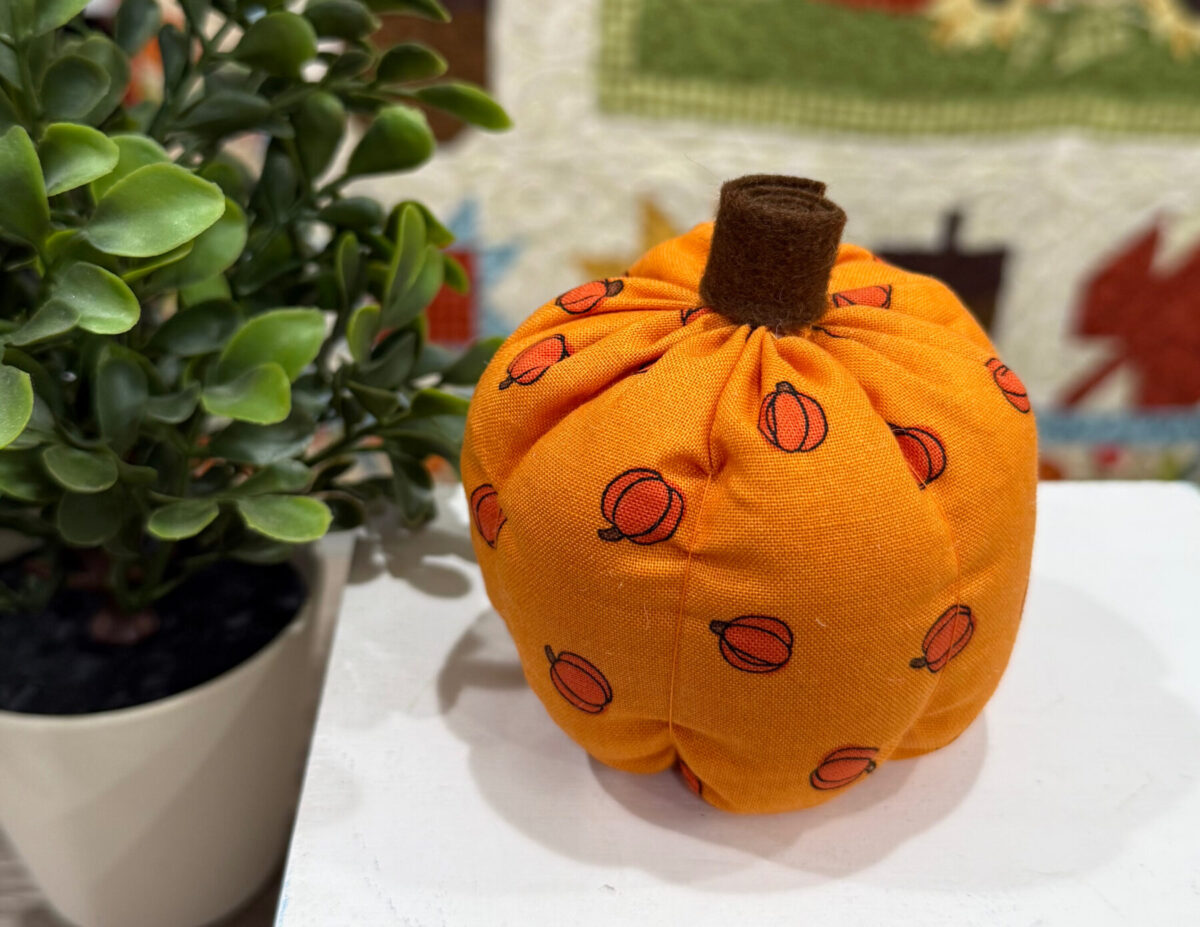
- Pull the thread tight around the top edge to close off the pumpkin.
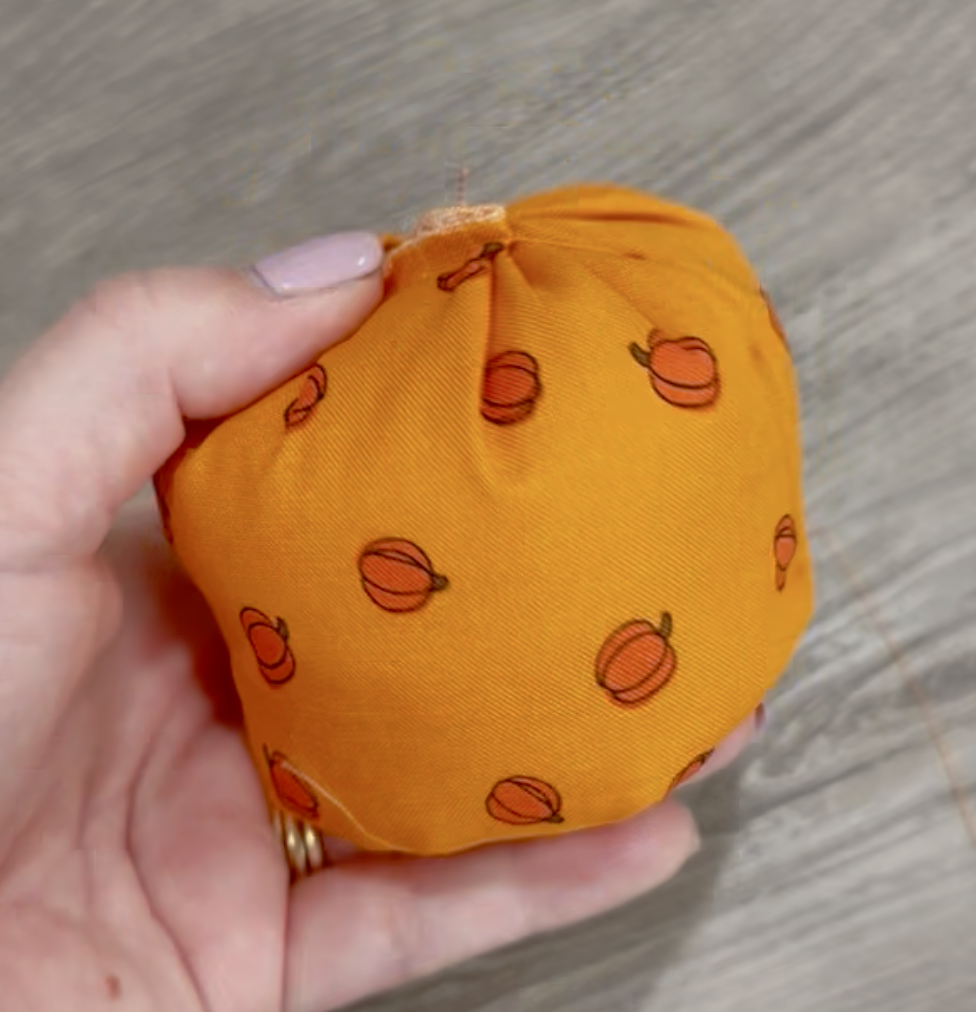
6. Take a piece of twine or thread and wrap it around the pumpkin to divide it into sections. Tie and cut off the excess.
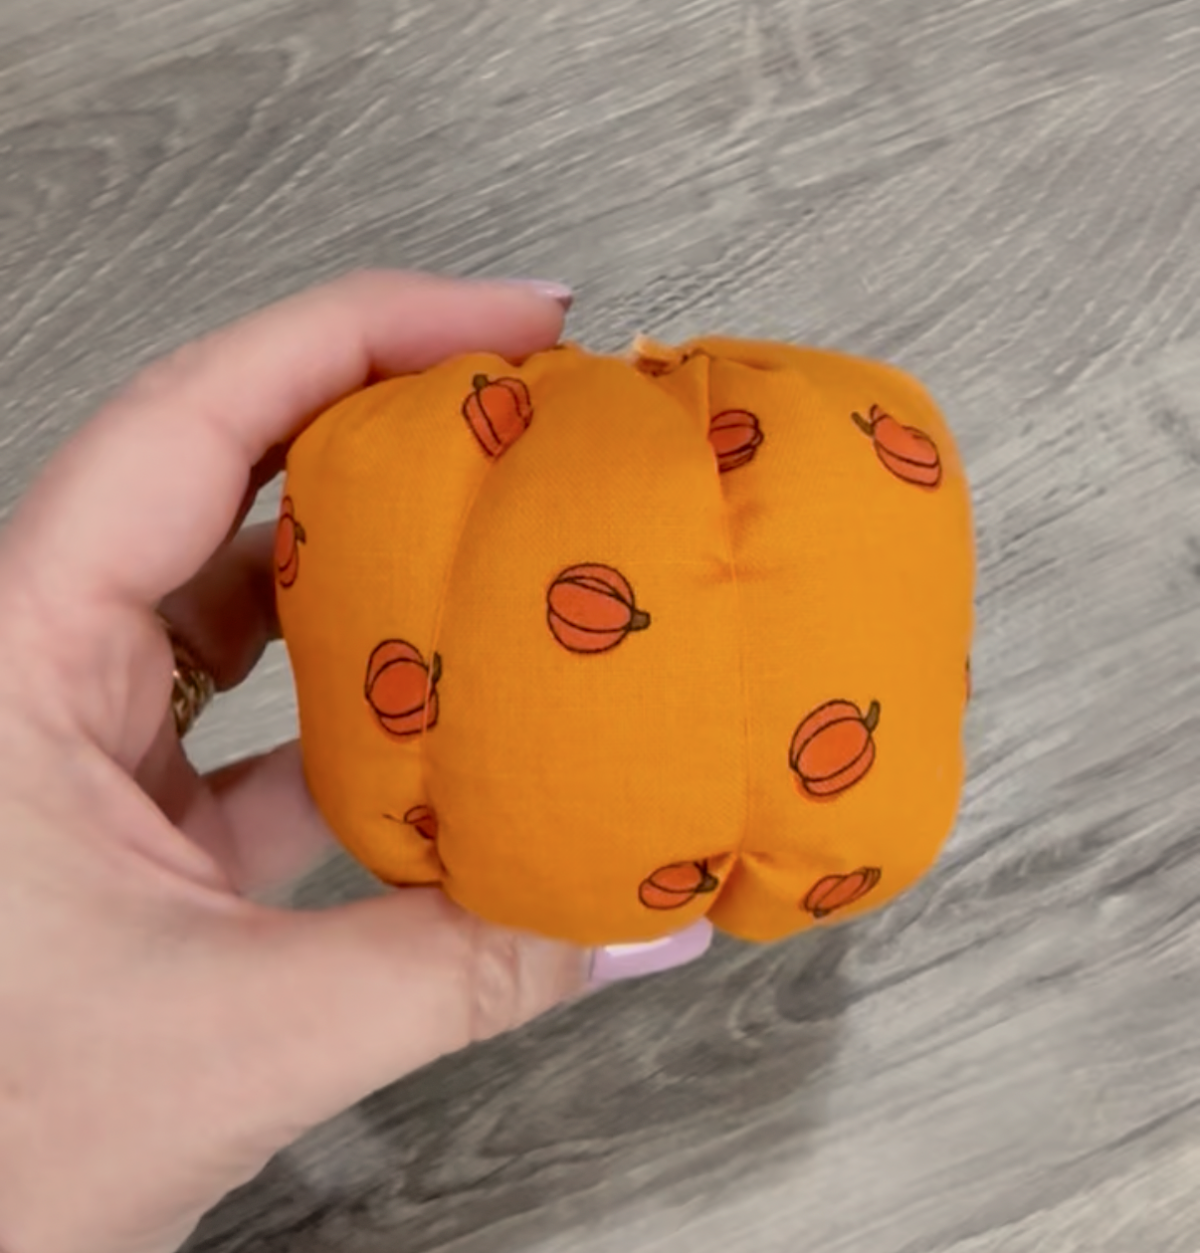
7. Roll up the felt piece and glue the loose edge to create the stem.
8. Glue the stem to the top of the pumpkin.
Crafting Tips
- You can make larger or smaller pumpkins by changing the dimensions of your fabric. Choose a width, then multiply it by 2 to get your length.
- In place of the felt stem, you can also use a stick from your backyard.
Frequently Asked Questions
I used Petite Pumpkins Orange from my Harvest Home collection for Andover Fabrics.
See the full list of shops here.
More Fall Projects
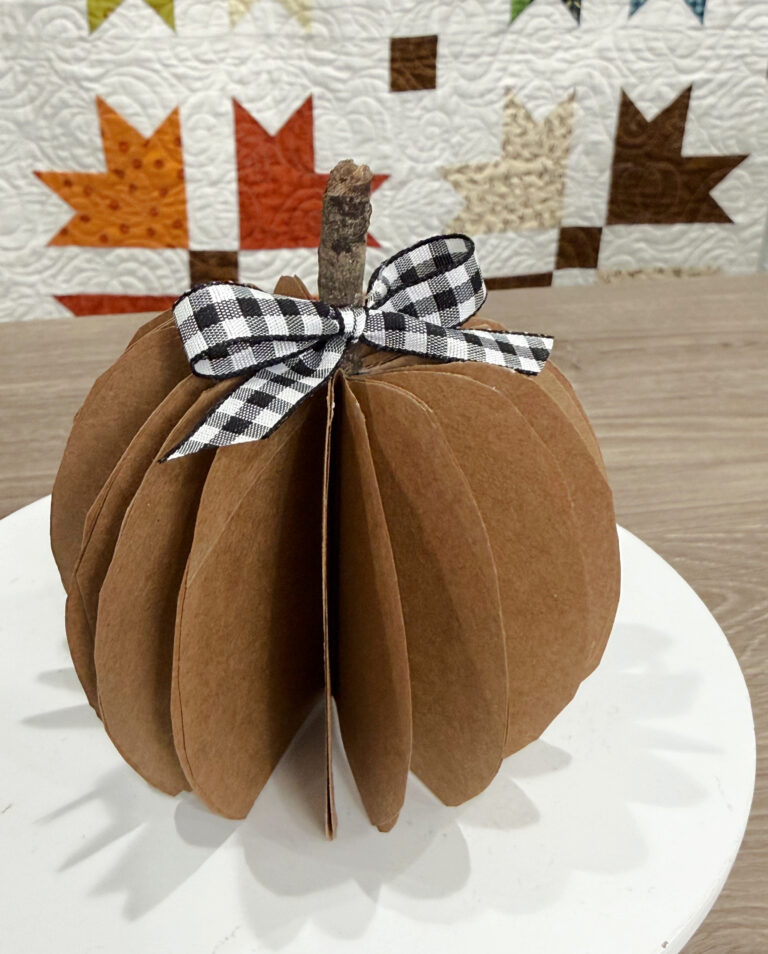
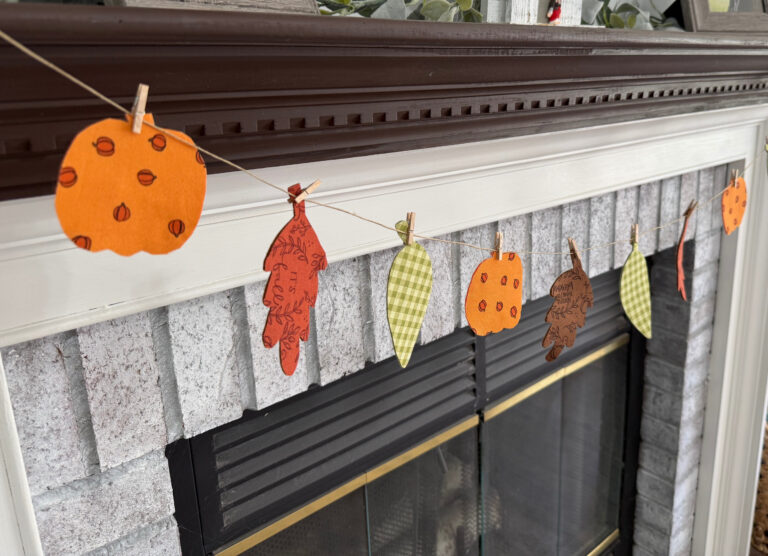
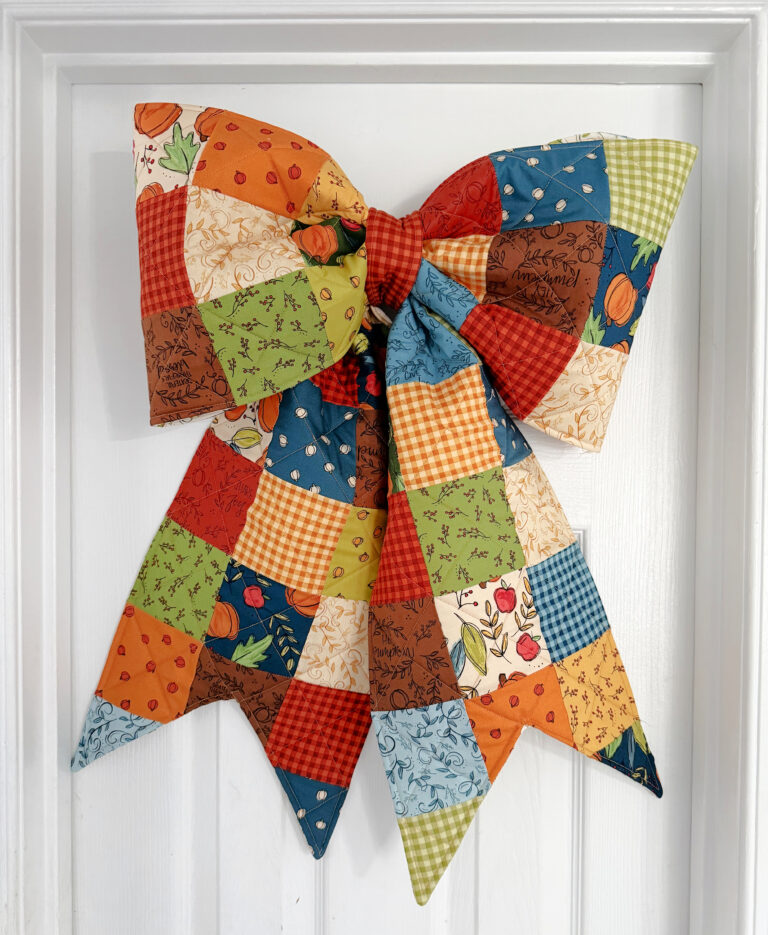
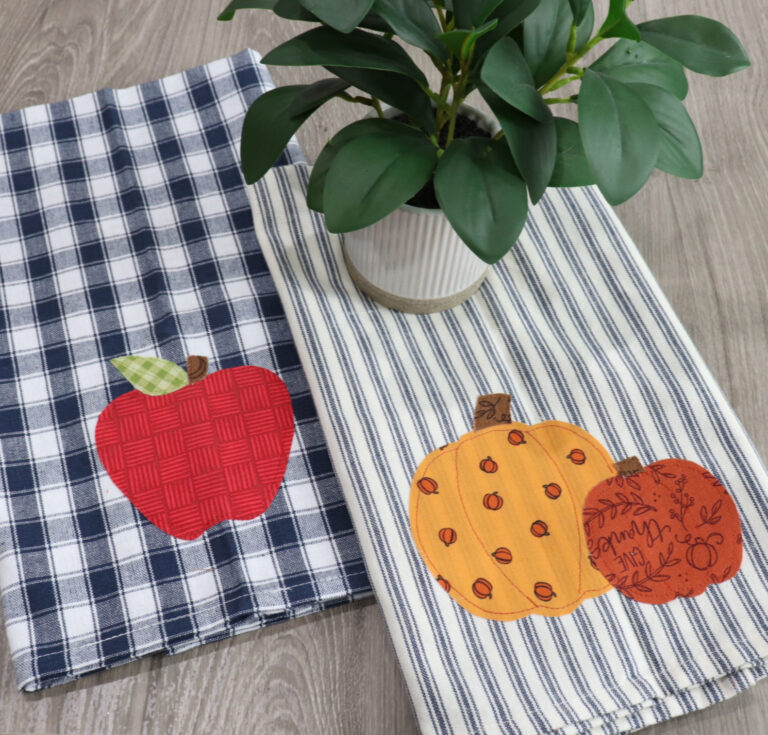
If you enjoyed this project, here are some other fun and easy fall crafts to try!
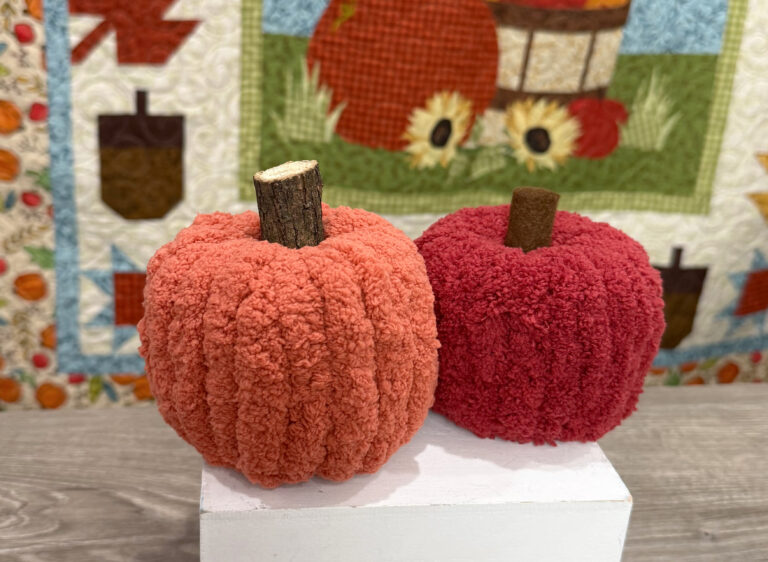

If you try making your own fabric pumpkins, or any of these other festive crafts, be sure to share your project photos in the Amy Latta & Friends Facebook group so we can all be inspired. See you there!