Lego Party: Favors, Part 2
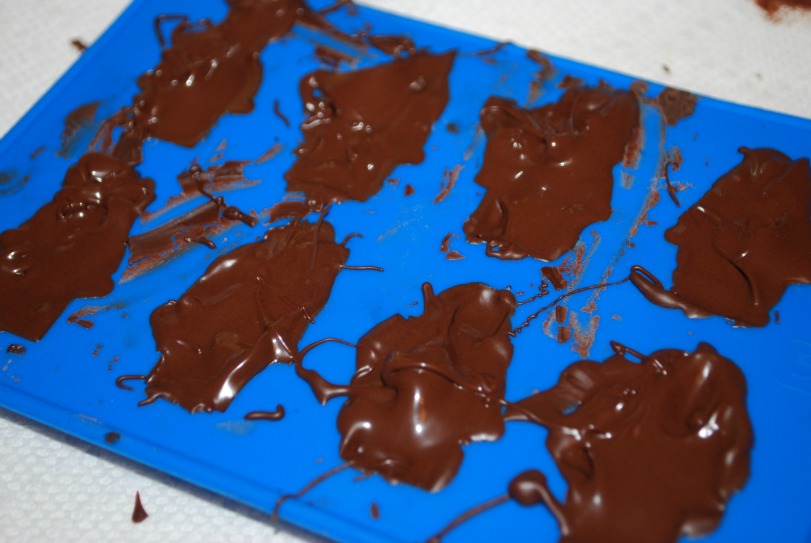
Step 3 {optional}: Place in refrigerator or freezer to speed up the re-hardening process.
It didn’t take long at all for them to harden in the fridge, which was great since I could only make eight at a time!
Step 4: Carefully remove from the mold.
For some reason, these guys were much easier to get out than the crayons were. I only broke one. We used one bag of milk chocolate wafers and one bag of dark; each bag made around 35 figures.
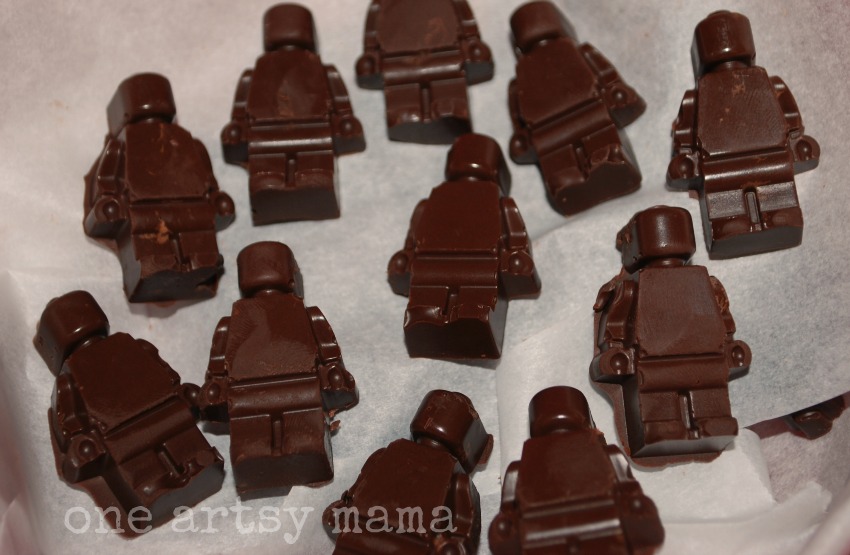
Aren’t they adorable?! They’re like cute little soldiers in a big army of deliciousness! I think they’d be super cute with colored candy melts too, but I didn’t want there to be any confusion about which of the favors were edible and which ones weren’t…as it is, one of my good bloggy buddies already told me she wants to take a bite of the crayons {ahem…Adrianne…}.
My one tip would be to make sure you push the melted chocolate down into the mold really well to make sure the feet, arms, and head are well filled in. I had a few come out with war wounds, like this guy who ended up with half a head…


I think I NEED a mini figure mold. My Lego-loving family would love these ideas. Thanks for sharing.
So cute! What a fun (and yummy) favor!
They all turned out so cute! Even the ones with war wounds! They are easily taken care of, Nutella anyone? I’m sure LC will have a wonderful B-day!!:)
So, of course you have to eat him. 🙂
I was gonna say eat him, but my son volunteered to do it for you 🙂
~ Jeannine
Those are great! 🙂
i use this mold all the time for candy–once you get the chocolate in, tap the entire mold hard on the counter, that usually fills in the holes or pops the air bubbles! (finally figured that out 🙂
i love your ideas! can’t wait to try : )
love your ideas! can’t wait to try!
where did you get these molds? I need some!