Easy DIY Stacking Bracelets: Half-Beaded Bracelet
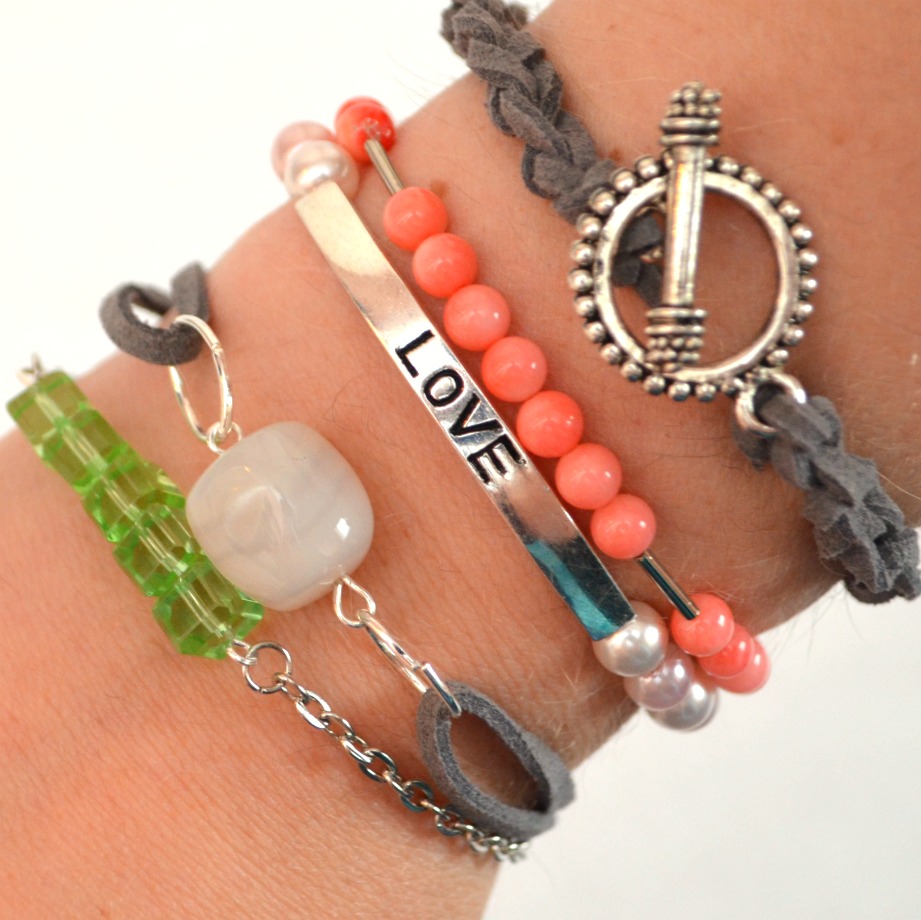
Raise your hand if you love jewelry! I sure do, but I have a confession to make. Up until recently, I just couldn’t figure out the stacking bracelets trend. I mean, I loved lots of the pictures I saw on Pinterest or in magazines, but when I tried stacking things I already had, nothing ever looked right. When I’d look for sets in some of my favorite places to buy accessories, I’d find stacks where I liked some of the bracelets but not others. So, I finally decided it was time to make my own! Over the next week, I’m going to be showing you how to make each of the five bracelets I created for my custom stack. Here’s a little sneak peak at what’s coming:
So, we’re going to tackle them one at a time; are you ready for #1?
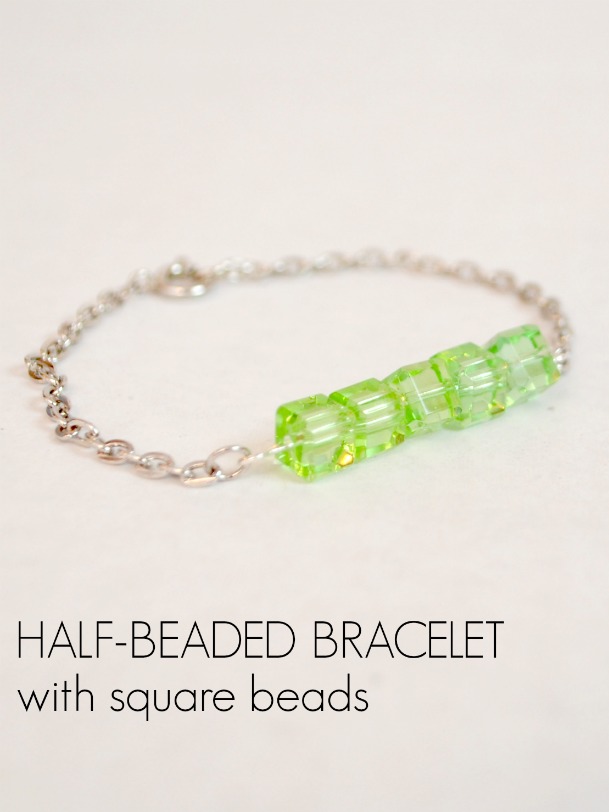
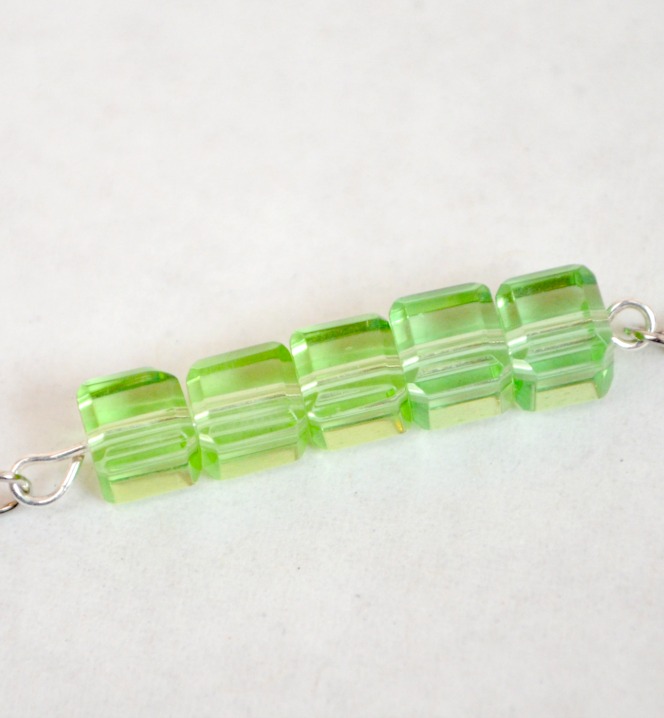
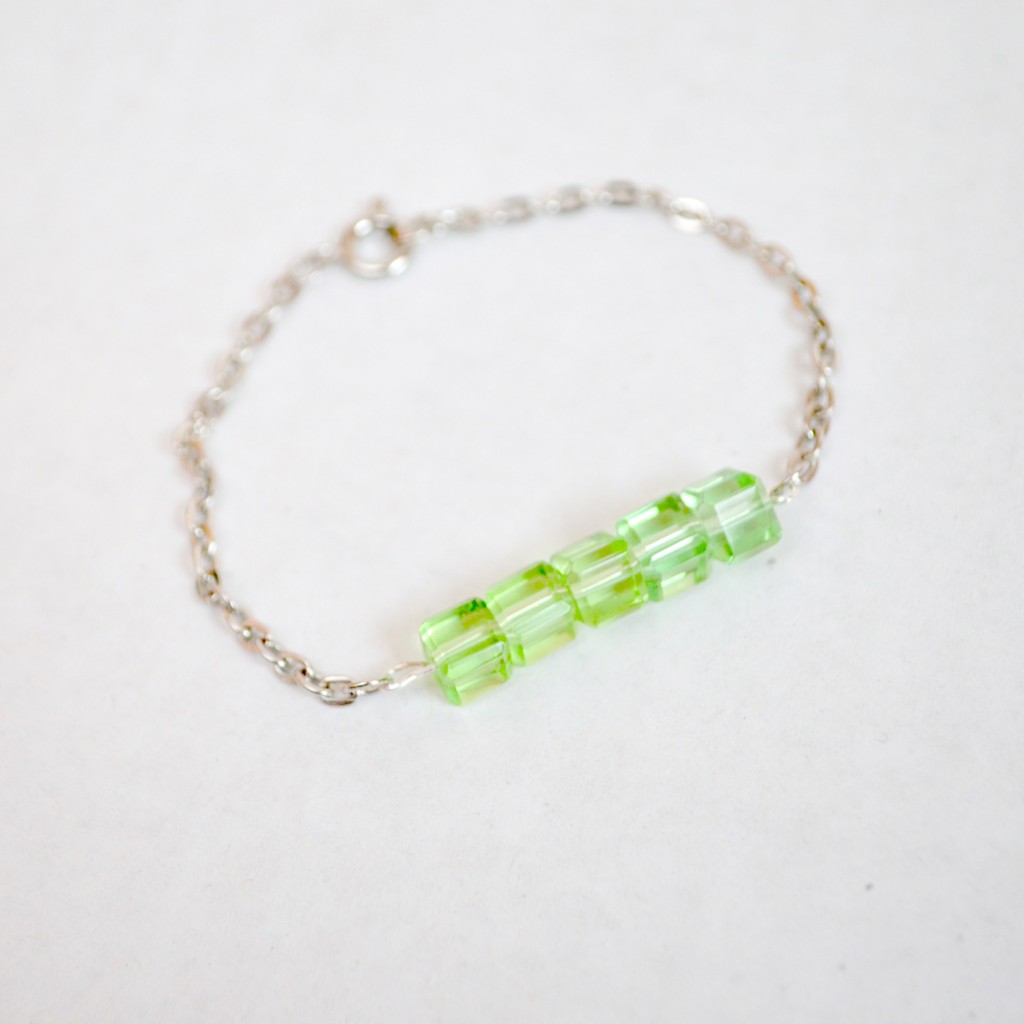
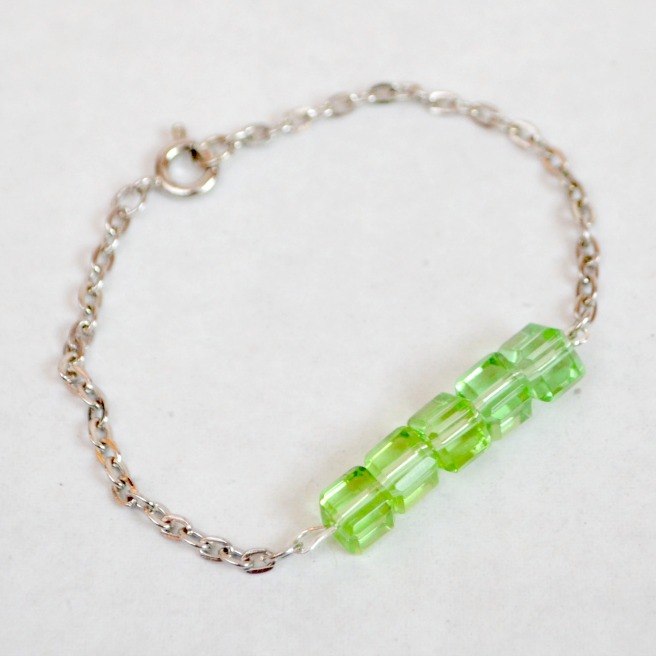
The inspiration for this bracelet came from the beads themselves. Months ago, when the Potomac Bead Company closest to my house was having it’s Going Out of Business sale {Boooo!} I picked up a handful of these square green beads because I loved the color and I particularly loved the shape. I don’t wear green too often, but it makes a great accent color and I knew it would look fabulous paired with some other colors and neutrals. One of my favorite bracelet styles at the moment is the half-beaded bracelet; a few beads for a focal point and chain for the rest. Here’s how I made one with my green squares:
Materials:
– 5 small square beads {you can substitute any size, shape and color; I just recommend using an odd number}
– 1 silver eye pin
– 4 small silver jump rings
– silver chain
– 1 clasp
– jewelry tools: needle nose and flat nose pliers and wire cutters
Step 1: Place your beads on an eye pin. Form a wire loop on the other end to close it.
If that sounds like a foreign language to you, an eye pin is basically a piece of wire that has a loop on one end. You can buy them in the jewelry section of any craft store {even my Walmart has them}. A head pin is similar, but looks like a sewing pin with a flat head rather than having a loop. After you put your beads on it, follow these instructions to make the wire loop.
Step 2: Attach a small jump ring to each end of the eye pin. Remember, always twist your jump rings open rather than pulling the ends apart.
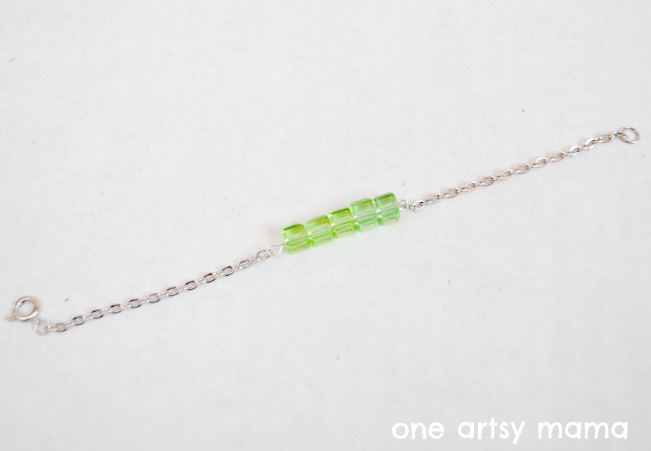
Step 3: Attach chain and a clasp.
To make the bracelet fit correctly, measure a bracelet you already own that is a comfortable fit. Then, measure how long your jump ring/bead/eyepin piece is. Cut a piece of chain that makes up the difference. Attach it to both jump rings, then find the center of the chain and cut it apart. Add your clasp and final jump ring to the cut ends of chain.
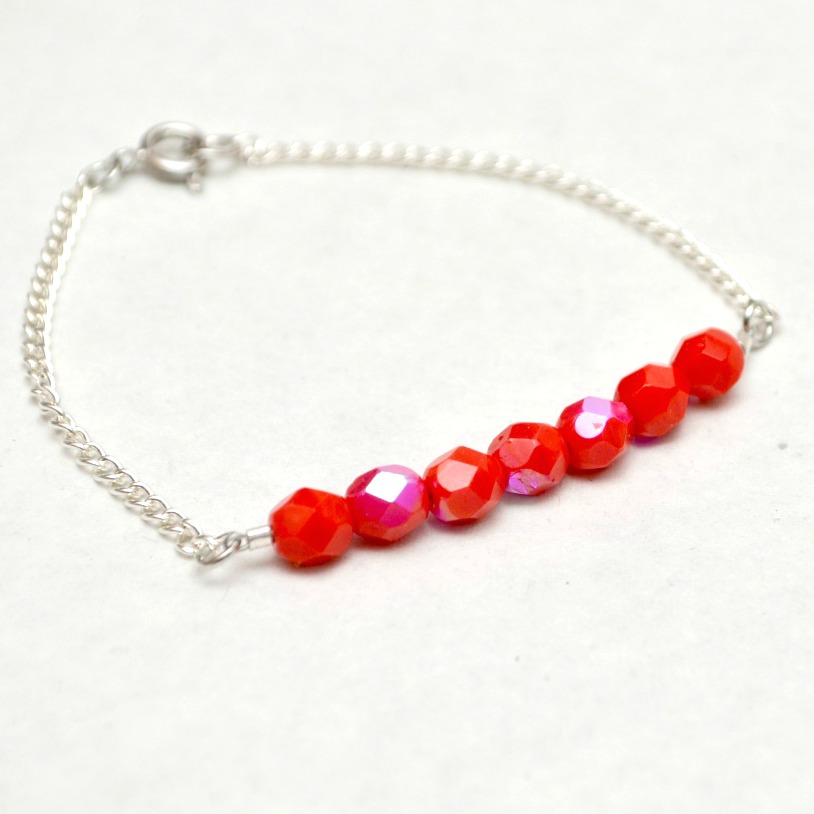
Just for fun, here’s a look at another similar bracelet I made this past spring. I actually used stringing wire and crimp beads for this one rather than an eyepin because my beads took up more space than what would fit on the pin. If you want to learn more about that technique, there are step by step instructions in the original post. Meanwhile, this gives you an idea of how a differently colored and shaped bead looks in the same style bracelet.
I’m really pleased with how it turned out using my fun square beads! Once it was completed, my next challenge was coming up with four more bracelets to complement it! Come back tomorrow to see the next one I added to the stack!
Hugs & Glitter,





I love this bracelet!! I love that you have different looks with the different beads. I’ve been wanting to do layering of bracelets too, but didn’t quite know how to do it. I’m looking forward to this series. I love bracelets!!
Great idea for those few leftover beads.
Thanks so much!
Your green half-beaded bracelet is a great choice, and I appreciate the detailed instructions you provided. It’s essential to have an odd number of beads for balance, and your tip about measuring for a comfortable fit is spot-on. I look forward to seeing the rest of your creations in this stack; it’s a fun and creative project that can really elevate your jewelry game!