Beaded Clay Easter Crosses
Friends, Easter will be here before we know it! Around here, it looks like we may have to search for eggs in the snow, but that doesn’t change the fact that it’s almost time to celebrate! Today I want to share a quick and very simple children’s craft, Beaded Clay Crosses, that will help remind them of the true reason for Easter.

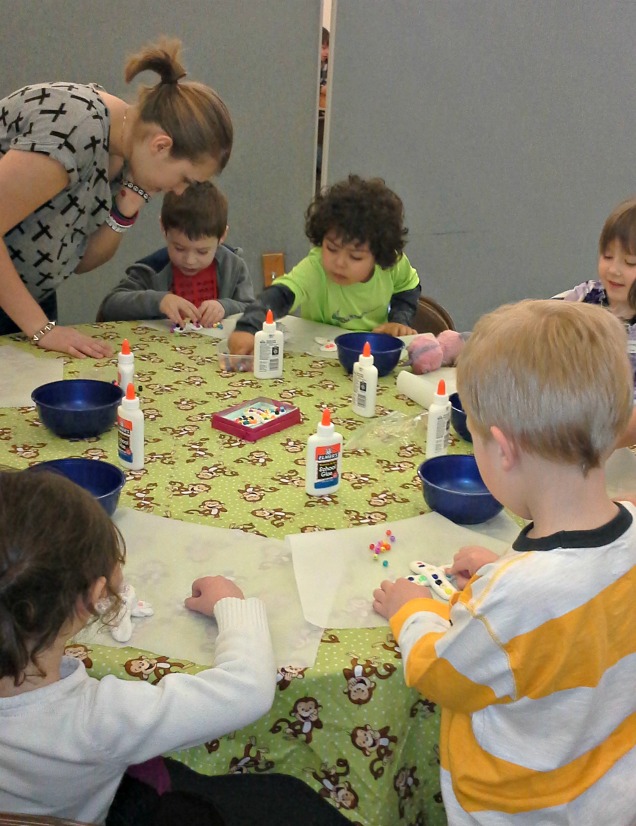
I came up with this craft for hubby to use when he was teaching Little Crafter’s Sunday School class last weekend, and it was a huge hit with all of the kids. Here’s how you make it:
Materials:
{Our clay was generously provided by our friends at Sculpey/Polyform.}
– Model Air Air Dry Clay from Sculpey
– Assorted Beads
Seriously. That’s it. Two supplies…anyone can do this.
Step 1: Give each child a ball of clay and have them separate it into two smaller balls.

Step 2: Roll each ball into a “hot dog” then flatten it. Place one on top of the other and press to form a cross shape.
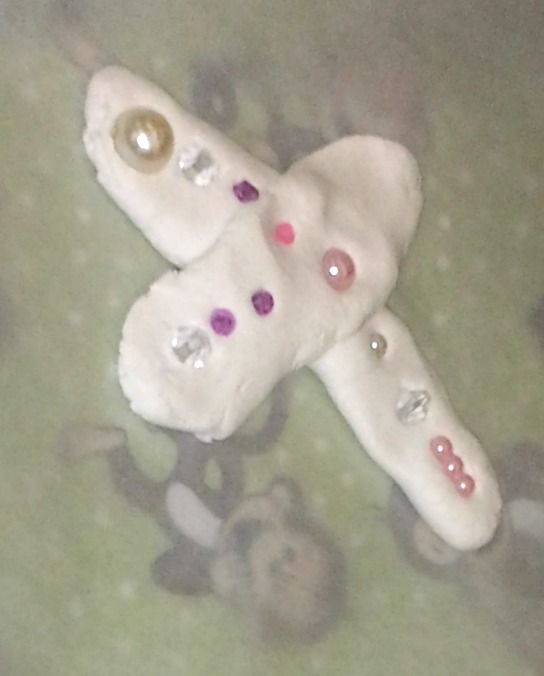
Step 3: Add beads! We had a huge assortment of all kinds of beads and the kiddos were free to choose whatever they liked best. Pearls, faux crystals, pony beads, faceted beads…all kinds of goodies. We emphasized that they needed to press hard in order to make sure the beads were really stuck in the clay and not just sitting on top of it. Otherwise, they’d fall off after the clay dried. Of course, that’s nothing a little glue can’t fix if it happens…
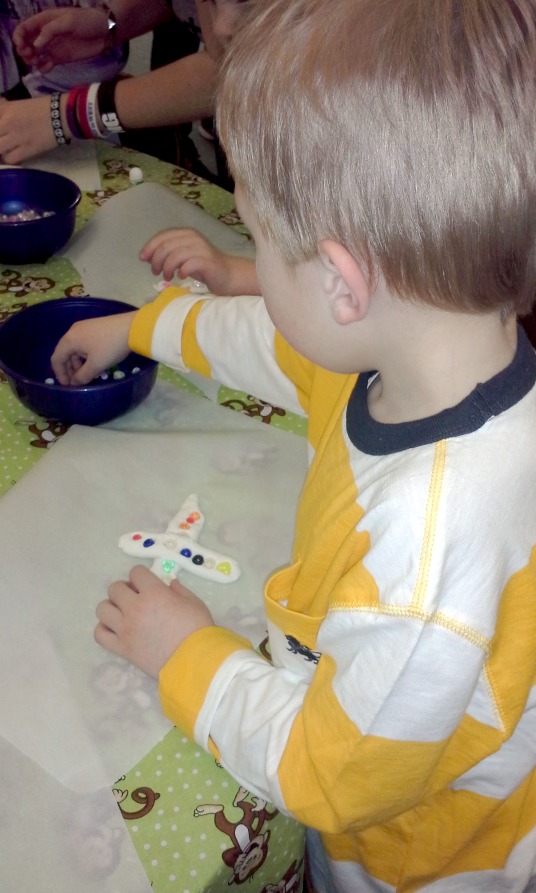
The kids absolutely loved making these; they had a ball rolling out the clay, then they really focused on adding their beads just where they wanted them to go. If a child finished early, we just gave out extra balls of clay and let them make whatever they wanted with it.
The only thing left to do is let each cross air dry for 24 hours. Some may take a little longer, depending on the thickness. If the child wants to be able to hang it up when it’s dry, just make sure to poke a hole in the top {a pencil works great for this} while the clay is still soft.

It was really fun seeing how differently all the crosses turned out…each one as unique as the sweet kiddo who made it!

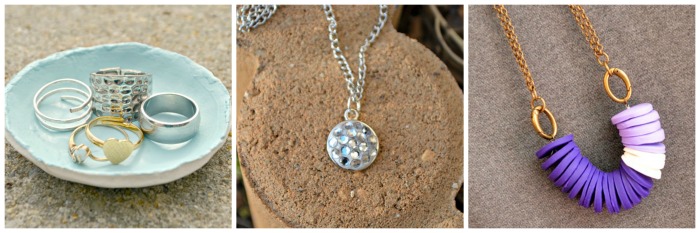
If you liked this post, be sure to check out some other clay projects here like my Air Dry Clay Jewelry Dish, Pave Rhinestone Necklace, and my Stacked Disc Necklace!
 What are your favorite kiddo projects for Easter?


Love this idea for Sunday School!! 100% kid-made projects are the best…they can make it just how they like it! 🙂 Thanks so much for sharing and I’m pinning in hopes of using this idea for a play group very soon.
Aw, thanks so much, Stefanie! I agree, I love things they can do all by themselves!
These are so sweet!
Great children’s church idea!
very fun!! Looks like the kids had a blast!
Nice and simple for a group of kids- great idea, mama!
I love this–simple, fun and colorful! My kids might just have to make this this Easter!
This is a neat idea! I’m sure the kids loved it!
They totally did! Thanks for stopping by!!