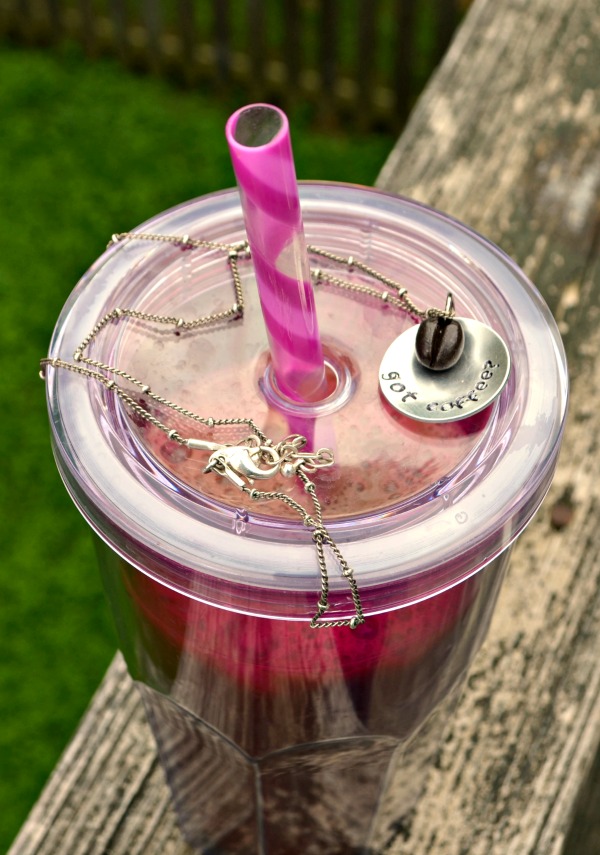
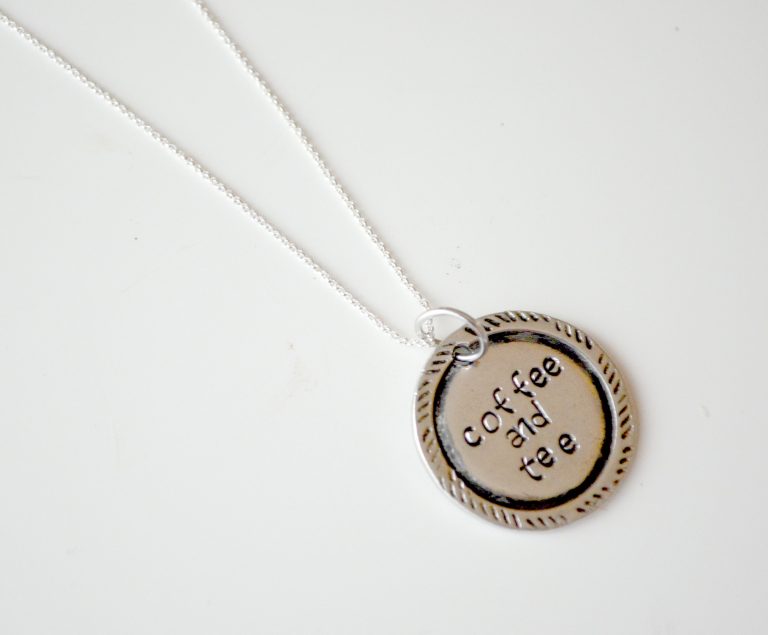
Got Coffee? Necklace
Friends, I am super-duper excited to share today’s project with you. I got to play with two new “toys” to make it, a doming block and a brand new font, and I’m loving how it turned out. I hope you love it as much as I do…

Materials:
– 1 lb Brass Metal Stamping Hammer
– Steel Stamping Block
– ImpressArt Alphabet Stamp Set: Juniper Lowercase
– 7/8″ Circle Soft Strike Aluminum Blank
– Wooden Doming Block
– Two-Hole Punch
– Painter’s Tape
– Black Permanent Marker
– Jewelry Polishing Cloth
– Sculpey Premo! Burnt Umber
– Sculpey Tool Set
– Mod Podge Gloss
– Jump Ring
– Needle Nose Pliers
– Necklace Chain
Before I start the tutorial, I just want to say that I know this supply list looks pretty long, but the reality is, once you invest in metal stamping supplies, most of these things will already be a part of your permanent stash. When you get started and purchase basic tools like your stamping block, hammer, and an alphabet set, you’ll always have those things to use over and over again. It’s an initial investment, but it really pays off as you’re able to make tons of personalized jewelry for yourself and your loved ones!
Also, I’m going to start this tutorial with the assumption that you know the very basics of metal stamping techniques. If you’ve never tried stamping before and want to start with first things first, check out my Stamping Basics post for full step by step instructions and photos for how to do every single part. Now, moving on…
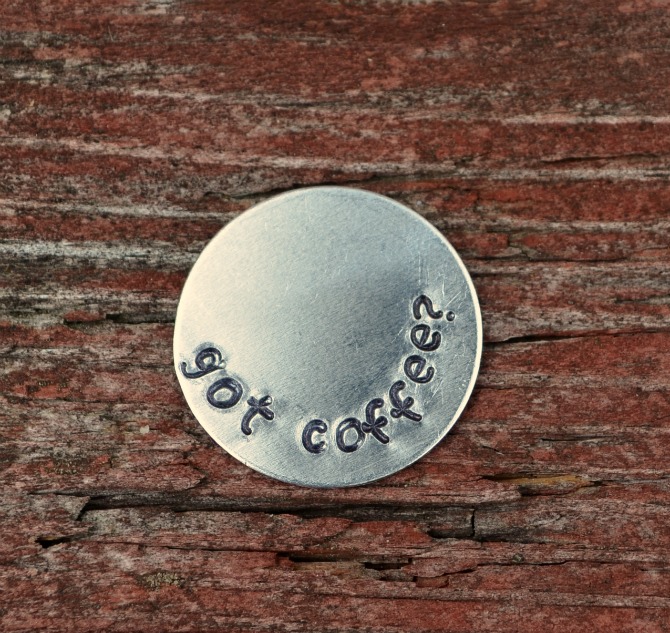
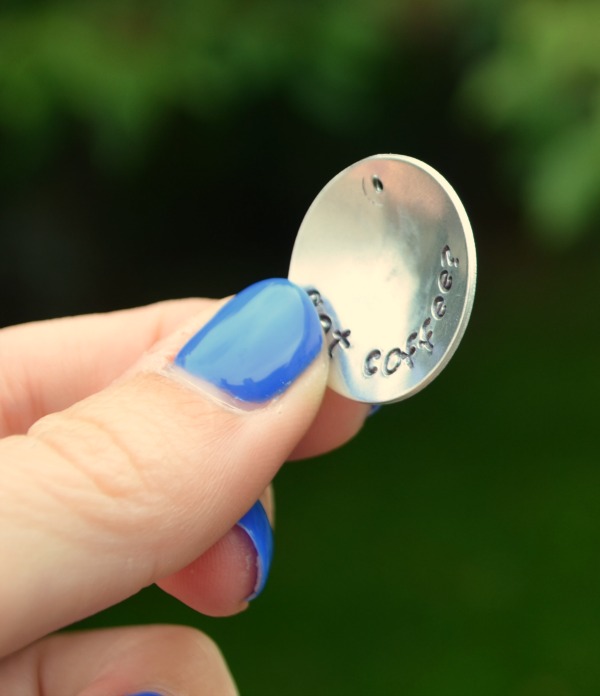
Step 1: Stamp the phrase “got coffee?” on your blank. I typically recommend figuring out where the center is {in this case, the first ‘o’ in ‘coffee’} and starting there, then working outward to keep the phrase centered. But, since this blank doesn’t come with a hole already punched, you can just stamp wherever you like, then figure out where you want to put the hole.
Step 2: Color in the letters with a black permanent marker {I recommend BIC since they’re acid free!} and wipe off the excess with a jewelry polishing cloth.
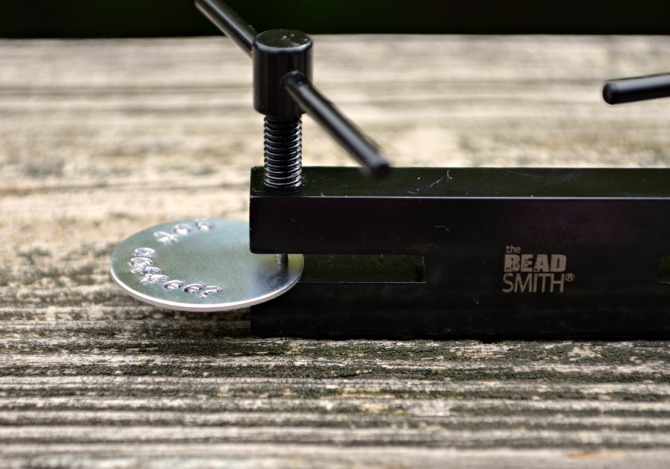
Step 3: Place the blank in your hole punch and twist to create a hole for the jump ring.
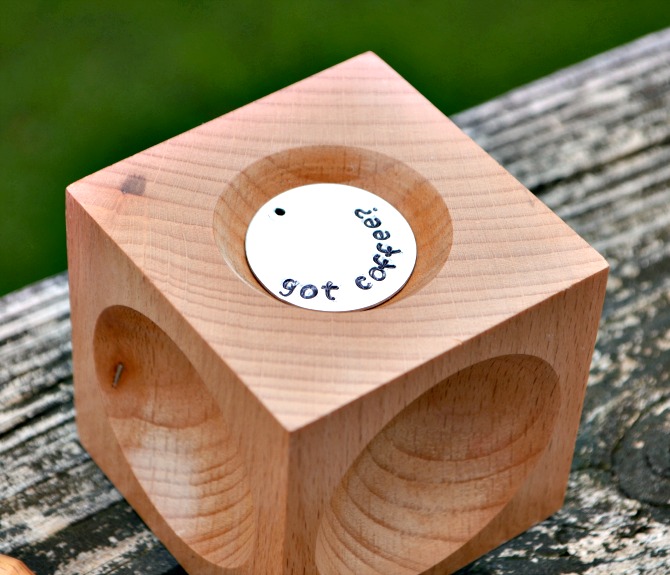
Step 4: Choose the indentation on the doming block that’s closest to the size of your blank and place the blank face up inside of it.
Step 5: Place the rounded wooden punch on top of the blank and gently tap with the hammer, moving it all around until the entire blank has an even, smooth domed shape.
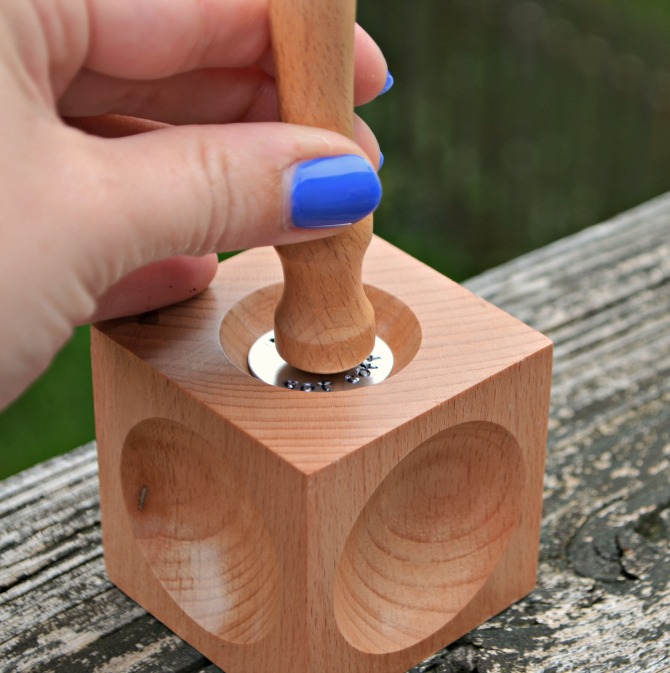
When you’re finished, here’s how it should look! You can set it aside and work on the next part of the project…
Step 6: Make a small, slightly oval shaped ball of Dark Umber Sculpey clay.
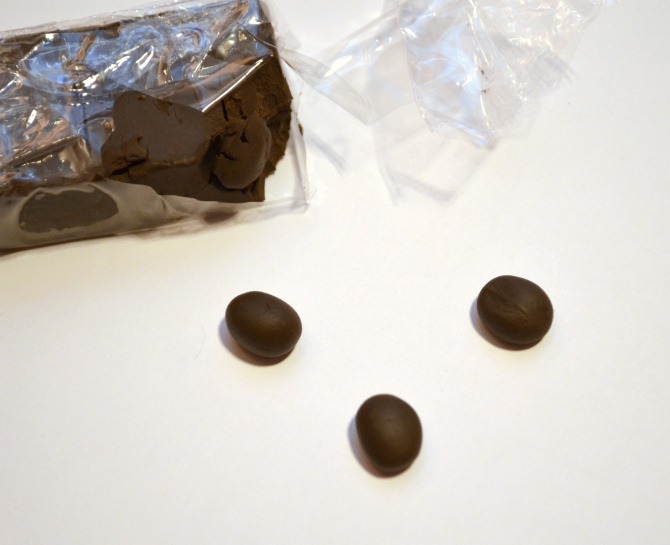
Step 7: Create a deep impression down the center. Gently smooth the edges inward to create the look of a coffee bean.
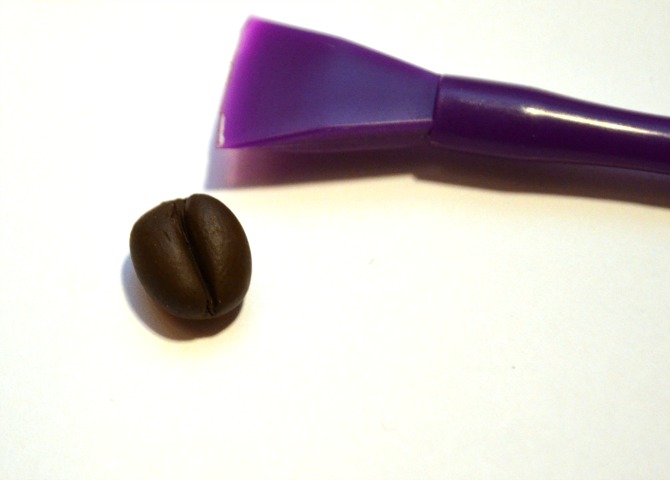
Step 8: Poke a hole in the top center of the “bean” that’s large enough for a jump ring.
Step 9: Bake the clay bean according to the package instructions. Usually that’s 15 minutes at 275 degrees.
Step 10: Once the clay is baked and completely cool, give it a coat of Mod Podge gloss so that it has the shine of a coffee bean.
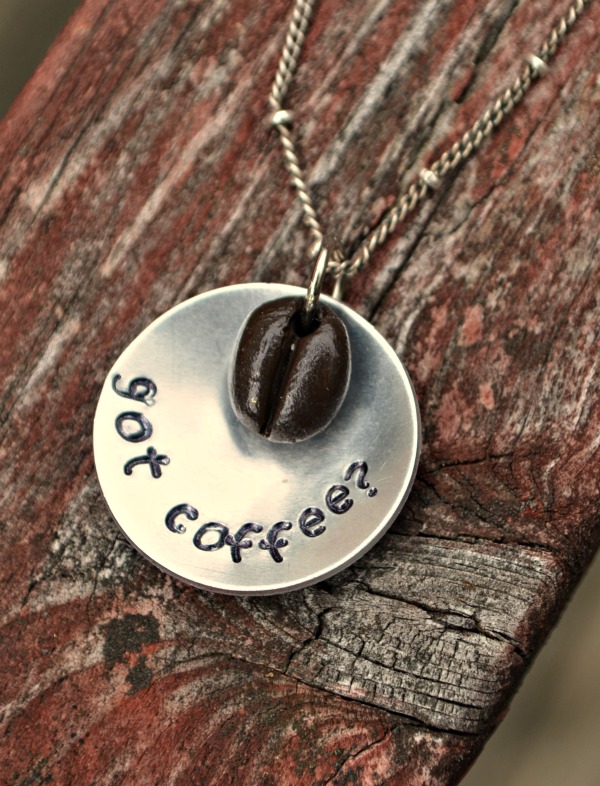
Step 11: Twist open a jump ring and thread it through both the stamped disc and the bean. Place it on a chain and close the jump ring tightly.
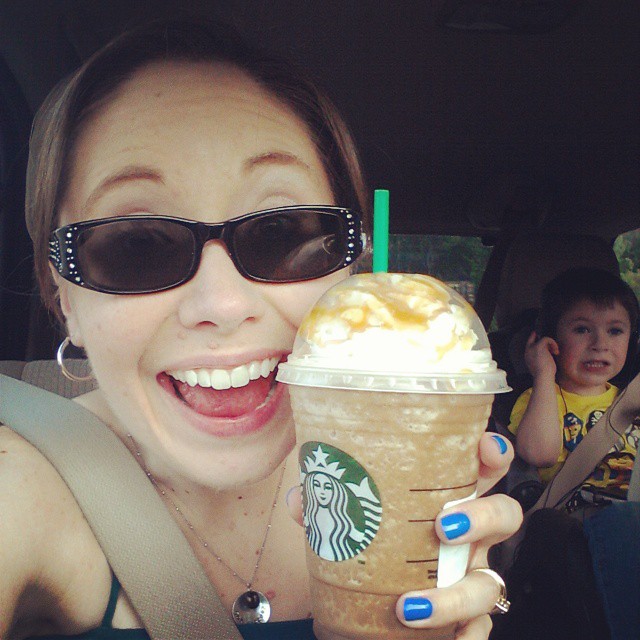
Now your necklace is complete and ready to wear! Got coffee? Here’s my answer…
You know I do! P.S. Happy September, aka, official Fall Drink Season!!!


That is so cute. I love it!
Neat! Maybe I can make a “got tea” one for work. I may need to come over and play with the cool new toys to see how I like them.
looooove this!!!
Love it!!
Amy, this necklace is so you! I love it. And I might’ve squealed a little when I saw the coffee bean.
Lol…I know what you’d have been choosing to feature this week!
I was just saying yesterday that I wonder if I could drill a coffee bean for jewelry – clay is a way better idea! Cute!!
Do u sell the Coffee necklace ,if so how much???
Hi, Judy. I do not sell the coffee necklace. I just share tutorials to teach people how they can make their own.
Thanks!
Hi!
I love it!! I’d like to buy one necklace for my friend. Is it possible? Would you ship it to Lithuania, Vilnius? Please reply to my email.
Thank you in advance.
I’m so glad you like the necklace. However, I do not have a shop. I just made this as a how-to tutorial to show people to make their own at home.
Hi!
I love it!! I’d like to buy one necklace for my friend. Is it possible? Would you ship it to Lithuania, Vilnius? Please reply to my email.
Thank you in advance.