Metal Stamped Gift Tag Ornament
Thanks to ImpressArt for sponsoring today’s post. All opinions are honestly my own.
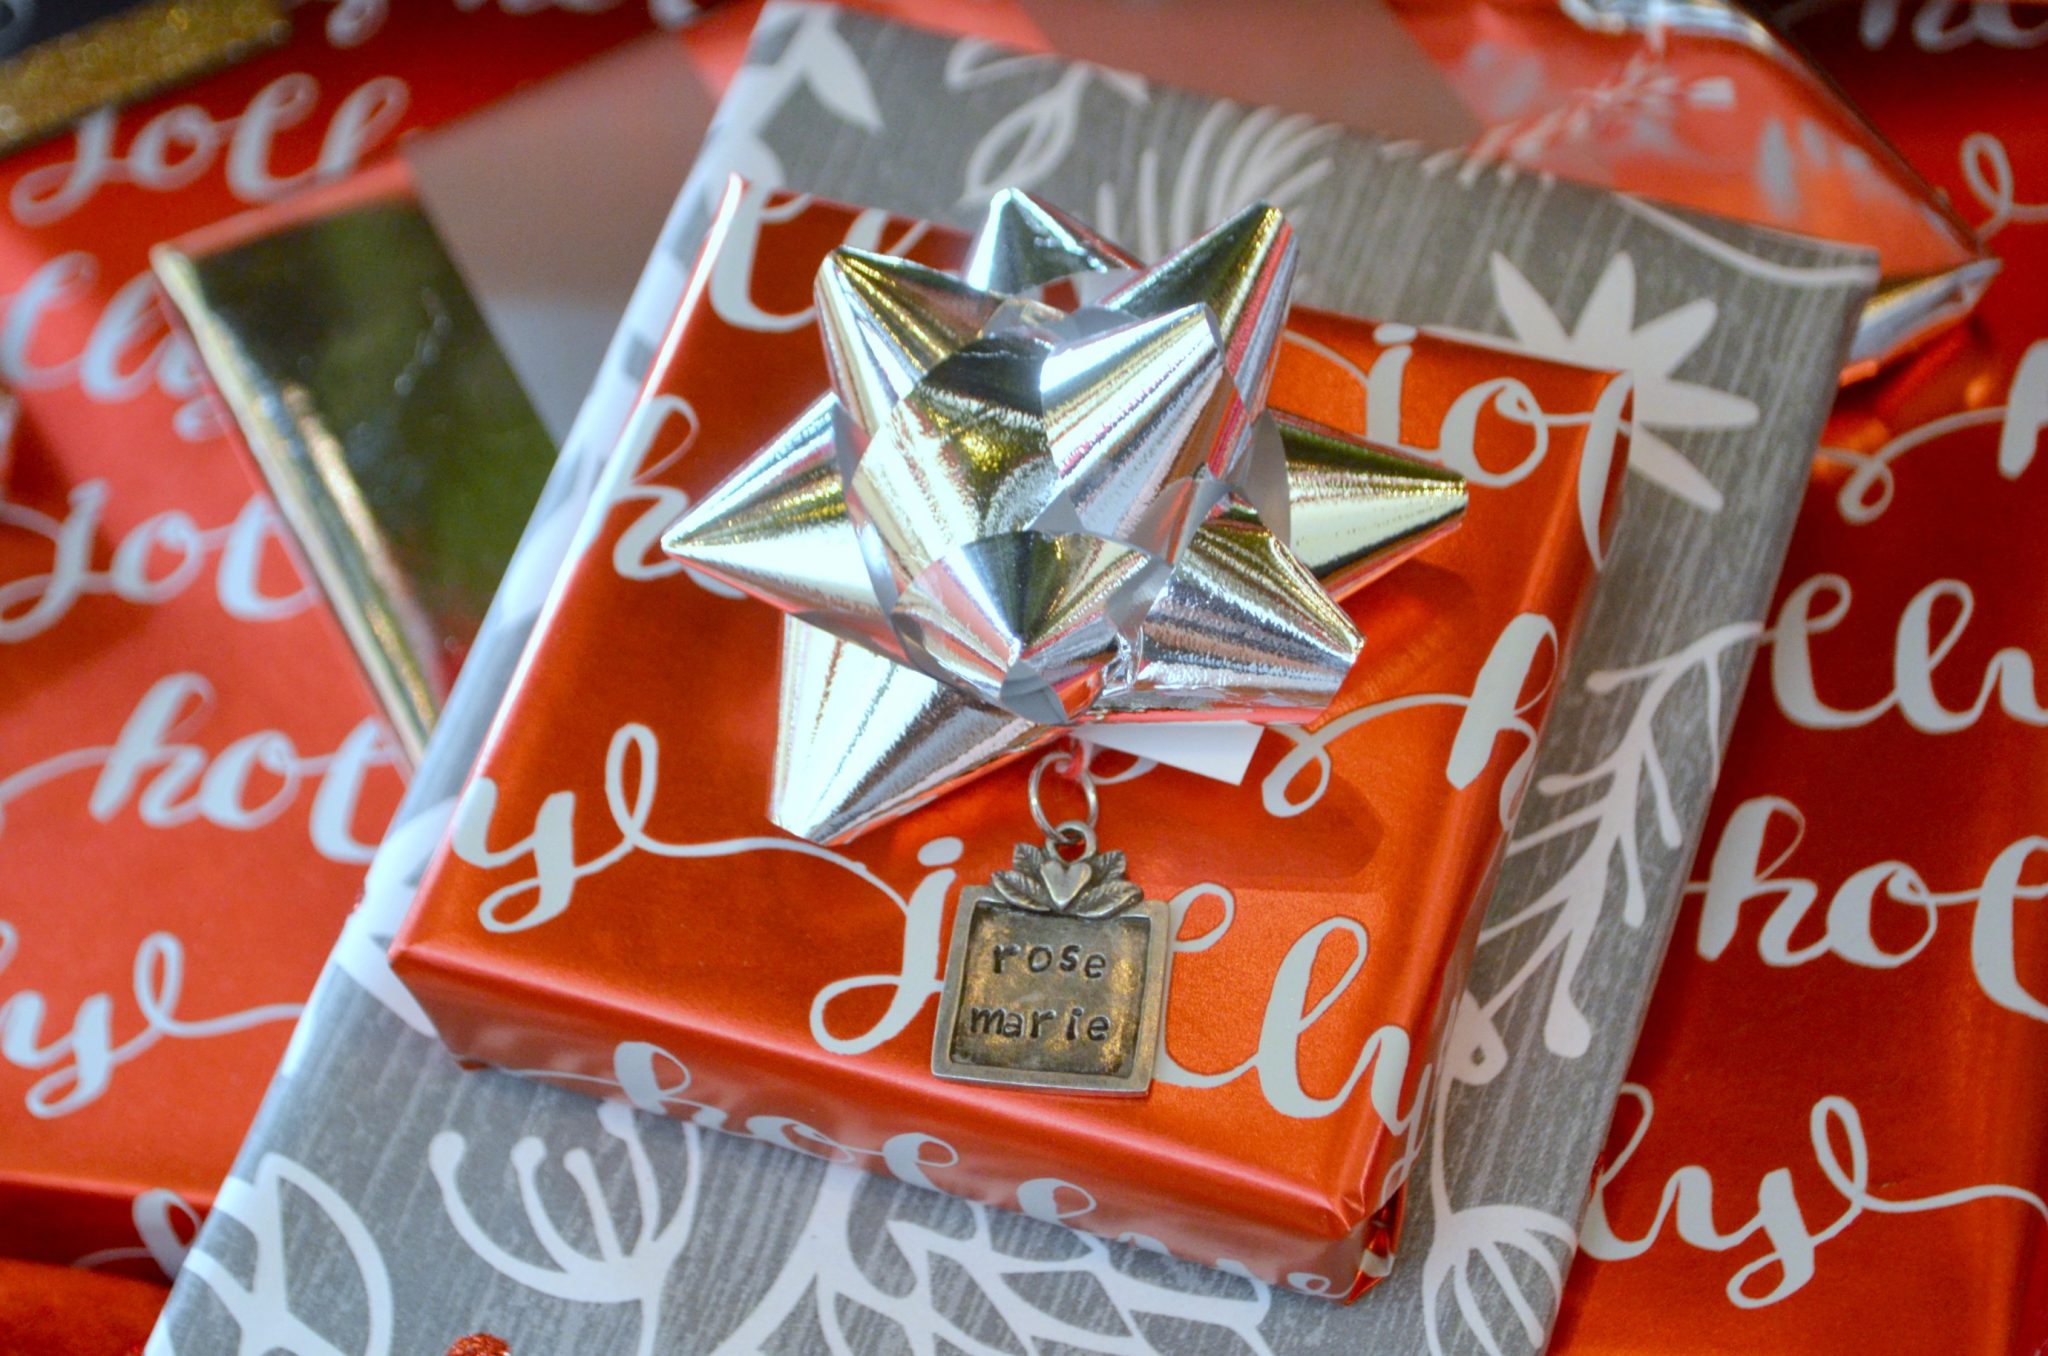
One of my favorite things to do as we get ready to celebrate the holidays is wrap gifts! I enjoy buying and making the presents too, of course, but it’s so much fun turning them into beautiful packages to sit under our tree. I get excited about choosing my wrapping paper each year, along with coordinating ribbons and bows, and I like coming up with unique gift tag ideas like this one…take a look!
Metal Stamped Gift Tag Ornament
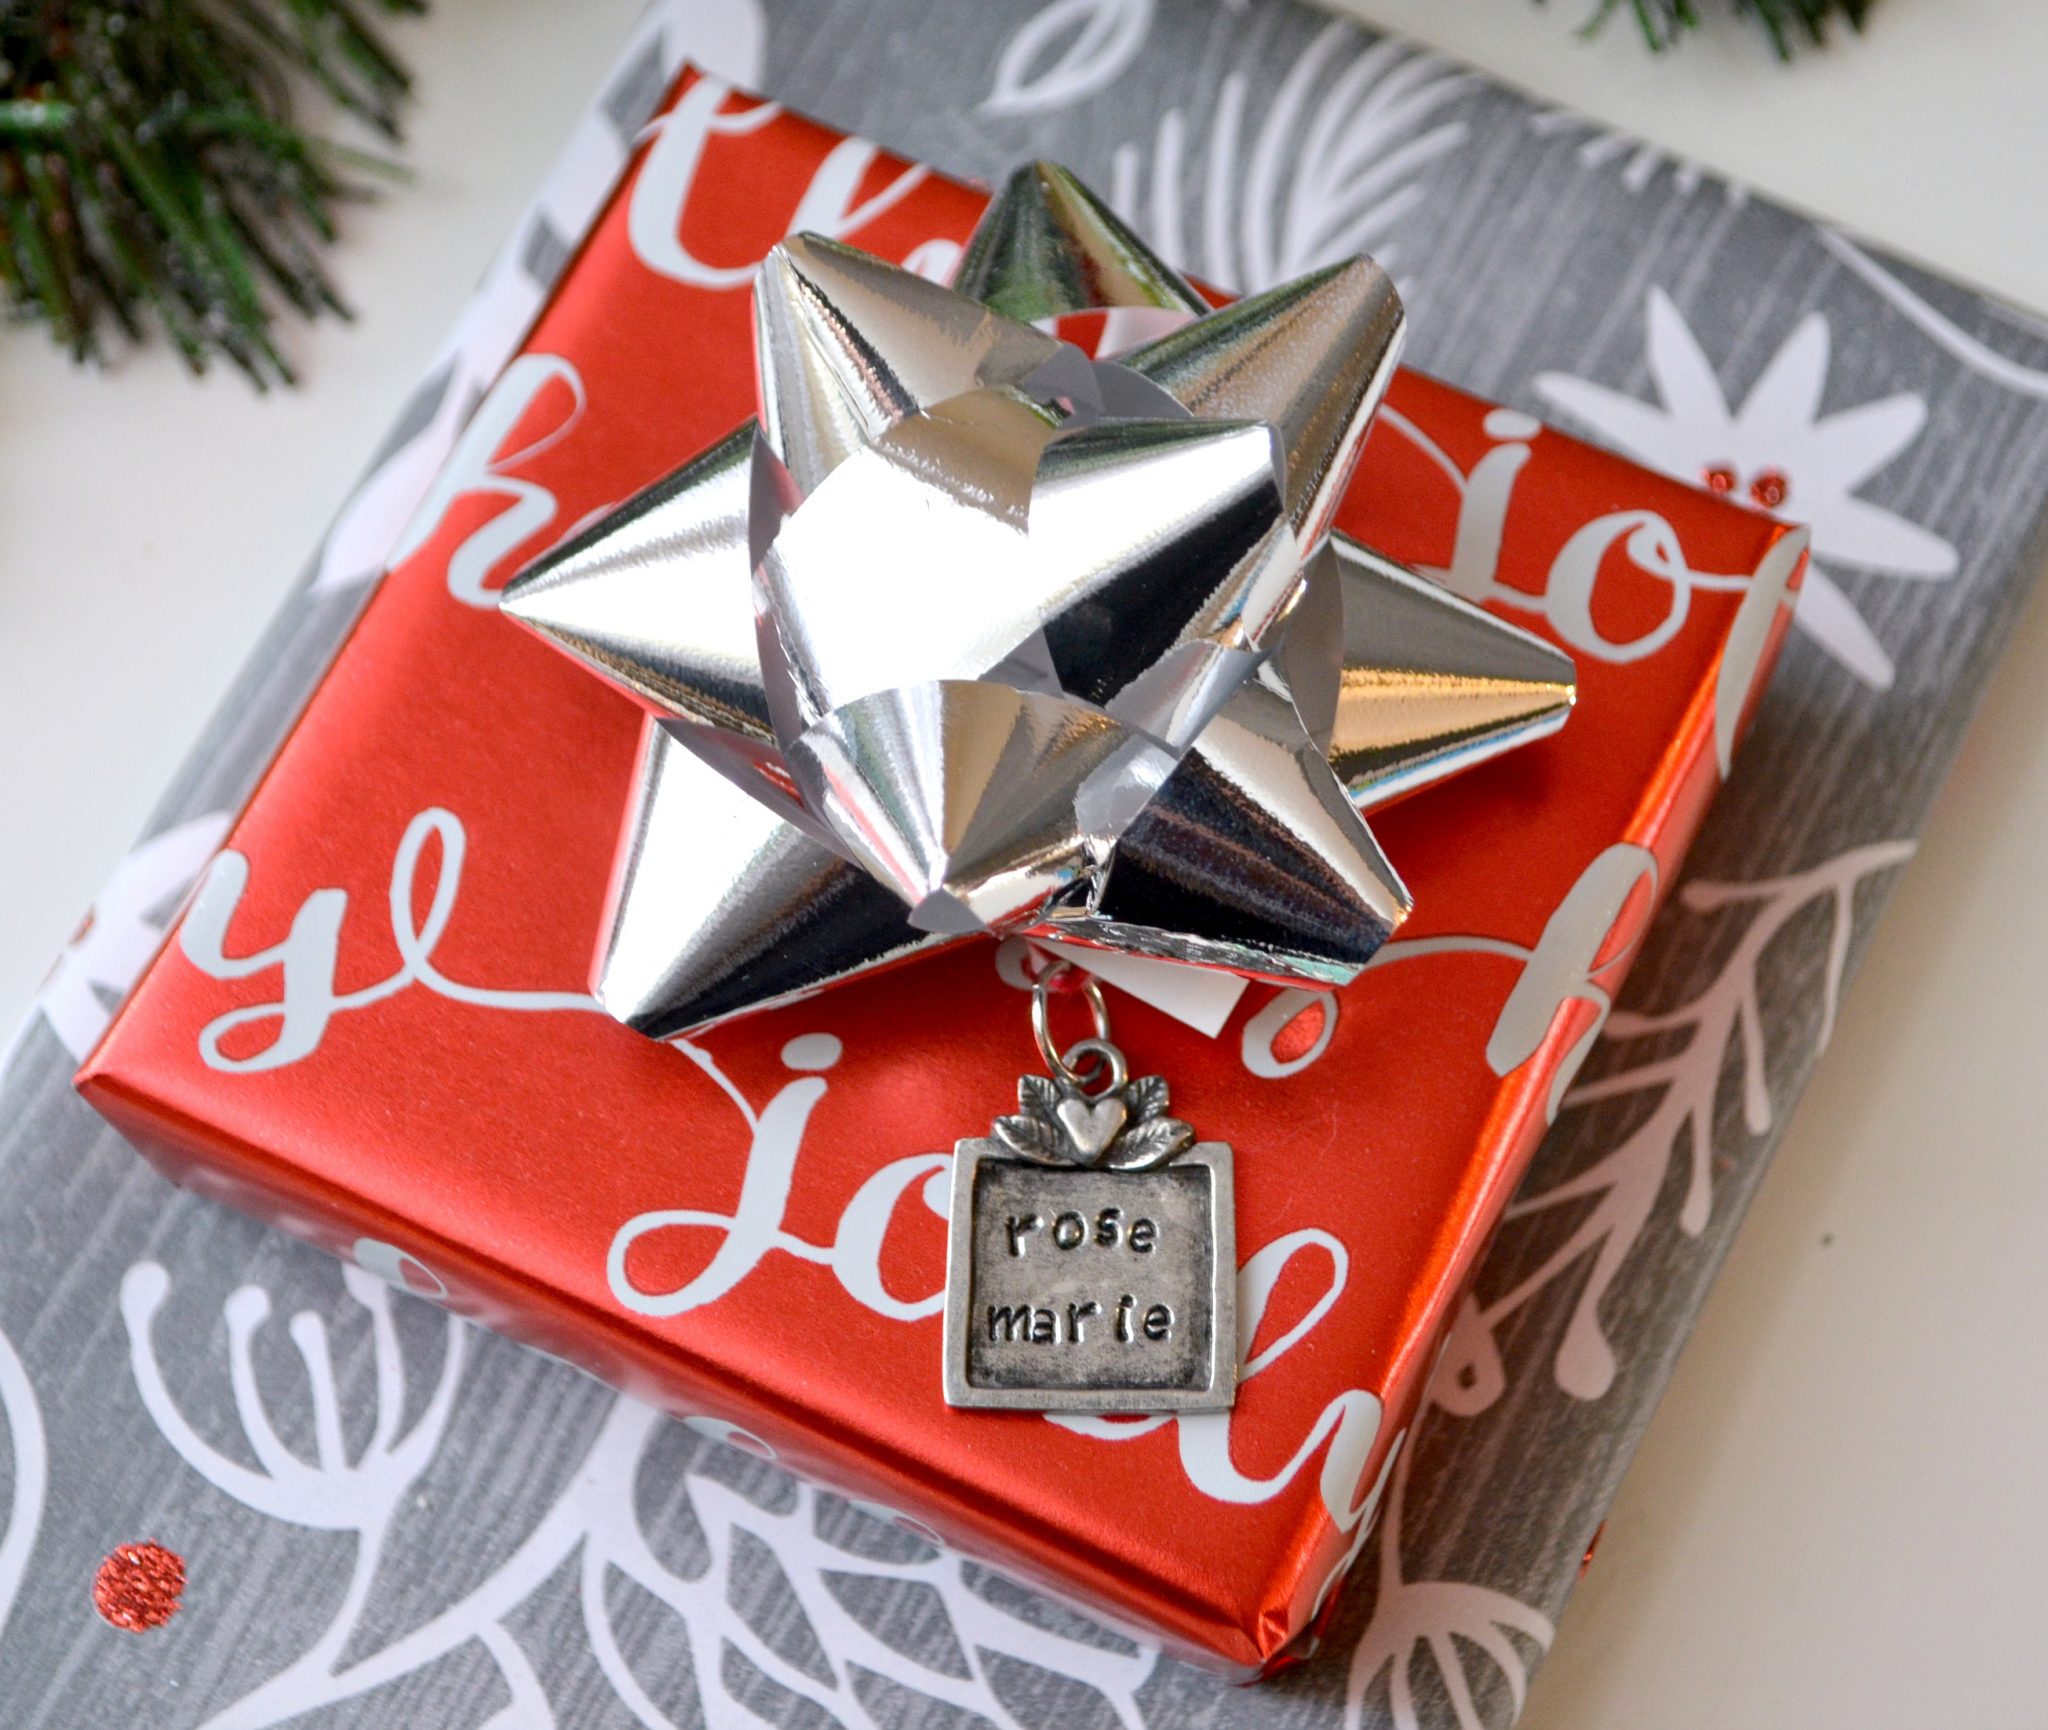
This little tag is as personal as it is pretty. But there’s more! Not only is it useful for labeling the package, it serves double duty as an ornament for years to come. Or, if the recipient prefers, she can turn it into a necklace or a keychain. Here’s how you can make your own in ten minutes or less.
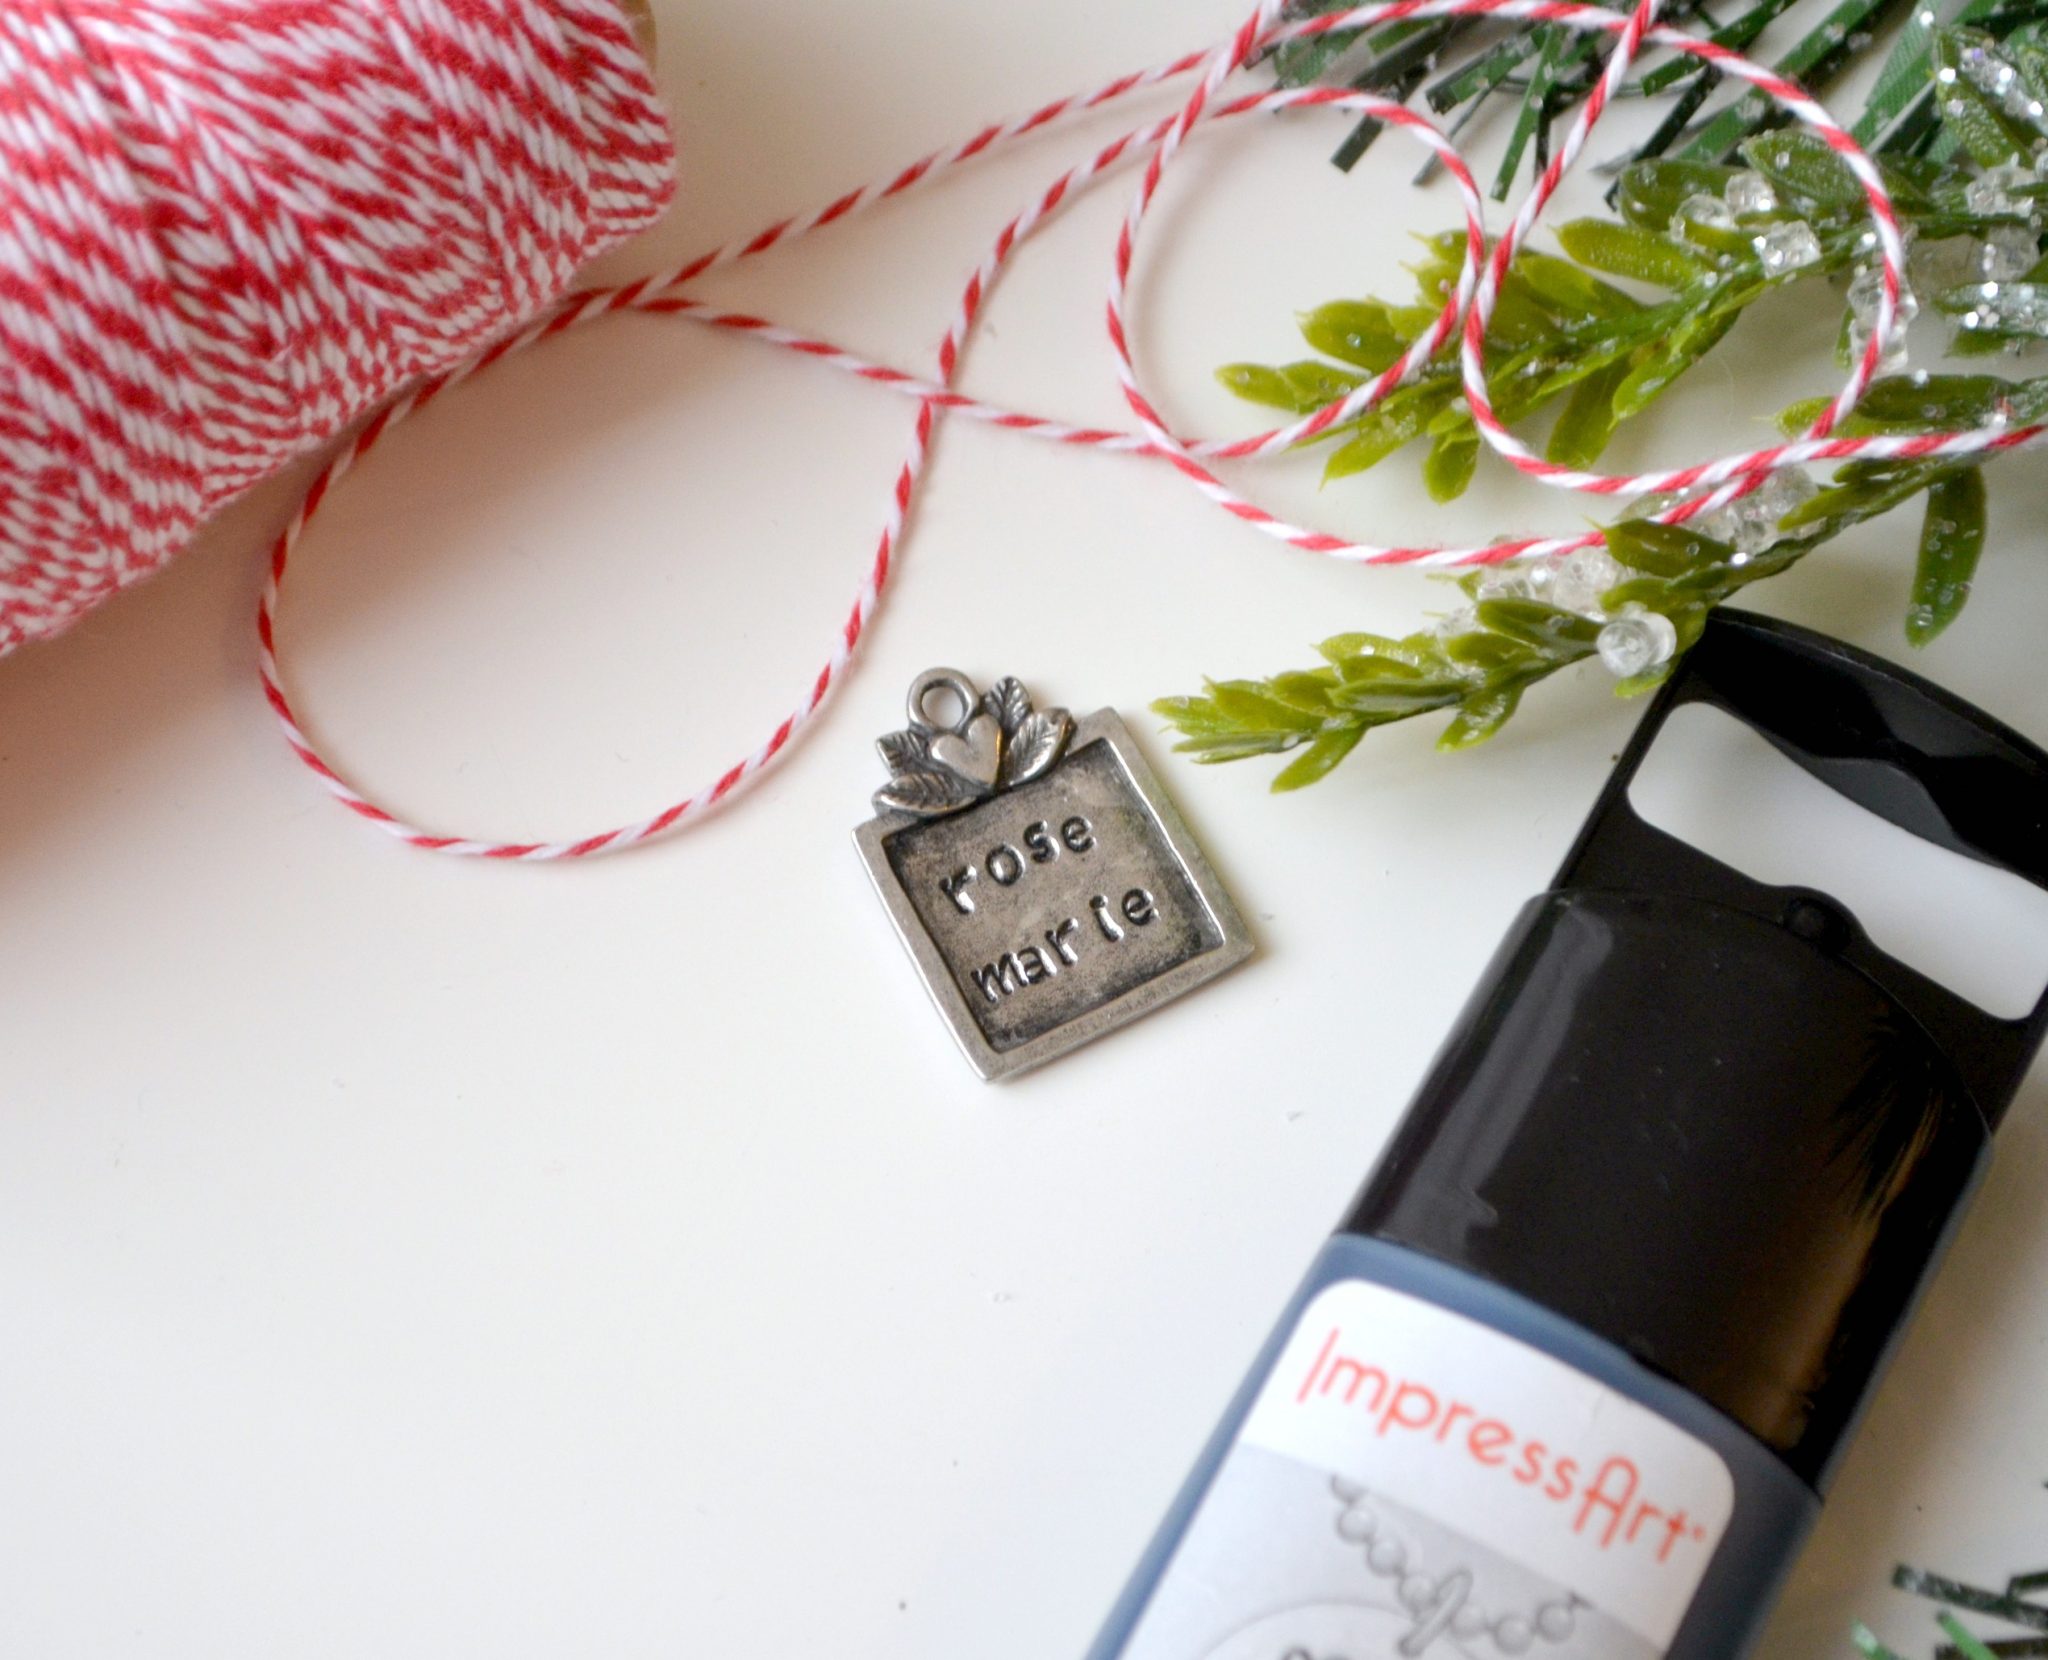
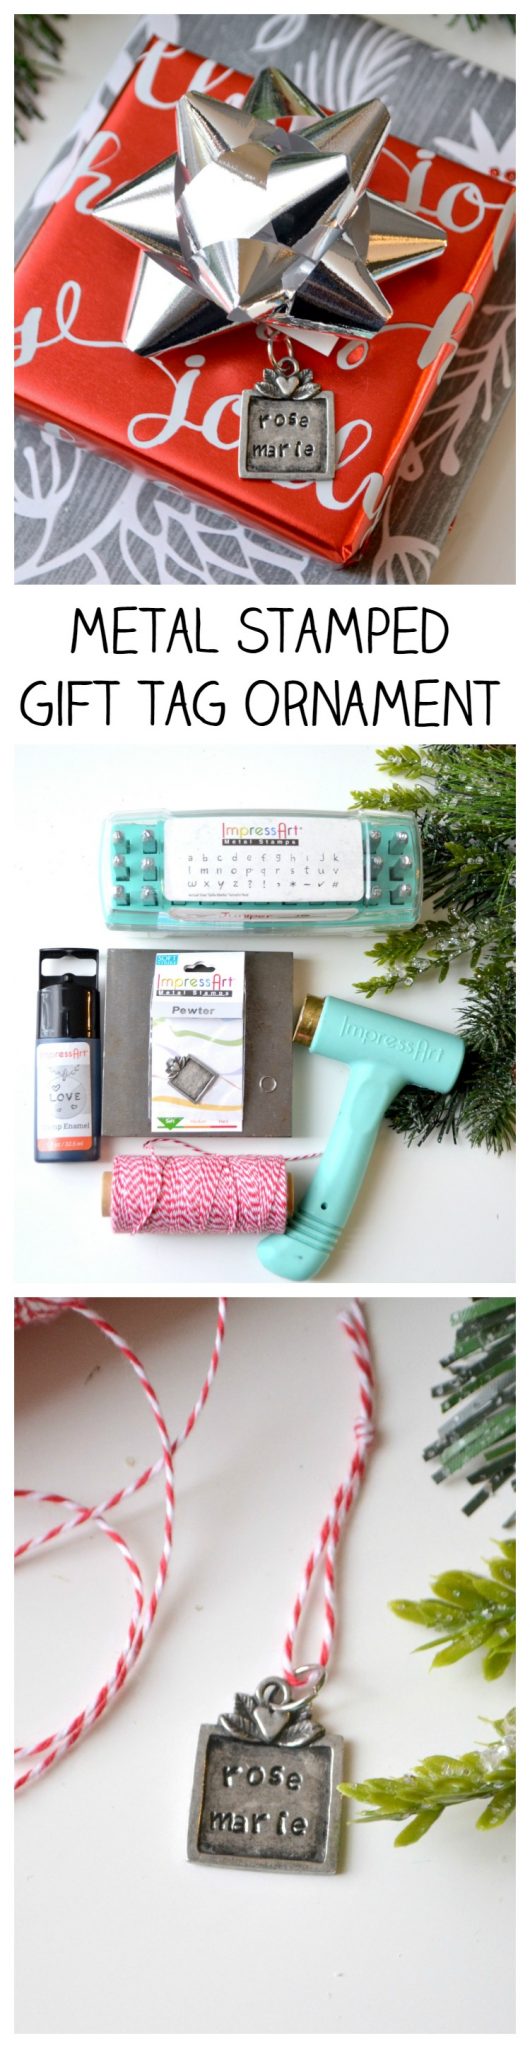
You’ll need:
ImpressArt Alphabet Stamps: Juniper Lowercase
Steel Stamping Block
Metal Stamping Hammer
ImpressArt Artisan Pewter Stamping Blank, Square
ImpressArt Stamp Enamel
Soft Cloth or Paper Towel
Stamp Straight Tape
Jump Ring
Twine
Scissors
Pliers
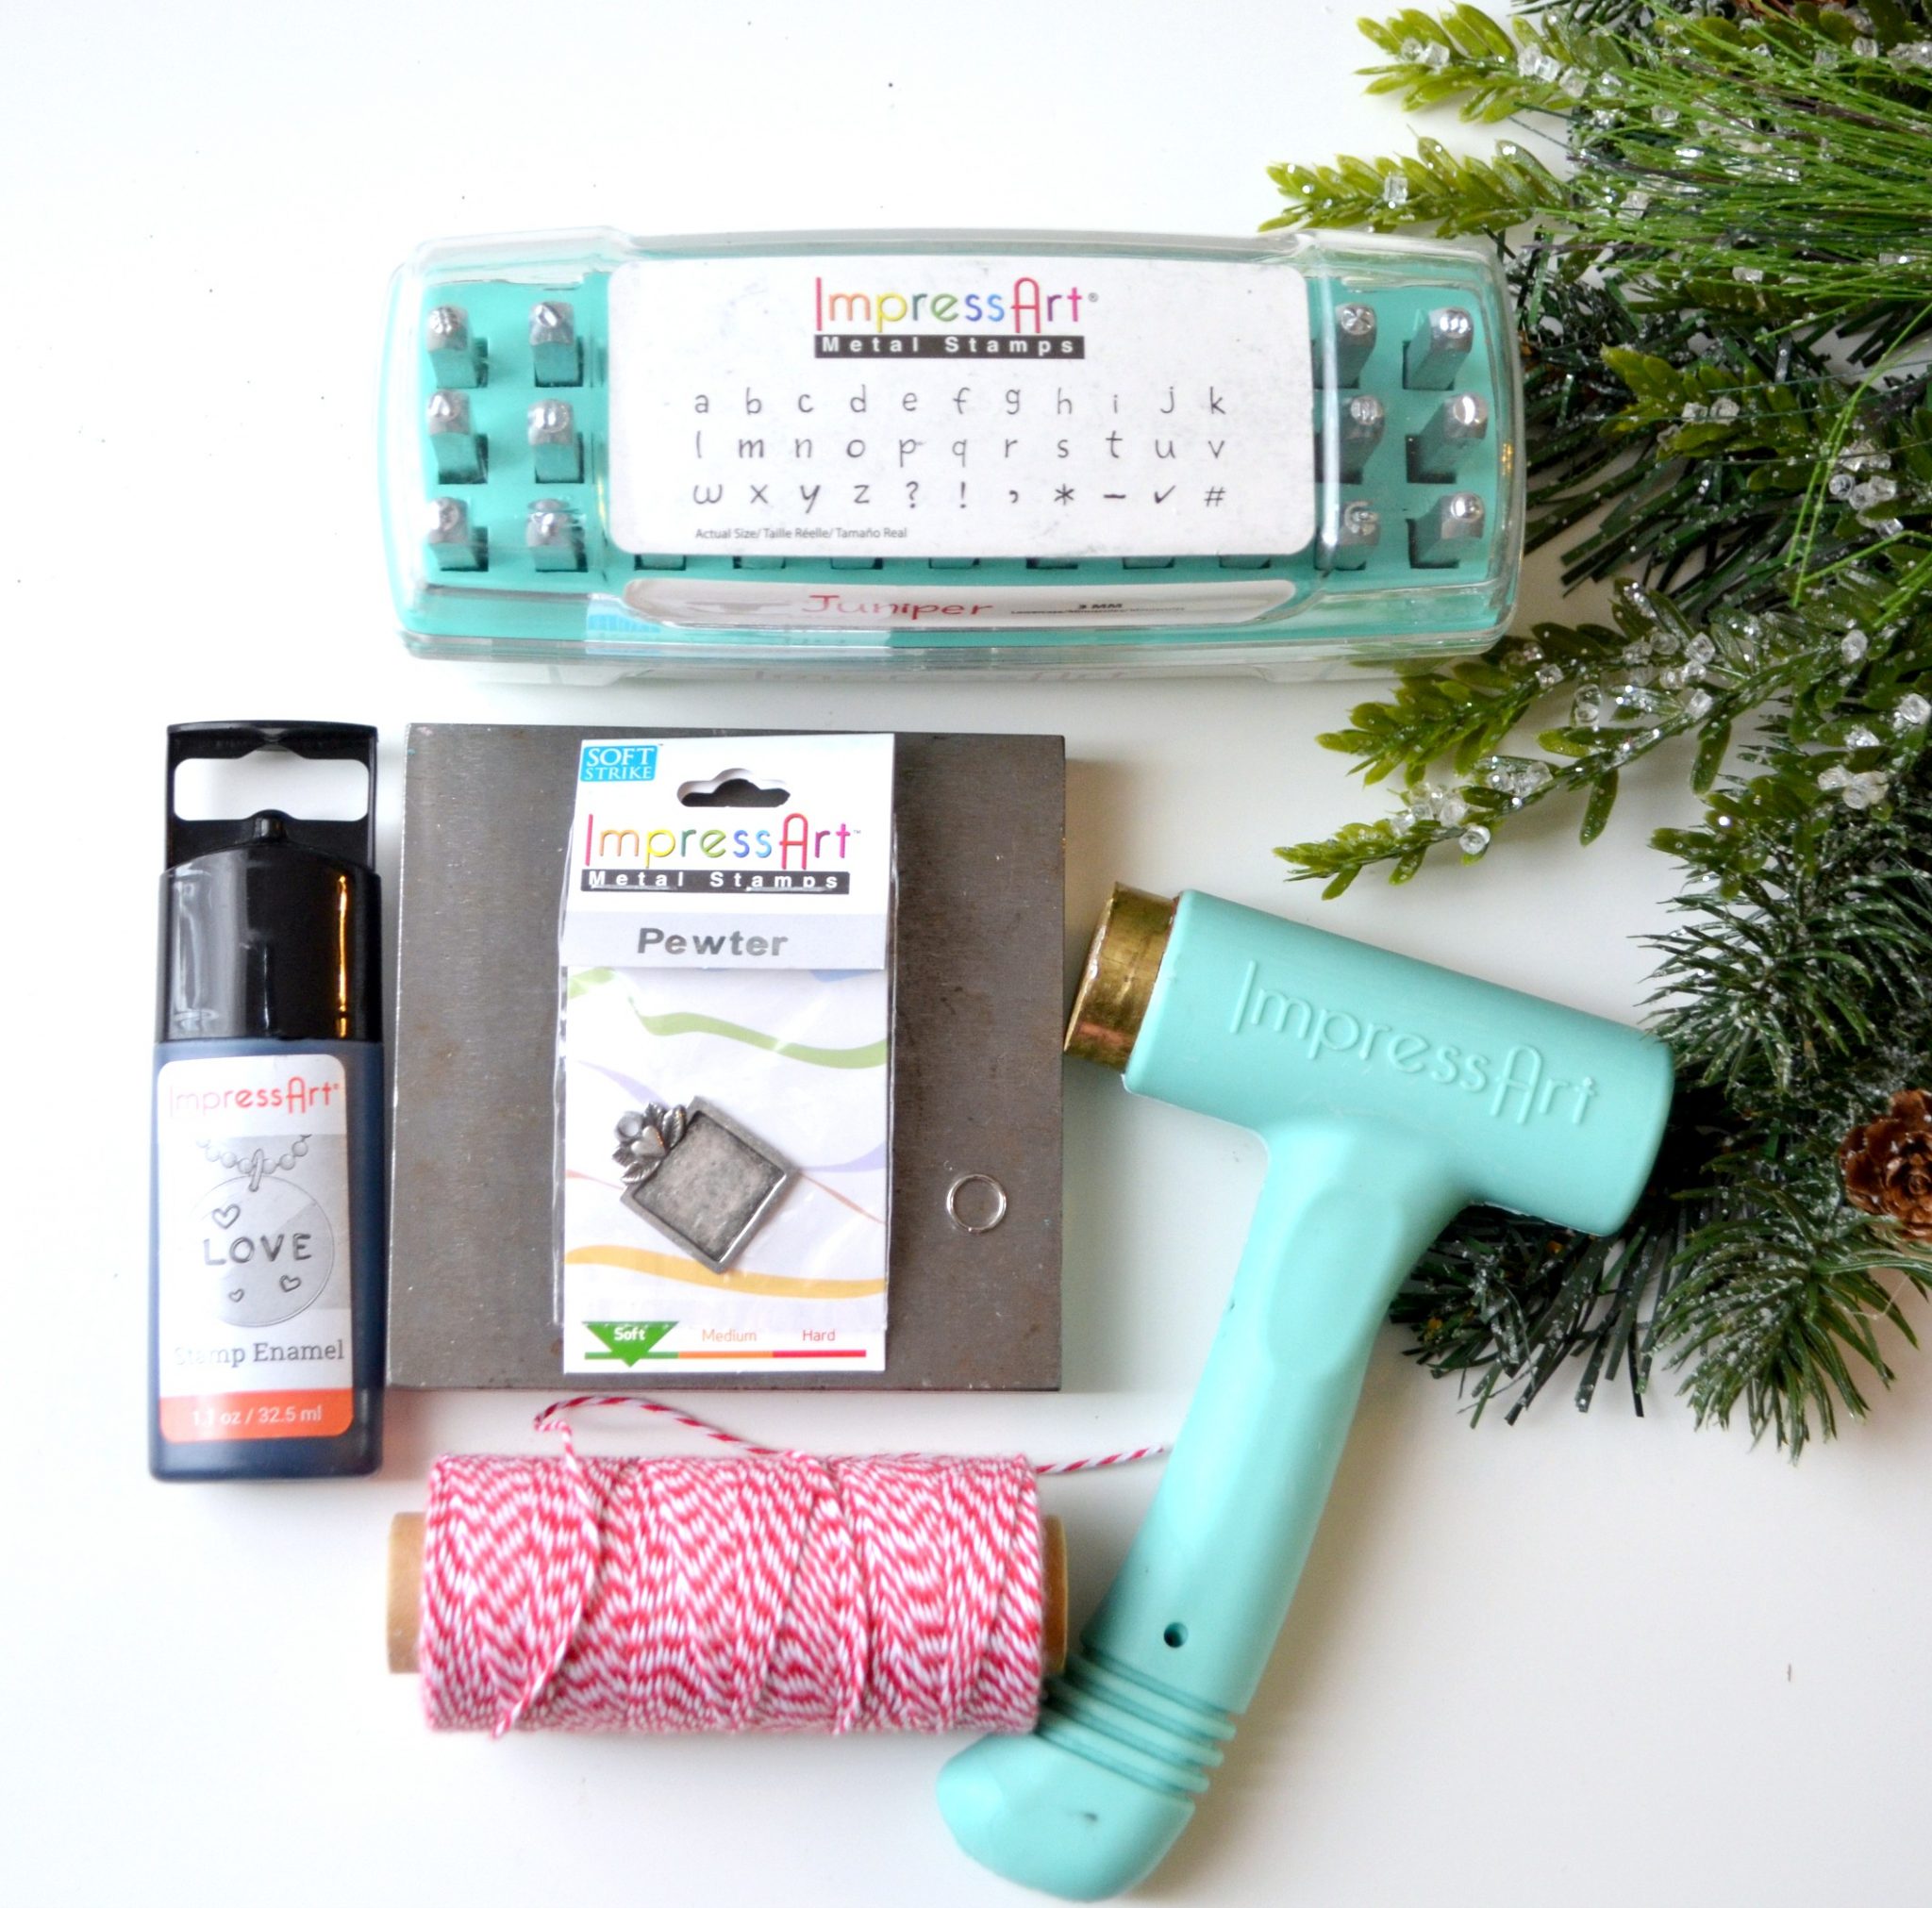
Although it seems like a lot of supplies at first, once you make the initial investment in tools like the hammer, stamps, stamping block, and enamel, making a project like this is really simple and inexpensive. You can make one of these tags for less than $3 once you have the basic tools on hand.
Step 1: Tape your blank to the steel block.
This will keep it still while you stamp, plus it’ll help you align your letters.
Step 2: Stamp the recipient’s name.
Starting with the center letter, hold the alphabet stamp where you want it to go and tap the top firmly with your hammer. These pewter blanks are soft and easy to stamp, so one good tap should be enough to get a deep, clean impression. Continue stamping each letter, moving outward from the center.
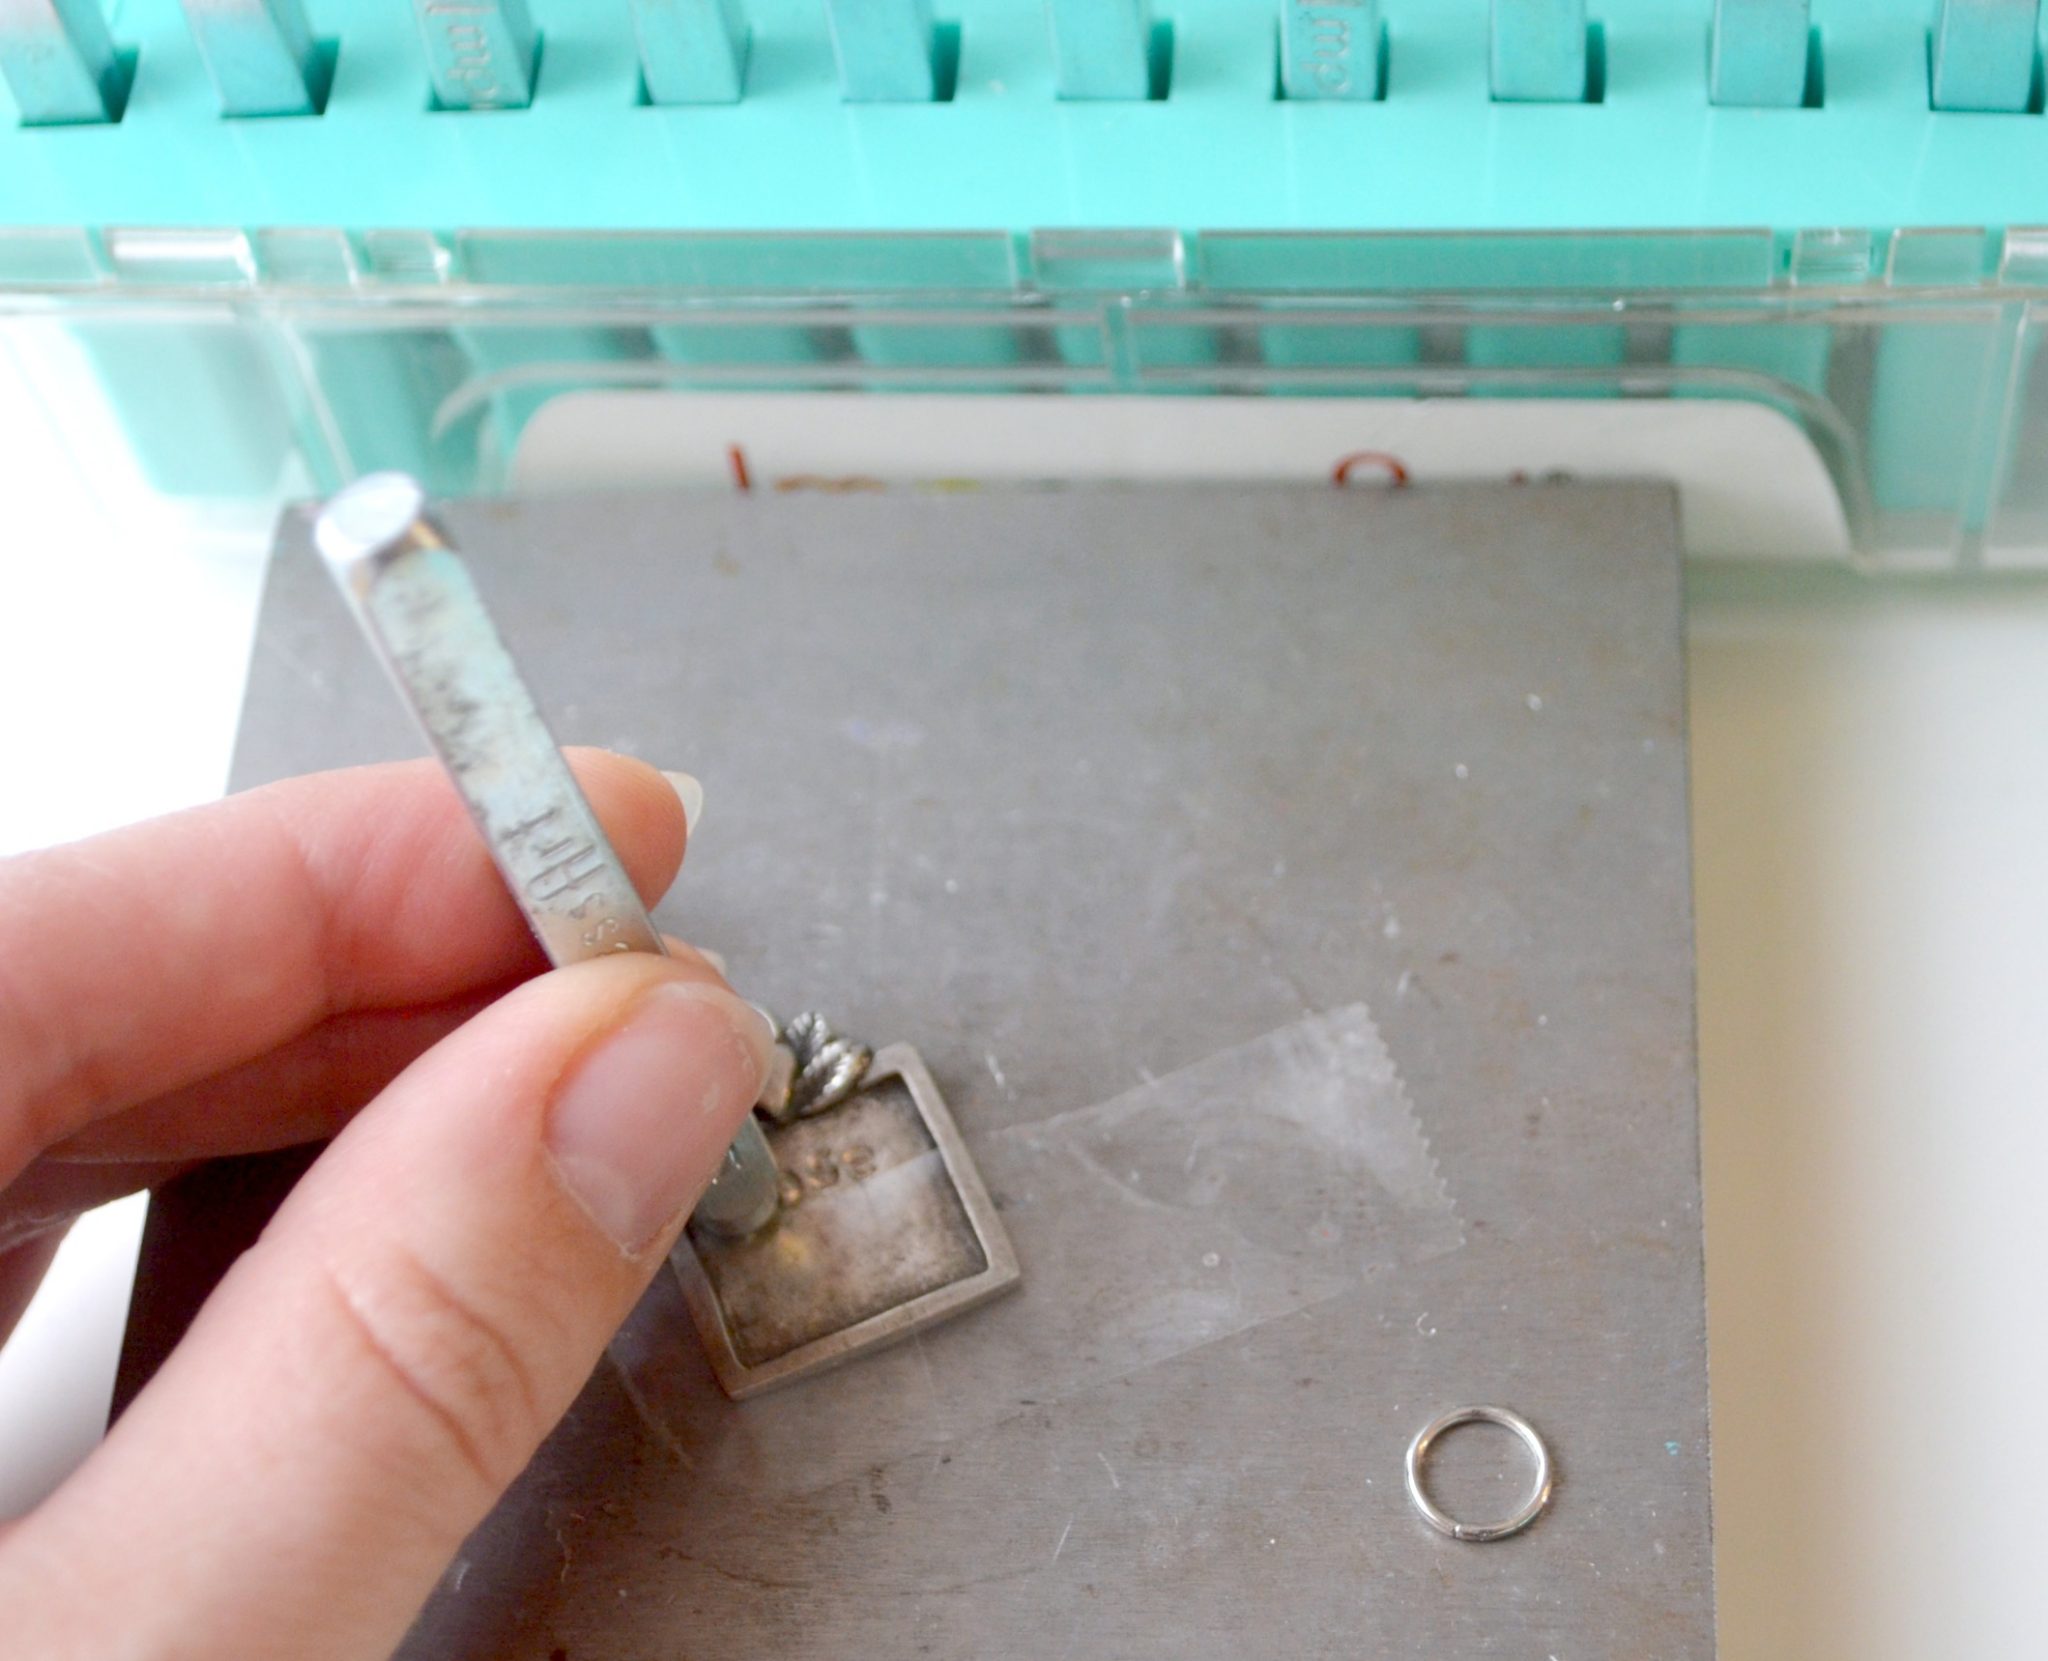
I stamped a first and middle name, “Rose Marie,” but you can easily do just a first name or whatever it is that you call someone, like, “Grandma,” “Aunt June,” etc.
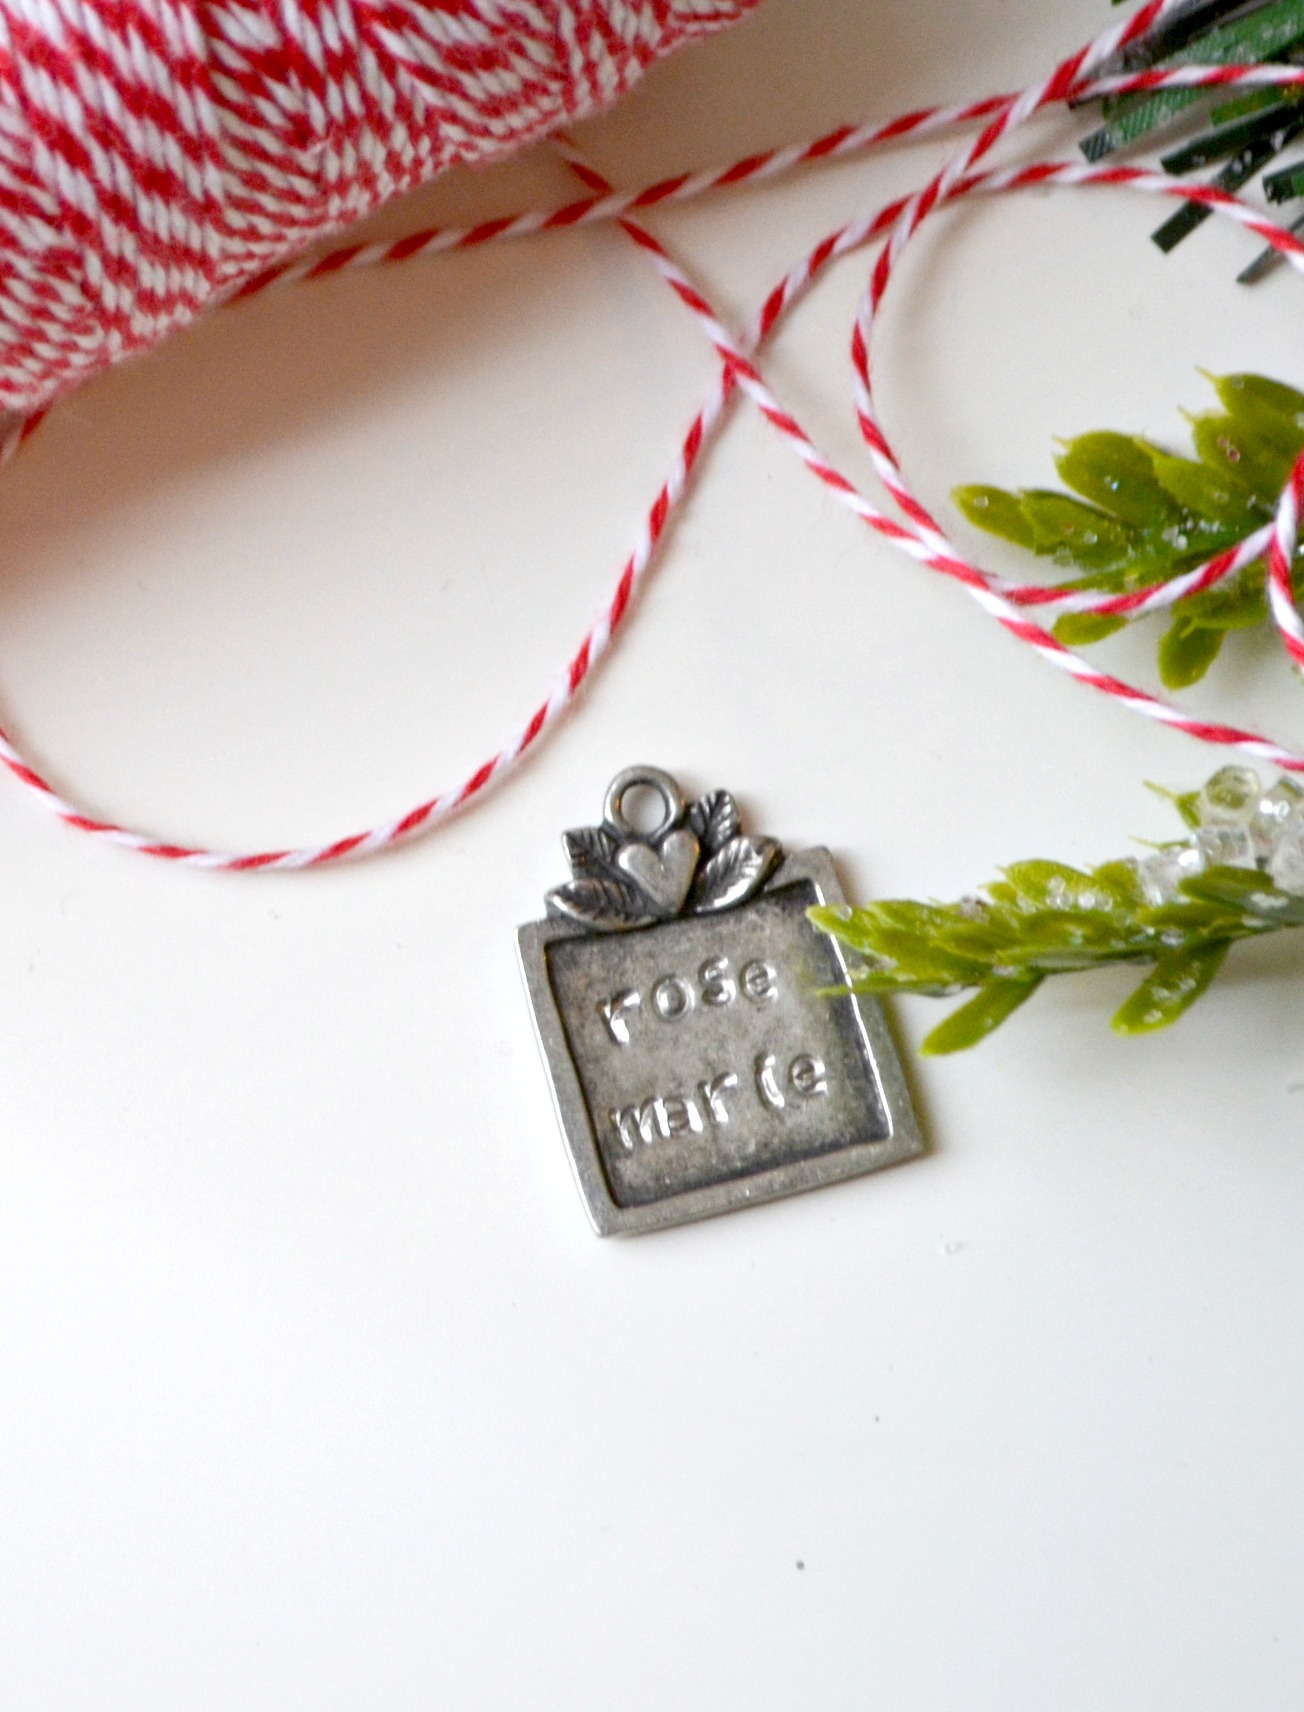
Step 3: Once your design is stamped, fill it in with ImpressArt Stamp Enamel.
Just squeeze enough of the enamel directly over the stamped areas to completely cover all the letters. After 10-30 seconds, wipe off the excess with a soft cloth or paper towel. The enamel on the surface will wipe away easily, but the enamel in the grooves of the stamped letters will remain, making them dark and easy to read. It provides a faux oxidized look as well.
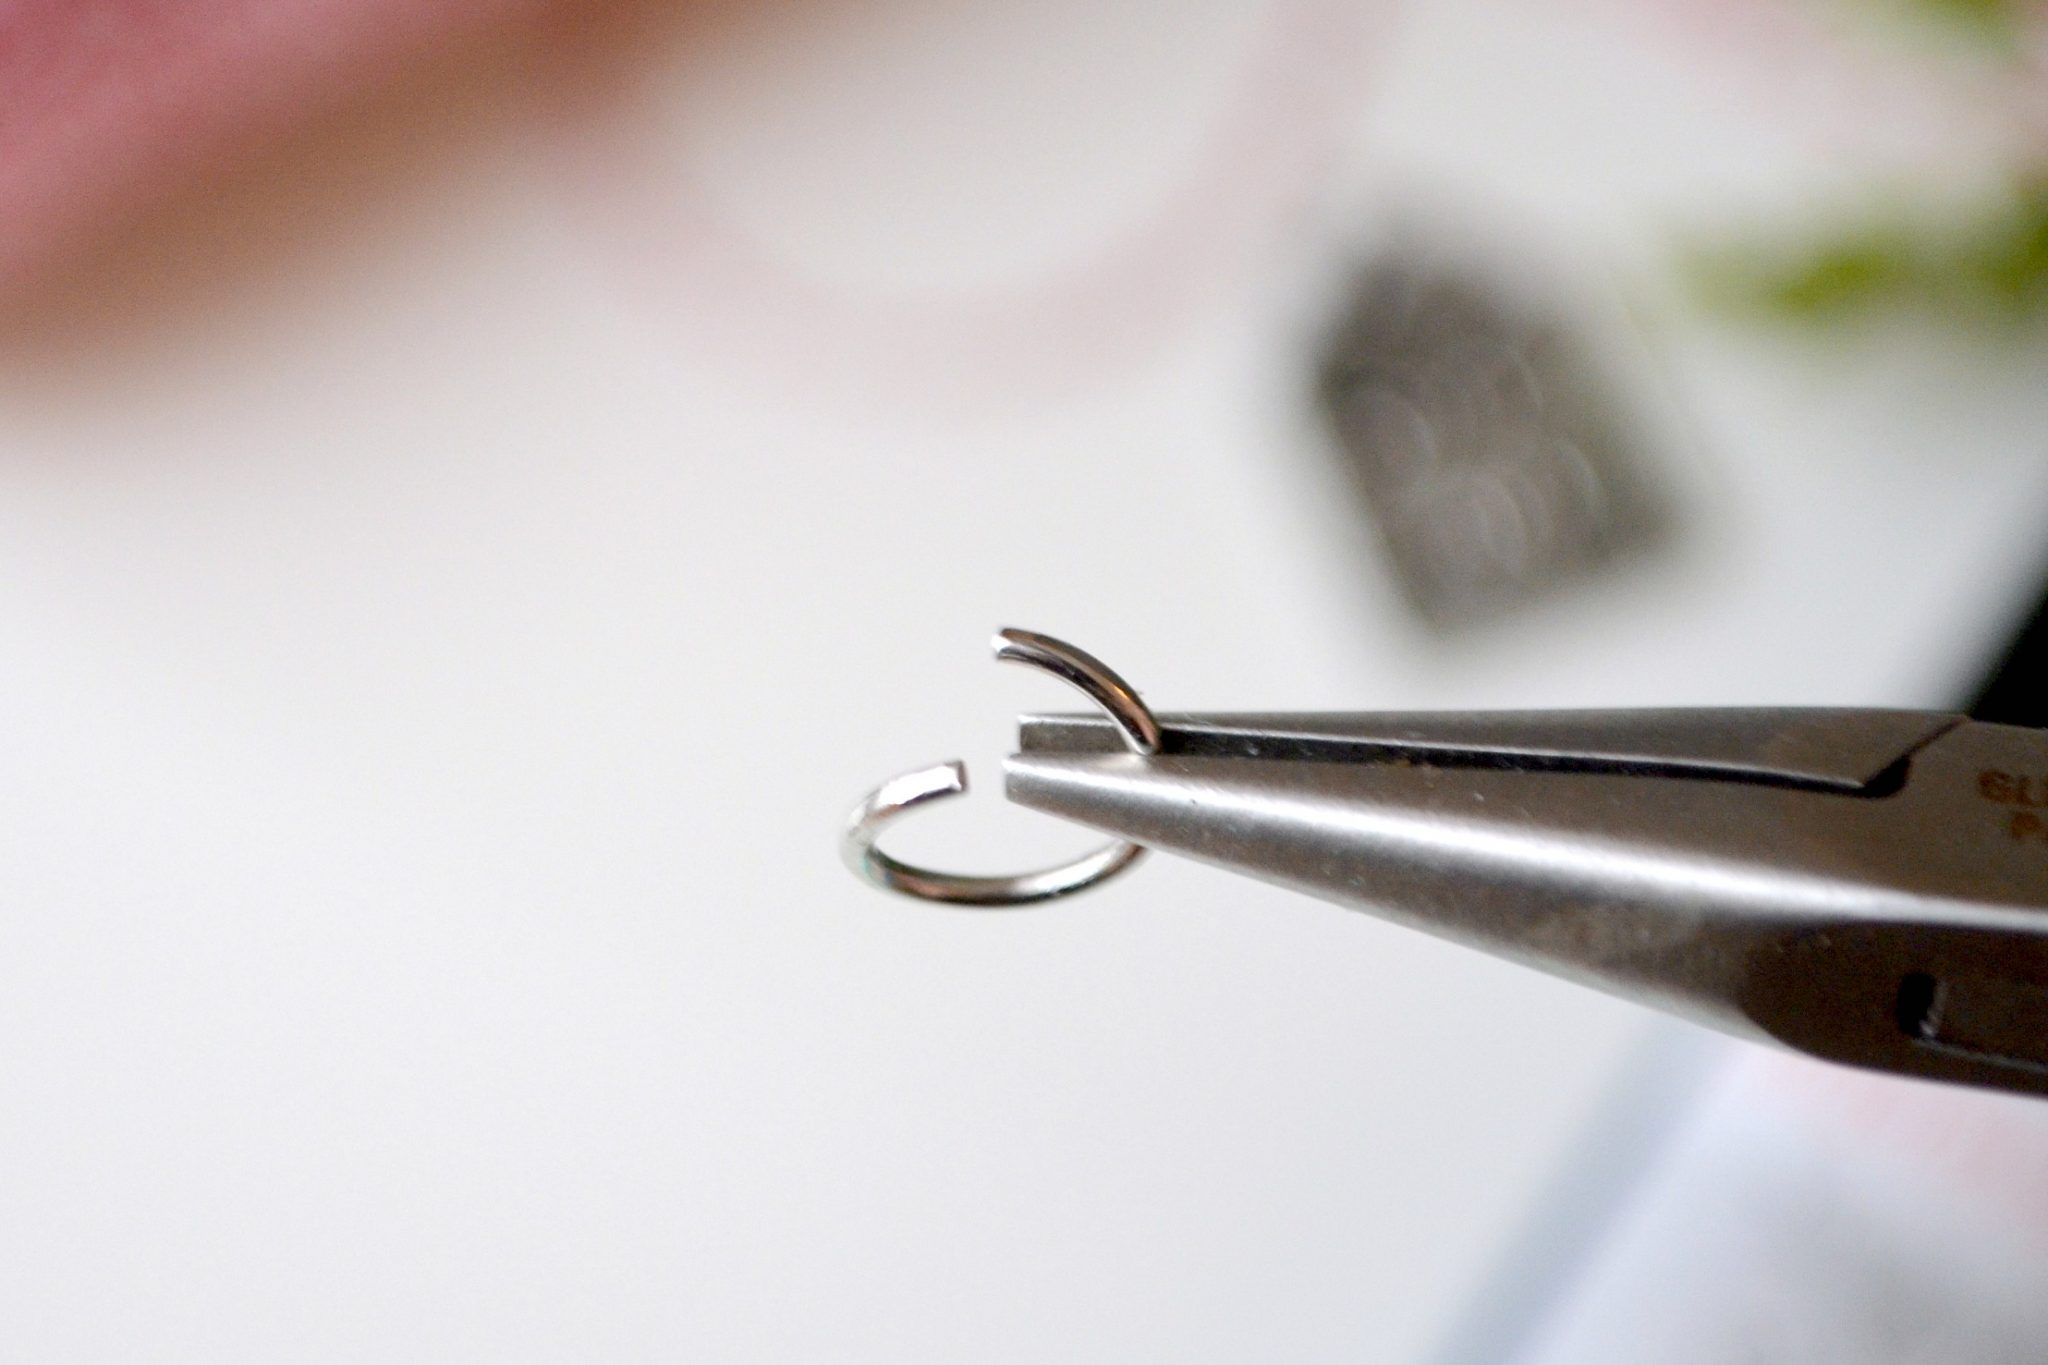
Step 4: Attach a jump ring.
Whenever you open a jump ring, make sure to gently twist the ends apart rather than pulling them away from each other. This maintains the perfectly round shape of the metal and allows you to get a tight seal when you close it again.
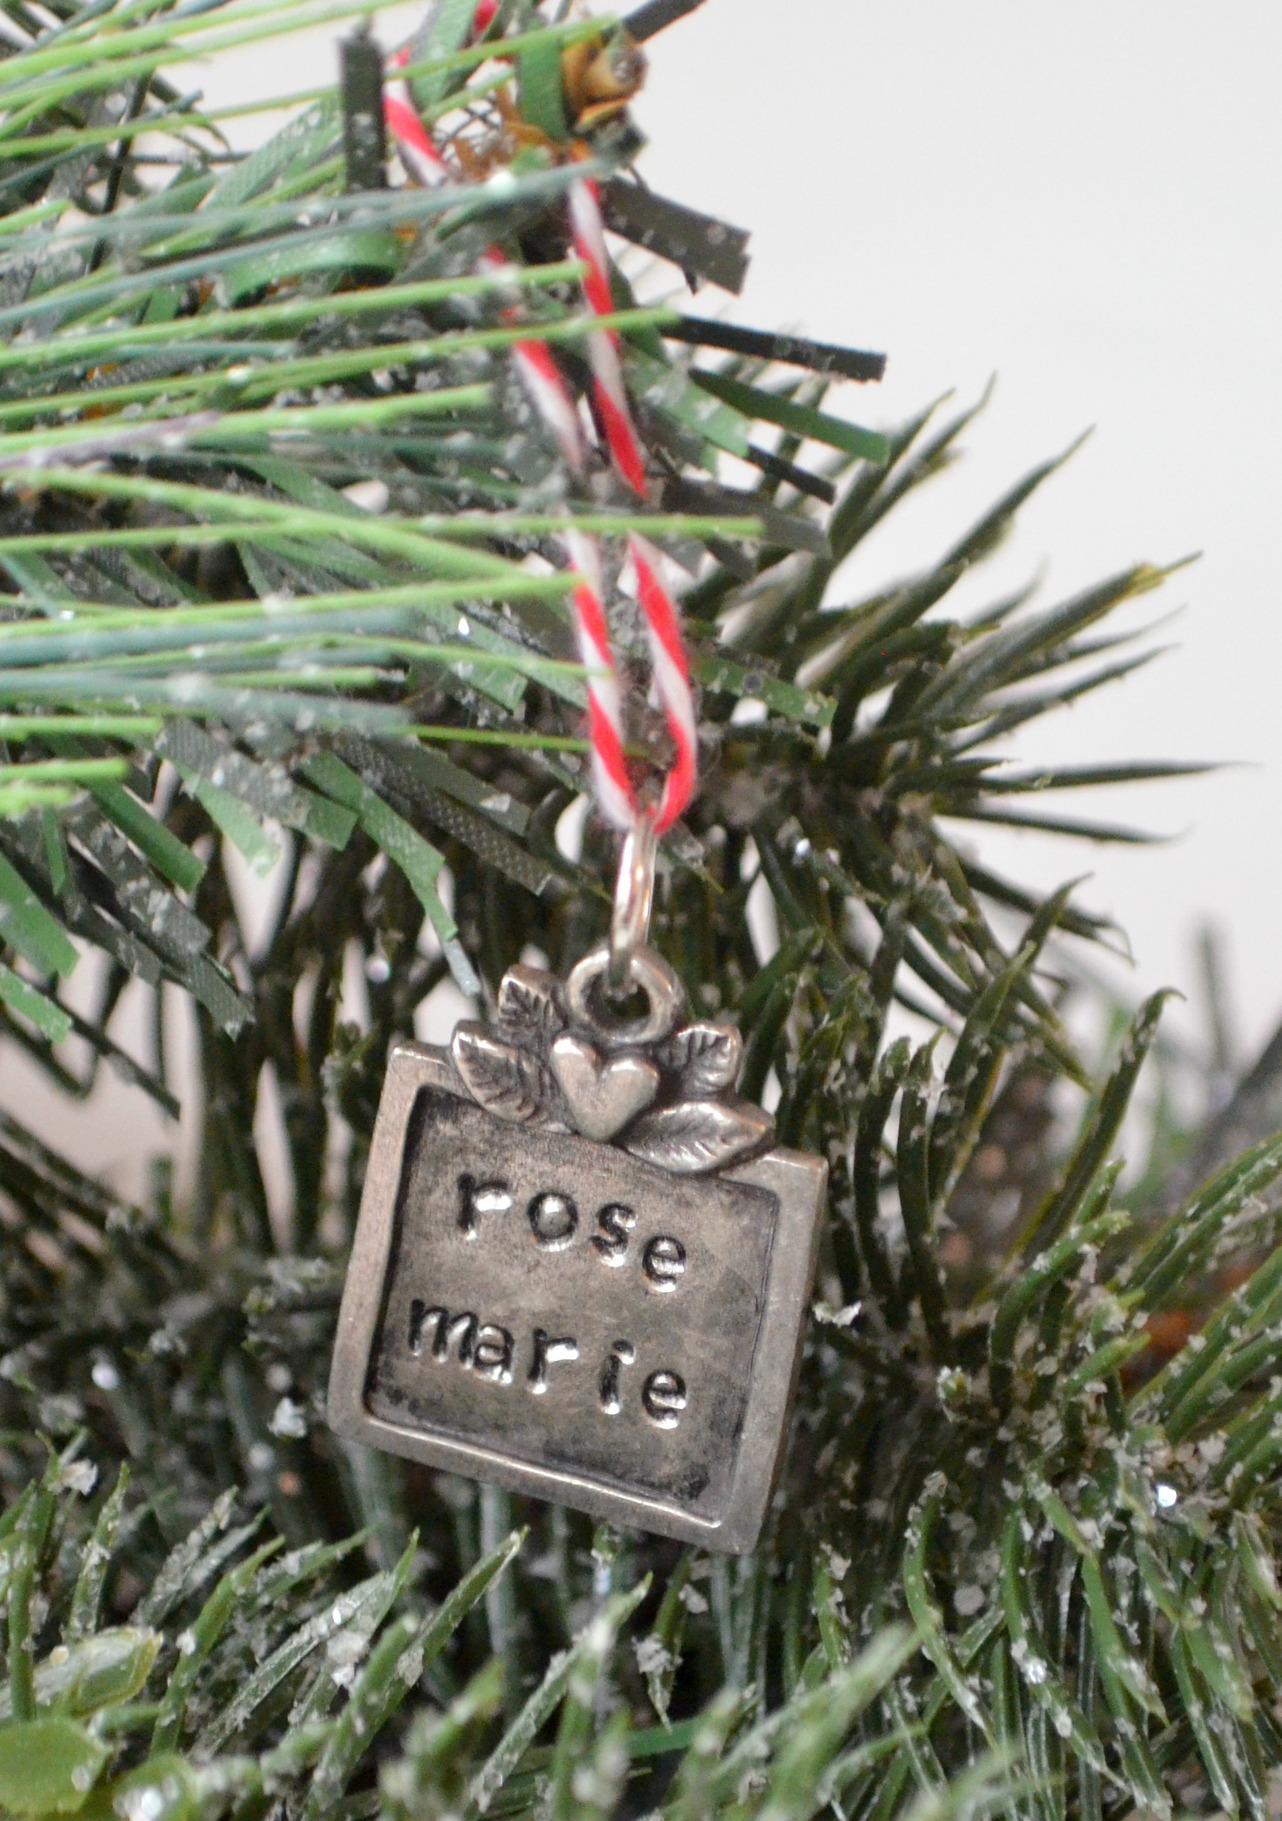
Step 5: Add twine.
You can be as creative as you like here and use whatever ribbon, cord, yarn, jute, or twine you want. Metallics, glitter ribbon, natural…the sky’s the limit.

Now your project is ready to go! See how cute it will look as an ornament?
Since you added the jump ring, it’s also easy for someone to slide the stamped blank onto a chain and turn it into a necklace. They could also add it to their key ring or anything else they like.
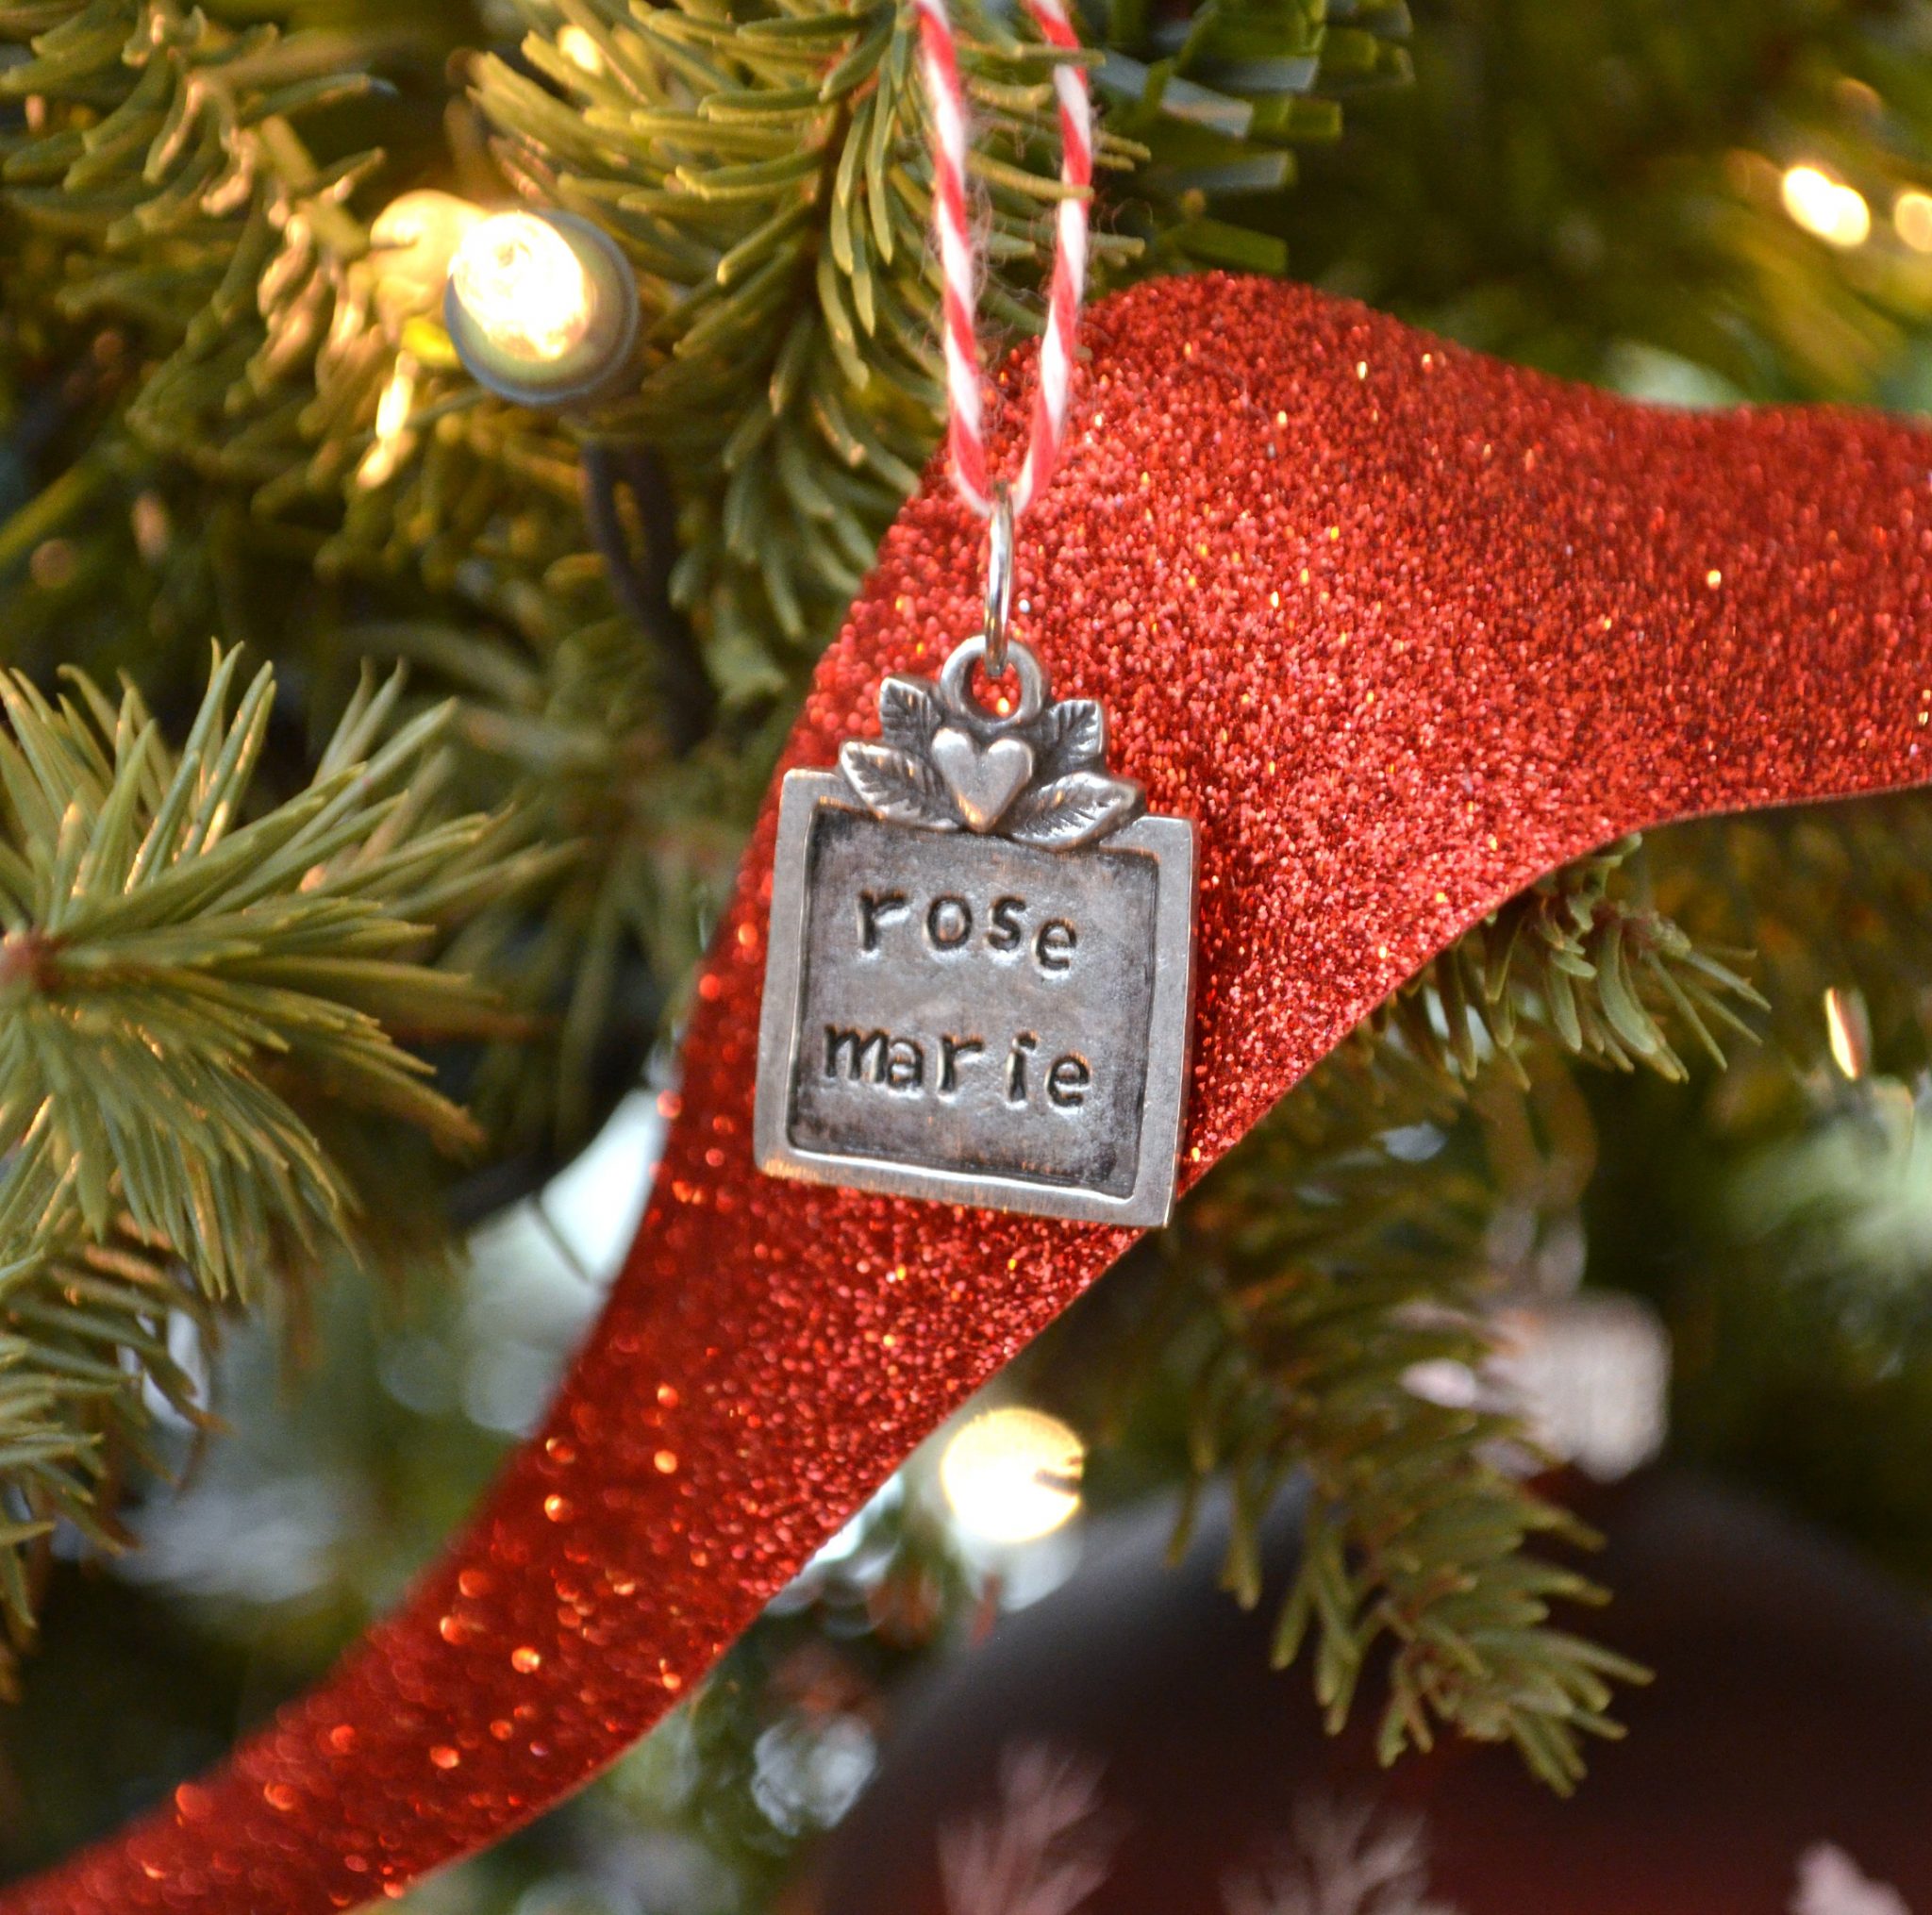
Now it’s time to make those packages pretty! Once you’ve wrapped your gifts, just add this as you would any other gift tag…ta da!

I don’t know about you, but I’d love to find such a pretty little tag waiting for me under the tree. Who do you know that would enjoy receiving a hand stamped ornament tag?
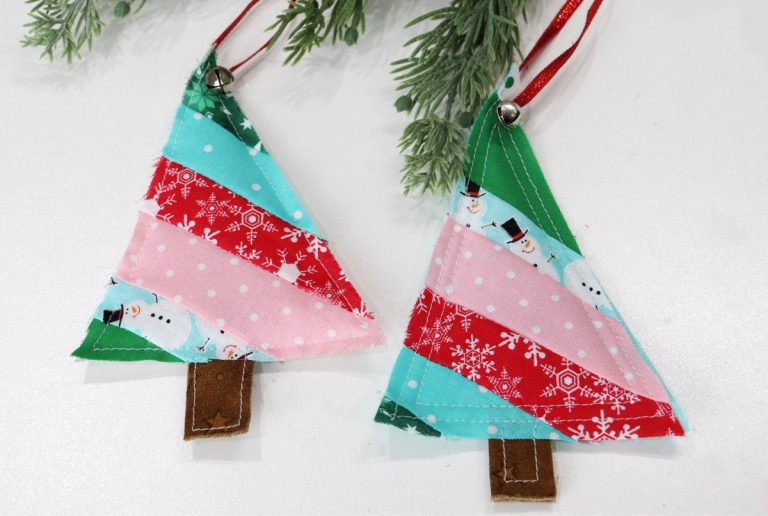
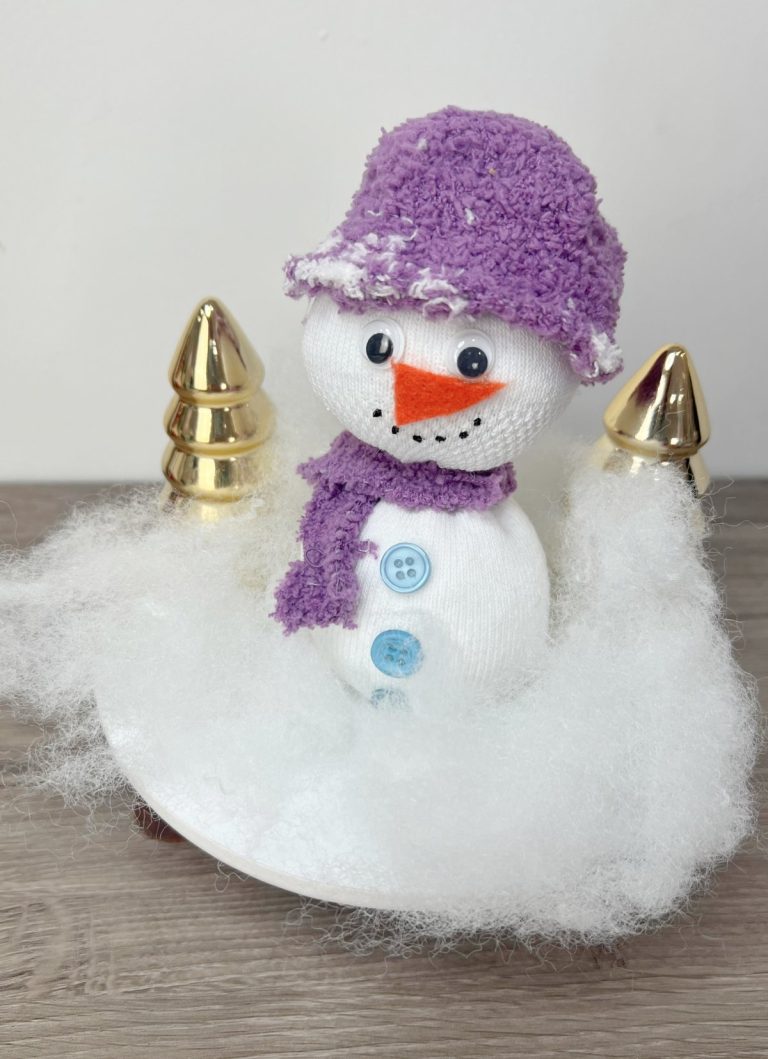
Speaking of gifts, be sure to check out these cute and simple DIY gift ideas:
Coffee & Chocolate Gift Basket
“Sweet” Gourmet Honey & Ornament Gift


Thank you for this great sharing.
Great work. It looks awesome. Thanks for sharing all the information. It will be so useful for me.