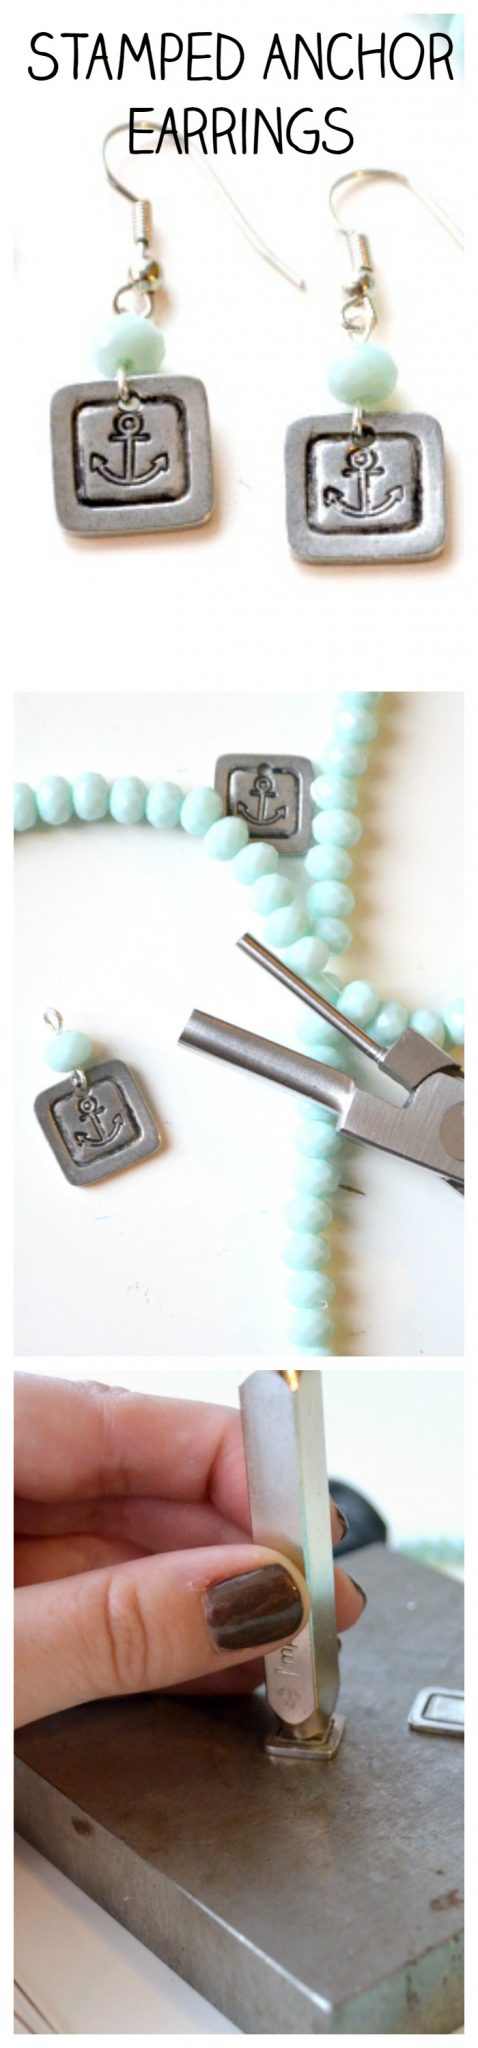
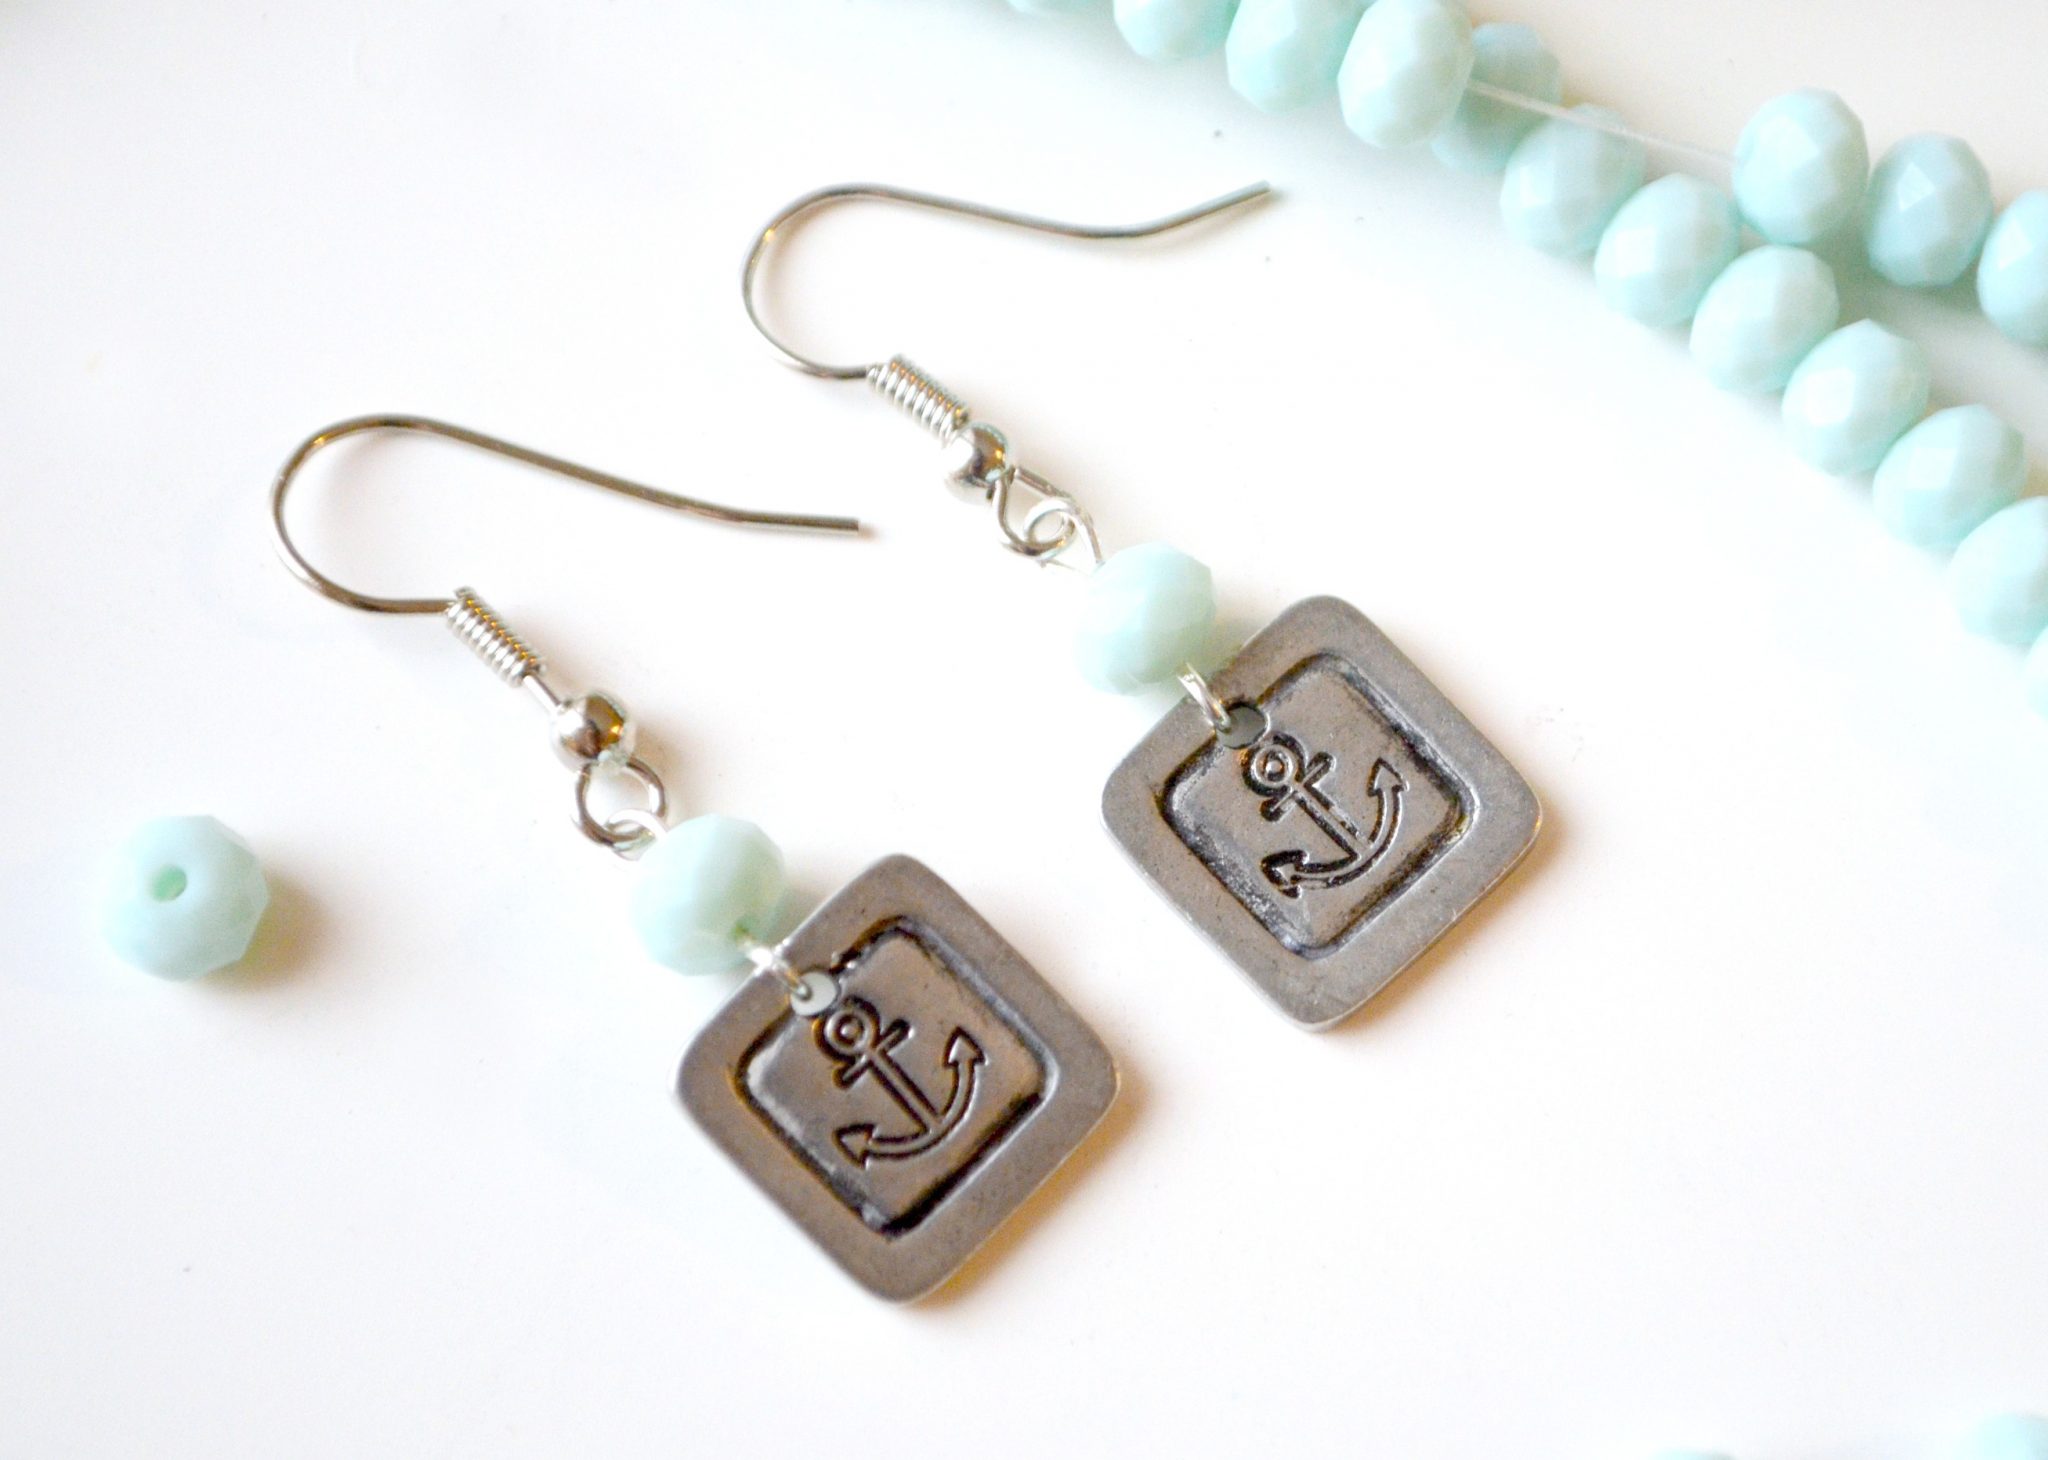
Stamped Anchor Earrings with ImpressArt
Thanks to ImpressArt for sponsoring today’s post. All ideas and opinions are honestly my own.
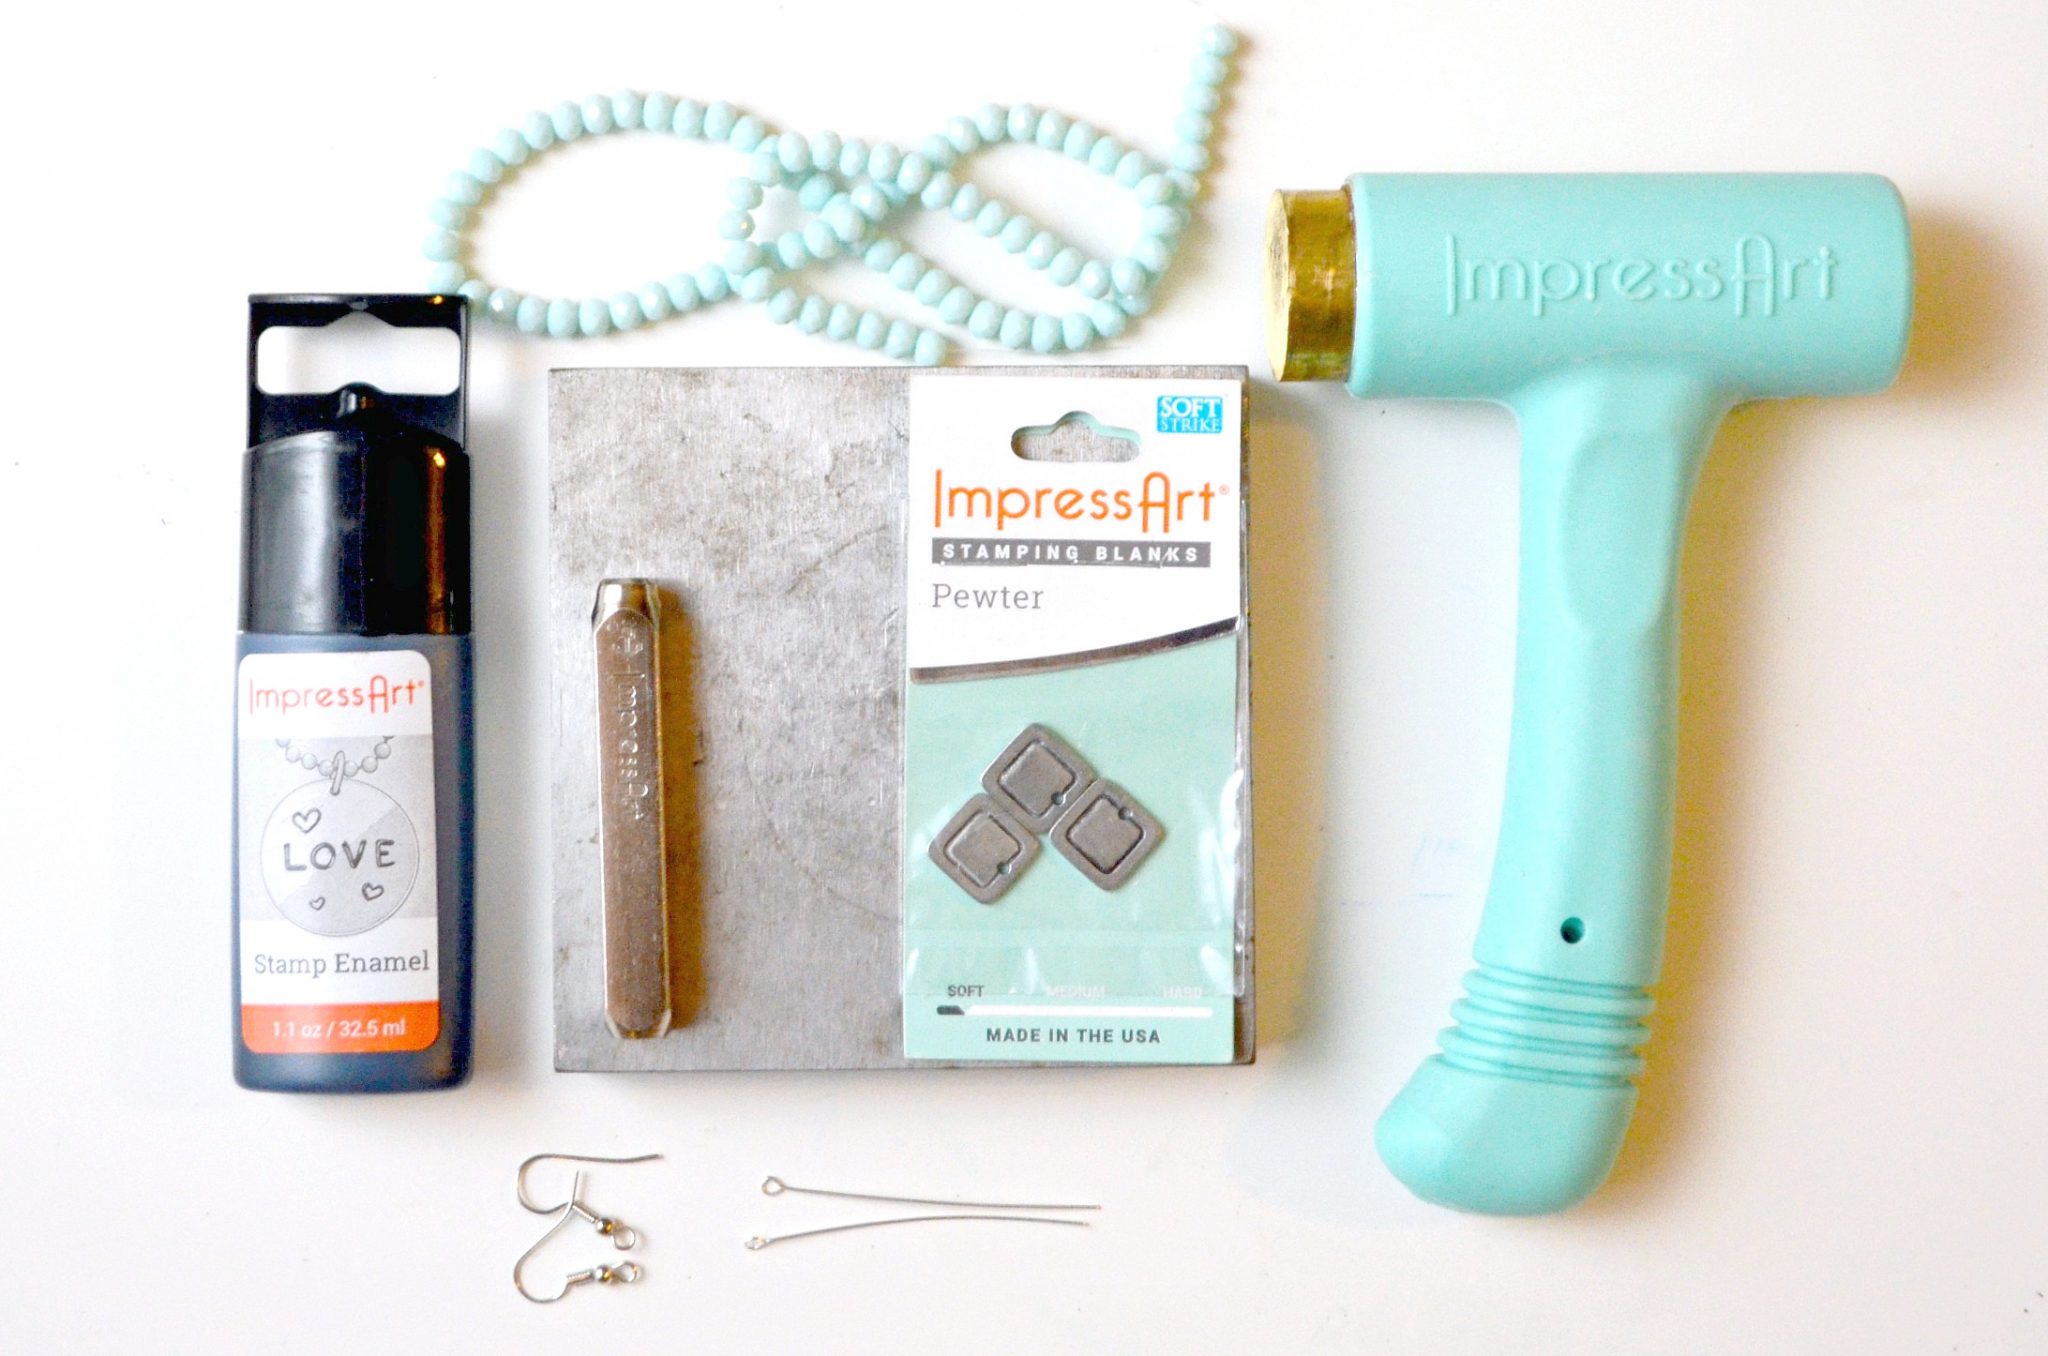
Materials:
Steel Stamping Block
Metal Stamping Hammer
ImpressArt SoftStrike Stamping Blanks, Small Bordered Squares
ImpressArt Stamp Enamel
ImpressArt Design Stamp, Anchor
Faceted Beads
Eye Pins {2}
Ear Wires {2}
Wire Cutters, Needle Nose Pliers
Soft Cloth or Paper Towel
Stamping Your Earrings
Step 1: Place your blank on top of a steel stamping block.
Step 2: Hold the anchor {or other design} stamp in the center of the blank.
The words and design printed on one side of the stamp should be facing you to ensure that the image is oriented correctly.
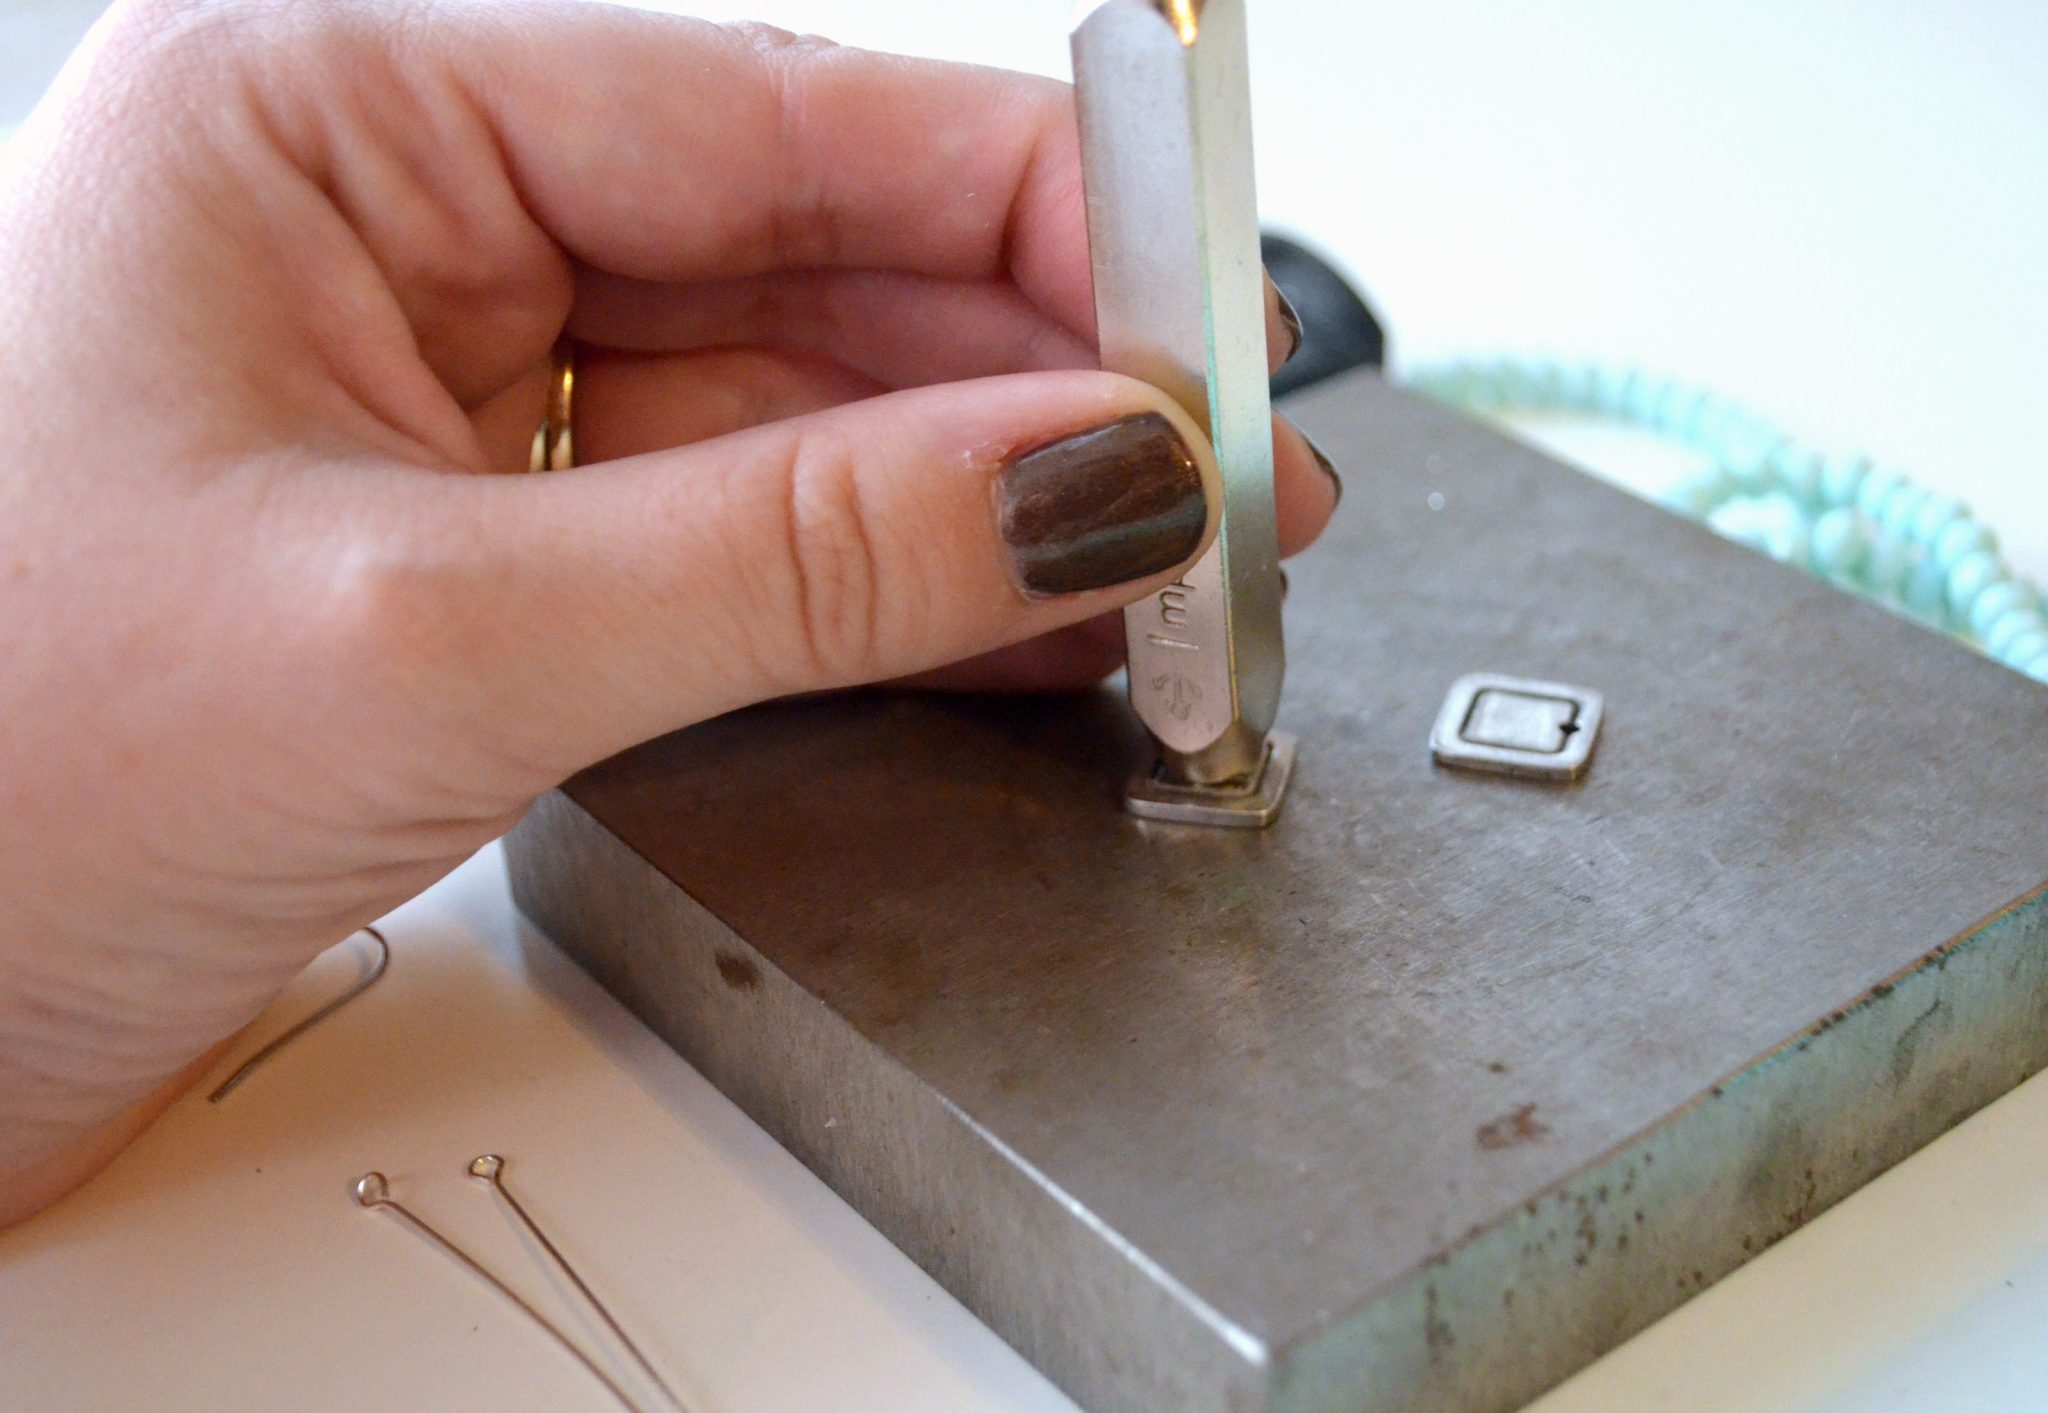
Step 3: Give the top of the stamp a firm tap with the hammer.
One good tap should do the trick, creating an impression on your blank.
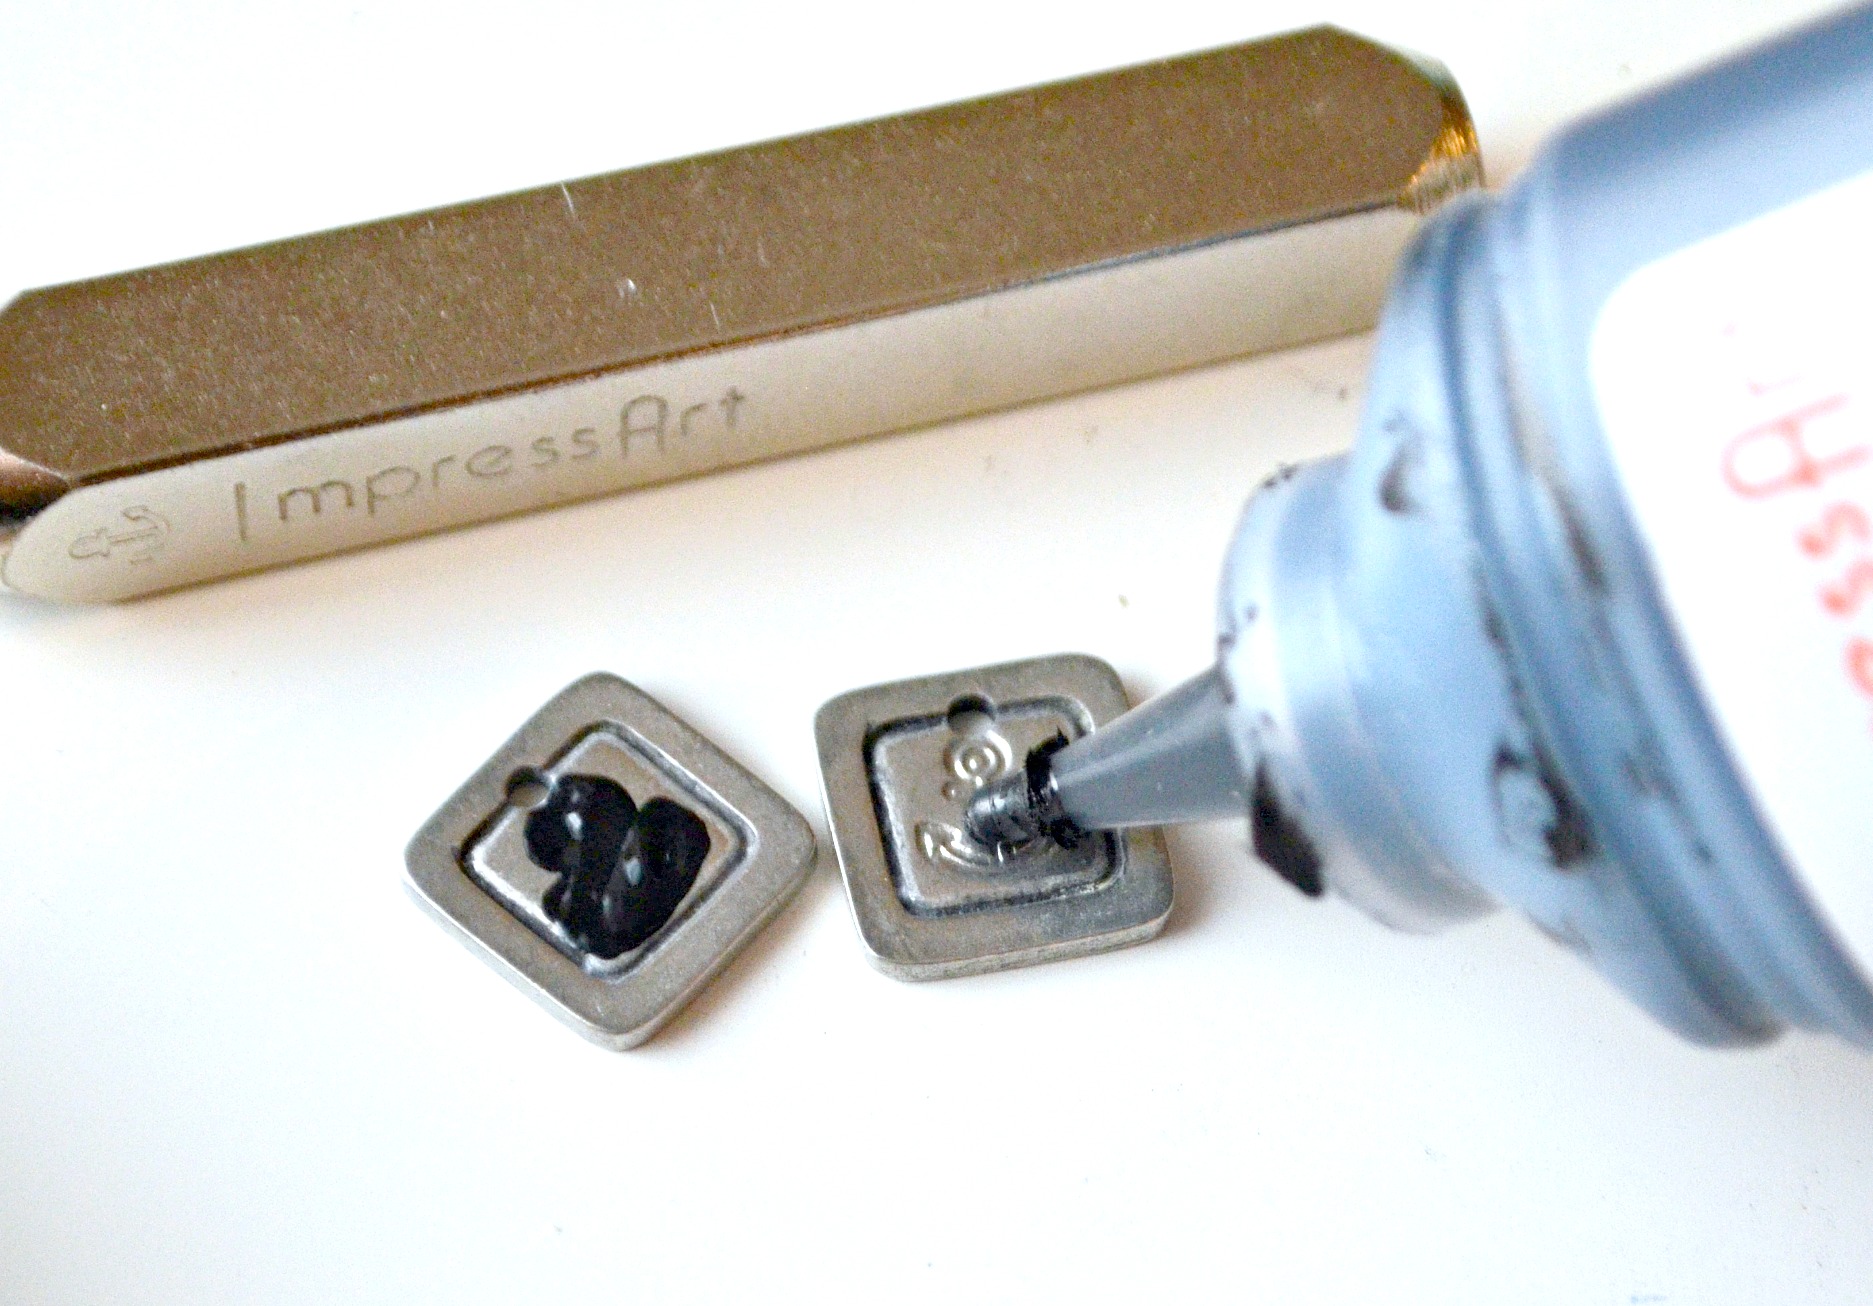
Step 4: Apply Stamp Enamel to the impression, allowing it to dry for 10-20 seconds. Wipe off the excess with a soft cloth or paper towel.
The enamel will remain in the stamped area, giving it a darker appearance than the rest of the blank.
Creating Your Anchor Earrings
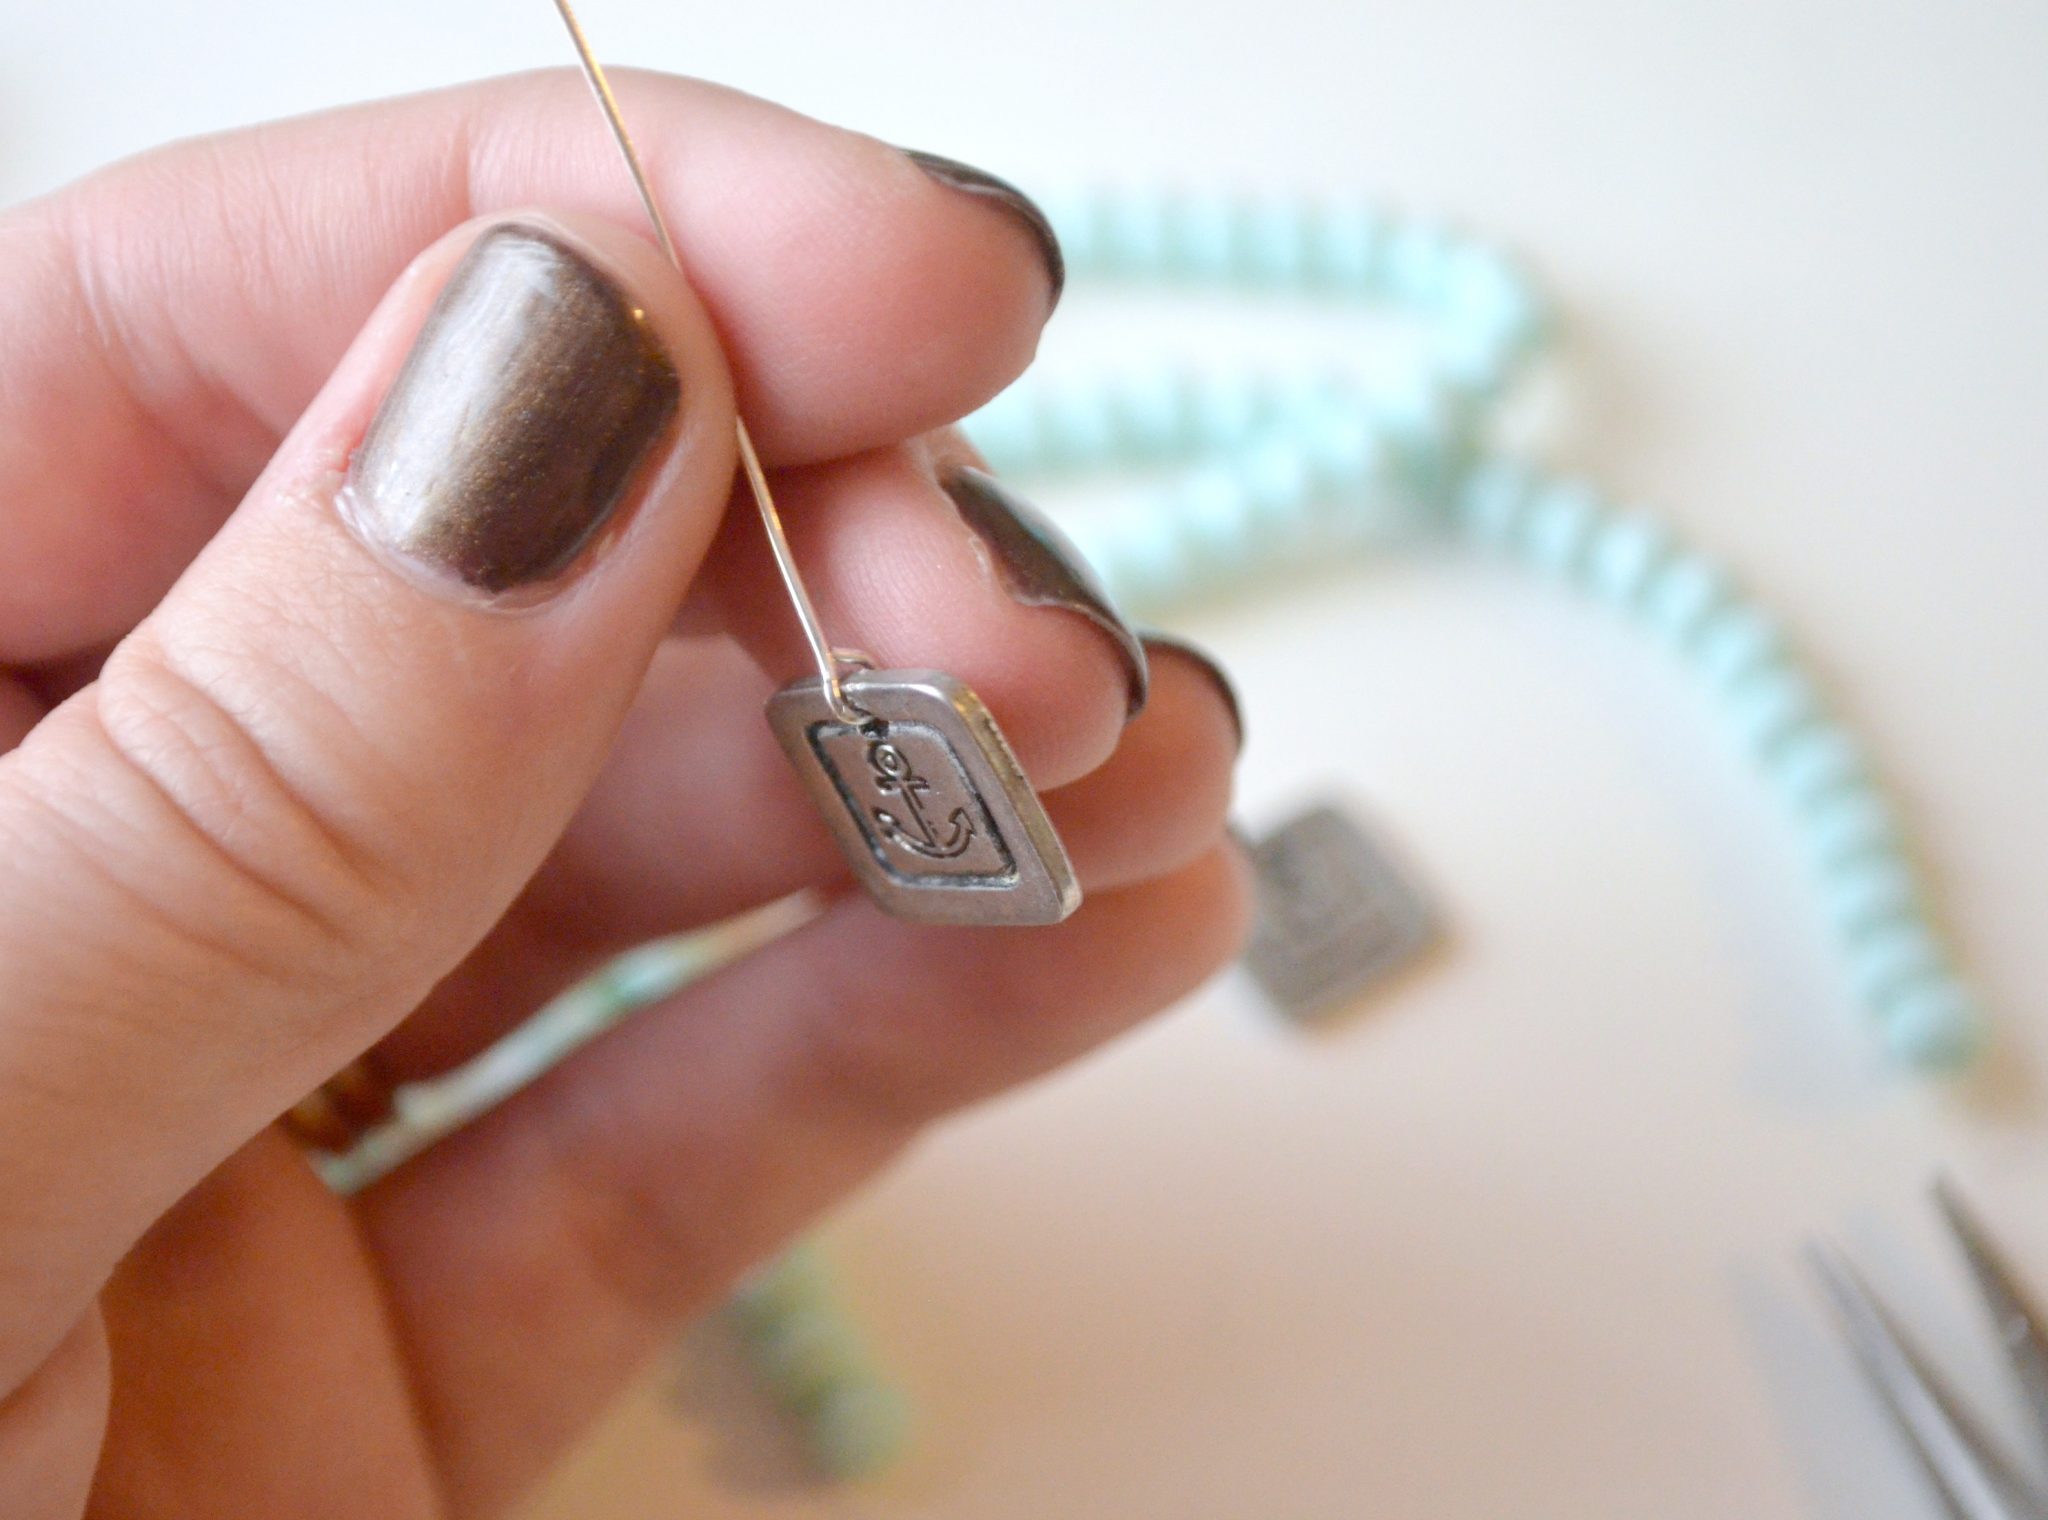
Step 1: Gently twist the loop of one eye pin open and thread it through the hole in the top of your stamped blank. Then, twist the loop closed.
Pro tip: When opening any type of loop, always twist the ends apart by bringing one end toward you and pushing the other away. This will maintain the shape of the loop and make it easy to close again.
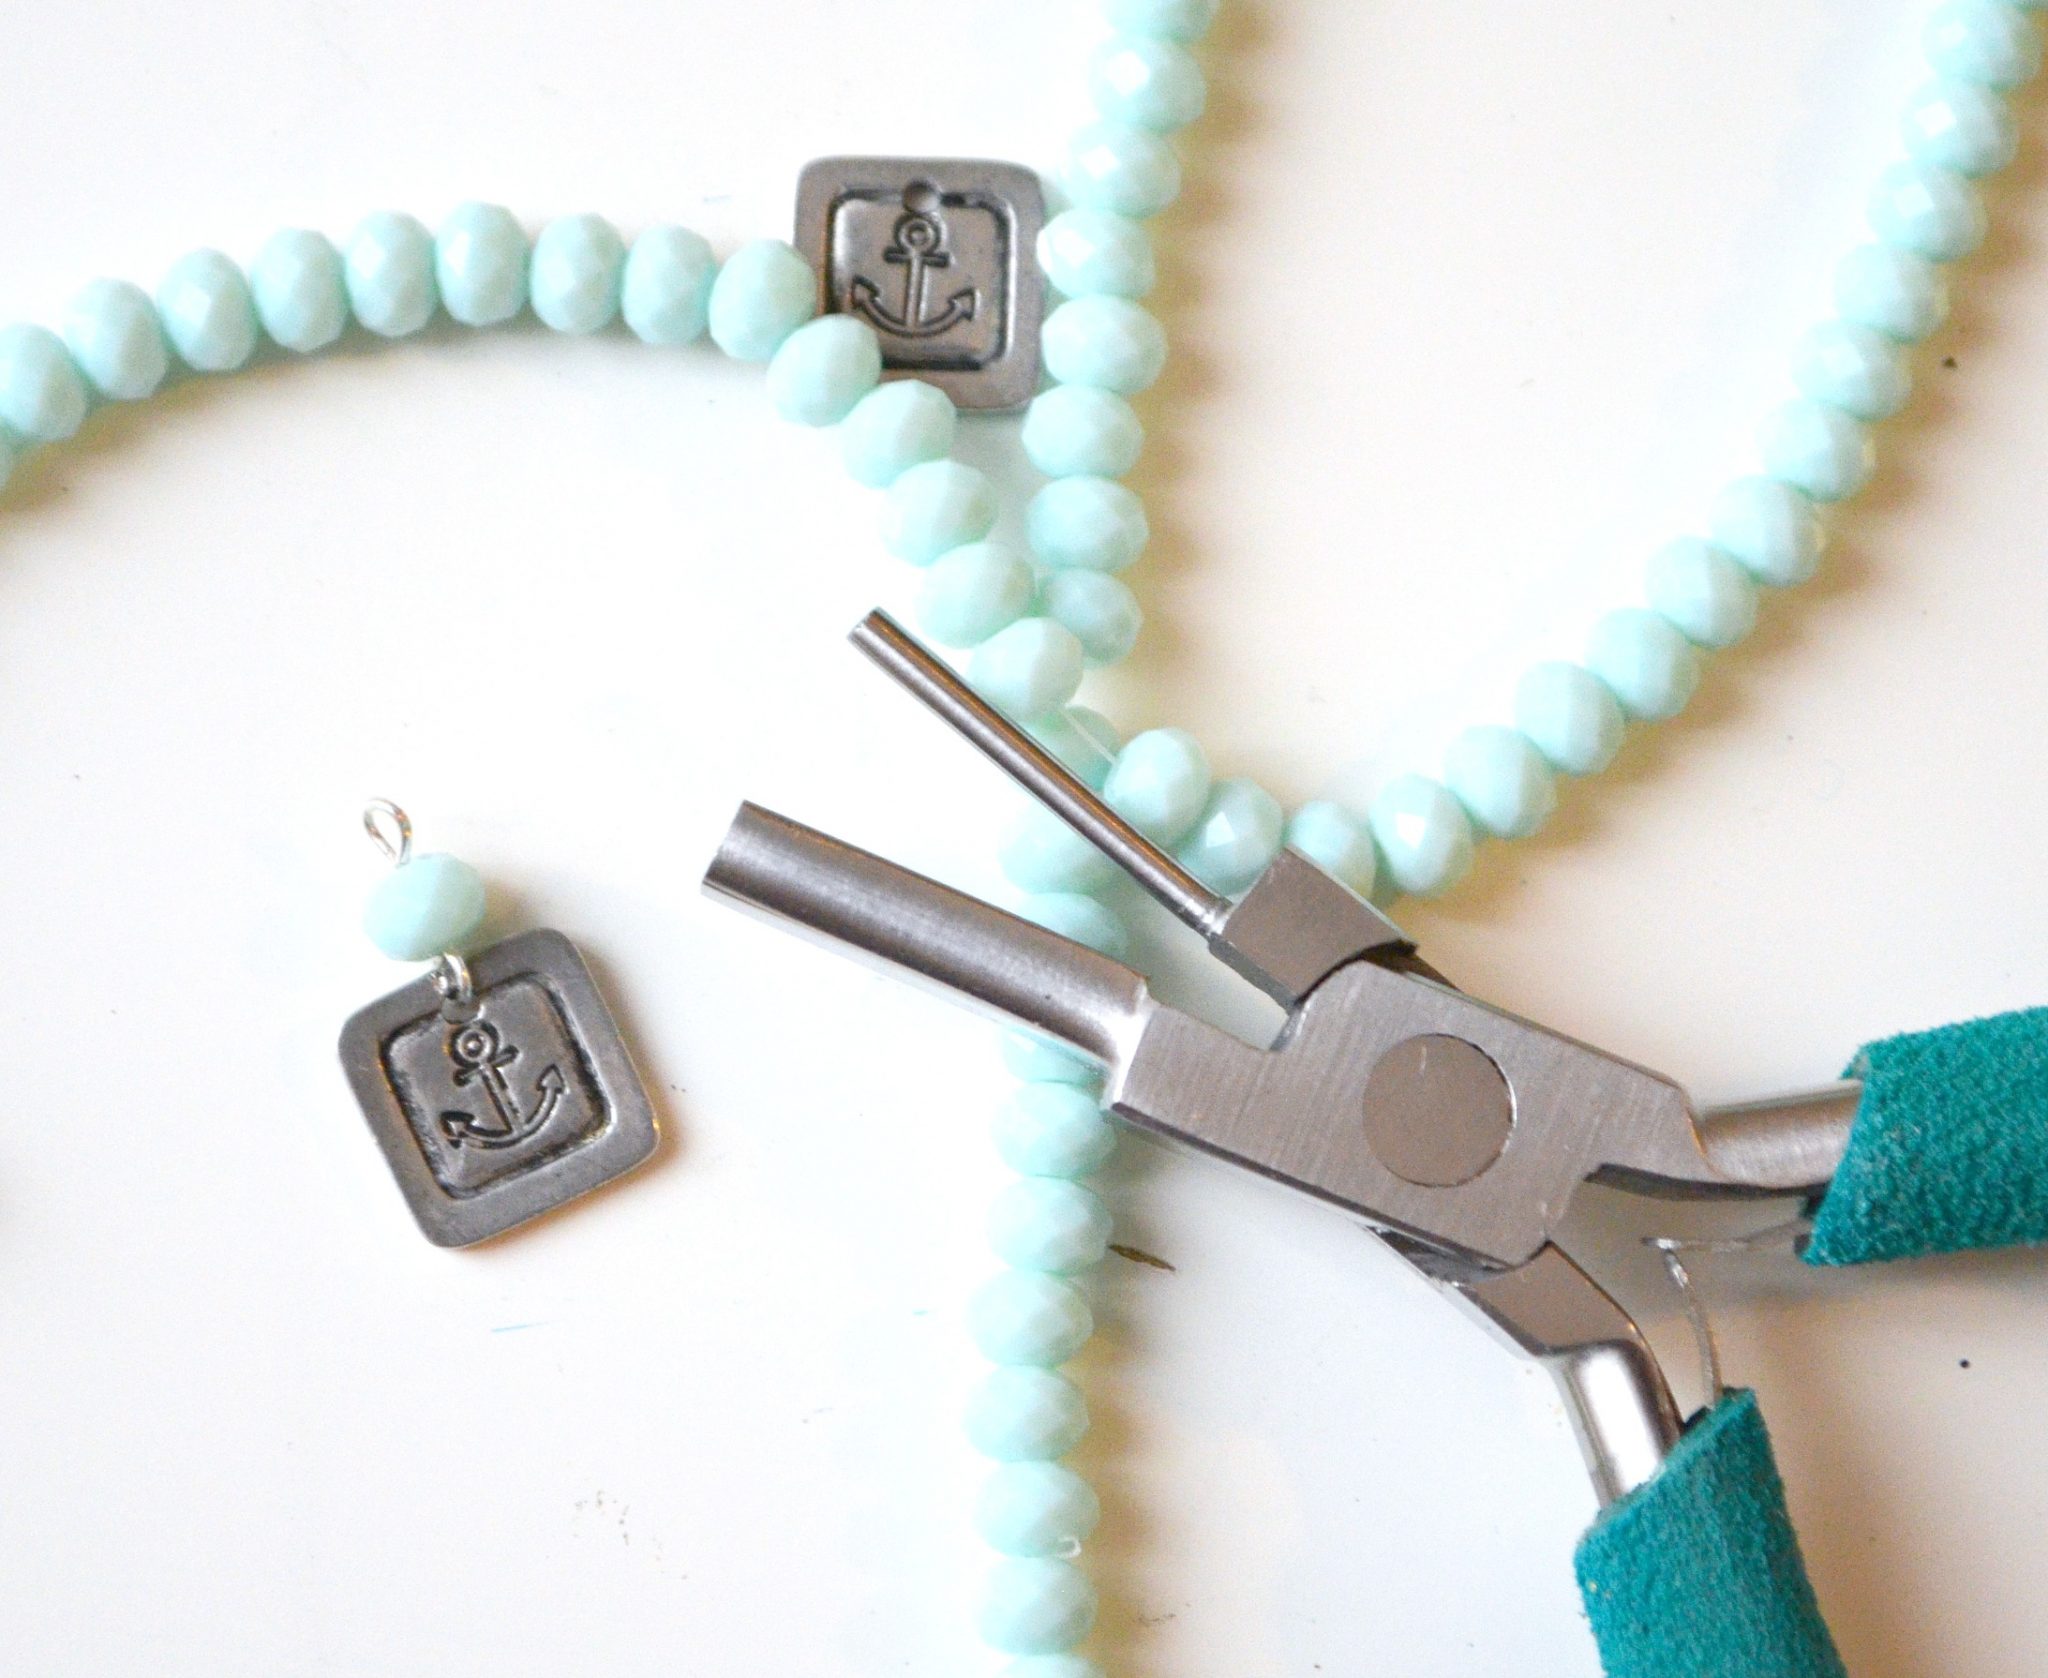
Step 2: Place a bead on the eye pin.
Step 3: Form a simple wire loop above the bead and cut off the extra wire.
If you’ve never done this before, check out my basic beading tutorial for step-by-step photo instructions!
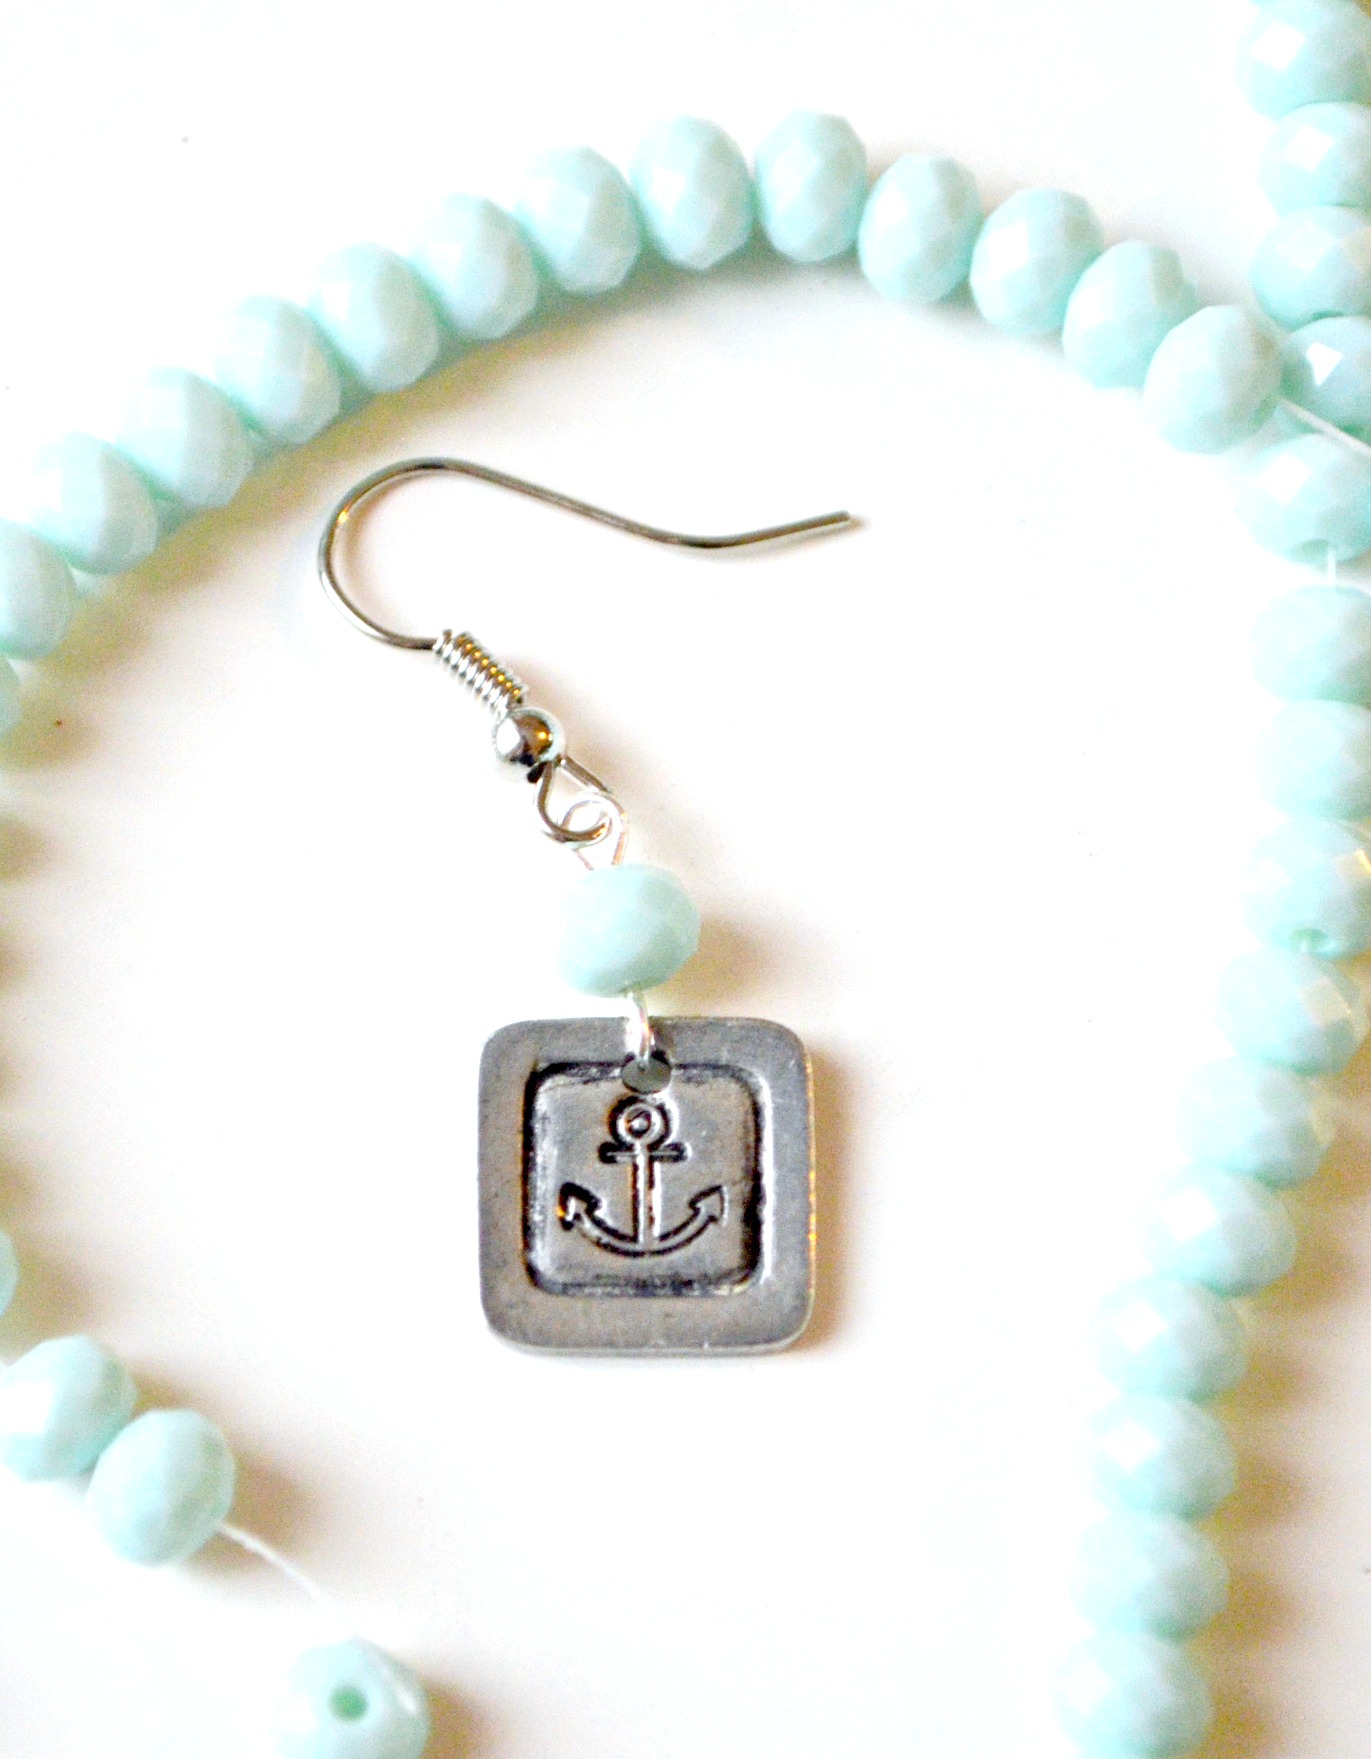
Step 4: Add an ear wire to the loop.
That’s it! Then, repeat to create the other earring!
I’m loving the way these turned out. I also think it would be fun to try out different shapes and colors of beads to see the different looks you can create.
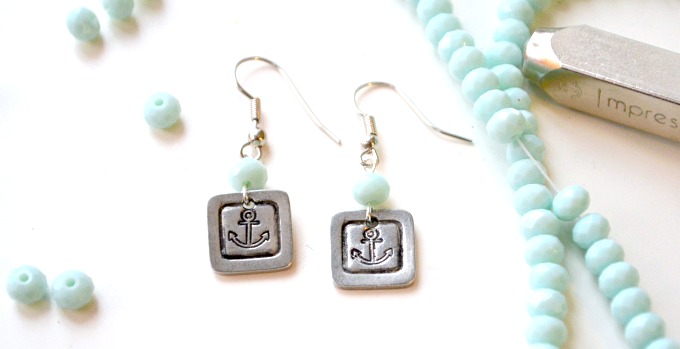
What do you think? Are these an accessory that would work with your wardrobe?

Cute!