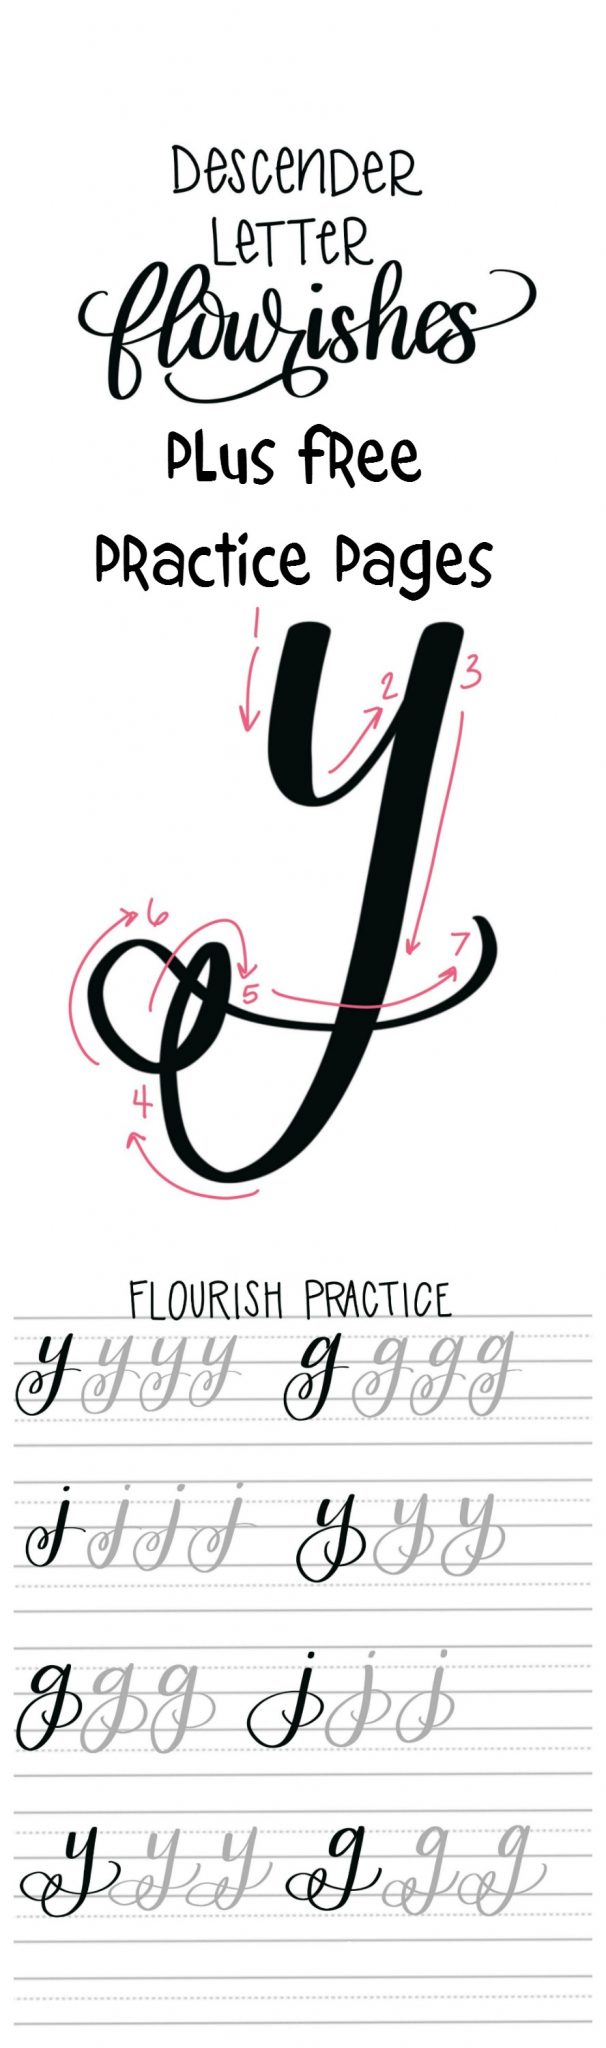
Hand Lettering: Descender Letter Flourishes & Free Practice Sheets
One of the most common things I’m asked about when it comes to hand lettering is how to create flourishes. There are literally hundreds of styles and types of flourishes you can incorporate into a lettered design, and they’re a great way to take your work to the next level. It would be impossible to try and learn them all at once, so we’re going to break things down and start simple, with what I call “descender letter flourishes.”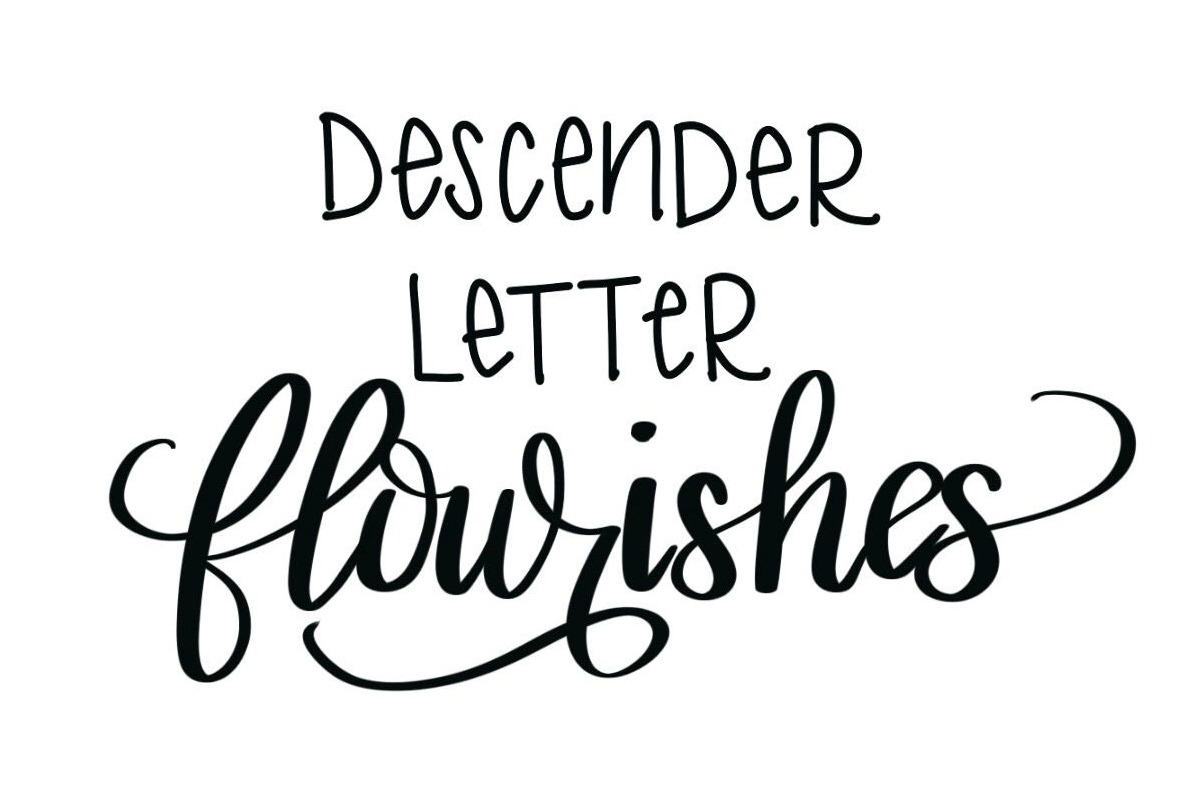
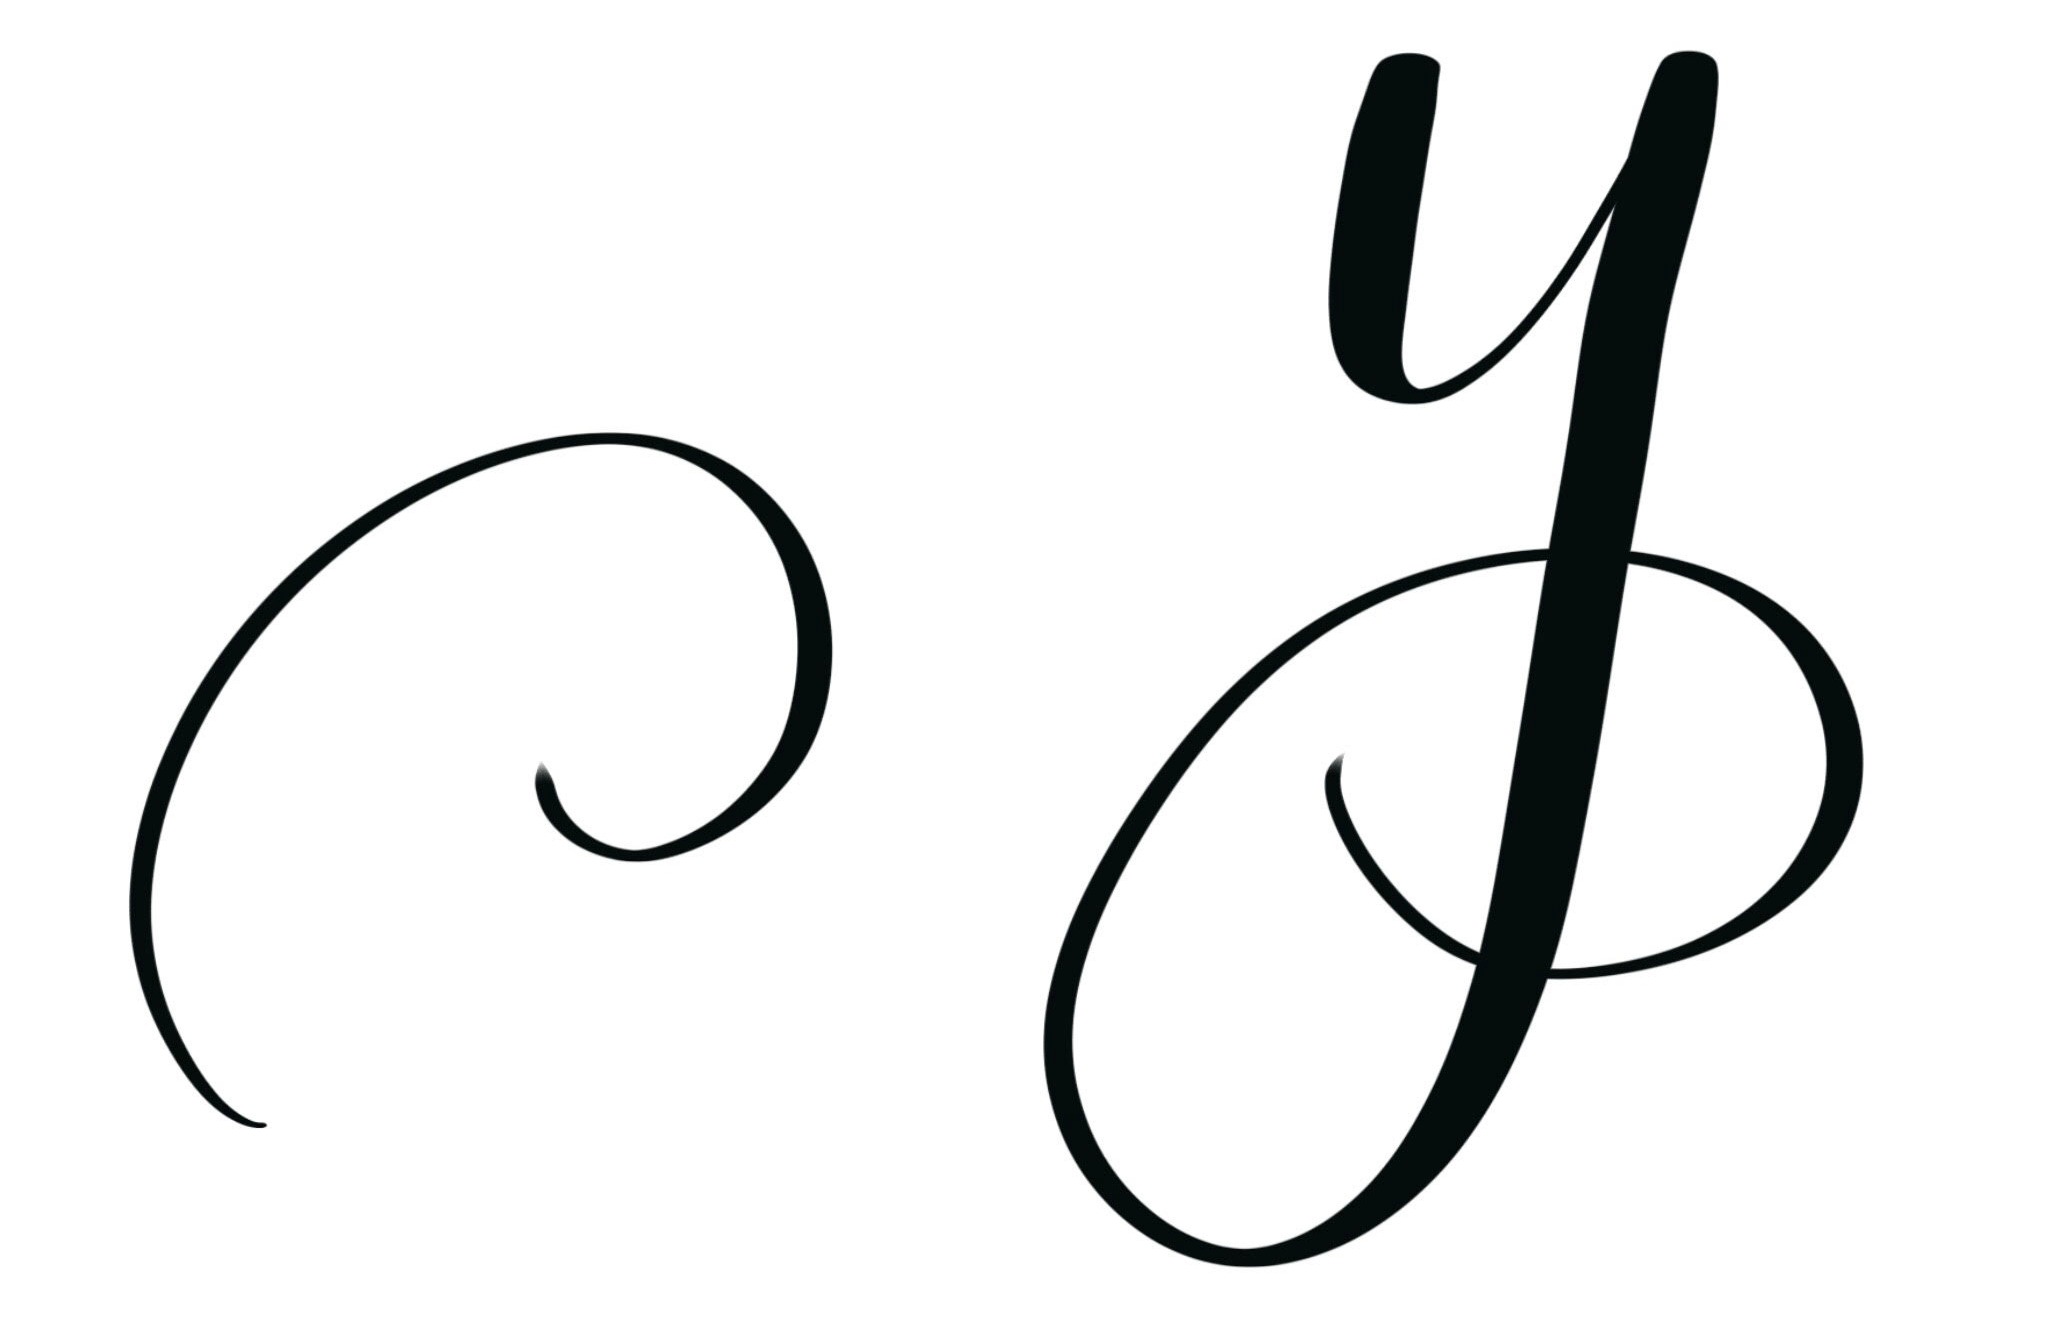
First of all, what in the world does that mean? A descender letter is one that has a line that descends below the base line of your writing…for example, lowercase g, j, and y. Adding a simple flourish to that descending line gives your letter {and word} a totally different look than it would normally have.
Today, we’re going to learn five basic flourishes you can use on descender letters.
You can work these into your lettering anywhere these letters appear, whether it’s at the beginning, middle, or end of a word. Ready? Grab your favorite brush pen and let’s get started! {If you’re new to hand lettering, you’ll want to check out the faux calligraphy and/or basic brush technique workshops first to master the basics.}
Flourish #1: Simple Swirl
This is the easiest of all the flourishes to create. All you have to do is form your letter normally, then after you’ve crossed over the descender line with the “tail,” instead of stopping like you usually do, swirl it back around to cross over the line one more time and finish inside the big loop.
As with all embellishments, you can make your loops as big and open or as small and tight as you like. The key is wrapping your line back around to cross the descender and finish inside the letter itself. This flourish is classy and understated. It doesn’t draw a lot of attention to itself, but it creates a nicely finished look to your letter and word.
Flourish #2: Looping Tail
This flourish is exactly what it sounds like; you simply add a loop to the tail of your letter just before picking up your pen. Form your letter normally, then bring your pen downward and up again to create a small loop.
There are two things to remember when using this style of flourish. First, you’ll want to make sure you create a downward loop rather than an upward one because an upward loop can easily be mistaken for the cursive letter “e.” Often in workshops, I see folks try to add loops to the ends of letters to make them look more fancy, but instead it just looks like they’ve added “e”s to the ends of their words. Second, keep the loop small. If it’s too large, it could still be mistaken for another letter, like an “o.” Remember, the most important thing about lettered art is that it’s actually legible, so we don’t want to do any flourishing that would confuse someone when they try to read it. Done correctly, though, this looping tail flourish adds a cute little finish to your letter.
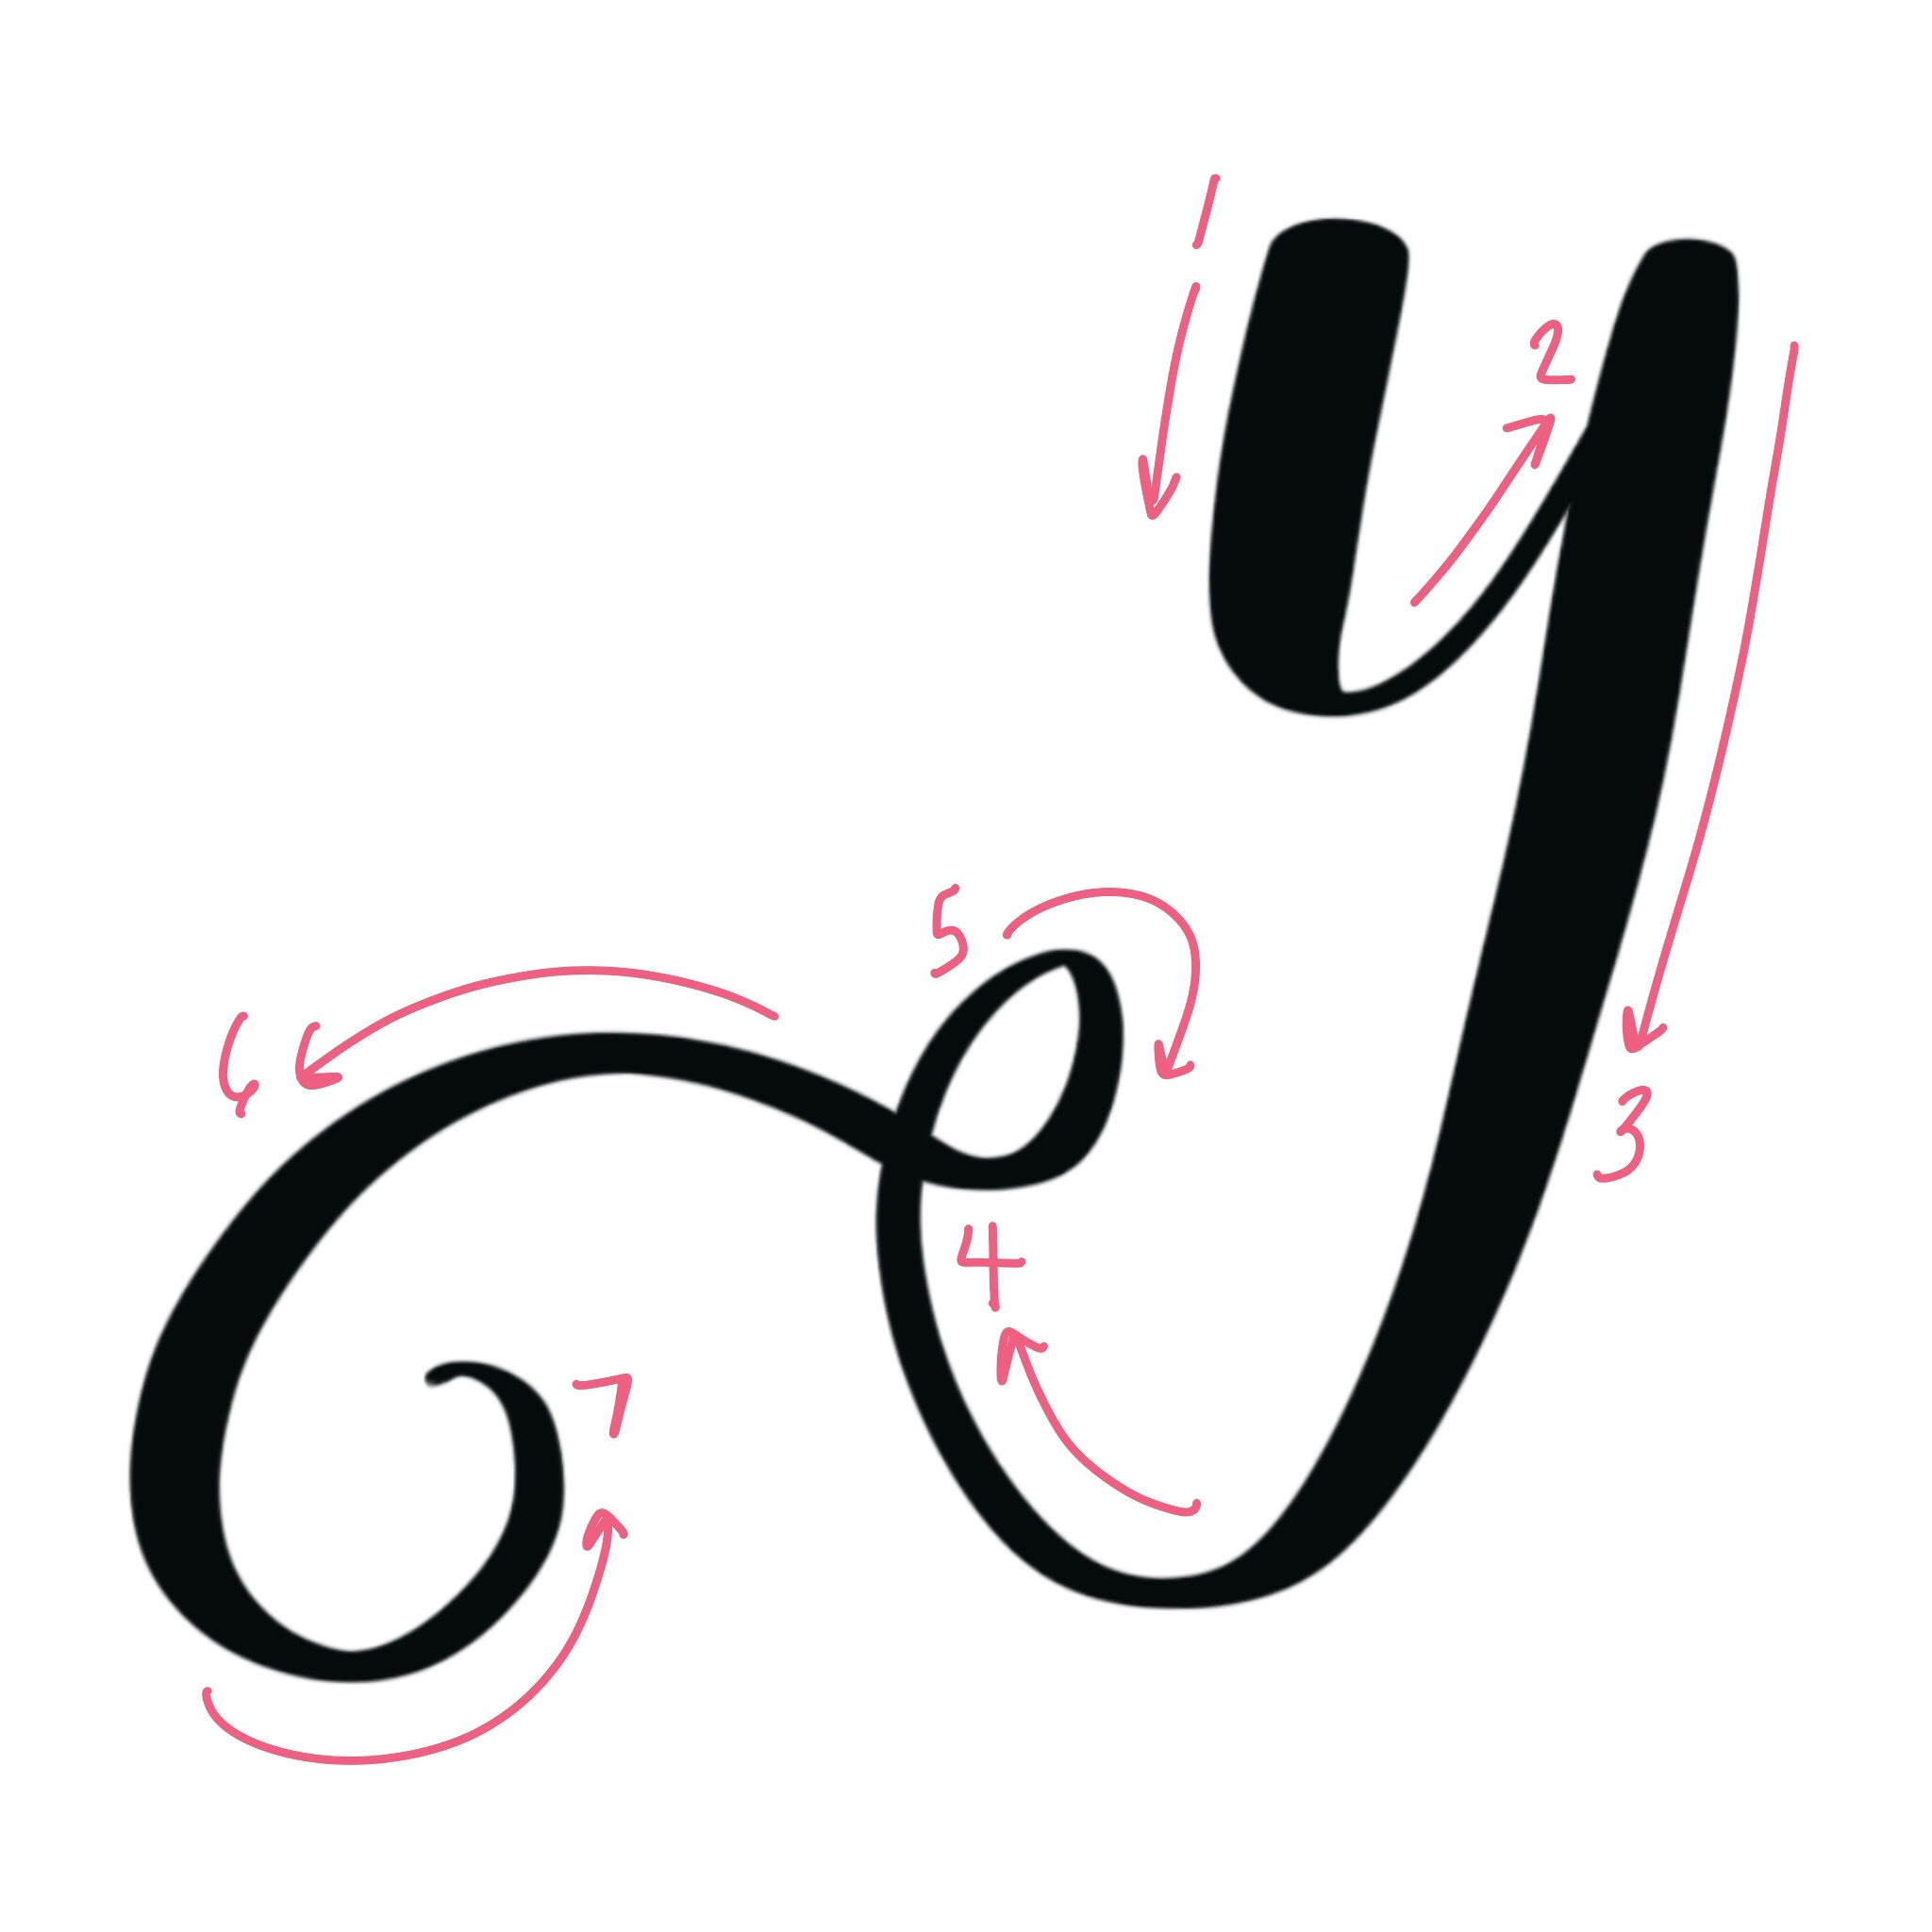
Flourish #3: Loop-de-loo
This is one of my personal favorites, because it looks so fun and it also doesn’t interfere with how the letter connects to the one before or after it! You can easily do this in the middle of a word and still continue writing just like you typically would. You’ll write your letter as normal up through the descender line, then as your pen heads back up, form a small downward loop before crossing the tail over the descender.
Once again, you can play around with the sizes of your loops and you’ll get letters that look very different from one another even though you’re using the same basic technique.
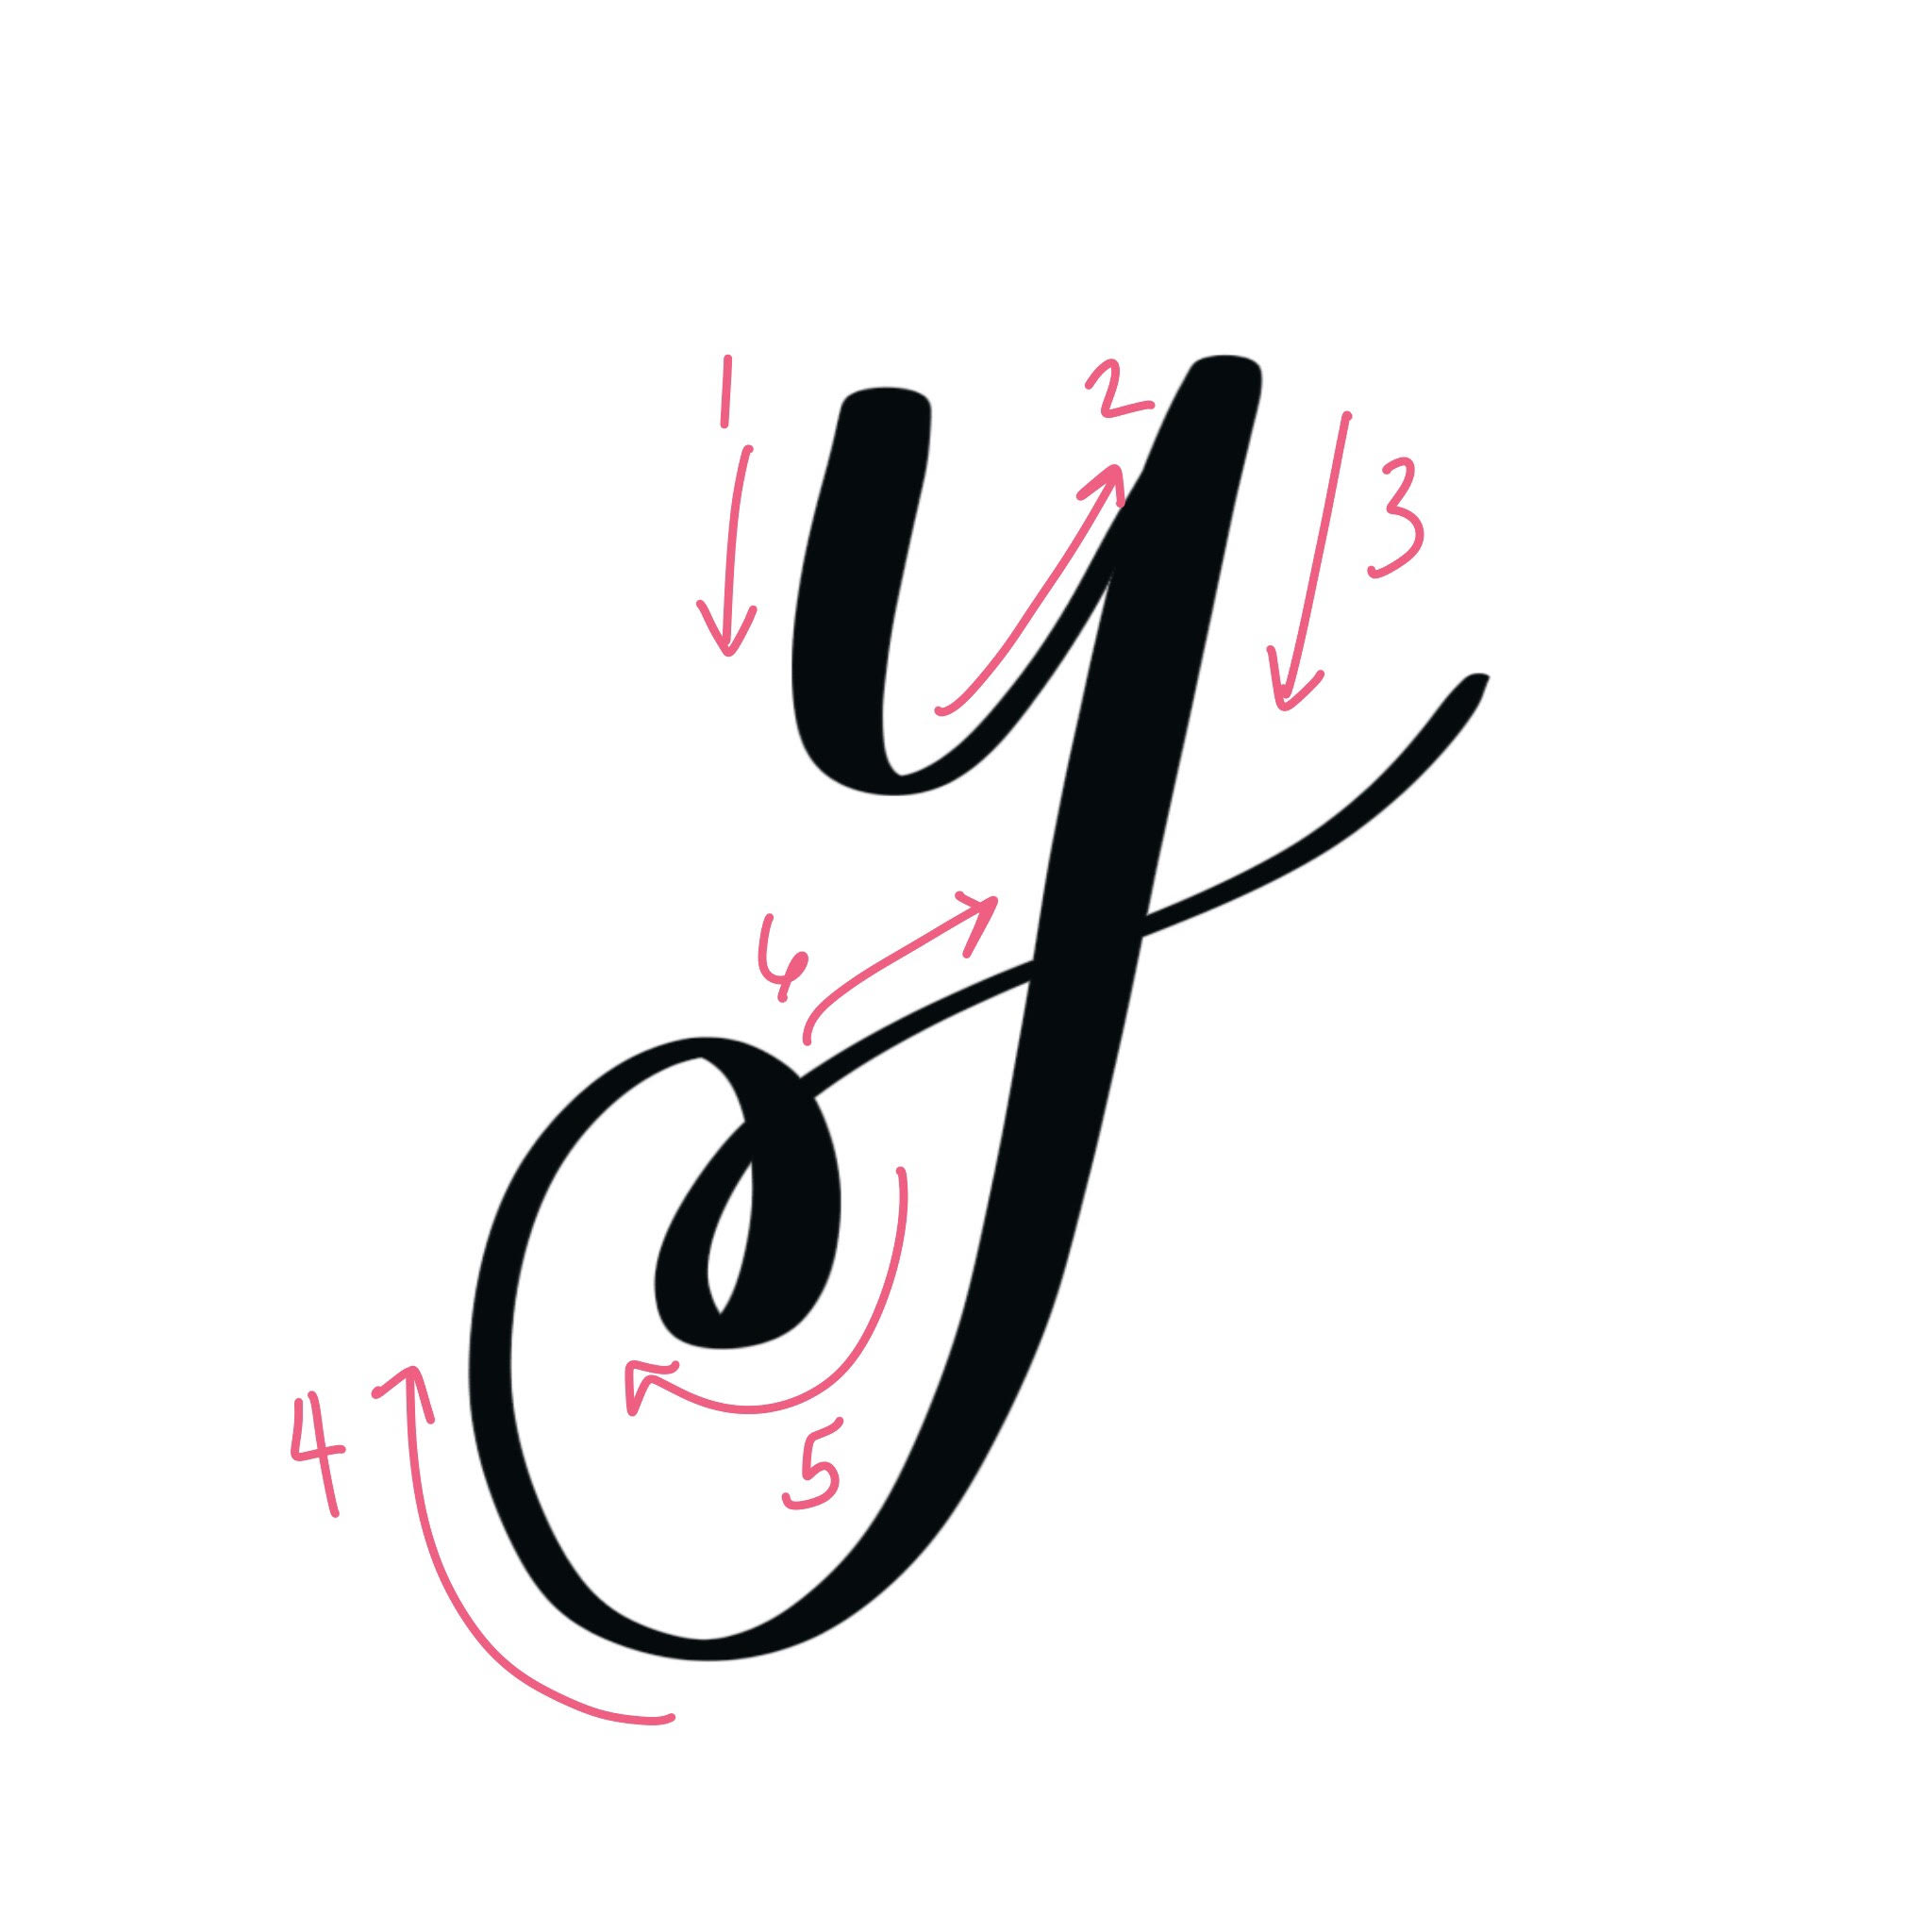
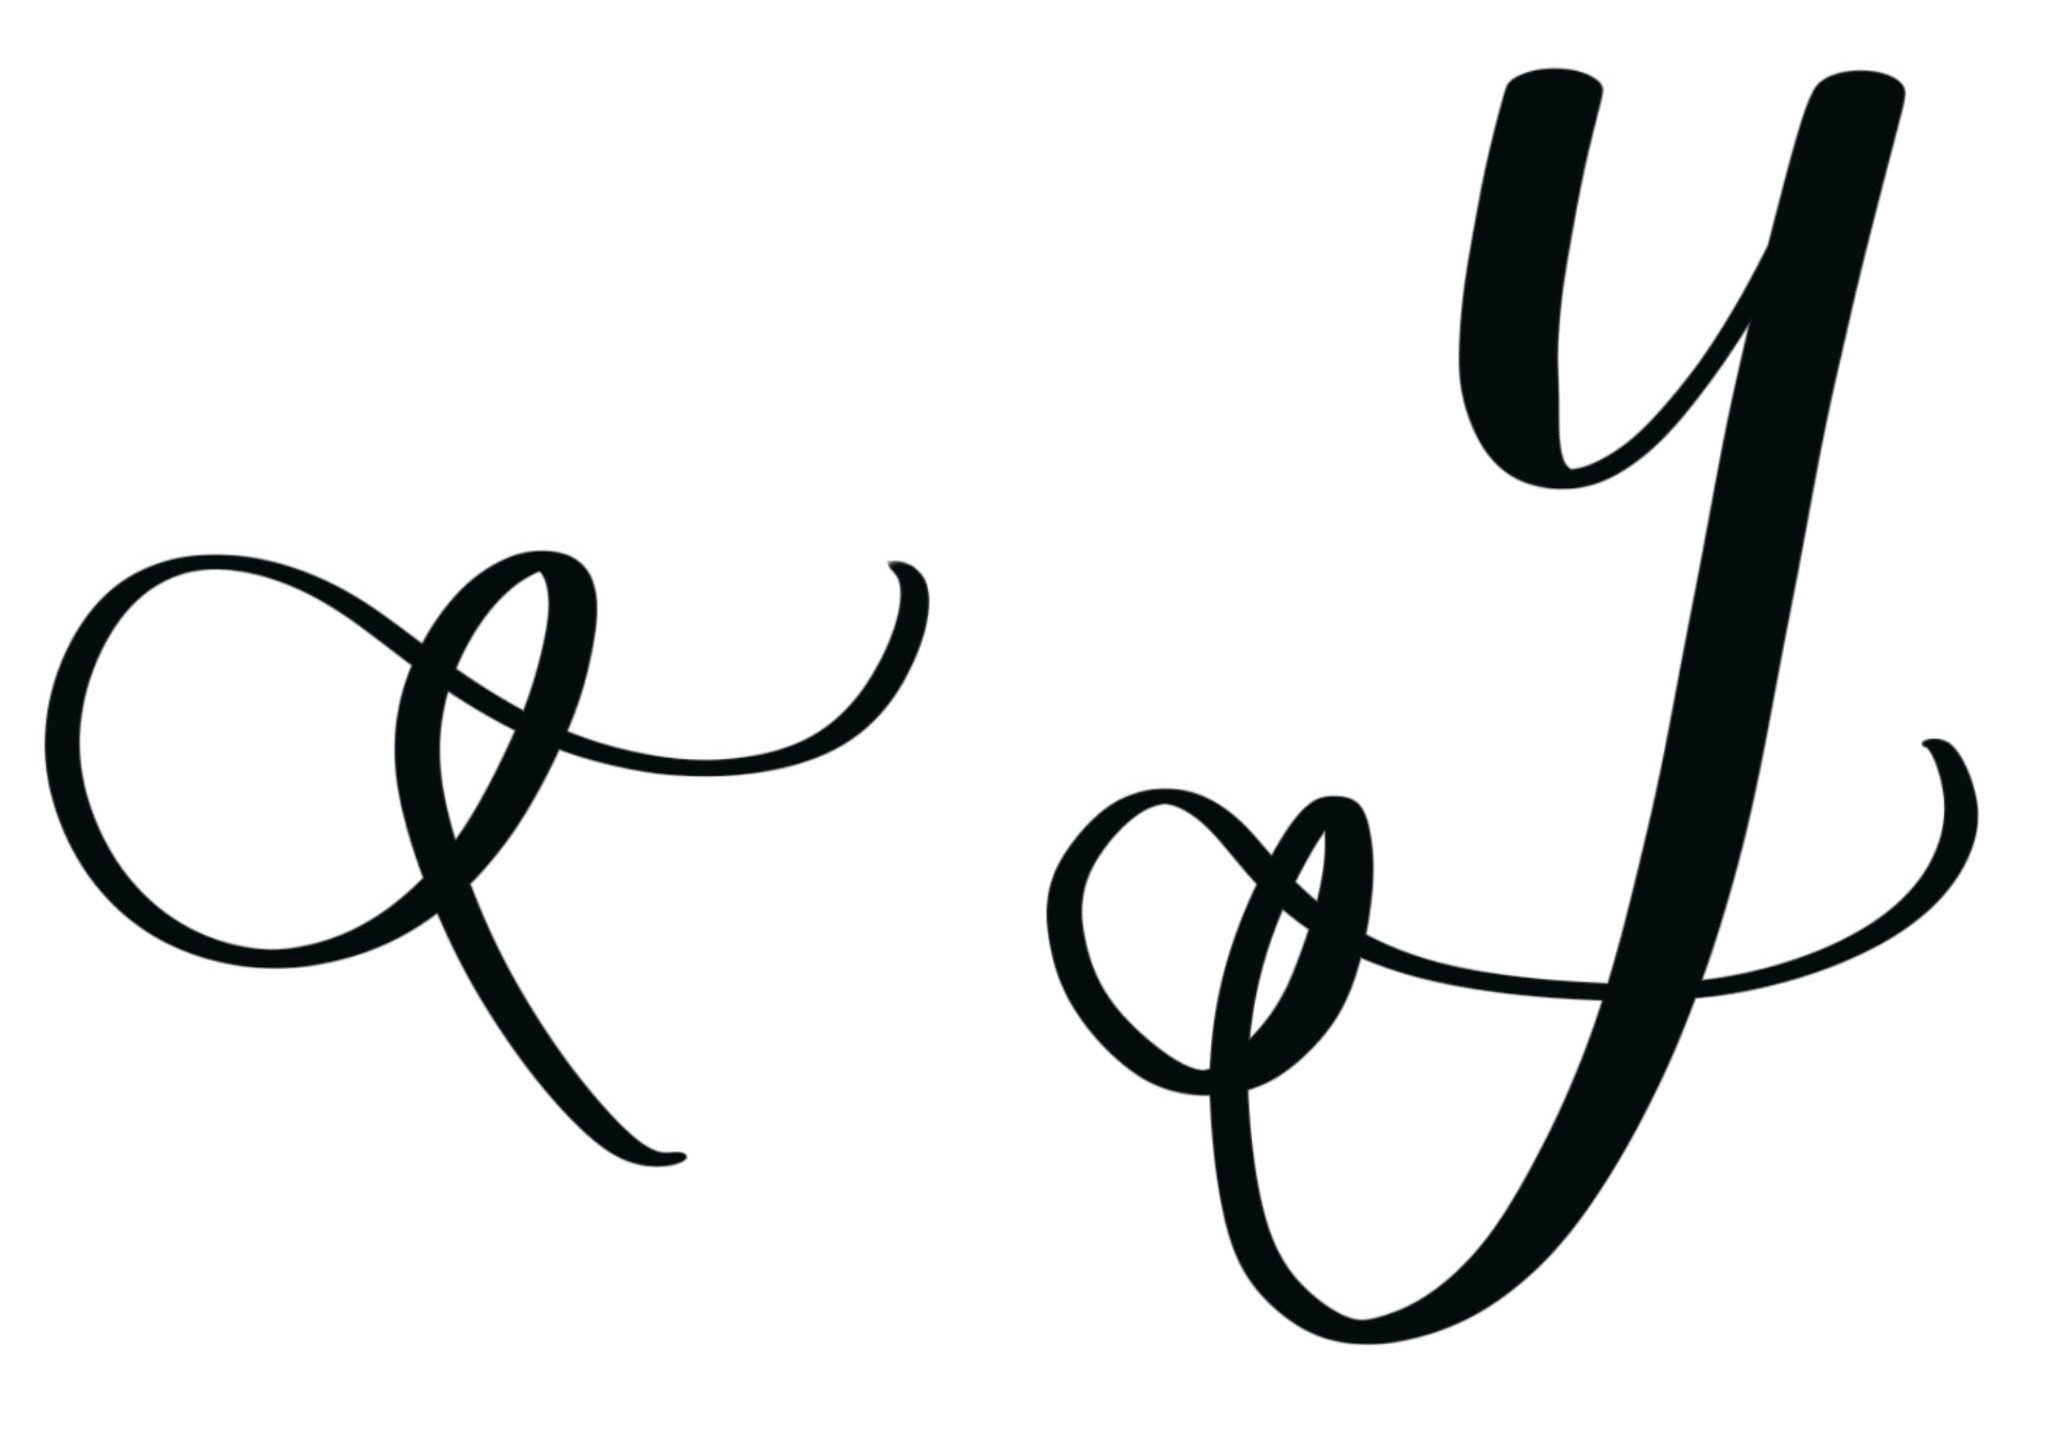
Flourish #4: Looping Backtrack
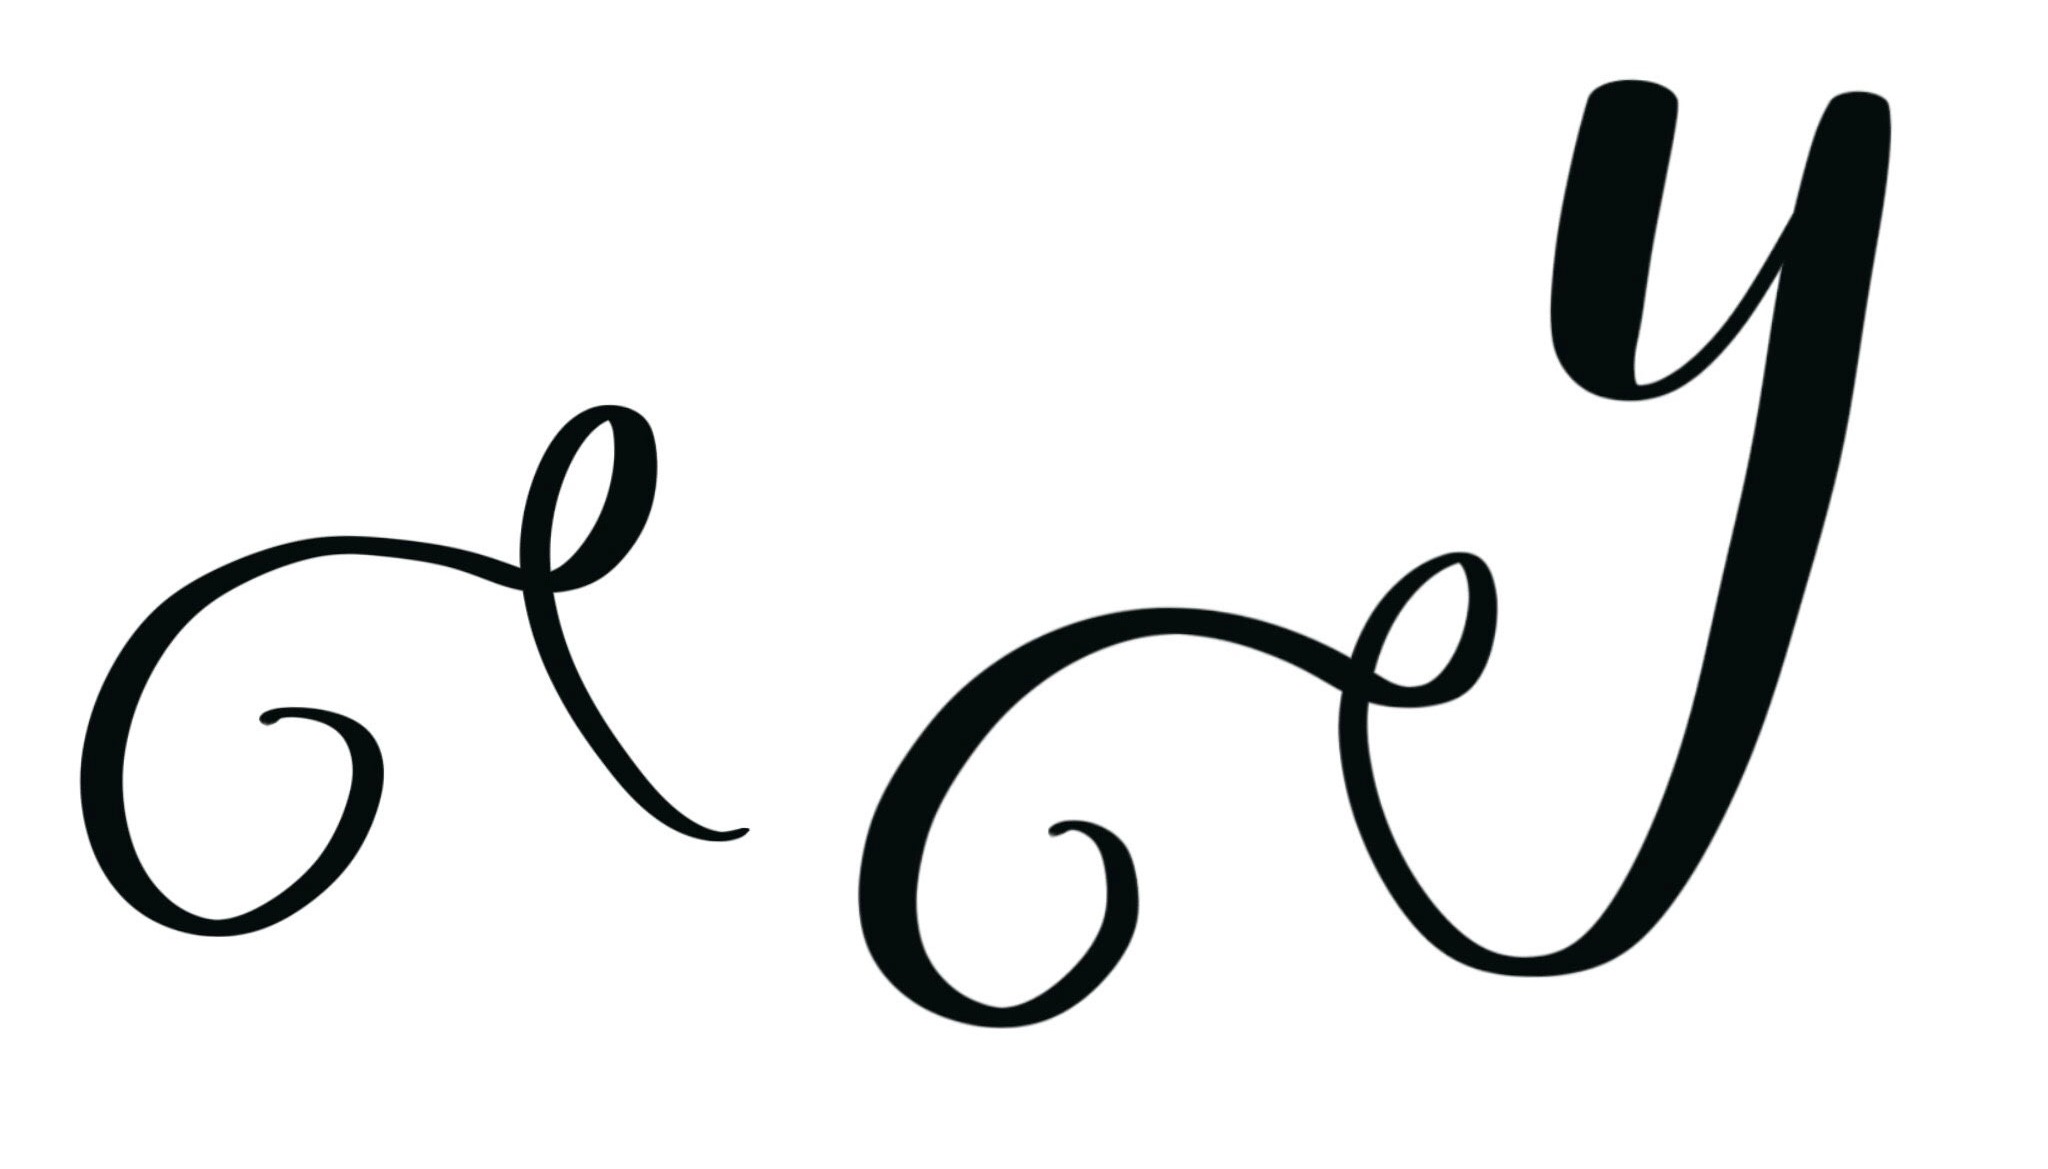
Unlike the other flourishes we’re looking at today, this one goes to the left of your letter. The others all take place within the letter itself, or finish to the right. This flourish goes back in the other direction, which can actually cause it to underline your word…a pretty neat effect! To form it, you’ll write your letter normally through the descender line, then as you begin to take your pen upward, you’ll loop back down and continue your line off to the left, ending in a swirl.
Your line can be as long as you like, as straight or as curved as you like. Flourishes are all about style, so do whatever creates the look you want to achieve…which may be different every time!
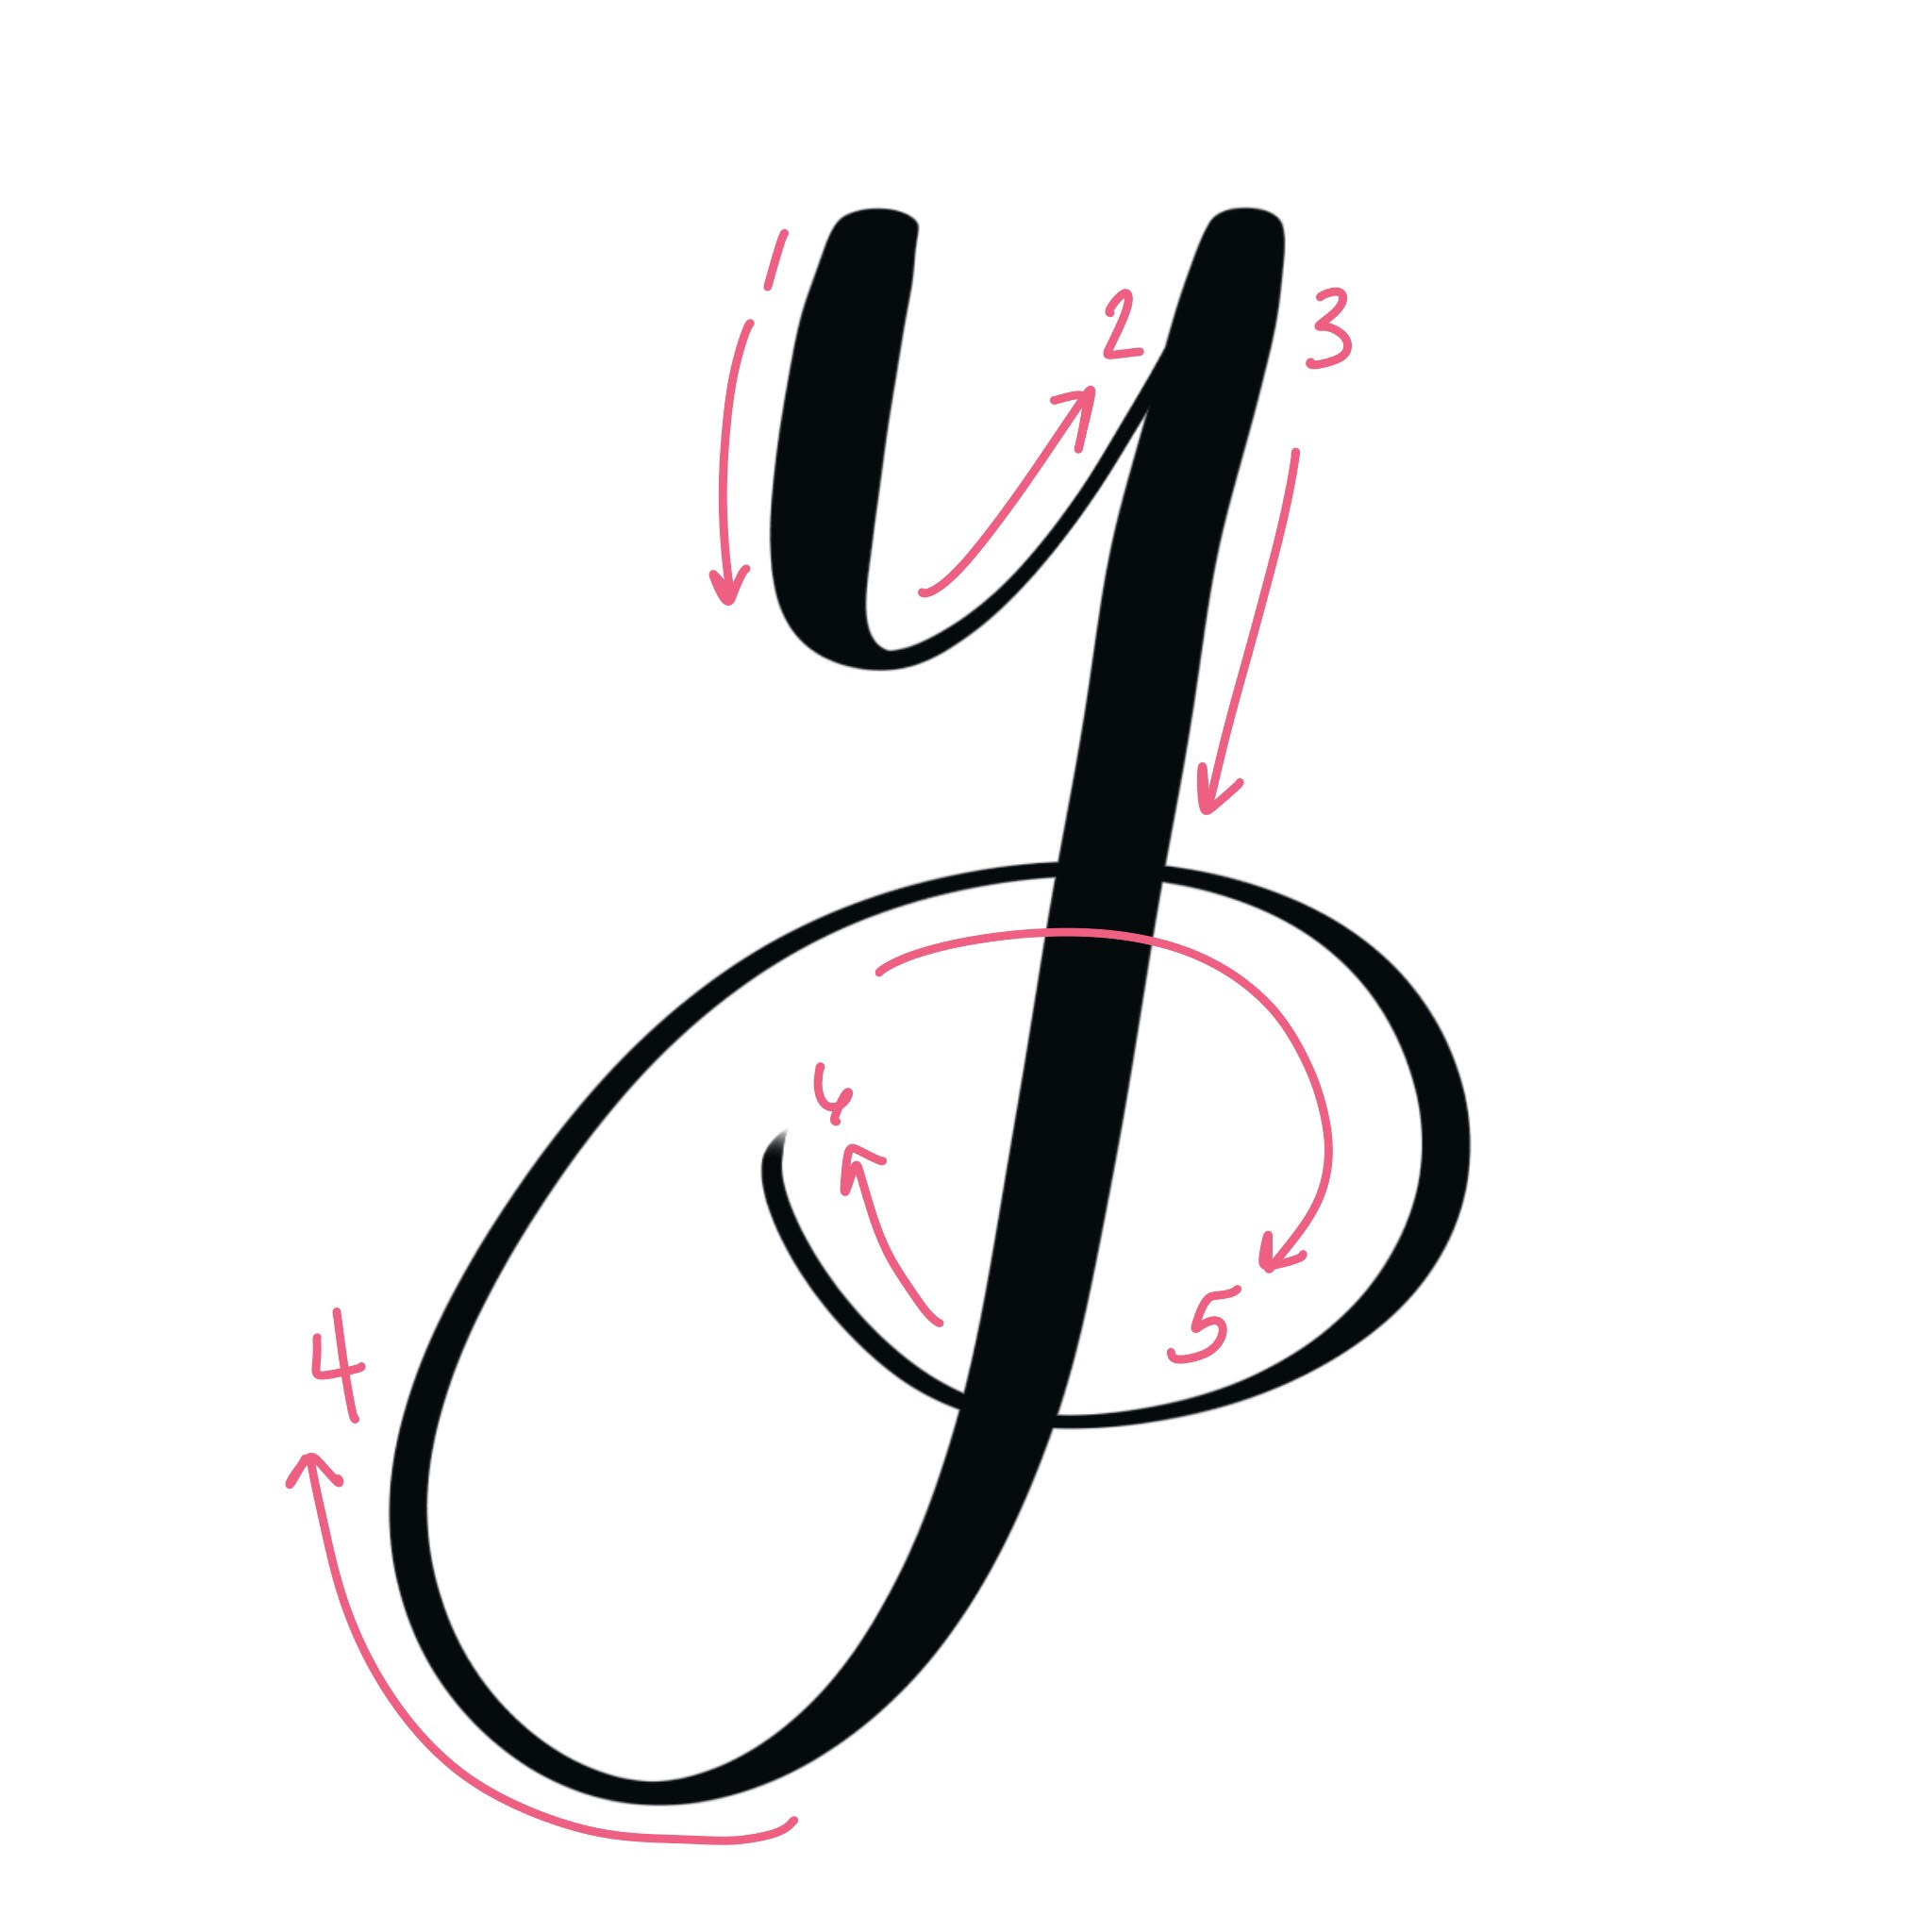
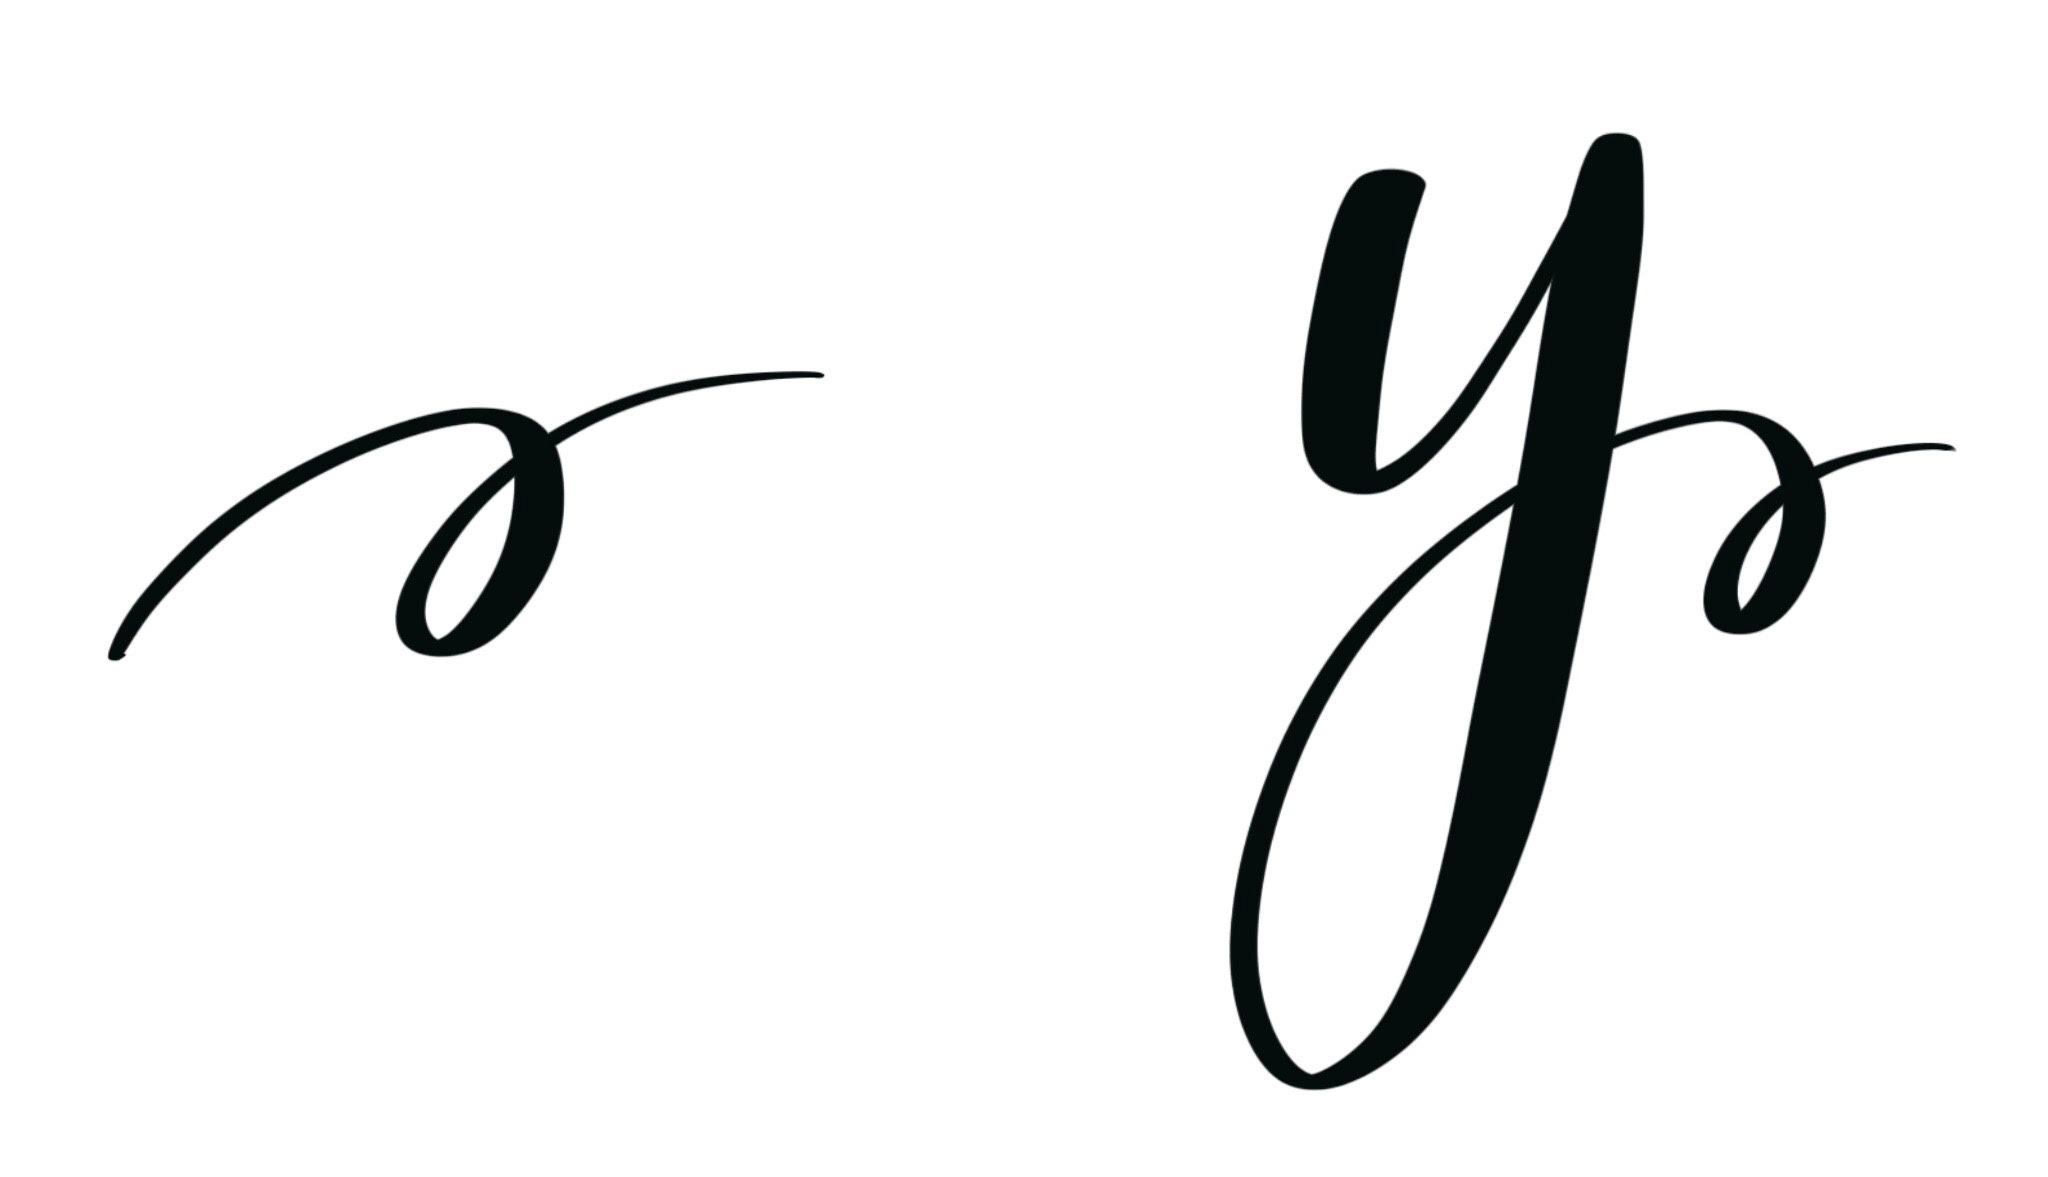
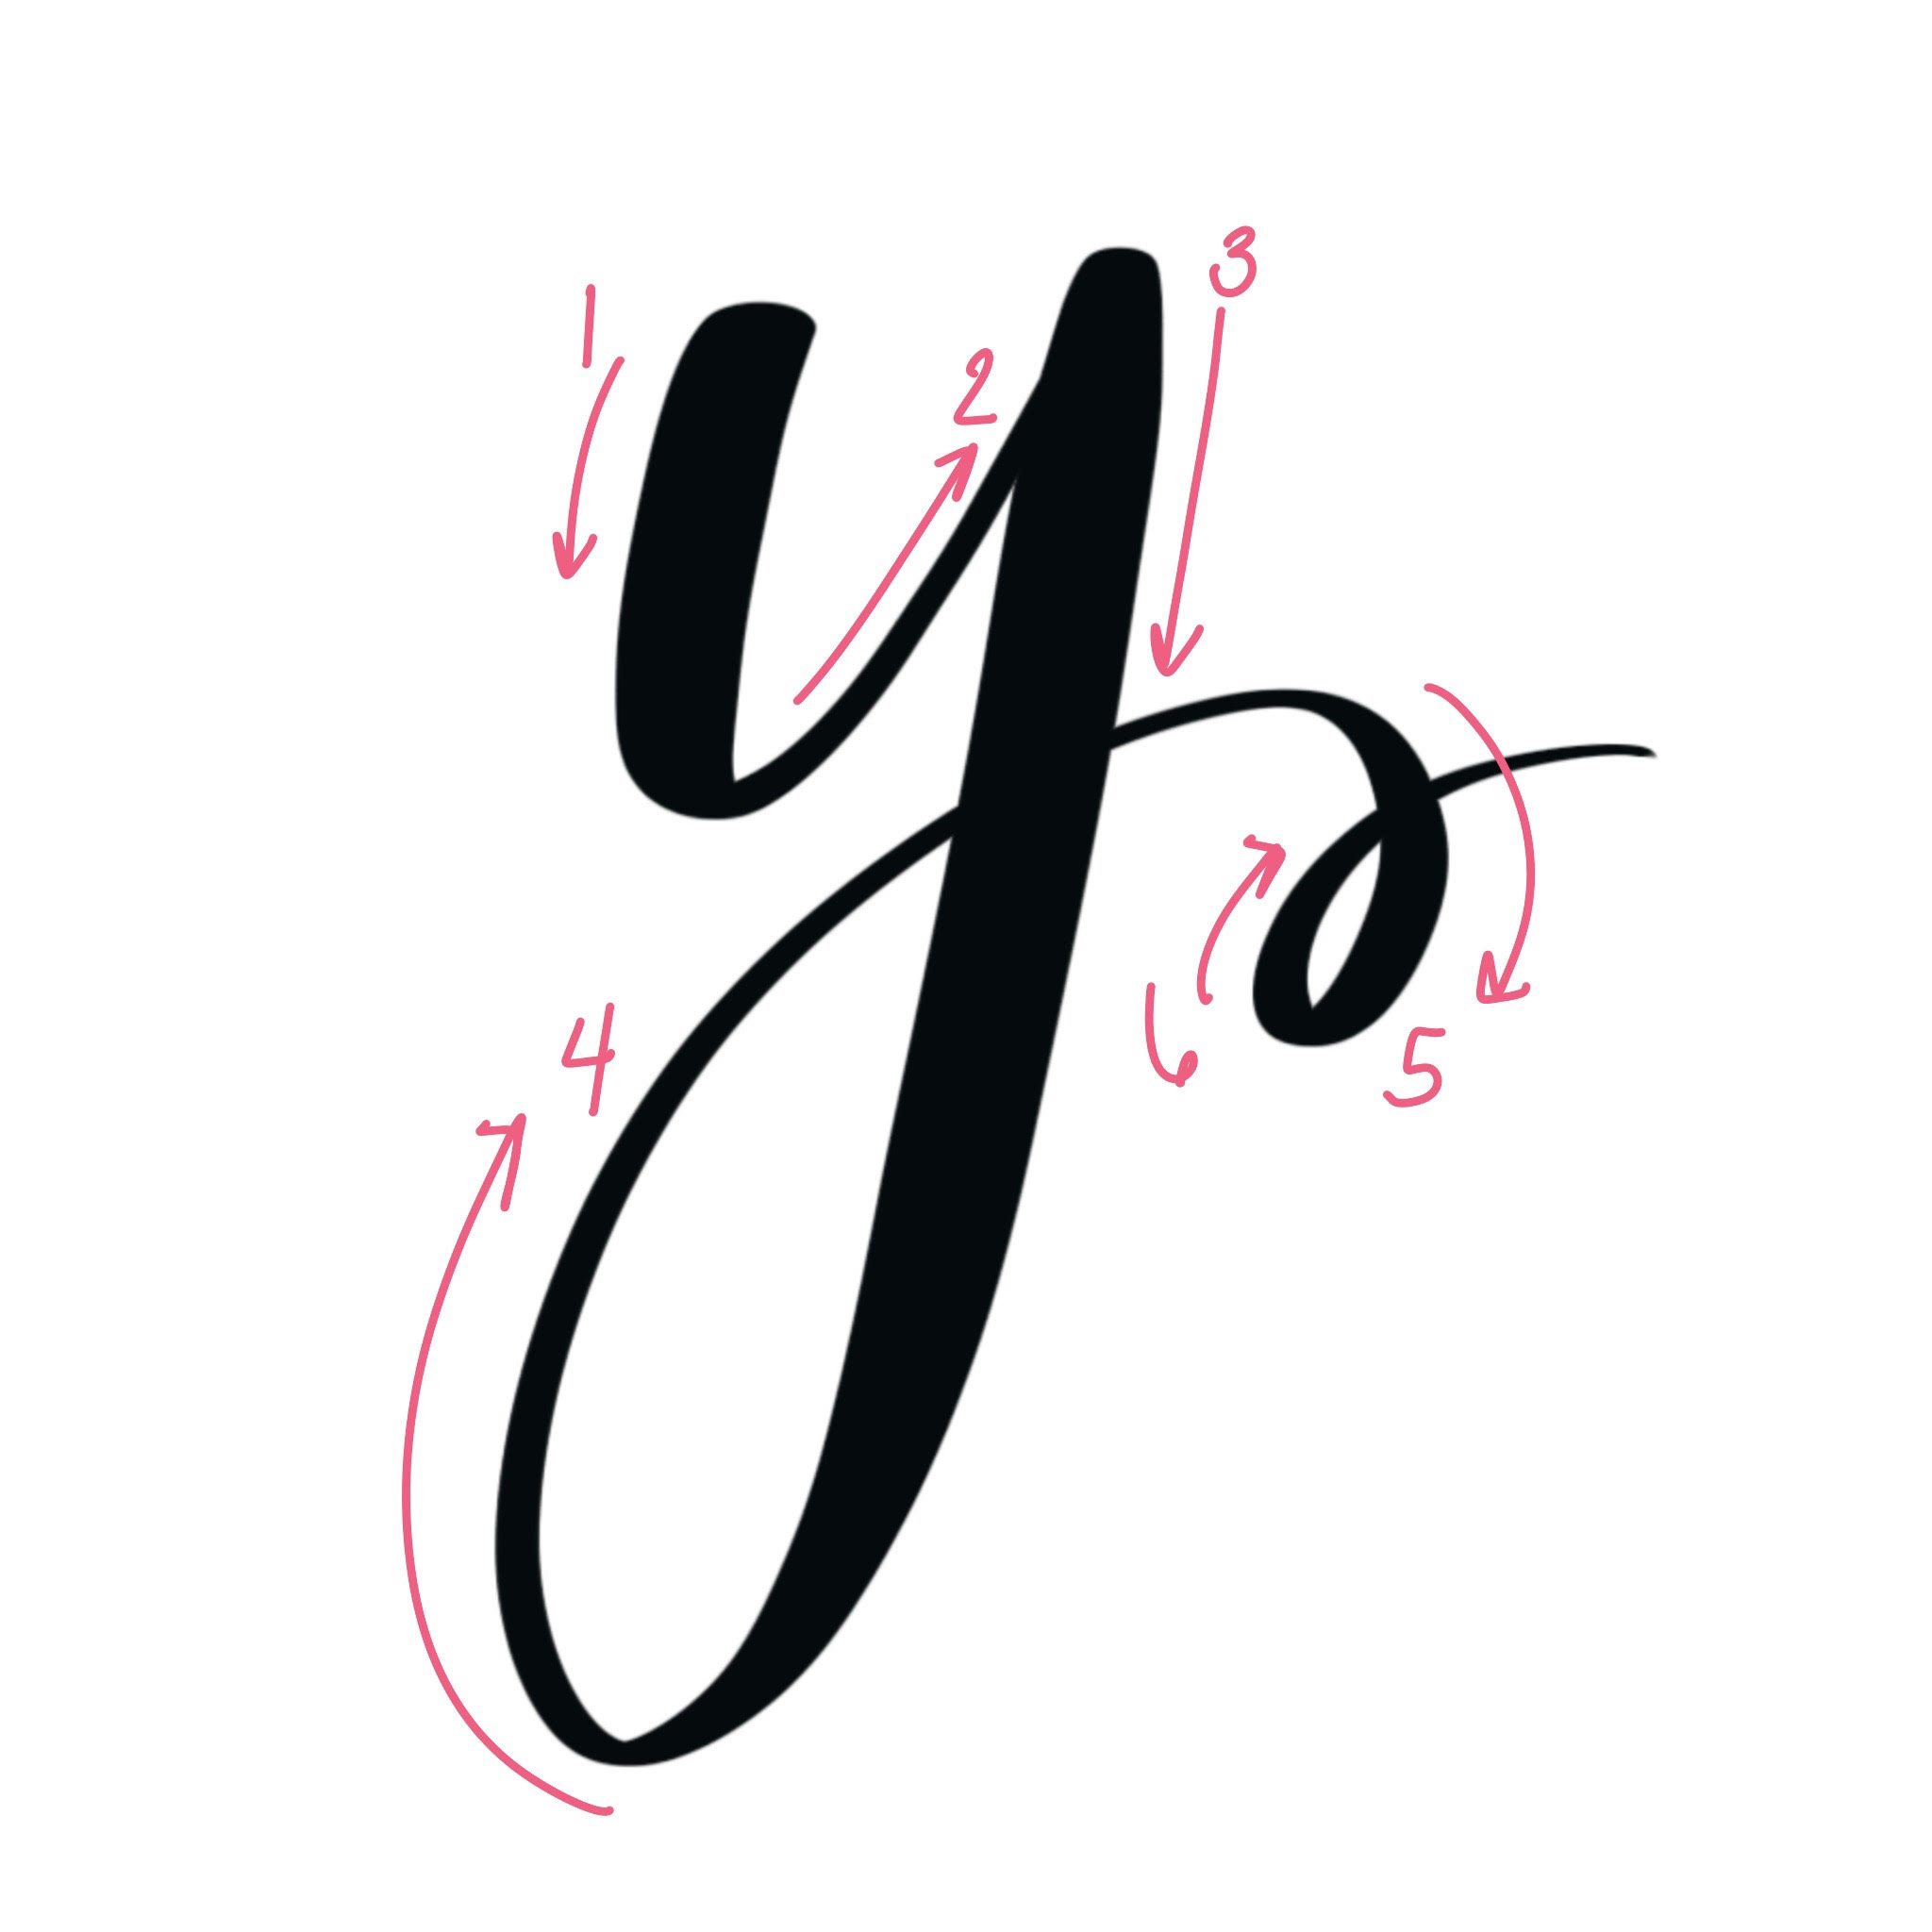
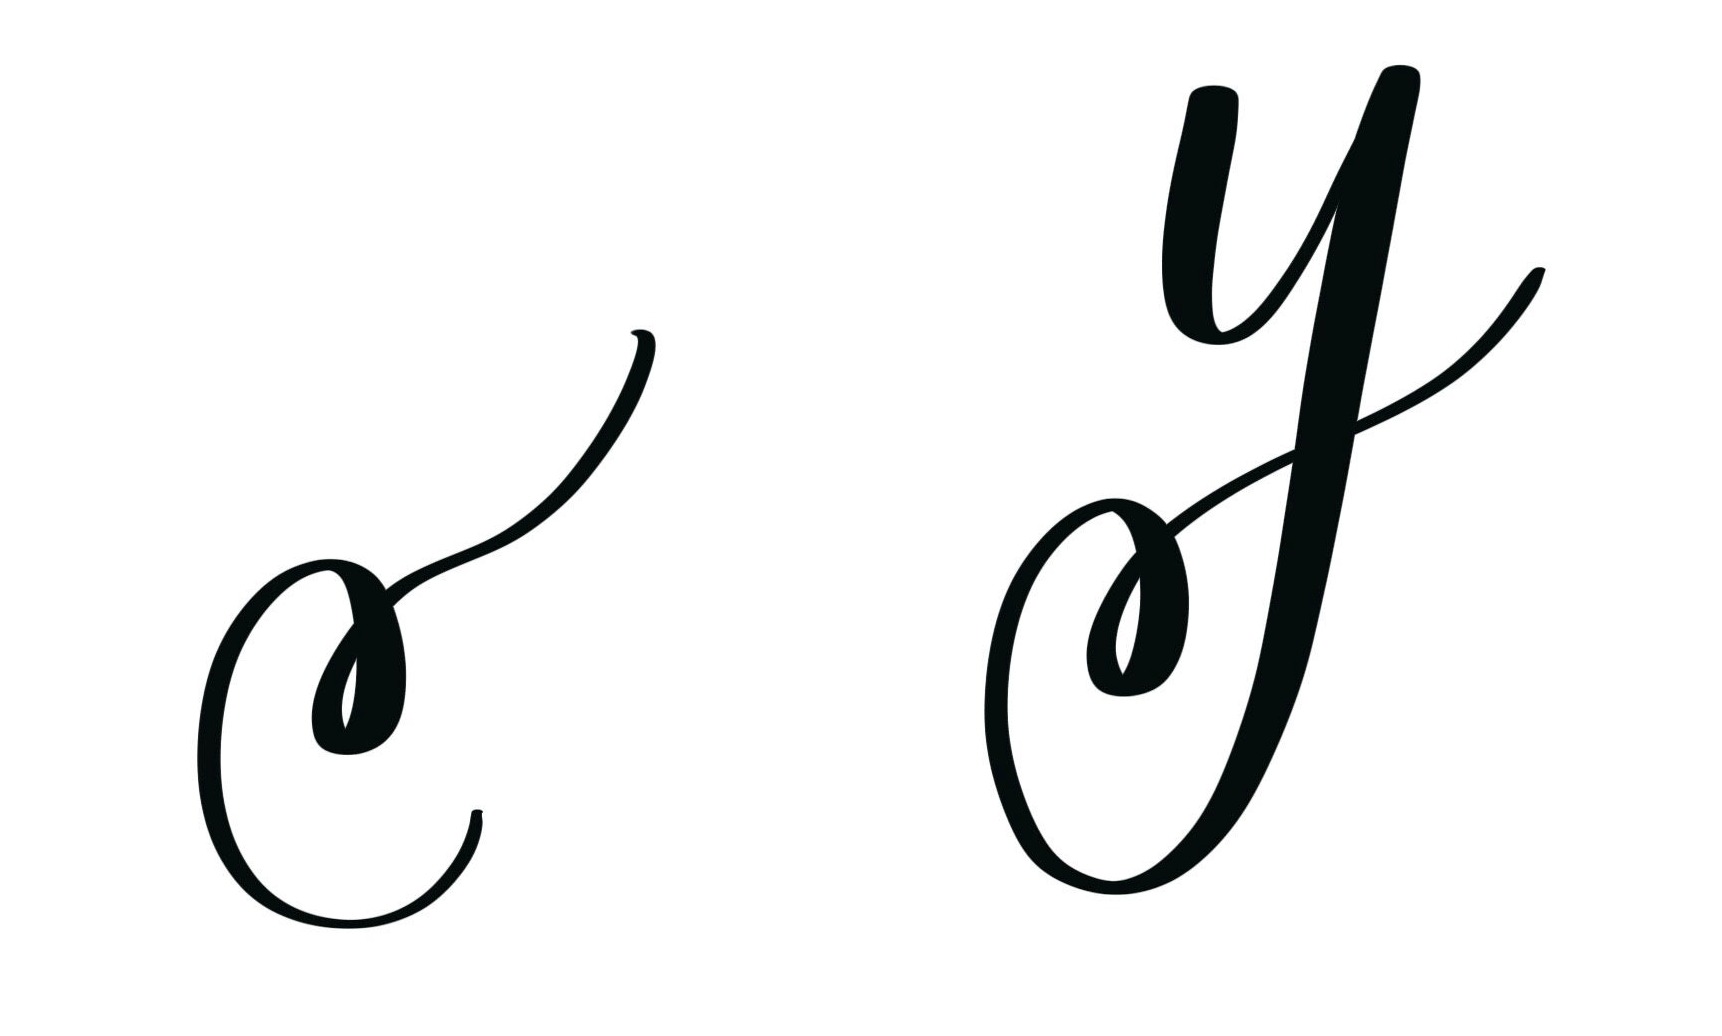
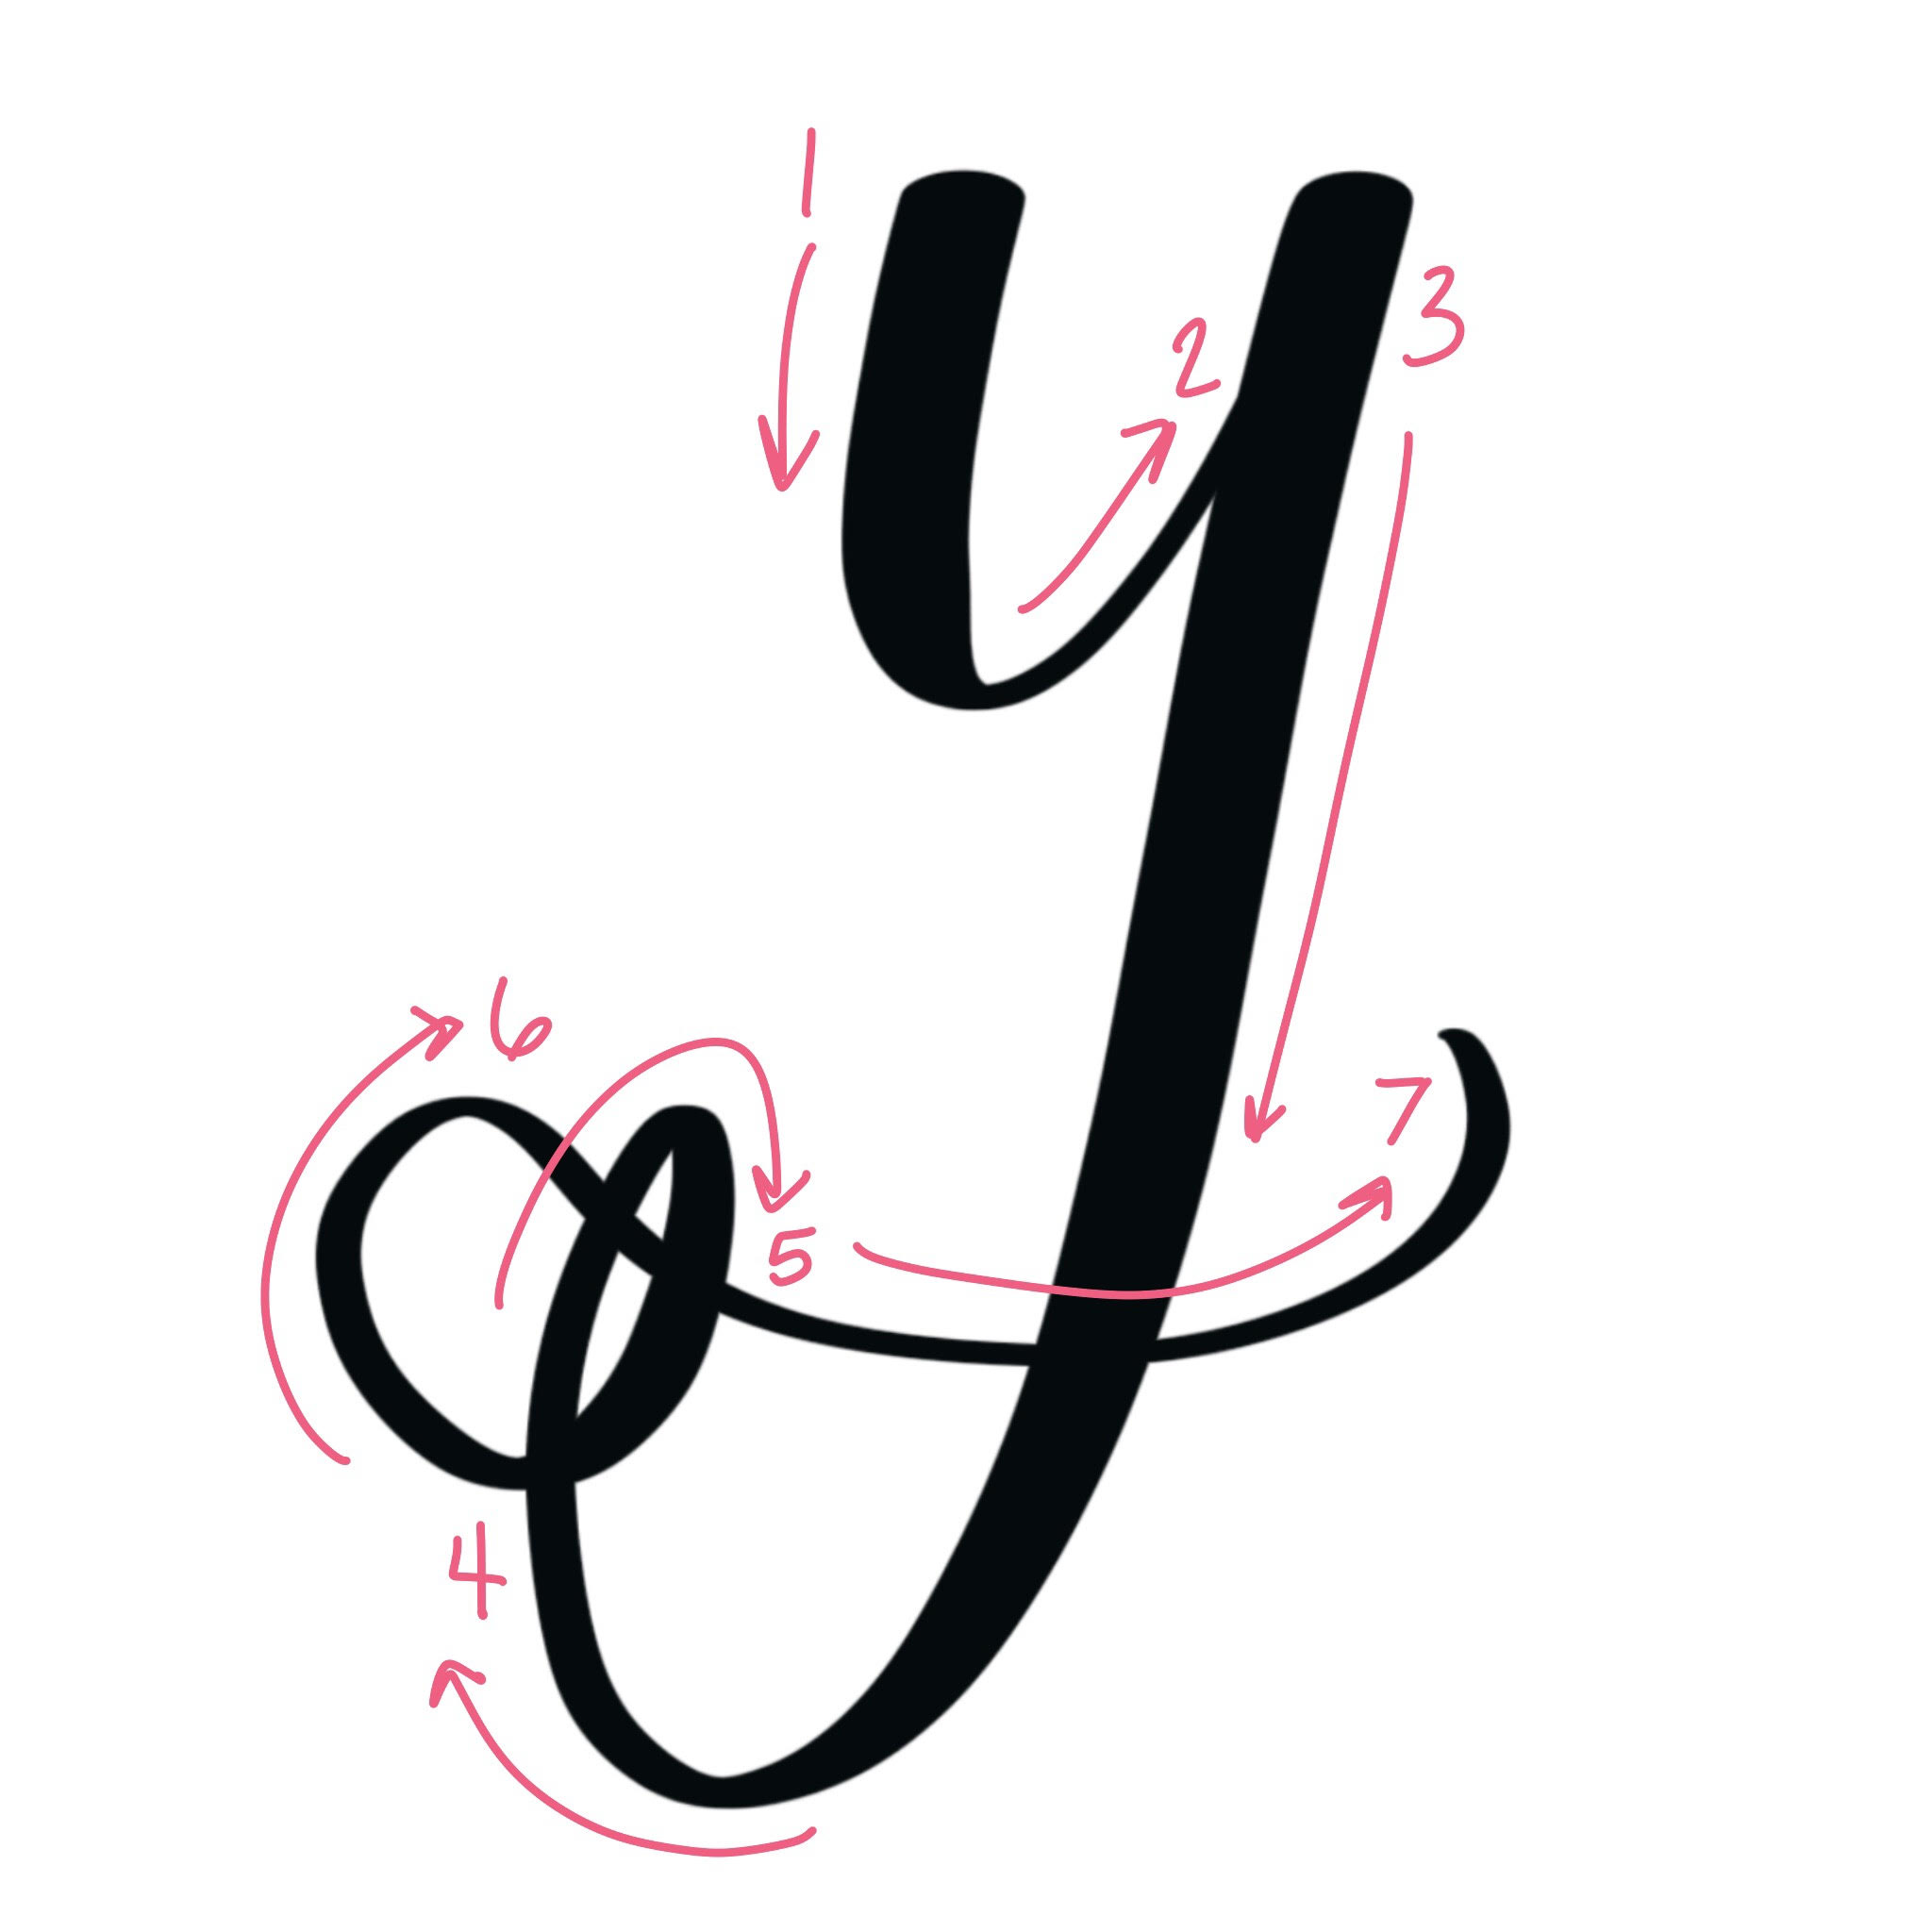
Flourish #5: Crossover Loop
This final flourish is similar to the backtrack loop, but instead of continuing your tail line off to the left, you’ll bring it back around to the right, crossing through your little loop and crossing over your descender line too.
Got that? One thing I’ve learned in my own hand lettering journey is that if you want to master a skill, practice makes progress! The more your repeat the hand motions of forming the letters, the more they will get into your muscle memory and your hand will know what to do.
To help you practice, I’ve created these free printable sheets you can download! These practice pages will walk you through all five flourish types and give you a chance to try them out on the letters g and j as well as y. There are samples for you to view, then lighter letters to trace over, and finally blank lines where you can practice on your own.
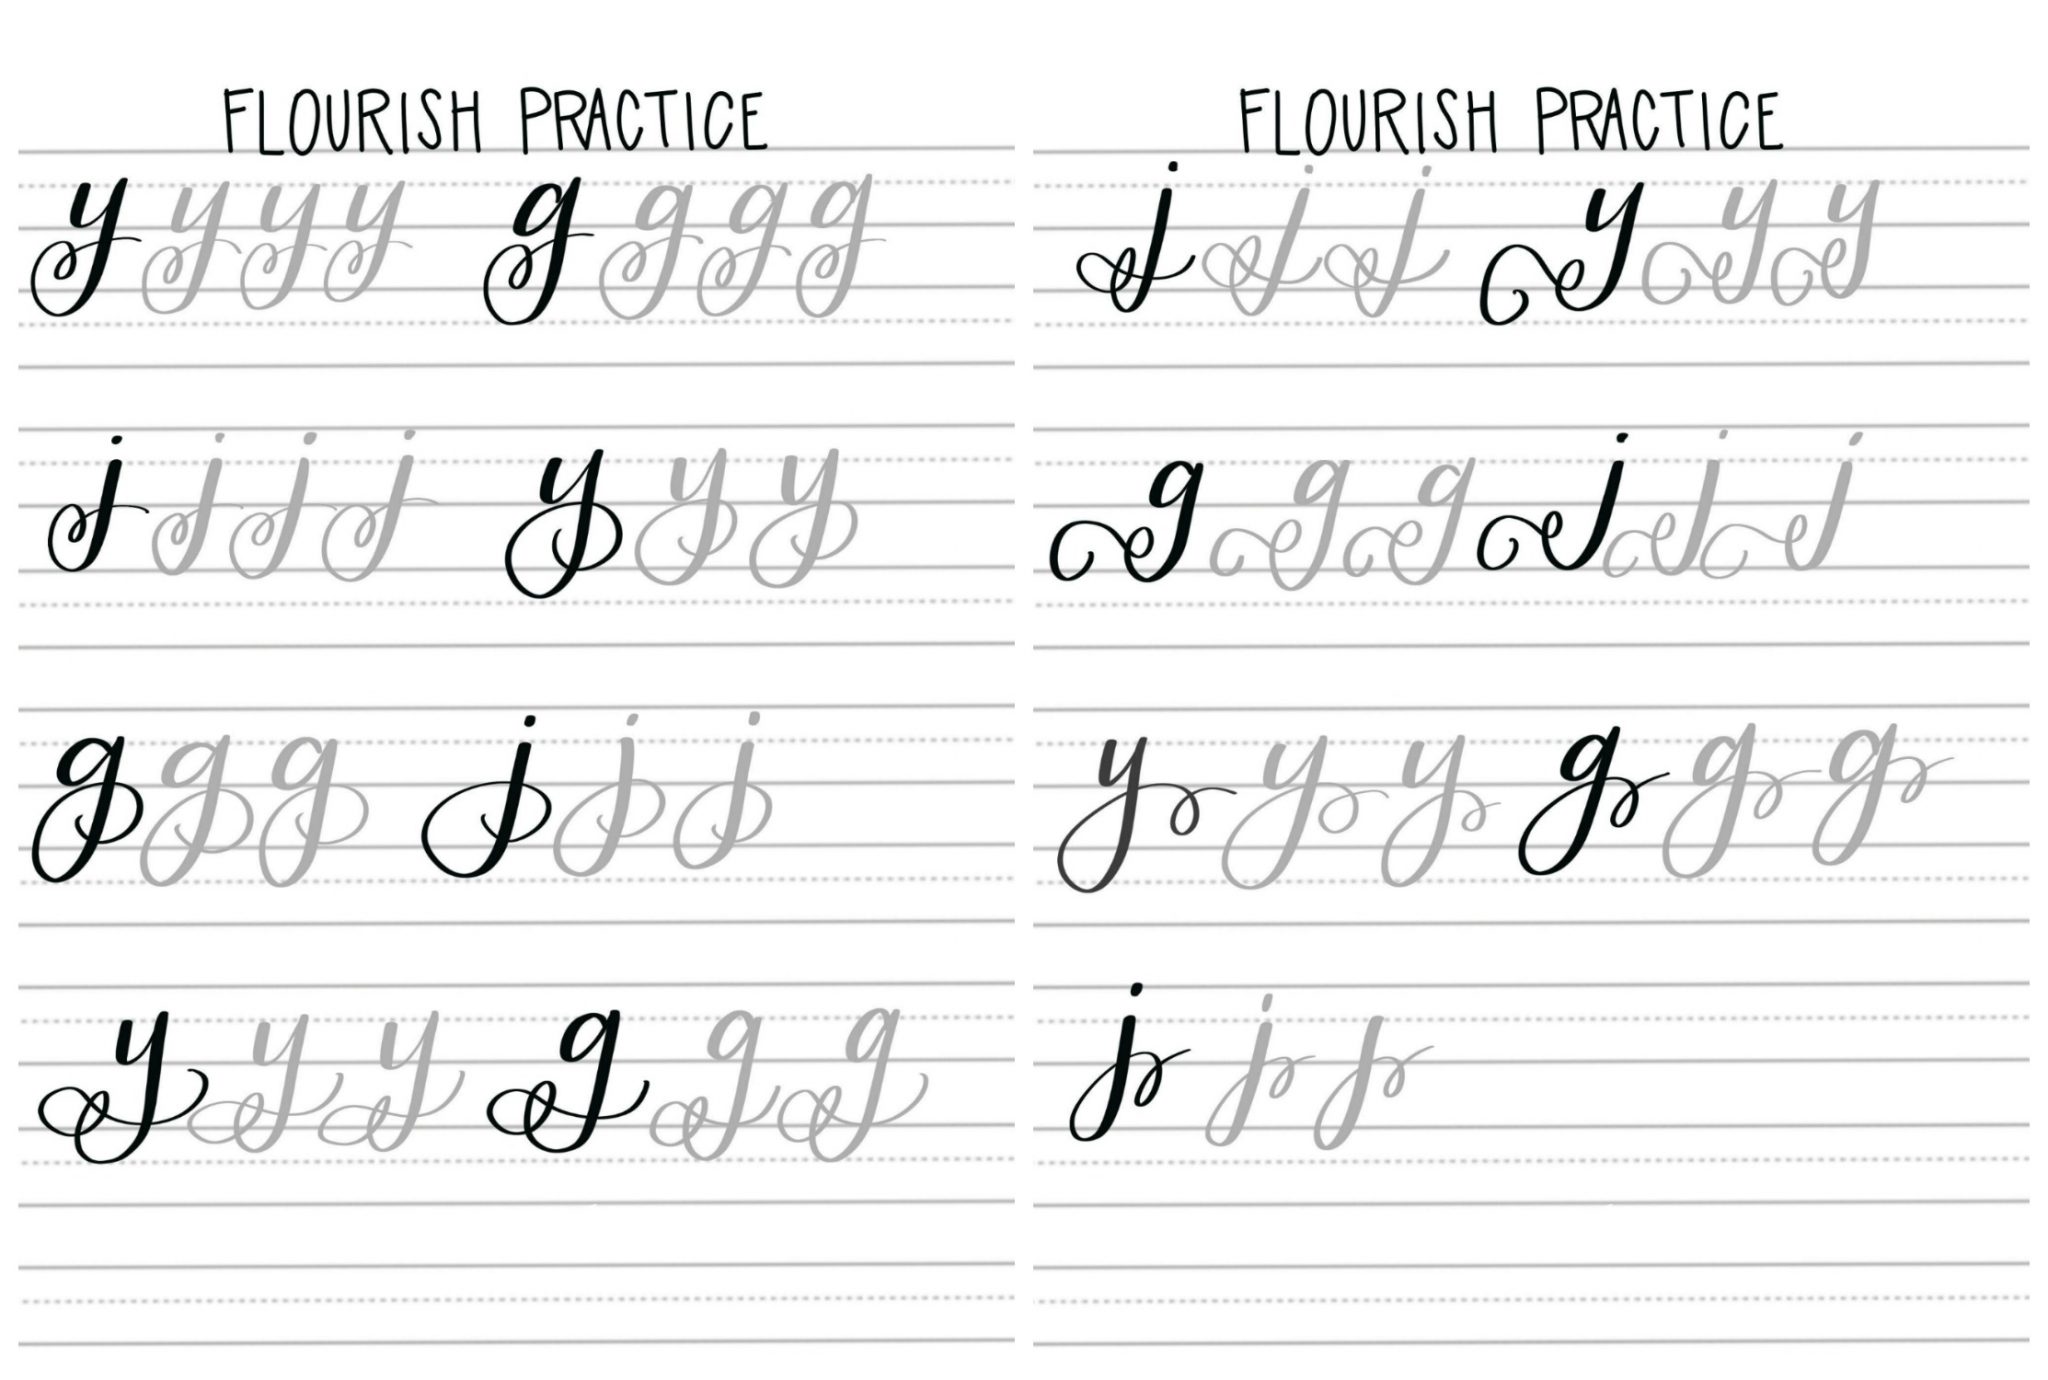
DOWNLOAD THE PRACTICE SHEETS HERE
I recommend using a Tombow Fudenosuke brush pen or something of a similar size for these sheets, or you can download them to an iPad Pro and use them digitally in the Procreate app. For more practice, check out these other free pages:
Uppercase Script Alphabet
Lowercase Script Alphabet
Uppercase Print Alphabet
Lowercase Print Alphabet
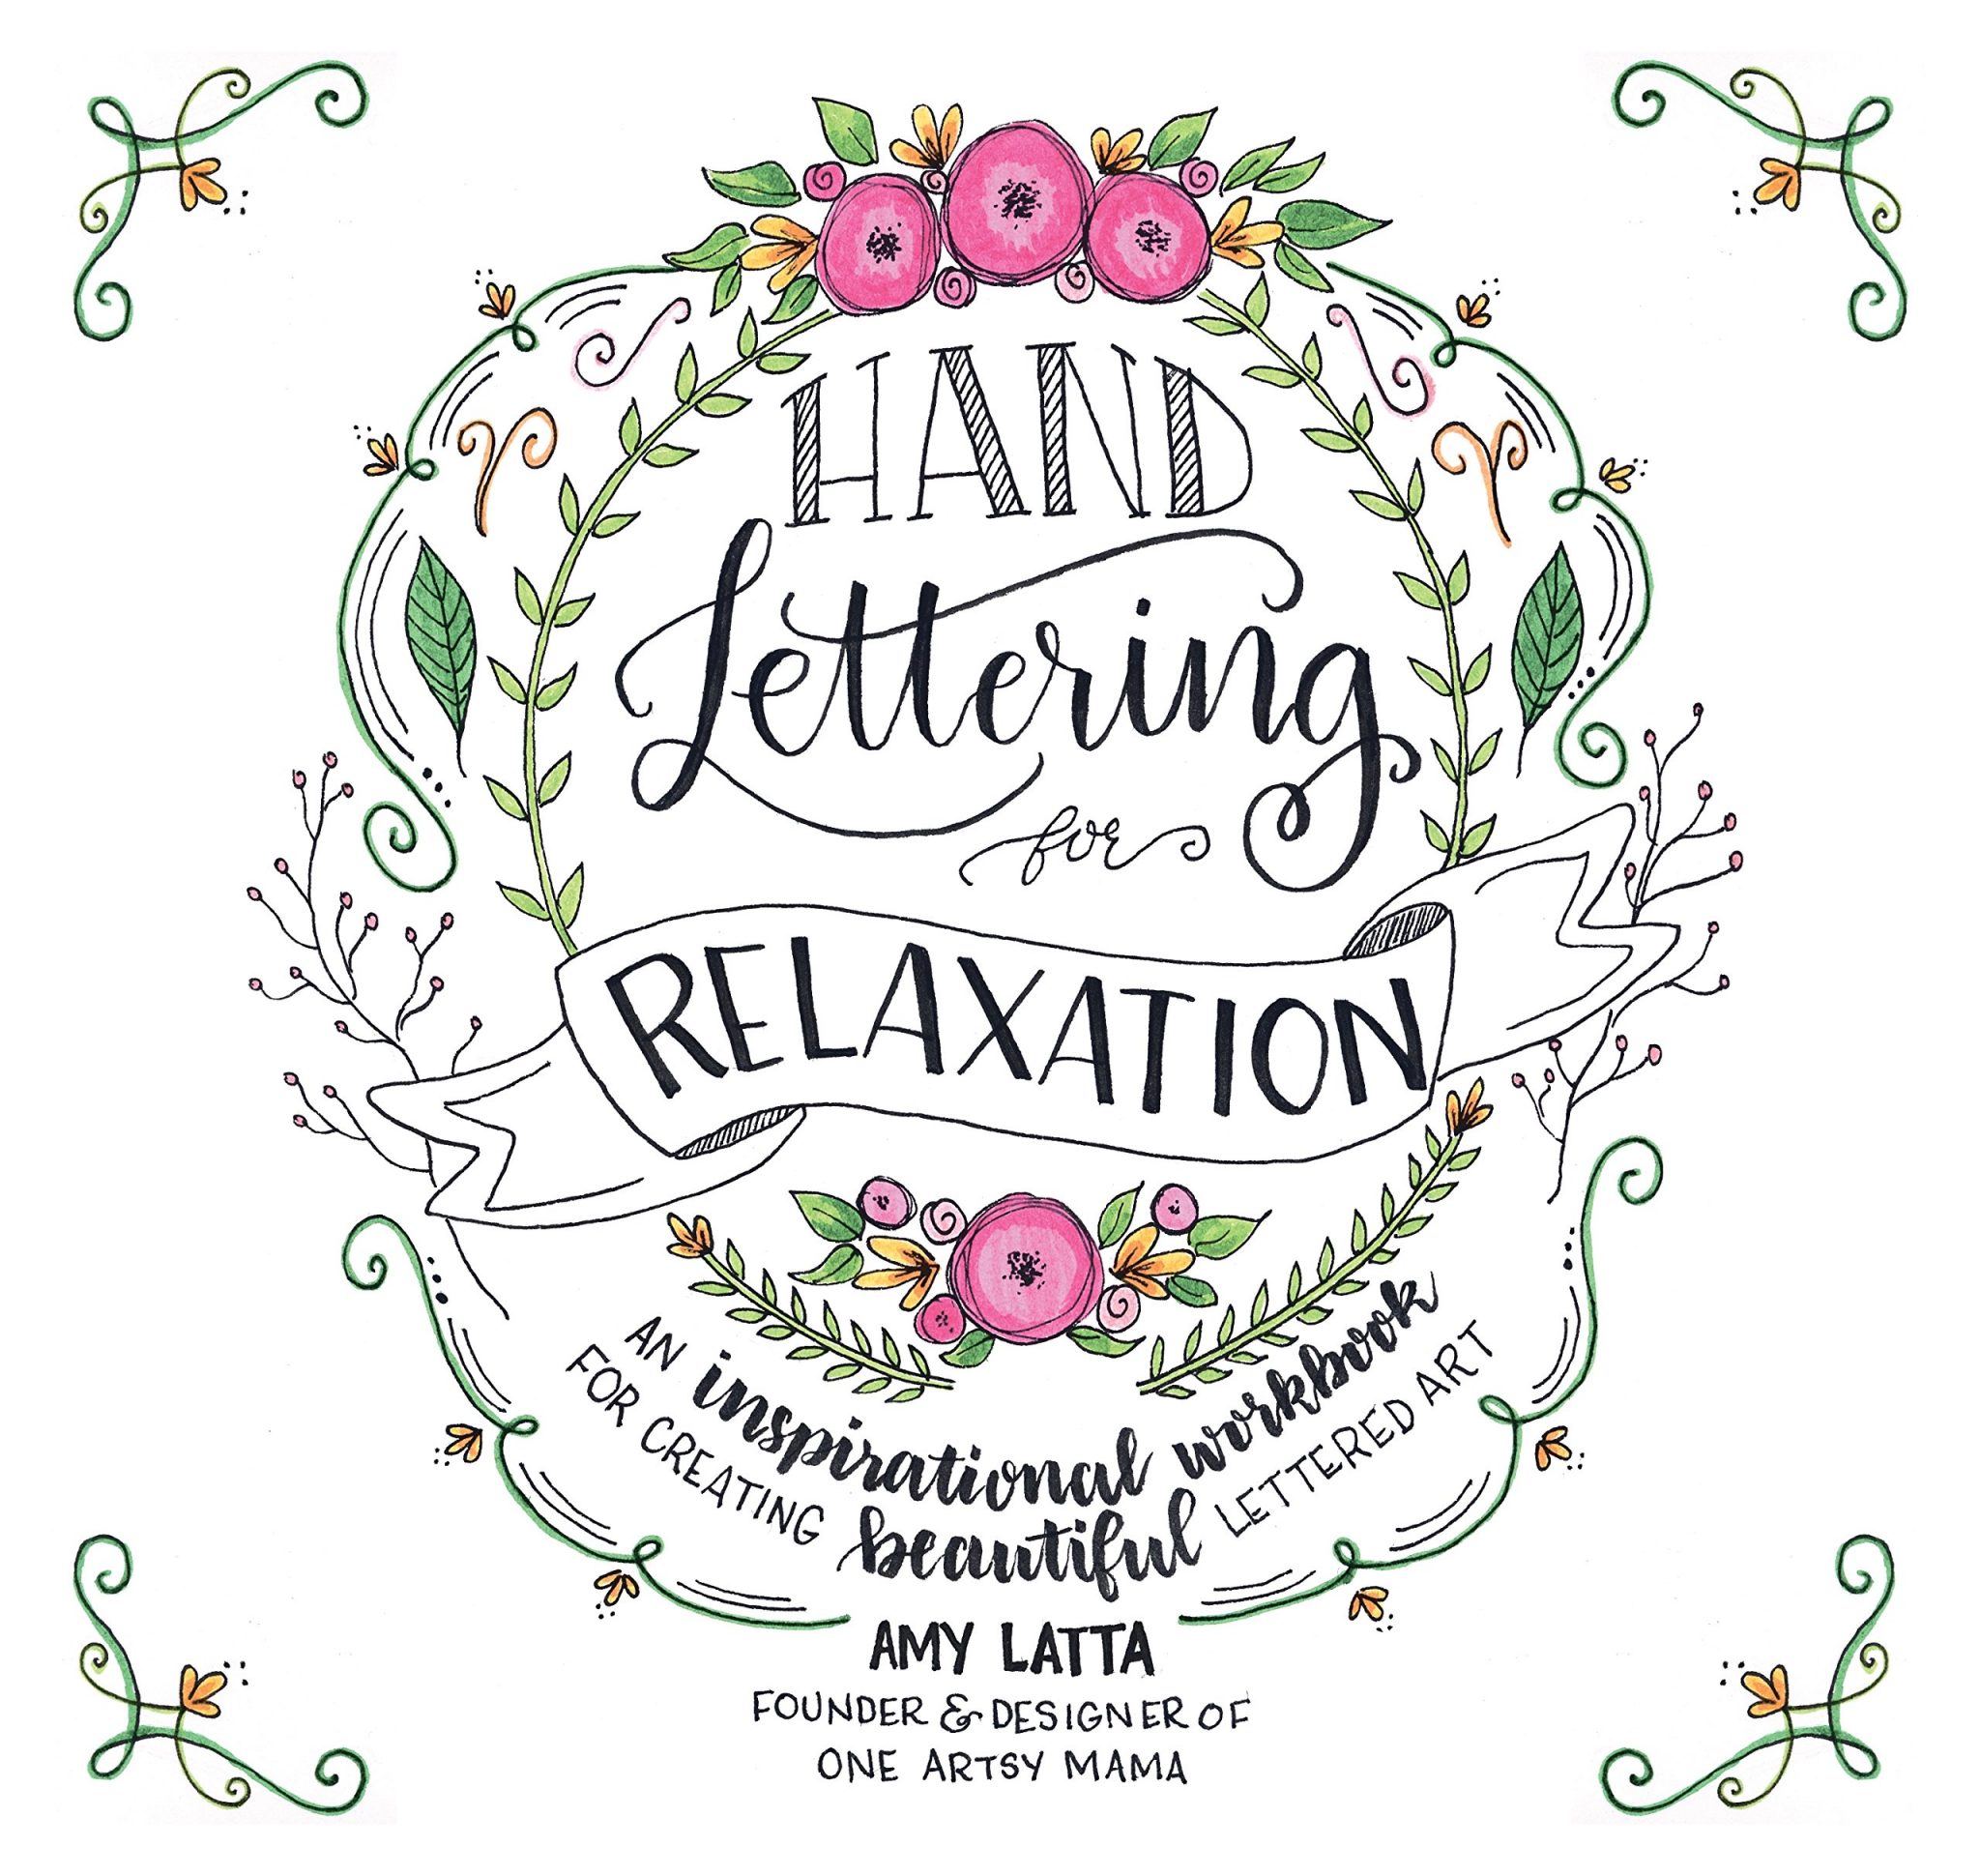
Also, be sure to check out my book, Hand Lettering for Relaxation, which is available for preorder now and will be released on July 11!
I’d love to see how your flourishing practice is going…be sure to share pics with us in the One Artsy Mama & Friends Facebook group! See you there!

Thank you SO much Amy. Pinned for practice!