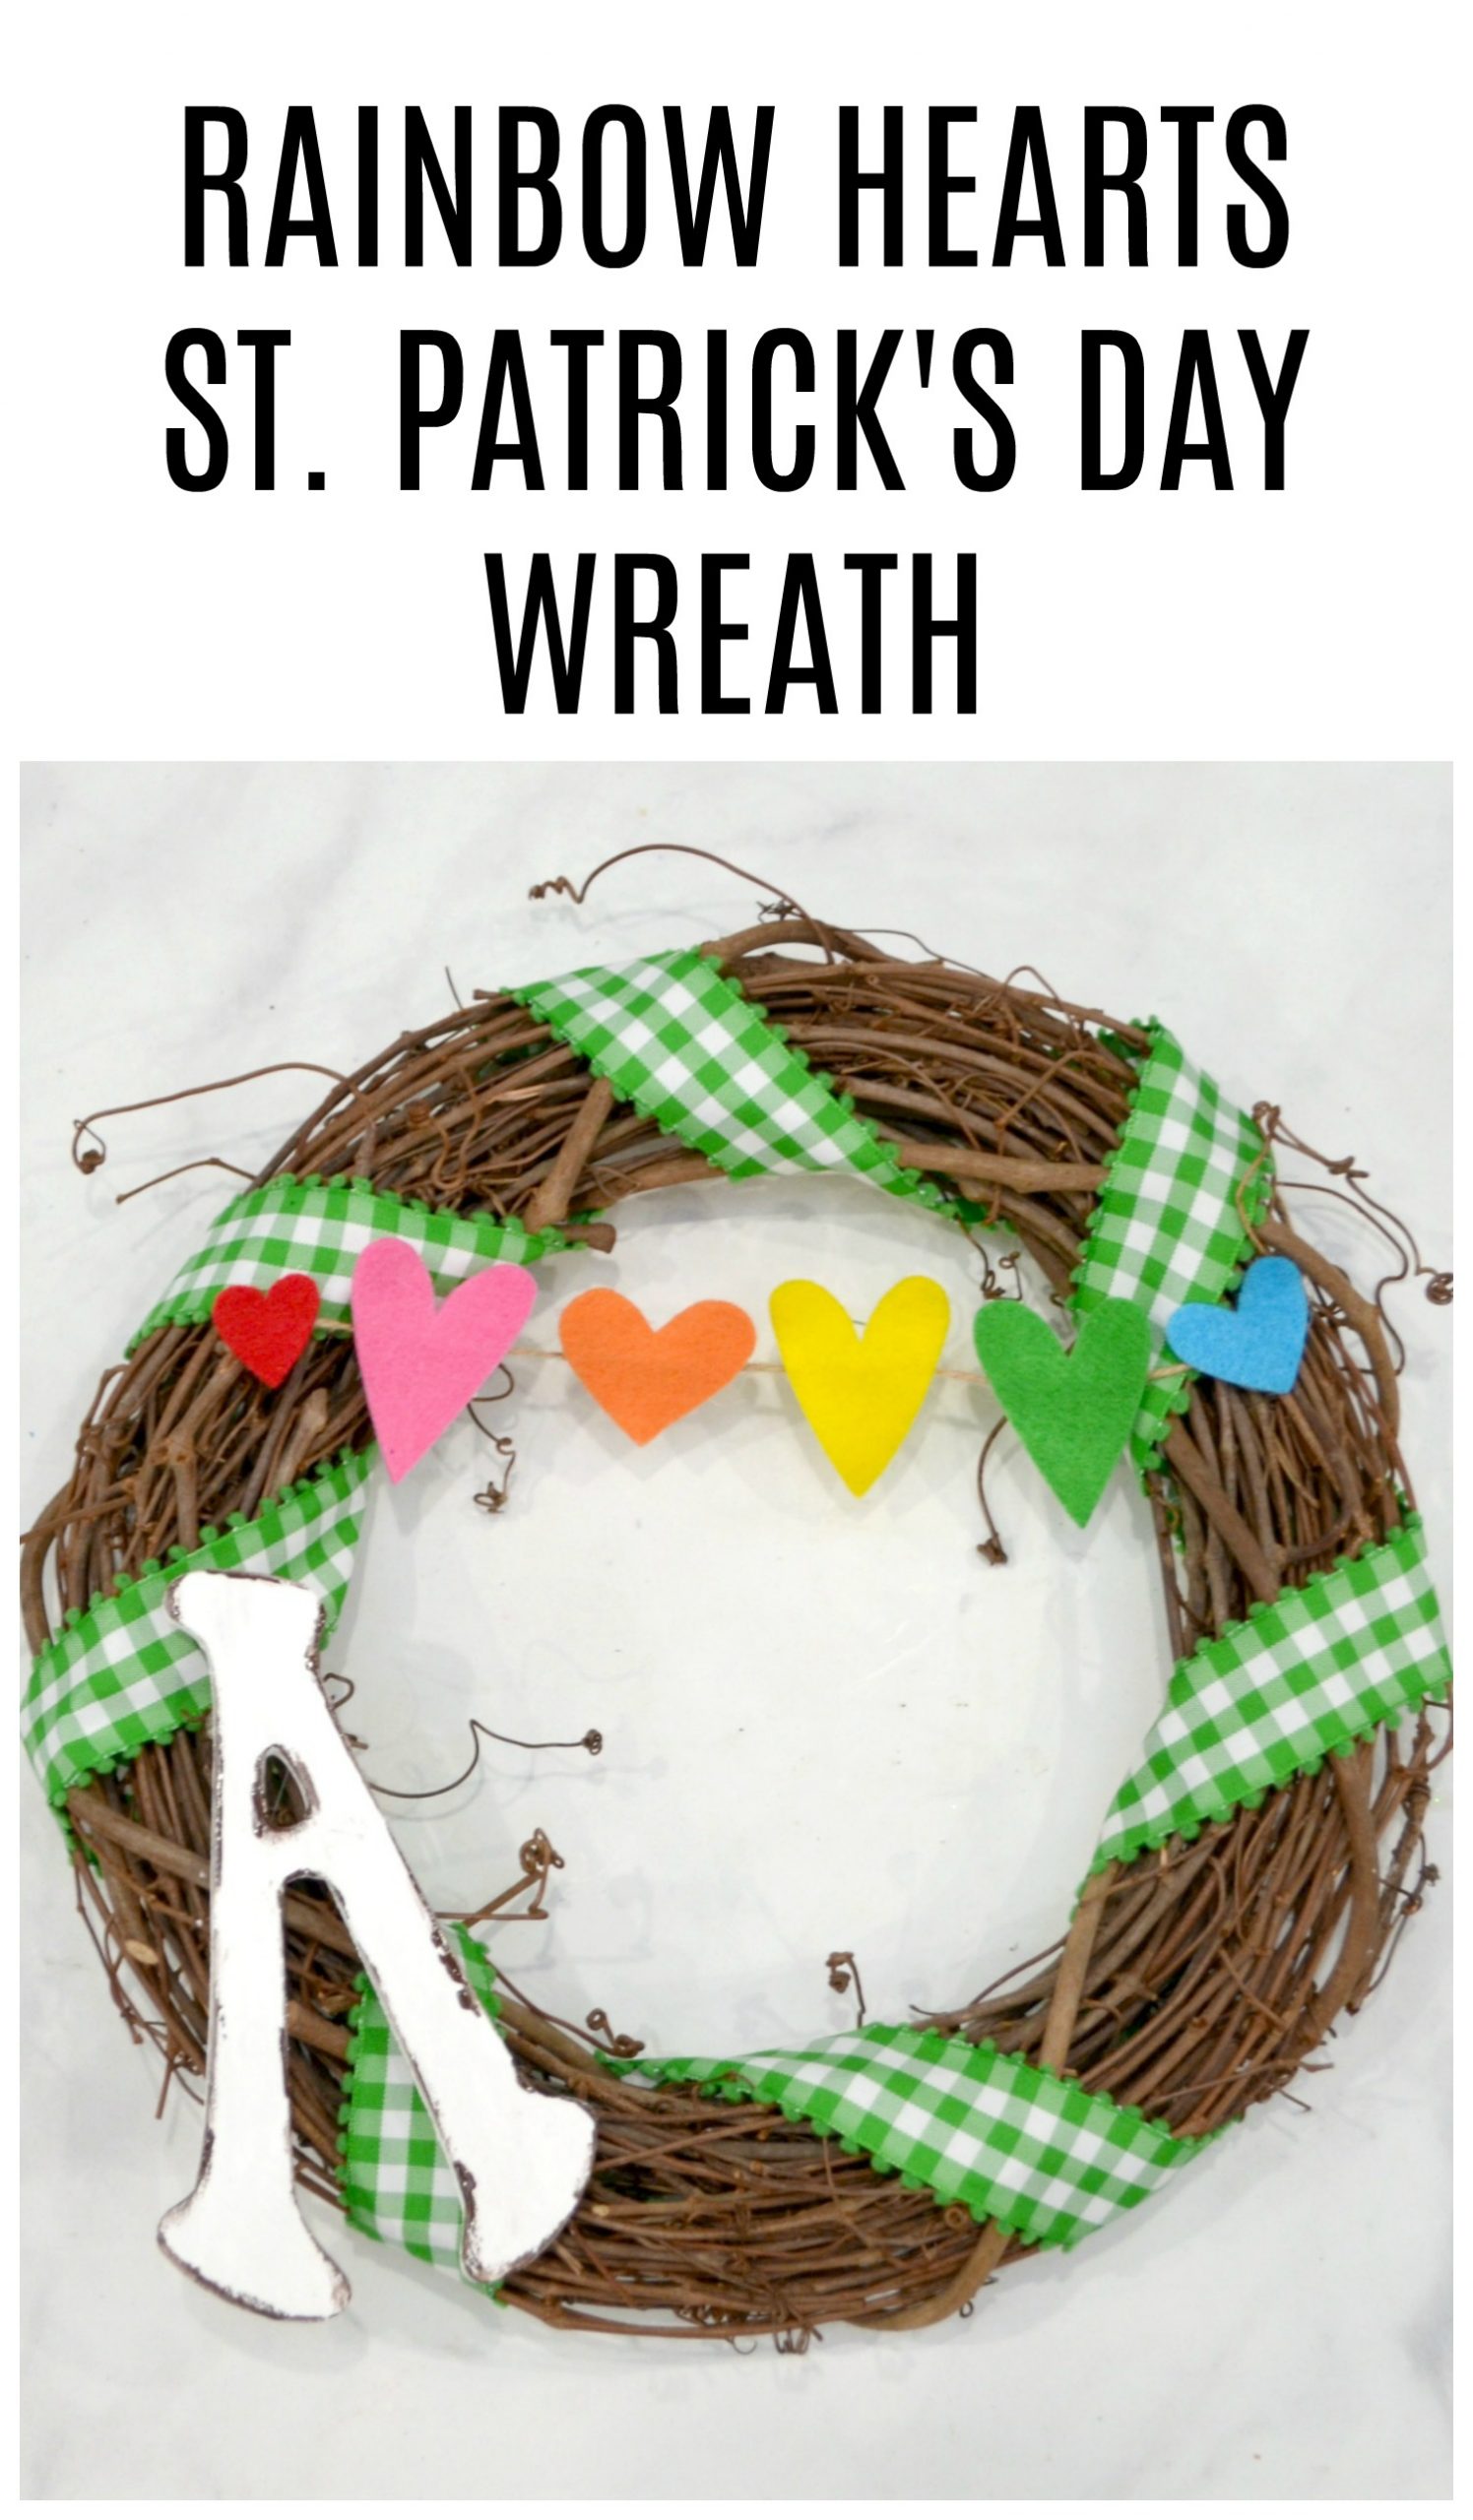
Rainbow Hearts St. Patrick’s Day Wreath

I don’t know about you, but when I think about St. Patrick’s Day, the first things that come to my mind are shamrocks and rainbows. I wanted to do a little bit of holiday decorating, so I decided to create a quick and easy Rainbow Hearts Wreath that will make any door or wall look festive in no time. Here’s how you can create one too!
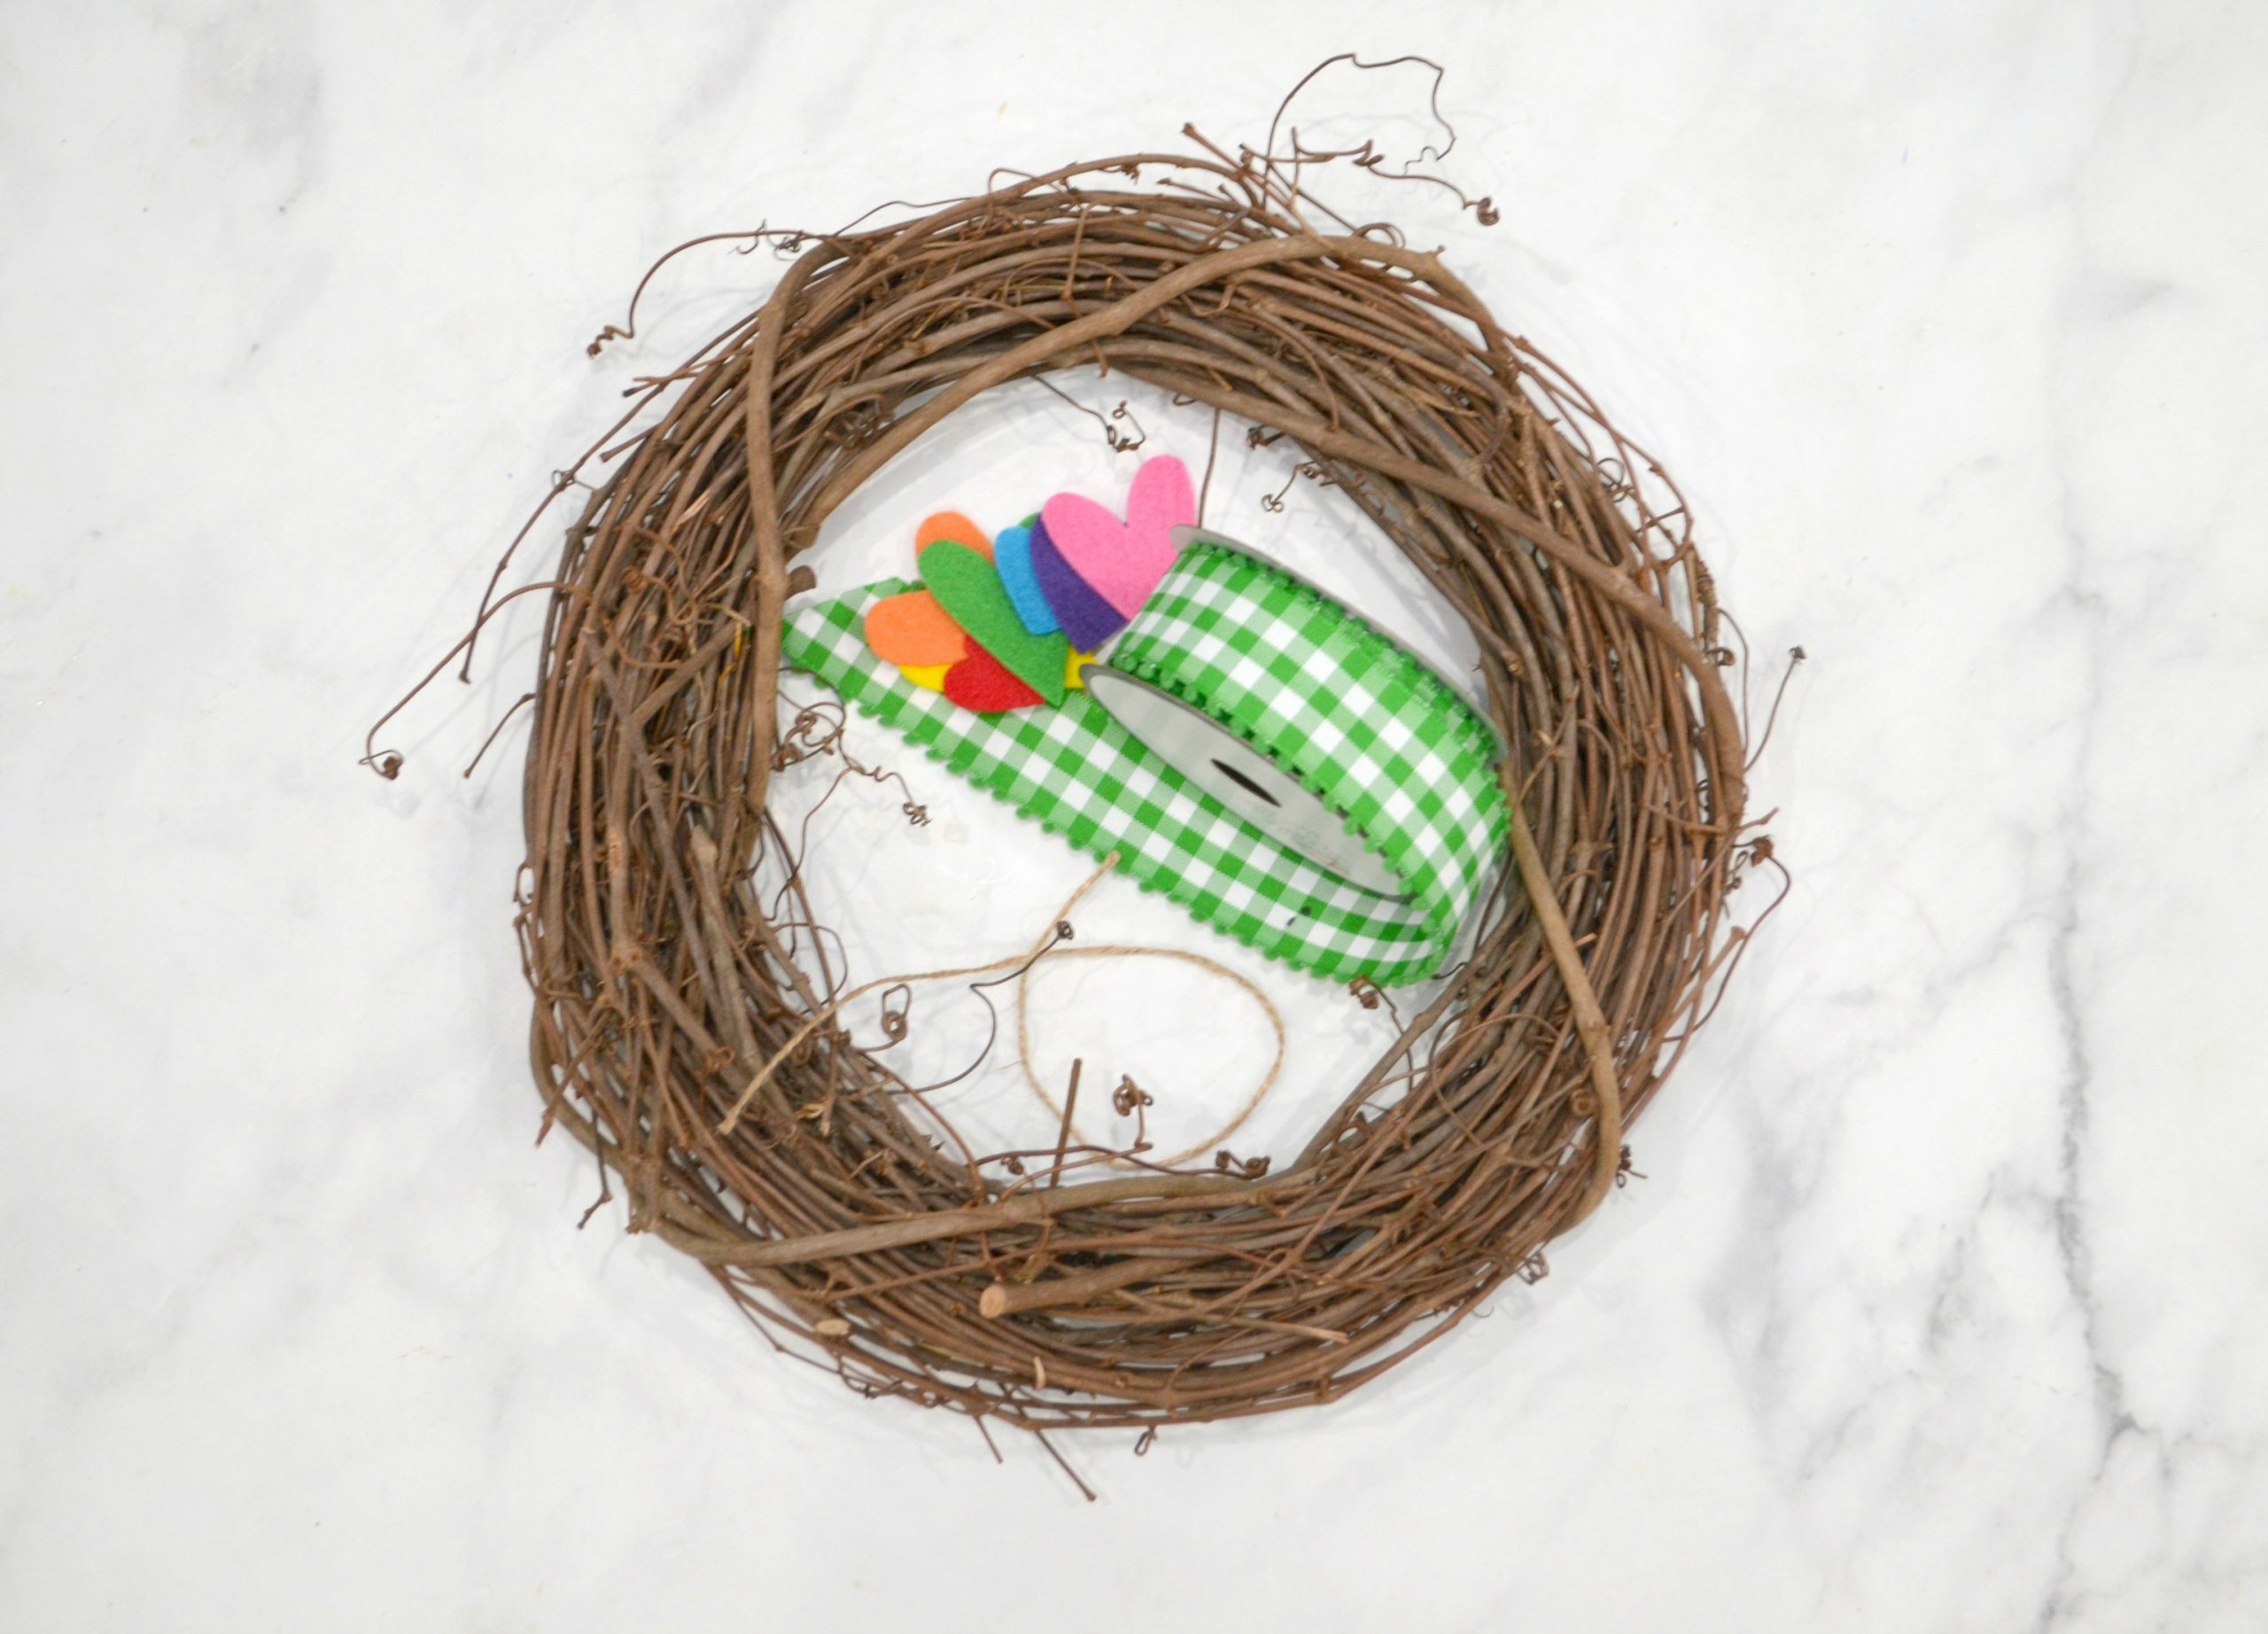
You’ll Need:
grapevine wreath
Kunin felt (I used Red, Candy Pink, Pumpkin Spice, Yellow, Apple Green, and Peacock Blue)
scissors or electronic cutting machine
twine
ribbon (I used green gingham)
wooden letter
chalk paint (I used white and espresso)
paintbrush
hot glue gun and glue
Making Your Rainbow Hearts Wreath
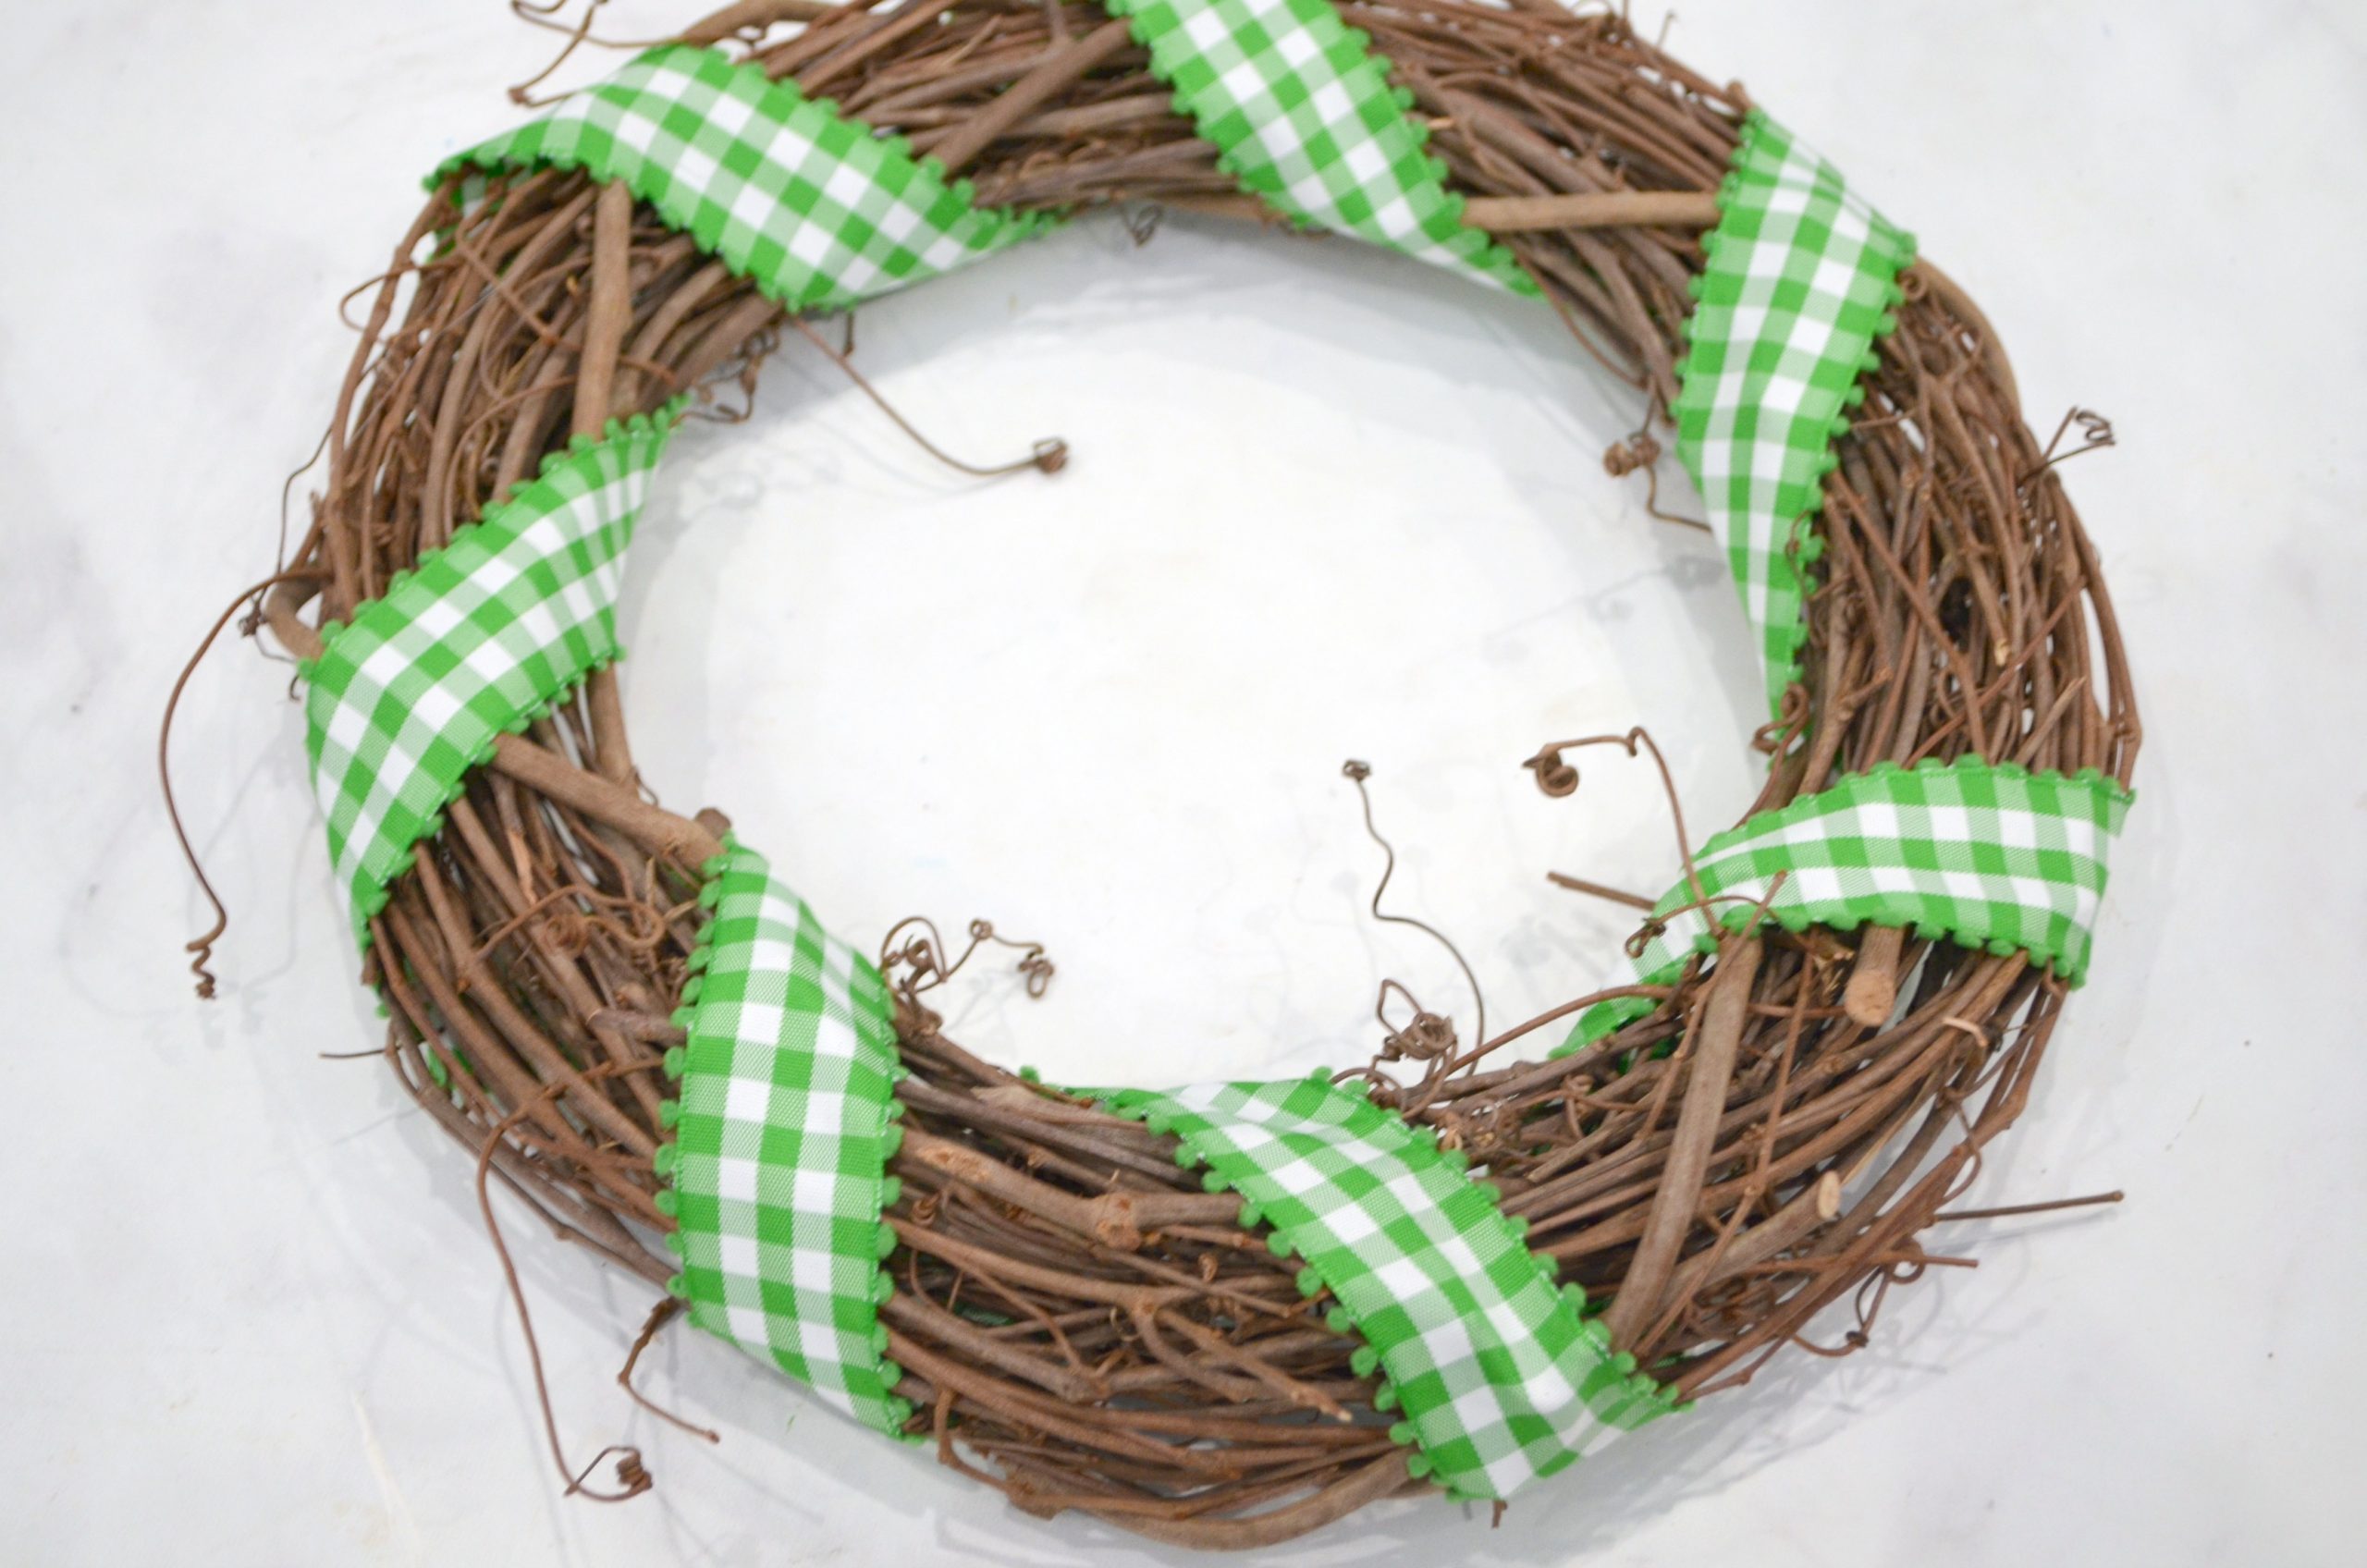
Step 1: Wrap your wreath with ribbon.
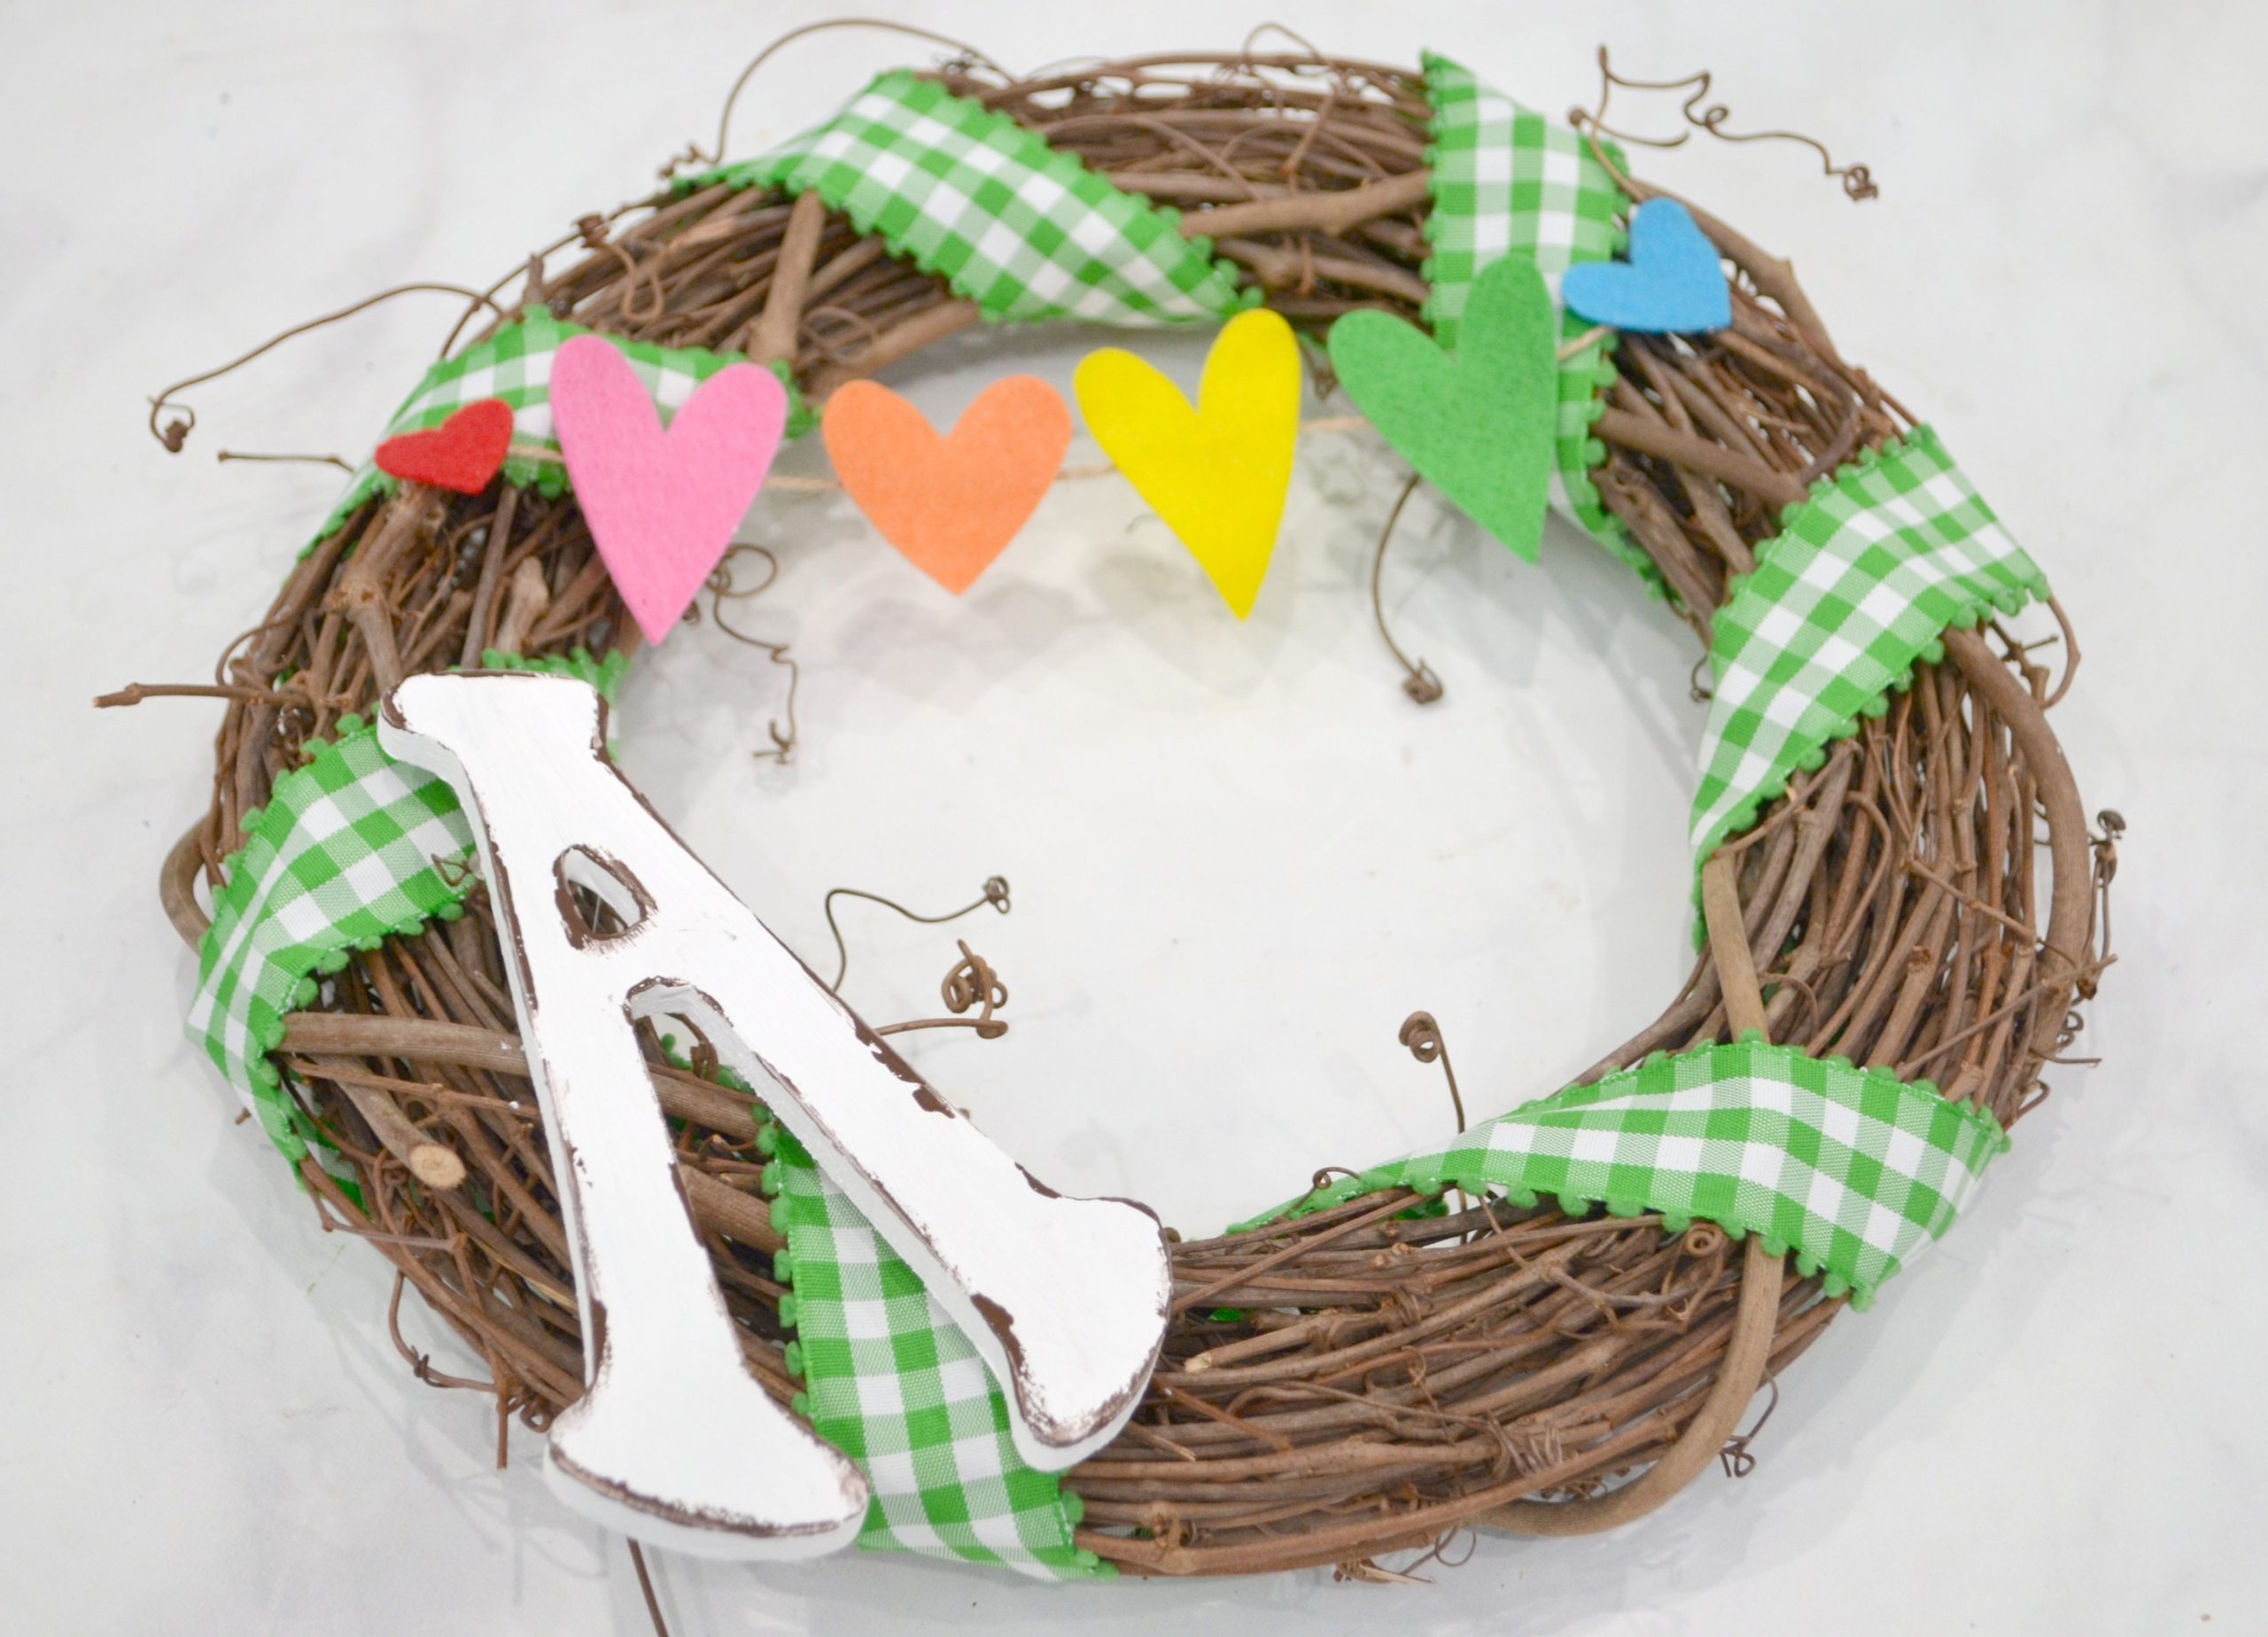
Start by gluing one end to the back of the wreath, then wrap the ribbon around as many times as you’d like until you get back to where you started. Cut the excess and glue the other end to the wreath back. I got this gingham ribbon with the cute edging at Hobby Lobby. You could also use a solid color, or a festive print like shamrocks.
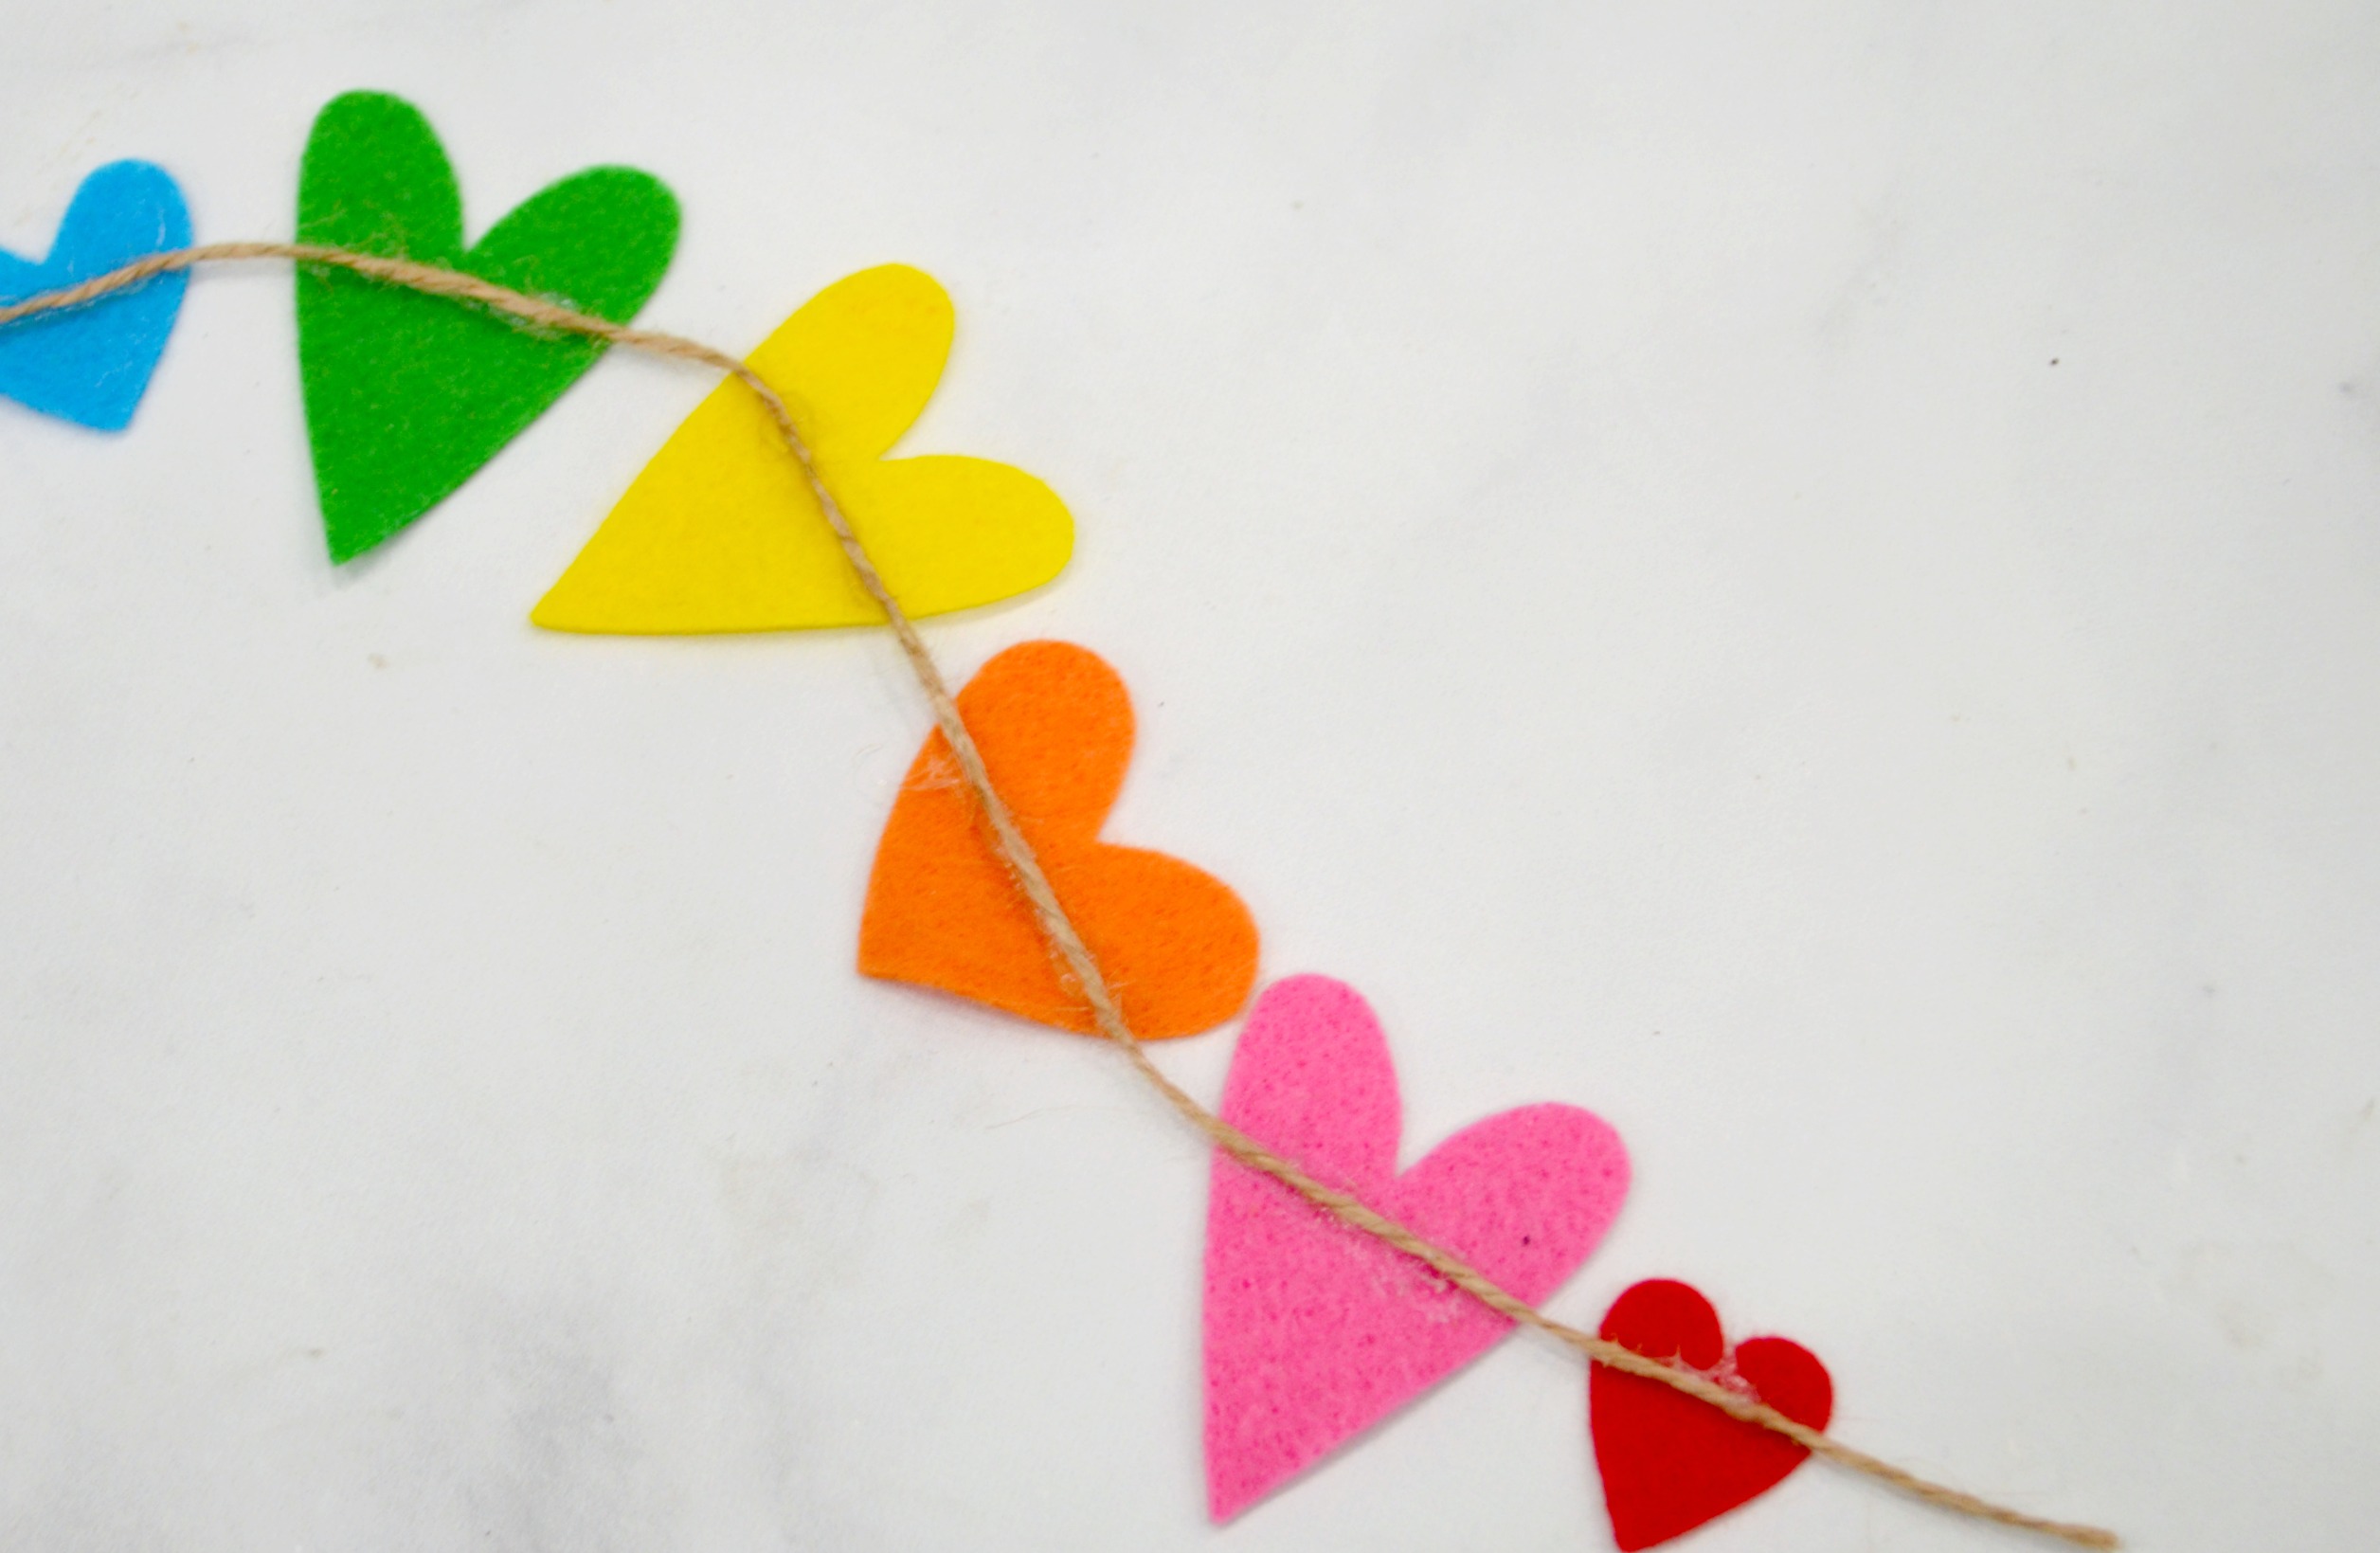
Step 2: Cut heart shapes from your felt.
You can either do this with scissors or with the help of a cutting machine like the Cricut. Feel free to make the hearts any size and shape you like. I went with a variety of larger, smaller, thinner, and wider hearts to give it a whimsical appearance and add some visual interest.
Step 3: Glue the hearts to a piece of twine.
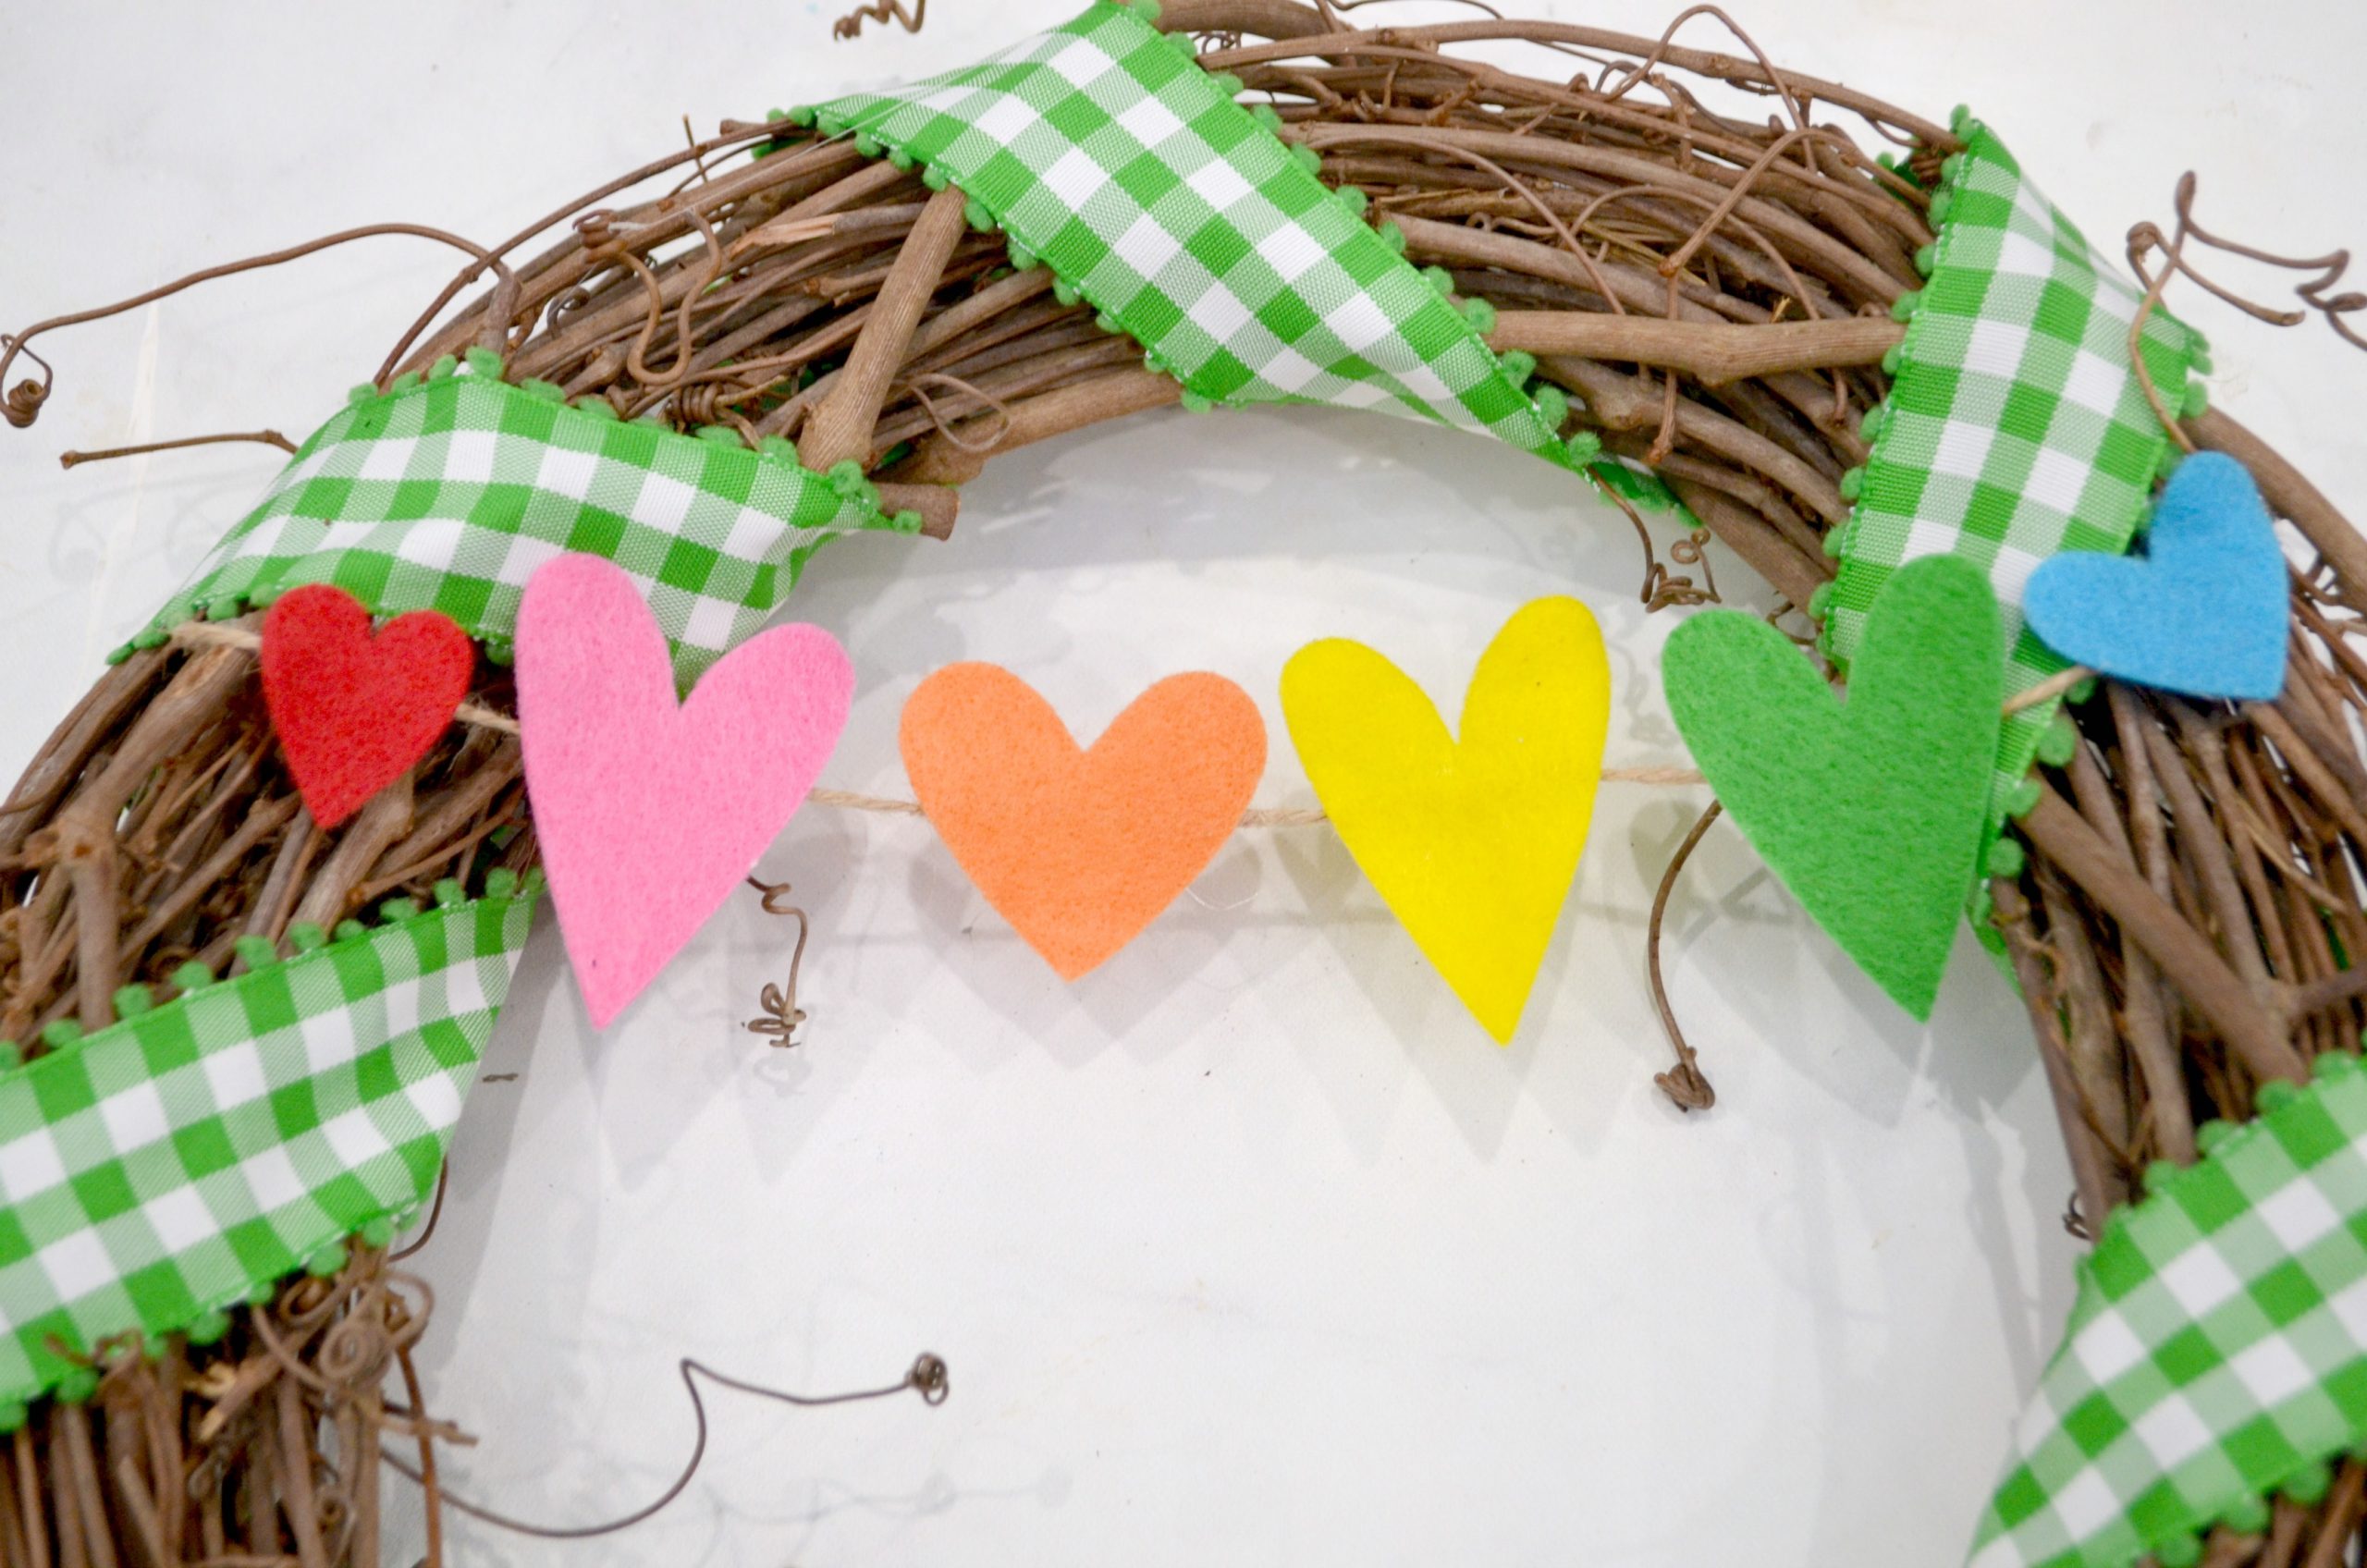
Step 3: Glue both ends of the twine to the sides of the wreath.
I tucked mine under the ribbon so the ends wouldn’t show. I also put a bit of glue on the back of the red and blue hearts to help hold everything in place.
Step 4: Paint your monogram.
If I were putting this on our front door, I’d have gone with an “L.” Since it’s for decorating my craft room/office, though, I chose an “A” for my first name. Any style wooden letter will work as long as it’s a good size for the wreath. I painted mine with one coat of white chalk paint, let it dry, then added some brown chalk paint along the edges to give it a distressed farmhouse-style look that compliments the ribbon and the wreath base itself.
Step 5: Glue the letter to the wreath.
That’s it, your project is finished and ready to add a festive touch to your home!
What do you think? What initial would you use on yours? I’d love to see your St. Patrick’s Day wreath or whatever your latest projects might be; hop on over to the Amy Latta & Friends Facebook group and share them with us.
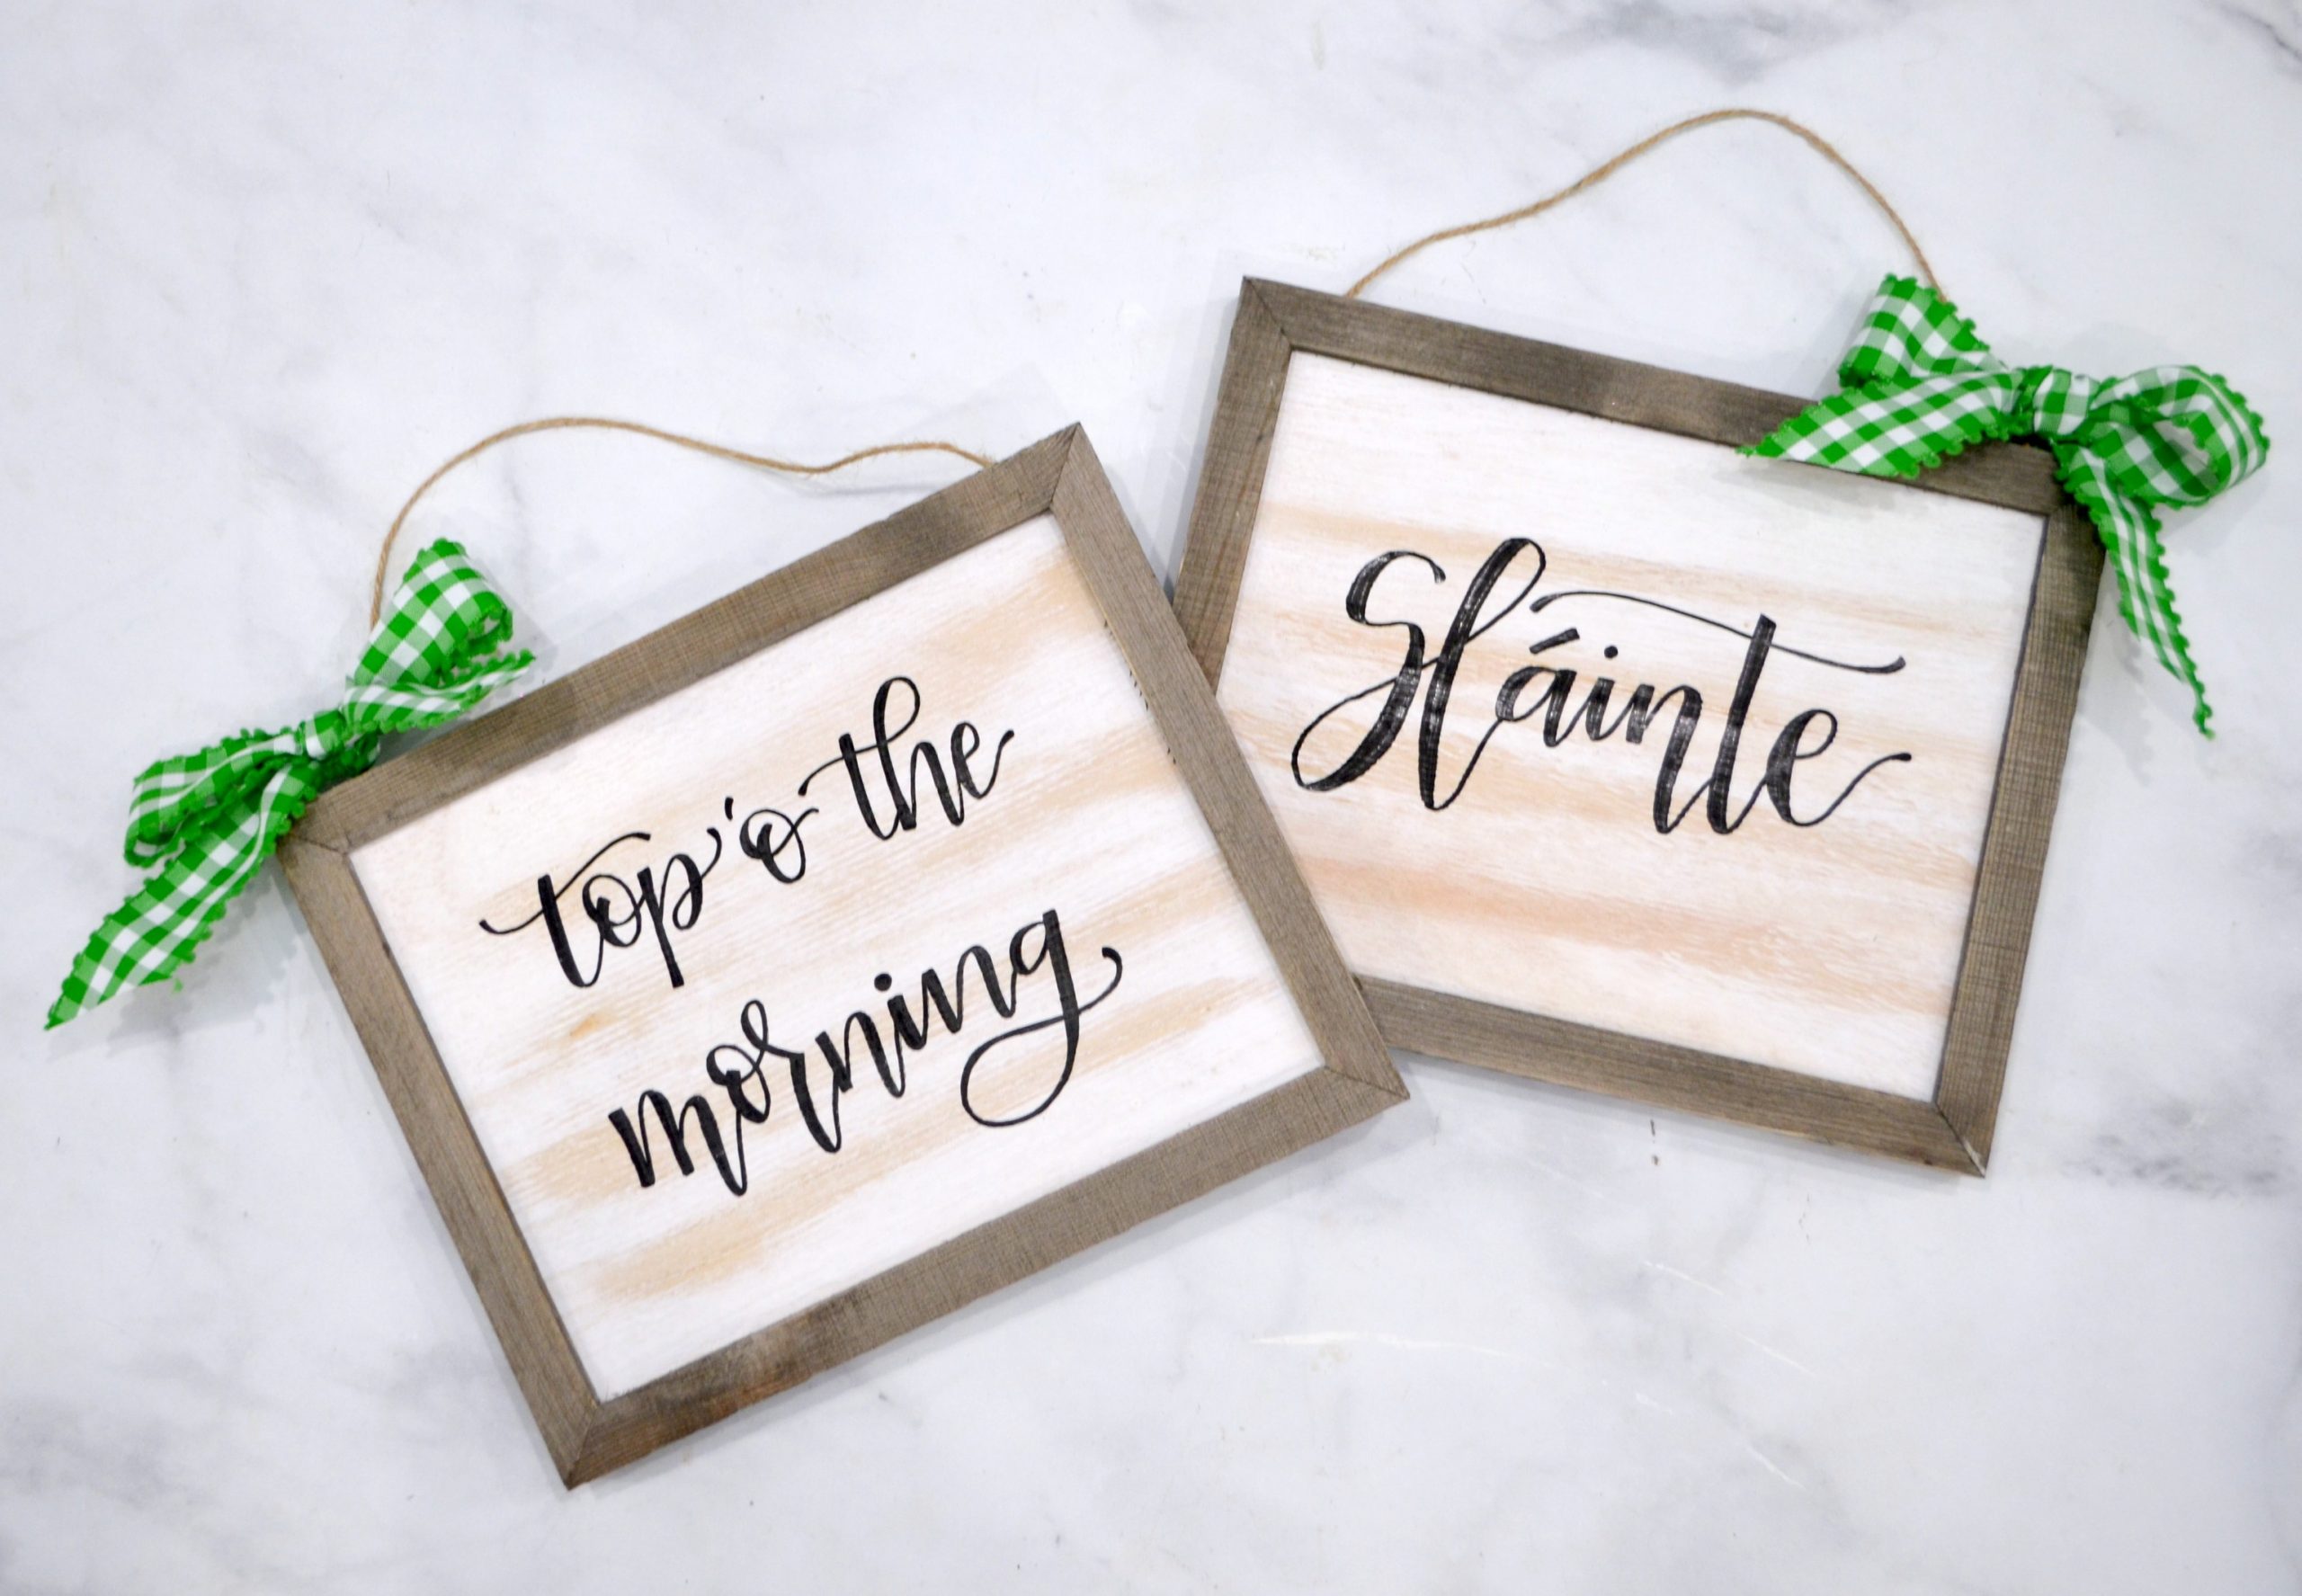
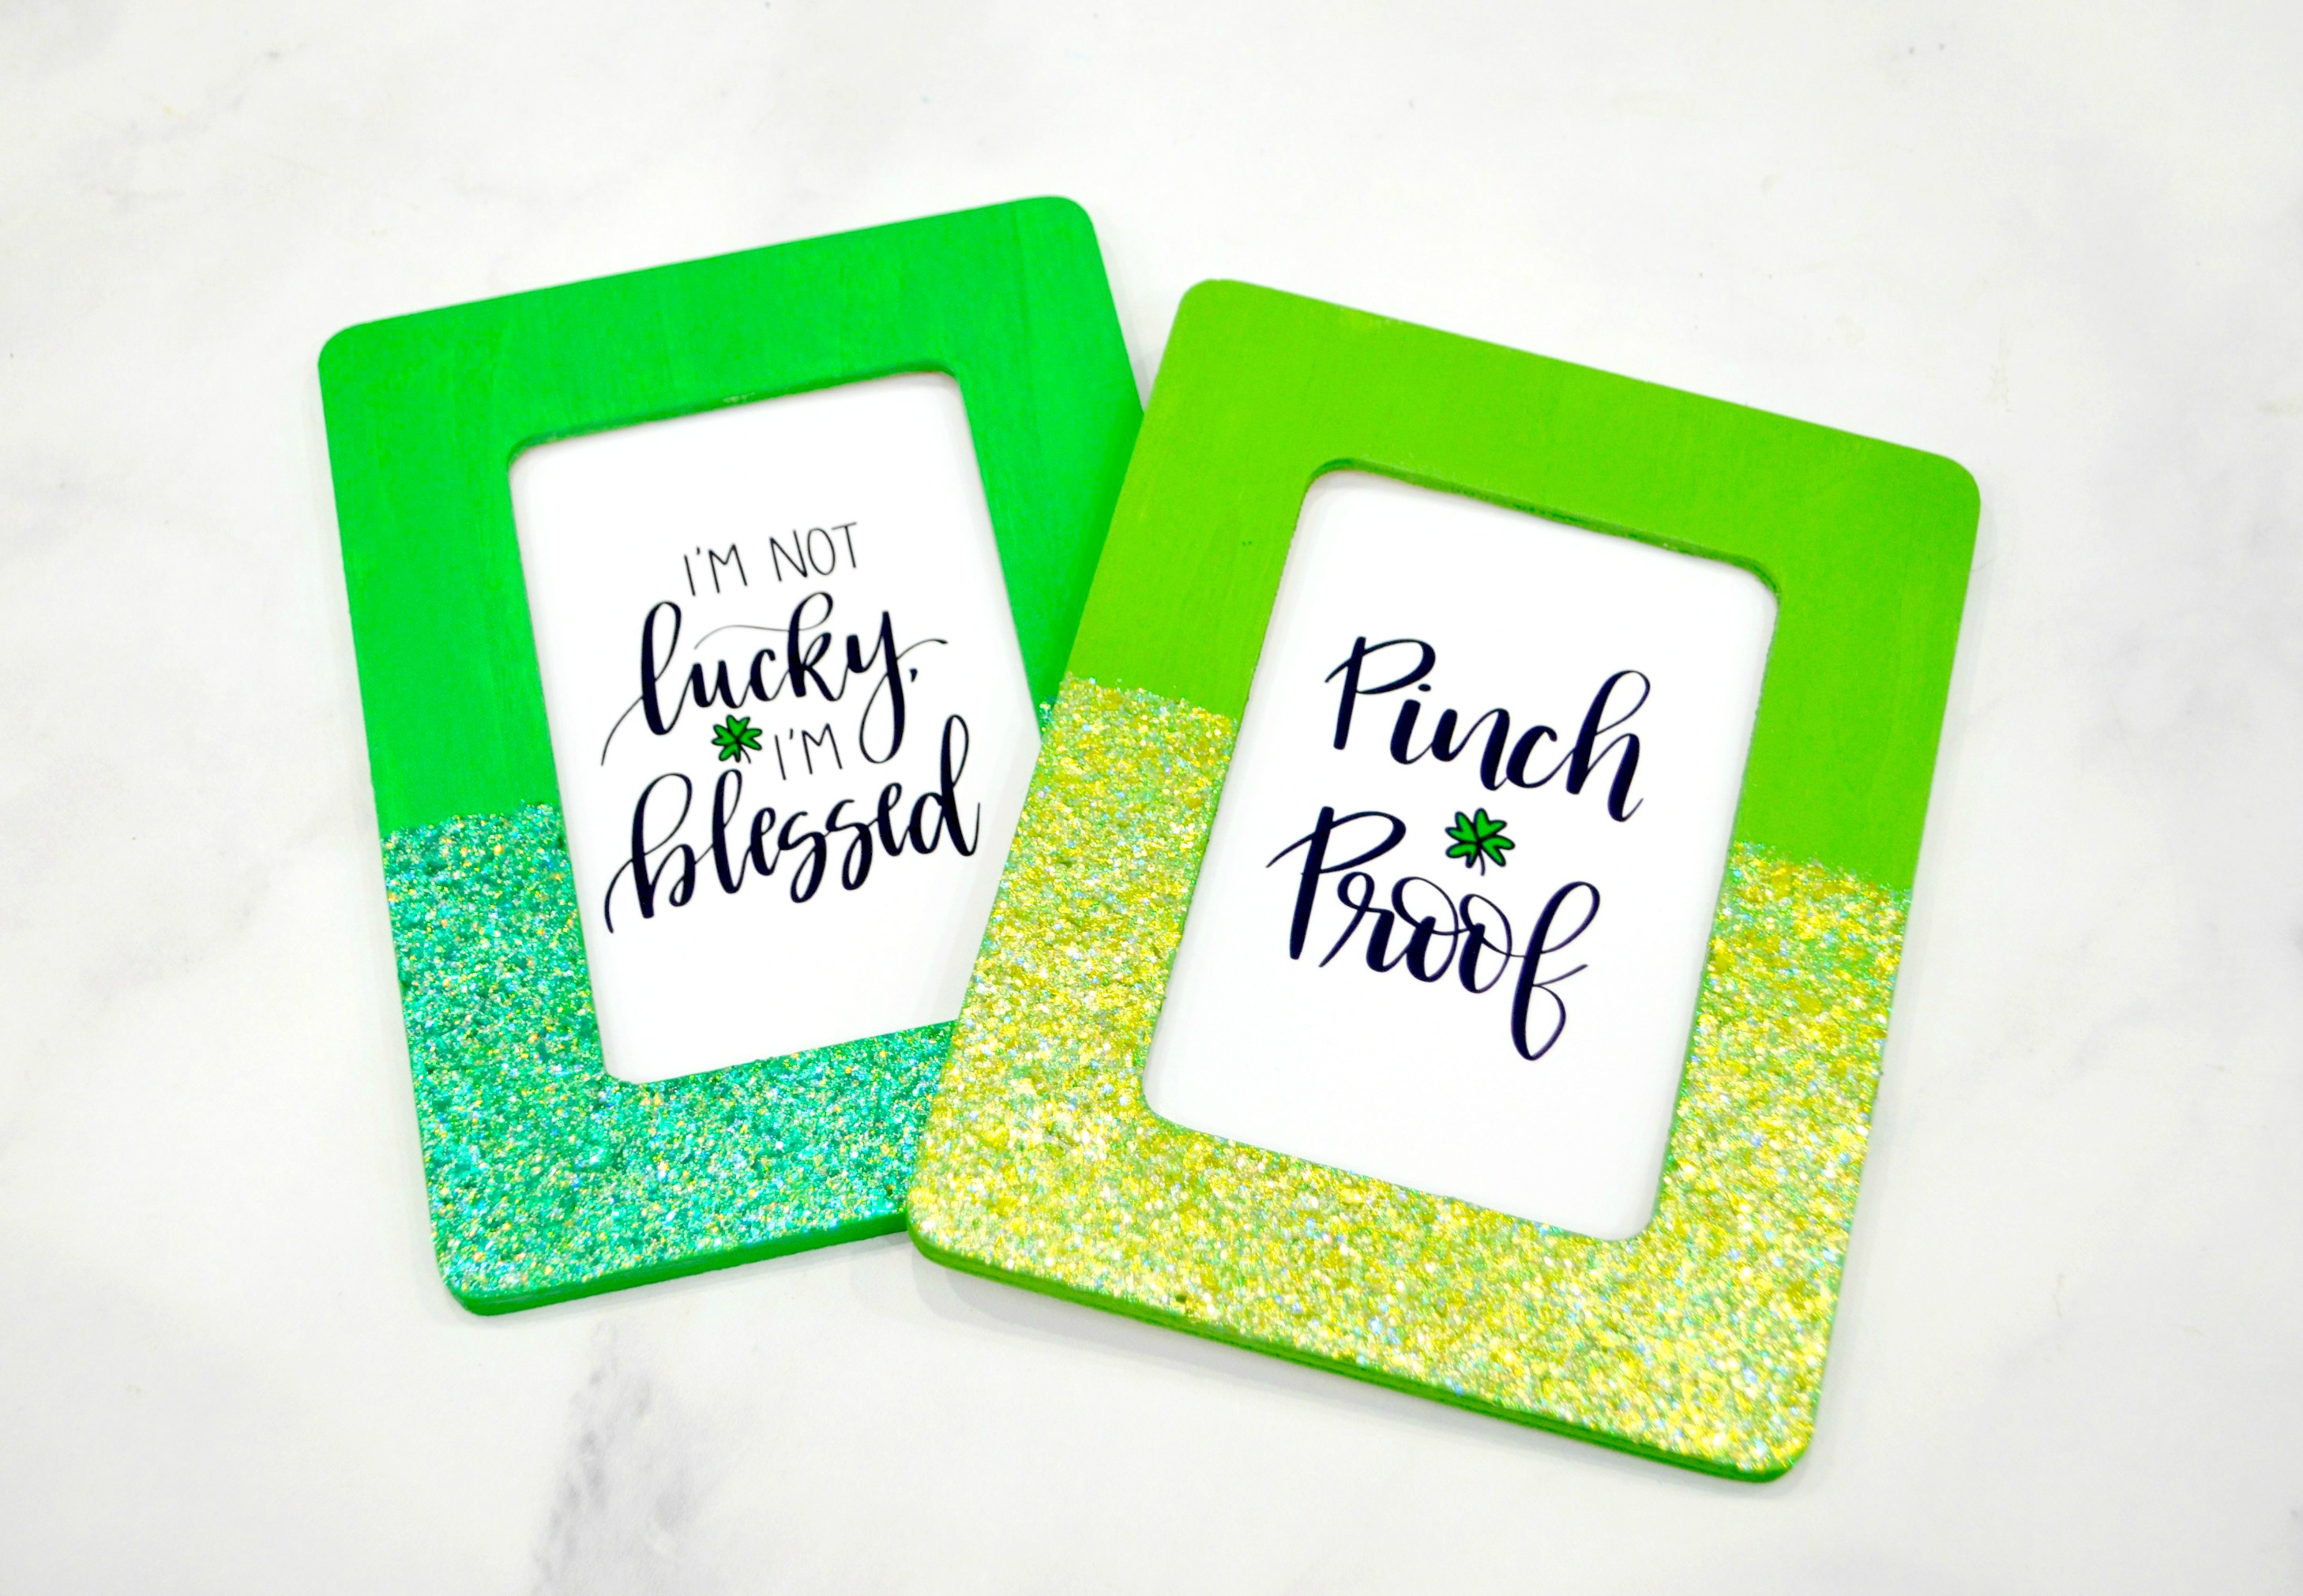
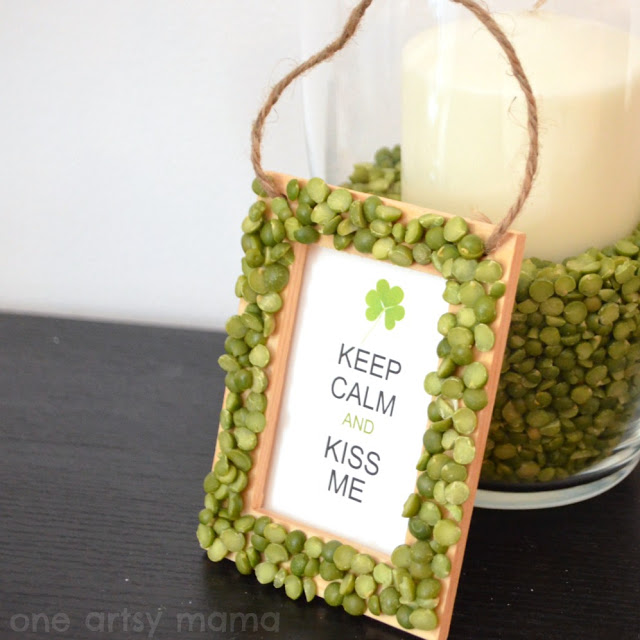
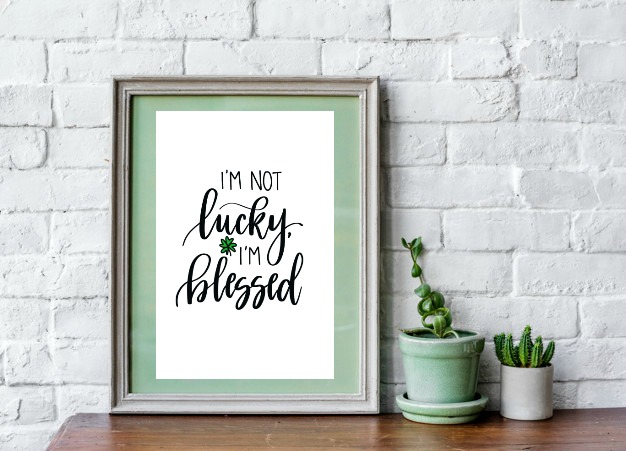
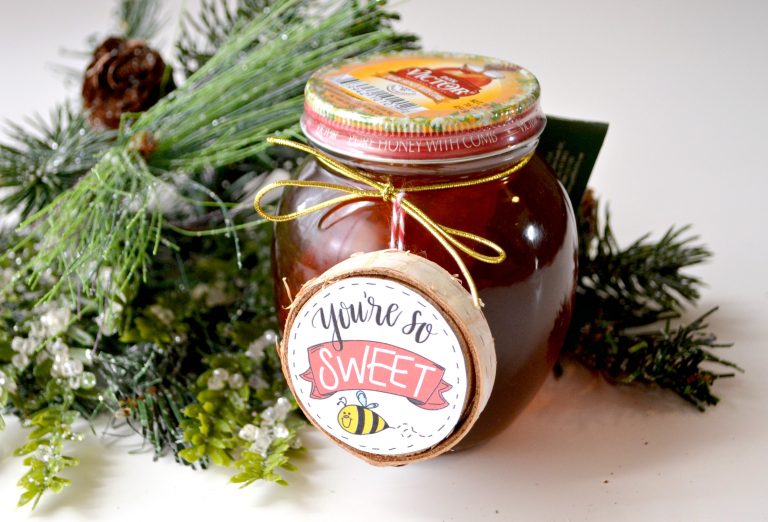
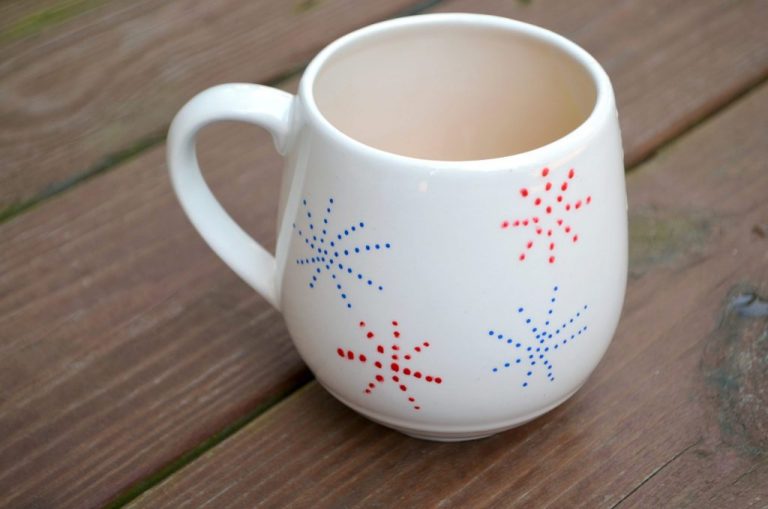
Be sure to check out these other St. Patrick’s Day projects before you go!


I love everything RAINBOW, Amy!! Super cute!!
Thank you, friend!