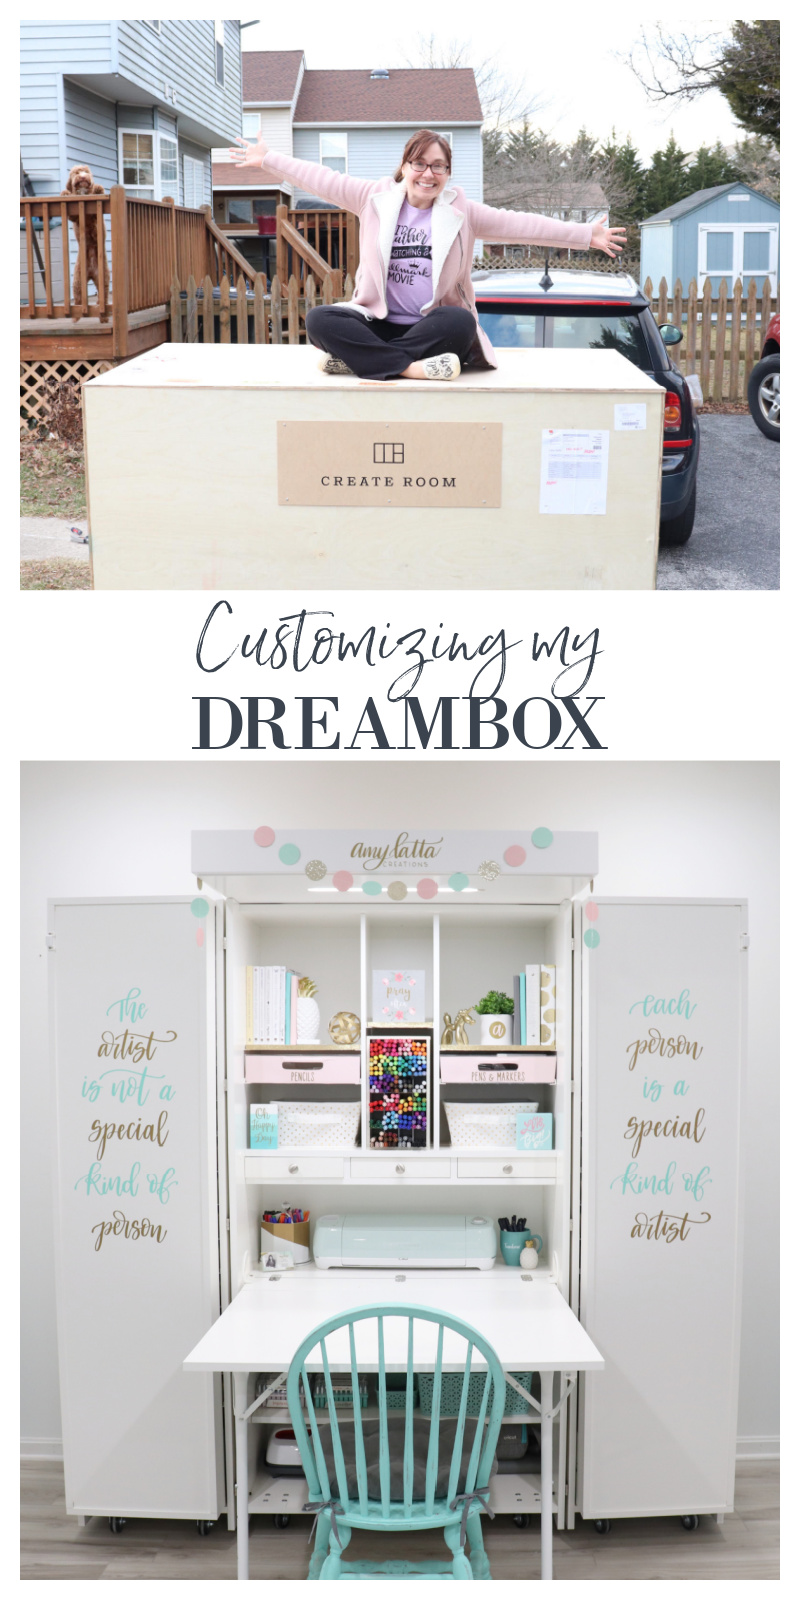
Customizing my DreamBox
Special thanks to CreateRoom for partnering with me and sponsoring today’s post!
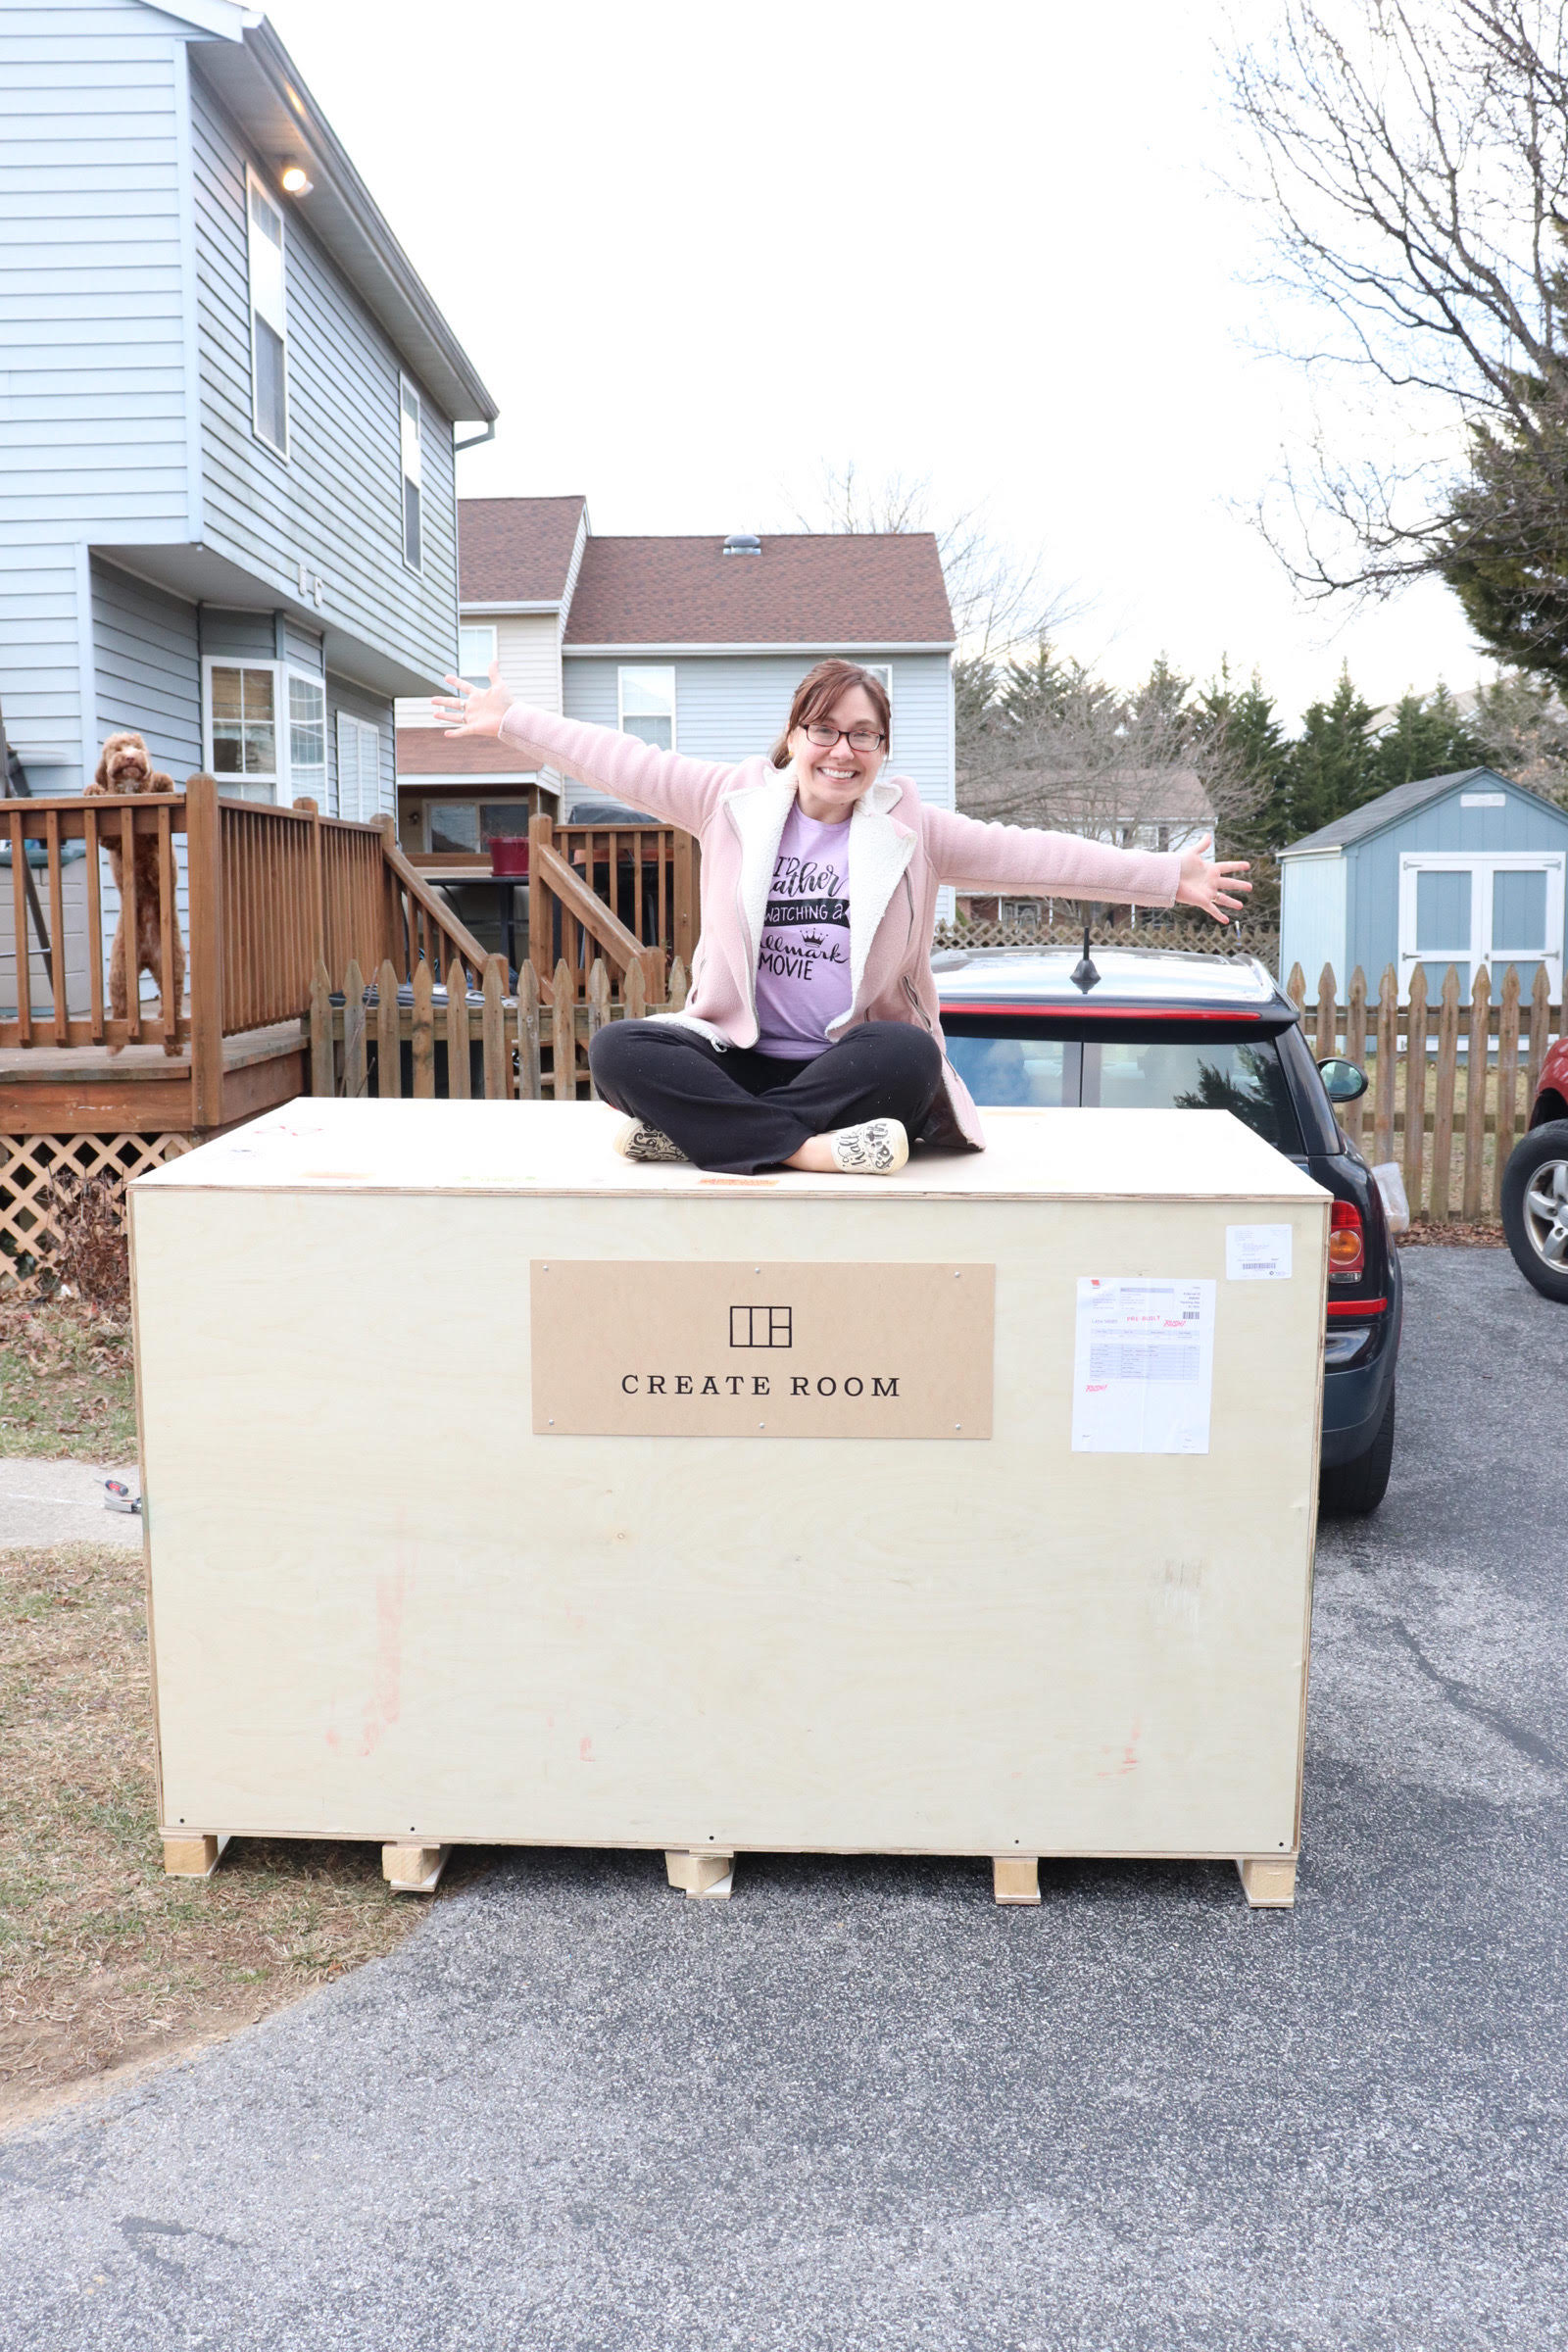
A few weeks ago, on a Friday afternoon, one of my dreams came true. I have been drooling over and wishing for a DreamBox for several years now, and guess what finally arrived in my driveaway! (You can see that even Pumpkin was very excited in the backround…ha!)
What’s a DreamBox?
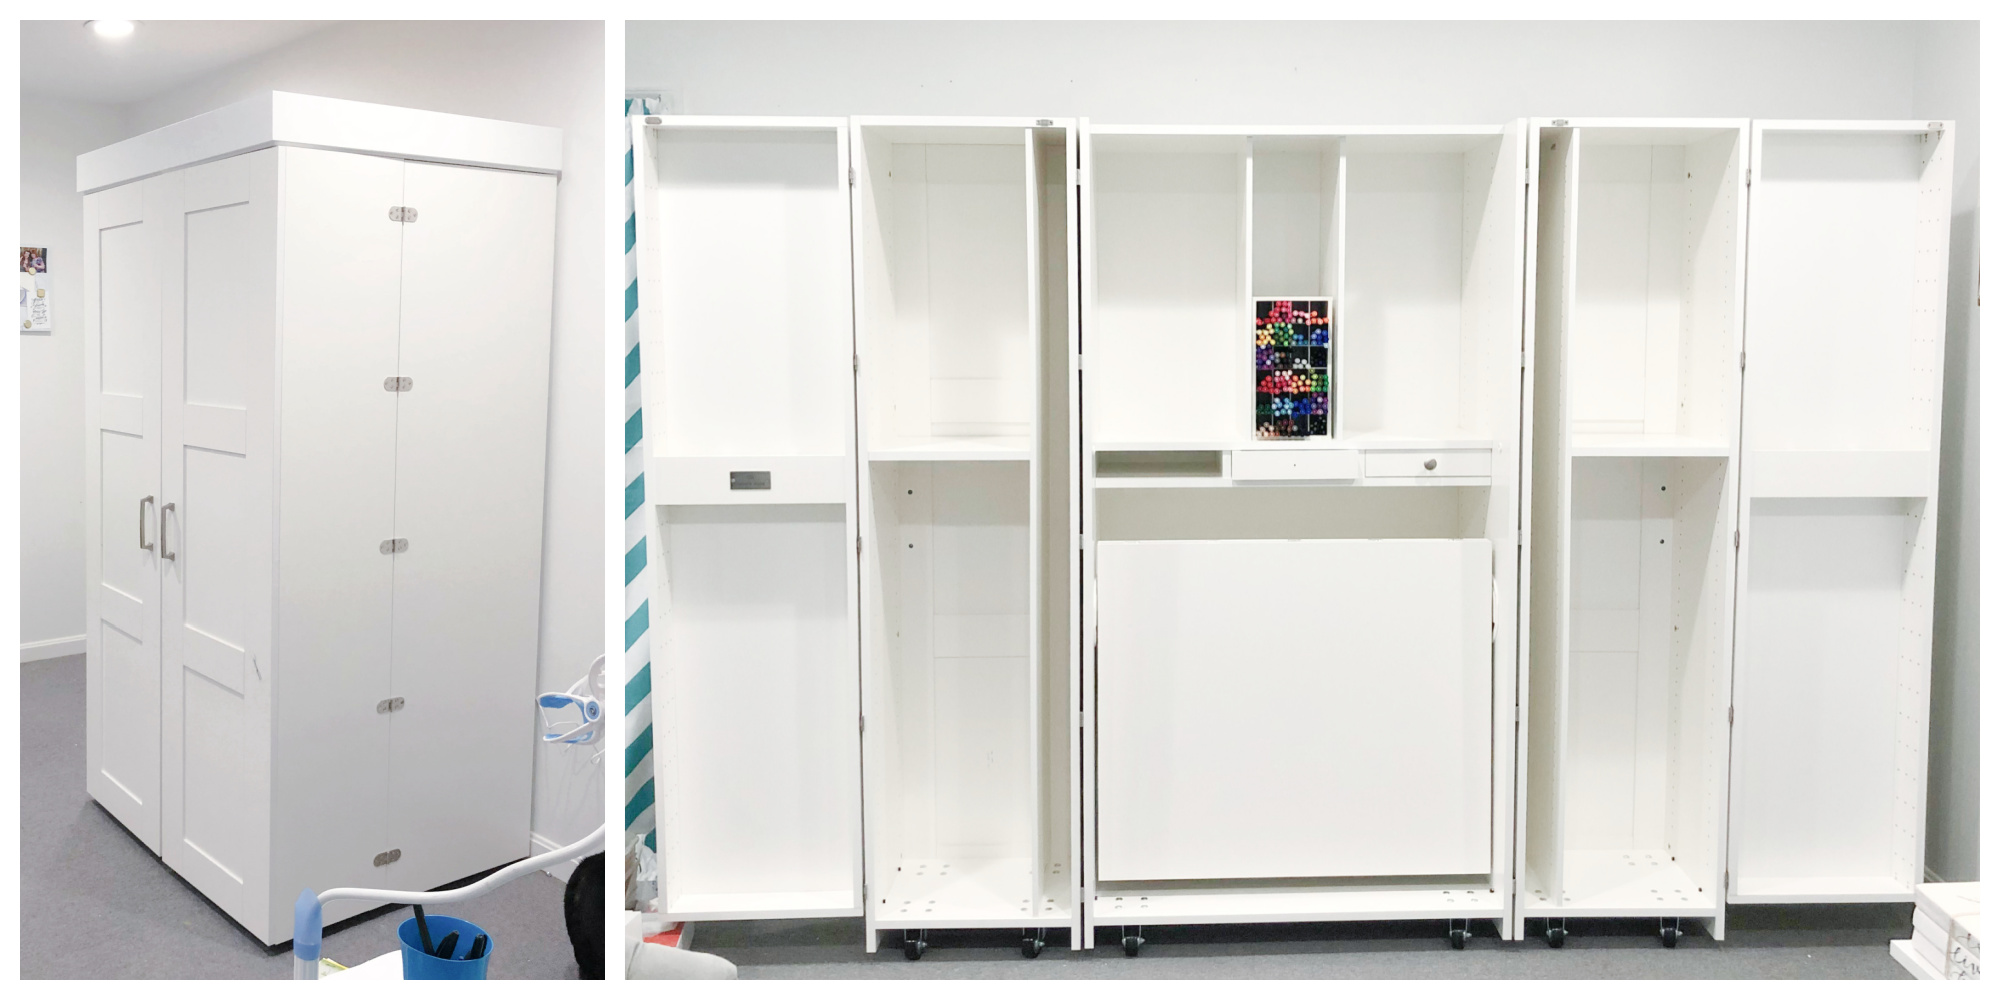
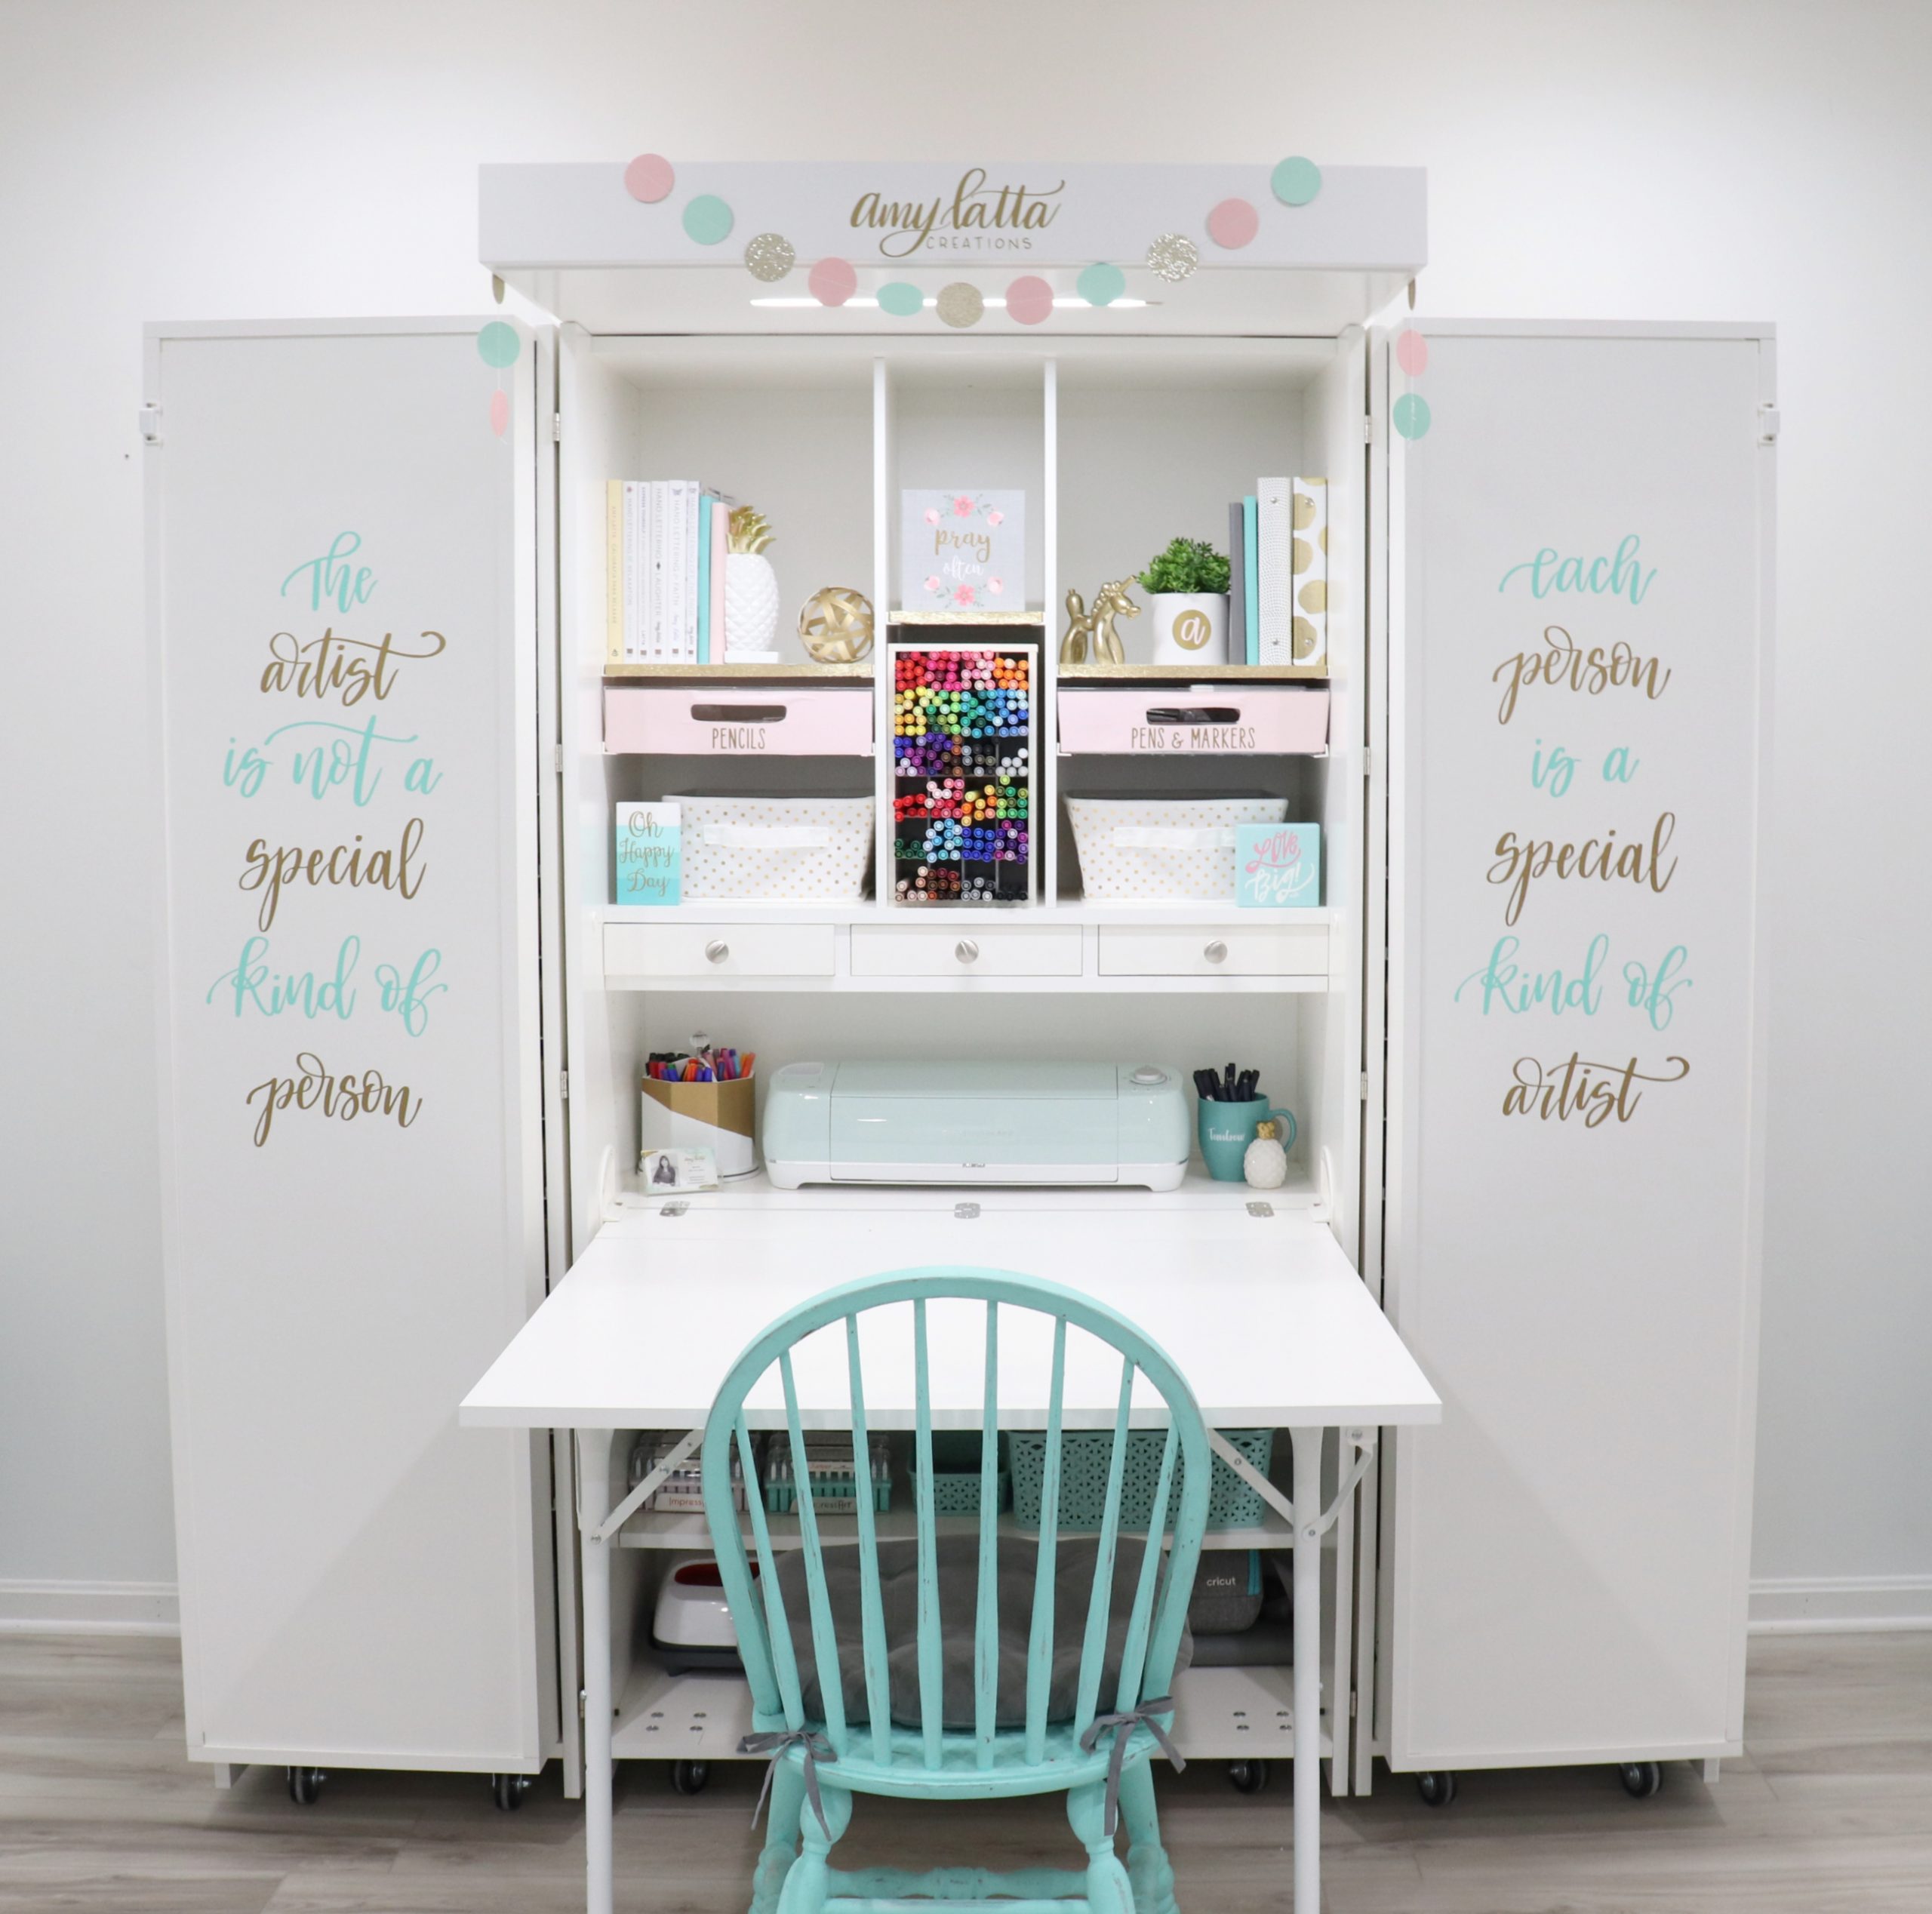
In case you’re unfamiliar with the DreamBox, this piece of furniture is basically a room within a room! In its completely folded position, it looks like a beautiful armoire, but open it up, and it’s a craft room on wheels! There’s an incredible amount of space for all kinds of tools and supplies, and the best part is that you can customize the storage in any way you like. Choose from bins, shelves, metal rods, and more, then space them out however you like.
The DreamBox is perfect for crafters, DIY-ers, builders, and makers of all kinds, as well as anyone who runs a business. It makes an ideal workspace, office, studio, backdrop, or whatever you need it to be.
The other thing I love about the DreamBox is that it is basically a blank canvas; you can infuse your own personality and style into it by customizing it with your own color scheme and all kinds of personal touches.
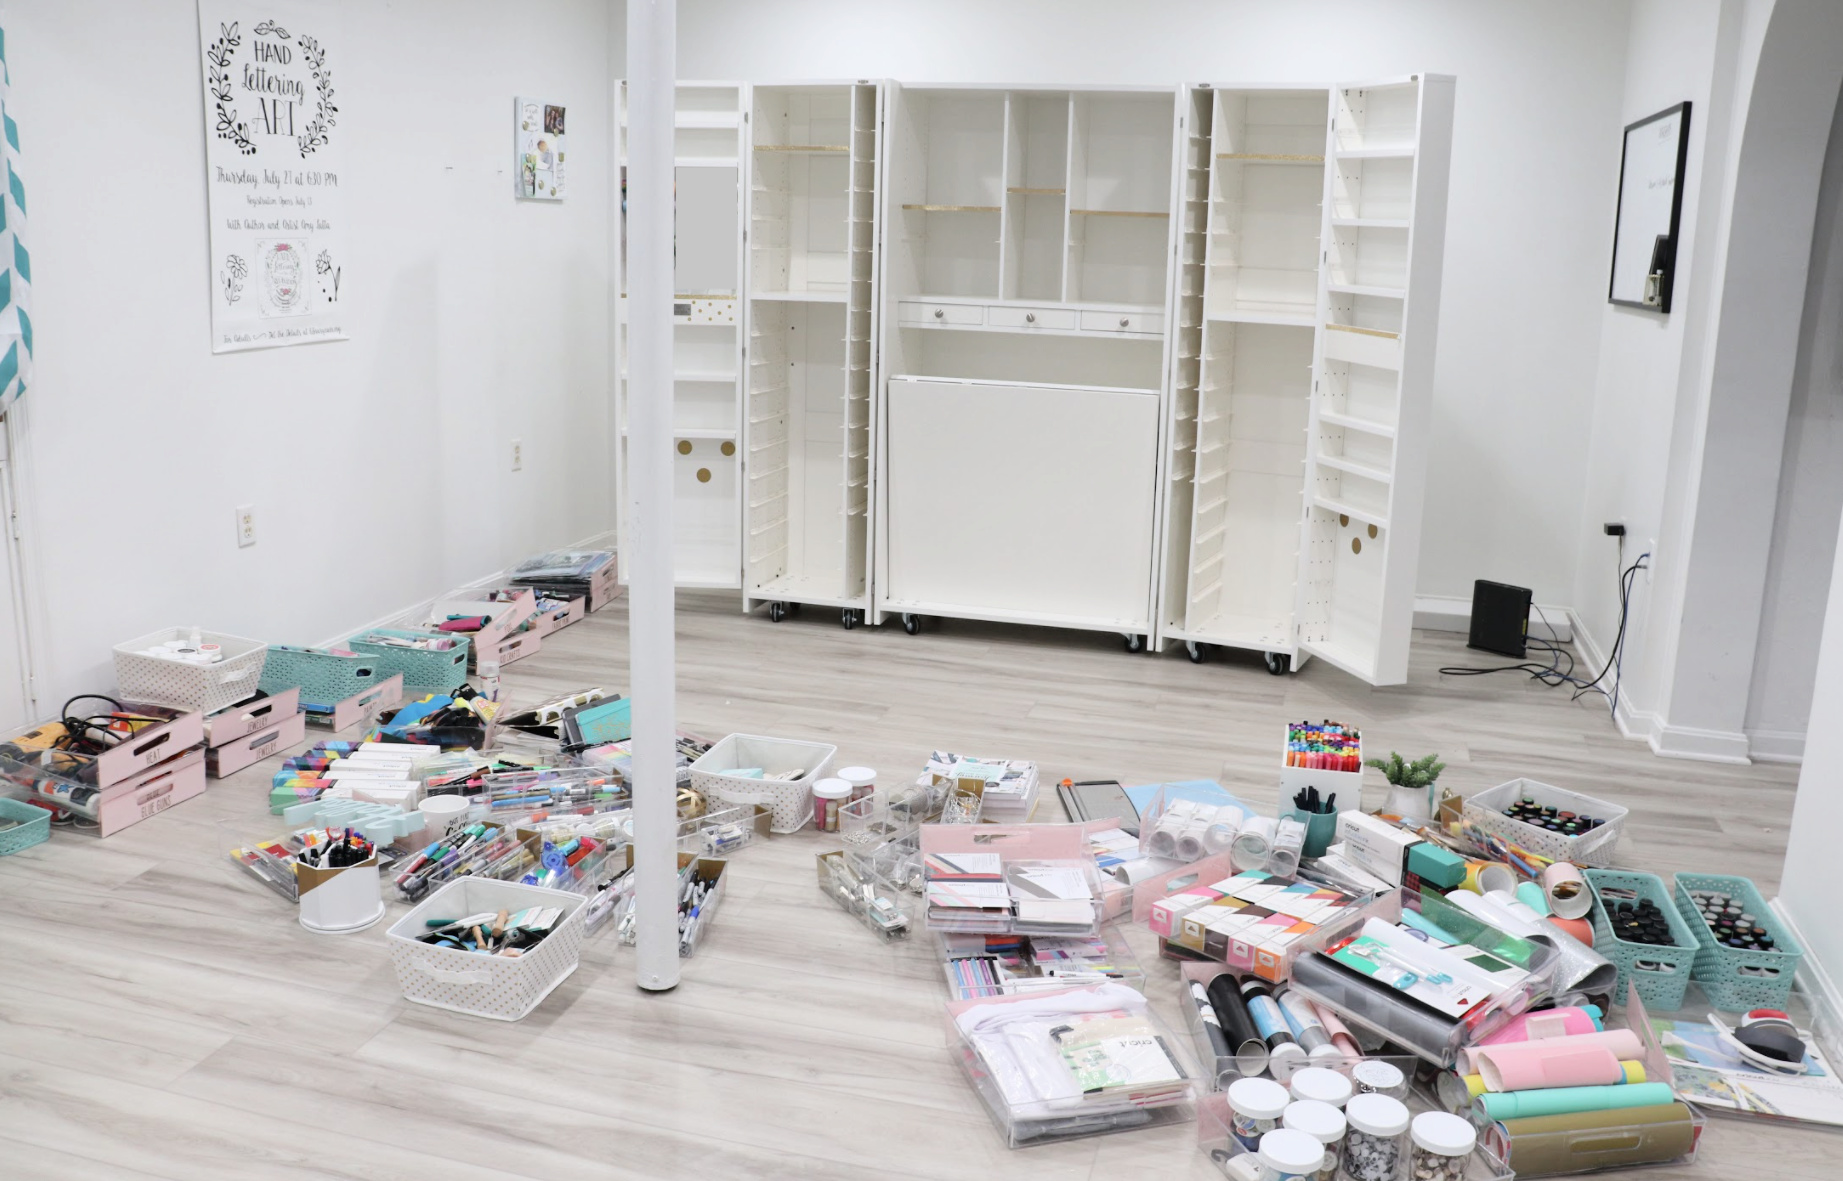
Soon, I will be sharing a complete reveal of how I filled my DreamBox with all my crafting supplies, and I’ll be showing you the full open box in all its glory, but first I want to show you how easy it was to add some personal touches to make it completely my own.
1. Adding my logo.
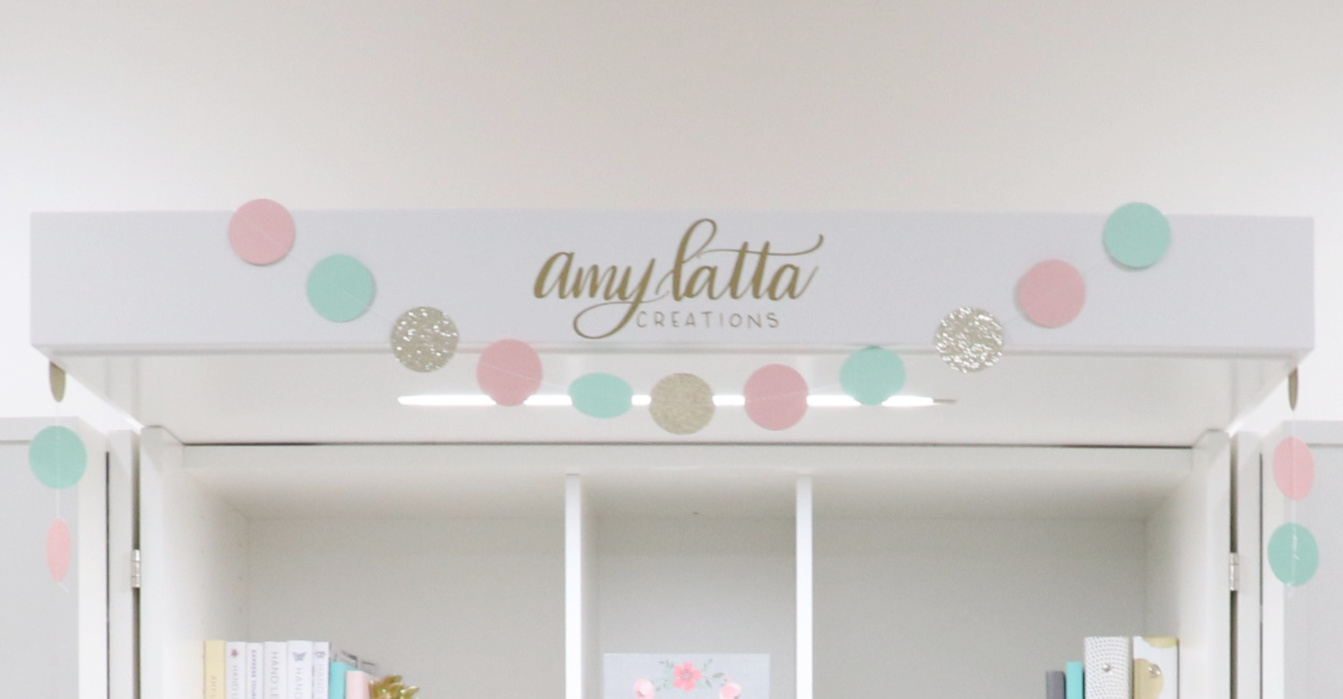
The crown piece at the top of my DreamBox is not only functional (it has a LED light that makes the workstation bright and perfect for creating/photos/videos), it was also begging for personalization. I knew immediately that I wanted to cut something from vinyl and adhere it to the front of the crown, and my husband suggested my logo! Perfect idea!
2. Infusing a color scheme.
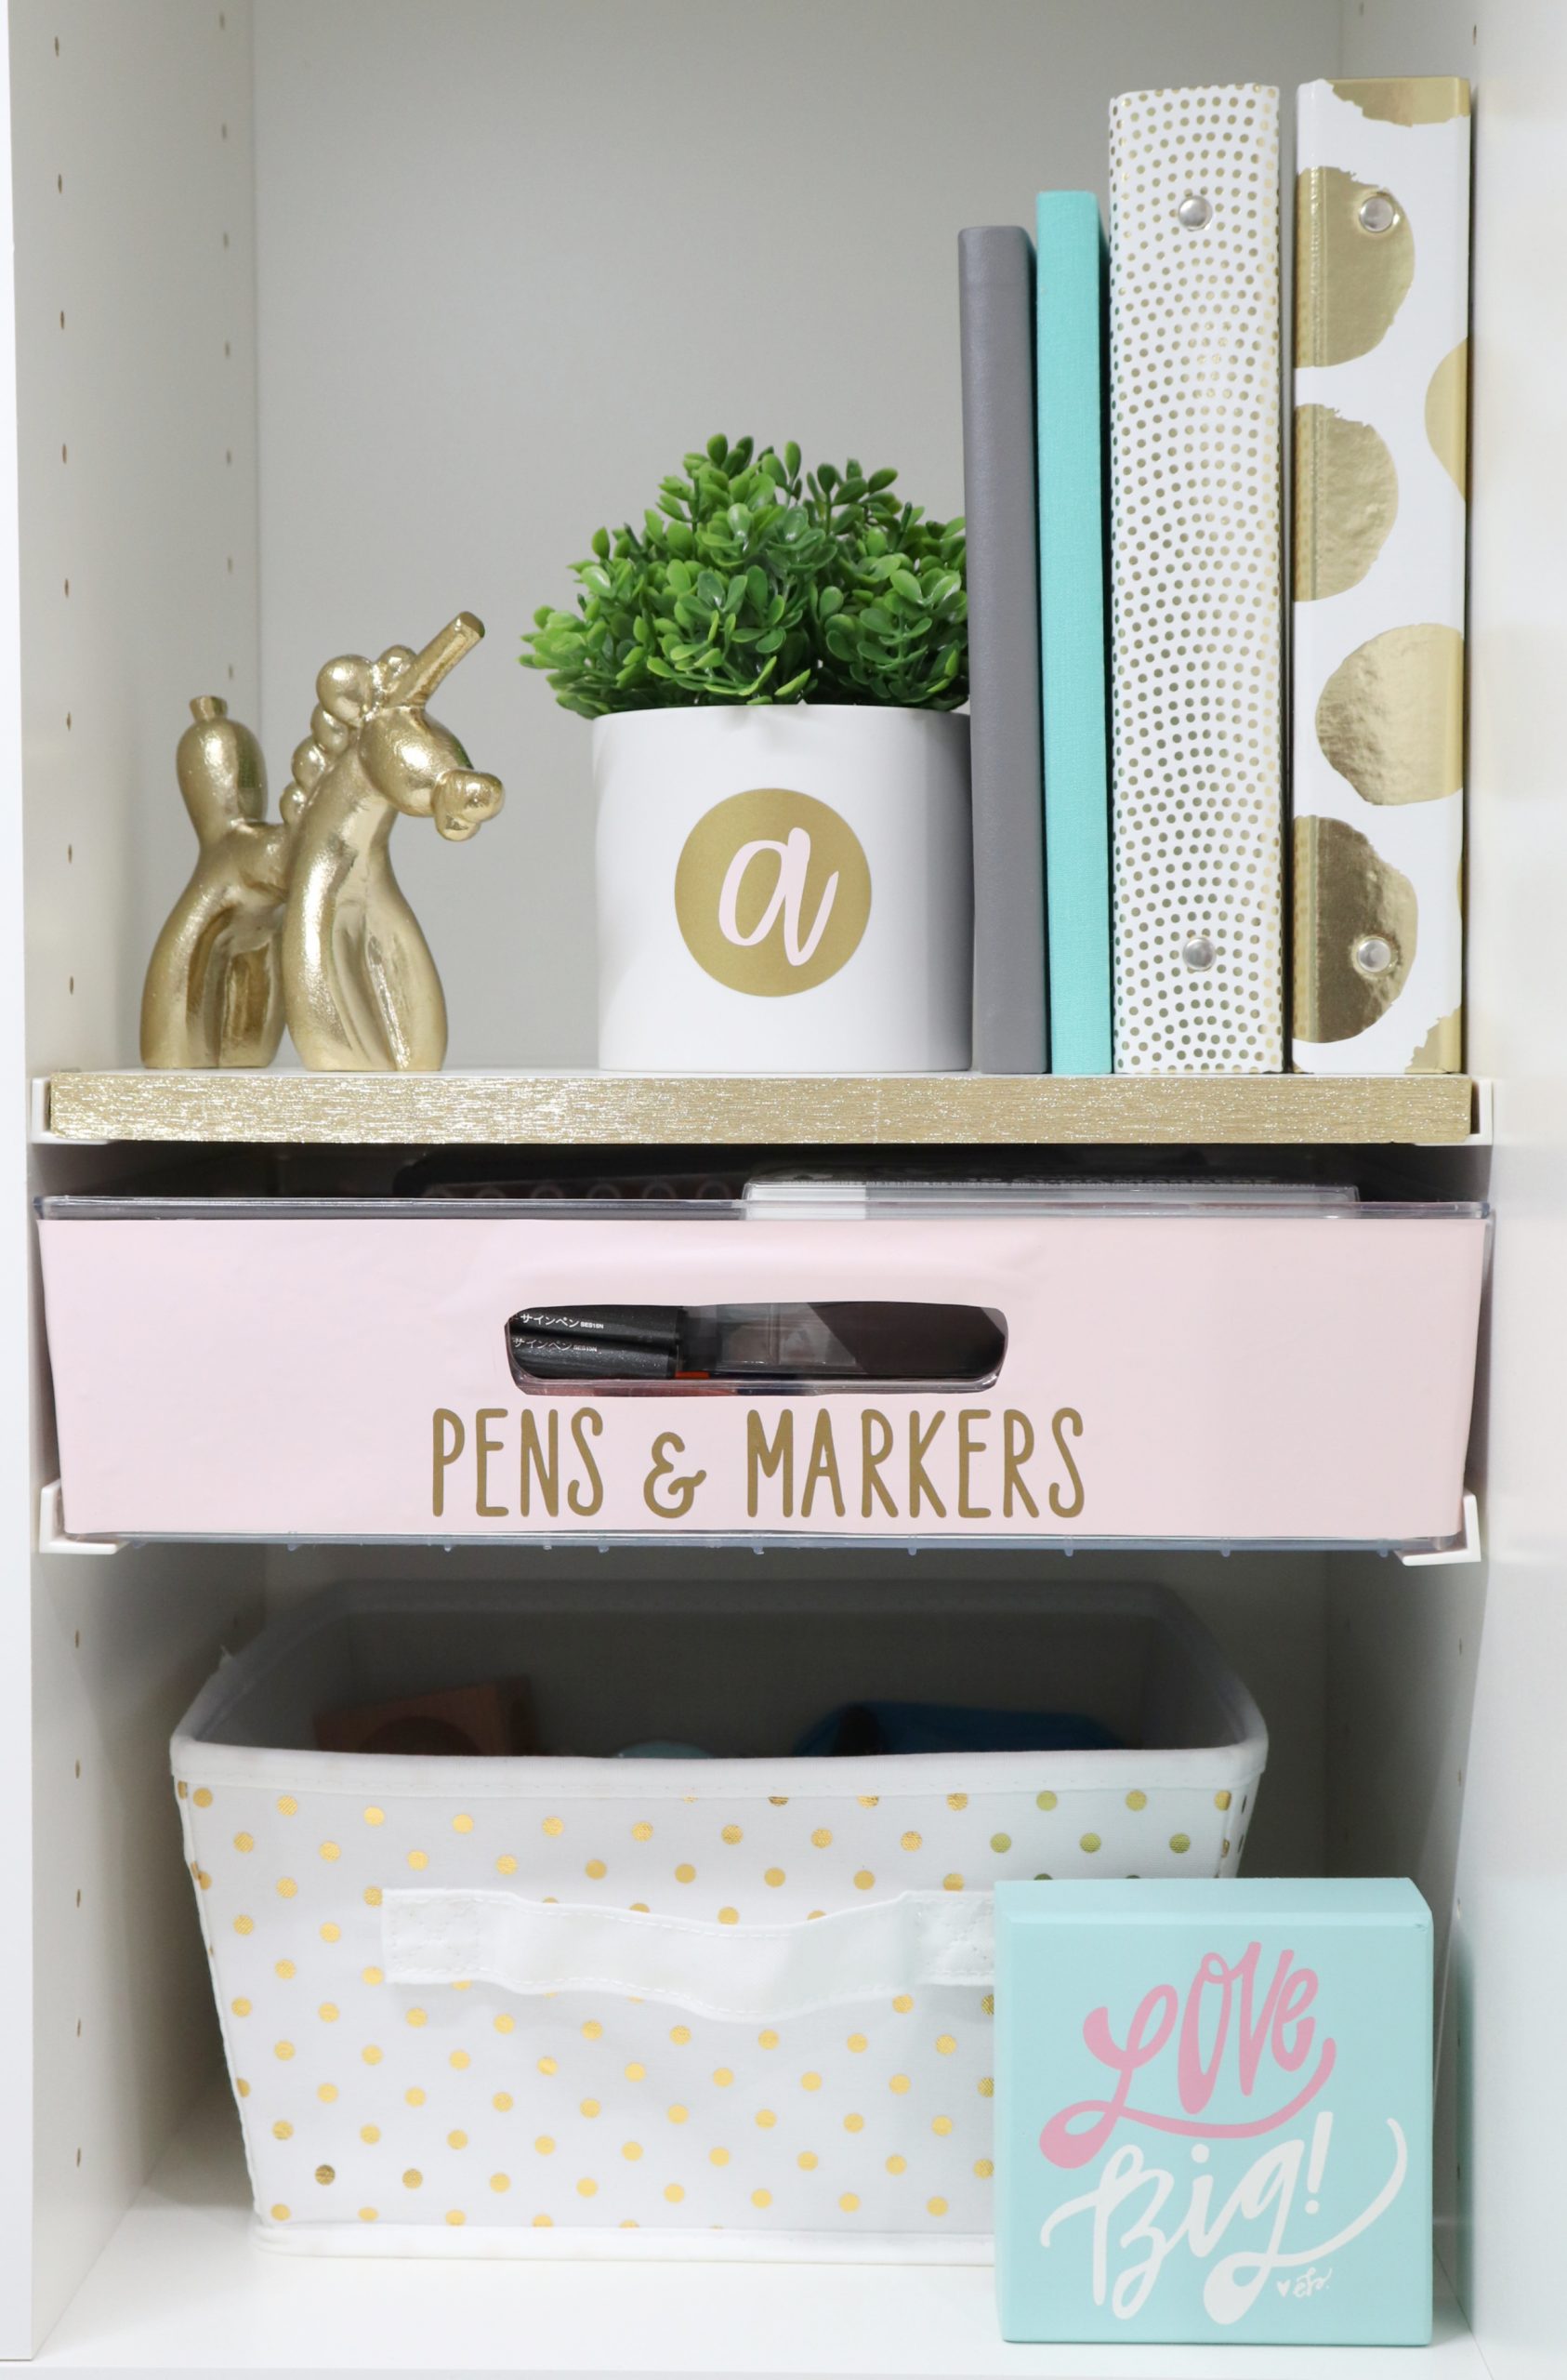
My craft studio was already a mix of teal, gold, and white, so it made sense to continue that in my DreamBox. I also felt like it needed another color, so I added in some blush pink. One way I did this was to hang a garland I found on Amazon across the crown. I also color coordinated my decorative accessories.
3. Polka Dots & Washi Tape!
As I thought about how to further personalize my DreamBox, it was clear that my love for polka dots had taken over. Between the garland, my binder, my white and gold bins, etc., I had started a theme. So, it made sense to incorporate a few more! I purchased some 2″ gold polka dot wall stickers and I already had some tiny glittered gold ones on hand, so I used applied those to some of the white spaces inside the DreamBox. Finally, to continue the gold accents, I applied some gold washi tape to the spots on the insides of the far doors as well as on the edges of some of the shelves.

4. The Doors
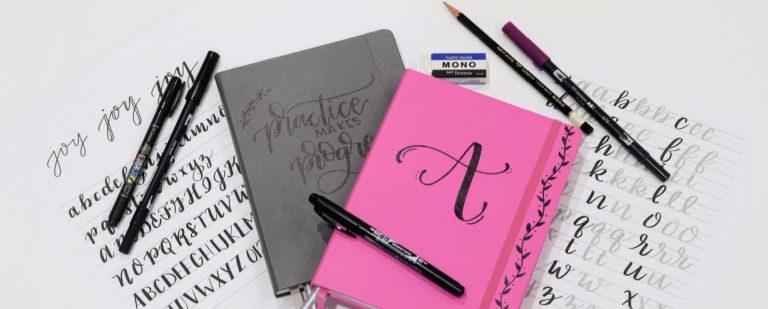
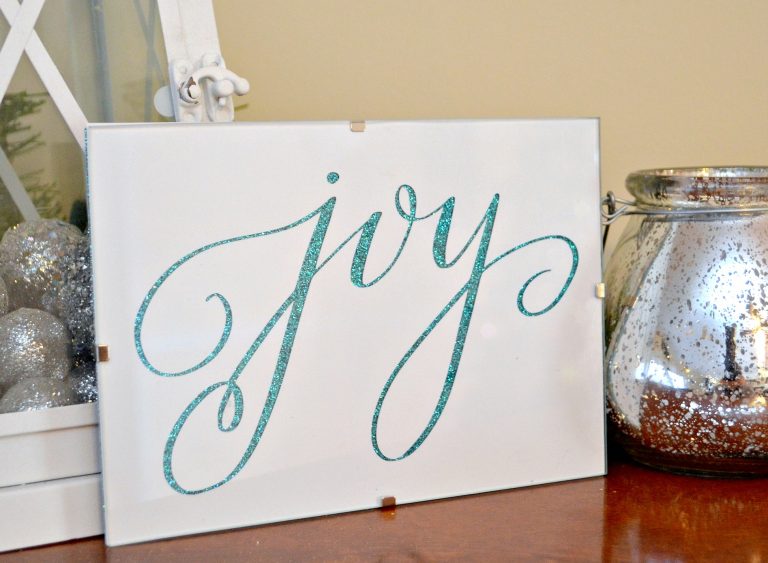
As I brainstormed what I wanted to do with my DreamBox, I spent a lot of time looking at photos online of how other folks have set up and decorated theirs. One thing I noticed was that, by and large, a lot of people left the backs of the side doors totally blank. This felt like a waste of a great opportunity to me, because they just looked like big blank canvases waiting to be personalized. I decided I wanted to feature my hand lettering and use it to write out a quote I love. I did the lettering in Procreate with the Apple Pencil, then sent it to my Cricut to cut from vinyl. Finally, I weeded the vinyl and applied the words to the doors. Now, even when my box is partially closed, I can still be inspired! This also creates a second backdrop option for my workshops and filming.
I hope you’ve enjoyed this sneak peek of how I customized my DreamBox to make it totally my own! It has been an incredibly fun process, and I can’t wait to show you the full reveal, coming soon. Stay tuned for a look at the full, open DreamBox and a tour of how I stored all of these supplies inside! And in the meantime, you can learn more about all the DreamBox has to offer by visiting the CreateRoom website. I have a special coupon code just for my follwers; use the code AMYLATTA for a discount on the DreamBox 3. See you soon!

Hello! Thank you for this detailed review. I have put this in my cart a number of times, but I too cannot seem to pull the trigger. I think I maybe buy this DreamBox because I am having to move from a 1200 sq ft apartment with two bedrooms, to a 746 sq ft one-bedroom apartment. My craft-room will have to fit into an 11 x 11 bedroom with my bed and all else that goes in a bedroom (one that only has one good, unobstructed wall!) It sounds like this would be perfect.
Absolutely! I’m glad the post helped you. I think the DreamBox sounds like a great solution for your space.
It’s great, I’m really happy for you! The cabinet is very interesting to fit the interior. We have a much larger one, but I’ve already found a cool idea here to make it more practical