Hand Lettered Farmhouse Signs for St. Patrick’s Day
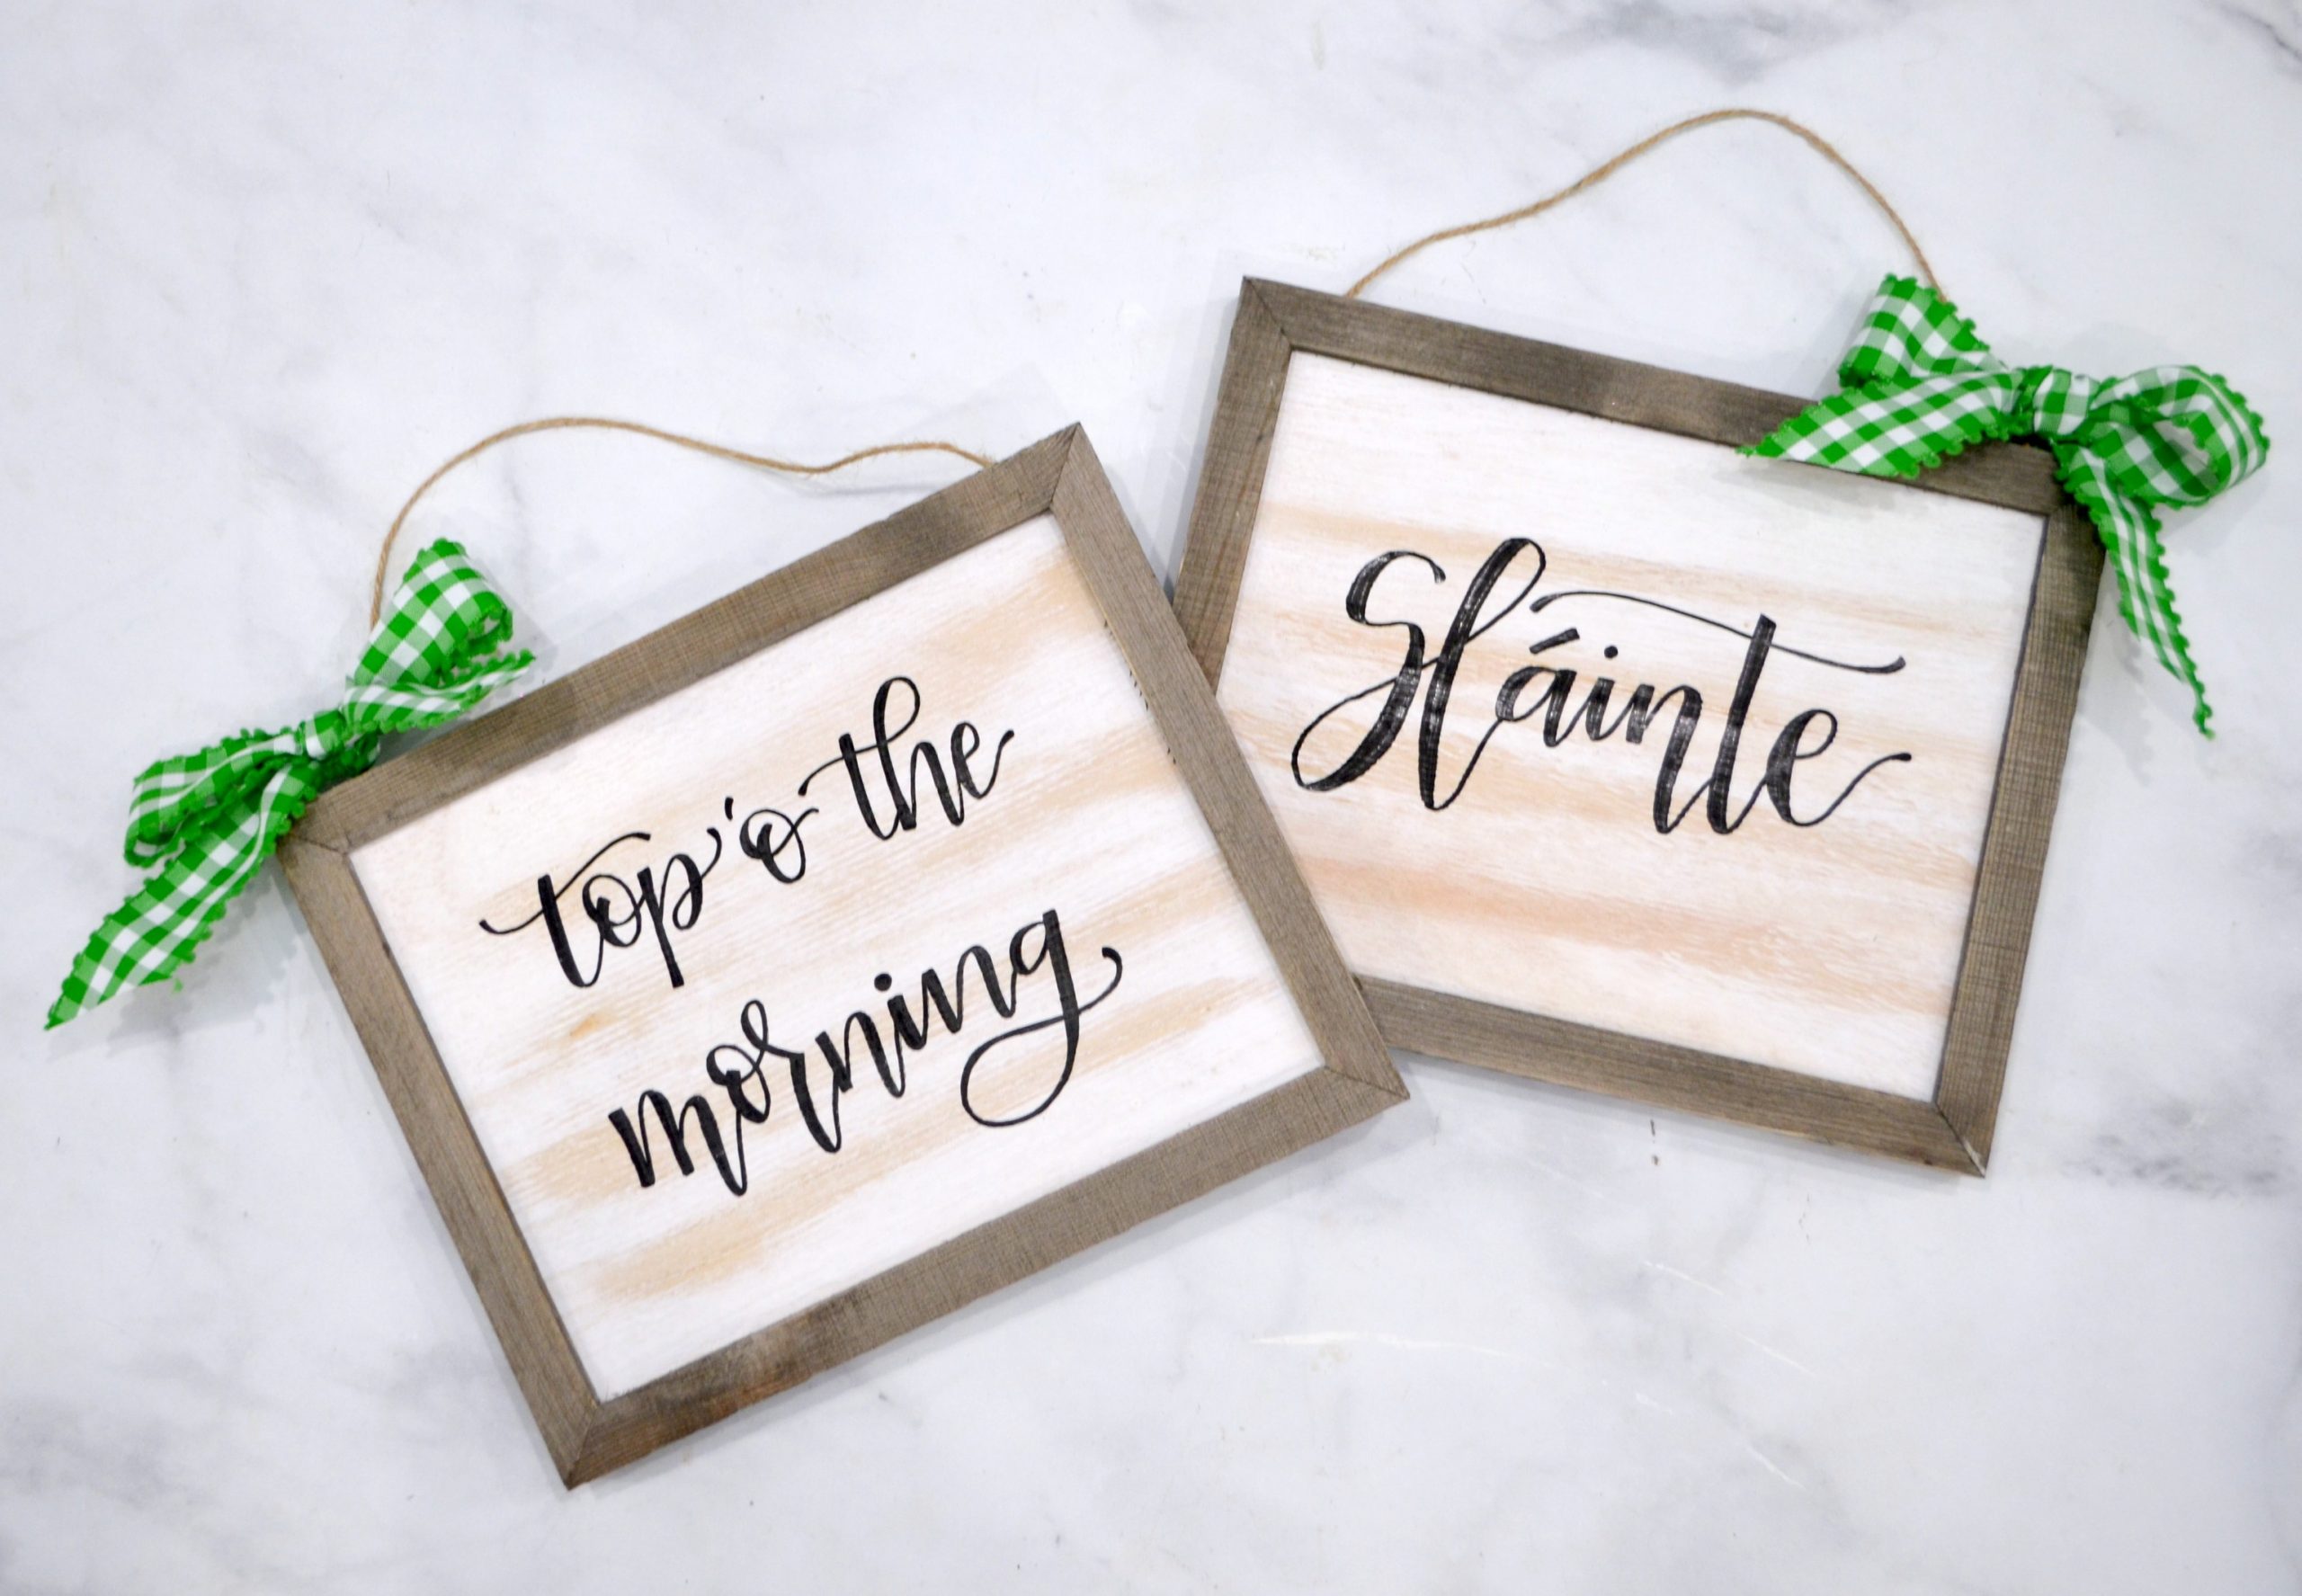
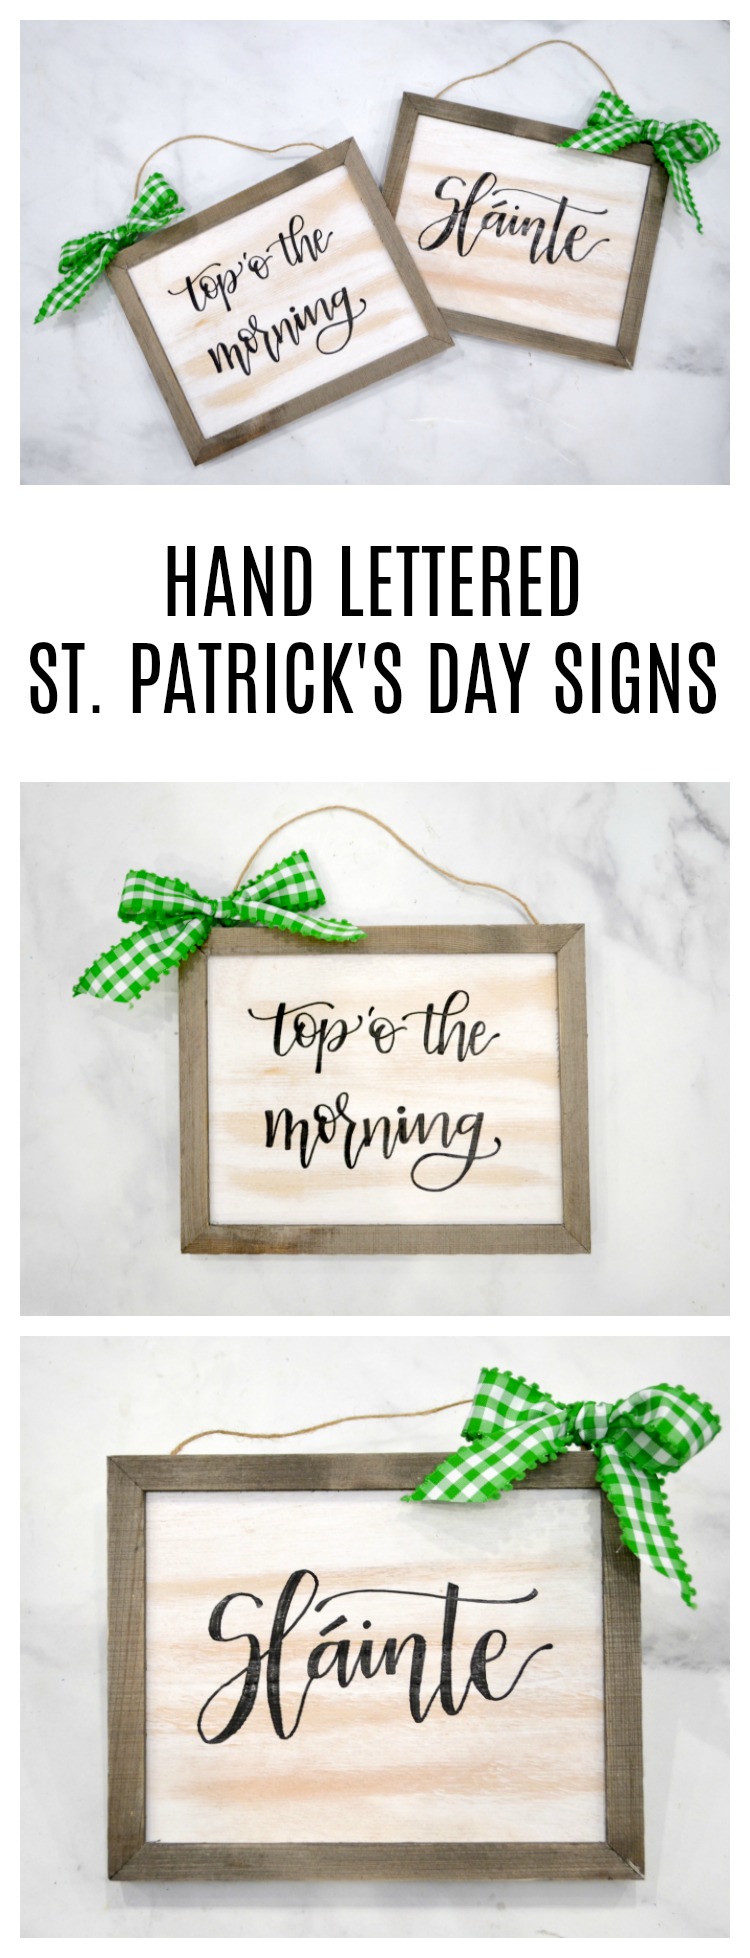
Now that Valentine’s Day is past, it’s time to look ahead to the next holiday, St. Patrick’s Day! Here is a quick and easy tutorial for hand lettered farmhouse-style signs that will help your home feel festive in no time. Choose your favorite St. Patrick’s Day phrase, then use it to create one of these fun little pieces of decor. For my sample, I used “Slainte,” which is an Irish toast to good health, similar to our, “Cheers!”
You’ll need:
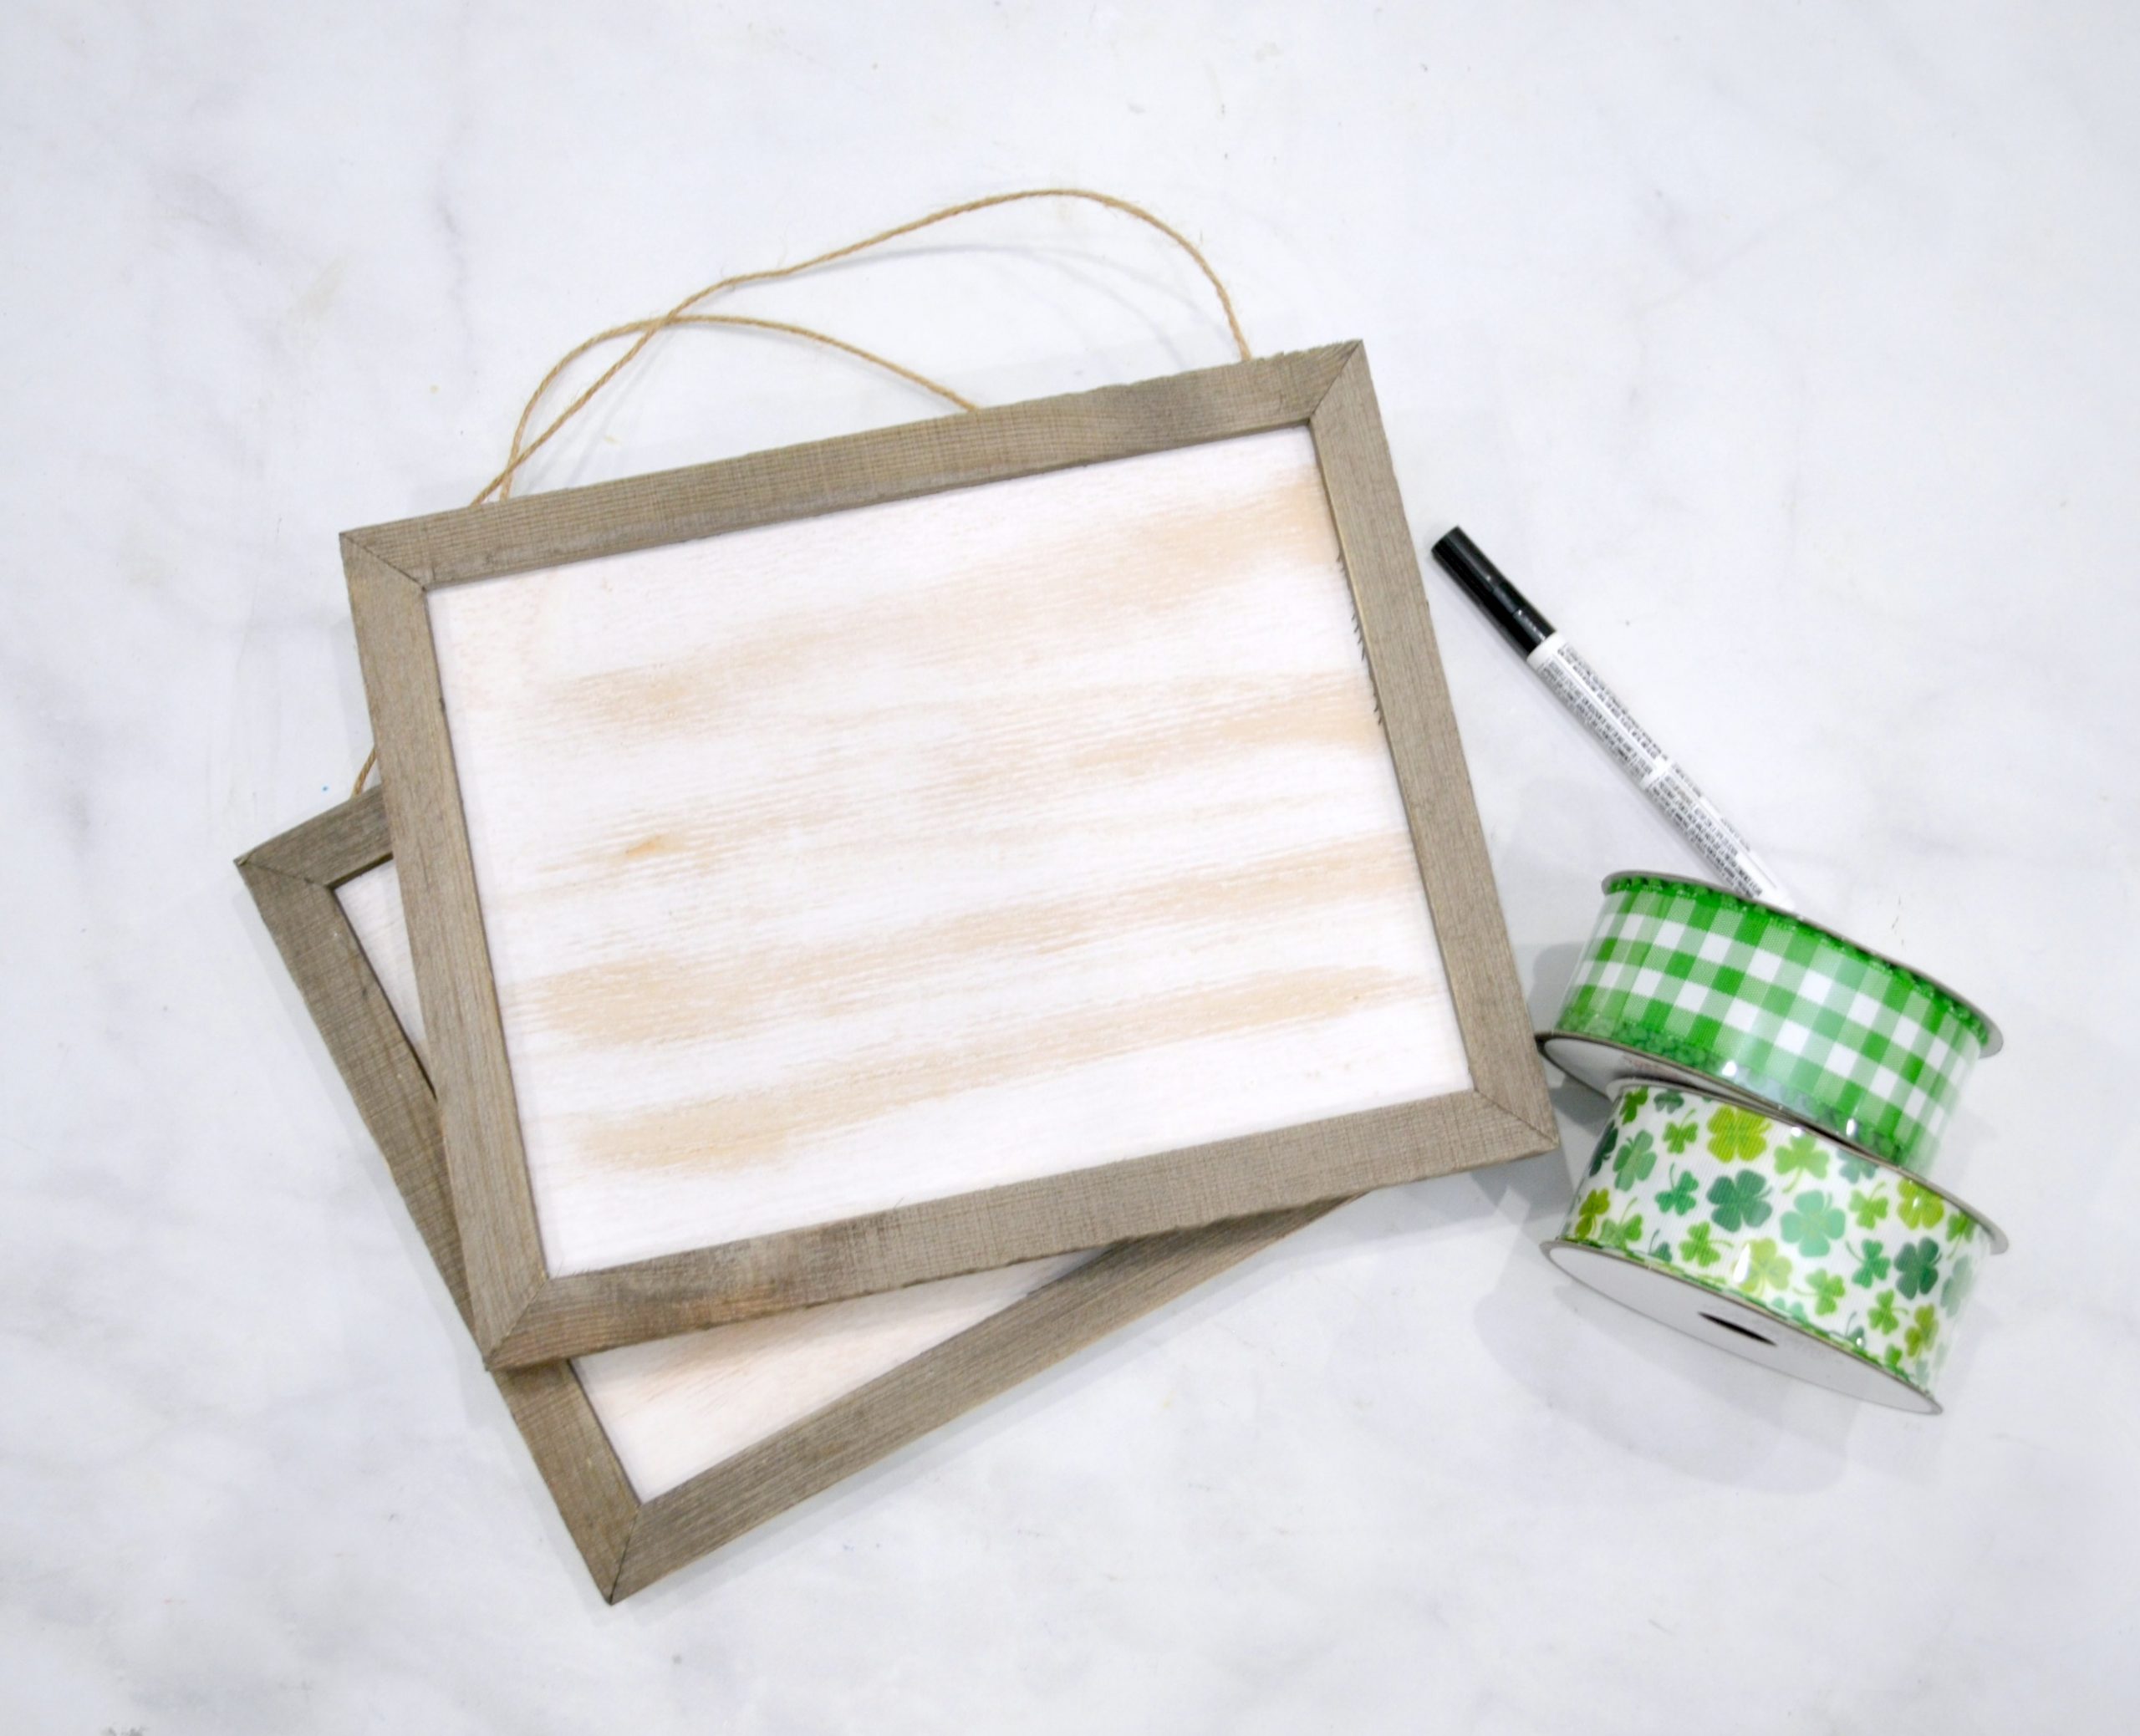
Wooden sign (mine were from Hobby Lobby and came with the frame and whitewashing already done!)
Pencil & Eraser
Ruler
Fine-tip Paint Marker
Ribbon
Scissors
Creating Your Sign:
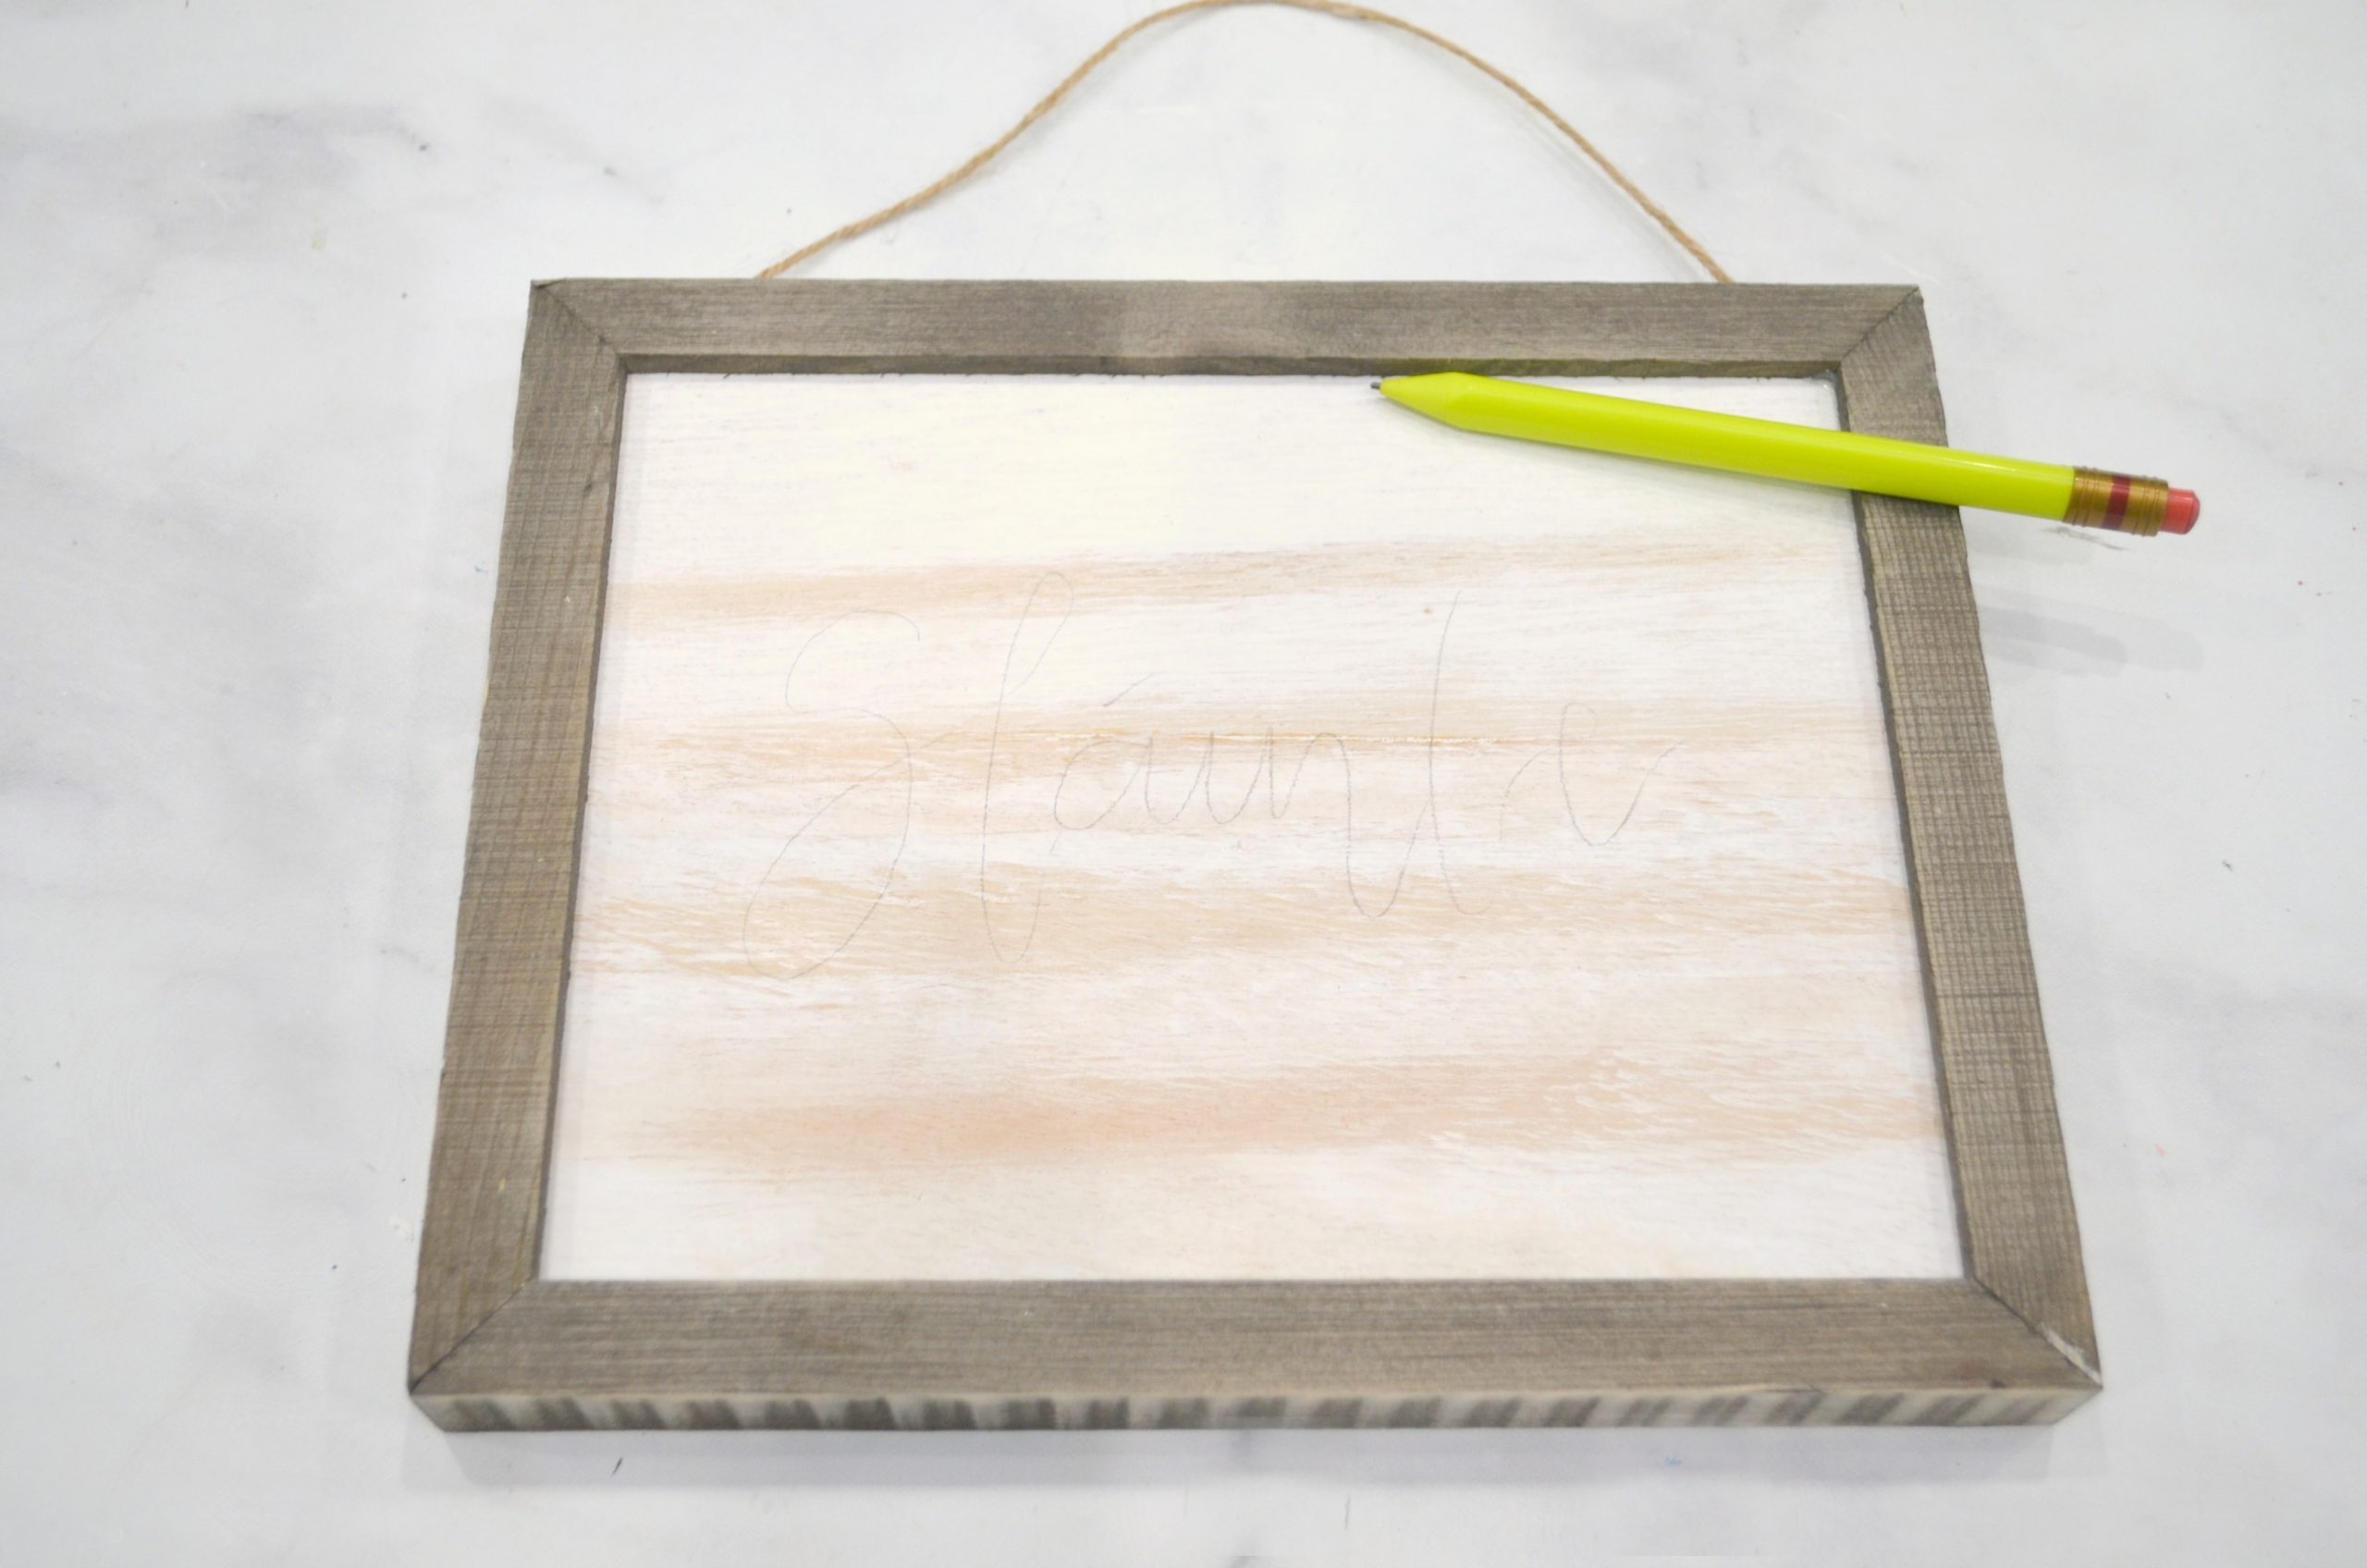
Step 1: Choose your saying, then lightly pencil one or two guide lines on your sign using a ruler.
This will help you keep your word centered and straight.
Step 2: Pencil your word(s) in cursive.
Very light pressure will make your pencil marks easier to erase later.
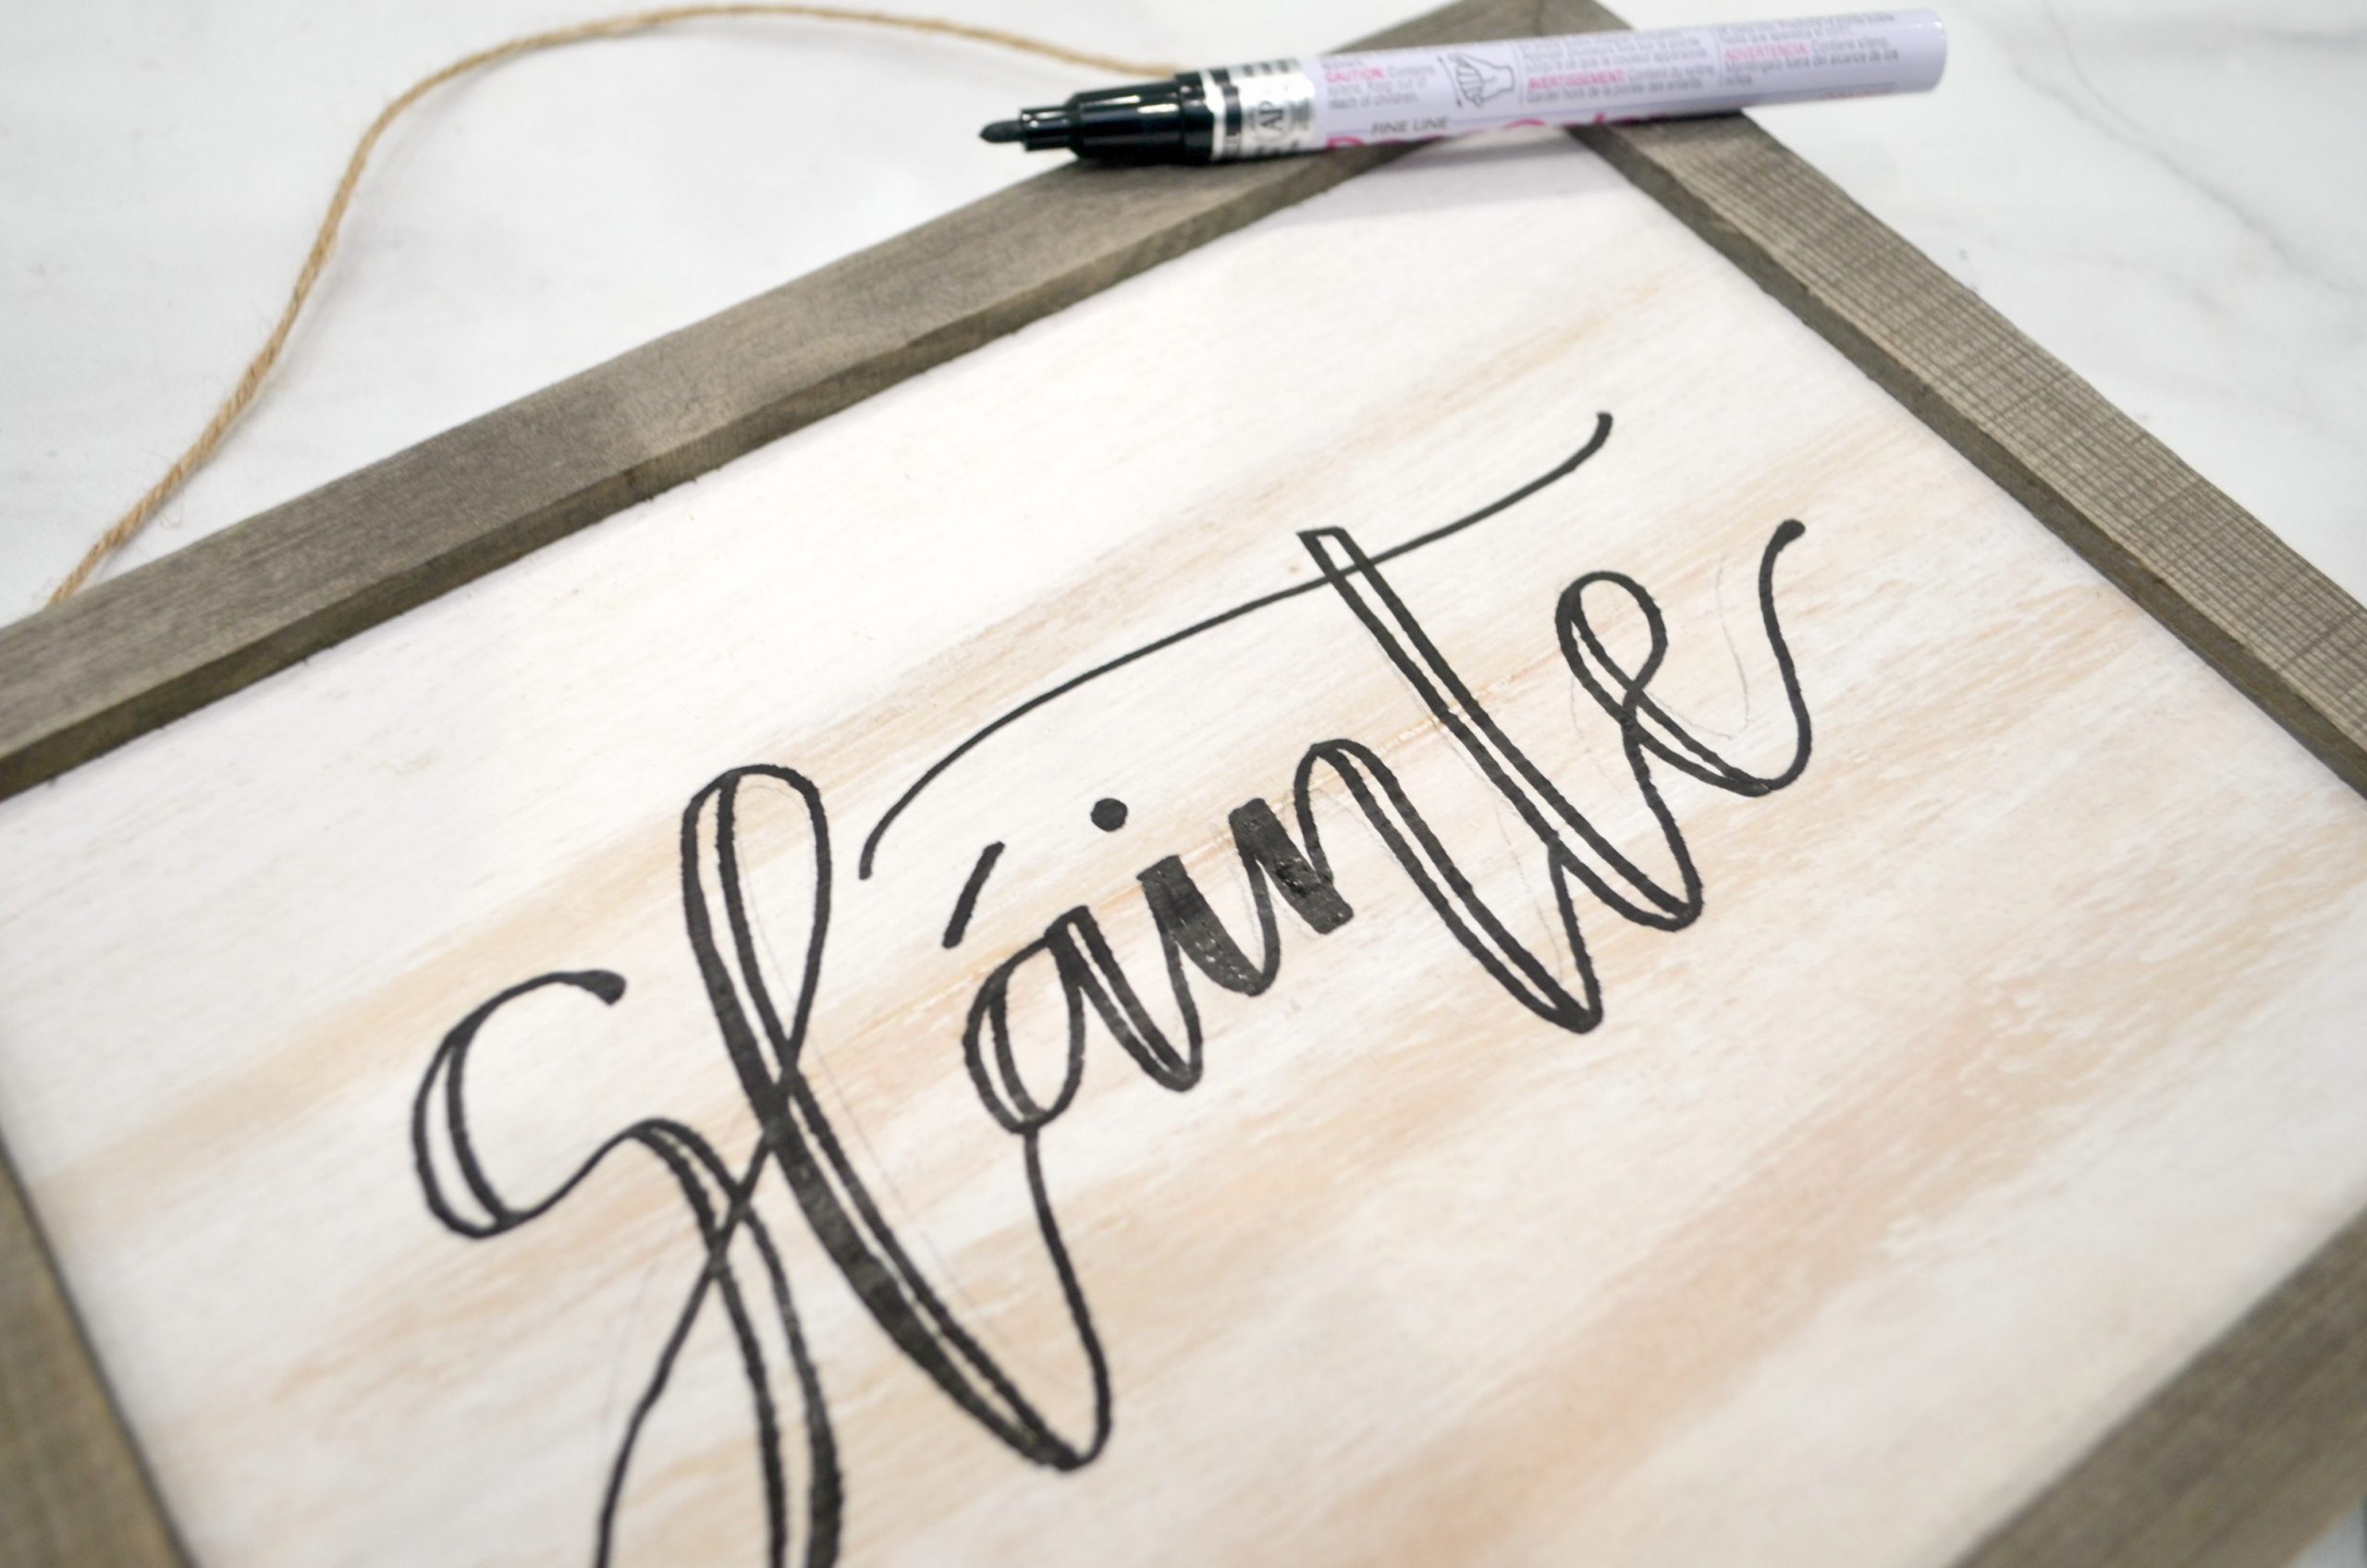
Step 3: Trace your word(s) with paint marker.
I used a fine-tip black oil-based paint marker, but you could also use green, gold, or another color if you prefer. You’ll notice that I use a technique called bounce lettering, which means I don’t line all of my letters up perfectly straight. I let some drift lower while others are higher. This creates visual interest and also takes away the pressure of having to line everything up exactly right.
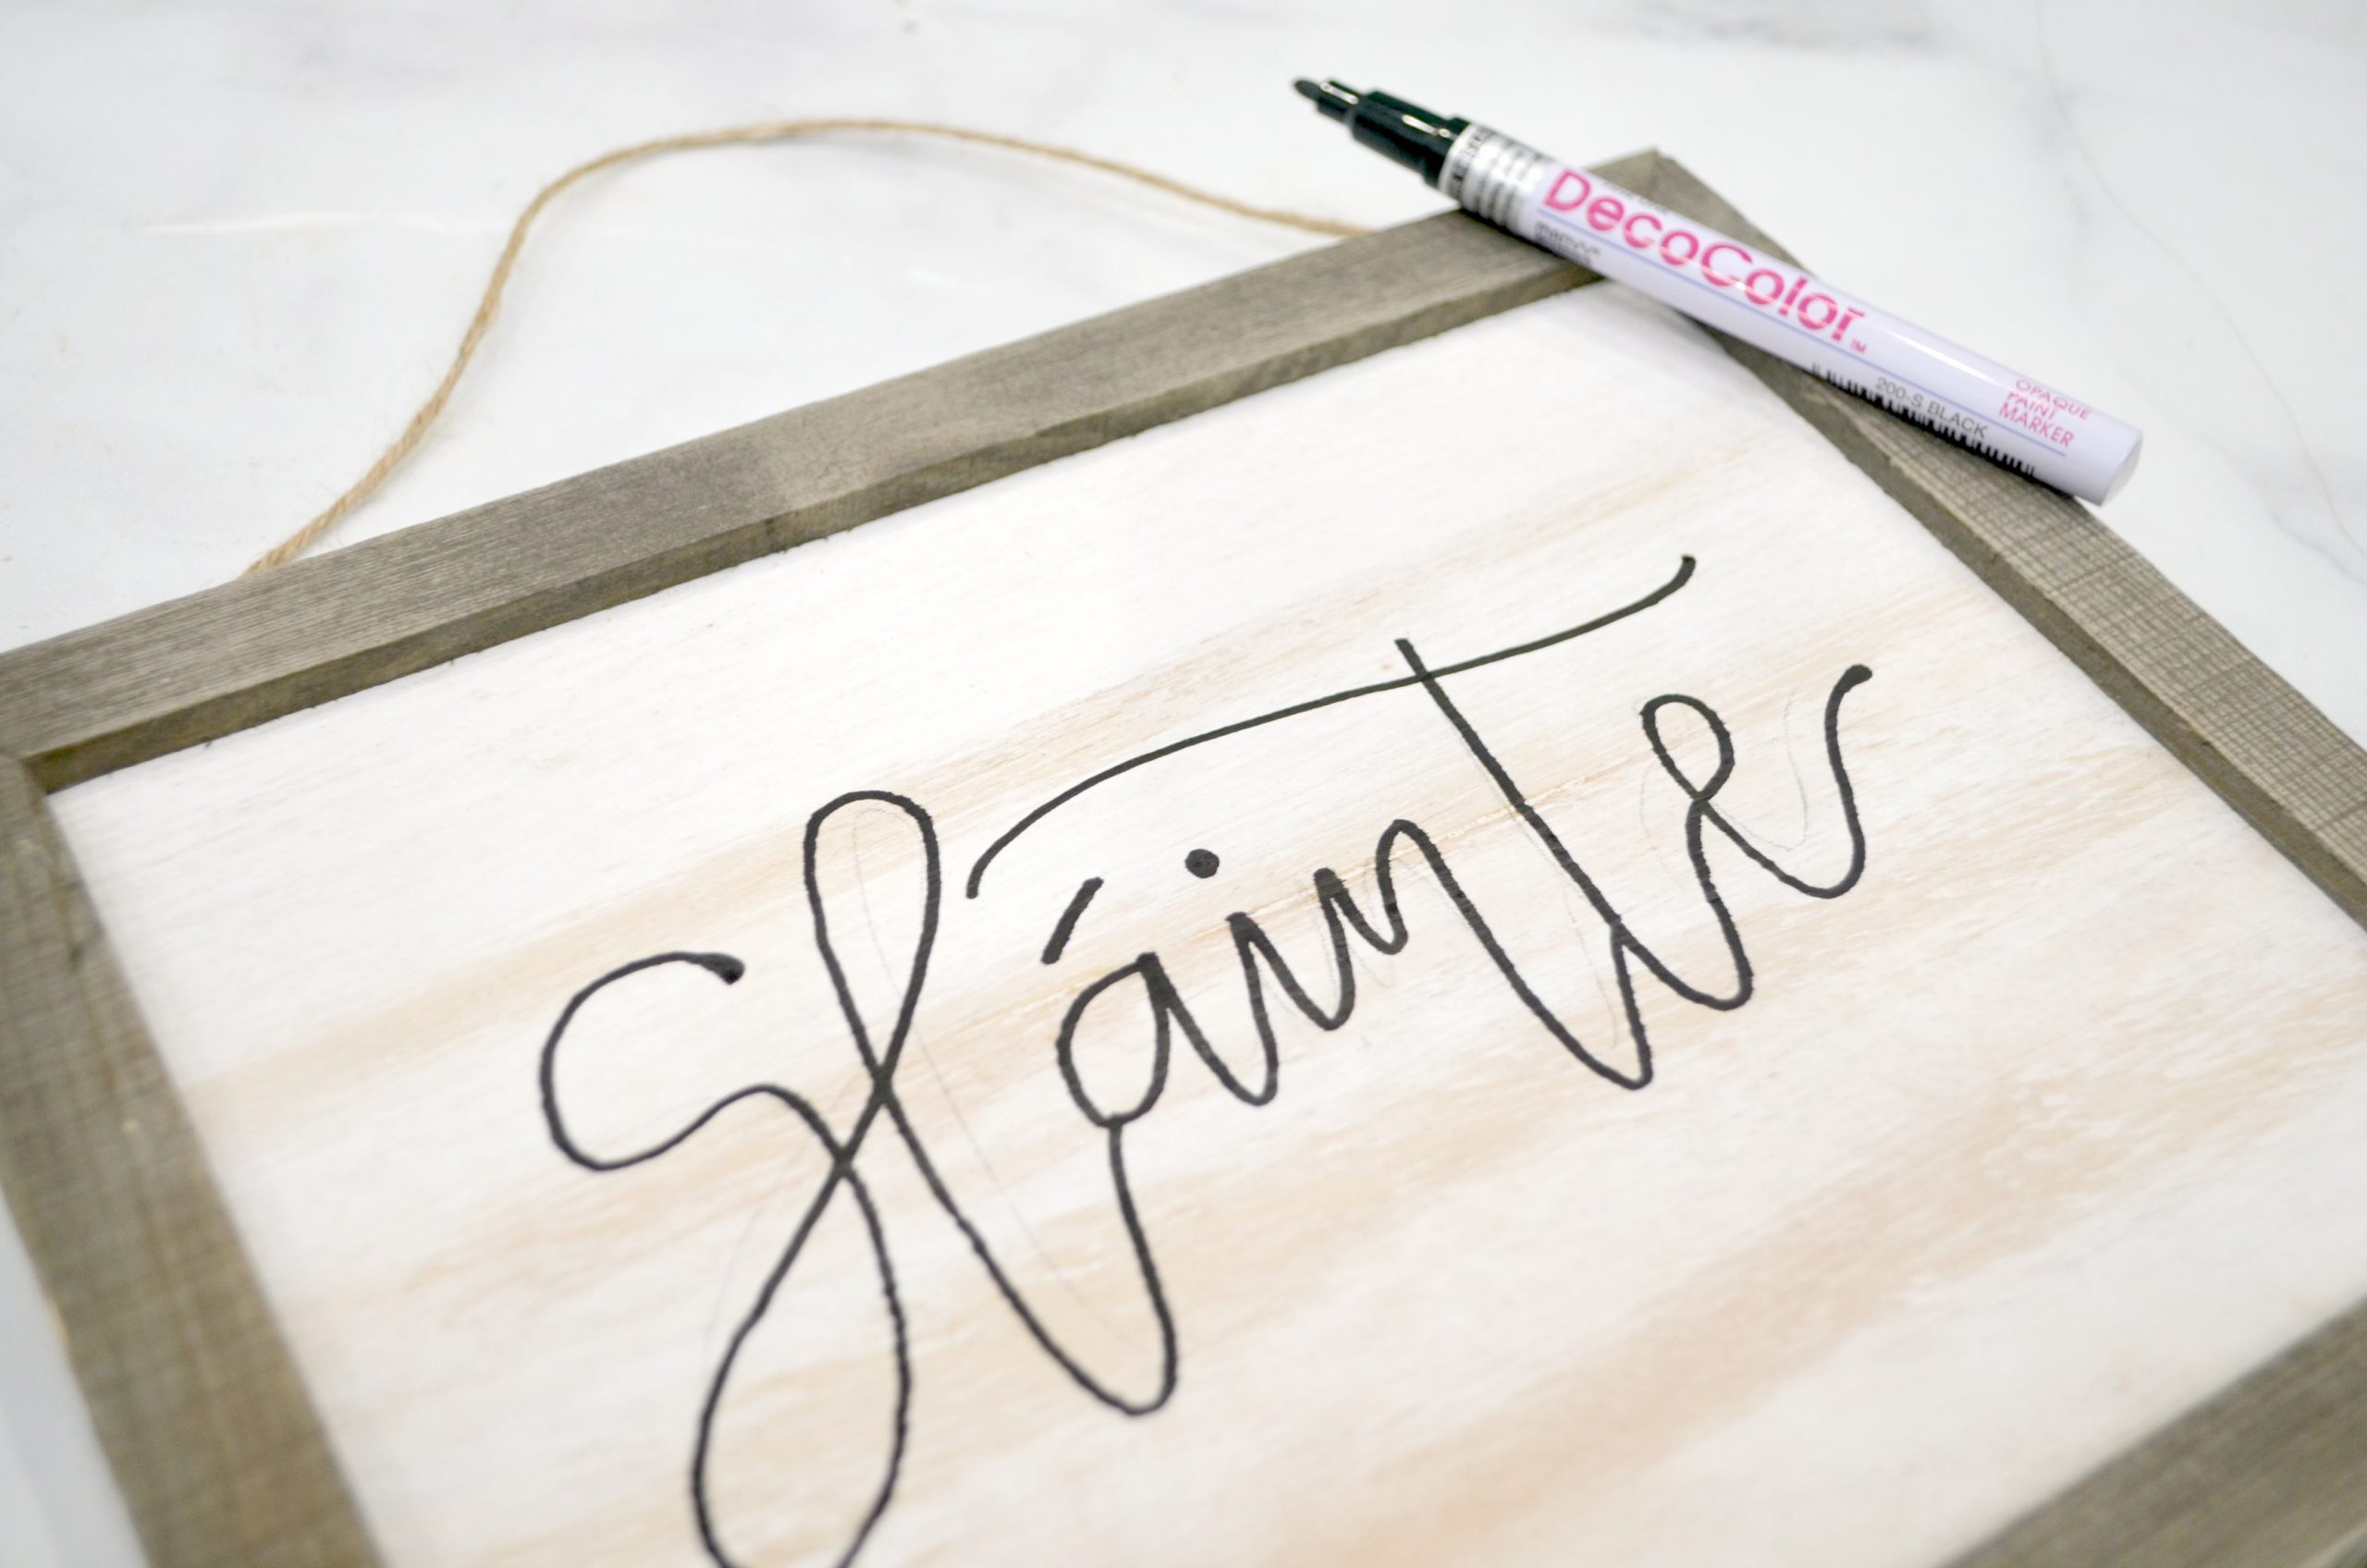
Step 4: Draw a second line next to each downstroke.
This is the first step of the technique called Faux Calligraphy. In order to give our letters that brush lettered look, we have to make some of the lines in each letter thicker than others. We have to figure out which parts of the letter were created by the marker moving in a downward motion when we were writing. Those are the parts we want to make thicker.
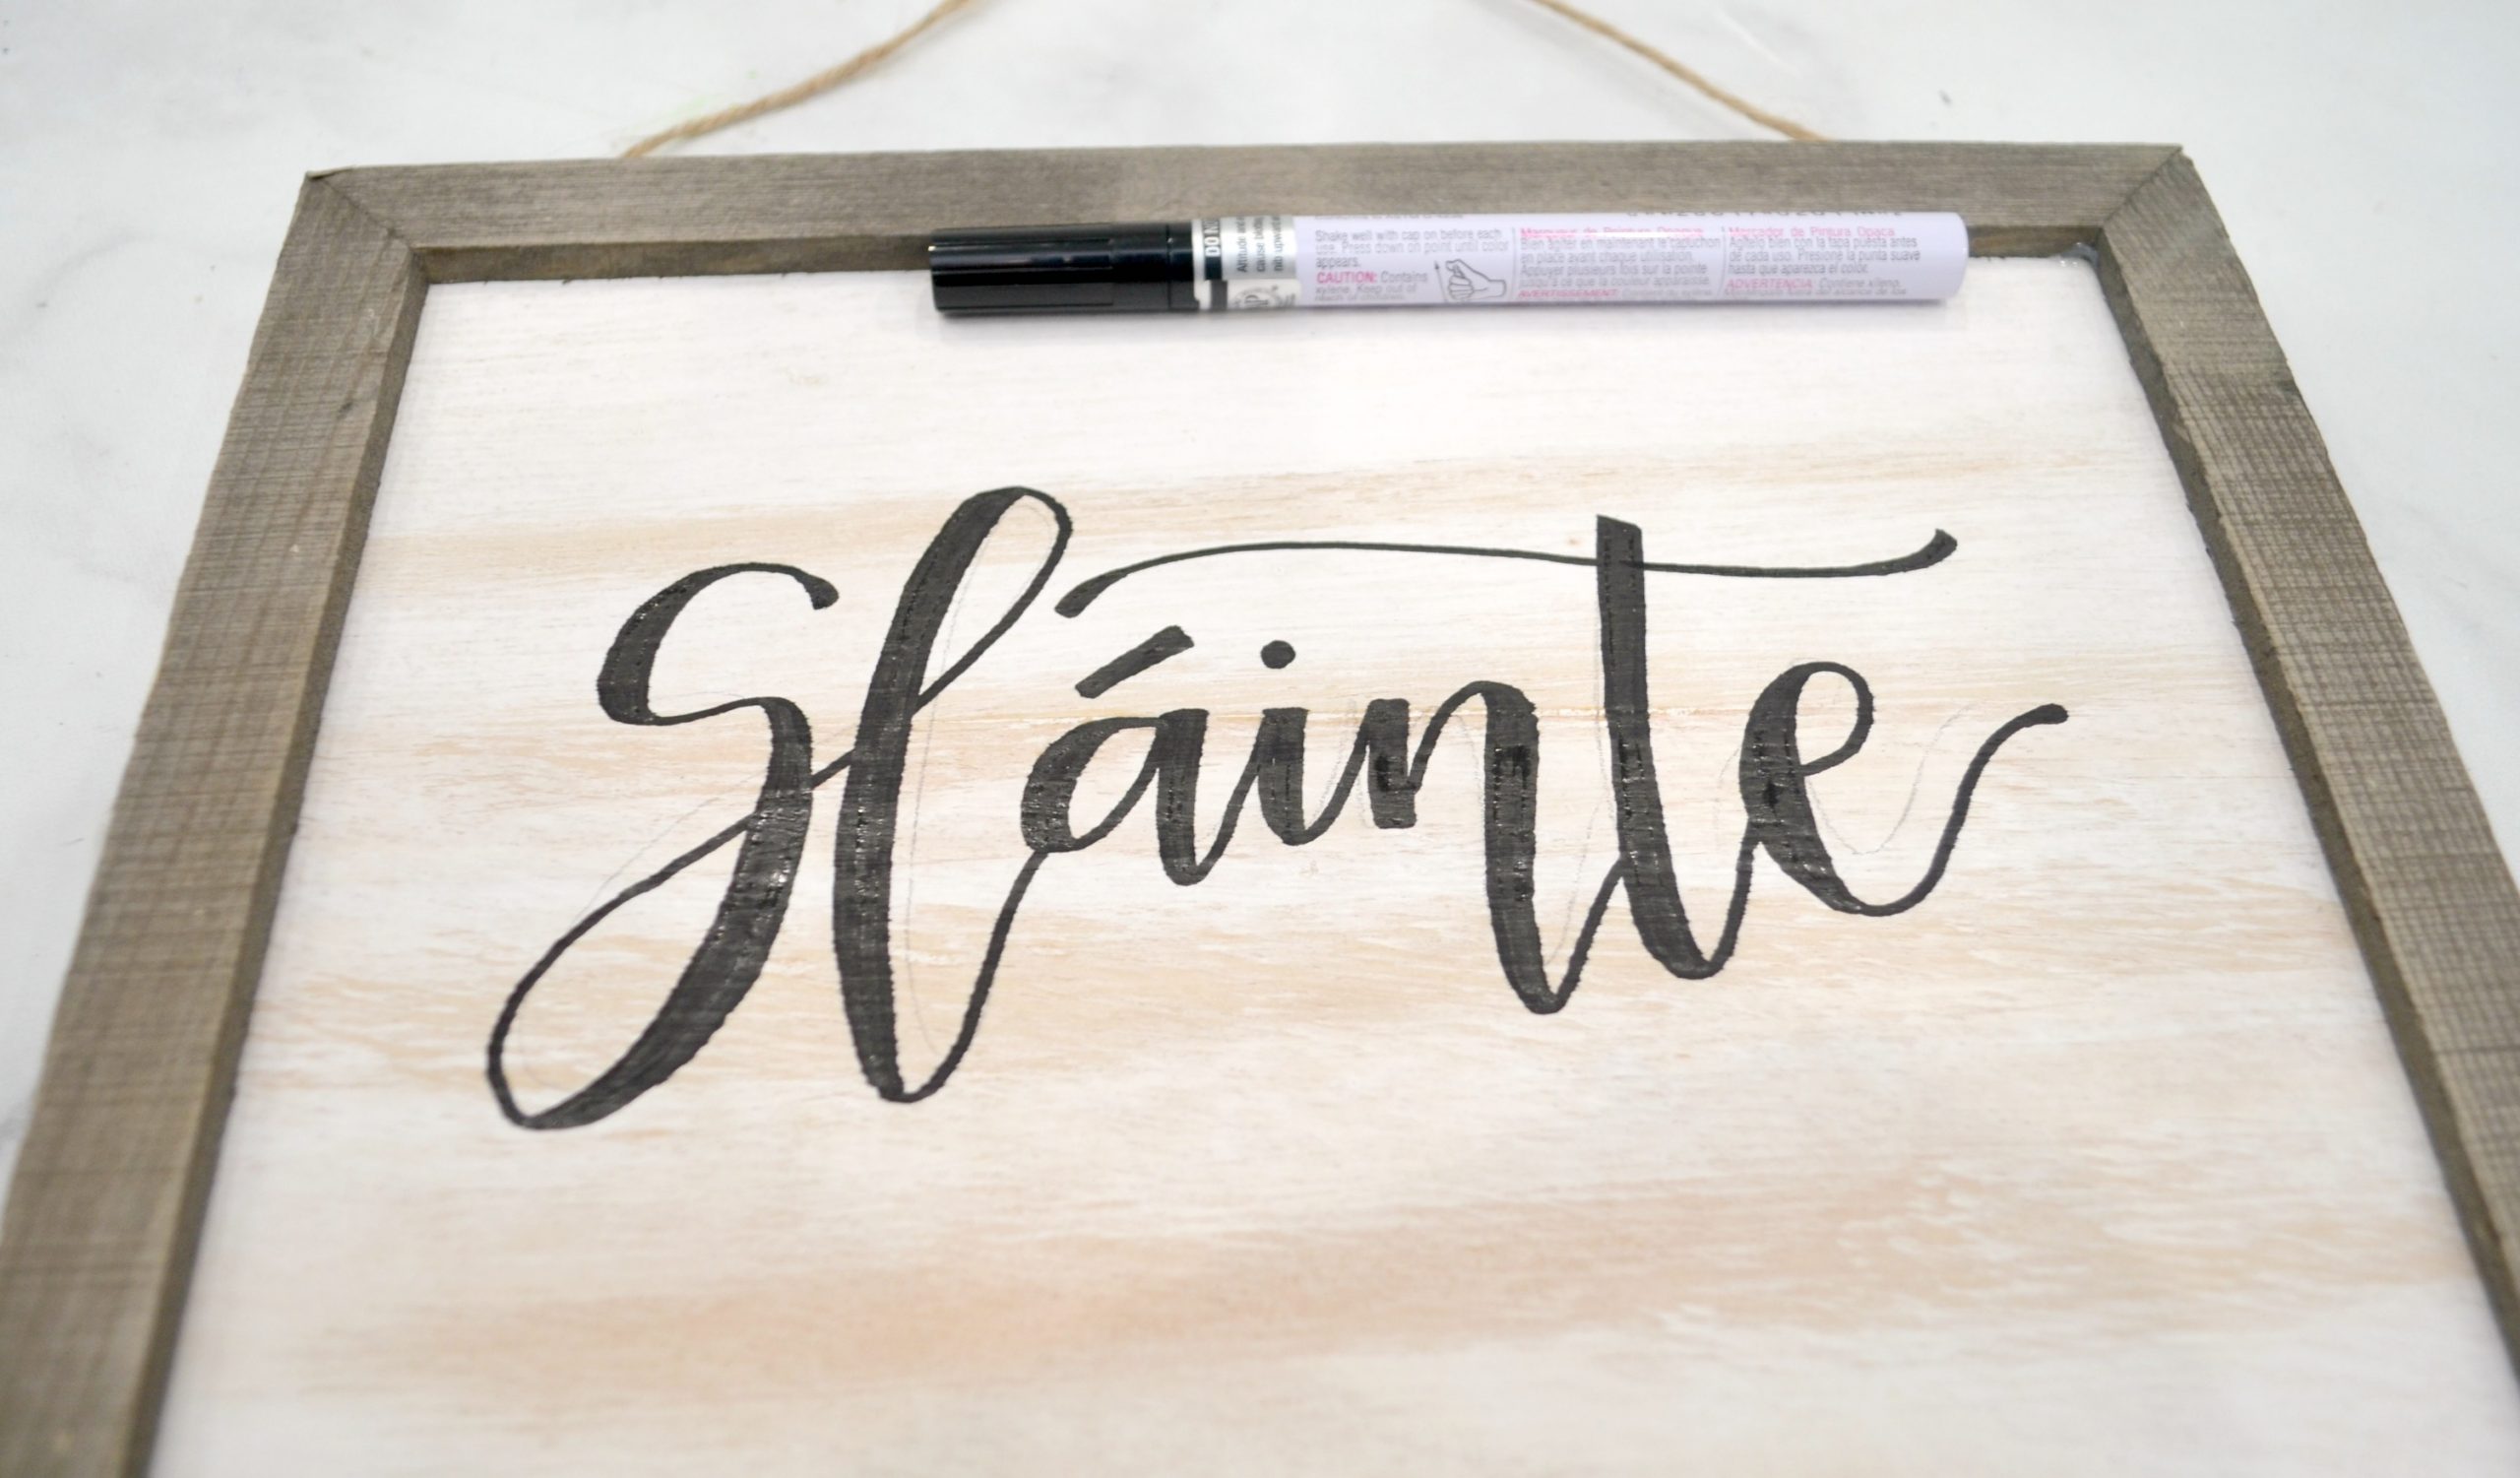
Step 5: Fill in the space in between your double lines.
This gives the appearance of those lines being thicker than the rest of the letter.
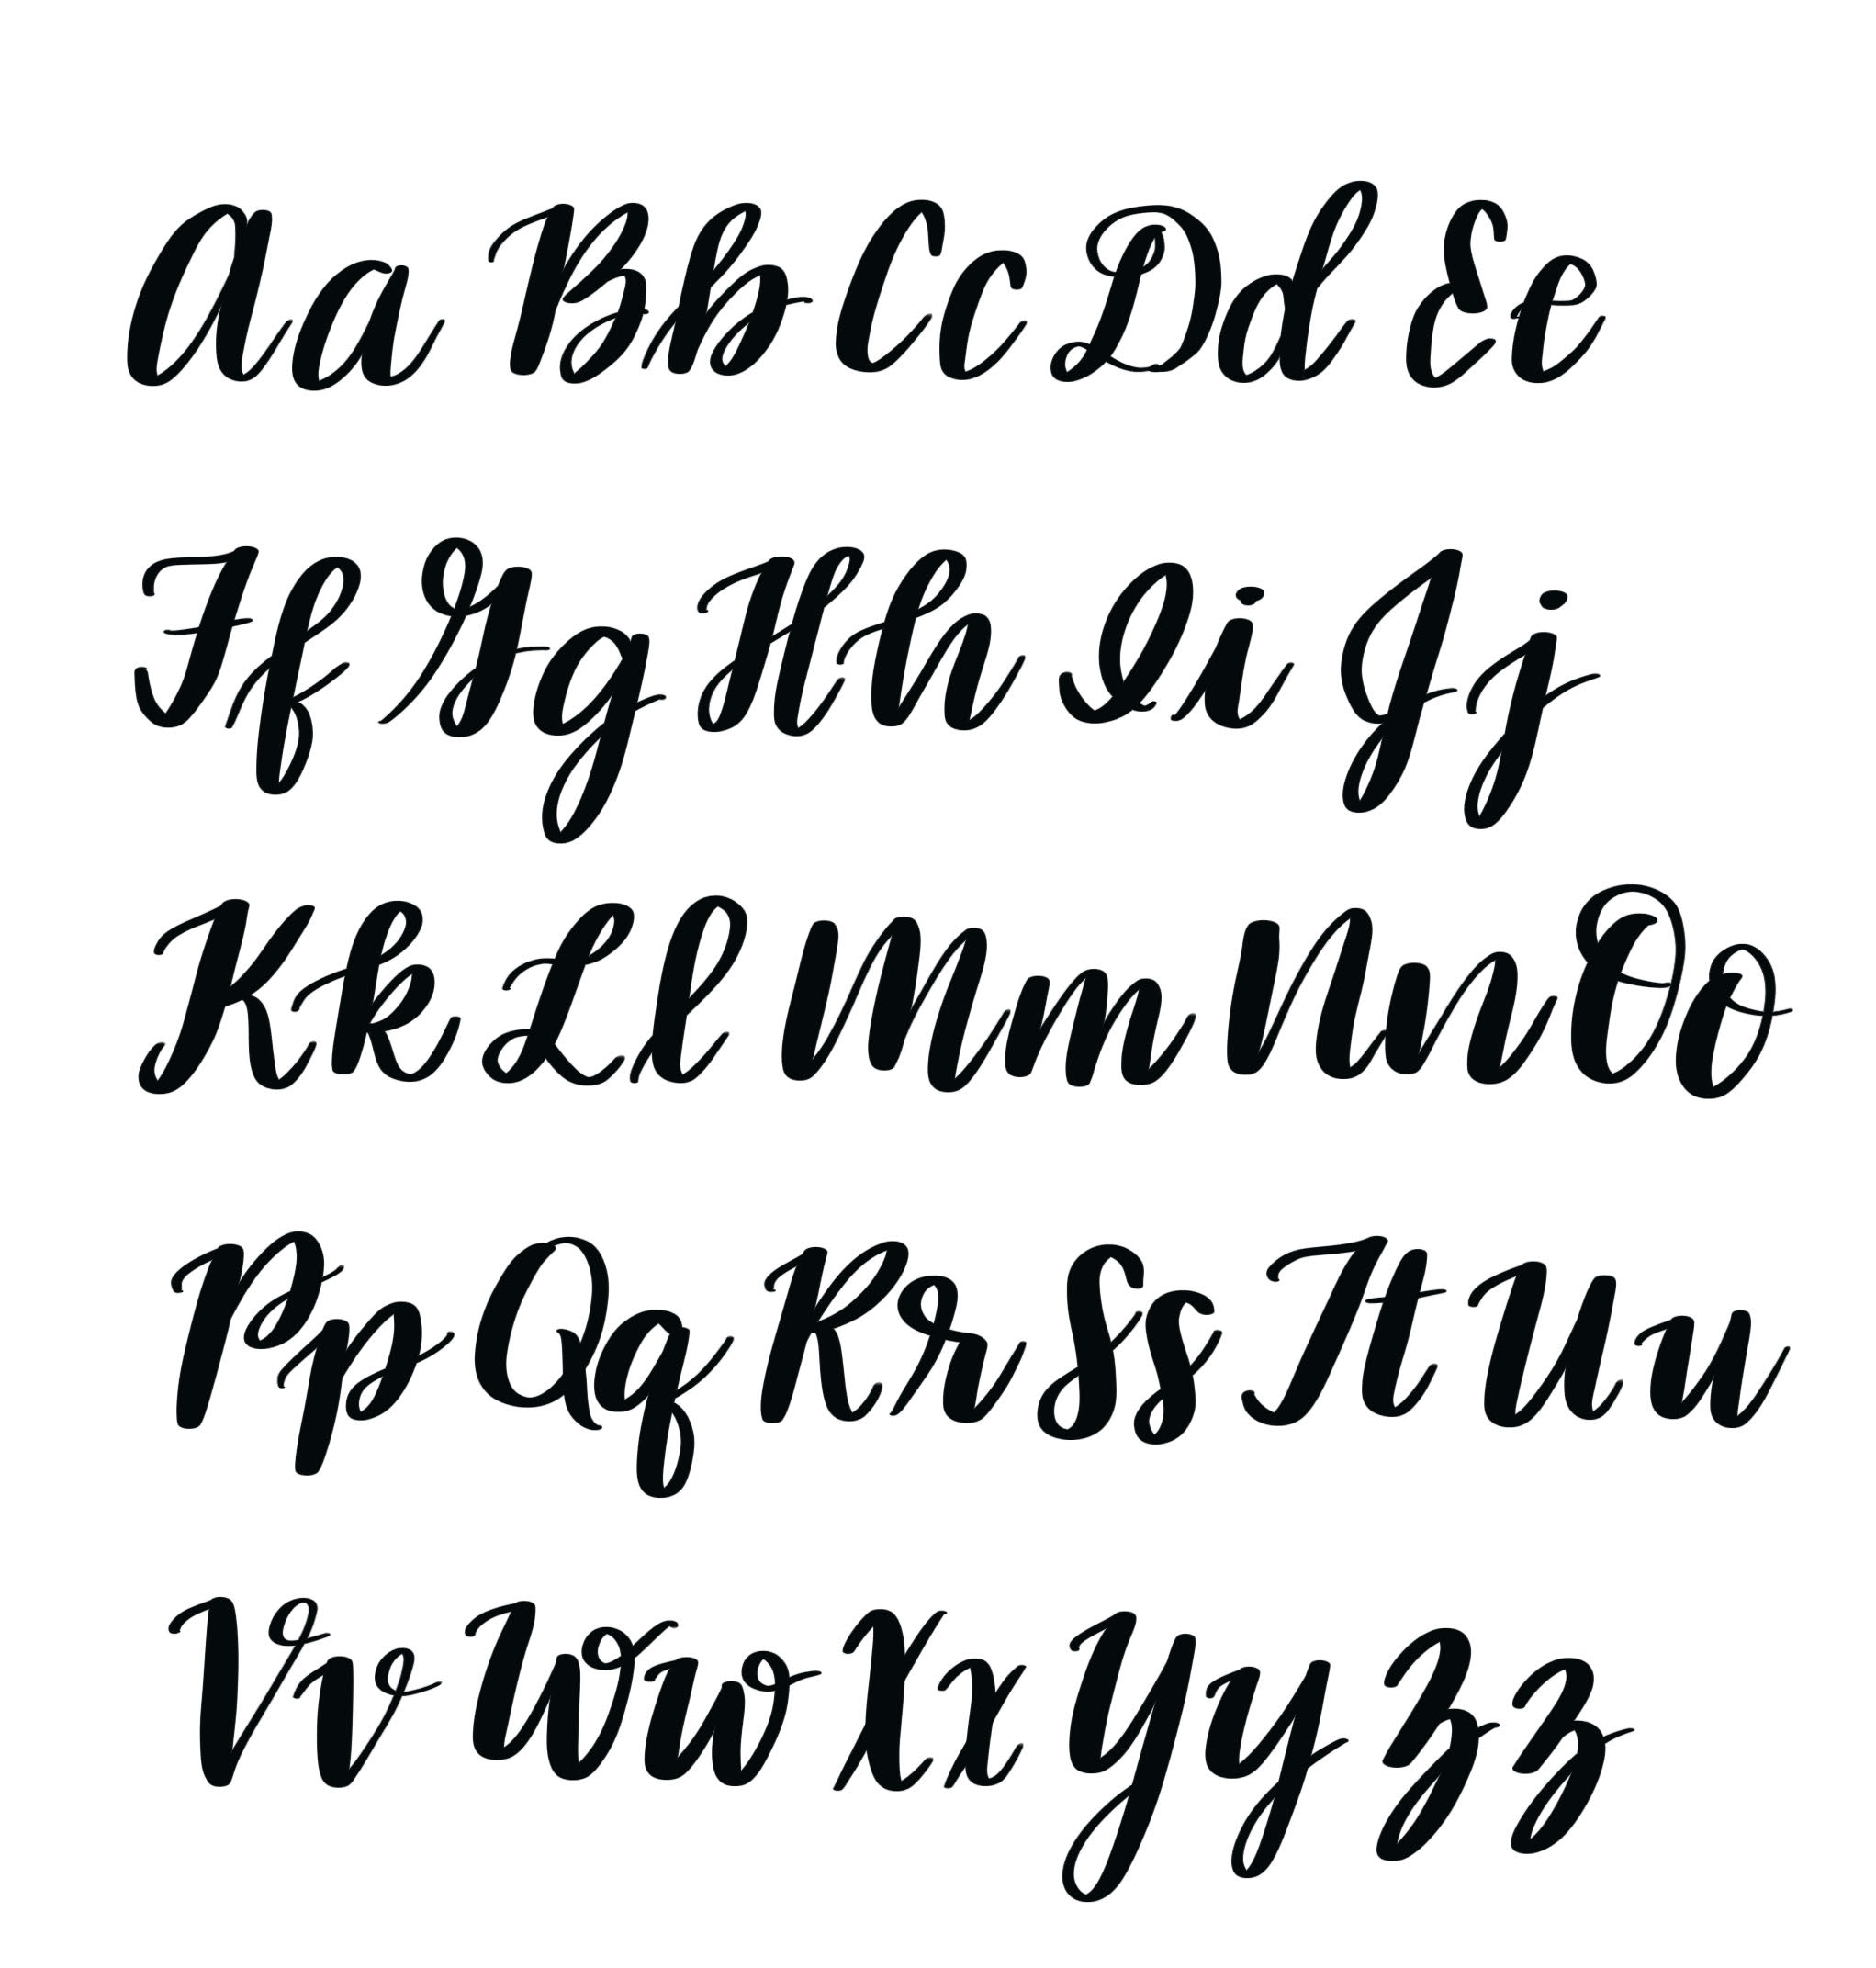
The most challenging part of Faux Calligraphy is figuring out where the downstrokes are. Here is a guide you can use as a reference to help you find the thick parts of the letters in your word or phrase.
Step 6: Erase any remaining pencil lines.
Make sure your paint marker is totally dry first so the wet paint doesn’t smear!
Step 7: Tie ribbon around the string and trim the ends.
I found this cute edged gingham ribbon at Hobby Lobby. You can tie a knot or a bow and let it sit on either side of the sign you like.

That’s all there is to it; your sign is ready to display and help make your home festive for the holiday! What traditional Irish phrase would you choose to letter on yours?

If you like this project, why not put a Pin on it?
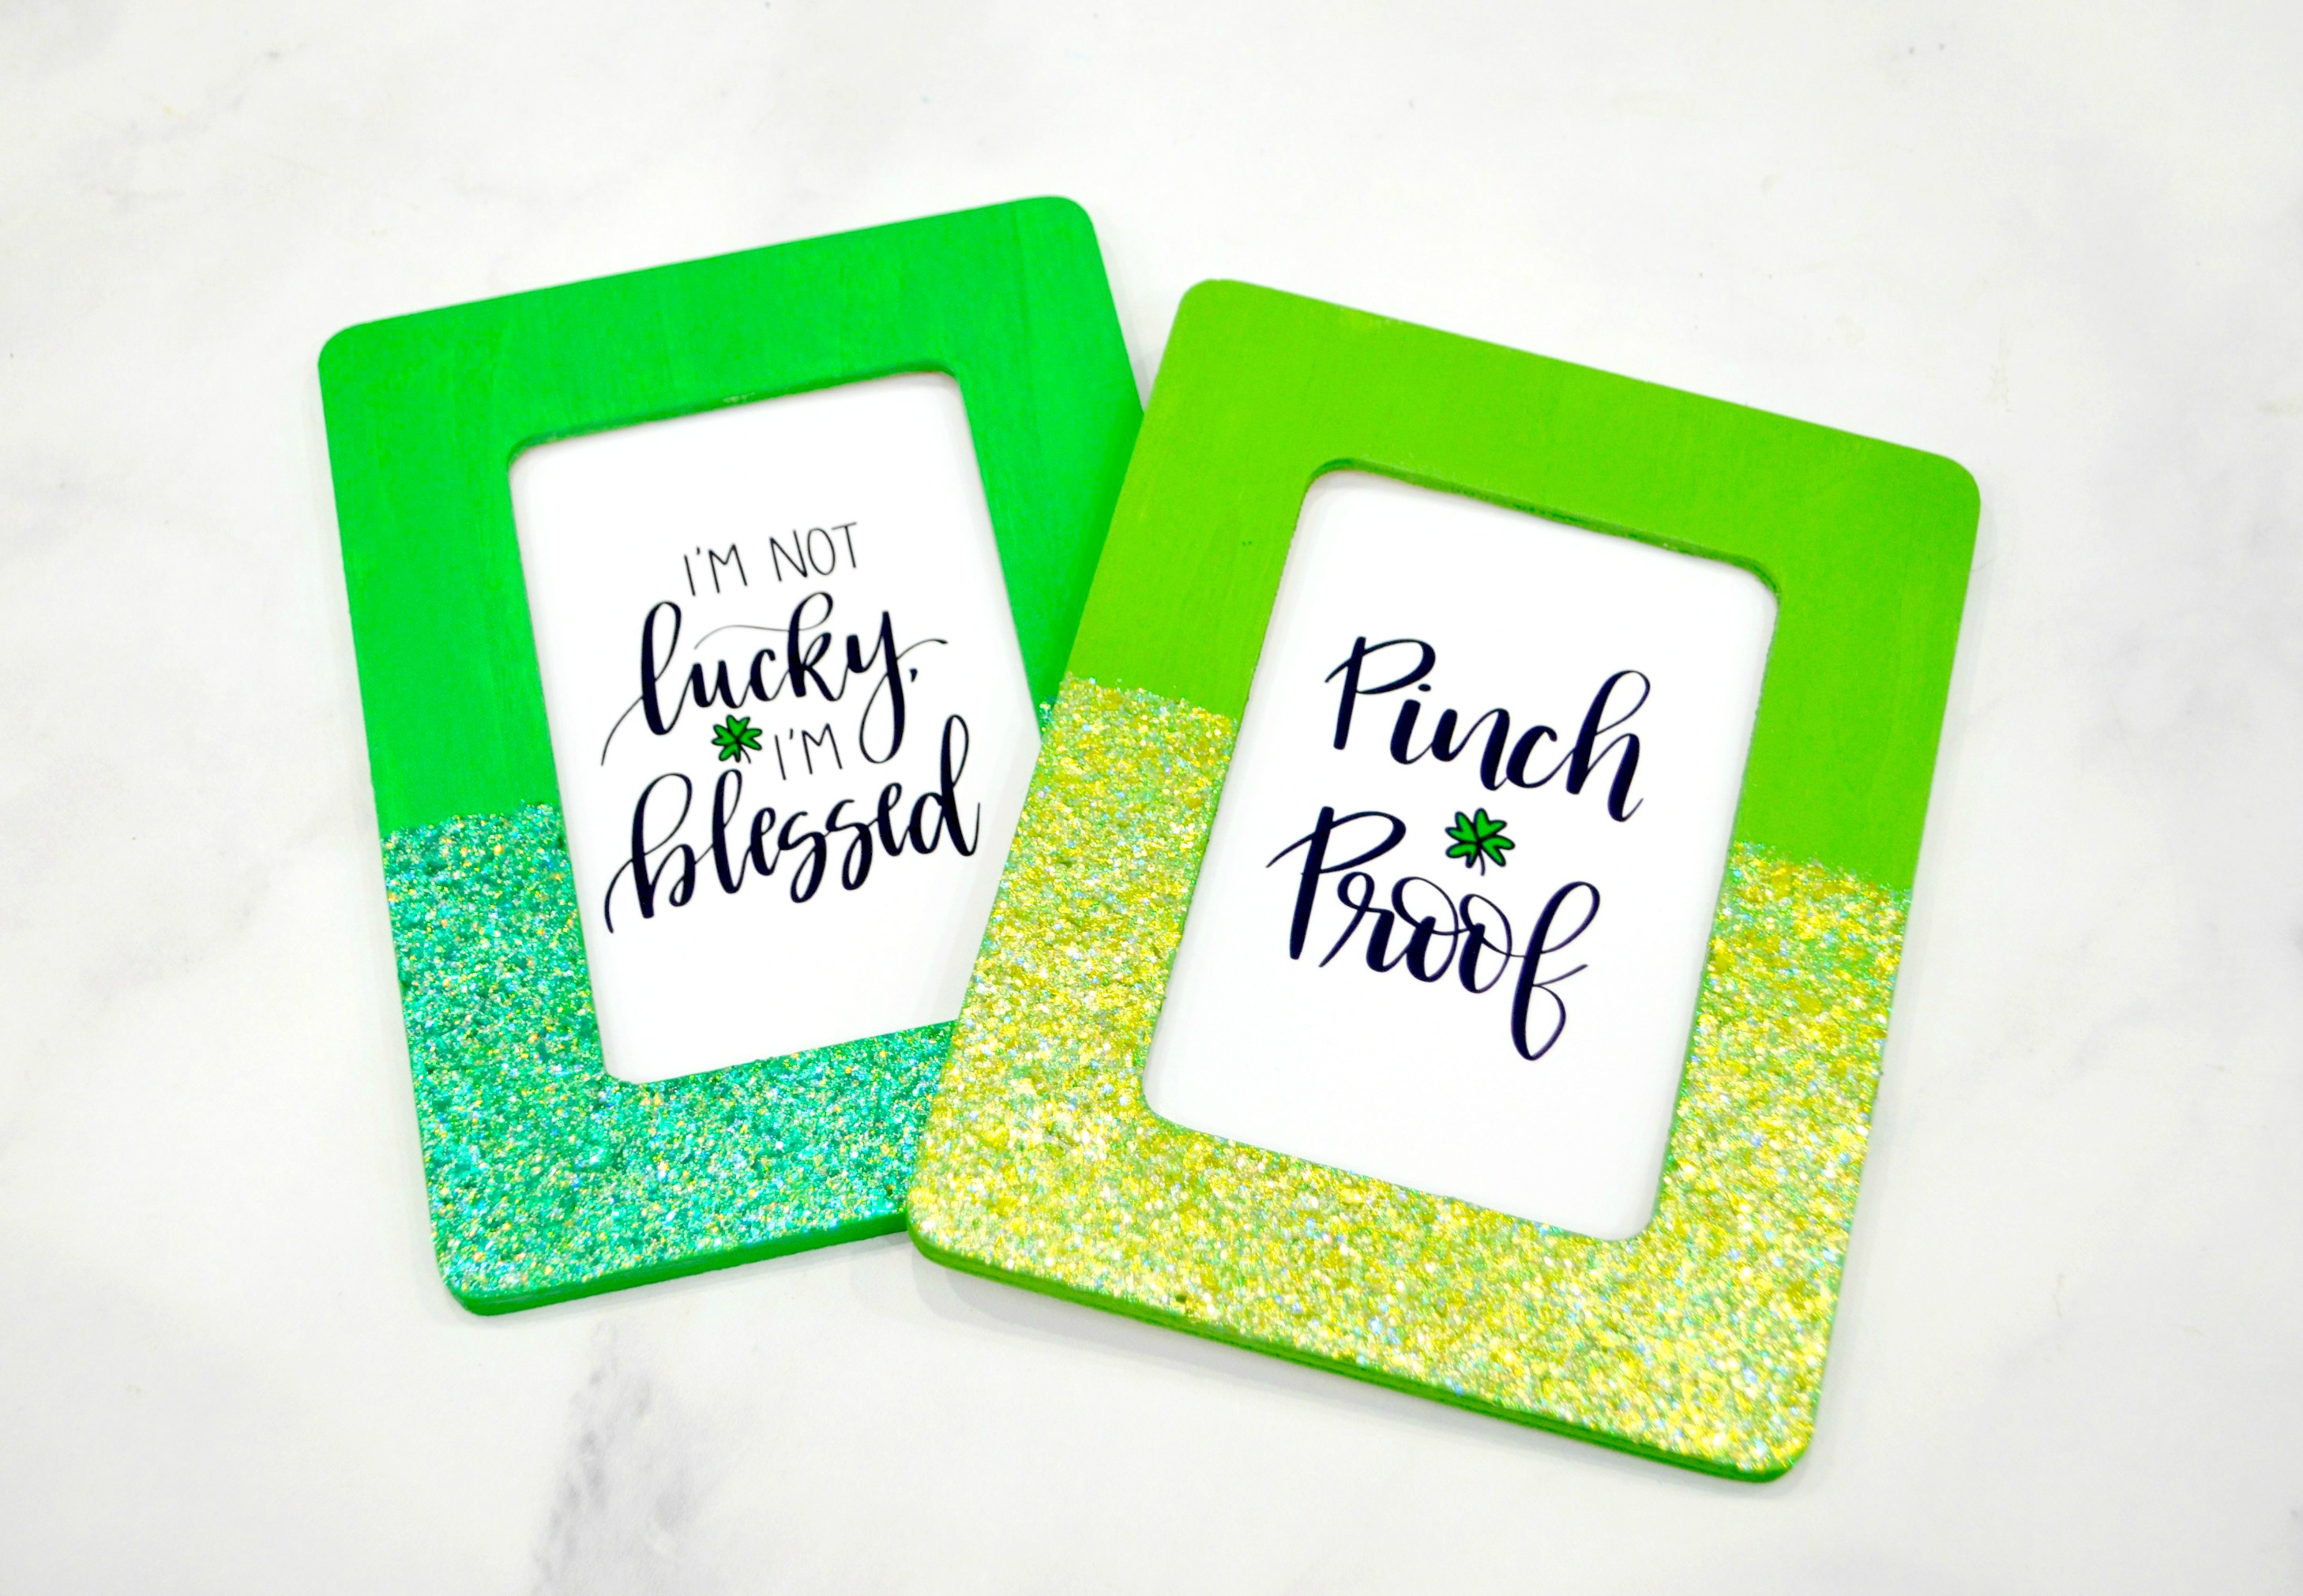
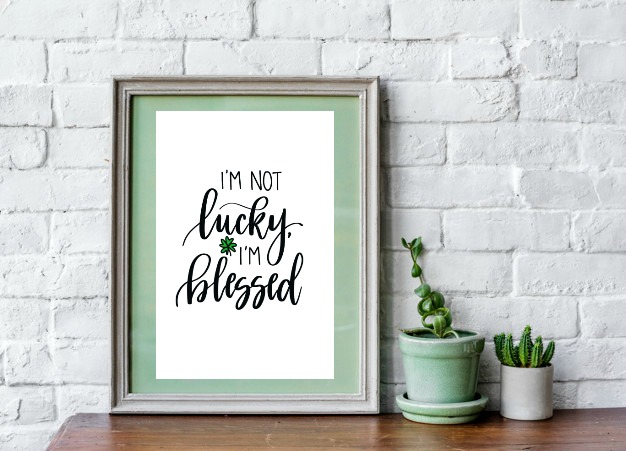
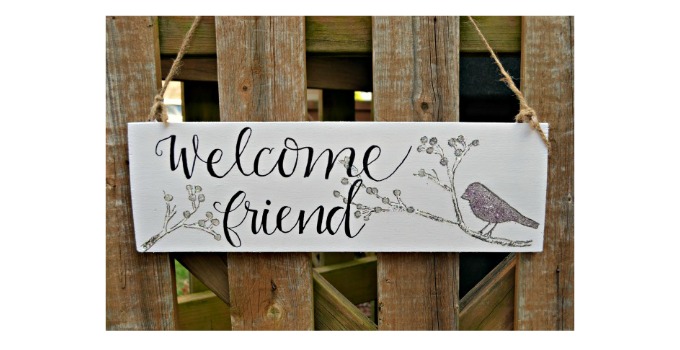
Be sure to check out these other fun and festive St. Patrick’s Day projects for the whole family:


Super cute, quick and easy, Amy!!
I love me a good easy project!
Oh my goodness these are so cute and easy to make, I love it!!! Blessings, Loni
Thank you so much!