Coloring with Tombow ABT PRO Alcohol-Based Markers
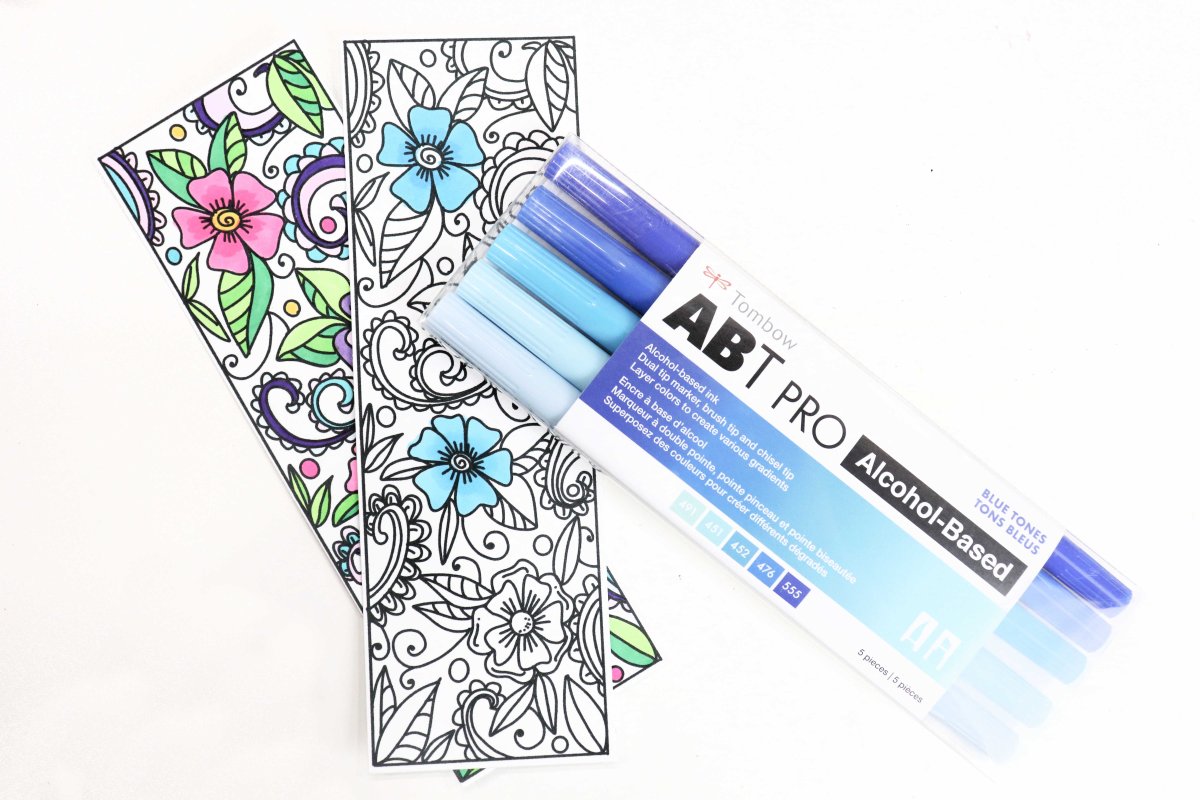
One of my favorite tools for coloring projects is Tombow ABT PRO Alcohol-Based Markers. They are fabulous for layering and blending, and create a really professional finished look. Alcohol markers are different to work with than colored pencils, crayons, or water-based markers, so if you’re new to using them, here are a few tips to get you started off right!
1. Swatch Your Colors
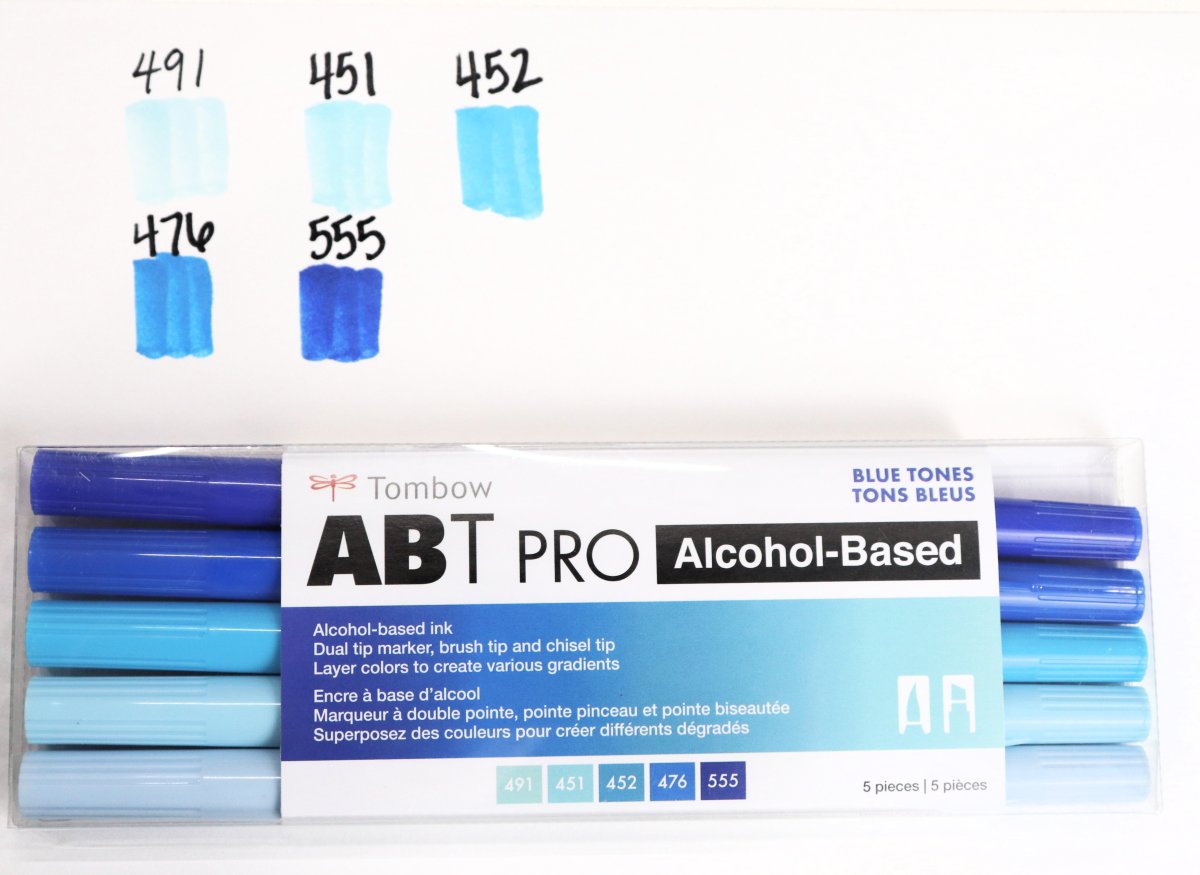
Alcohol-based ink dries a slightly different color than it first appears when you apply it to your surface. I recommend testing each marker before you use it to see exactly what shade it will be when it’s dry. You can create your own color chart, like I did in the photo above, or you can print one out from tombowusa.com.
2. Use the Right Paper (and ink)
It’s important to use high quality paper that is smooth and thick. This will protect your marker tips and ensure that the ink doesn’t bleed through your project. My favorite types of paper to use are cardstock, bristol board, and hot press watercolor paper.
When drawing or printing your black and white design outline, make sure not to use alcohol-based ink, because if you do, it will bleed when you apply alcohol-based colors. Most printer inks and stamp pads work fine, as do water-based or oil-based markers.
3. Fill Large Areas
There are several different types of strokes you can use to fill in the open areas of your design.
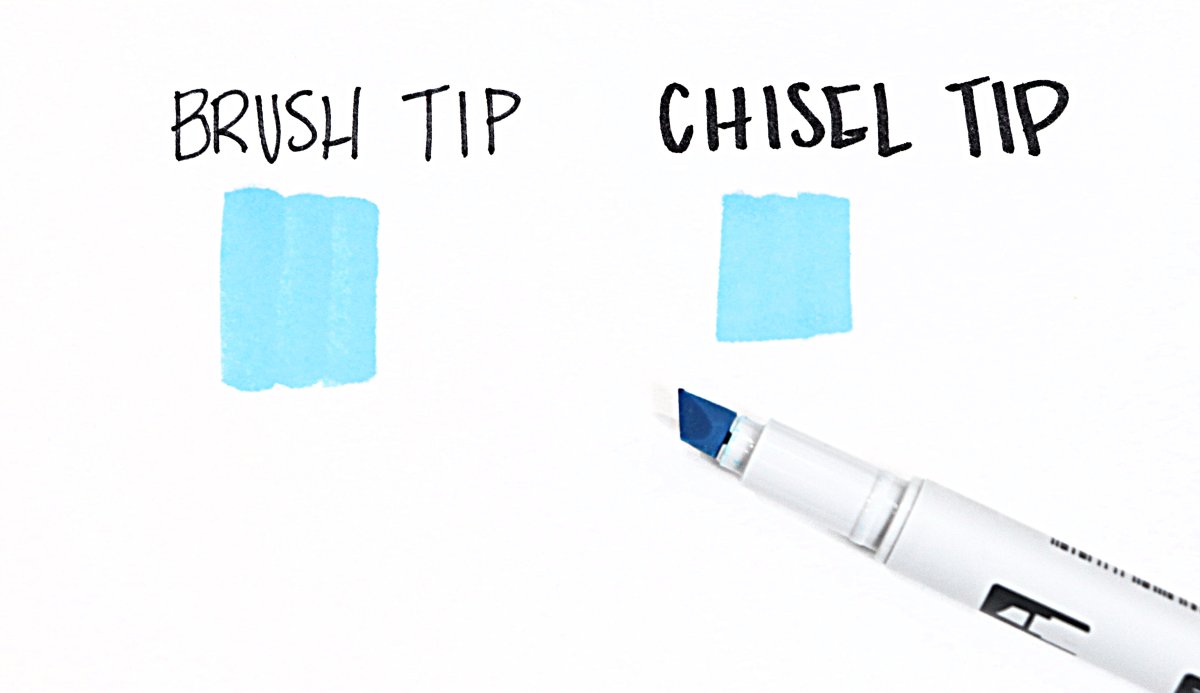
Technique #1 – Brush Tip Strokes
Apply pressure to the brush tip of the marker and make a series of downstrokes (moving the marker from top to bottom) to fill in the area.
Technique #2 – Chisel Tip Strokes
Use the chisel tip of the marker and make a series of thick strokes to fill in the area.
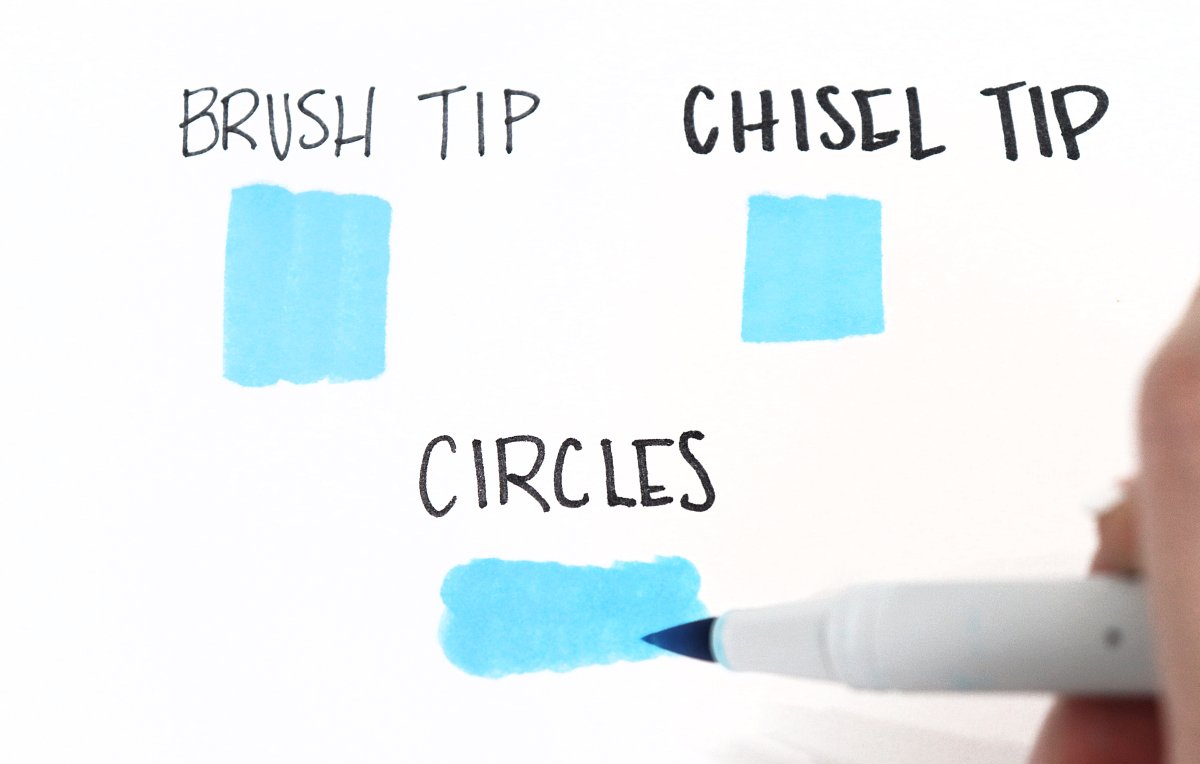
Technique #3 – Circles
Move the brush tip in a circular motion to create overlapping round strokes until the area is filled in completely. This is also a good technique for smaller areas.
4. Use the Brush Tip for Small Areas
Go back and fill in the more intricate parts of the design by carefully using the brush tip like a paintbrush.
5. Blend Your Colors
Start with the lightest color first, then go darker.
Color in the entire shape or section using your lightest shade. Then, add darker sections. One way to do this is by applying more layers of the same color of ink. The flower petal on the left is done with just one marker. The top section has just one layer of color, while the bottom has two.
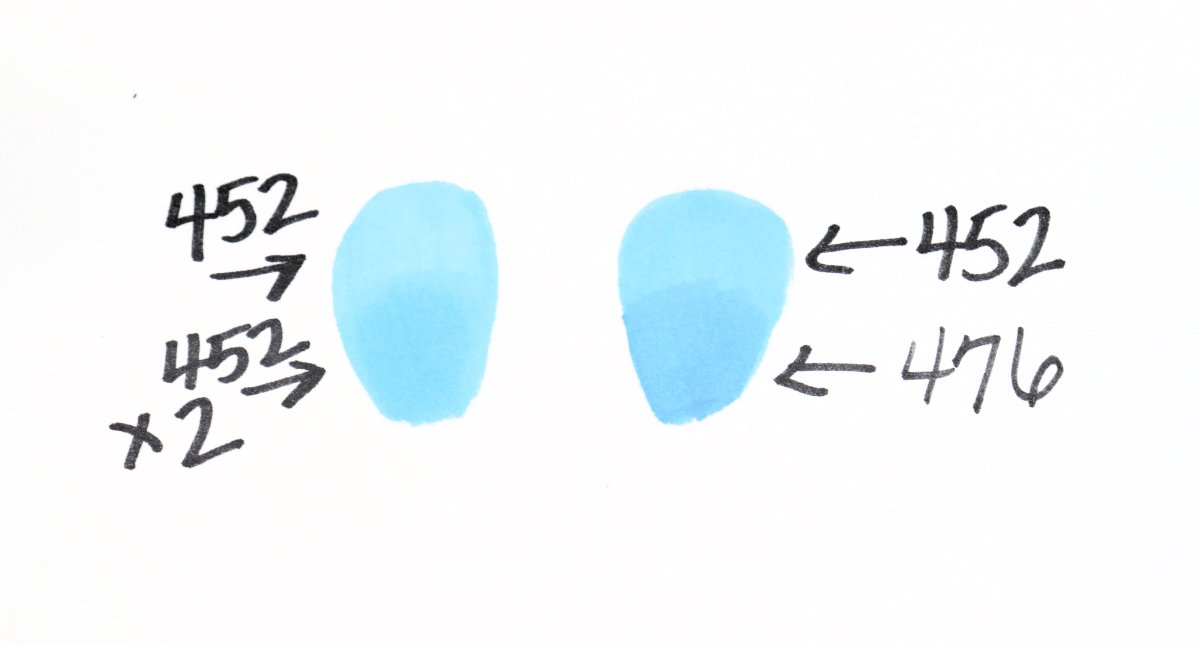
Another method is to apply a layer of a darker color marker, as shown on the right. First, I colored the whole petal with 452, then I added a layer of 476 to half of the shape. To make the blend more smooth, I finished by applying another layer of 452 over the entire thing.
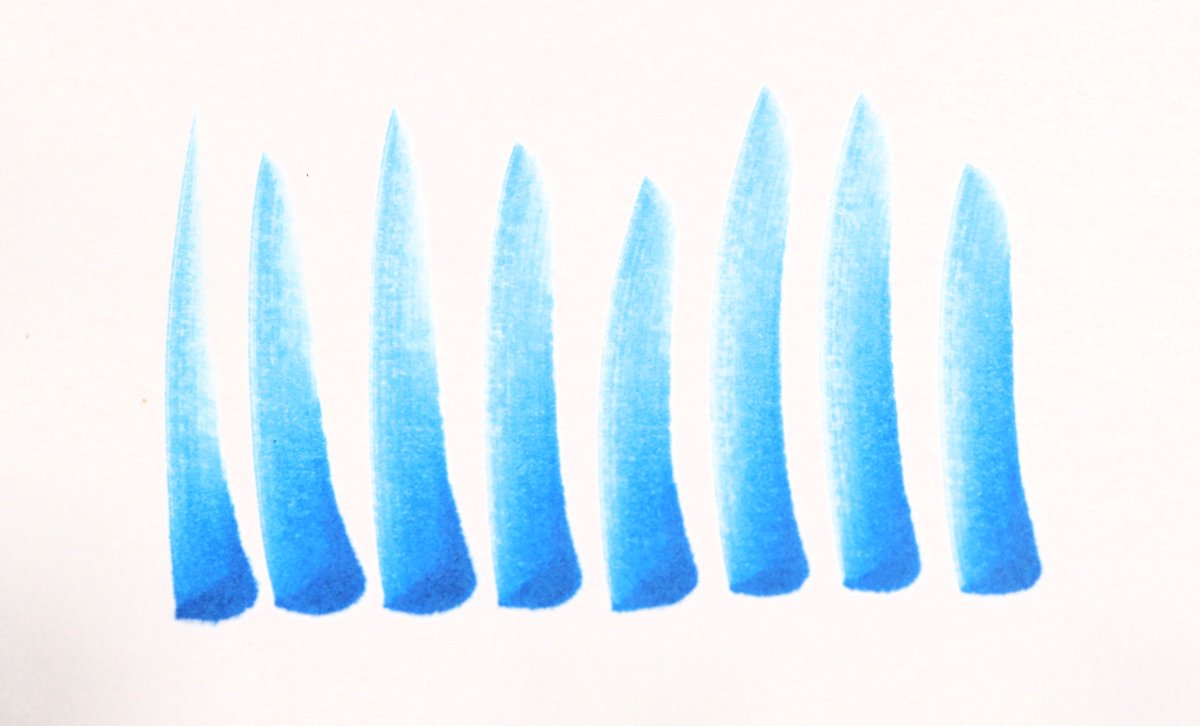
Feathering
When you’re applying the darker color/layer, try doing it by feathering the color in. This technique is done by pressing your brush tip to the paper, then gently flicking upward while releasing pressure. It’s a great stroke for blending, because as you can see, the color gets lighter and less saturated toward the top. This allows you to get a more natural-looking blend.
These tips are all you need to get started making your own colored masterpieces with Tombow ABT PRO markers. They’re available in 108 different colors, so there are plenty to choose from no matter what you’re planning to create.
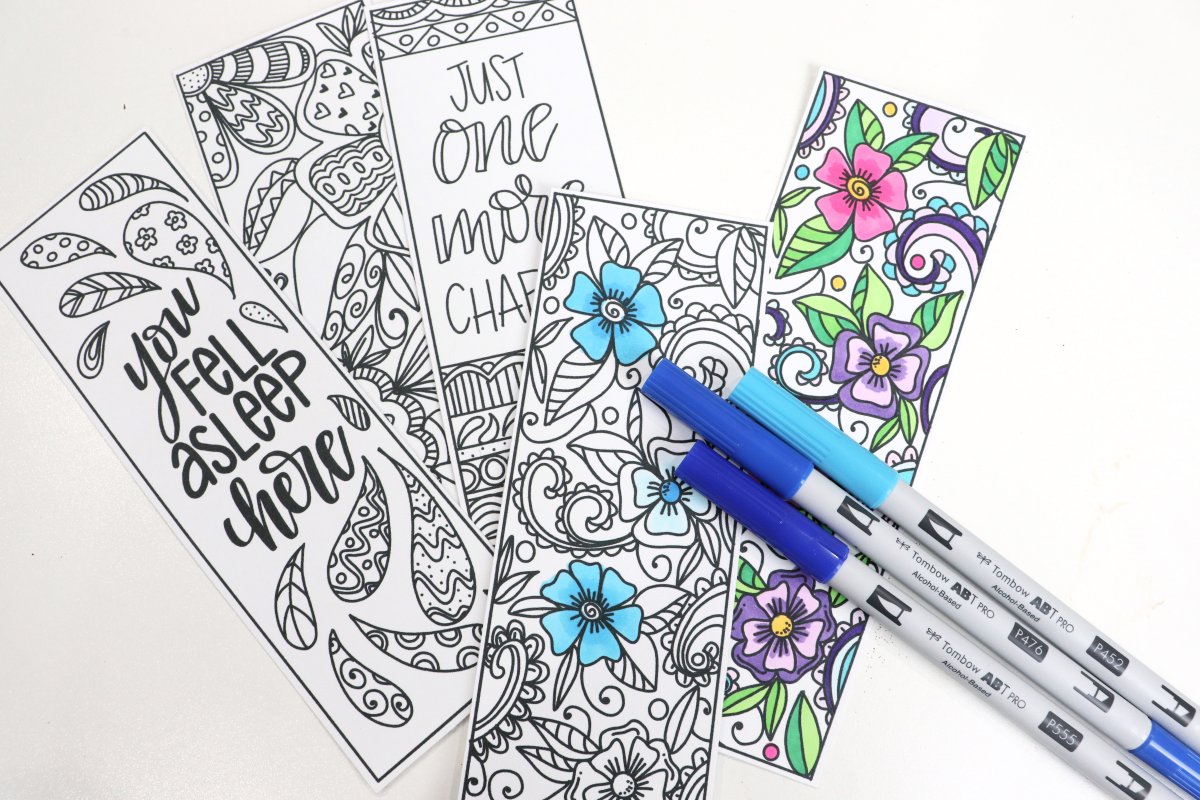
If you’d like to try your hand at coloring these hand-drawn bookmarks, I’ve made them available as a free printable download.
Grab the free bookmarks here!
Before you go, make sure to check out my other tutorials featuring Tombow markers for hand lettering and art projects. Also, stop by and join the Amy Latta & Friends Facebook Group so you can say hi, ask questions, and share photos of your latest work. Hope to see you there!
Have any Easter hand lettering projects?
Any in particular that you’d like to see? I do have some in my archives: https://www.amylattacreations.com/holiday-ideas