New Year’s Centerpiece and Wishing Wand

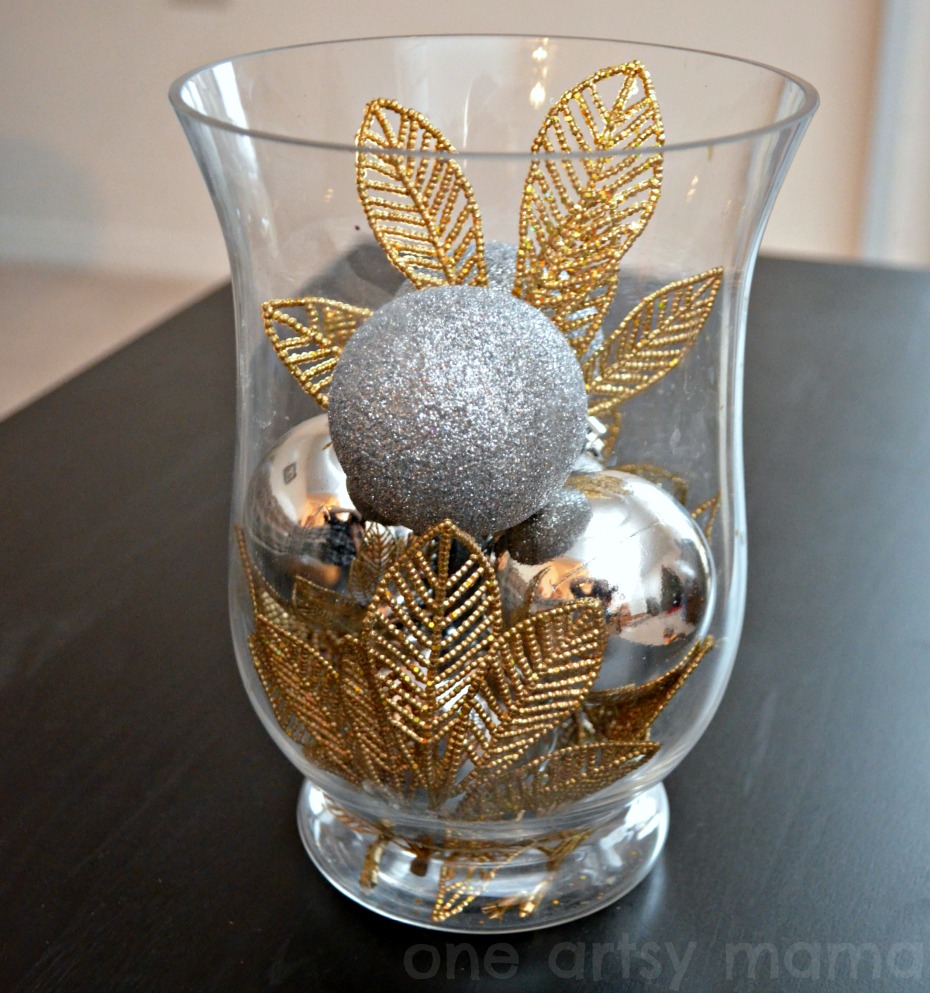
I made a glitzy centerpiece using some silver ornaments I had laying around and some of the gold leaves I had left from the Ravens wreath I made back in October. All I did was arrange them in my hurricane vase…I love this vase; I change it out seasonally for all kinds of fun centerpieces! I put the leaves in first around the bottom, added seven ornaments, and stuck one last leaf in the top. Voila. Two minutes, no money, and lots of New Year’s glamour!
Here’s project #2…this one’s for the kiddos! I saw this idea on Pinterest and immediately knew we needed to make it!

We already had all the supplies:
– cardstock
– contact paper
– scissors
– assorted sequins and glitter {ours came from our friends at CraftProjectIdeas.com!}
– marker
– a stick/dowel/pencil
– ribbon or wired garland
The original tutorial is great; we followed the instructions almost exactly, and they give a great tip for cutting a halfway decent looking six pointed star. So, no need to reinvent the wheel. You can check out the step by step tutorial on babycentre, but here are a few pics of LC making his version. He looooved sprinkling and arranging the glitter and sequins on the contact paper!
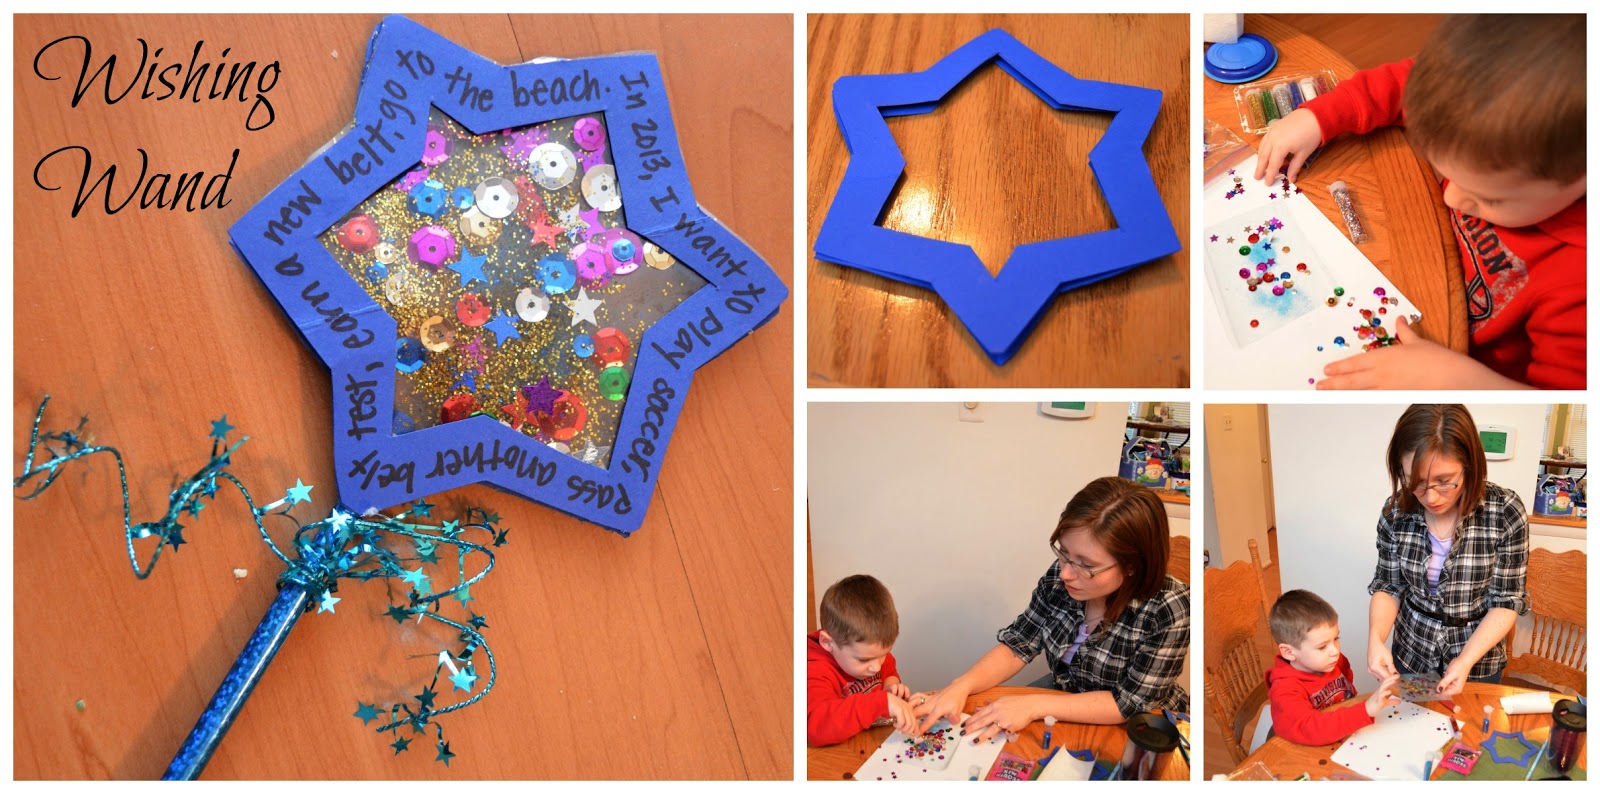
As we worked, I talked with him about what it meant to set goals and make resolutions, then we wrote his around the star on both sides. Here’s what he came up with:
FRONT: In 2013, I want to play soccer, pass another belt test, earn a new belt, go to the beach.
BACK: Learn to read, play basketball, learn to divide, start eating dessert after breakfast.
Good luck with that last one! Here he is in all his sock monkey-Angry Birds-Mommy’s boots glory…
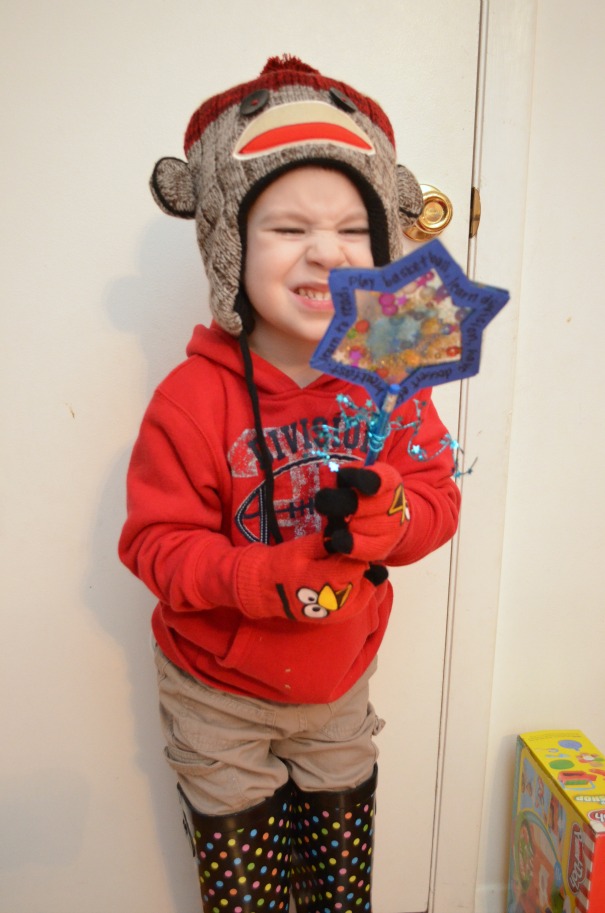


I love the wishing star! Good luck to LC with eating dessert after breakfast!
haha eating dessert after breakfast! too cute.
Great project. I may have to make one for myself lol.
Ha, hilarious about dessert after breakfast. I’ve never heard of a wishing wand before. Very cute and I have everything on hand!
I’m dying over how cute that wishing wand is! What a fabulously, fun idea for New Years!!
Love the gold leaves!
I love this craft and have a question as I cannot figure out how to make it. I looked at the pics from the other website as well and am having a hard time. I am doing this craft for my sin’s durst grade class so am hopeful someone can help me. My problem is I can’t figure out how to finish the project. I cut the star…is it 1 or 2 stars that are needed? And 2…the sticky clear contact paper…that is needed as backing to stick the embellishments…but also must be needed to cover up…so is the contact paper then laid on top of the star to seal it…so the star and embellishments are covered in contact paper…it doesn’t look like that on the pics on the website. Is glue involved to seal the stars if 2 stars are needed for front and back? I am so not crafty but want to be. I definitely need some help on this one. Thank you!!
I love this craft and have a question as I cannot figure out how to make it. I looked at the pics from the other website as well and am having a hard time. I am doing this craft for my son’s first grade class so am hopeful someone can help me. My problem is I can’t figure out how to finish the project. I cut the star…is it 1 or 2 stars that are needed? And 2…the sticky clear contact paper…that is needed as backing to stick the embellishments…but also must be needed to cover up…so is the contact paper then laid on top of the star to seal it…so the star and embellishments are covered in contact paper…it doesn’t look like that on the pics on the website. Is glue involved to seal the stars if 2 stars are needed for front and back? I am so not crafty but want to be. I definitely need some help on this one. Thank you!!
Hi there! You need two stars, one for the front and one for the back. Use the clear contact paper to seal in the embellishements…put one down with the sticky side up, sprinkle embellishments on, then put the other on sticky side down to sandwich them in between. Then, glue your star pieces to the front and back and trim the extra contact paper off. Does that make sense?
Yes. You’re amazing! Thank you! I will be doing this project with 28 first graders this week. Thank you so much for sharing!!