DIY Paw Patrol Marshall Costume
Just to give you fair warning, today’s post contains excessive cuteness, so you might want to prepare yourself! I am so excited to share part 1 of a little mini-series on the costume I made for Little Crafter this year. Believe it or not, this is the first of his costumes I’ve made, and I’m really proud of how it turned out! Take a look and tell me what you think…

Ever since he saw his first episode of the Nickelodeon show Paw Patrol this past summer, LC has been obsessed with it. It’s about a boy named Ryder and six pups who each have special abilities to help save the day when a problem comes up in Adventure Bay.
Little Crafter’s favorite pup is Marshall, a dalmatian who is the firefighter of the group. He was determined to be Marshall for Halloween… and I was determined not to pay $30 for the storebought costume! Here’s how we made it happen ourselves!
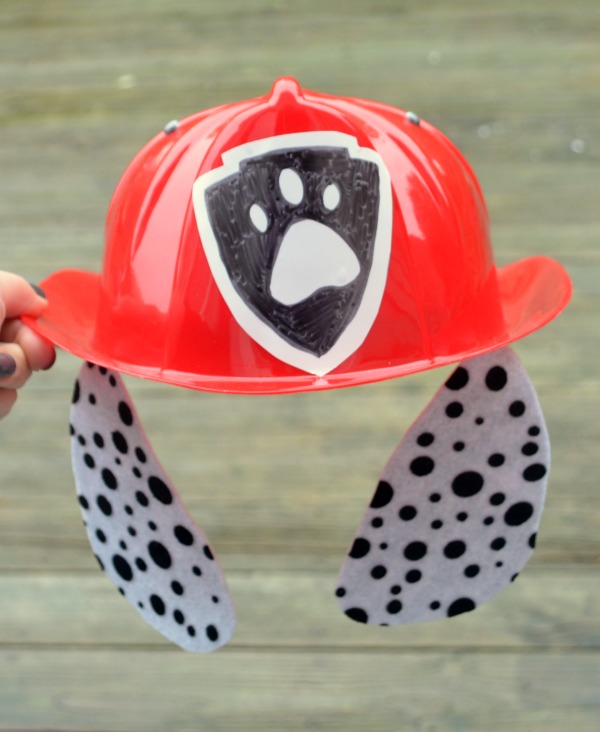
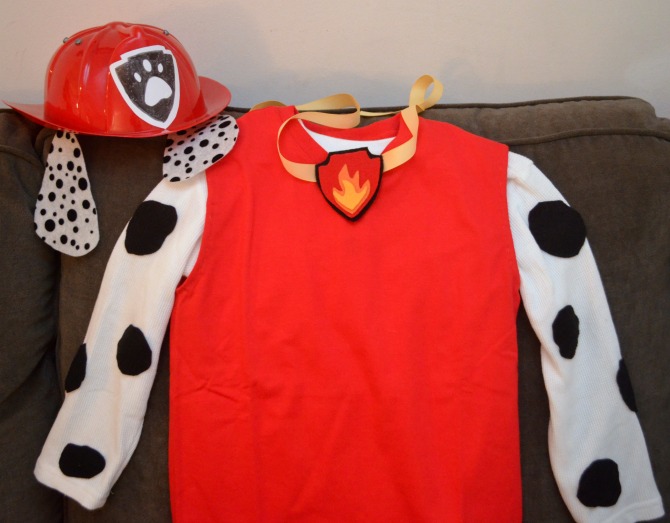
THE HAT and EARS
 You need:
– a plastic firefighter hat
– adhesive white vinyl
– black permanent marker
– scissors
– white and black dotted felt {or just white and black felt}
– hot glue gun and glue
First, I cut the felt in the shape of Marshall’s ears, then glued the ears to the inside of the hat. If you can’t find the dotted felt, you can cut them from white felt, then cut and glue a few black spots on top. Then, I removed the sticker that came on the hat and replaced it with a piece of white vinyl I cut in the shape of the Paw Patrol badge. To finish the badge, I colored in the black areas, leaving white spots in the shape of a paw print. If you want to get fancy, you can download an image, then print and cut it with an electronic cutting machine, but I was going for quick and easy so I went old-school.
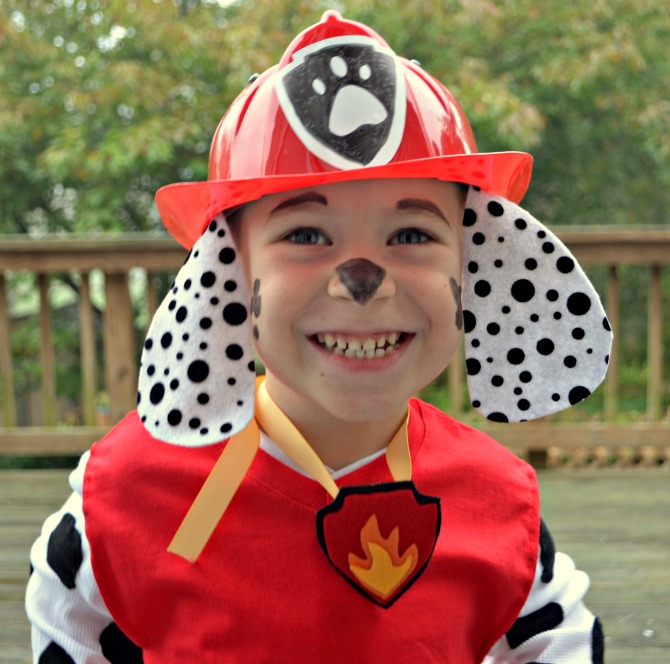
{See? I told you…cuteness overload. Tomorrow, we’ll talk about how I painted his face! But first, let’s look at the rest of the costume, shall we?} This step, by the way, cost me nothing because my mom gave us the fire hat and I had the felt and vinyl in my stash already.
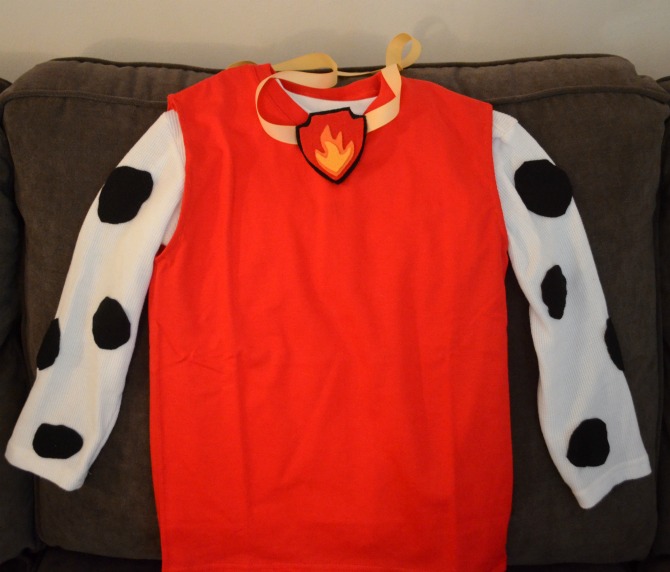
THE BODY

You’ll need:
– a white long sleeved shirt or sweatshirt
– white pants
– black felt
– black thread and sewing needle OR glue
– scissors
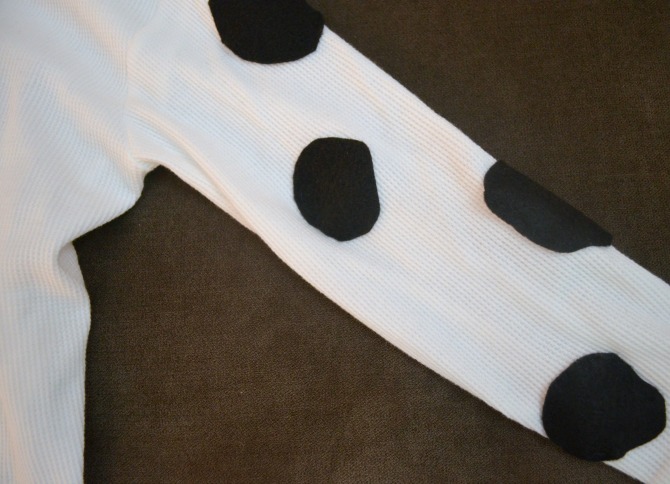
To create Marshall’s body, you need to cover the arms of a white shirt and the legs of a pair of white pants with black spots. We used a shirt that was already in LC’s dresser and his white karate pants.to avoid buying something new. That’s why I chose to attach the spots by some quick hand sewing around the edges of each one; we can easily cut the threads and remove them if he needs to use these clothes again without looking like a dalmatian. If you’ve got a shirt and pants to dedicate just to the costume, you can feel free to glue the spots on instead. Just be sure your glue doesn’t go through the layers and glue the arms or legs shut!
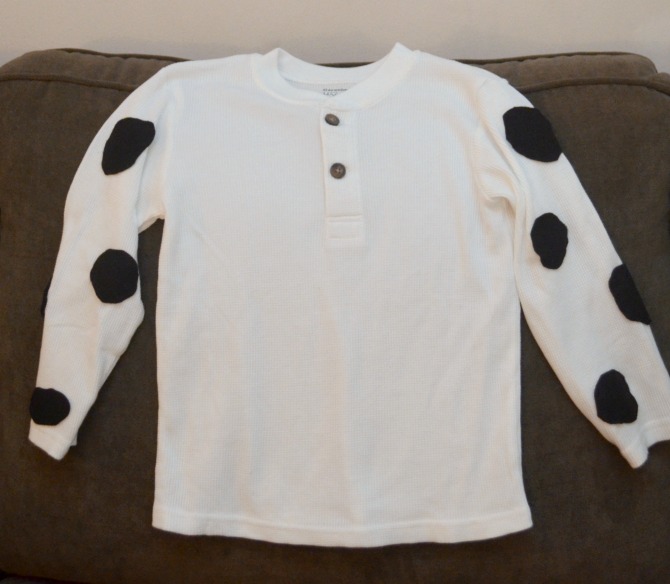
I cut out the spots freehand and made some larger than others instead of tracing perfect circles so it would look more natural, but you can do whatever works best for you! You don’t need to worry about the front or back of the shirt because it’ll be covered by the red shirt when the costume is all together. This step literally cost me nothing because we already had the clothes the felt, and the sewing materials.
THE SHIRT
You’ll need:
– a plain red t-shirt
– scissors
– red thread and a sewing needle
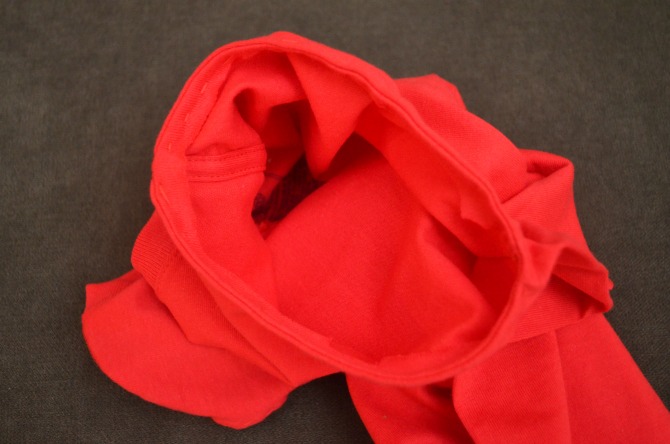
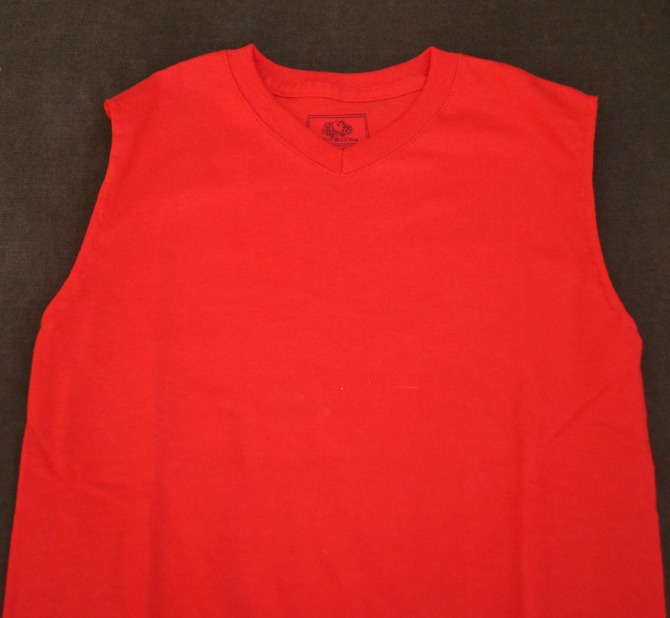
First, cut the sleeves off of the t-shirt, leaving just a little bit of fabric close to the seam. Fold that fabric to the inside of the t-shirt and sew it in place to create a finished looking sleeveless shirt. If you can find a plain red tank top, that’s a bonus and you can skip this step. This part cost me a whopping $2; I found the shirt on clearance at our local Walmart.
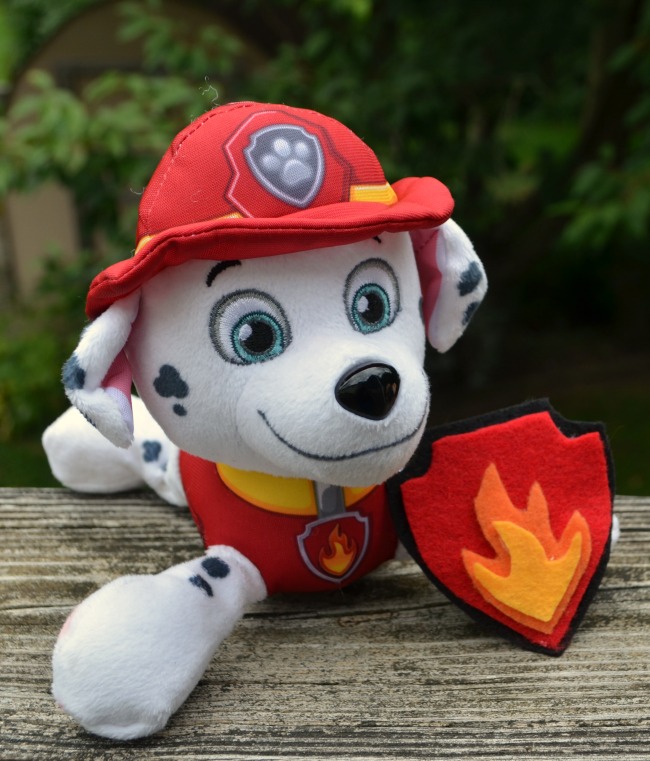
THE BADGE
You’ll need:
– black, red, orange, and yellow felt
– wide yellow ribbon
– glue
– scissors
– my tutorial
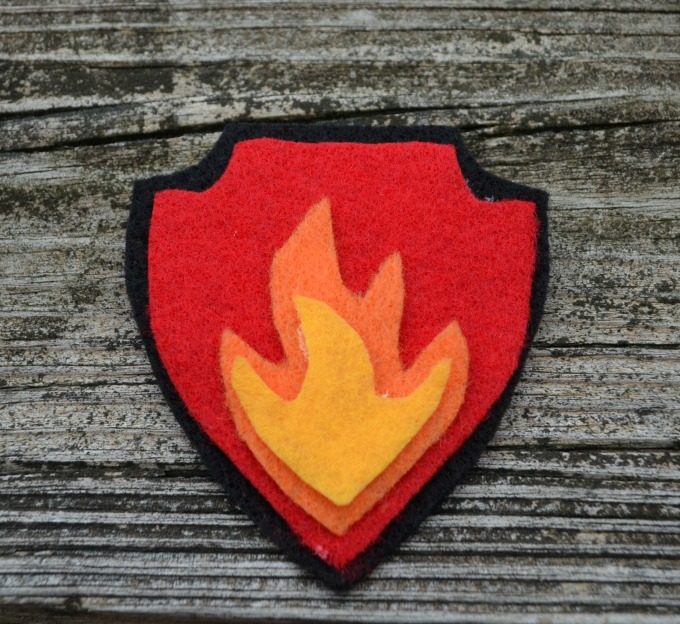
Earlier this year, I made a felt Paw Patrol badge Little Crafter could pin onto any shirt when he was pretending to be Marshall. So, this part was already finished! All I had to do was attach the pin to a piece of wide yellow ribbon so we can tie it around his neck {loosely!} like a collar. Be sure to check out the full tutorial for how I made it.
Well, friends, that’s all there is to it…put the hat, body, shirt, and badge together, and you’ve got yourself a Marshall costume!
If you really want to make it extra special, be sure to stop by tomorrow and Friday to see how I painted LC’s face to look like his favorite pup, and how we turned an empty cardboard box into a fun fire truck he can wear! See you then!

As an extra bonus, even people who aren’t familiar with the character Marshall or the show Paw Patrol will immediately recognize that he’s supposed to be a fire dog…which happens to be a perfect fit for Fire Safety Month, no? So how did I do on my first kiddo DIY costume?
Just saw this in the Stumble group – it’s SO cute, Amy! I just bought my boys the Lookout Tower yesterday for Christmas… I have a feeling it might be sold out later. 🙂
OH MY GOODNESS! This is so adorable, Amy!! 🙂
You did an amazing job…He is adorable…You can tell that he enjoys it. 🙂
Thank you so much ! My son loves Marshall. I was going to buy the costume online but come to find out it wouldnt arrive til November sometime. So we were bumming, then I stumbled across this. IT REALLY IS ADORABLE ! & now we have a project to work on together. Great Job. Keep up the good work ! 😉
You warned me, but he is super super adorable!!You did a great job on the costume!!!
I don’t know if you realized this, but Marshall’s spots are in the shape of smoke puffs.
I’m going to make this for my son this year! Thanks for the easy tips!
I’m so excited to hear that! I’d love to see pics!
This is incredibly perfect. Being a mother wjo wants to give her son everything he wants but have very little extra money this will help me make his halloween dreams come true thank you cant wait to make this.costume.
Oh, Whitney, your comment made my day! I would love to see how it turns out! Send me a pic?
Awesome custome!!! i will try to do this marshall custome for my kids. Thank you so much for the idea.
You make it easy 🙂 congratulations!
Great, I share on my facebook. Congratulations on your hard work, it is an excellent costume. I love it .
Wow, so useful. Excellent costume and it seems super easy
Thanks, it is!
Hi!
I´m making a Marshall costume for my daughter right now and came across yours. Nicely done! 😀 Thanks for sharing your ideas!
Love from the Netherlands.
So glad you found it helpful!
Thanks a lot! It’s very useful.