Hand Lettered Christmas Hymn Tutorial & Printable
Friends, I don’t know about you, but I am so ready to start my Christmas decorating!! While part of me has a hard time believing Thanksgiving is less than a week away, the rest of me wants to just go ahead and hang the stockings. Christmas is my favorite holiday and my absolute favorite time of year to decorate the house. Each year, I like to add a few new pieces to my decor to keep things fresh, like this hand lettered Christmas hymn design.
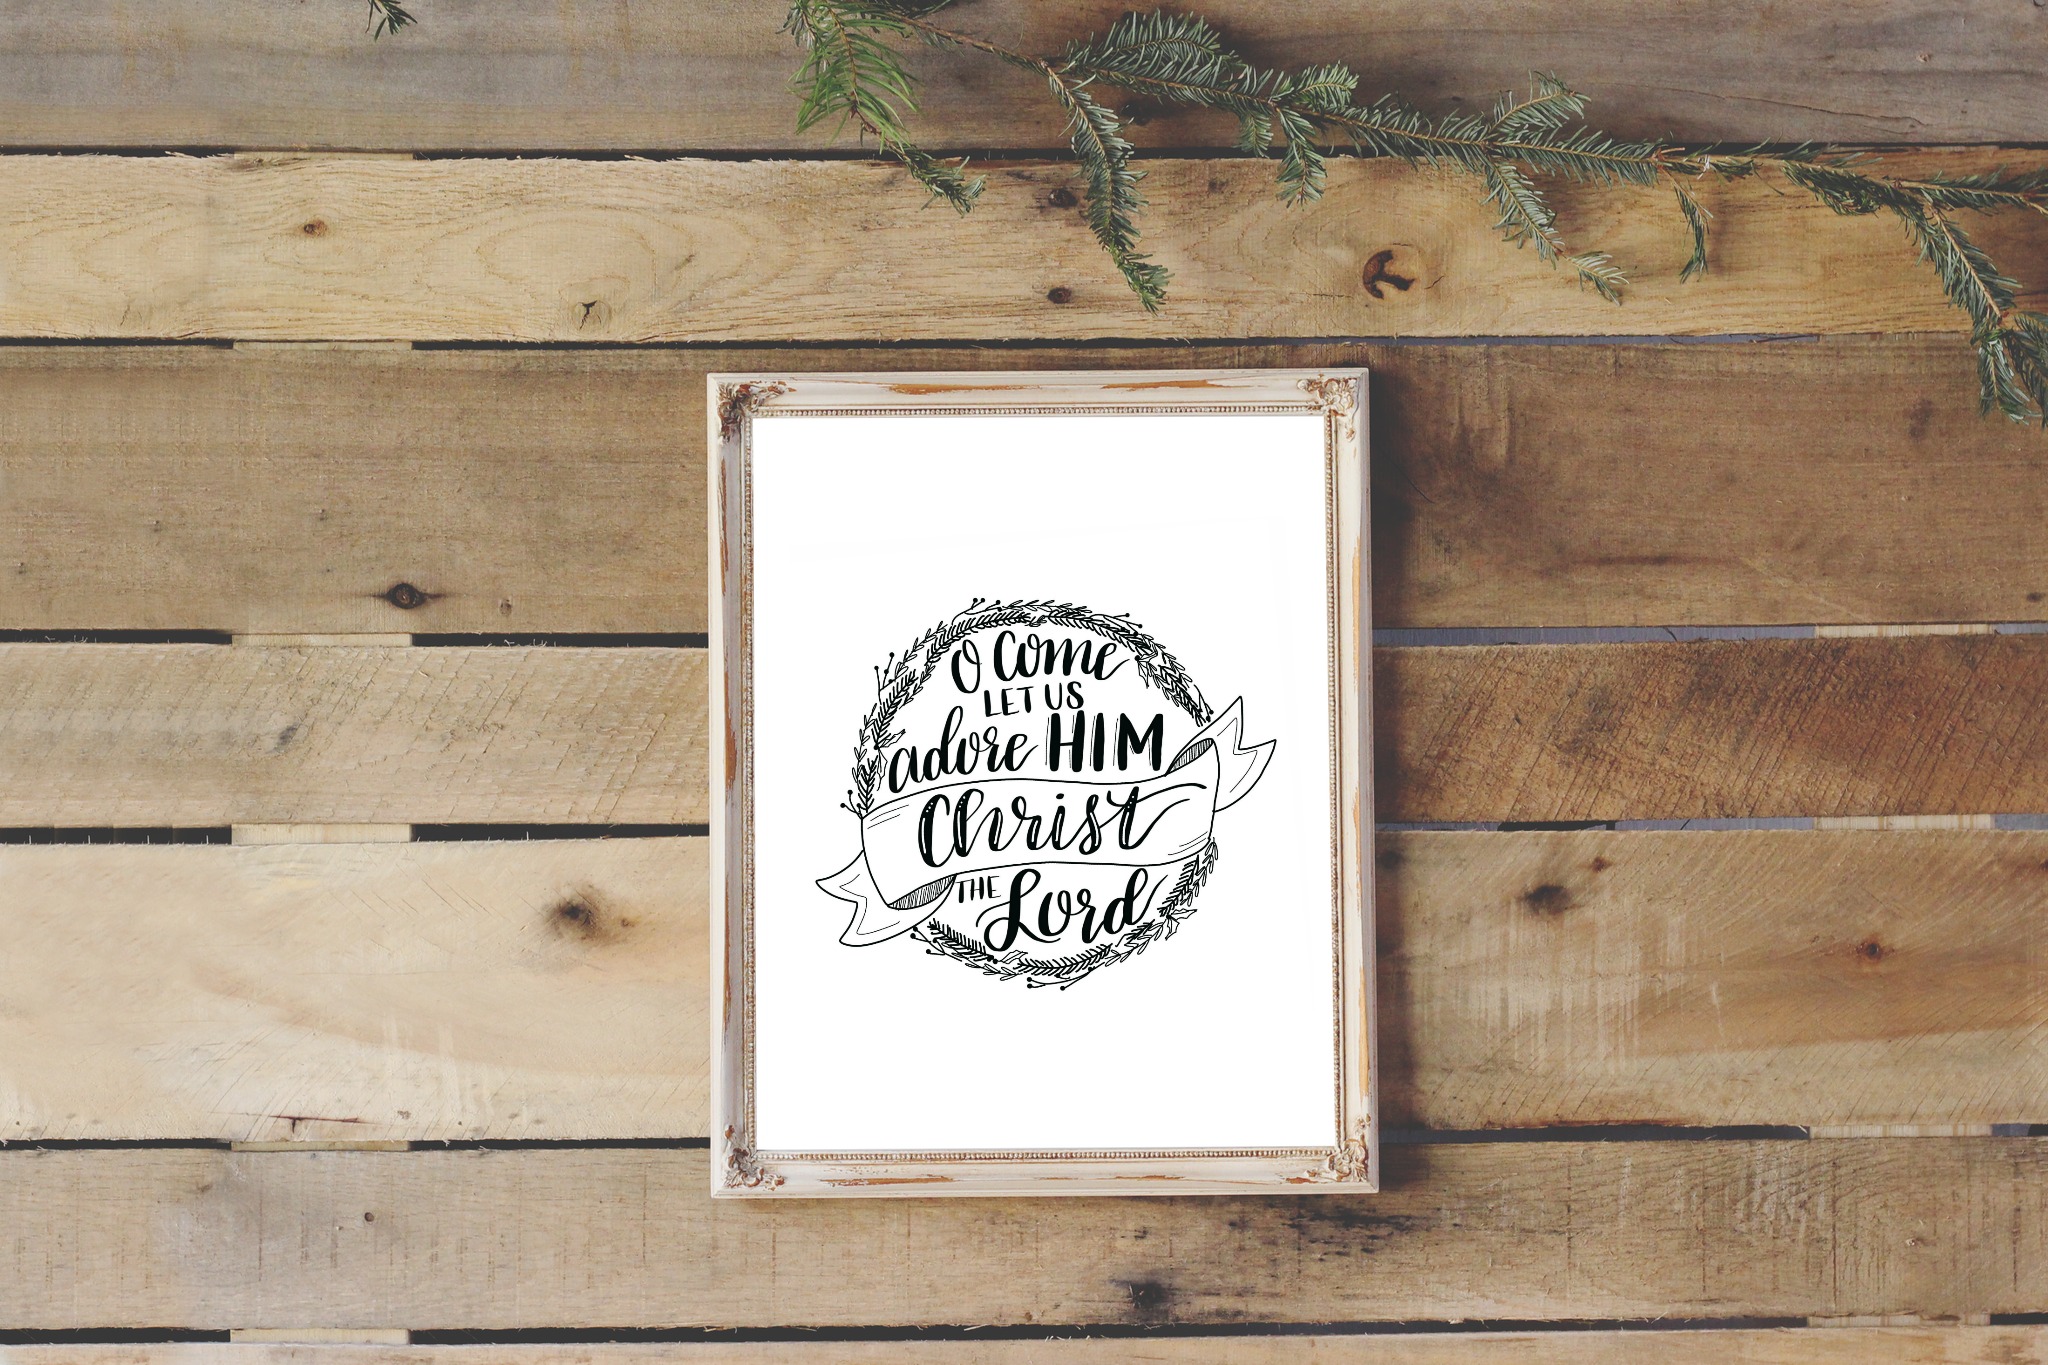
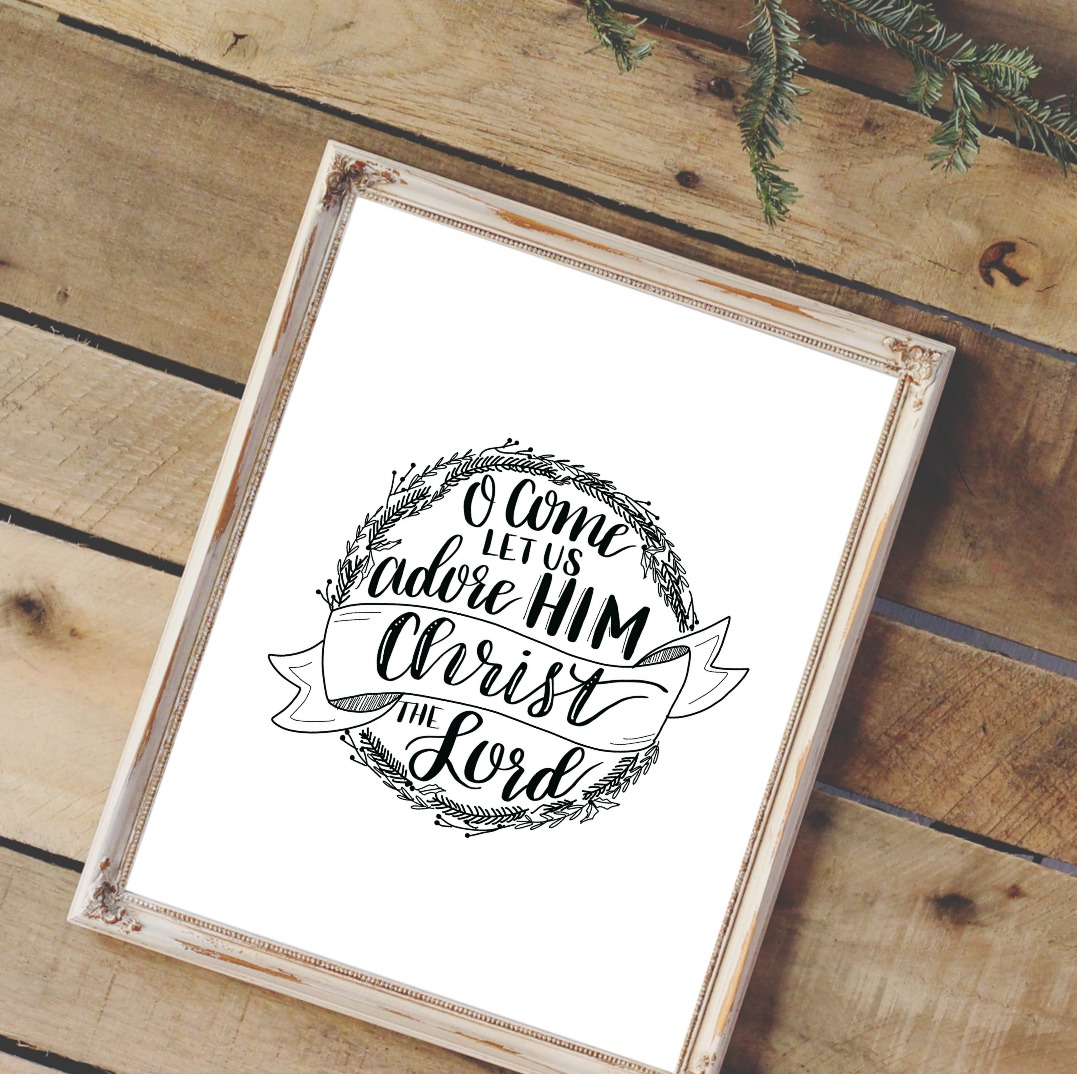
 {Photo mockup courtesy of We Lived Happily Ever After.}
 {Photo mockup courtesy of
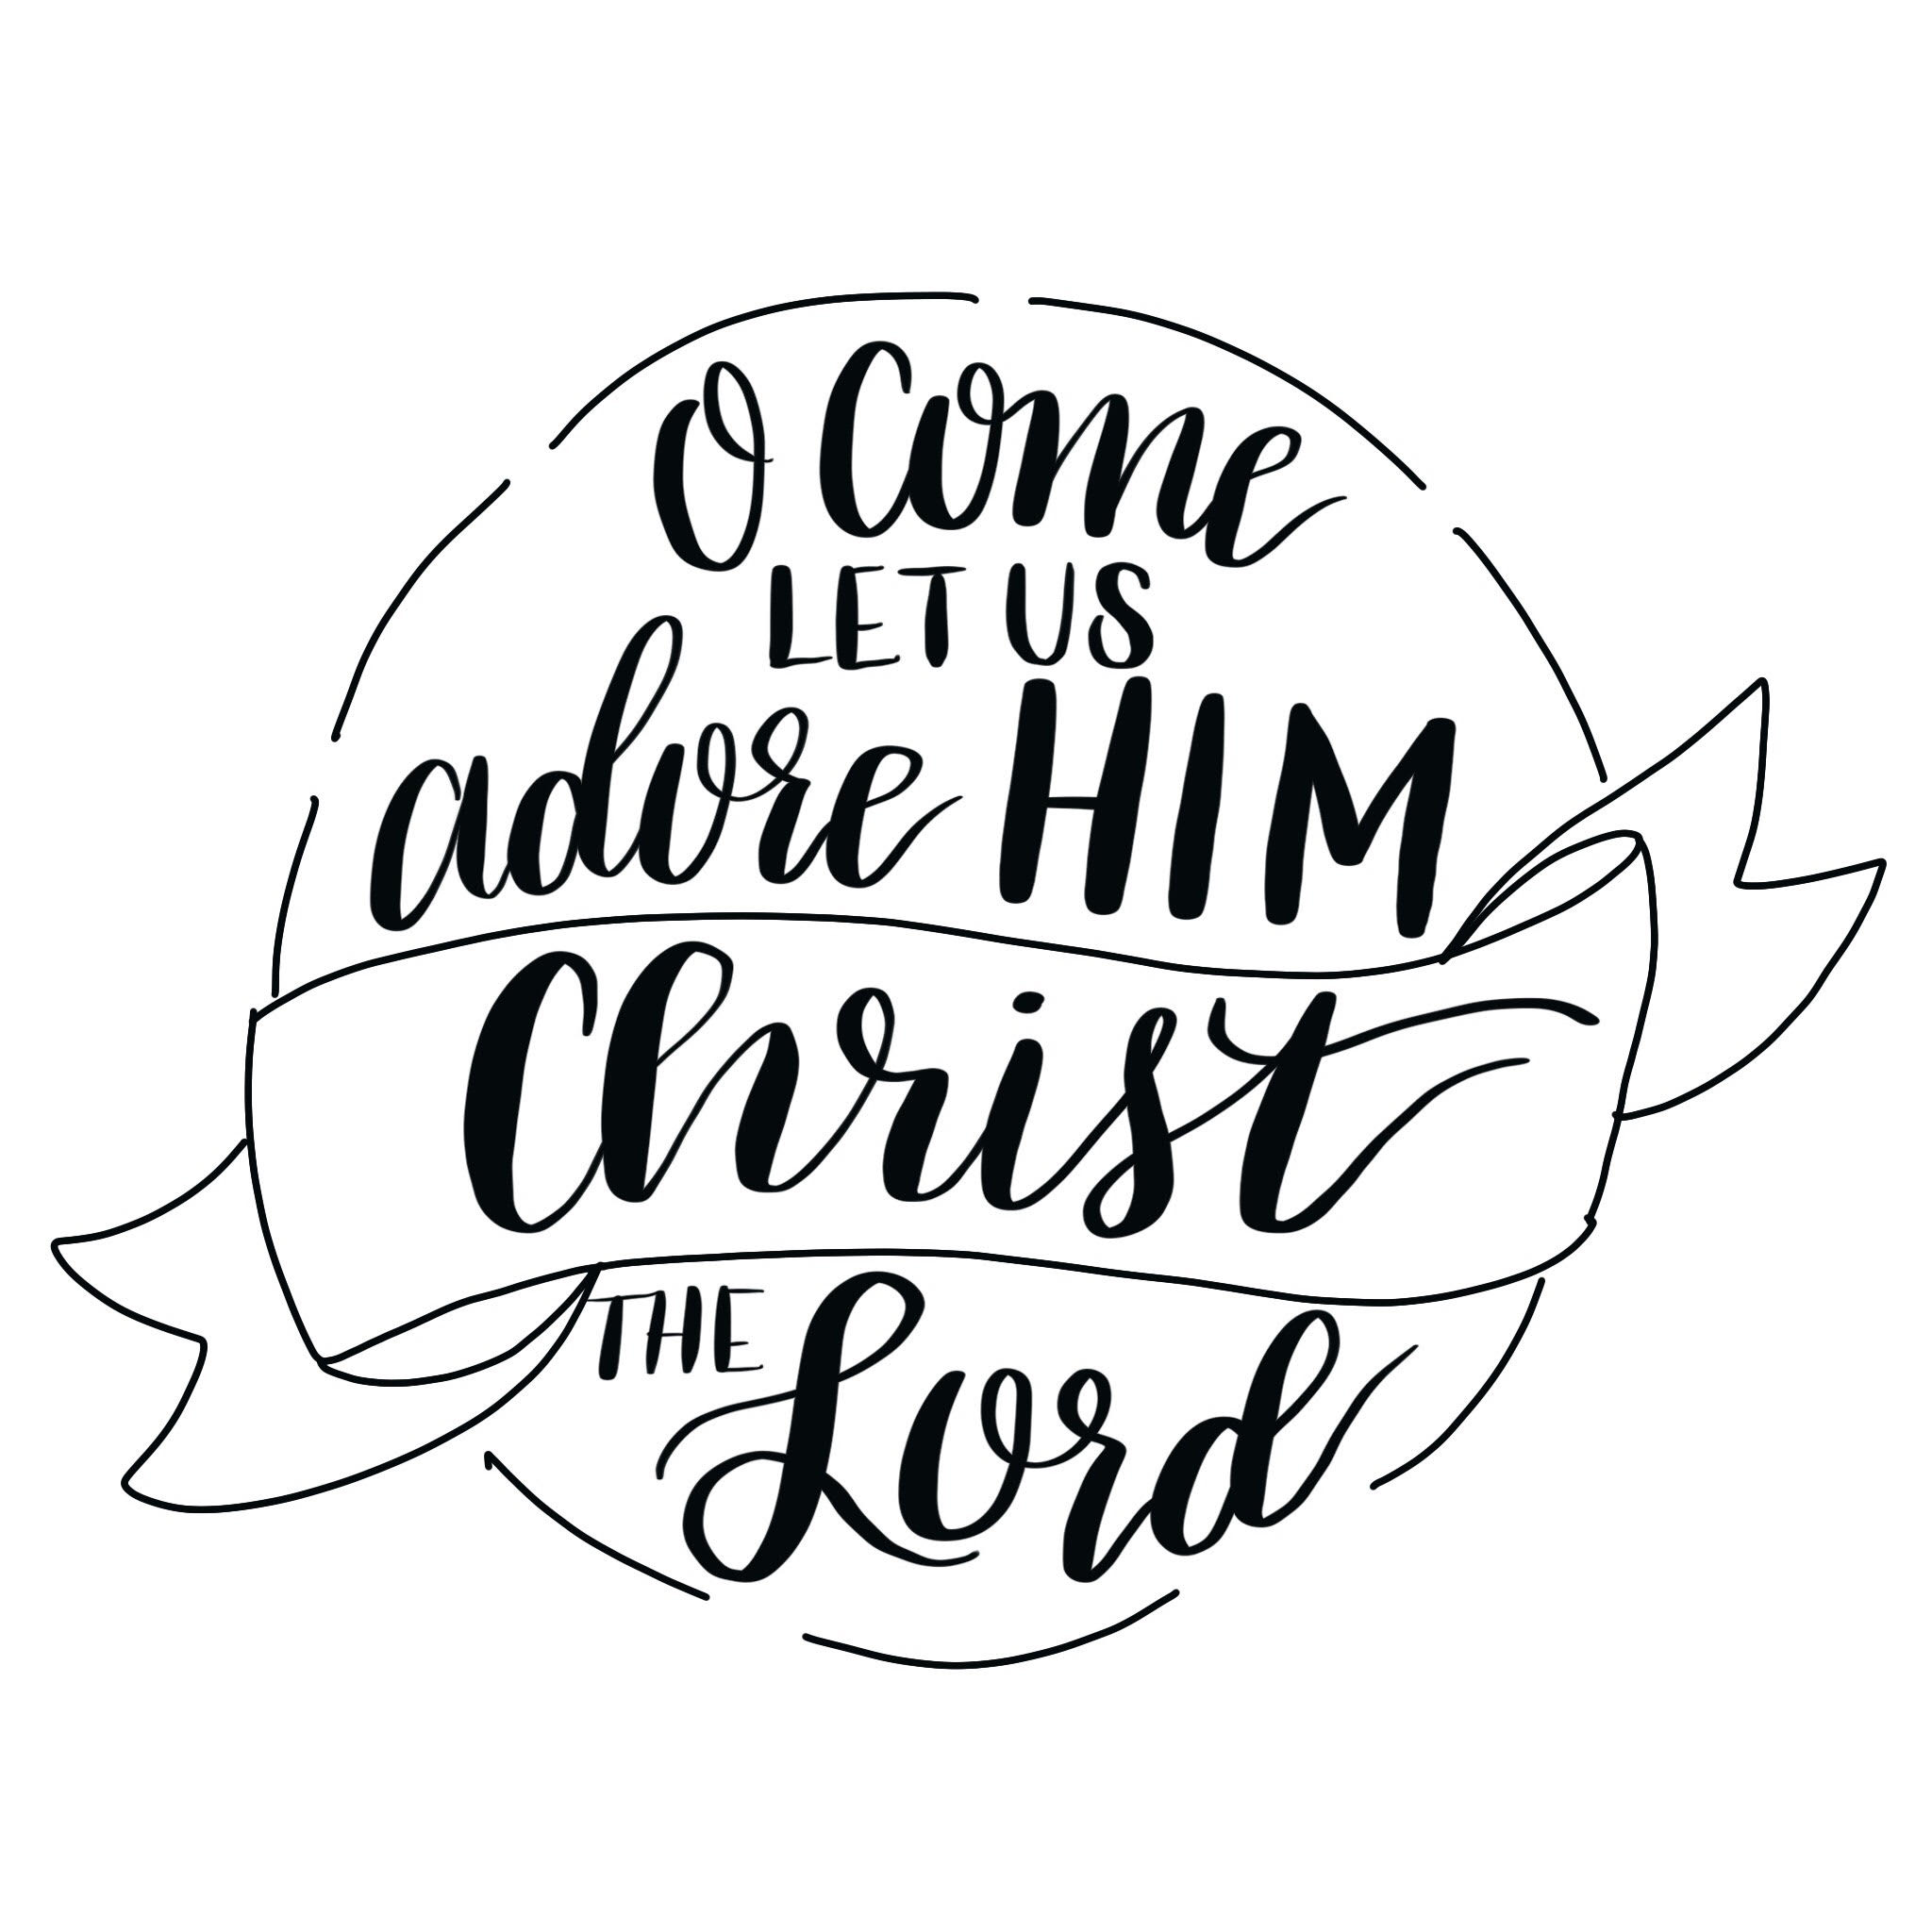
 Today, I want to show you how you can letter your own version of, “O Come Let Us Adore Him” to display in your home this holiday season. It’s easier than you think…and I’m also offering mine as a free printable if you’d like to use it or share it with a friend.
Here’s what you need to create your own…
Materials:
PAPER DRAWING
Pencil and eraser
Round object to trace
Fine tip black marker
Black brush pen {I use the Tombow Fudenosuke Soft Tip}
White gel pen
DIGITAL DRAWING
iPad Pro
Apple Pencil
Procreate app
No matter which way you’re creating your design, the steps are essentially the same. With the iPad, you just have the luxury of the “undo” button instead of erasing, plus you can hide layers and resize/move things if you like. When you’re working digitally, you also have the ability to add effects like glitter and to change the color of your lettering after it’s created, while if you’re doing it by hand you’ll need to add color as you go.
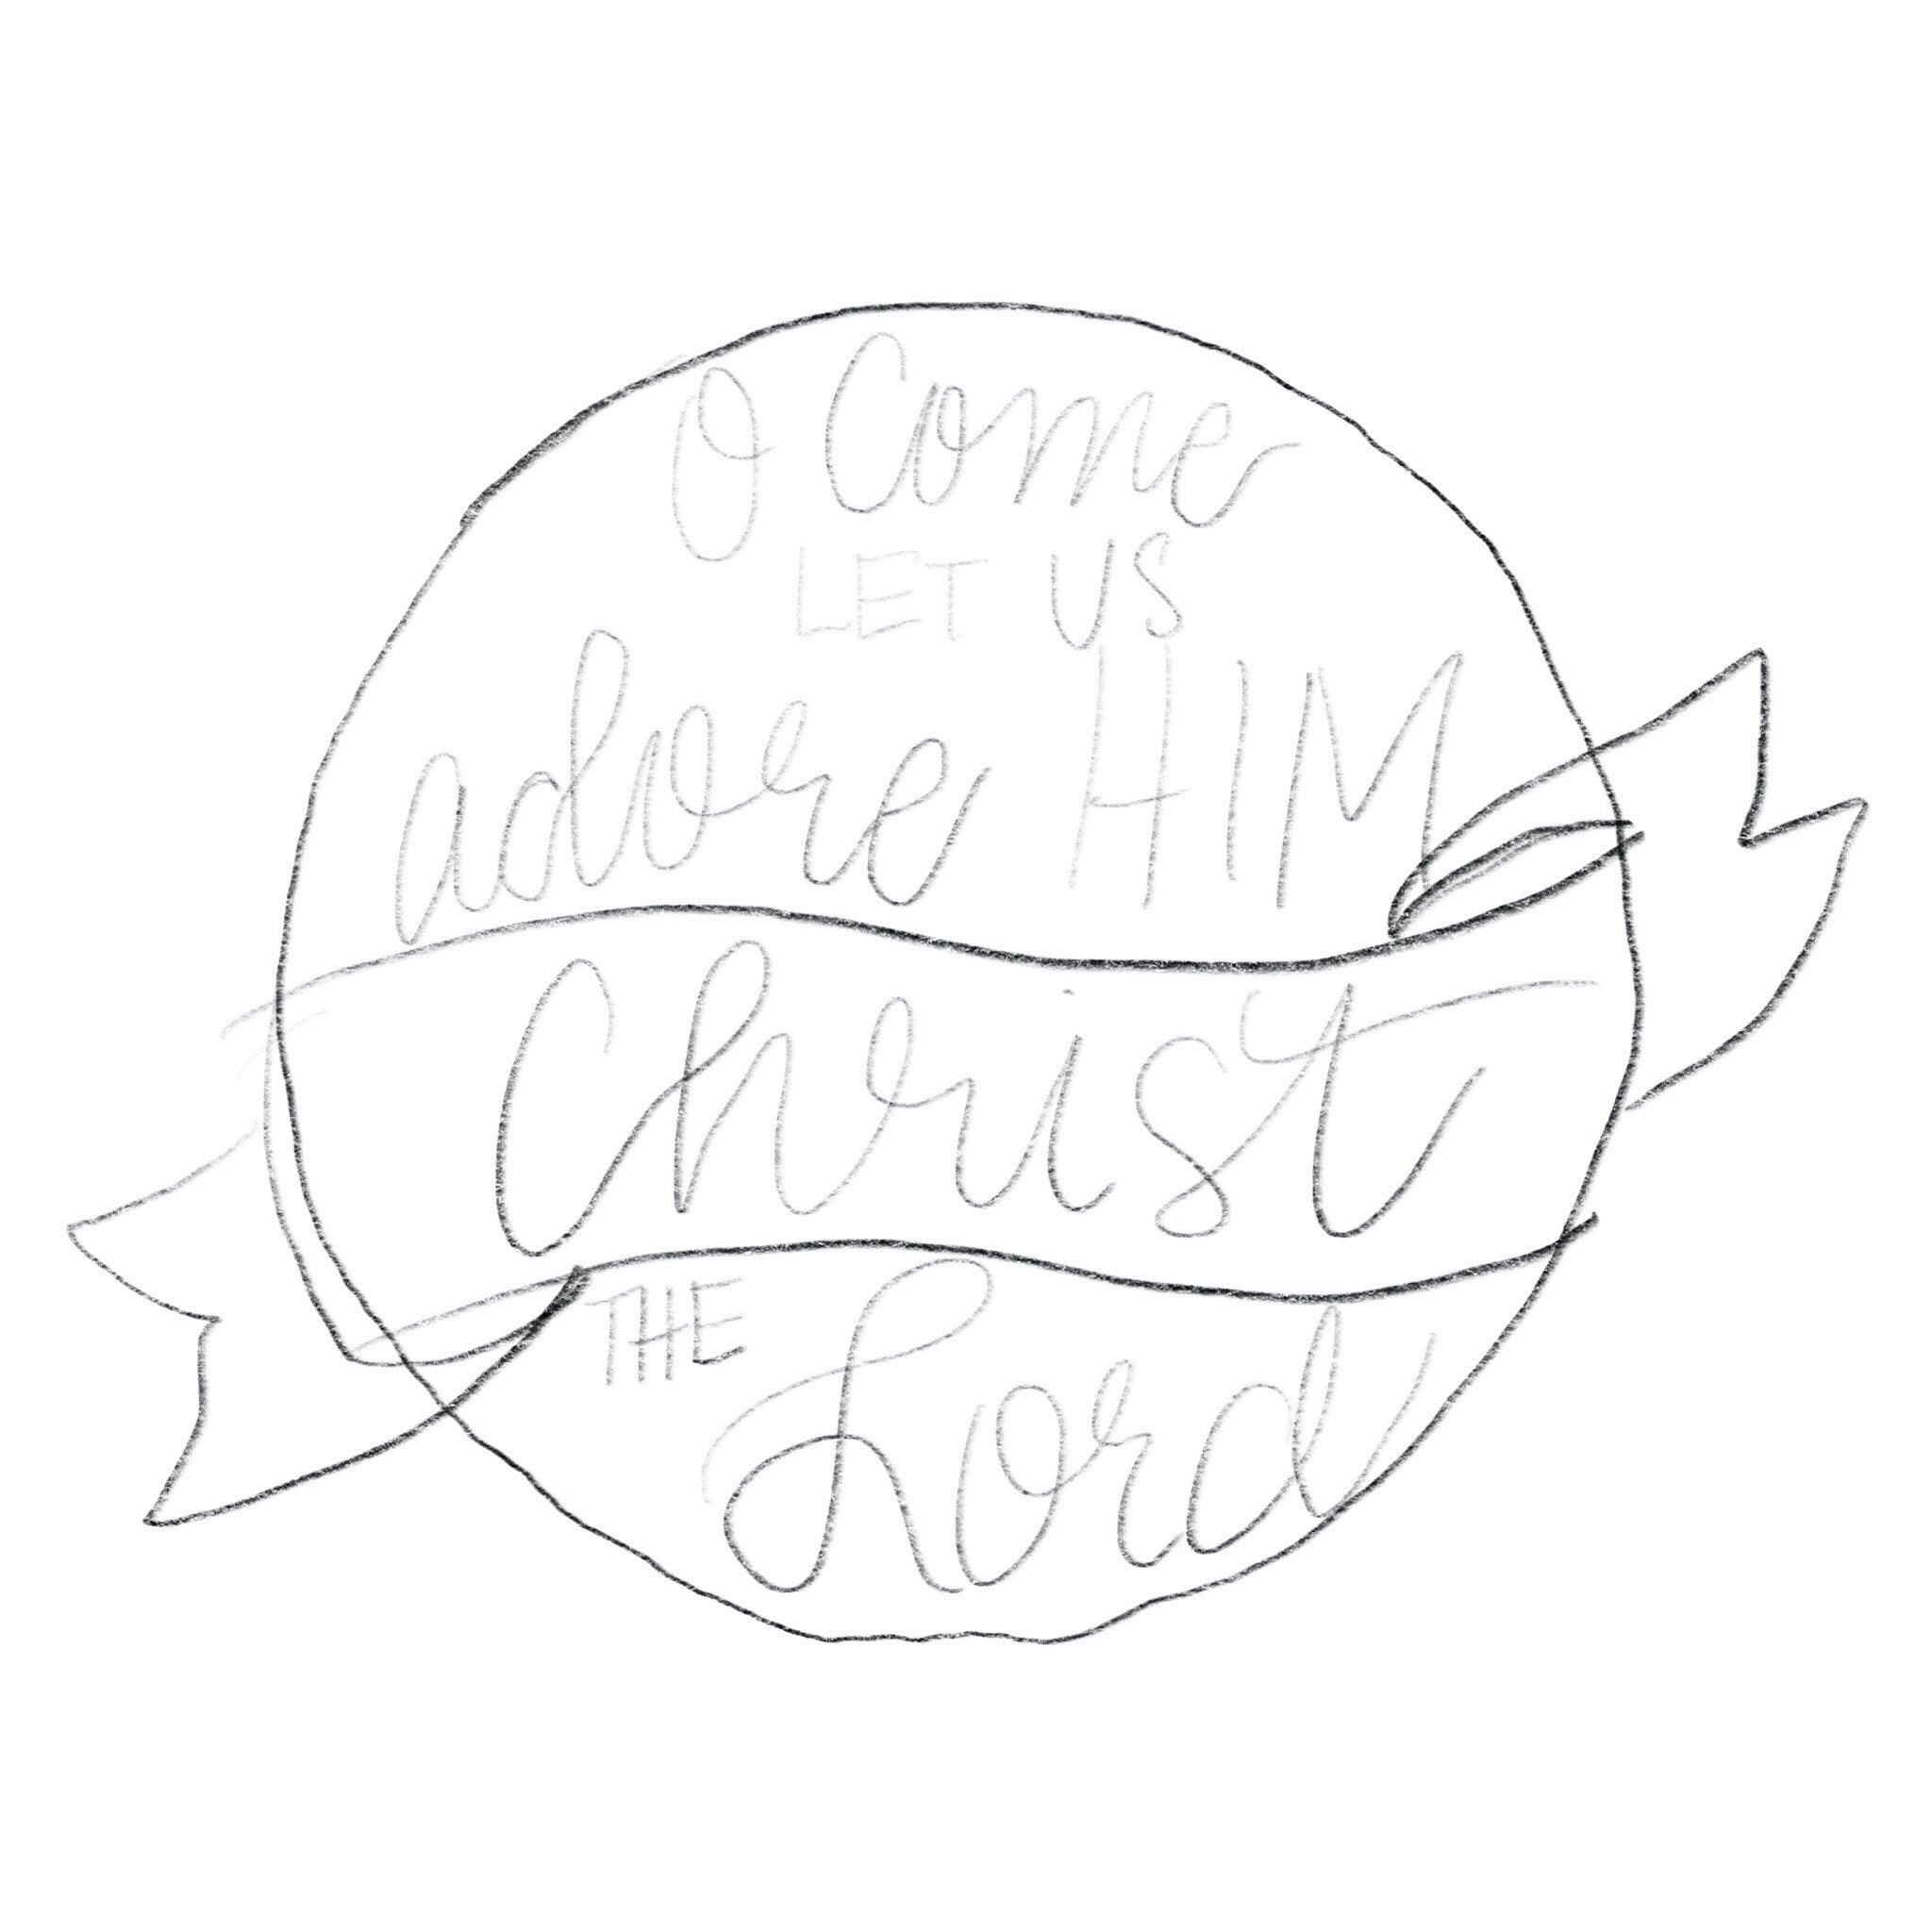
Planning & Sketching Your Design
Step 1: Trace a circle.
If you’re using paper and pencil, just trace a coffee mug or small bowl. In the Procreate app, you can import an image of a circle, trace it with a pencil brush in a new layer, then get rid of the original.
Step 2: Sketch a banner across your circle a little lower than the center.

Step 3: Pencil in the position of your words.
I started by writing, “Christ” inside the banner in cursive. Then, I wrote, “Lord” in large script below the banner and a small print, “the.” Finally, I moved above the banner and spaced out the first six words in a mixture of print and script, like you see below. Don’t worry about how your letters look at this stage, it’s all about just blocking out the quote and positioning your words.
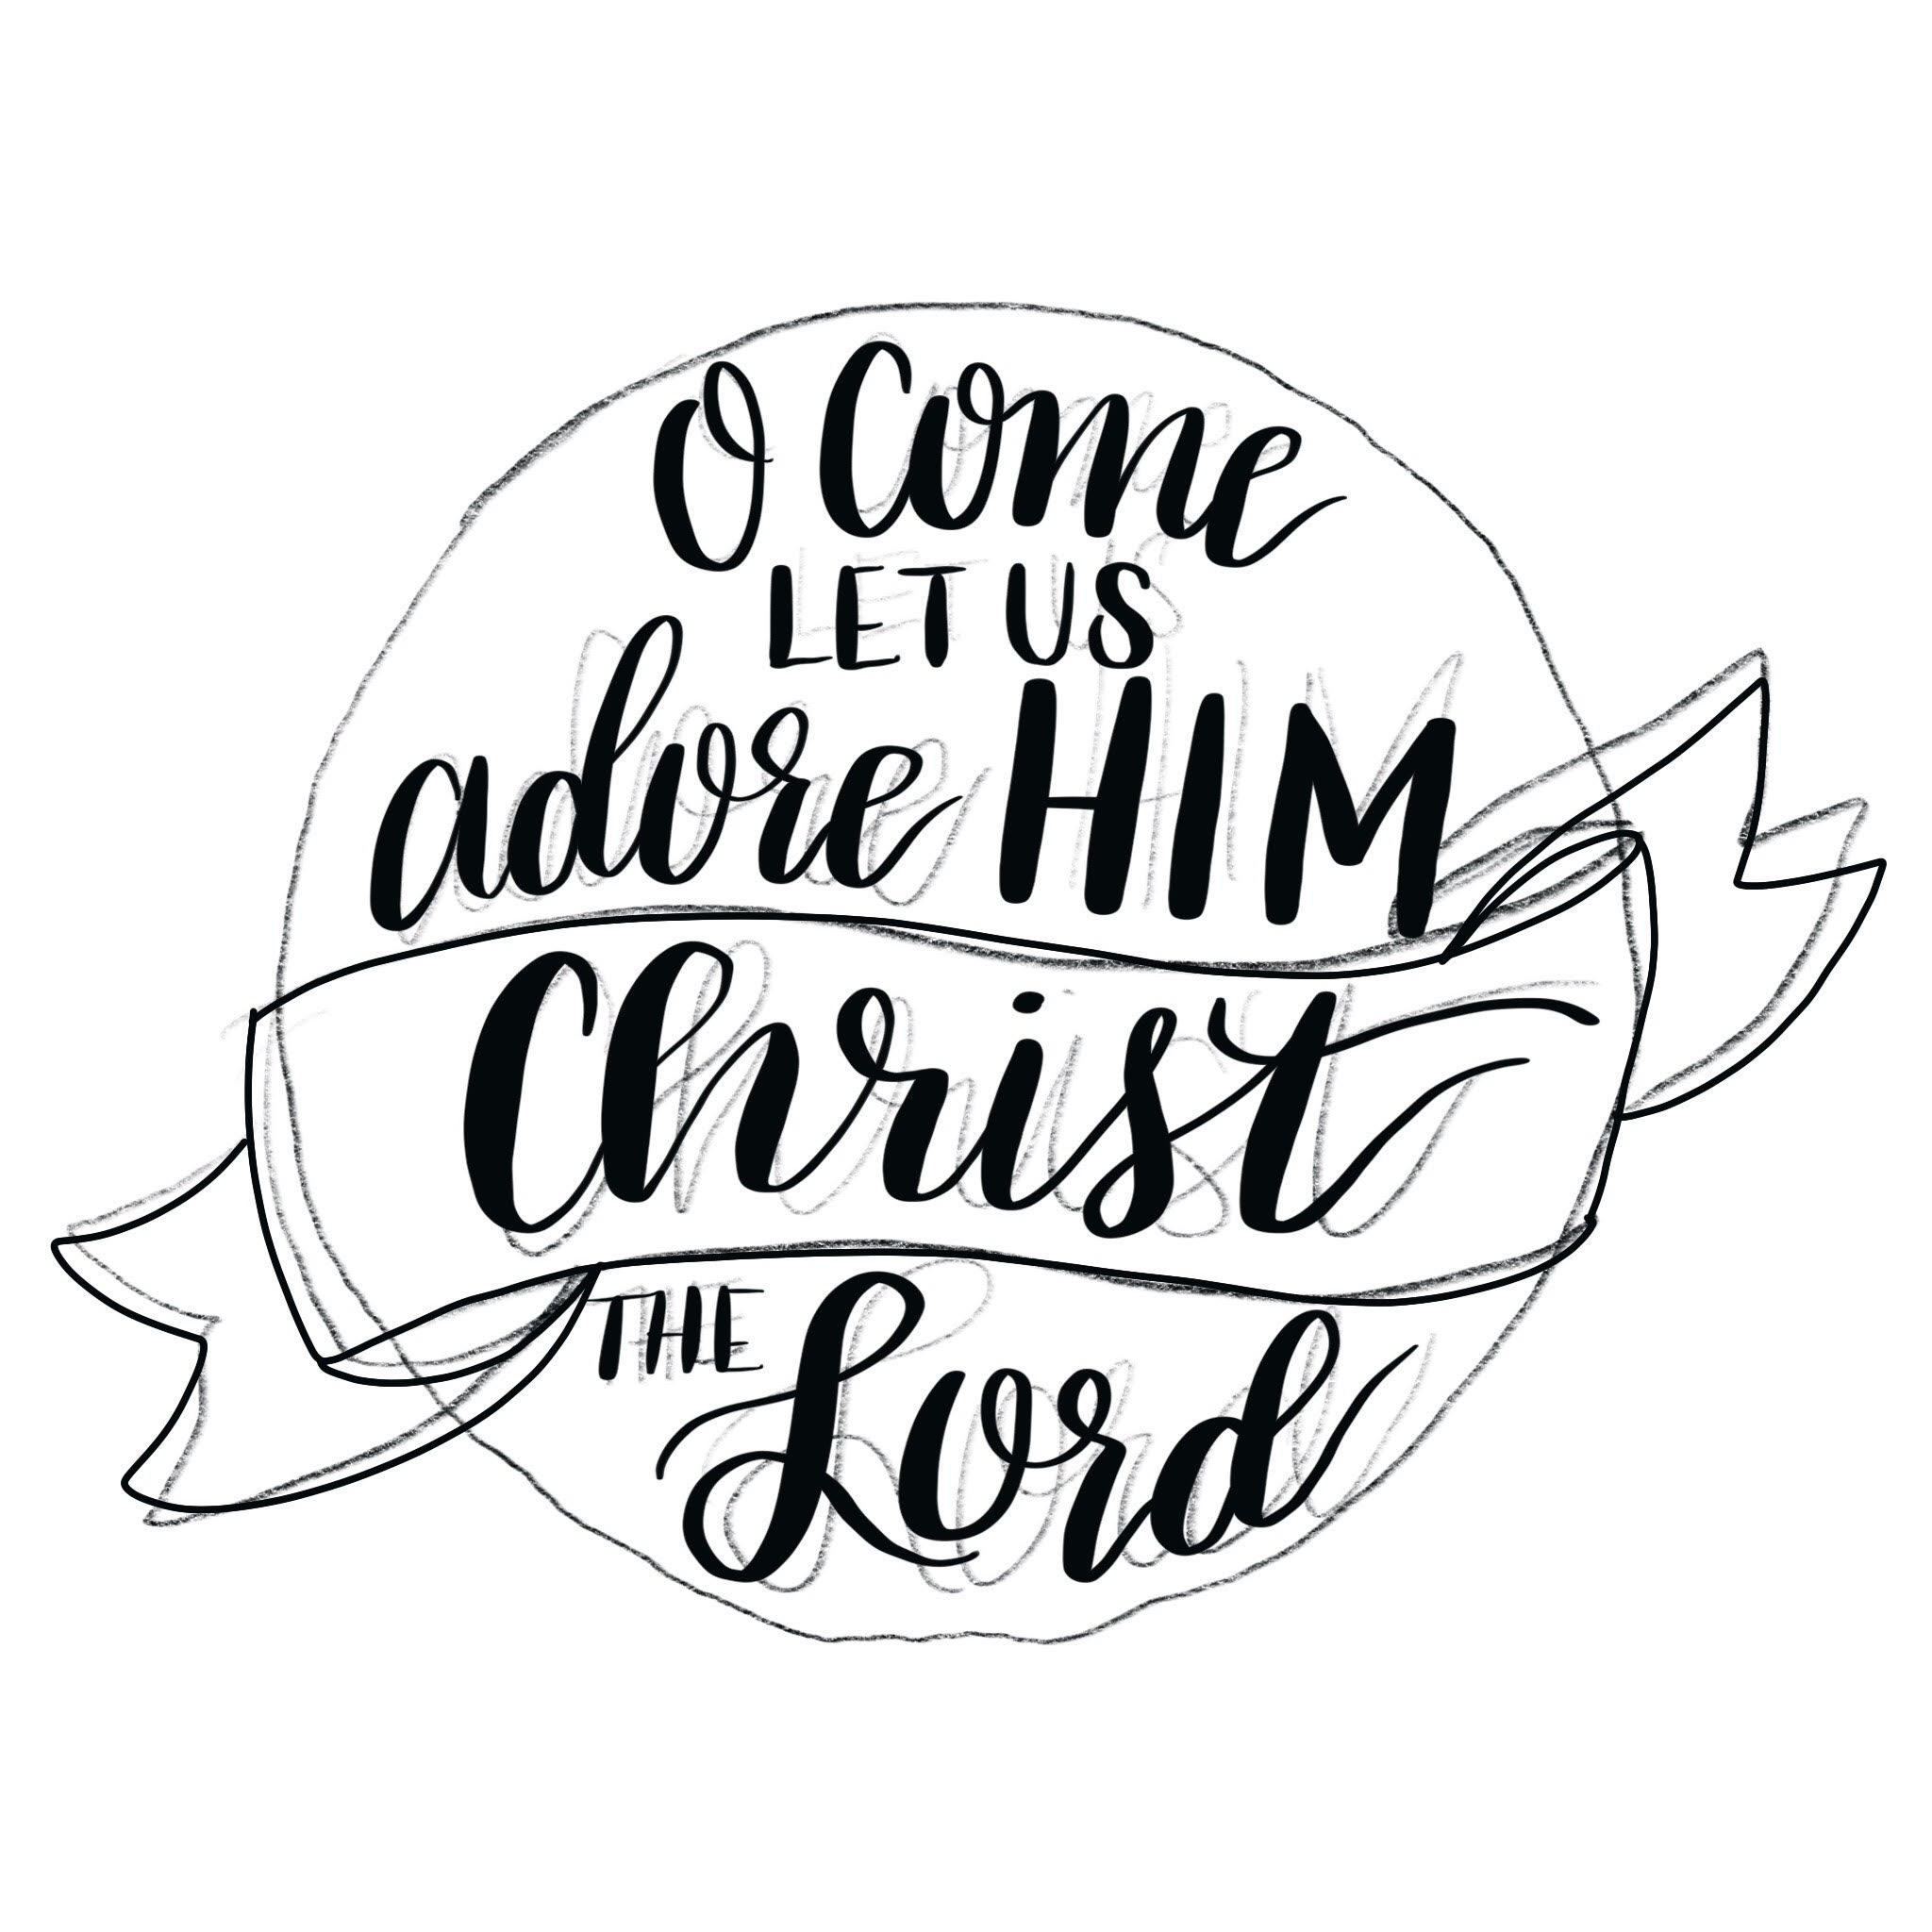
Lettering Your Design
Step 4: Letter over your pencil sketch using your marker and brush pen.
On paper, I would use the Tombow Monotwin or a Micron pen to trace the basic shape of the banner, then use the Tombow Fudenosuke to letter my words. In Procreate, I used a Monoline brush and a Light Calligraphy brush. If you’re new to hand lettering, check out my full photo tutorial for a quick and easy way to create the look of the script you see in my example.
Step 5: Go over the pencil circle with short curving lines made with your fine tip marker or the Mono brush.
These will become pine branches that form the foundation of your wreath. This is a great time to erase all your pencil lines or get rid of your sketch layer.
Step 6: Add a series of short lines to both sides of your curving branches to create the look of pine needles.
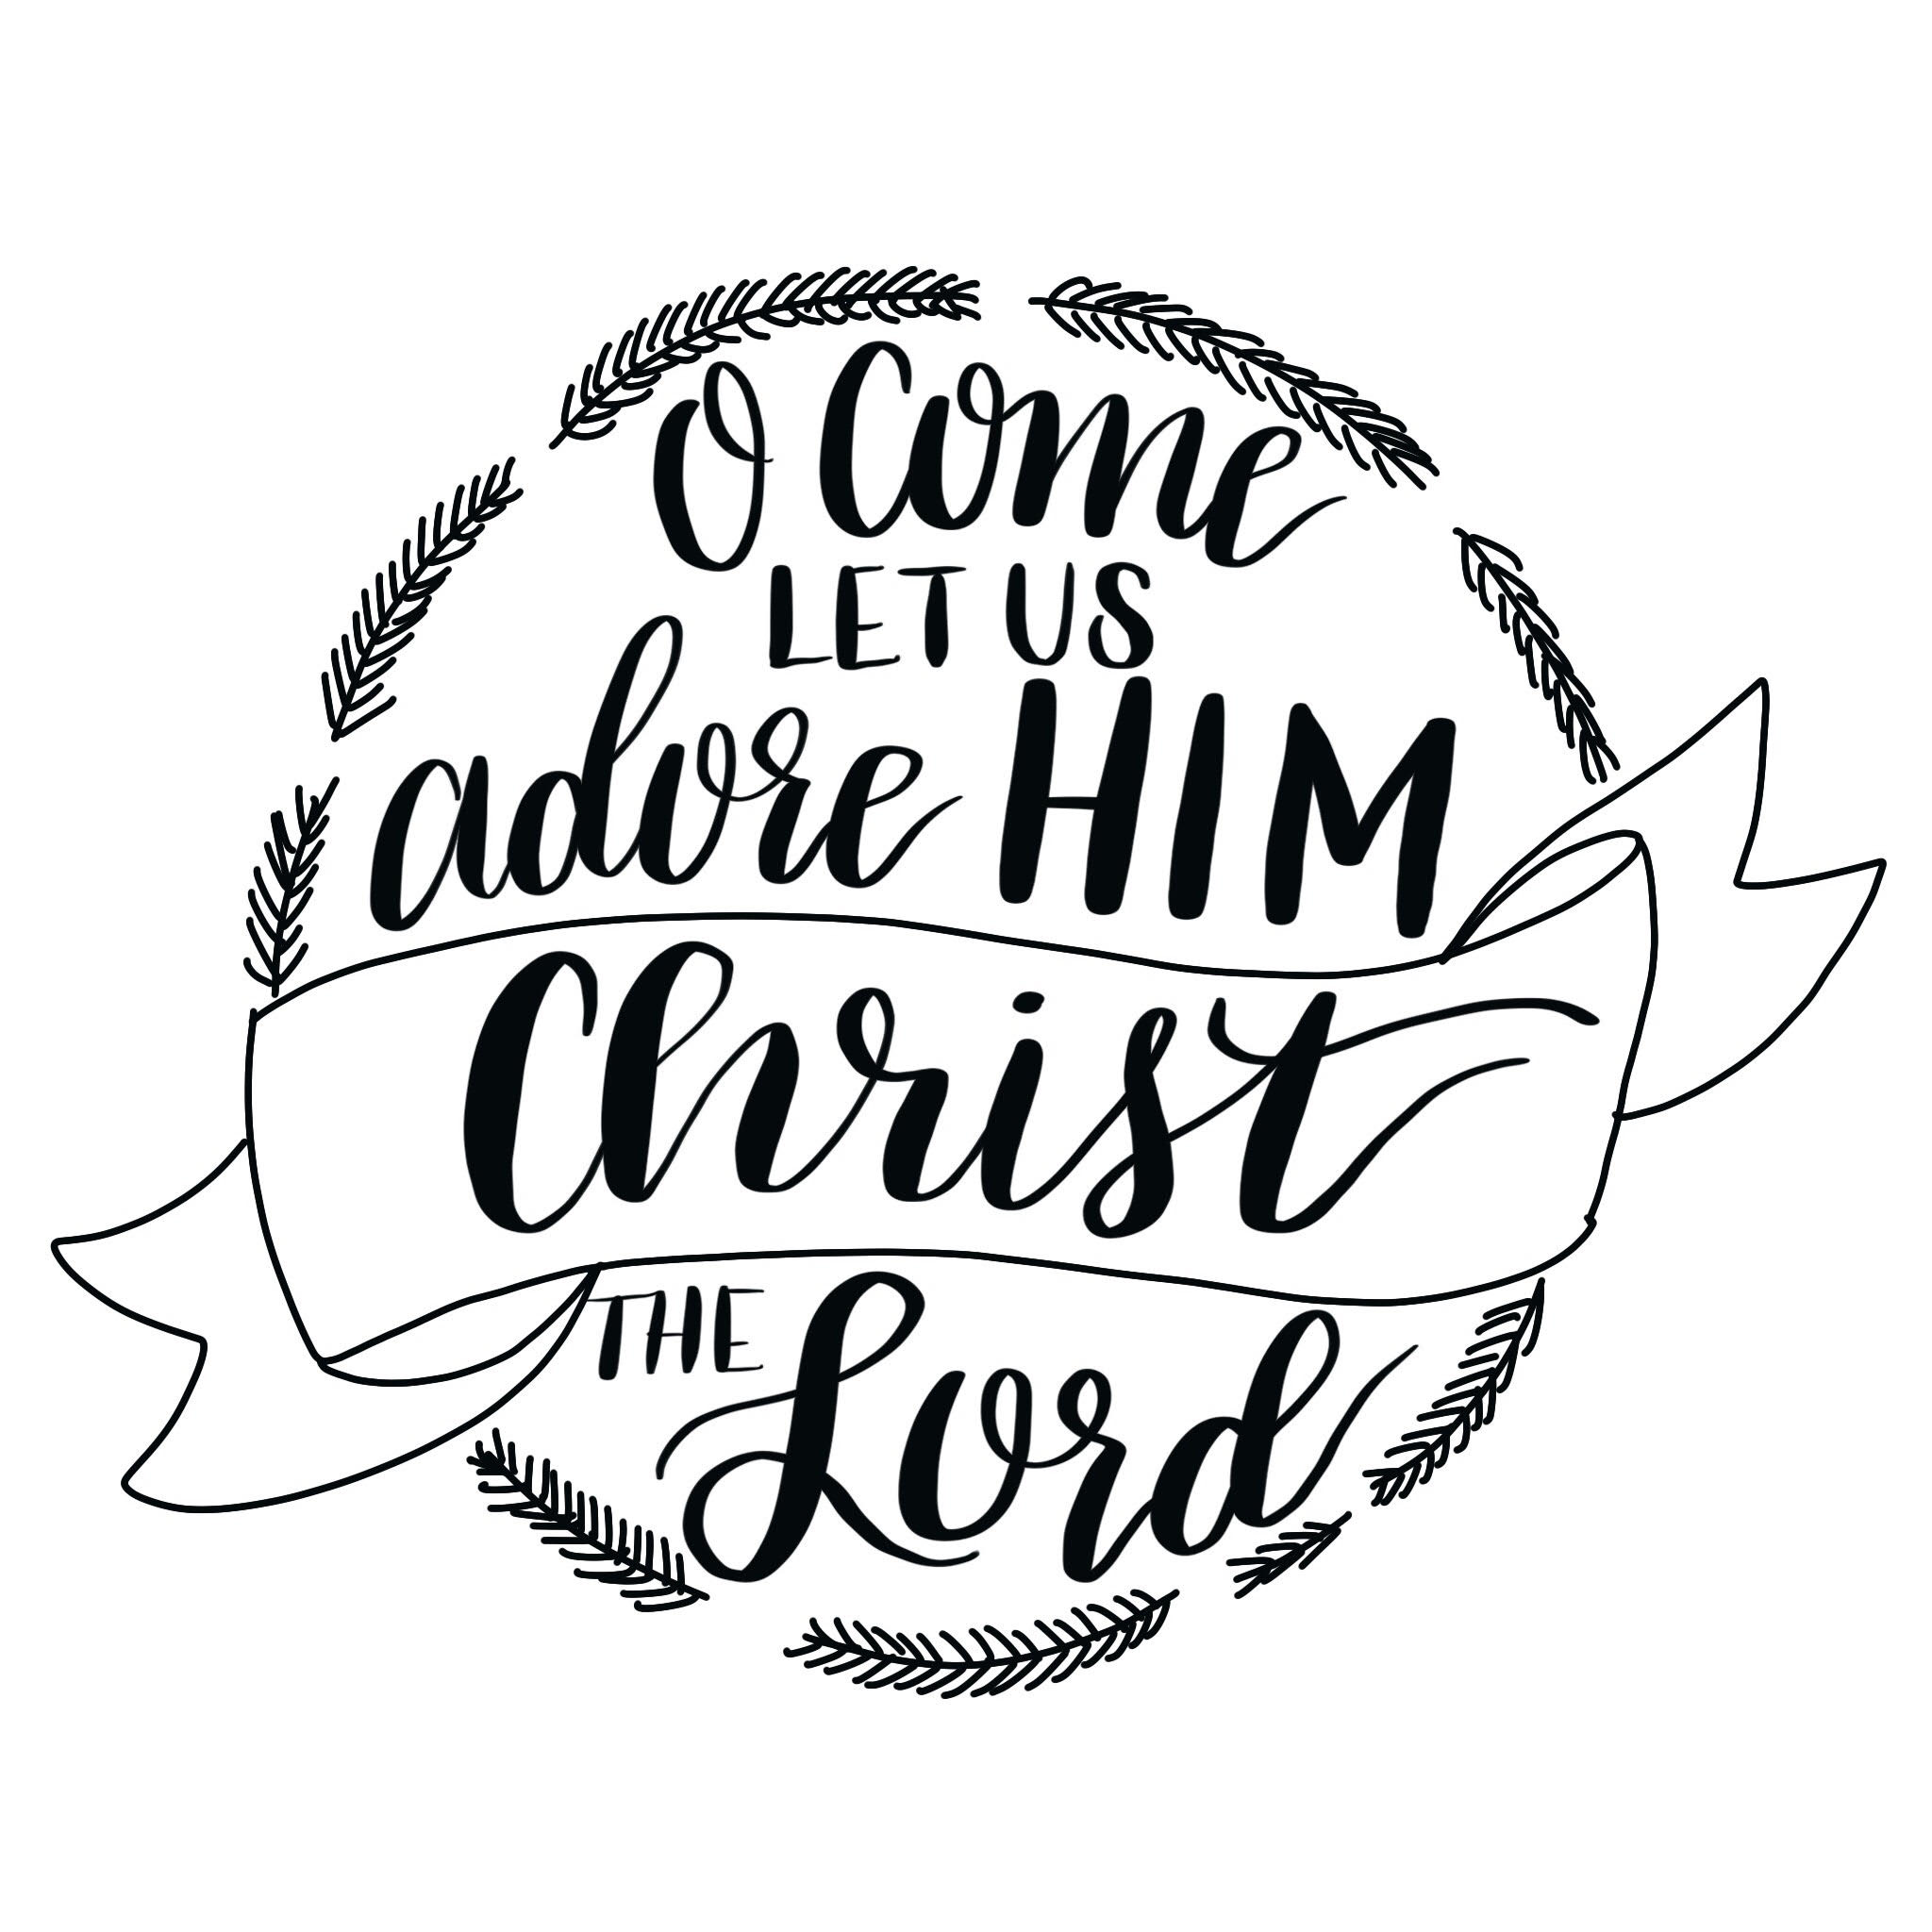
Step 7: Fill in your wreath by adding leafy vines and holly leaves, along with some branches and berries.
There’s no right or wrong way to do this, just add a variety of of the leaves and berries until you like the way it looks. If you want your wreath to be colored, by all means use colored markers. In Procreate, you can drag your color onto your image to change it from black to anything you like.
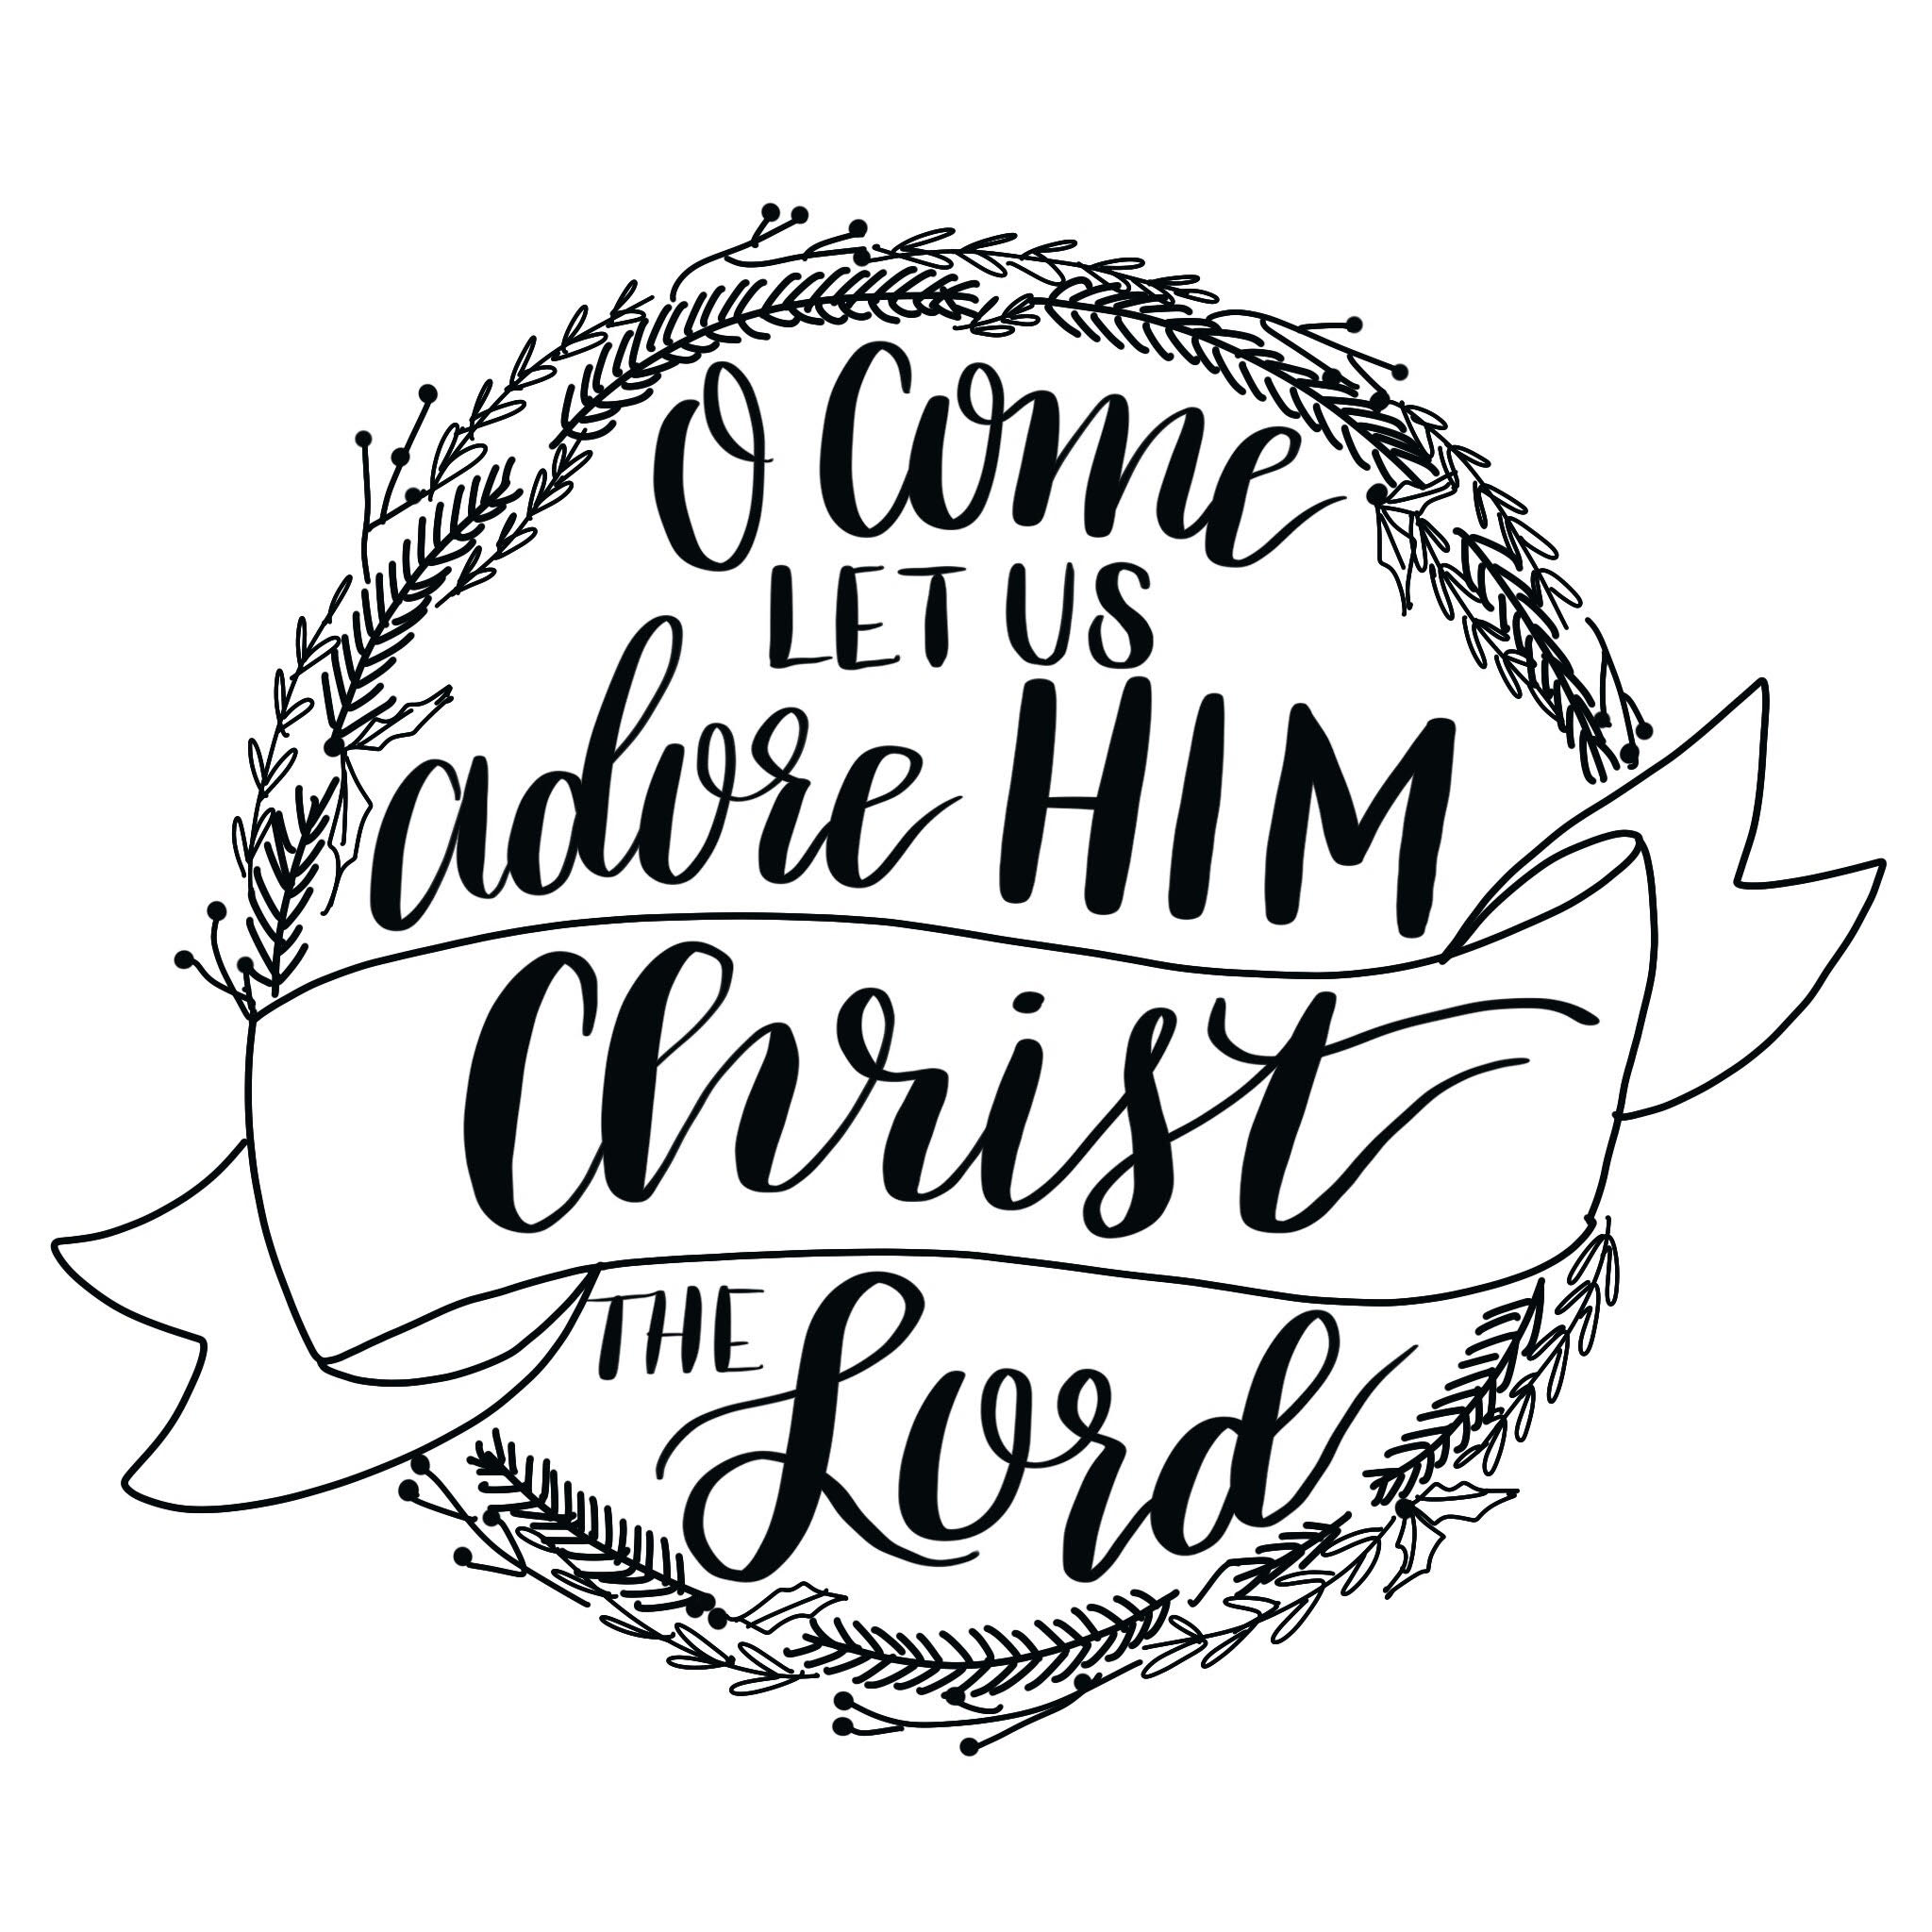
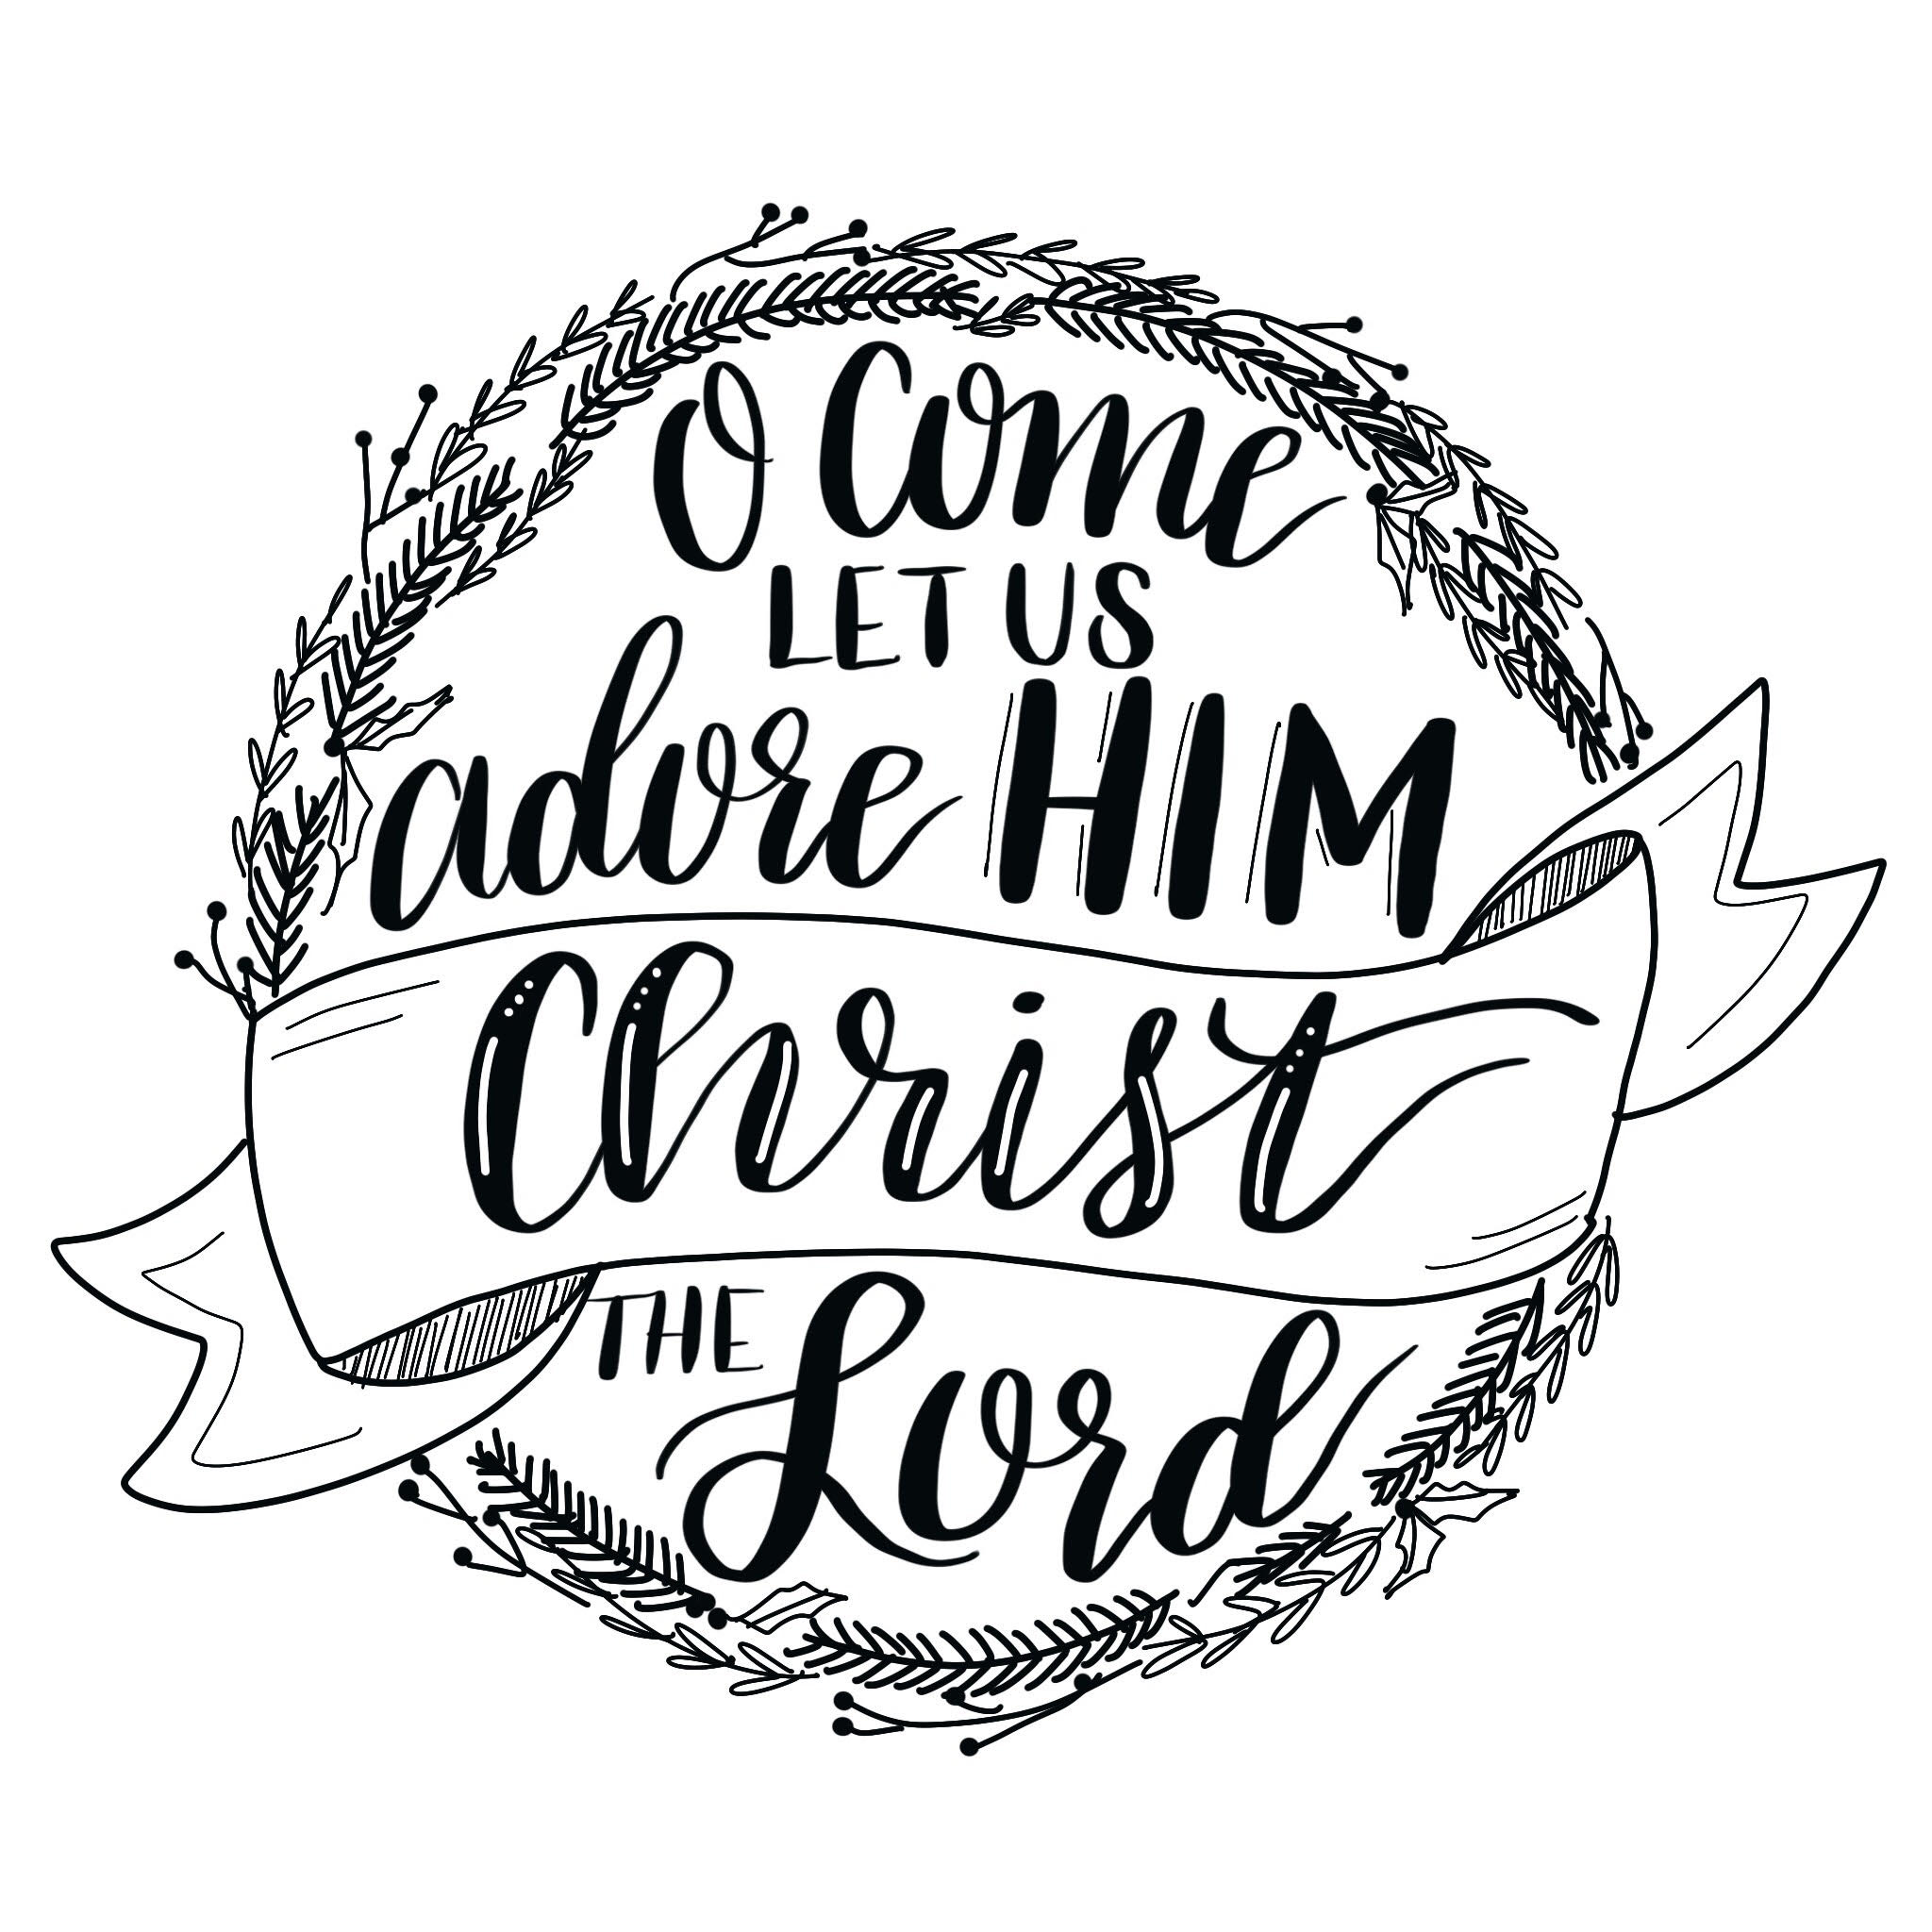
Step 8: Add embellishments and highlights.
I added a few accent lines to my banner, filled in the folds with diagonal lines, and added highlights to the word, “Christ” to make it stand out even more.
That’s all there is to it! Your design is complete and ready to frame as part of your holiday decor.
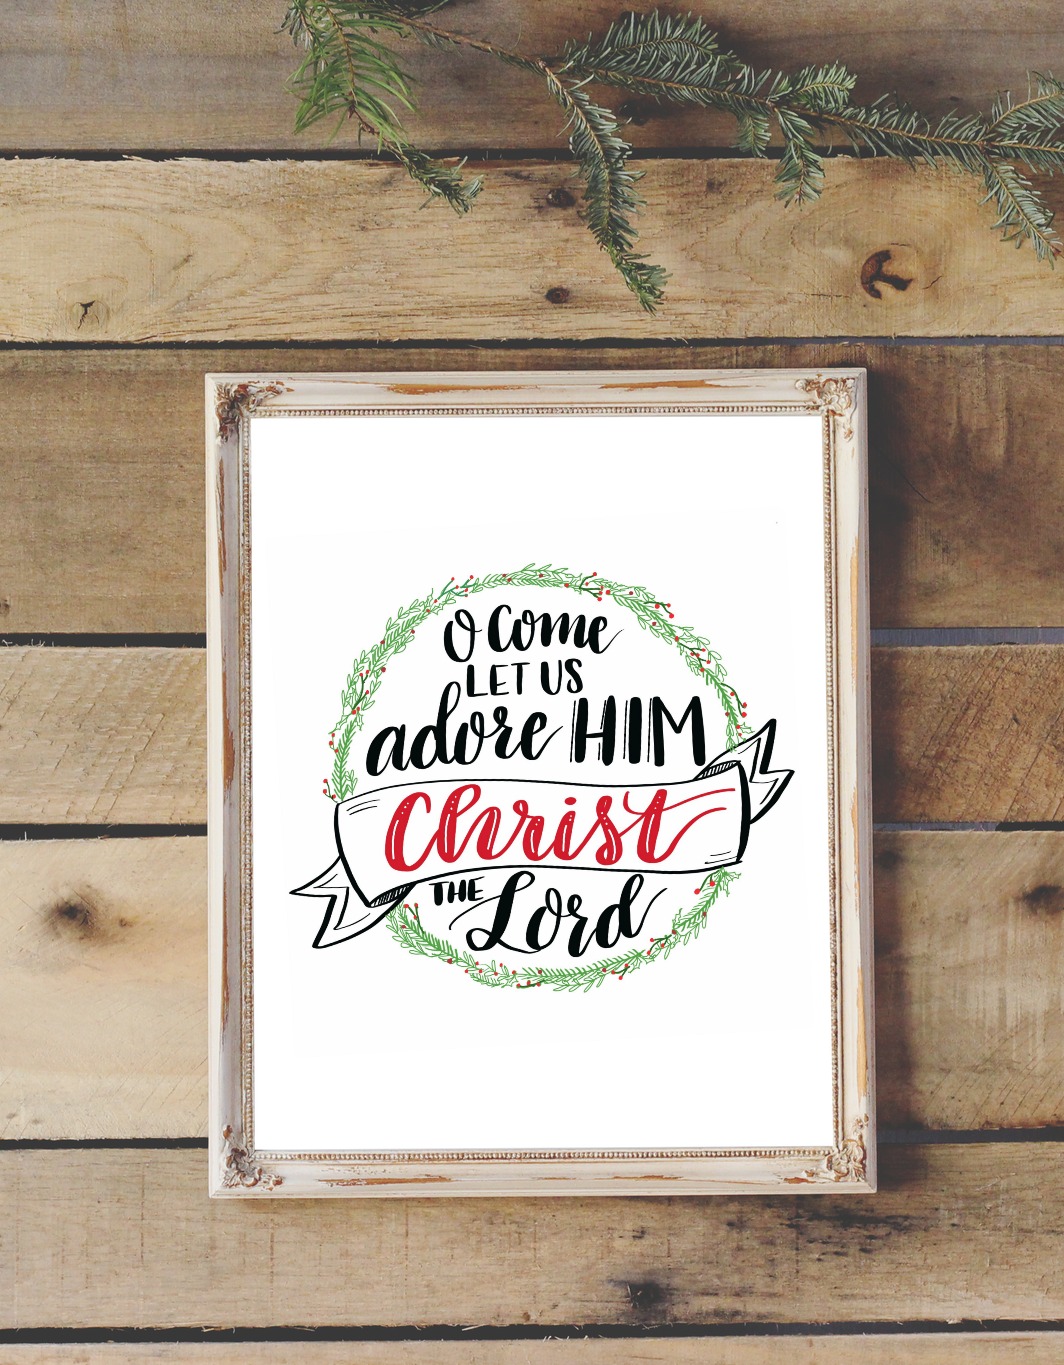
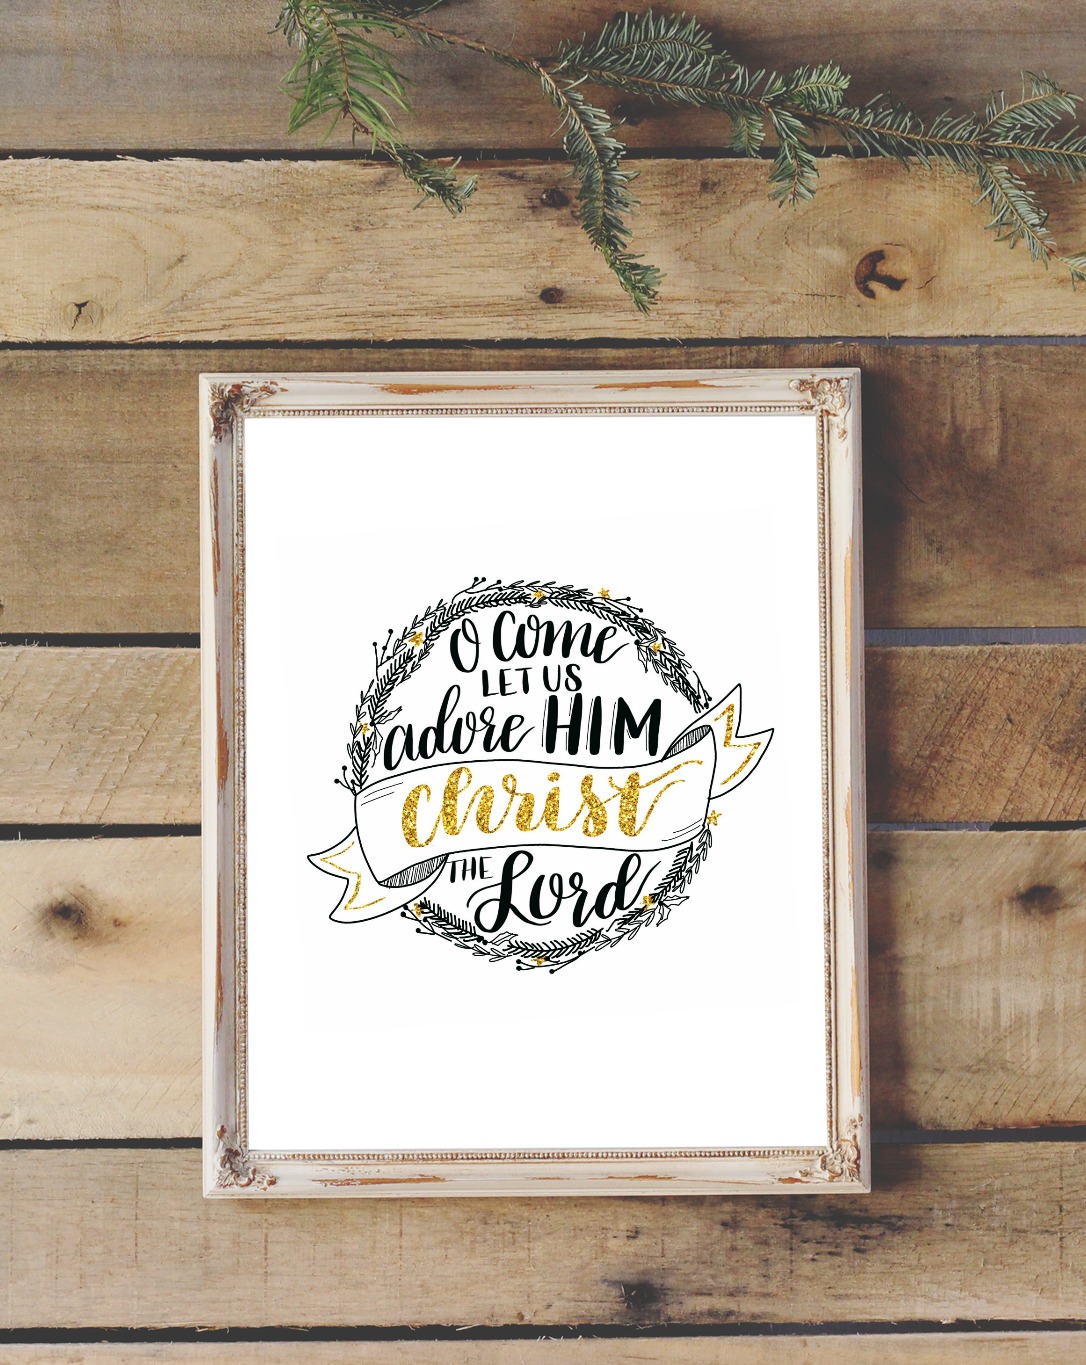
Just in case lettering isn’t your cup of tea {although I bet you’d love it if you gave it a try!}, I want to offer my design as a free printable for you today. I actually made several different versions; there’s the original black and white design, as well as this one with some traditional Christmas color.
Then, because of who I am as a person, I also made a gold glitter version!
All you have to do is click on the link below for whichever of the prints you like best, then save it to your computer. From there, you are welcome to print it, frame it, and display it in your home this holiday season! The prints are sized to an 8 x 10 ratio, but you can trim them in any photo editor if you prefer a different size.
Let Us Adore Him Print – Black & White
Let Us Adore Him Print – Color
Let Us Adore Him Print – Glitter
I’d love to see how yours turns out and how it looks in your home! Share your photos in the One Artsy Mama Facebook group so we can all be inspired!
A Hand Lettered Holiday Blog Hop
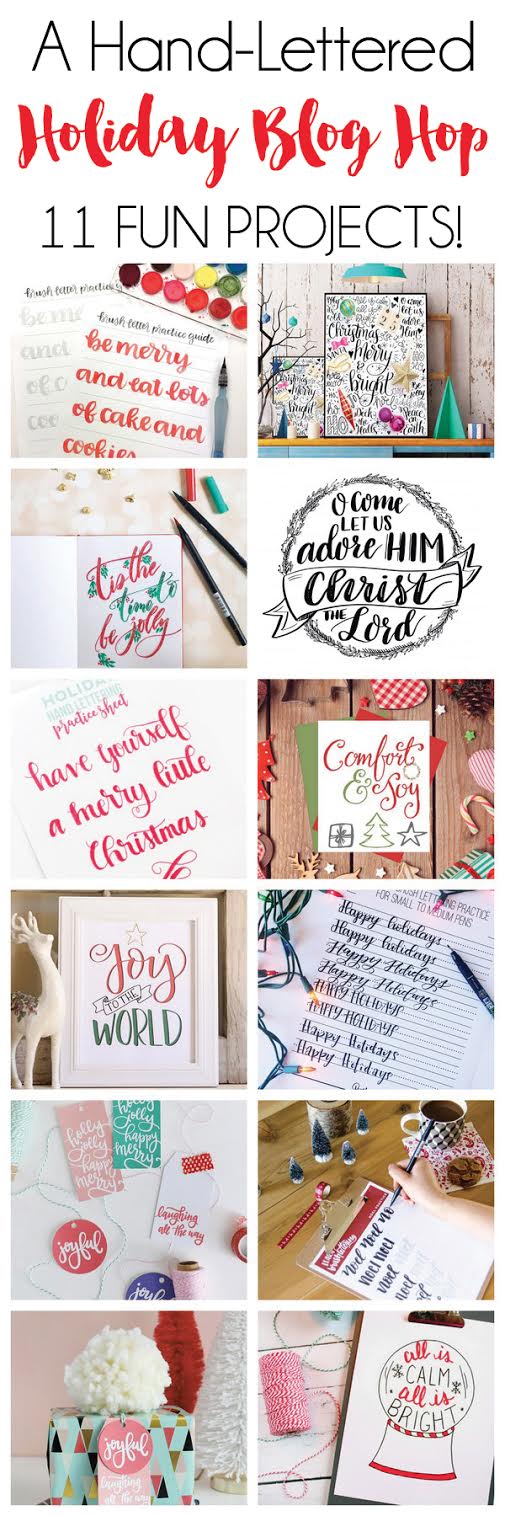
Looking for more hand lettering inspiration? I’m participating in something special today called A Hand Lettered Holiday Blog Hop, where 10 of my fellow lettering artists are sharing printables, tutorials, and worksheets you are going to love. Be sure to pop over and check out their posts!
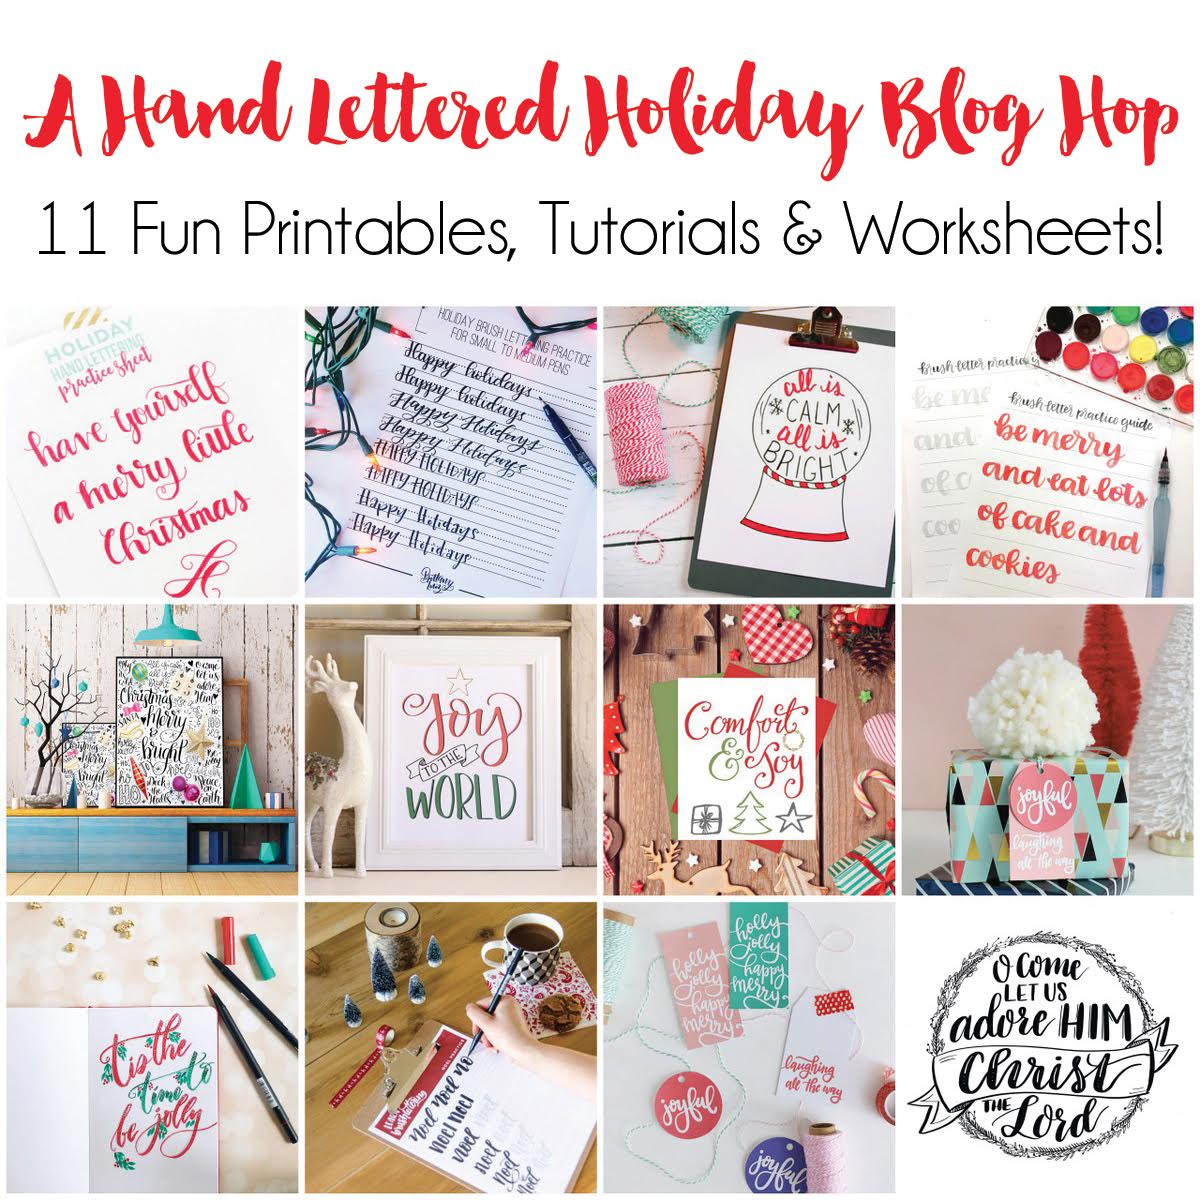
- Holiday Montage: How to Do Doodle Lettering on Photos by Dawn Nicole Designs
- Have Yourself a Merry Little Christmas Practice Sheets by Printable Crush
- Noel Practice Sheets by Lemon Thistle
- O Come Let us Adore Him Lettering Tutorial by One Artsy Mama
- Happy Holidays Brush Lettering Worksheet by Brittany Luiz
- Joy to the World Printable + Practice Sheet by Liz on Call
- Be Merry & Eats Lots of Cake Brush Lettering Worksheet by Random Olive
- ‘Tis the time to be Jolly Lettering Tutorial by Inkstruck Studio
- All is Calm, All is Bright Snowglobe Lettering Tutorial by Here Comes the Sun
- Gift Tag Printables by Persia Lou
- Comfort and Joy Printable by Kleinworth & Co.
Happy lettering and Happy Holidays!


This is just beautiful, Amy! I love that you included your steps too. It is fun to see how people work. 🙂
I agree!! I love to see how others work!
I’m swooning- not only is this so beautiful- but I love seeing your workflow. Love it!
Aw, thanks so much, Gina!!!
Found you through the blog hop, and I can safely say that is is my favourite post. I love how you show the steps, and the finished products are fabulous. Many thanks and happy holidays!
Thank you so much, Wendy!! What an honor; there were a lot of very talented artists in the hop!!
Where do I find your tutorial on hand lettering? Love your handwriting! Thanks:)
You can find them all here, Angela! http://www.oneartsymama.com/hand-lettering
Thank you so much for providing both the tutorial and the print.
Thank so much for the downloads. I am going to go through the hop and then try my hand at lettering! Thanks for the inspiration!