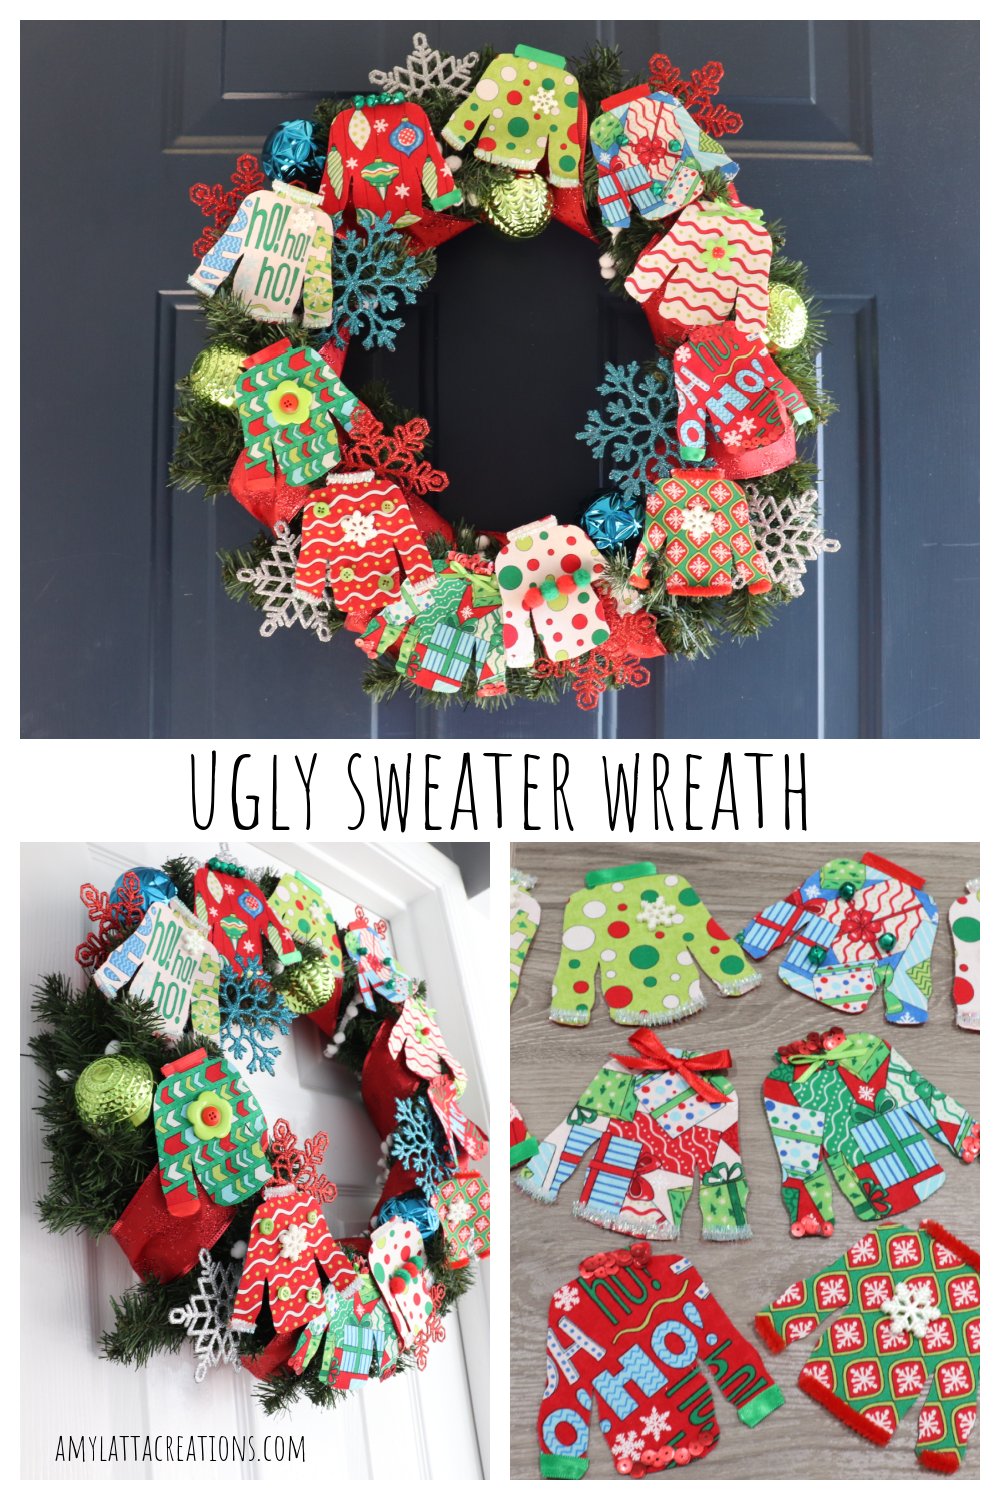
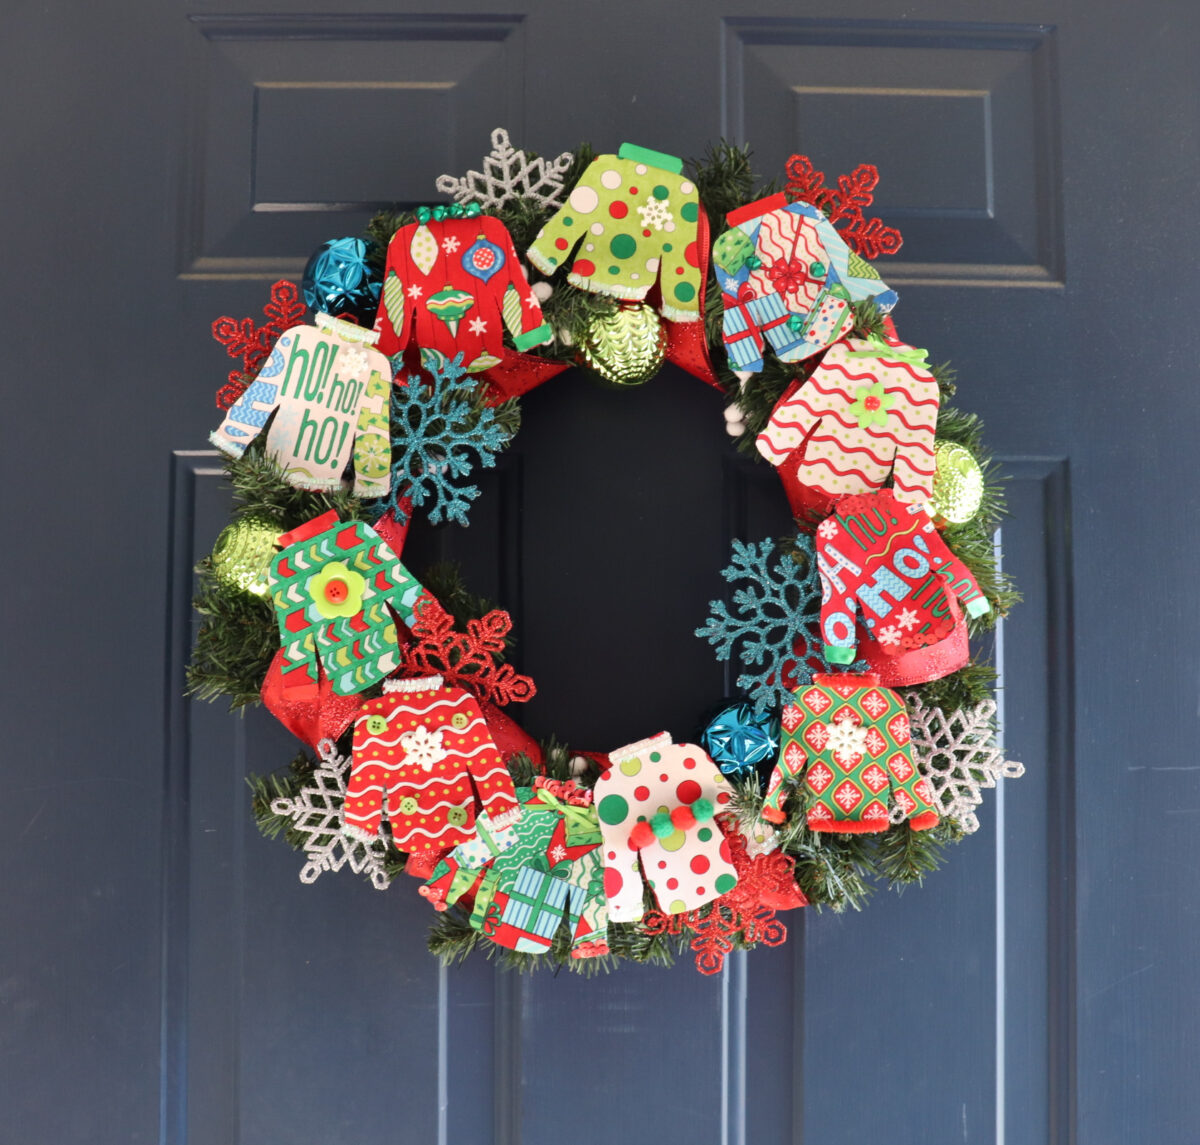
Ugly Sweater Wreath
One of the festive holiday traditions our family enjoys each year is making and/or wearing ugly sweaters. This year, I decided to incorporate that theme into a piece of decor that’s truly unique. Here’s how you can embrace the fun by making your own Ugly Sweater Wreath!
How to Make an Ugly Sweater Wreath
This wreath is so much fun to create, starting with making a dozen unique ugly sweaters using fabric scraps and your favorite crafty embellishments. Then, arrange them along with some ribbon and ornaments for a one-of-a-kind piece of door decor! Grab the materials below, and let’s get started.

Materials
- artificial pine wreath base
- MSQC Sn-UGLY Sweater template
- assorted 5” fabric squares
- double-sided fusible adhesive
- felt (I used red and green)
- scissors
- assorted embellishments: buttons, snowflakes, small jingle bells, pom-poms, sequins, ribbon
- wide holiday ribbon and/or garland (I used both ribbon and a pom-pom garland)
- glitter snowflake ornaments and/or ball ornaments
- hot glue gun and glue sticks
Instructions
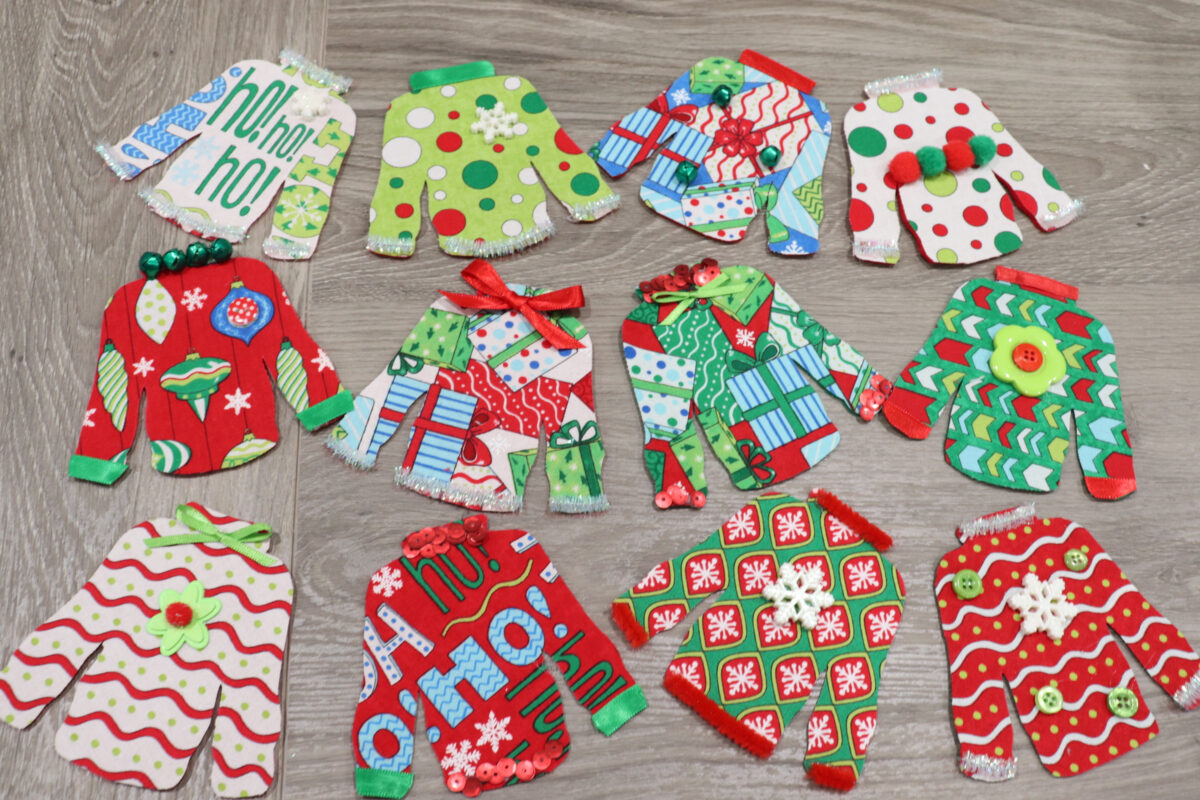
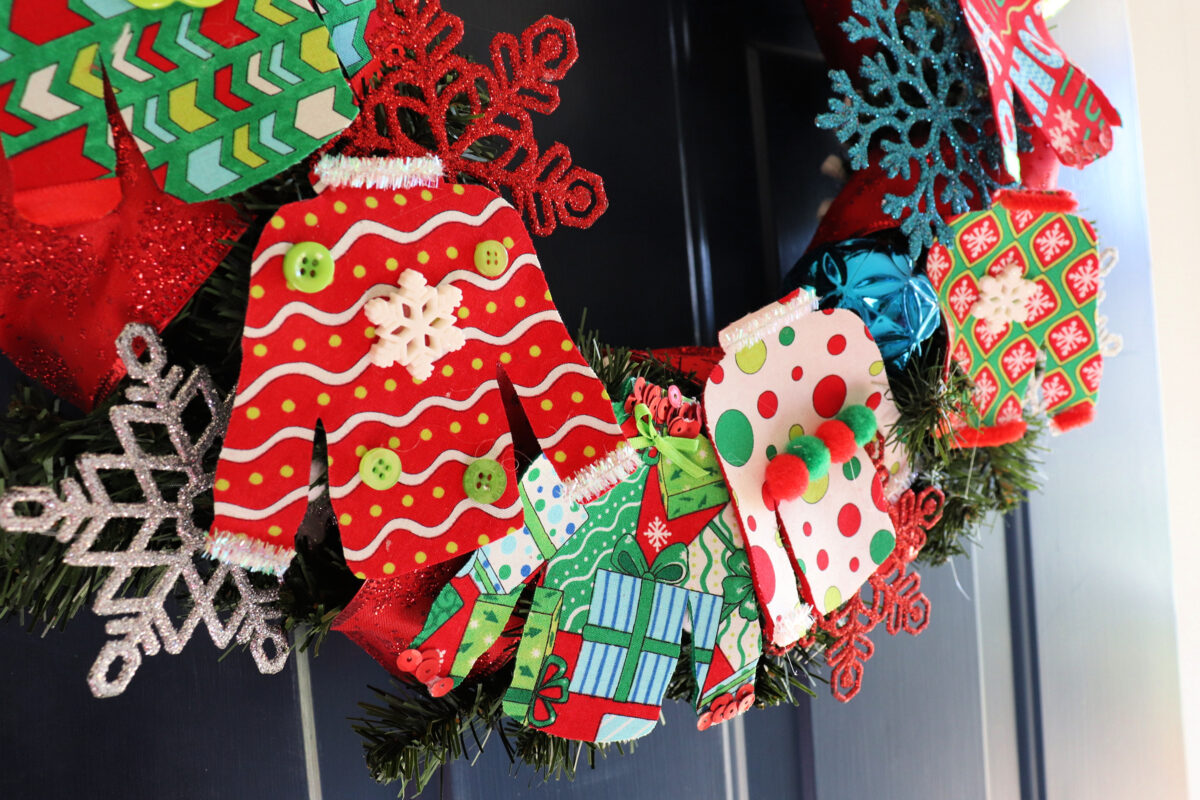
1. Make your ugly sweaters.
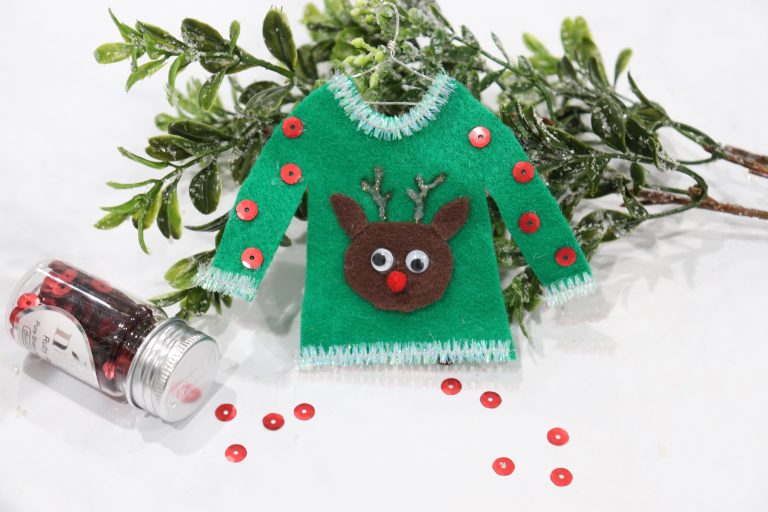
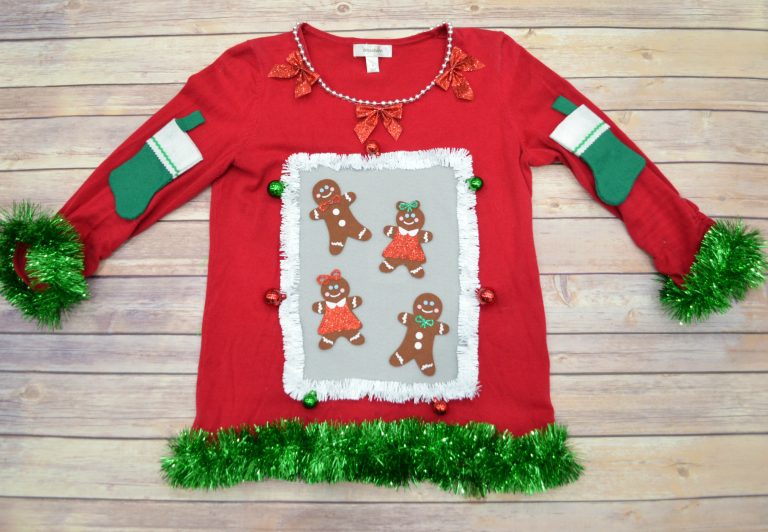
First, iron fusible adhesive to the back of your fabric squares, then peel off the backing and iron the fabric to a piece of felt.
Trace the Sn-UGLY sweater template onto the fabric and cut out the sweater shapes. I recommend cutting 11 or 12 to fill the wreath well.
Decorate each sweater using embellishments of your choice. I used ribbon, sequins, buttons, pom-poms and more to make each one unique.
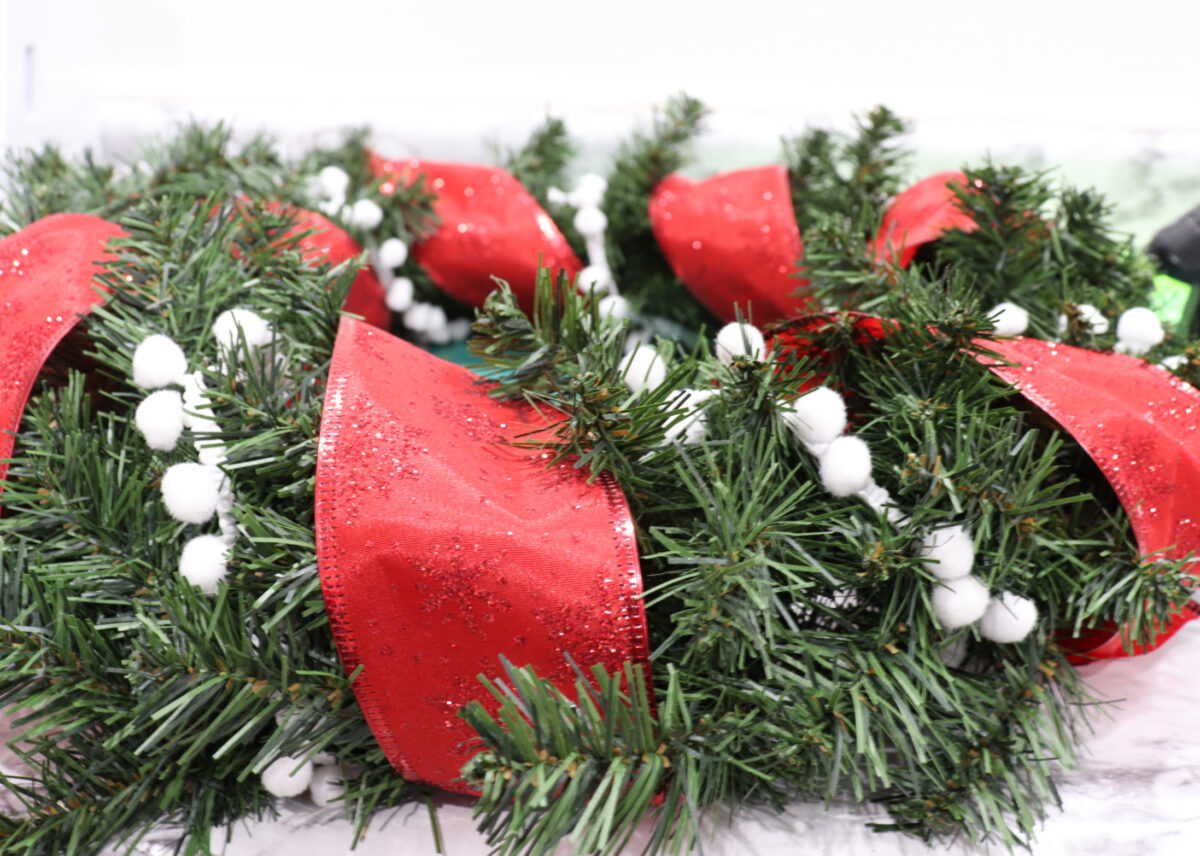
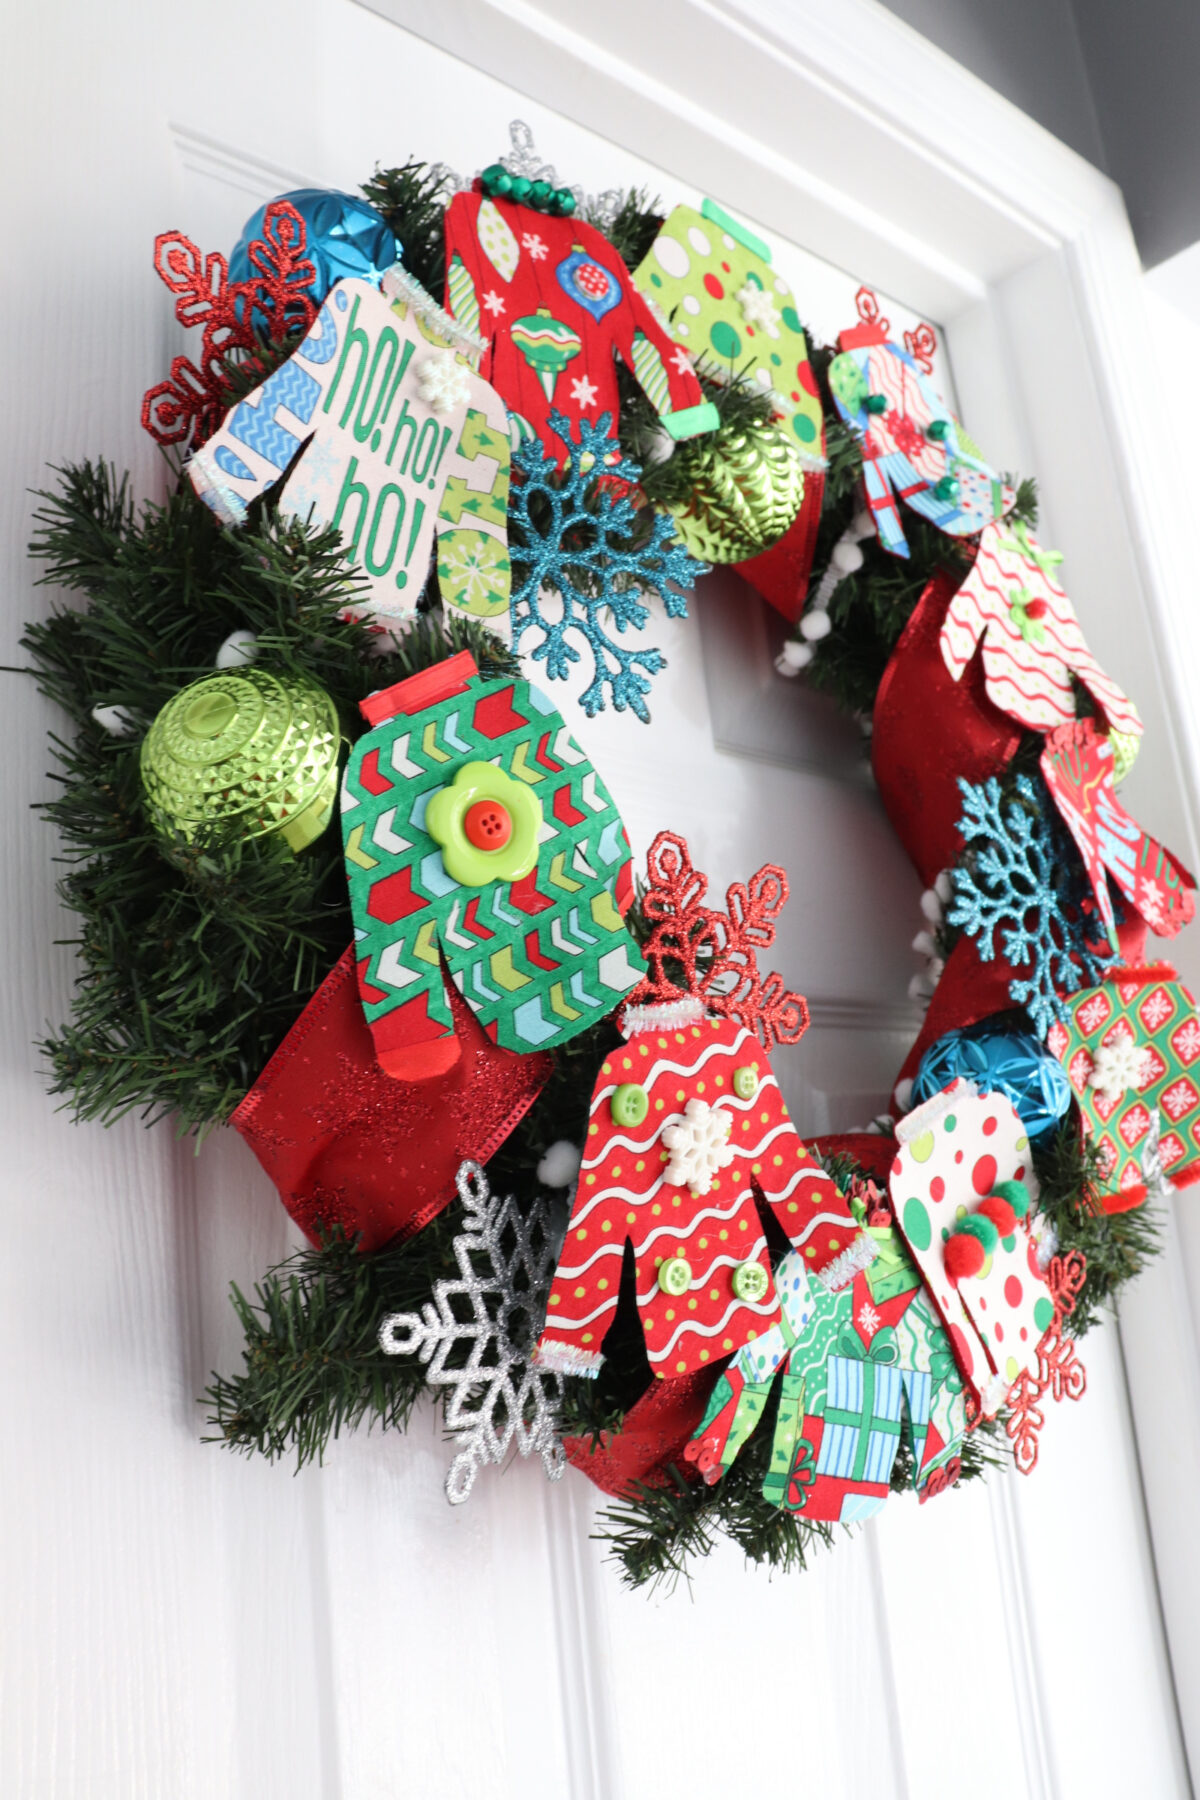
2. Wrap your wreath with ribbon and/or other garland.
Use hot glue to adhere the ends to the back of the wreath.
3. Arrange the sweaters around the wreath front and glue in place. Accent with snowflake and round ornaments.
Remember, with ugly sweater projects, more is better, so fill up that wreath front!
All that’s left to do is put your wreath on display! I had a little fun with my family, hanging up the wreath without telling them about the project, then seeing how long it took my husband and teenage son to notice it.
Crafting Tips
- The more colorful and busy the patterns on the fabric are, the more interesting your ugly sweaters will be!
- My fabric was part of a precut charm pack (5” squares), so they did have a common color palette of red, green, white, teal, and blue. For an even more chaotic effect, try using random fabric scraps with all different color palettes.
- To make your wreath sparkle, you can add glitter fabric paint to your sweaters!
Frequently Asked Questions
You can find it in person or online at Missouri Star Quilt Company! It’s actually a nesting set, so you get a large and a small sweater shape for $12.95. We use the small one for this project.
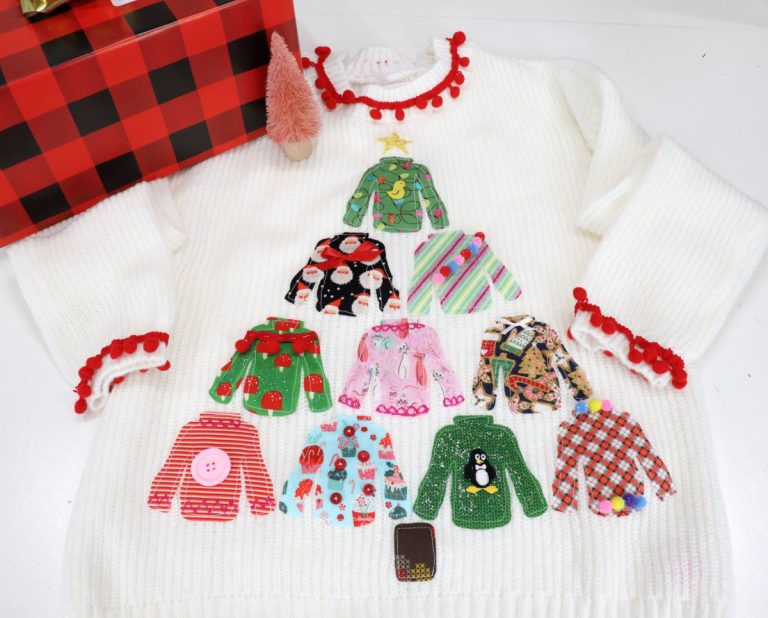
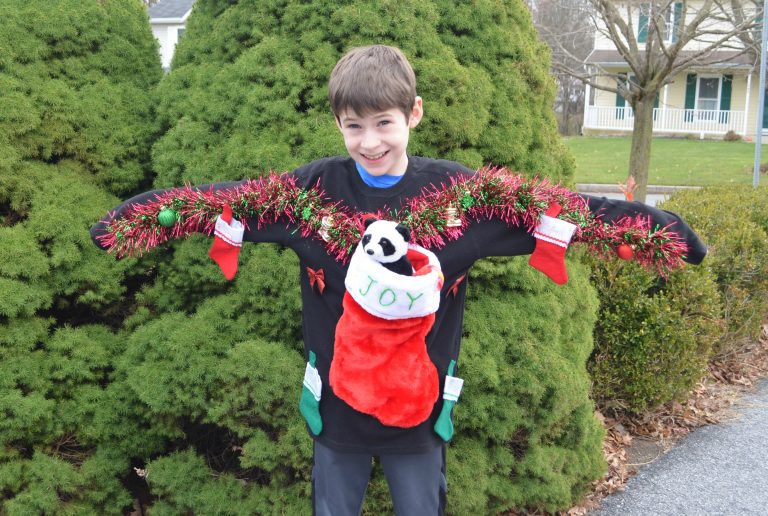
Here’s a fun project I made a few years ago where I used the Sn-UGLY sweater template to decorate an actual ugly sweater.
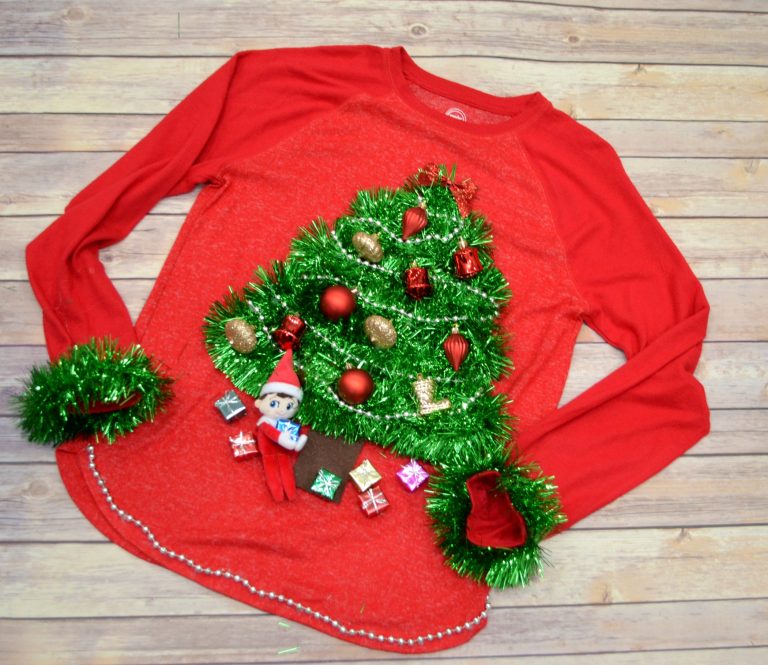
More Ugly Sweater Projects
If you enjoyed this wreath, here are some other ugly sweater projects to try.

If you try making an Ugly Sweater wreath, or any of these other holiday projects, I’d love to see how yours turns out. Make sure you’re part of the Amy Latta and Friends group on Facebook so you can share your latest photos and we can all inspire each other. See you there!