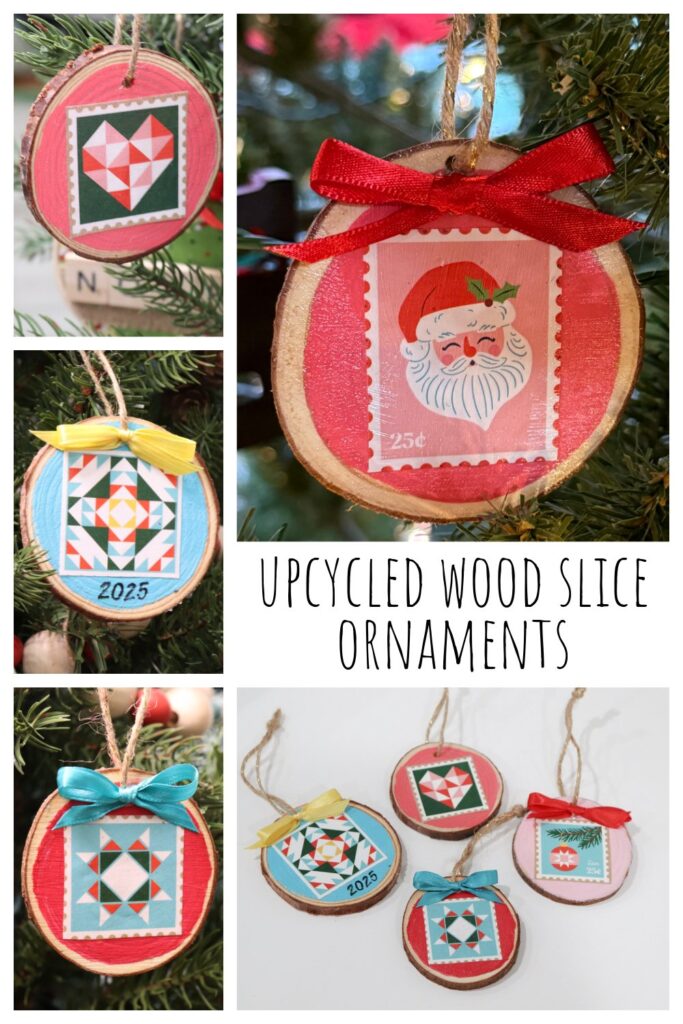
Upcycled Wood Slice Ornaments
Reuse some of your favorite images from packaging, advertising, or even Christmas cards by turning them into festive ornaments!
How to Create Upcycled Wood Slice Ornaments
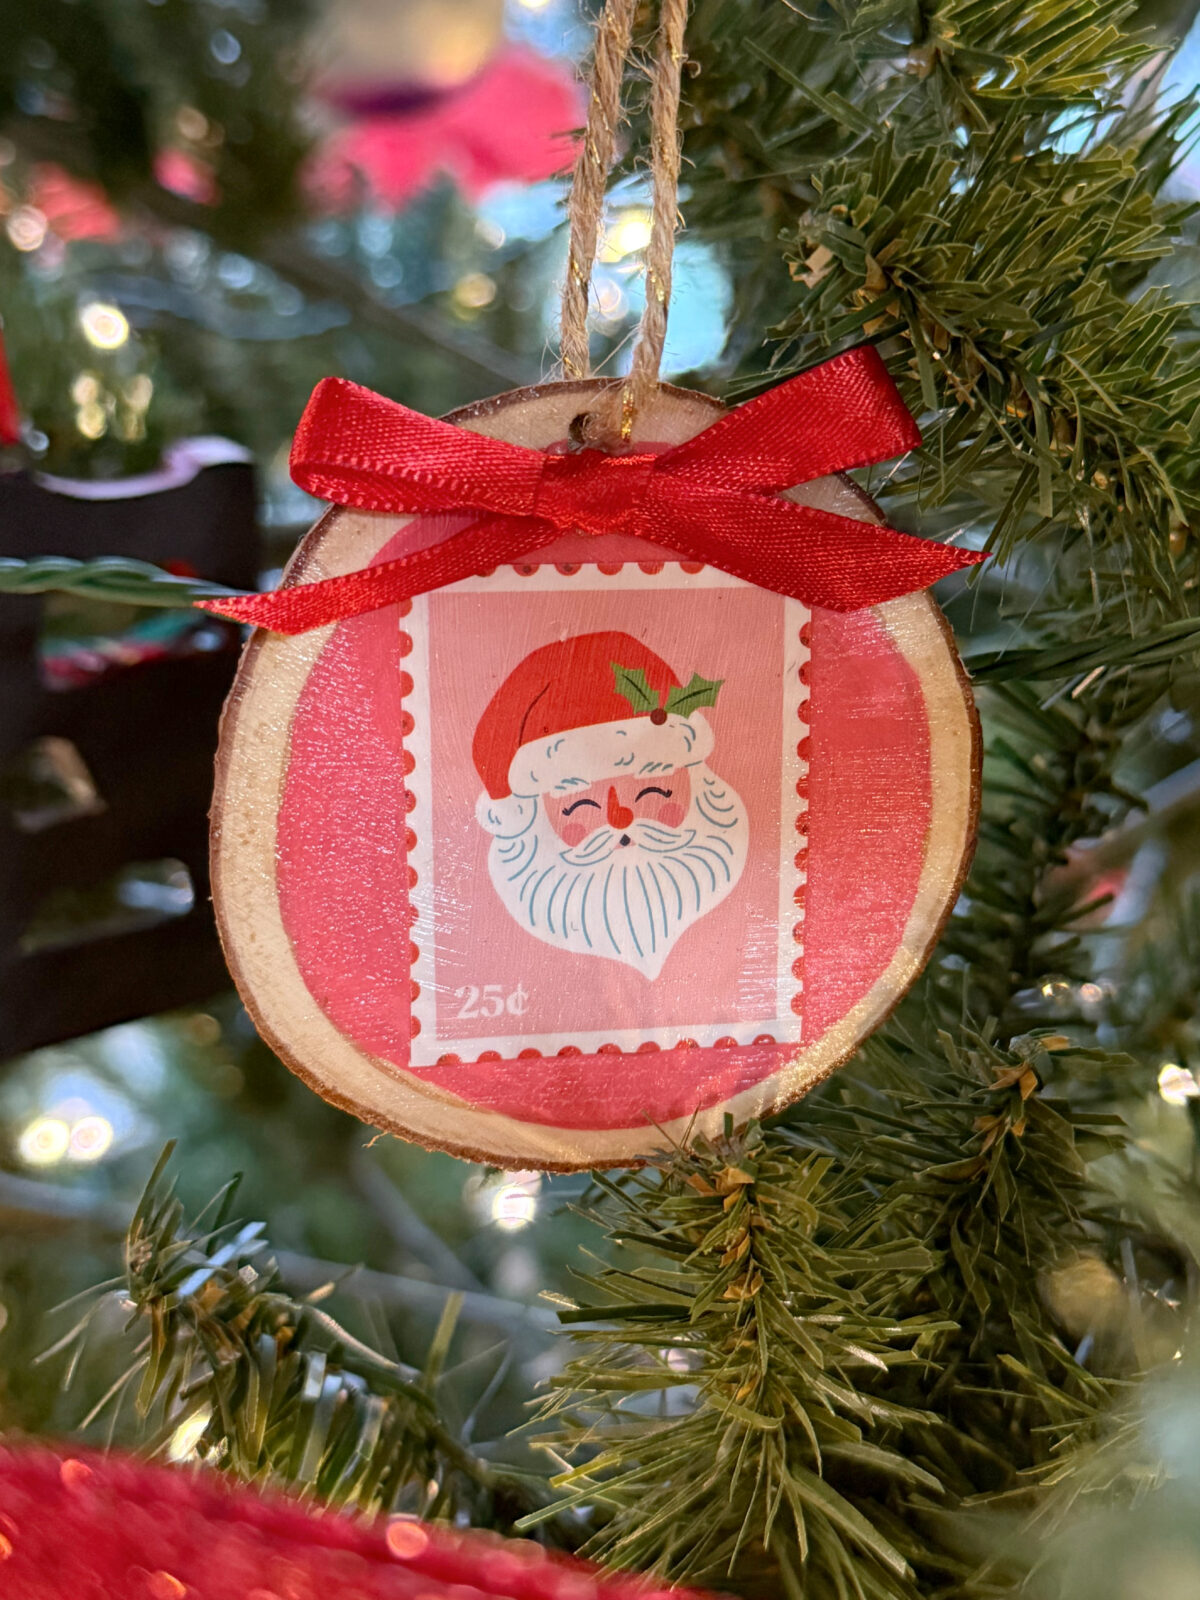
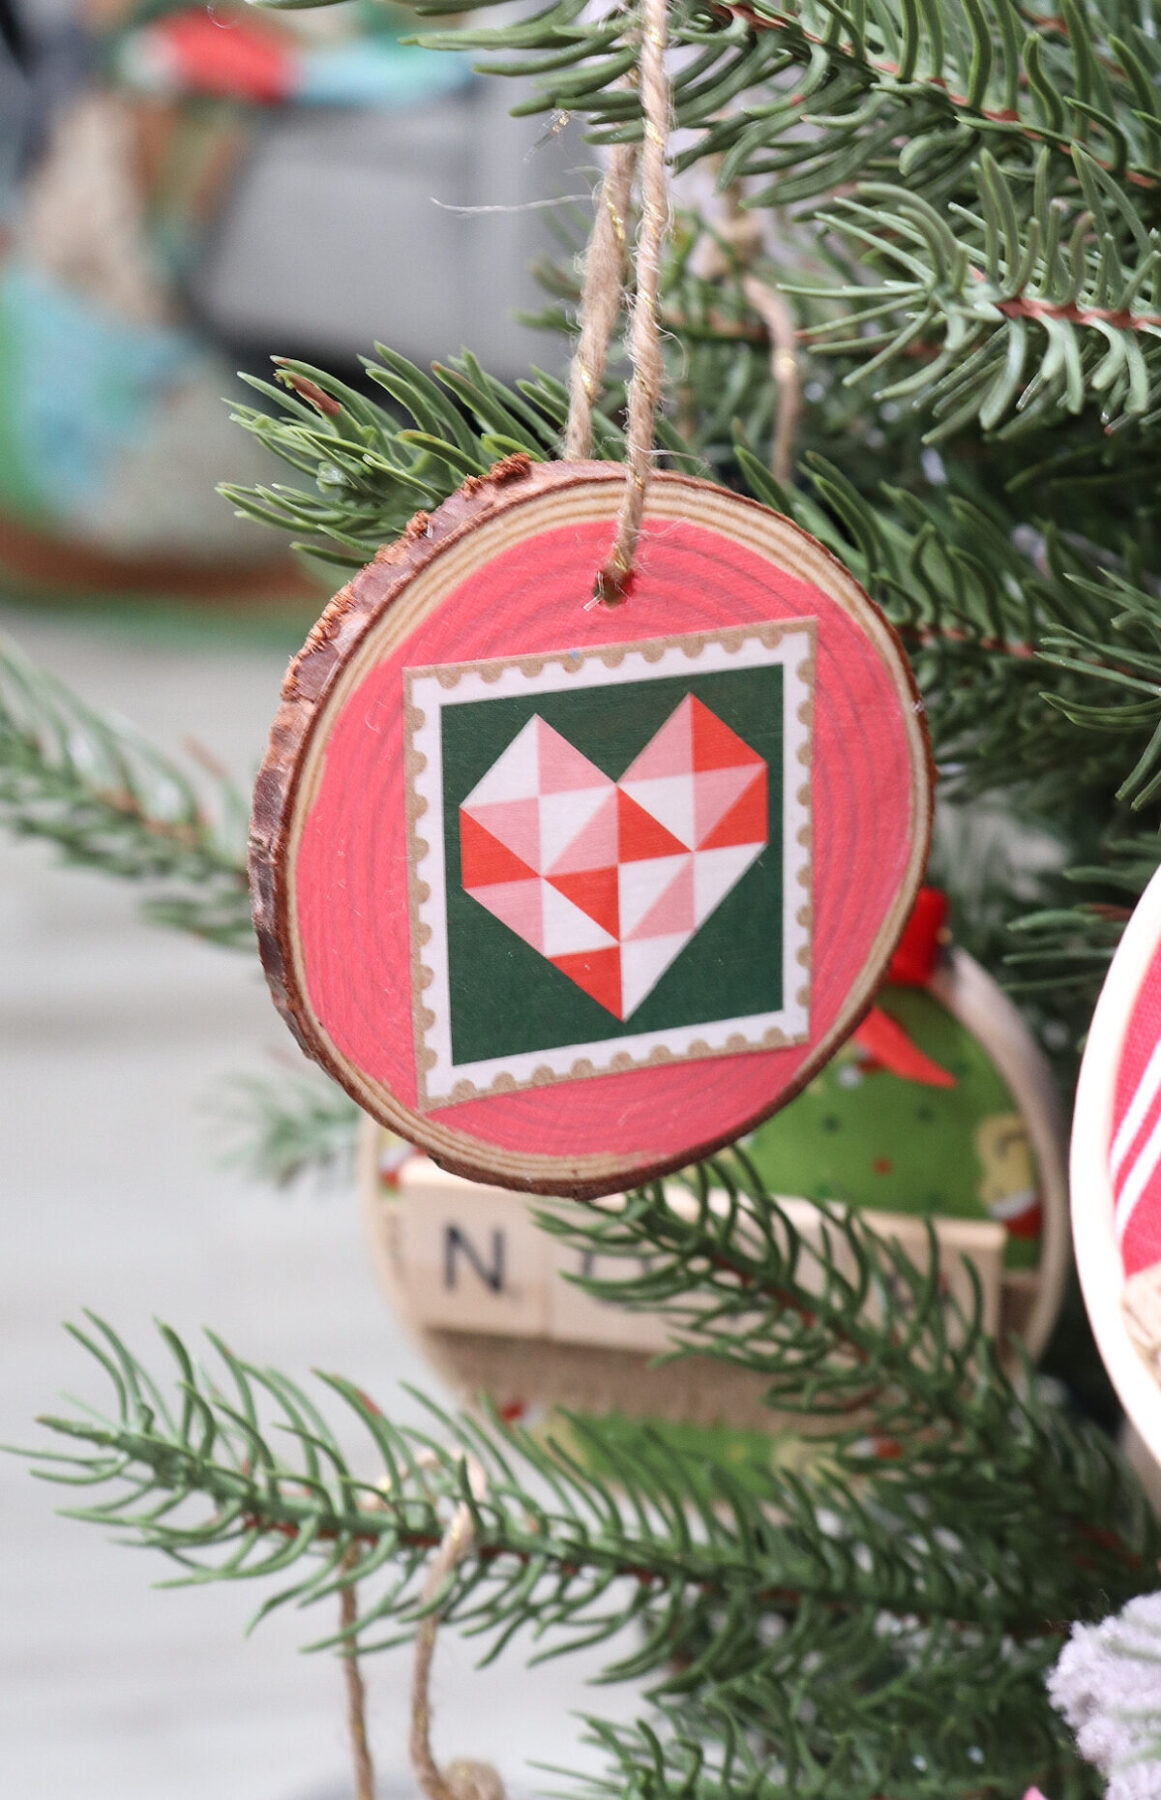
These ornaments are simple and fun to create for crafters of all ages. The most fun part is finding the images you want to use. Mine came from the packaging in this year’s Missouri Star Quilt Company Countdown to Christmas box. The little postage stamps on the gift wrap were so adorable that I wanted to save them and enjoy them all season long. You can use any image, whether it’s from wrapping paper, a catalog or other advertisement, a Christmas card, or any other source you can find. Then, grab the other supplies listed below and let’s repurpose them!
Materials
- wood slices with pre-drilled holes
- your paper images
- acrylic/multi-surface paint
- Mod Podge (your choice of gloss, matte, or sparkle!)
- paintbrushes
- scissors
- twine
- ribbon
- hot glue gun and glue sticks
Instructions
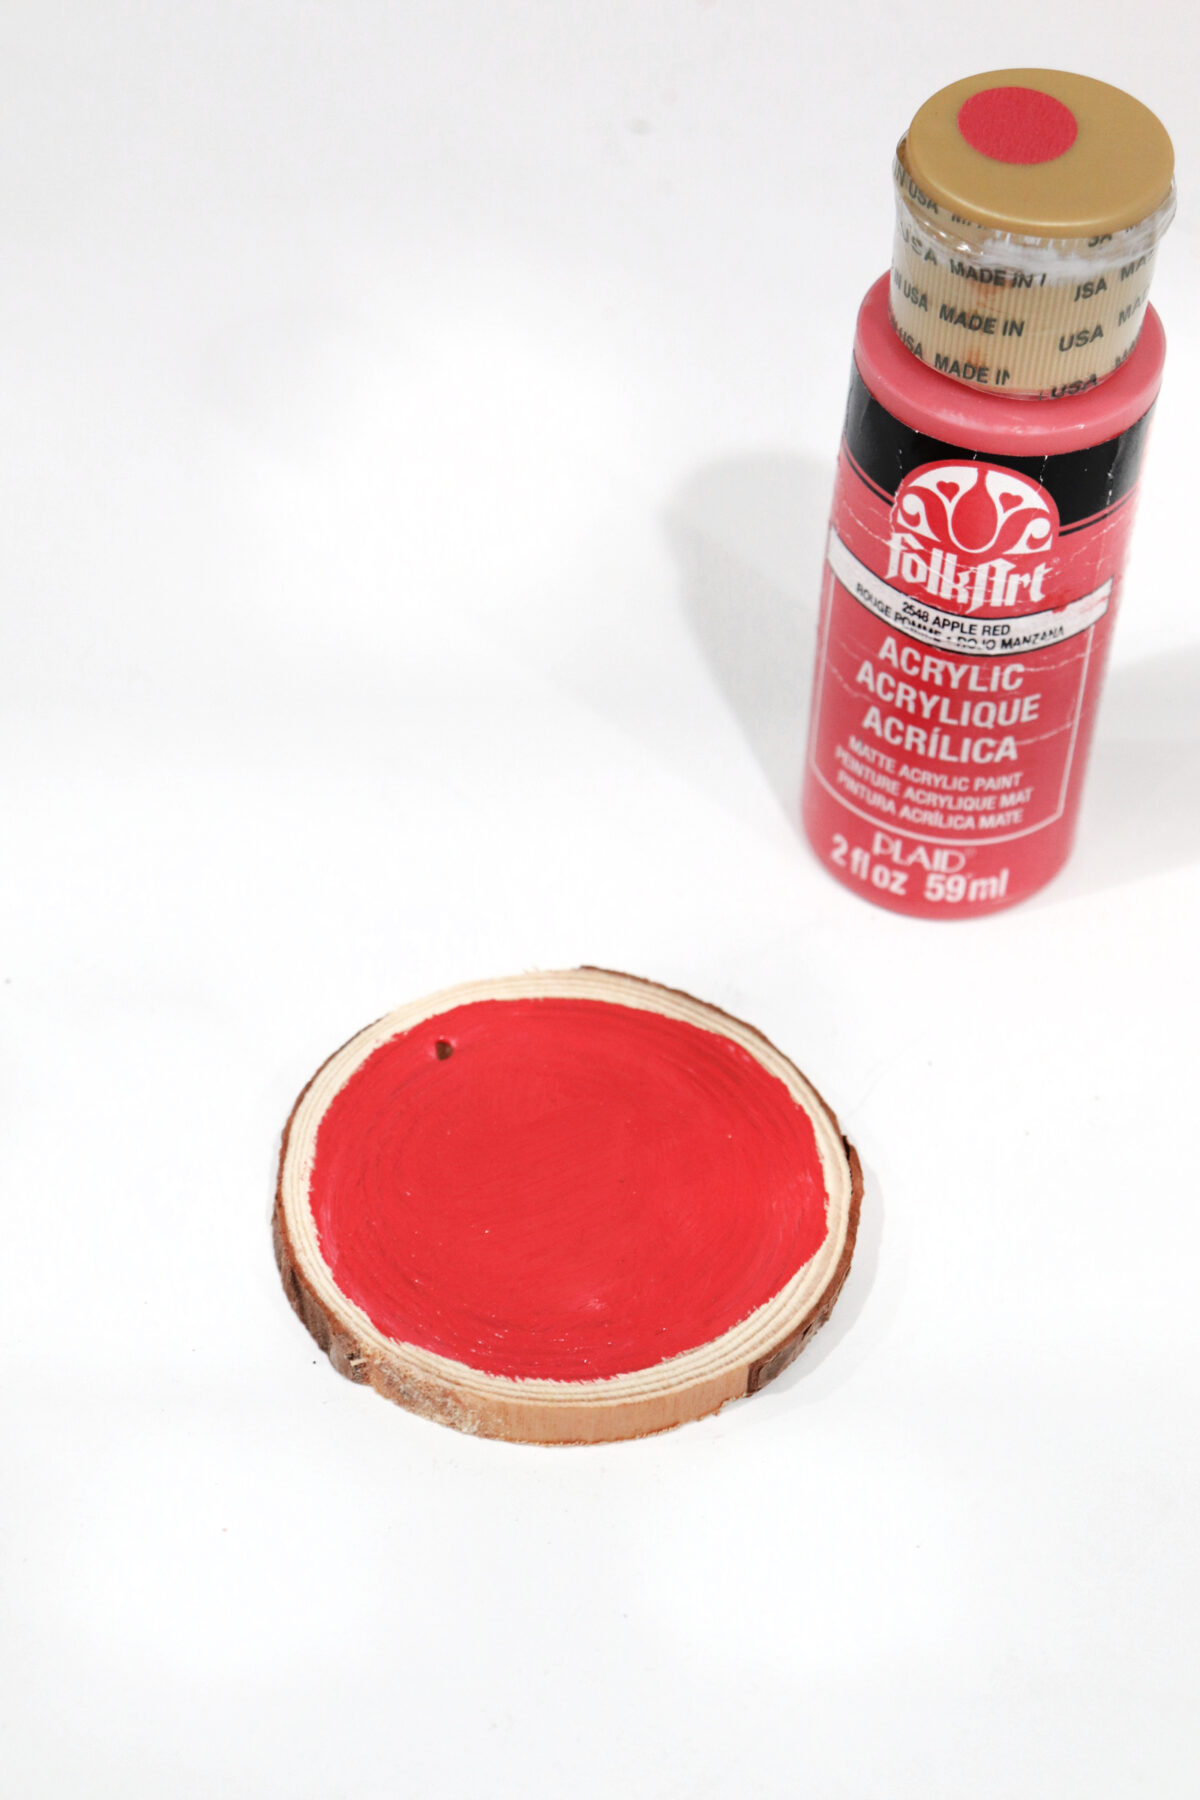
Paint the top of the wood slice.
You can use any color that complements your image. I like to leave a bit of the natural wood showing around the outside edges. Let the paint dry completely.
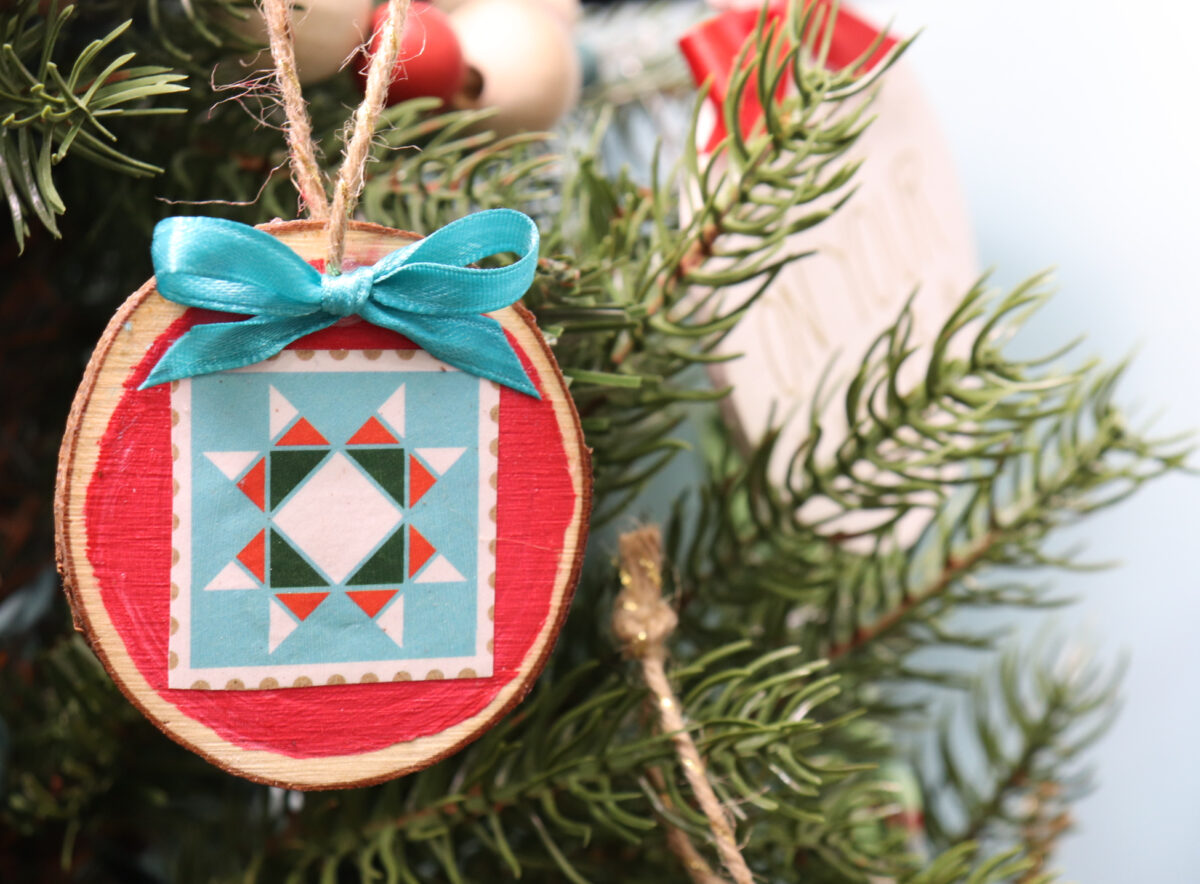
Cut out your image.
Mine were square stamps, but you can cut out any shape you like.
Apply a thin coat of Mod Podge to the wood slice.
This will act like glue to hold your image in place.
Place your image in the center of the wood.
Seal the entire front with another thin coat of Mod Podge.
This will hold your image in place. If you use the glossy formula, it will also give your ornament a shiny finish.
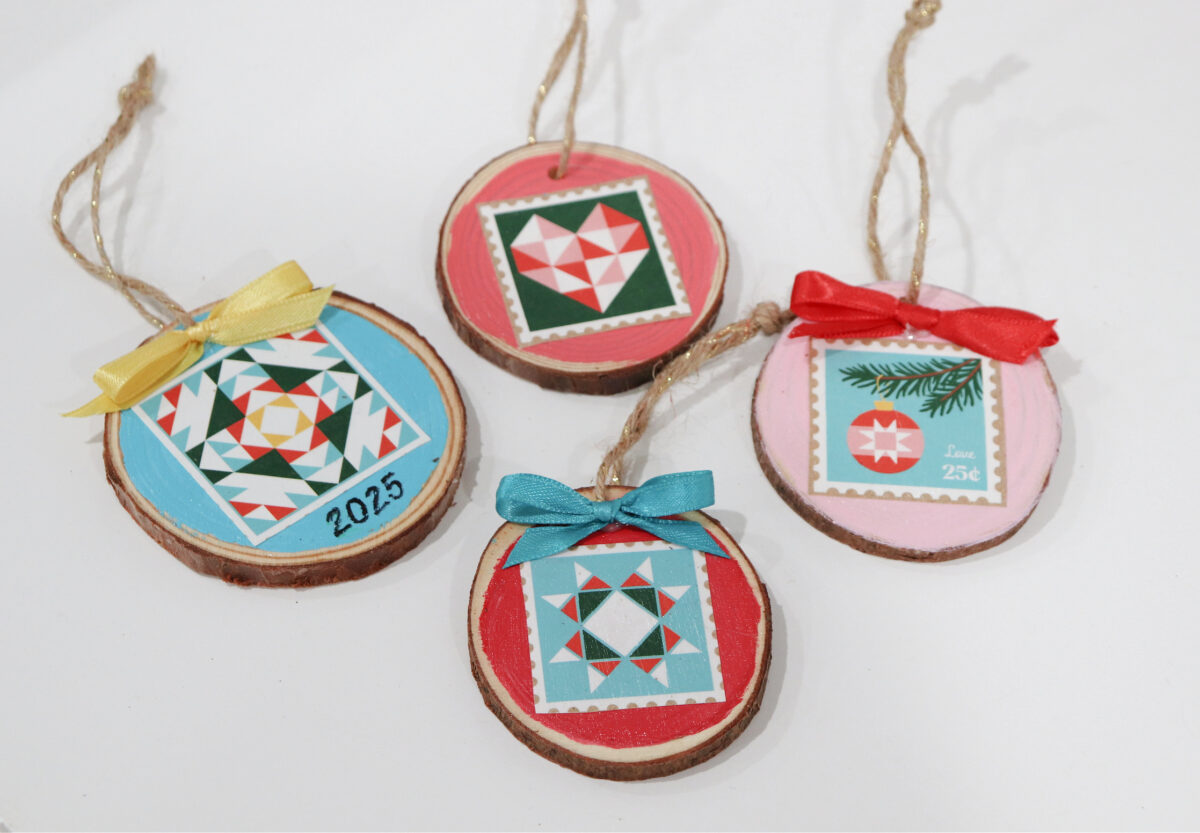
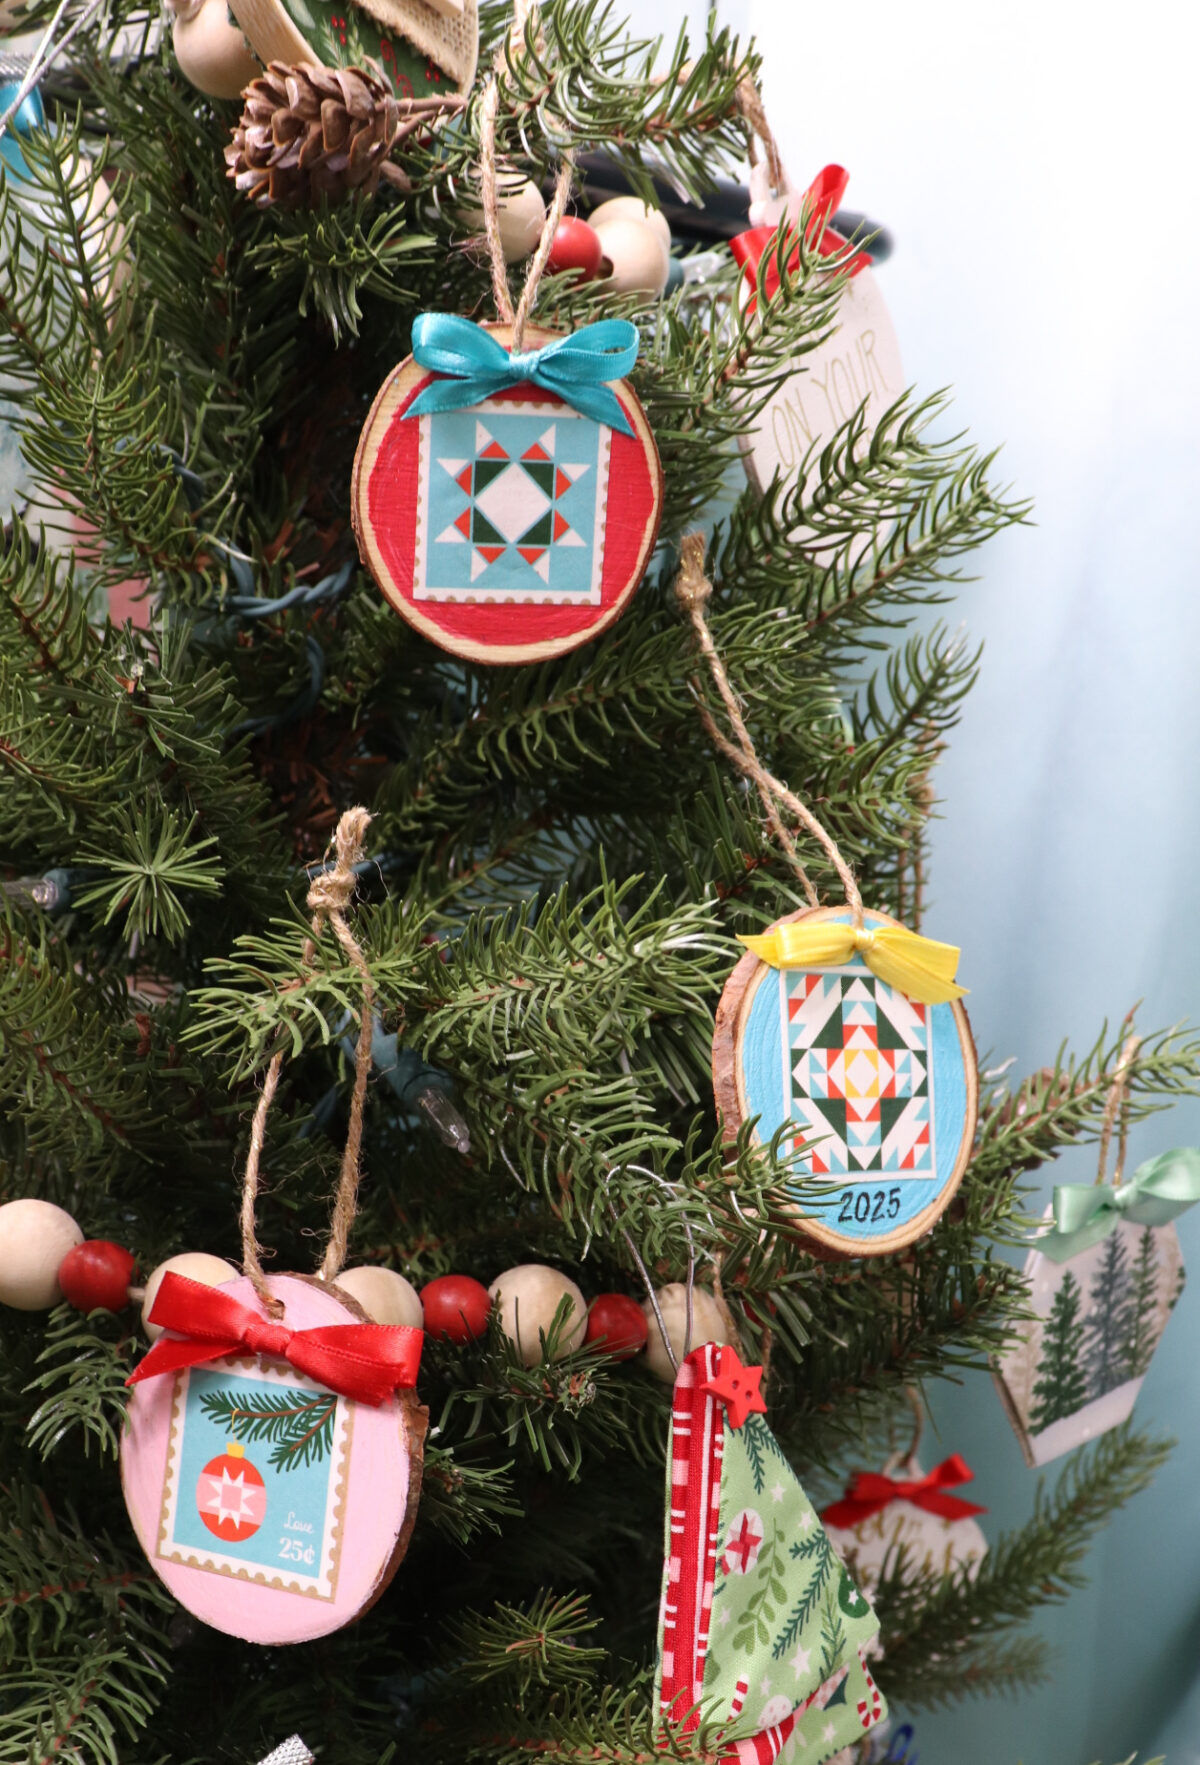
Add a hanger and a bow.
Thread a piece of twine through the hole and tie a knot to form a hanger. Tie a piece of coordinating ribbon into a bow and glue it to the top of the ornament.
Crafting Tips
- For an extra festive touch, try sprinkling glitter onto the wet ornament, or using Mod Podge Sparkle formula!
- Use a fine tip permanent marker or paint pen to add a year, a name, or other details for even more personalization!
Frequently Asked Questions
Wood slice ornaments come in a variety of sizes. Mine are on the larger end, and range from 3.5”-4”. I suggest finding the images you want to use and measuring them, then choosing the size that will accommodate them best.
Mine are from the gift wrap/packaging envelopes in the 2025 Countdown to Christmas Box from Missouri Star Quilt Company. However, you can find images just about anywhere!
Absolutely!
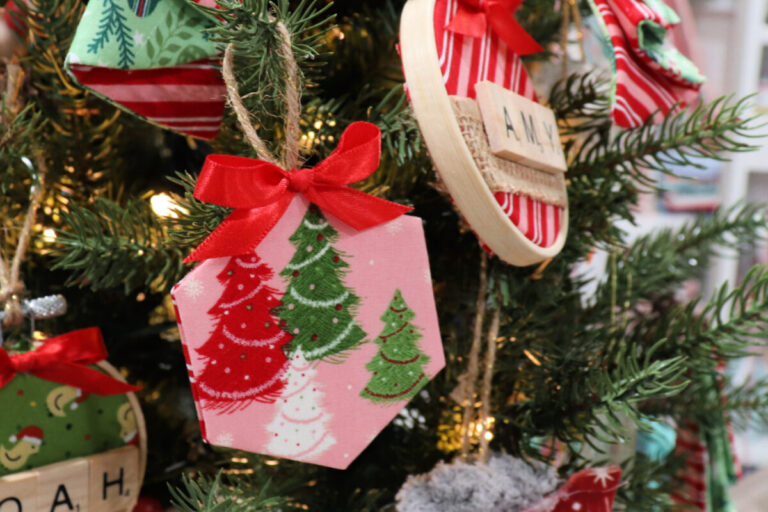
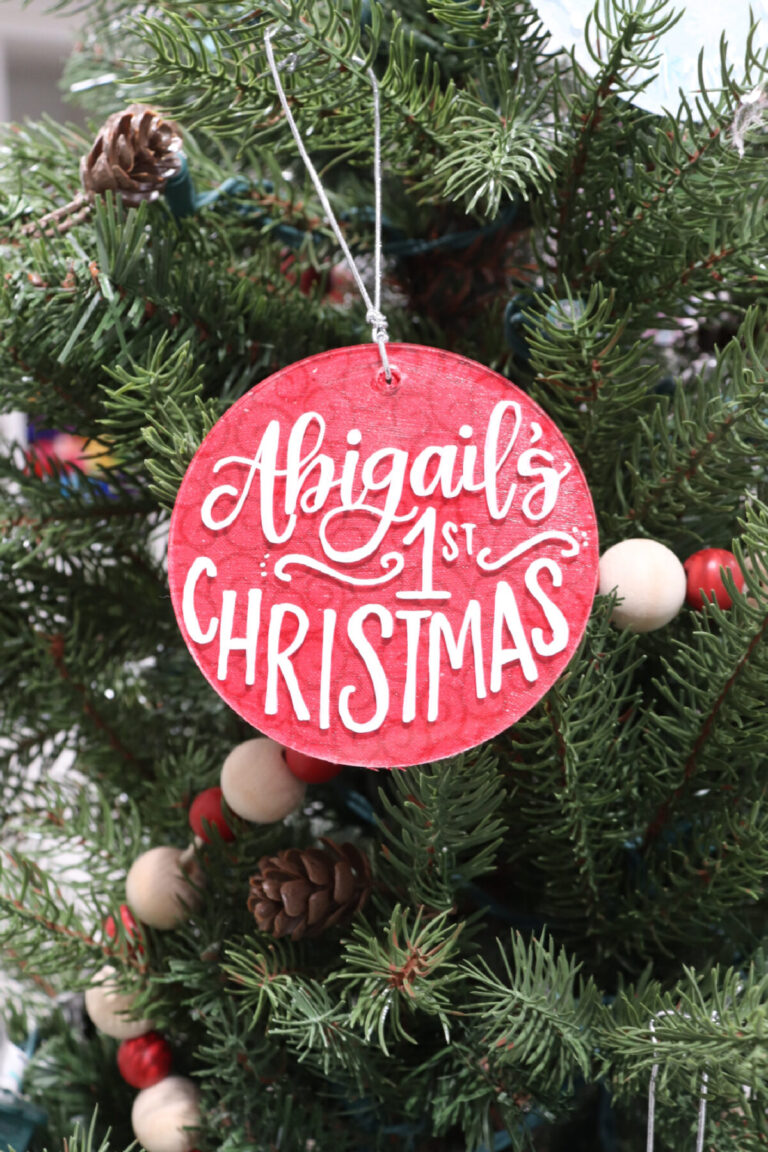
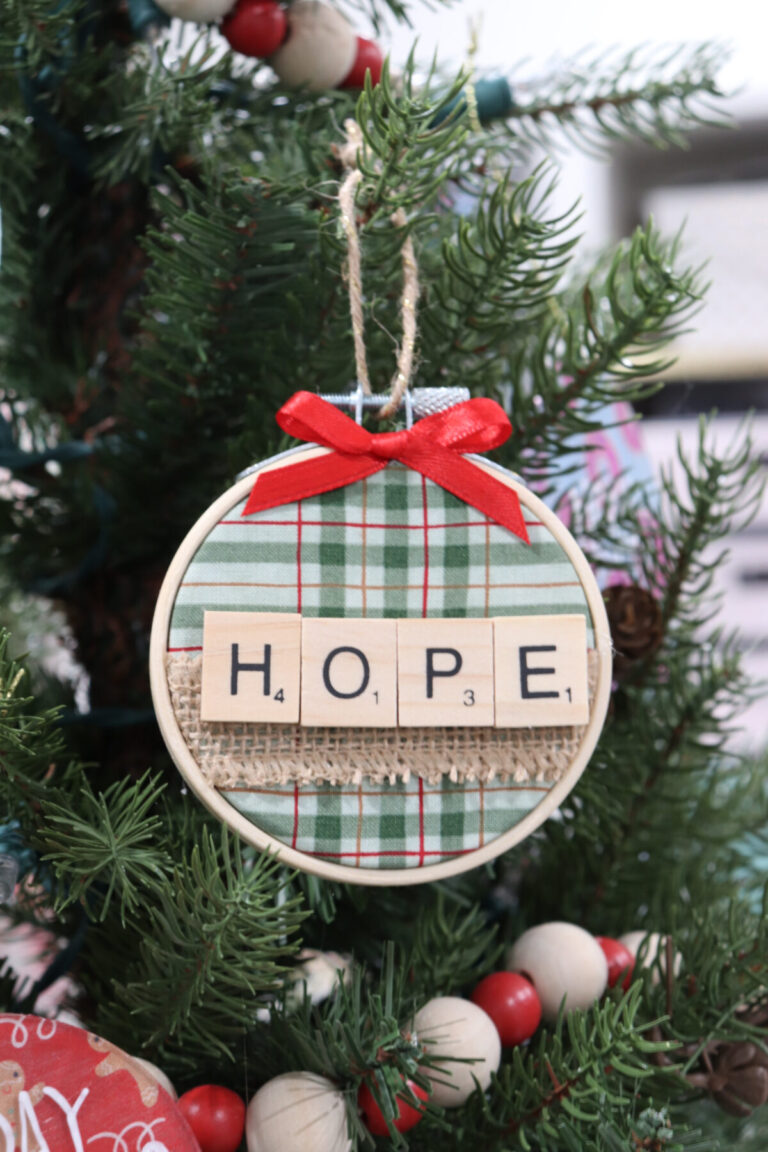
More Ornament Ideas
If you liked this project, here are more simple and fun Christmas ornament craft ideas.


If you try any of these ideas, I would love for you to share your photos in the Amy Latta & Friends Facebook Group so we can all inspire each other. Hope to see you there!