So, I’m pretty sure that Little Crafter was just as excited as I was when we unpacked our box o’ fun and saw all the different kinds of Mod Podge to play with! He was particularly excited that there was one just for kids, and told me we needed to make something with it. Well, I do have a reputation to uphold as one artsy mama, so how could I say no?
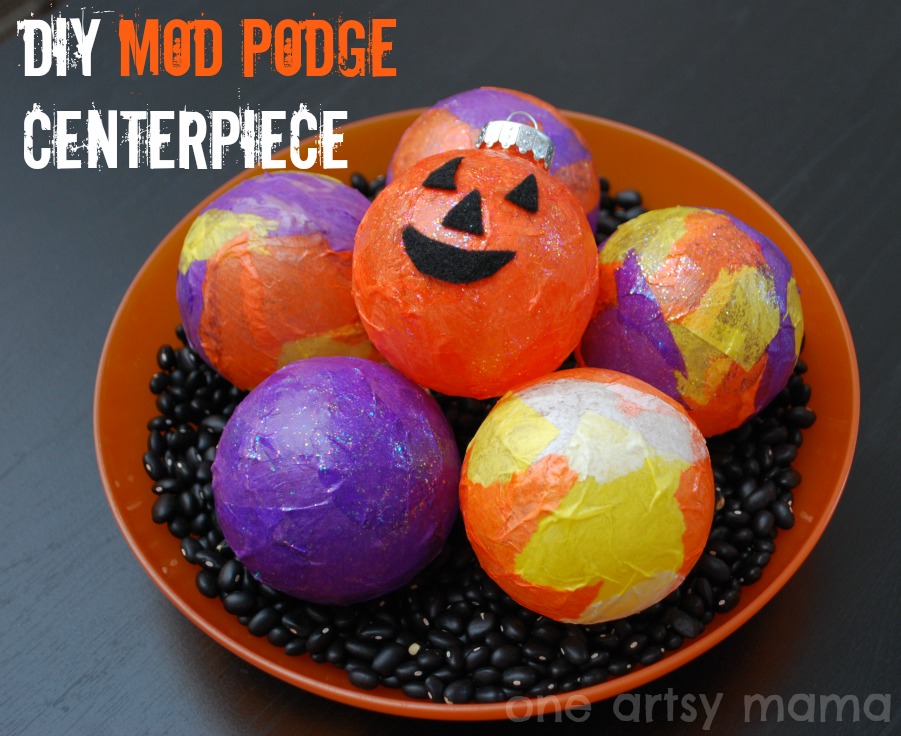
But what to make, what to make? I looked in my stash and found a few of those empty clear plastic ornaments you can get in craft stores around Christmas time. I also had some tissue paper on hand that happened to be good colors for the season. So, we decided to make a Halloween centerpiece featuring decorated ornaments. Since each ornament would be different, it would give us the opportunity to try out a number of different Mod Podge formulas.
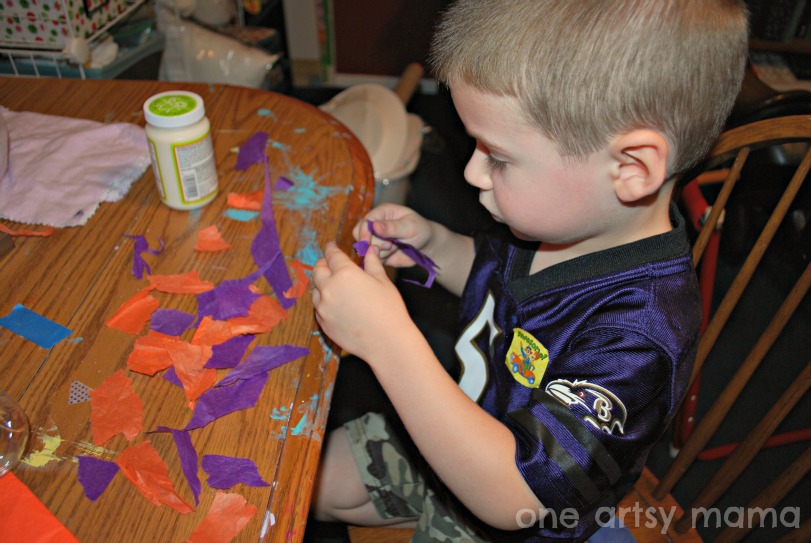
The basic procedure for each ornament was the same. First, we ripped up our tissue paper.
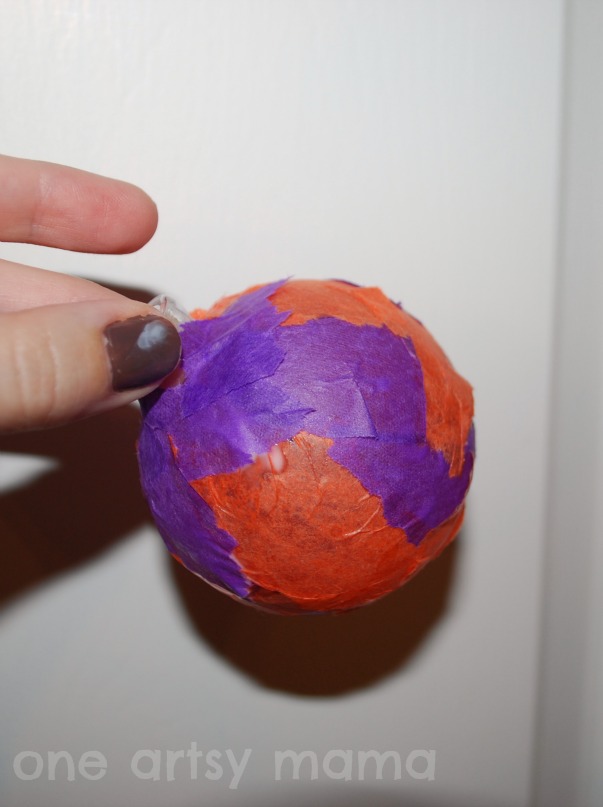
Then, we applied Kids’ Mod Podge to the surface of the ornament and Little Crafter placed the pieces of tissue paper wherever he wanted them to go. Once the entire ball was covered, we chose a type of Mod Podge to use on top and coated the whole thing to seal the tissue paper in place.
After drying, we could add embellishments like ribbon. If you were going to make a Halloween tree or hang them from the ceiling or light fixture, you could do that too, but since ours were going to sit in a bowl, we didn’t actually need hangers.
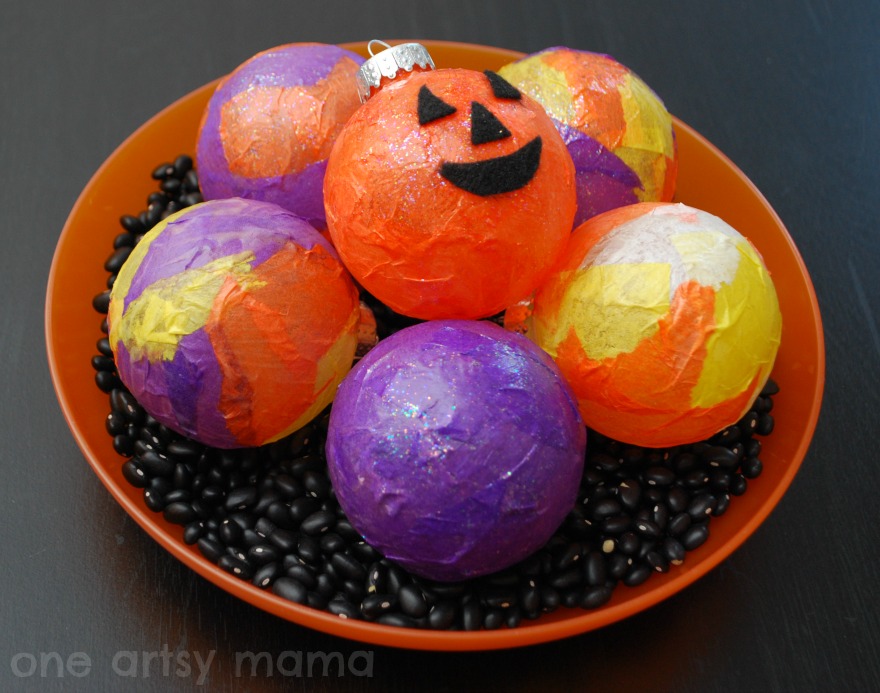
Here’s a closer look at each of our six ornaments. This one, “Mr. Punky,” as LC likes to call him, is just orange tissue paper with a coating of Sparkle Mod Podge. We cut the face shapes from black felt and stuck them on while the Mod Podge was still wet.
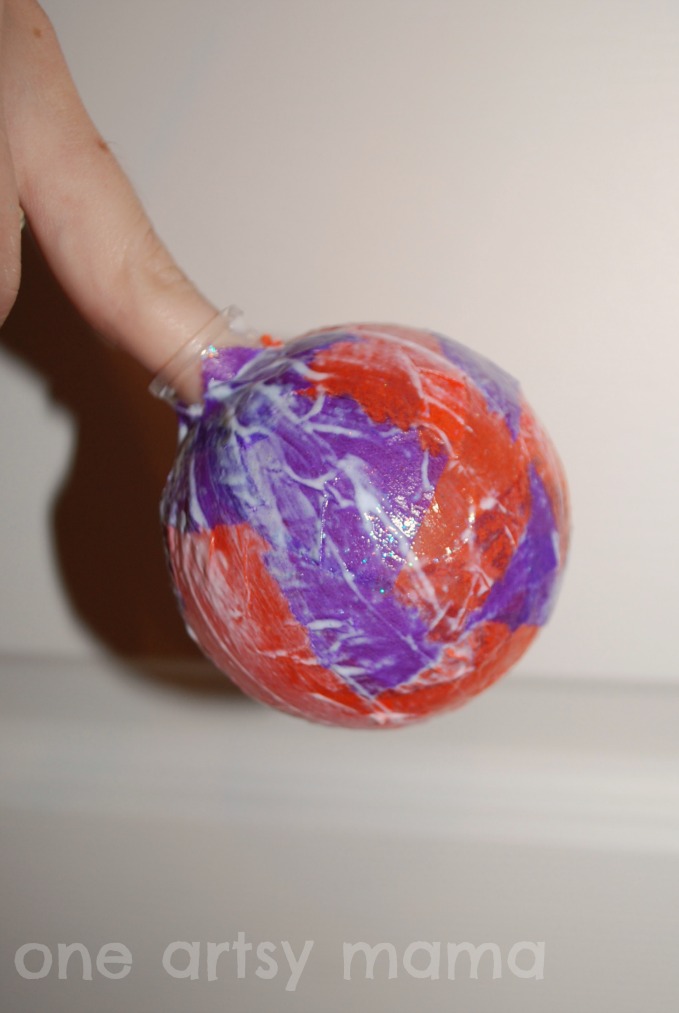
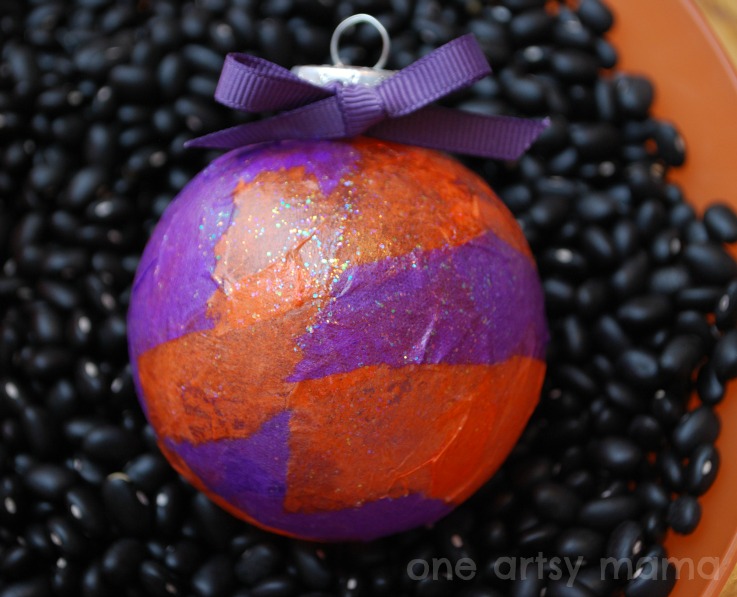
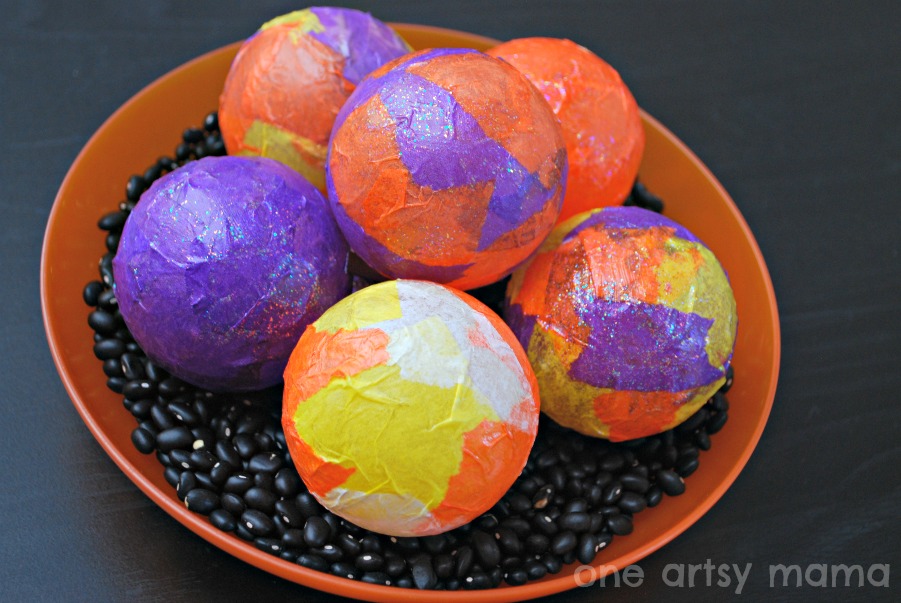
This one uses purple and orange tissue paper and Sparkle Mod Podge.
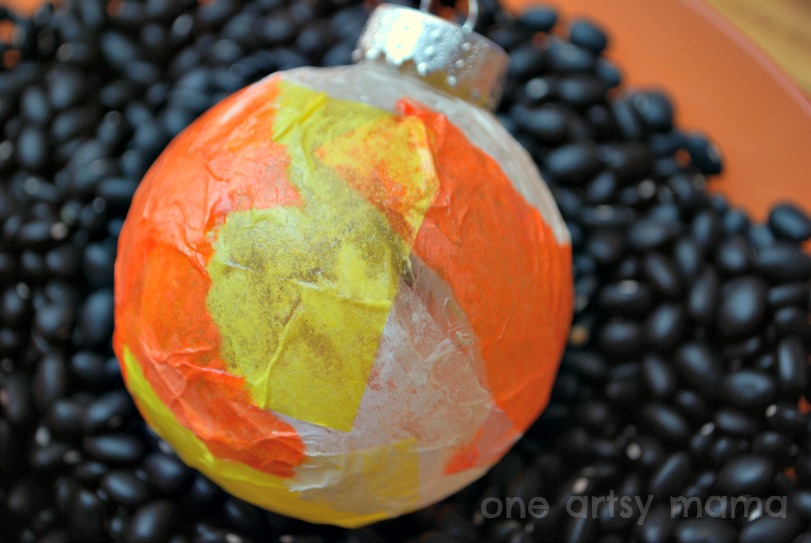
For this one, we were going for a candy corn effect, so we used white, yellow, and orange tissue paper. This time, we played with the Super Gloss Mod Podge. It definitely came out shiny!
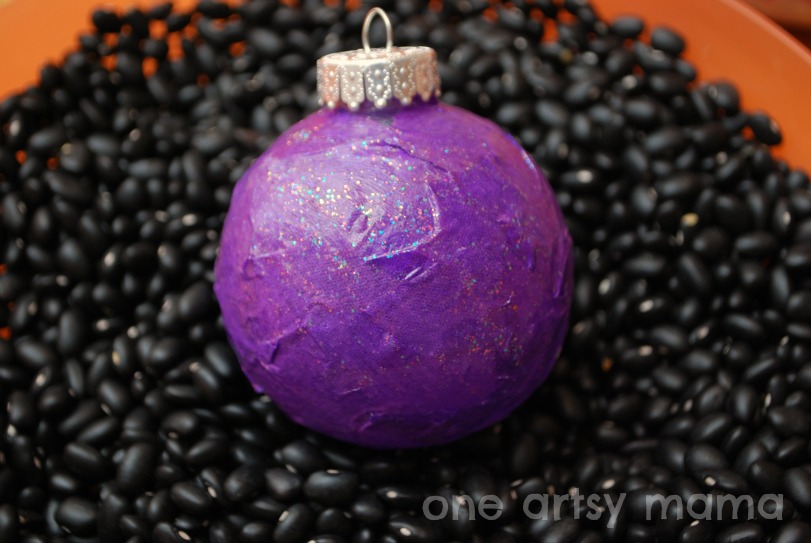
This one is simple; just purple tissue paper and Sparkle Mod Podge…can you tell we both love glitter?
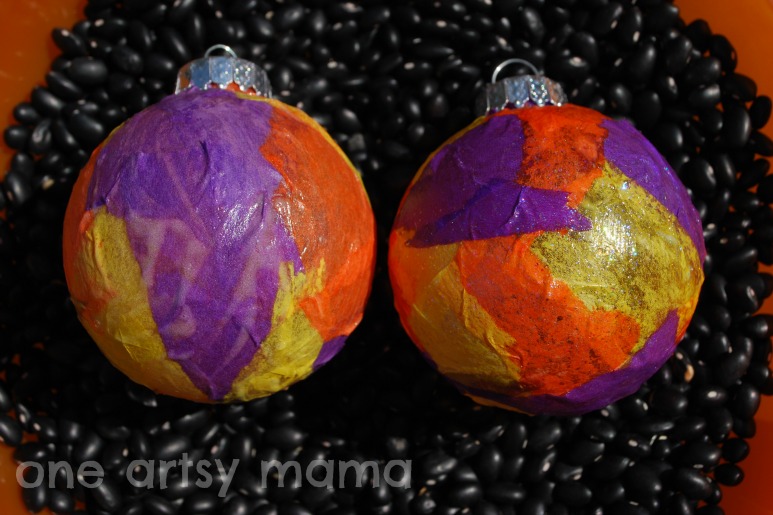
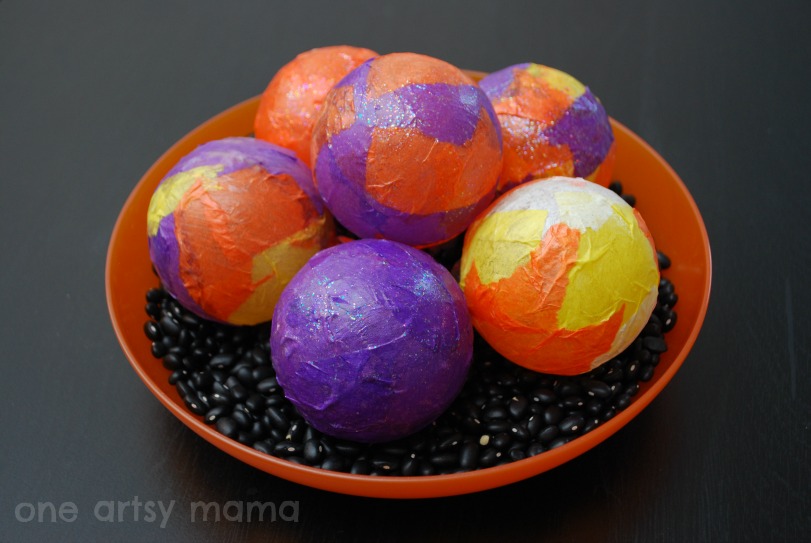
The last two use the same color combo; purple, orange, and yellow, but one we did with Sparkle Mod Podge {right} and the other is Glow in the Dark Mod Podge {on the left}! How fun! You really need the coat the Glow formula pretty thick to get it to glow, but it’s a fun effect! Impossible to photograph, though…sorry! You’ll just have to try it for yourself…
I think my favorite part of the whole thing was the way Little Crafter insisted on spreading the Mod Podge himself, telling me, “That’s MY job, Mommy. It is kids’ Mod Podge, after all.”
That’s a verbatim quote. I love that kid.
Once our ornaments were all dry, we decided to arrange them in an orange bowl I found for a great price at Target. We filled it with dried black beans, then arranged our ornaments on top of them.
Here’s how it looks if you turn Mr. Punky over…a little more subtle, but in my opinion, not quite as fun:
Either way, it’s a quick and easy project, and cheap too! All you need are the ornaments which you can get for $1 a piece or less, scrap tissue paper, and Mod Podge. This total project cost me less than $10; not bad for a centerpiece.
So there you have it, my third project made from my box o’ Mod Podge goodies! If you missed the others, be sure to check out the Mother Necklace and the Monster X-ing sign! Coming up next, a special piece of seasonal wall art! Stay tuned…
Happy fall, y’all!


Ah! I’m so in love! My friend has a halloween tree, and I’ll just have to pass along this post. She’ll love it! 🙂
That LC worked that centerpiece! Nice job little dude- they look fantastic!!
Cute idea! I’ve been looking for DIY centerpiece ideas….
That is so cute! I love that LC was able to get in on it too! Thanks for sharing at the Pomp Party!
Your ornaments turned out great! And your helper is a little cutie too:@)
So cute! What a fun idea! 🙂
Just wanted to let you know that I featured you on my blog today. Come over and check it out: http://www.artsyfartsymama.com/2012/10/pinteresting-features-n-shtuff-52.html
This is so cute and looks like fun. I love the idea of using Christmas ornaments in other ways and for other holidays.
Bonny @ thedomesticatedprincess.com
Oh, how fun!! They came out wonderfully! Thank you for sharing at Sharing Saturday!
Thank you for sharing your project on A Crafty Soiree! I’m pleased to let you know I’ve featured it in the newest one. Please come see it ☺, it will be up at midnight EST tonight.
PS: Love the kid friendly formula, gonna have to look for that at the store 🙂
Super cute! You should enter your photos from this project into Craftbaby’s Halloween Decor Challenge! 🙂
http://www.craftbaby.com/contests/32/halloween-decor