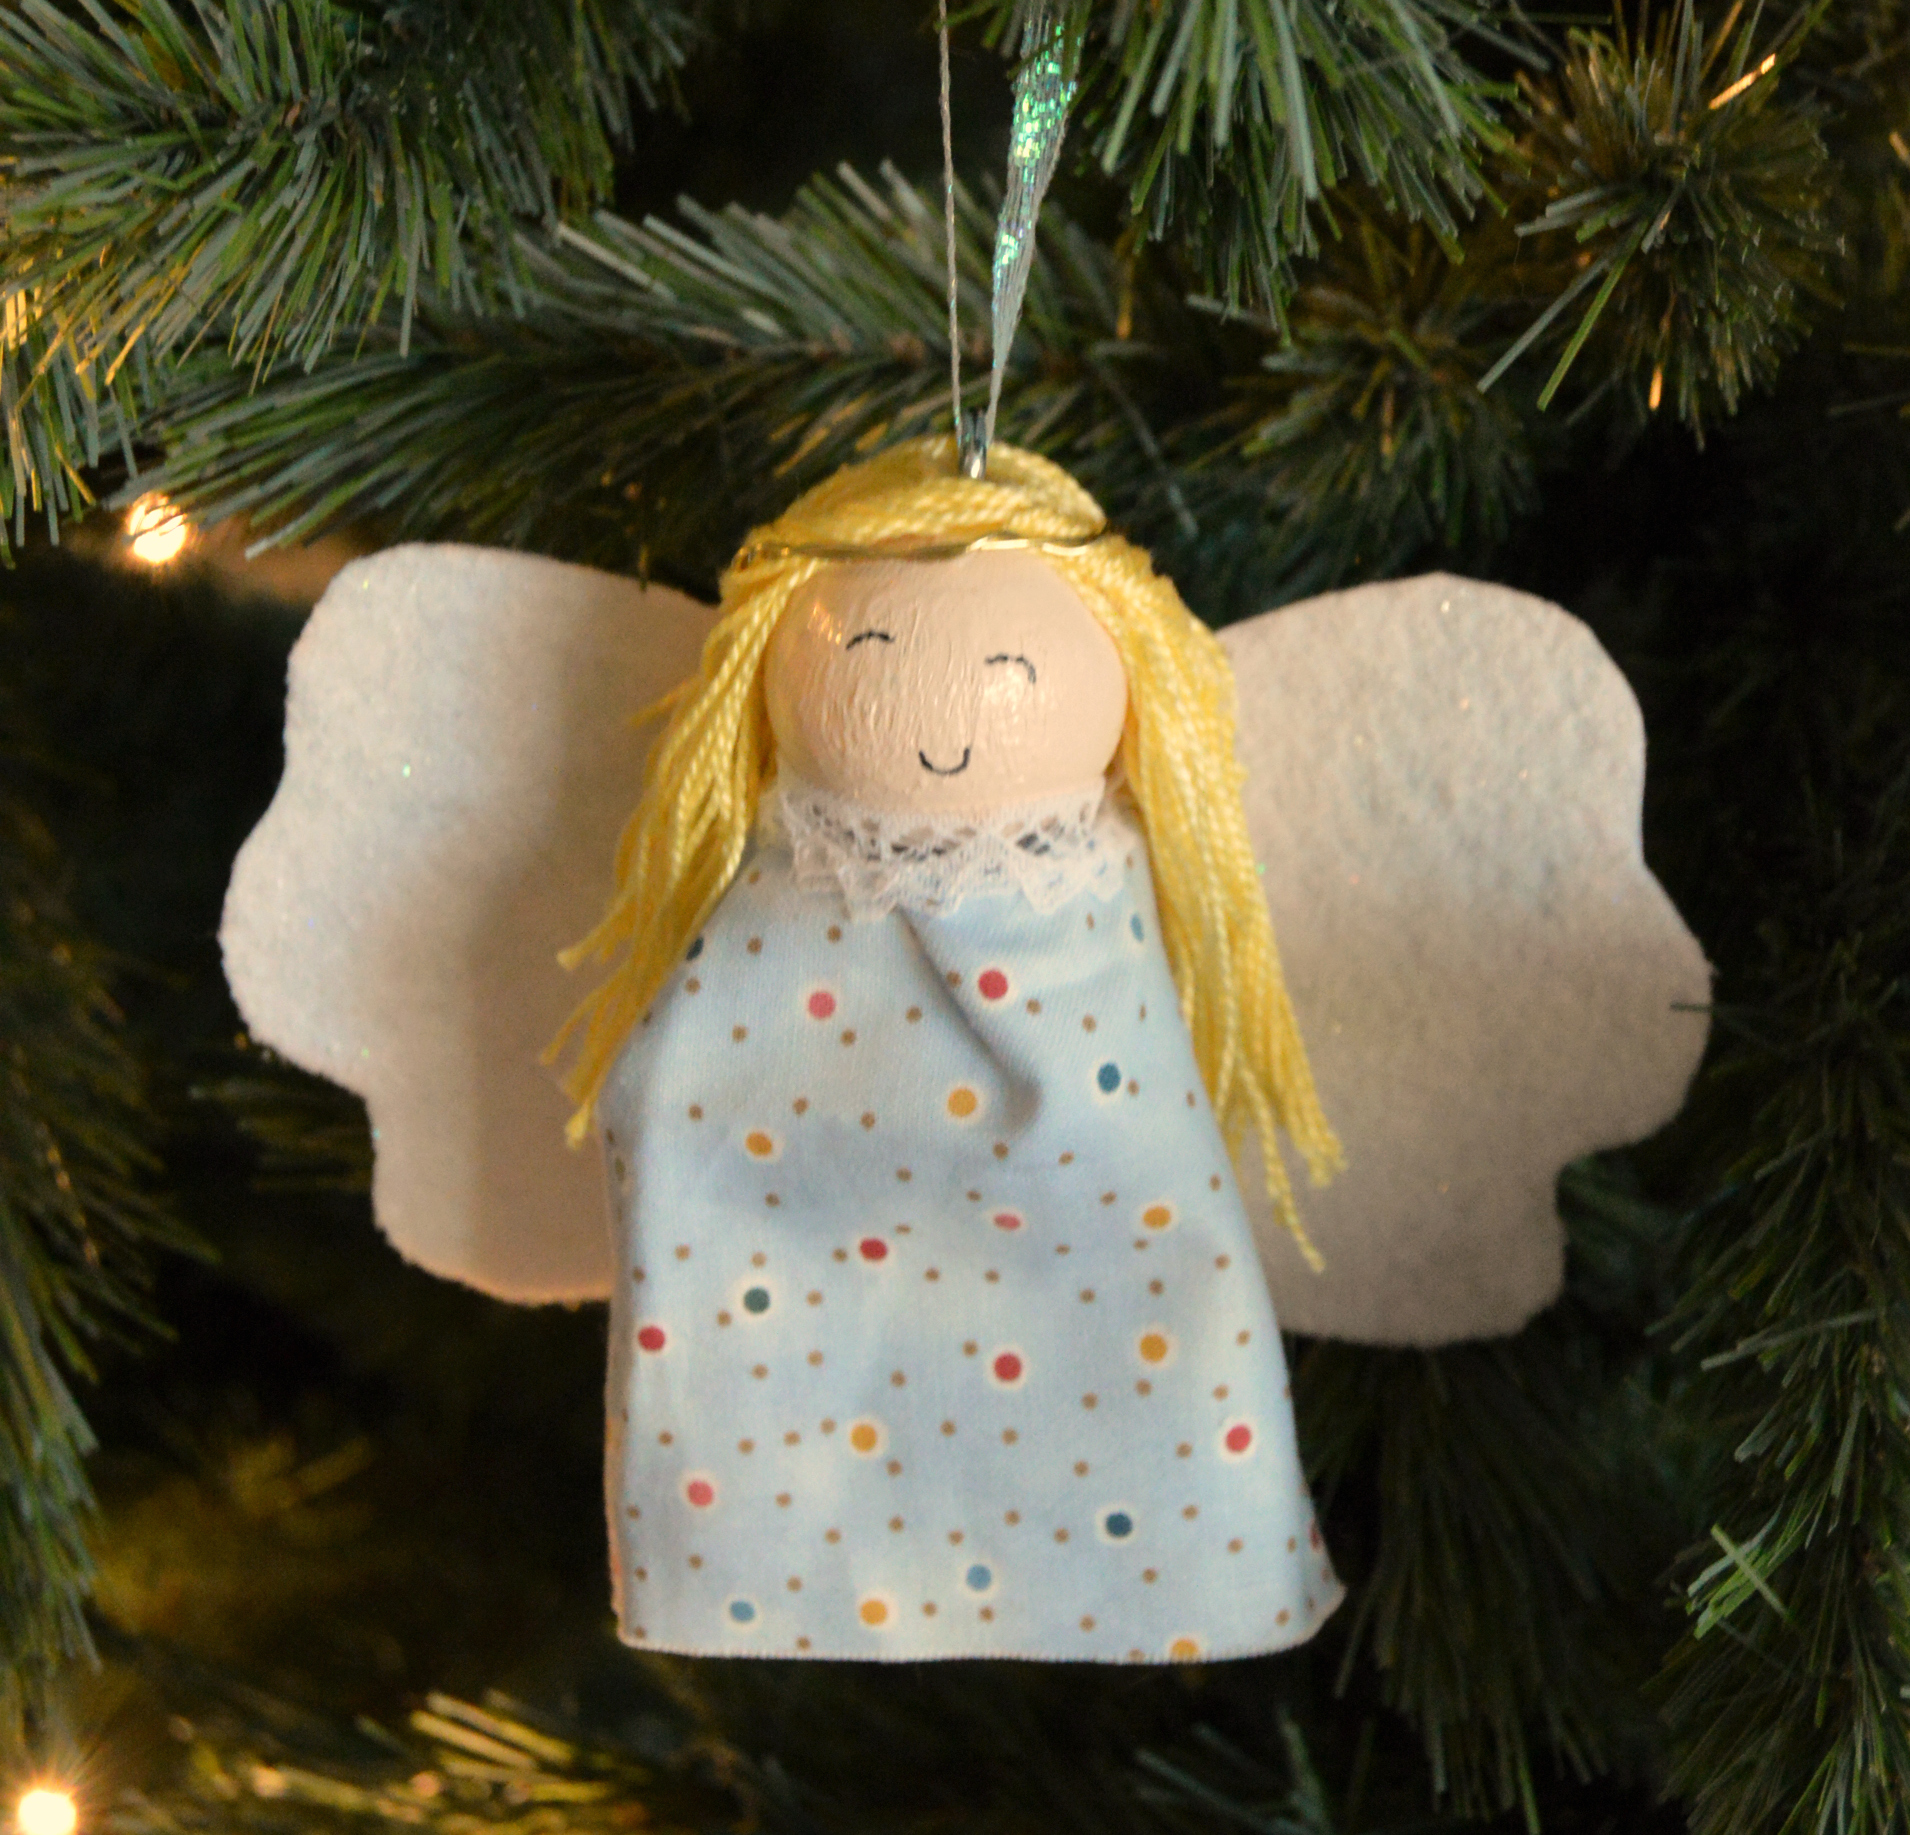
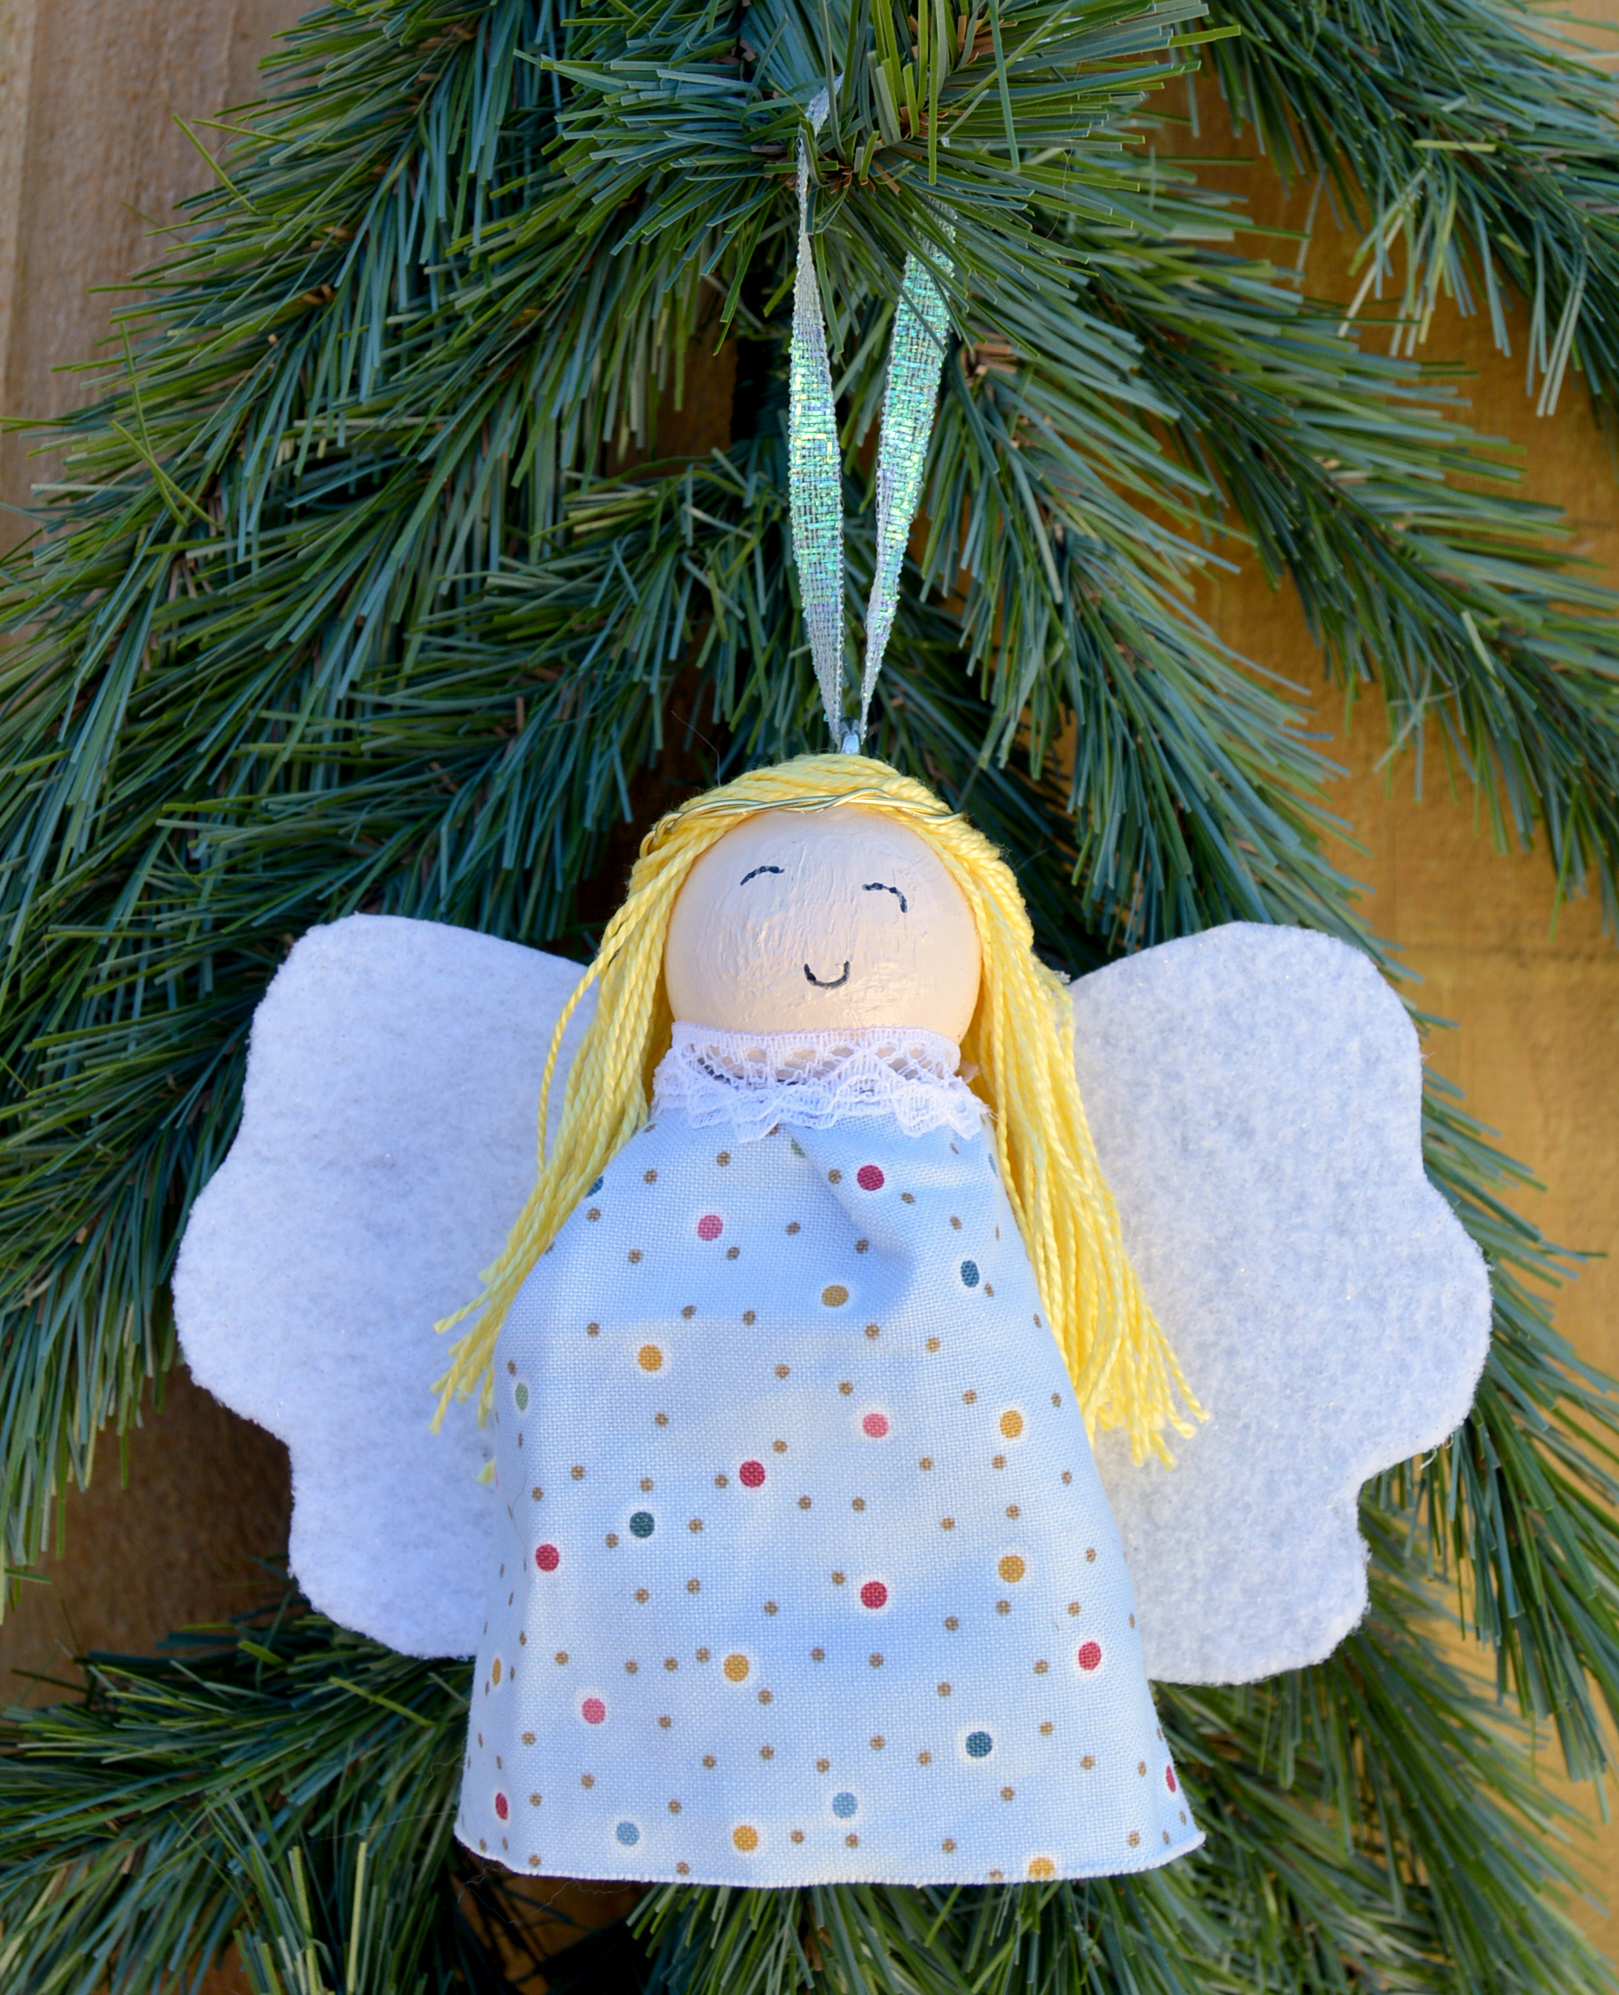
Glowing Angel Ornament
Thanks to Elmer’s for sponsoring today’s post. All opinions are our own.
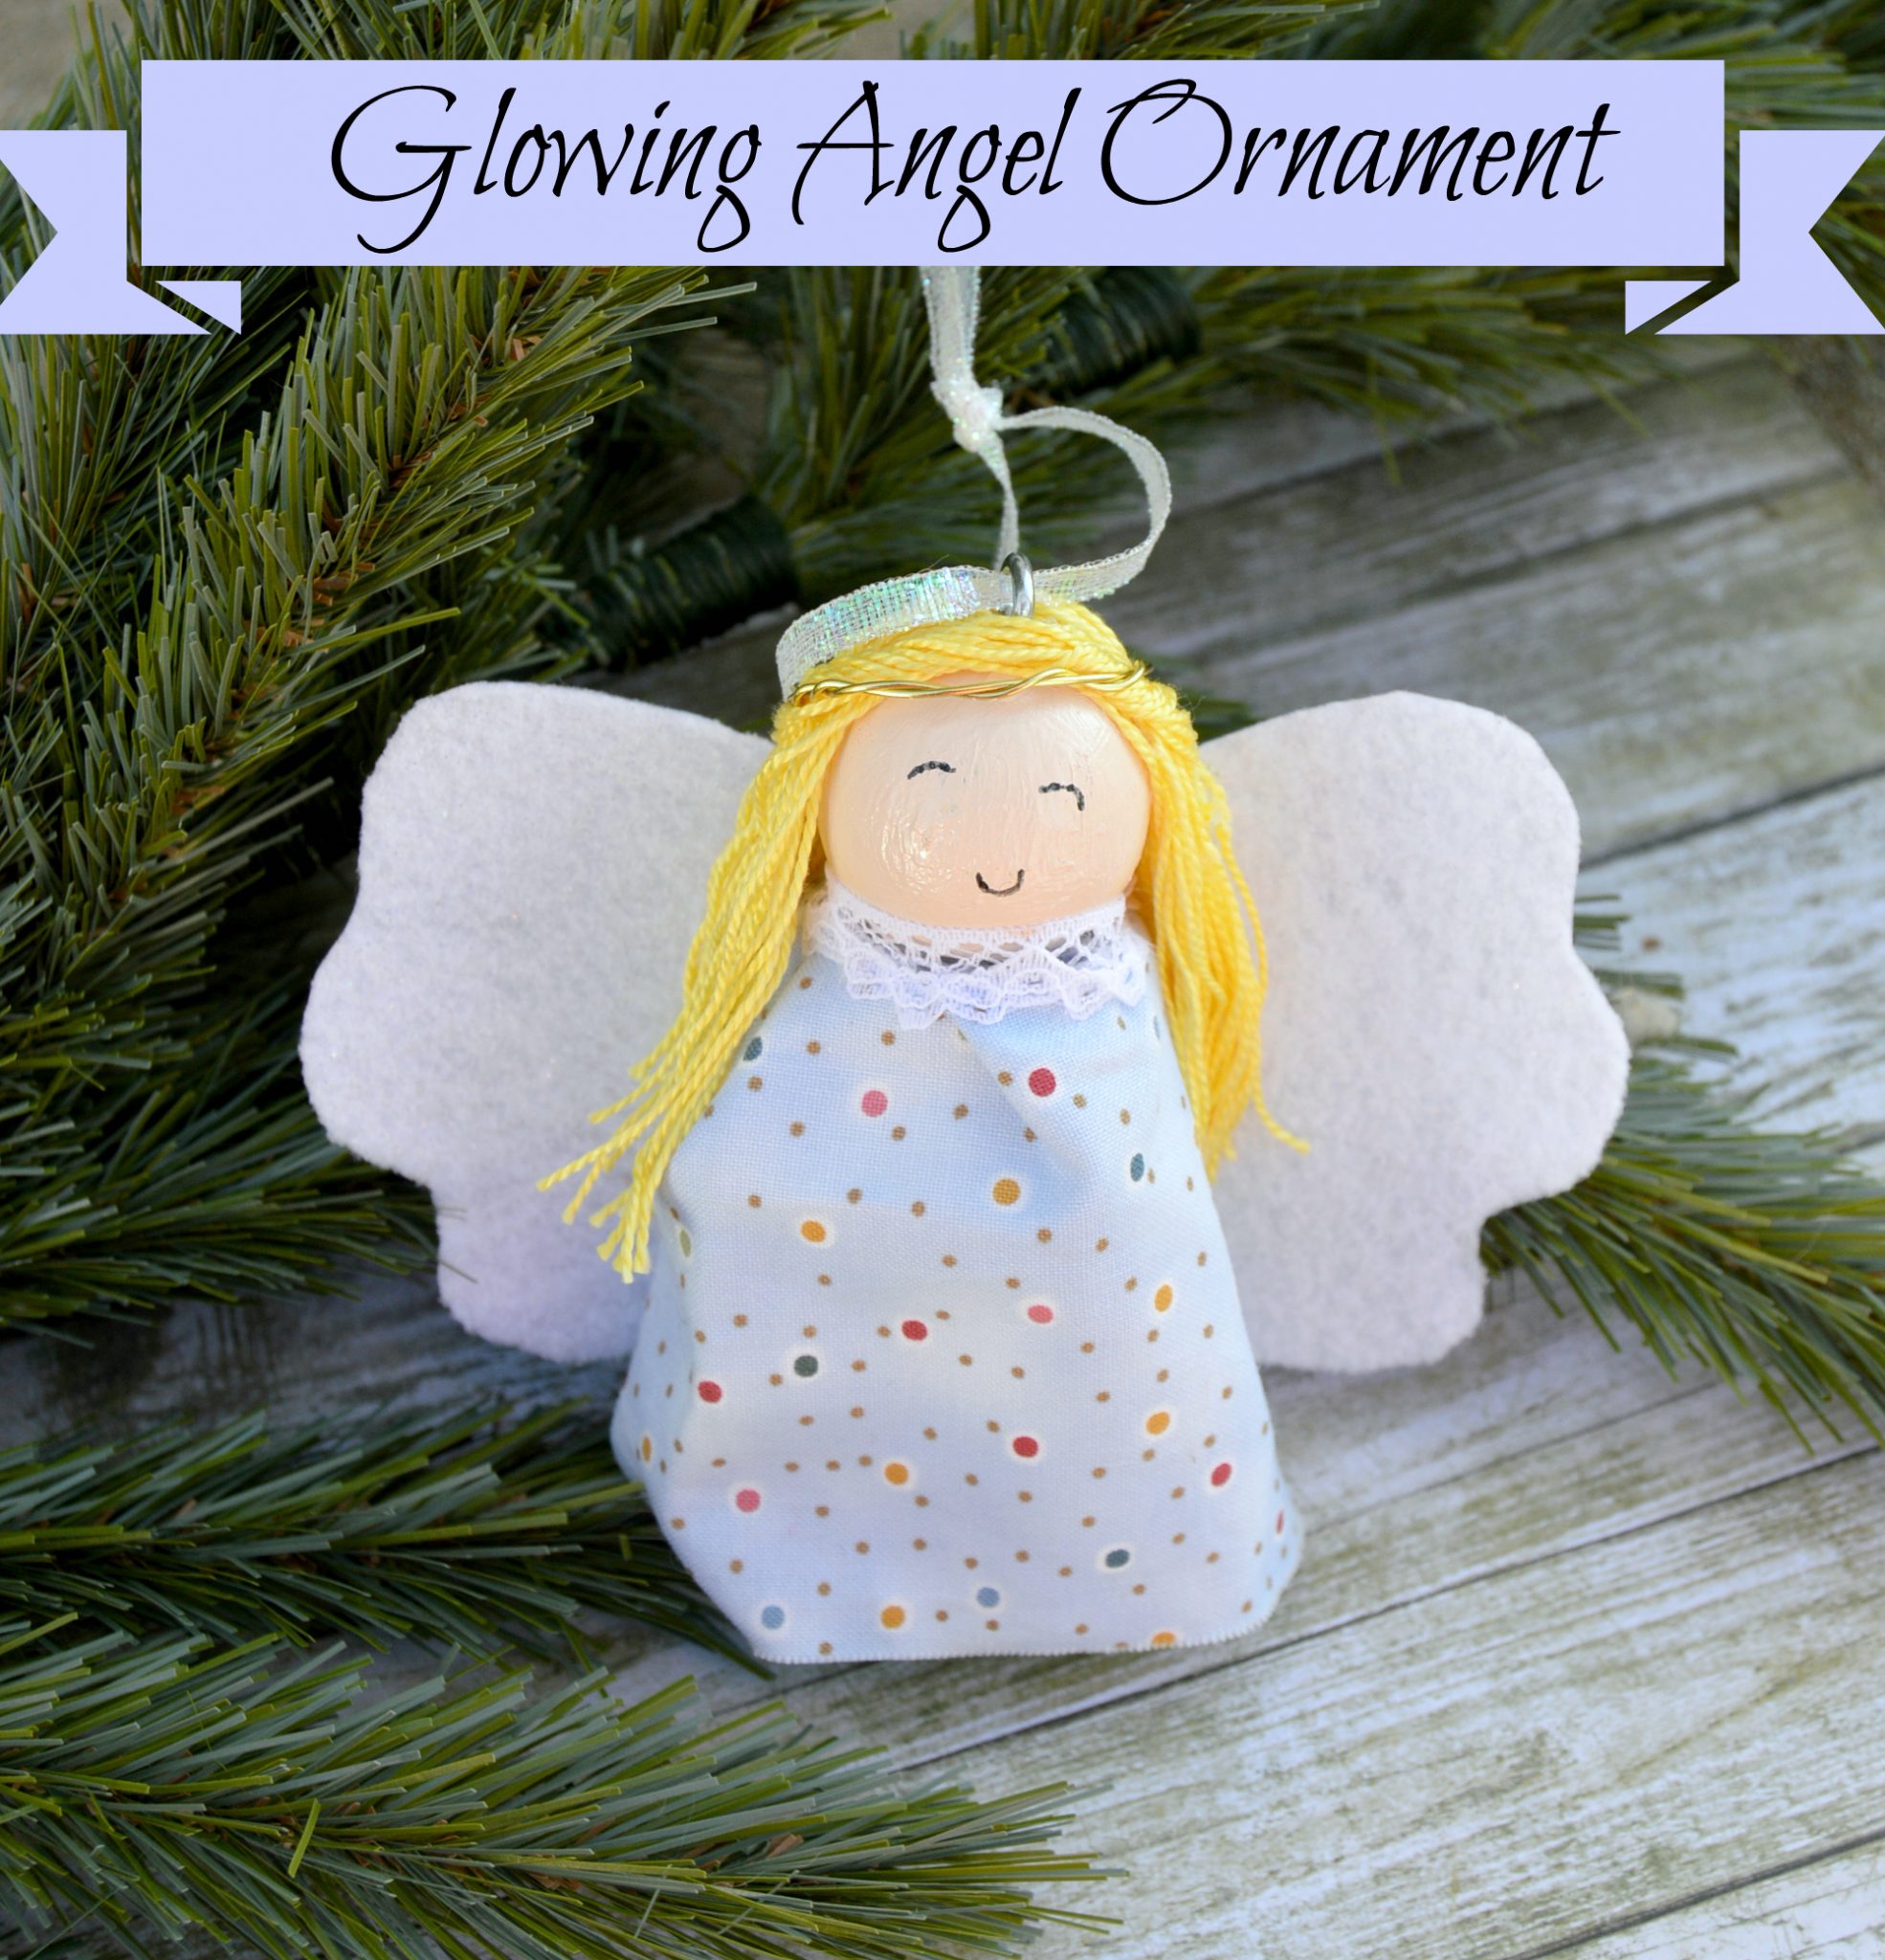
Christmas is such a fun time for crafting, especially with little ones! I also love adding a little “ooooh” factor when I craft, and in this case, I wanted an ornament that would glow on the tree. I came up with this darling little angel ornament, that not only is a lot of fun to do with the kids, but it lights up too!
Materials:
Film Canister (you can find tons on Amazon!)
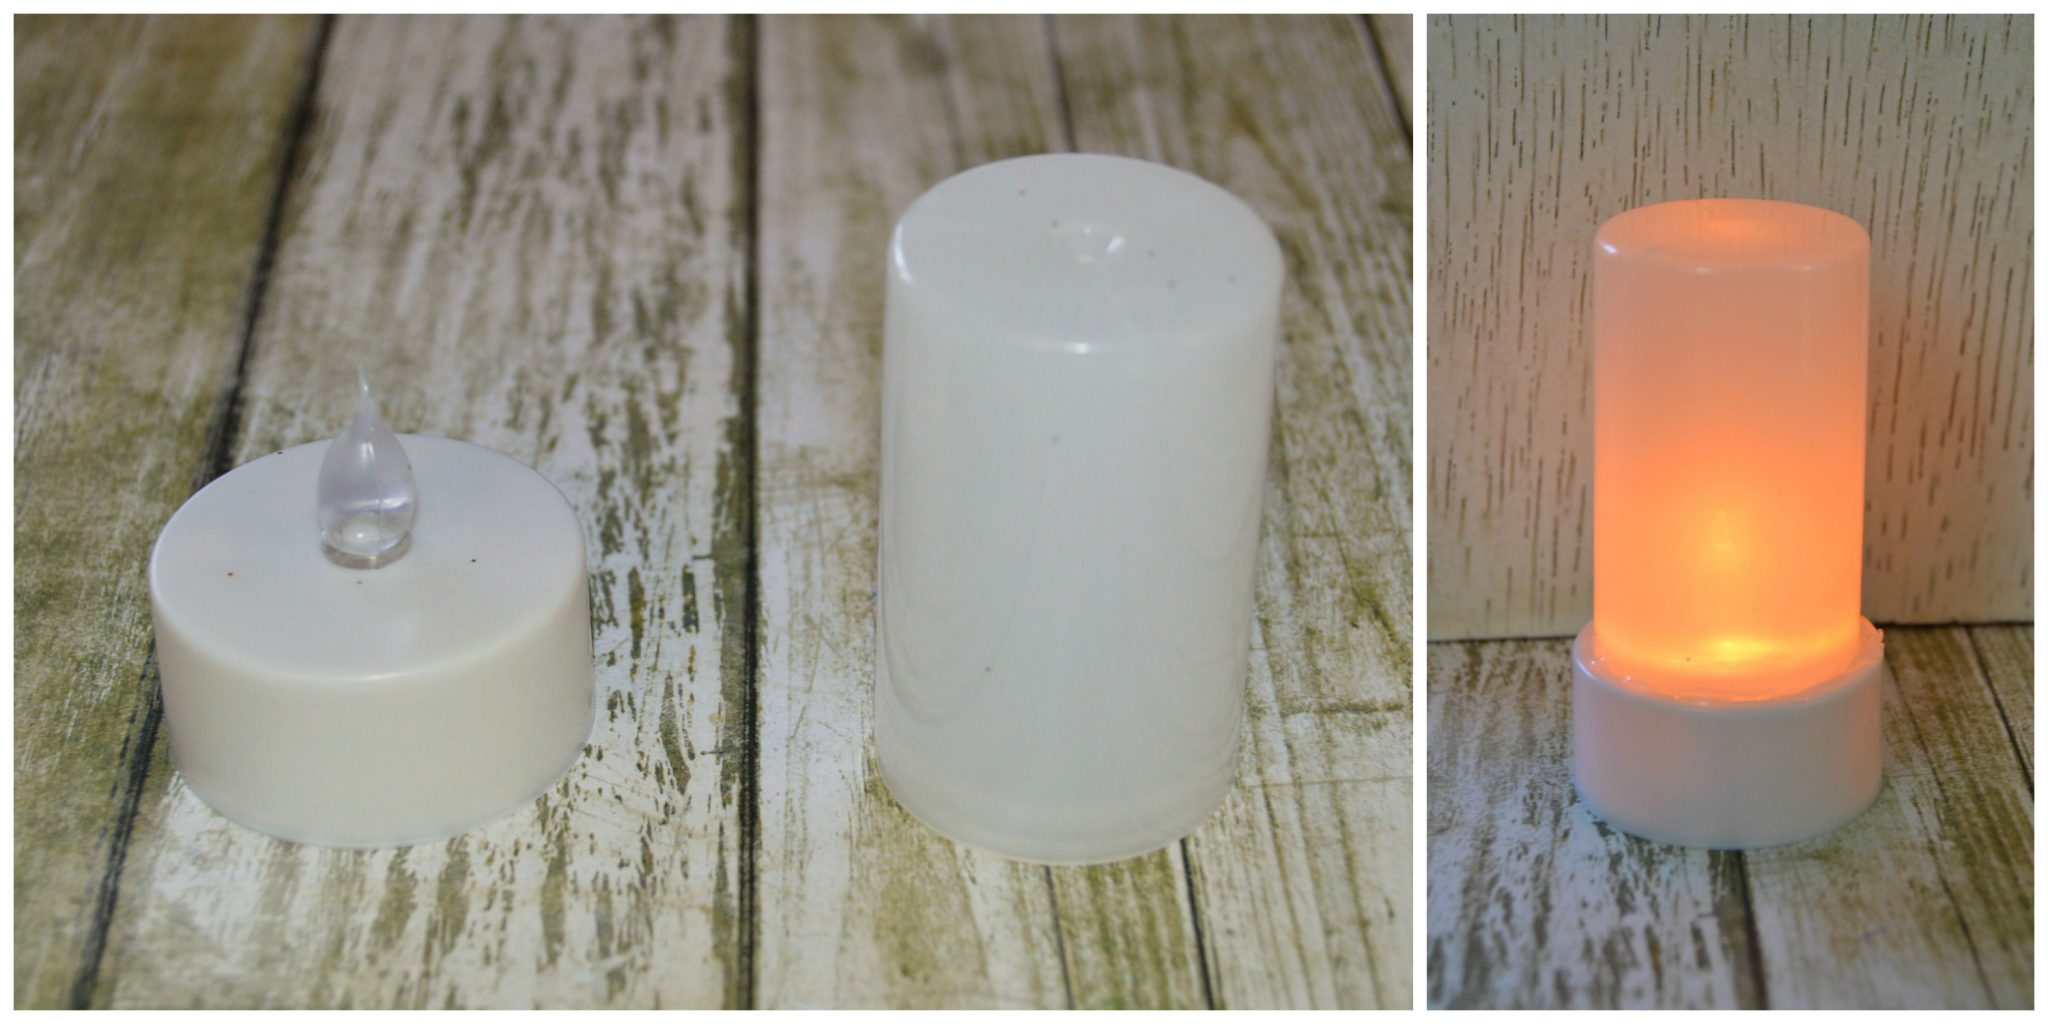
Battery-Operated Tea Light
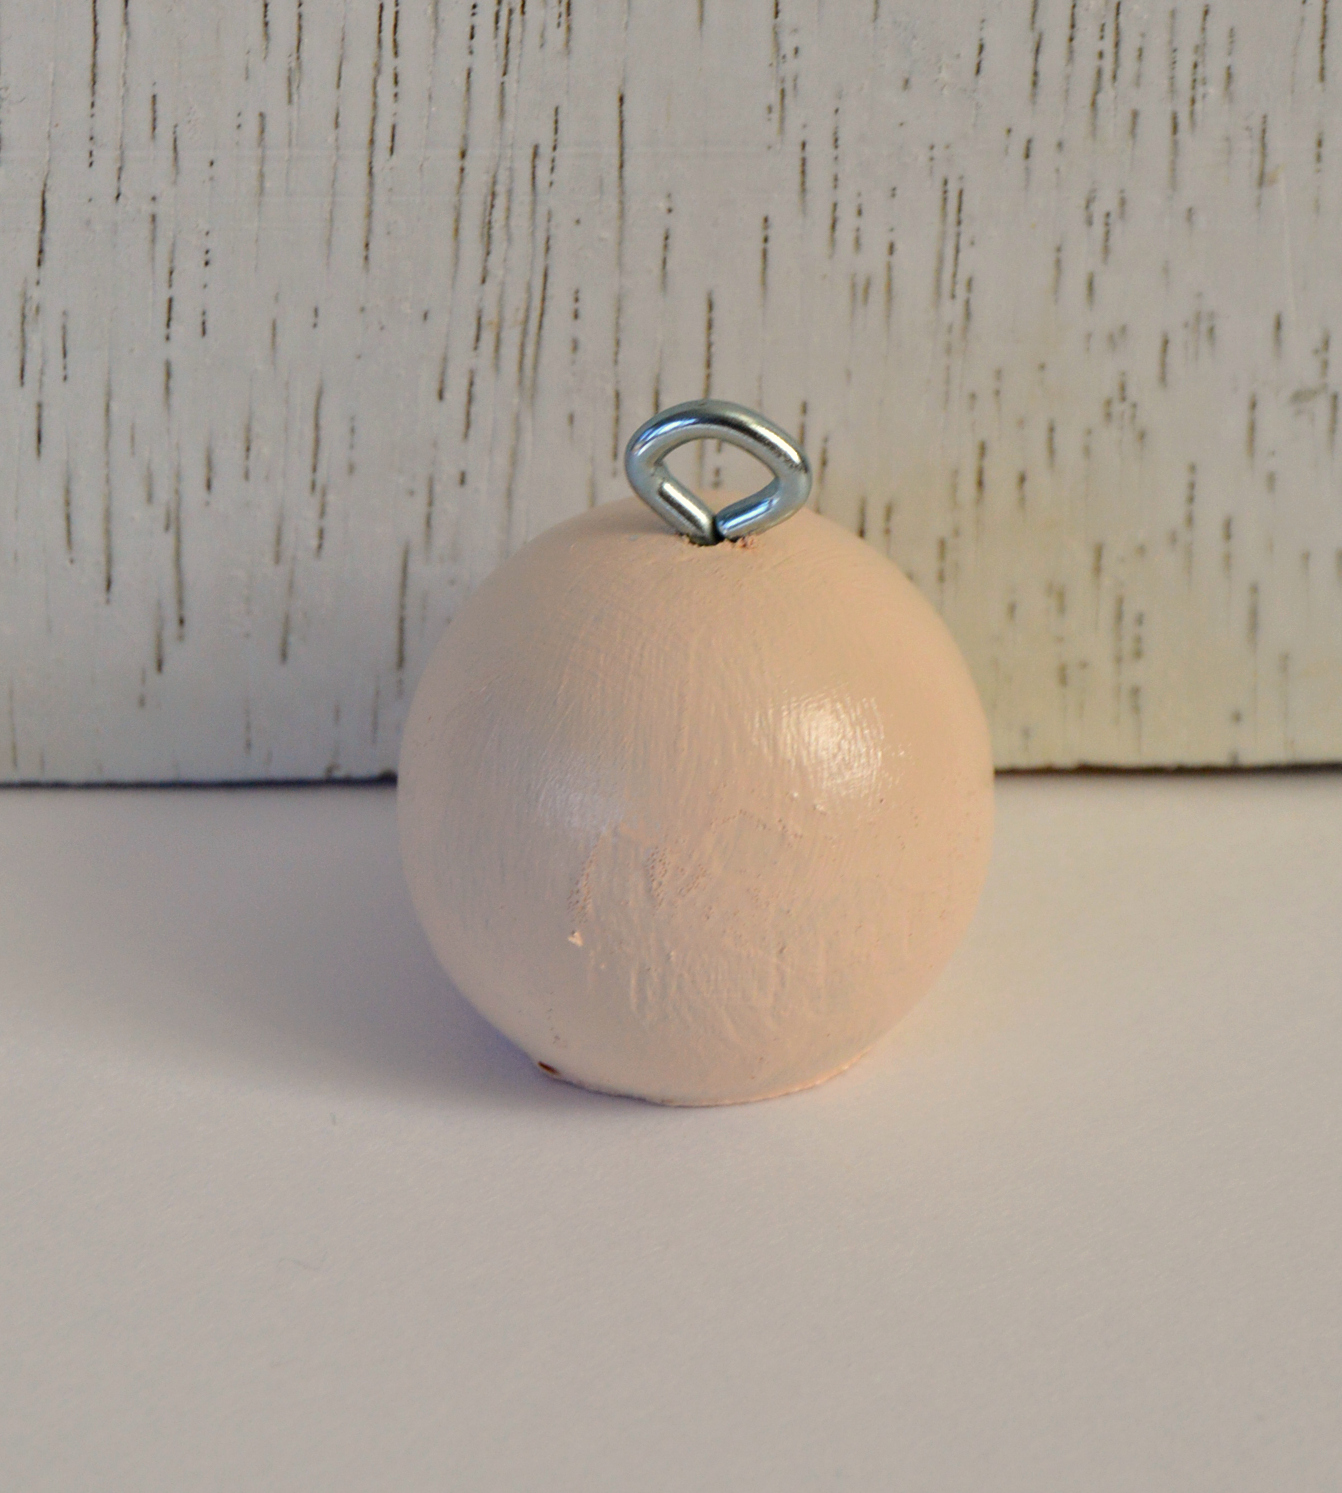
Wooden Doll Head
Paint
Fabric
Embroidery Thread (for hair)
Stiff Glittered Felt
Ribbon or Lace
Permanent Marker
Hand Drill and Small Eye Hook
Gold Wire
Elmer’s Craft Bond Hot Glue Gun and Glue Sticks
Step 1: Remove the lid from the film canister, turn the canister upside down, and hot glue to the tea light.
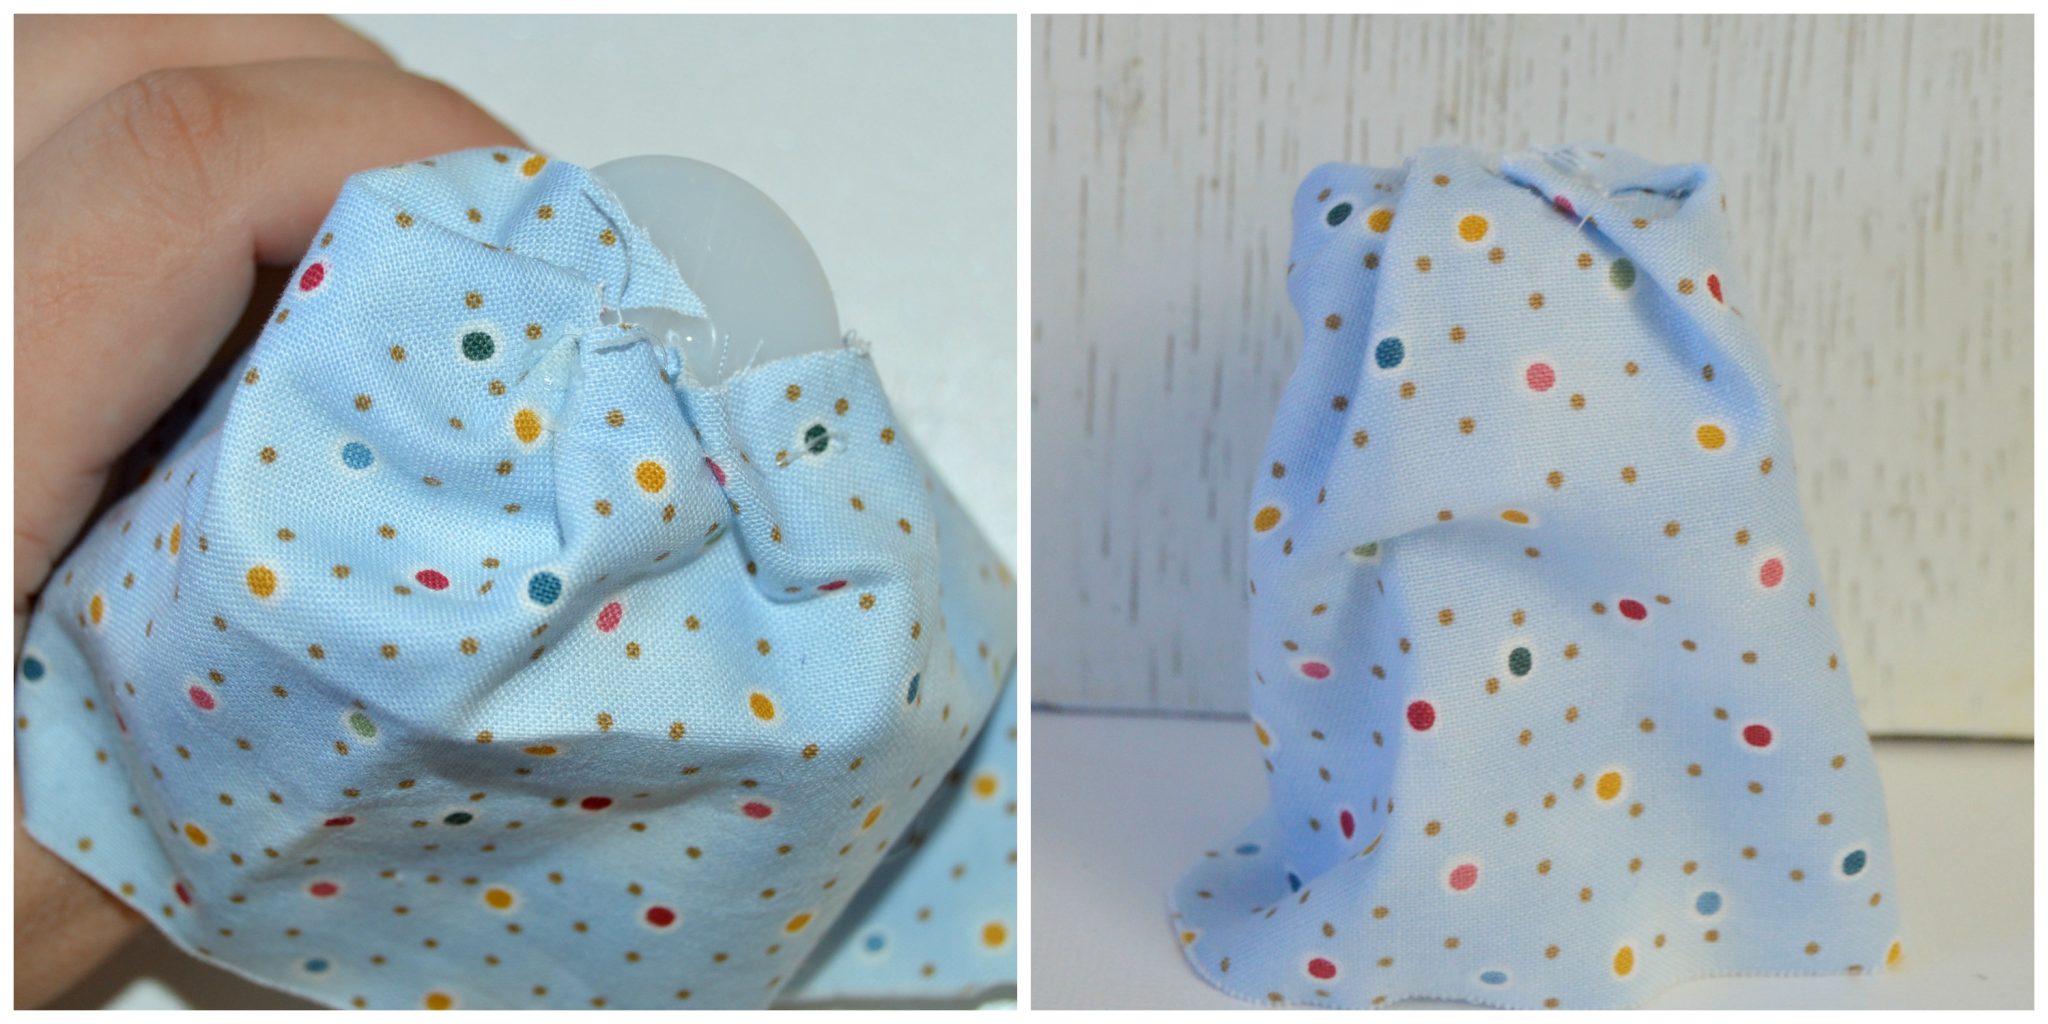
Step 2. Choose and cut your piece of fabric. Kids can really start to personalize their angel here! One thing to remember, make sure the fabric is slightly “see through” so that when the tea light is on, it can be seen through the film canister AND the fabric. I chose a light cotton for mine. Kids can even decorate their own piece of white fabric for an even more personalized look!
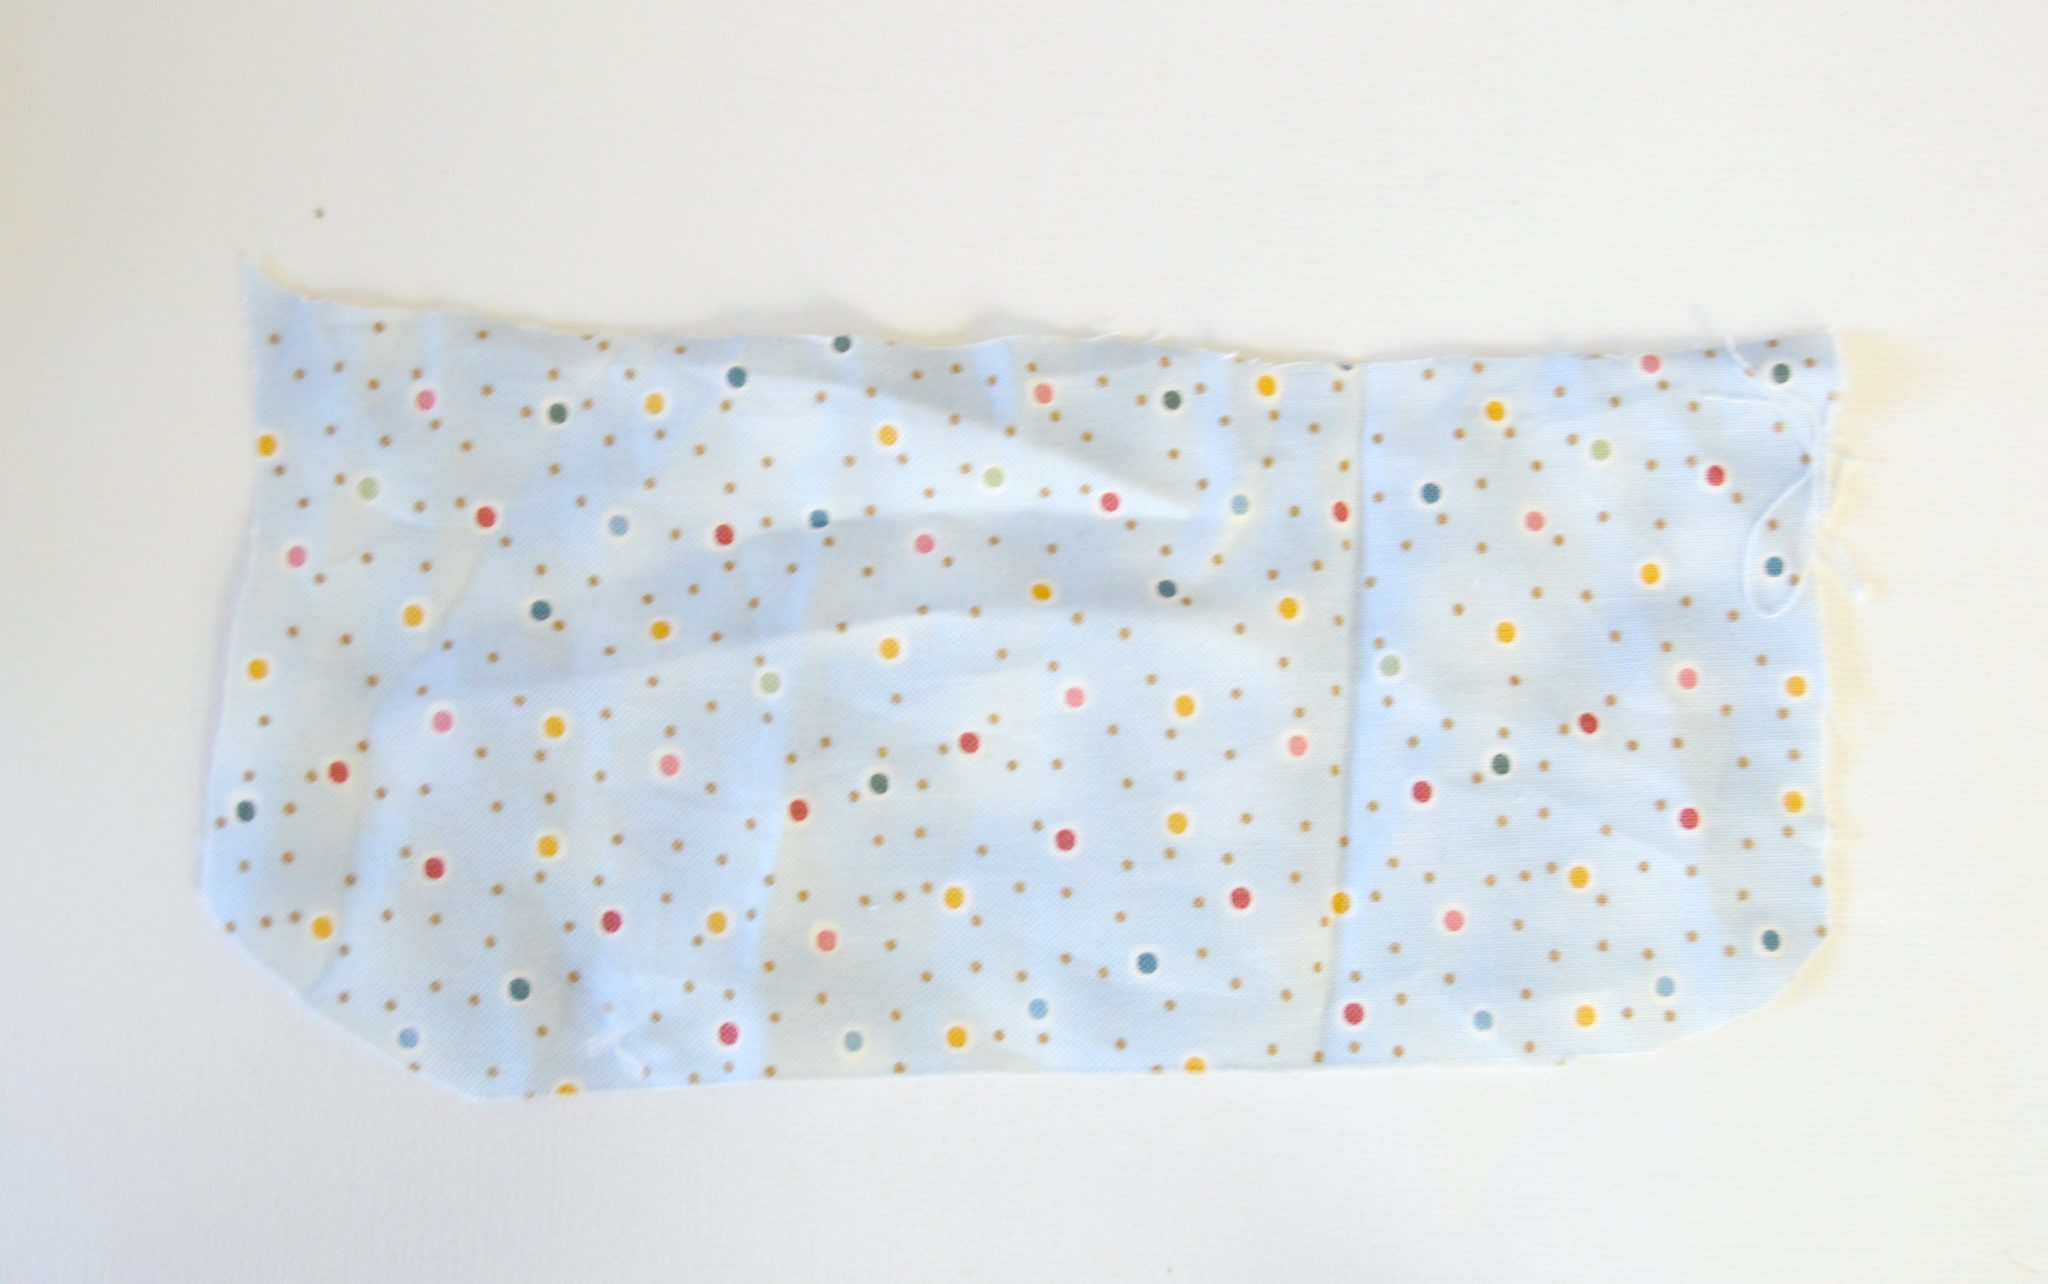
Step 3: Hot glue the top of the fabric around the top of the film canister. Start with one corner, glue, then fold and make a pleat, glue, make another pleat, glue. Speaking of the glue, did you know Elmer’s has a brand new hot glue gun and glue sticks out that are specially designed for less mess?!
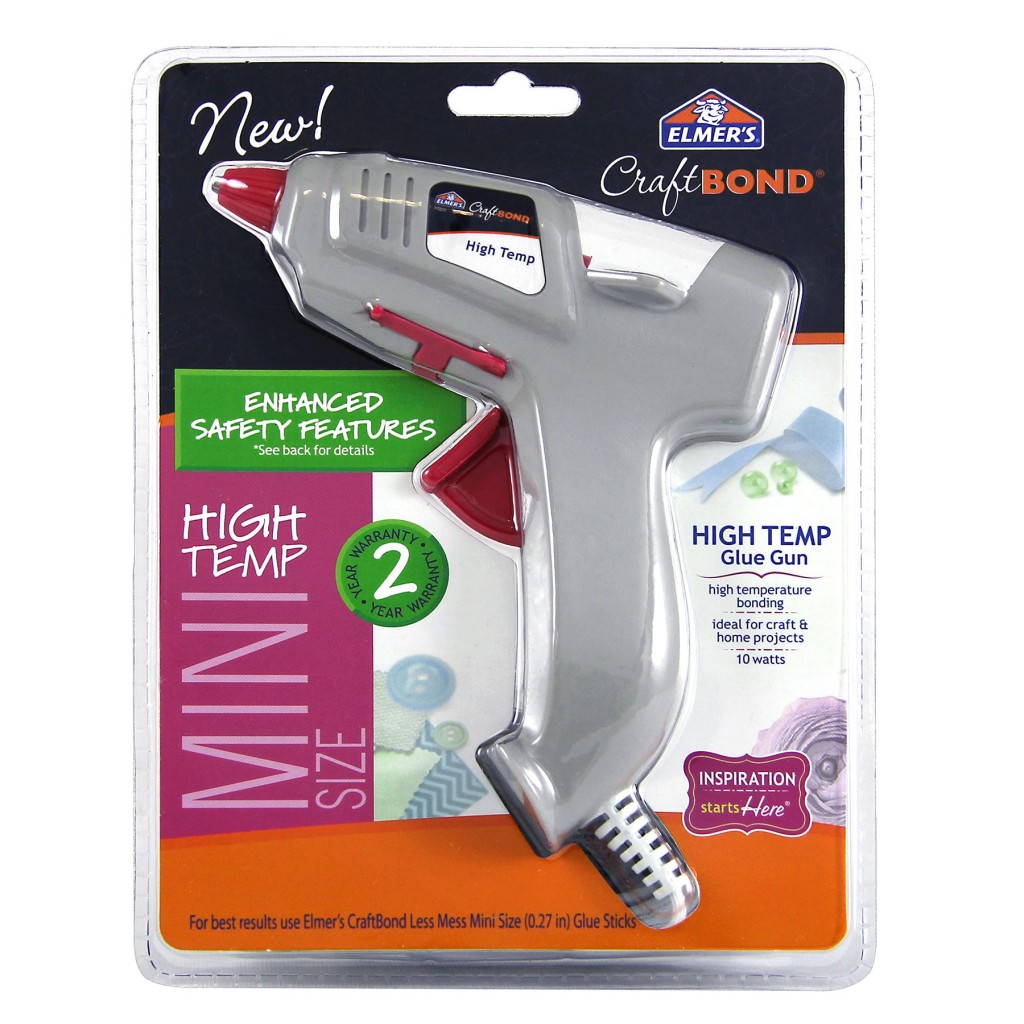
The advanced formula glue sticks are made to eliminate all those pesky strings and just leave a precise bead of glue right where you want it…which is so helpful for a project like this!
Step 4. Paint the head! Kids can easily paint their head while you’re gluing fabric to the canister.
Step 5: Using your hand drill, make a small hole in the top of the head, and attach the small eye hook.
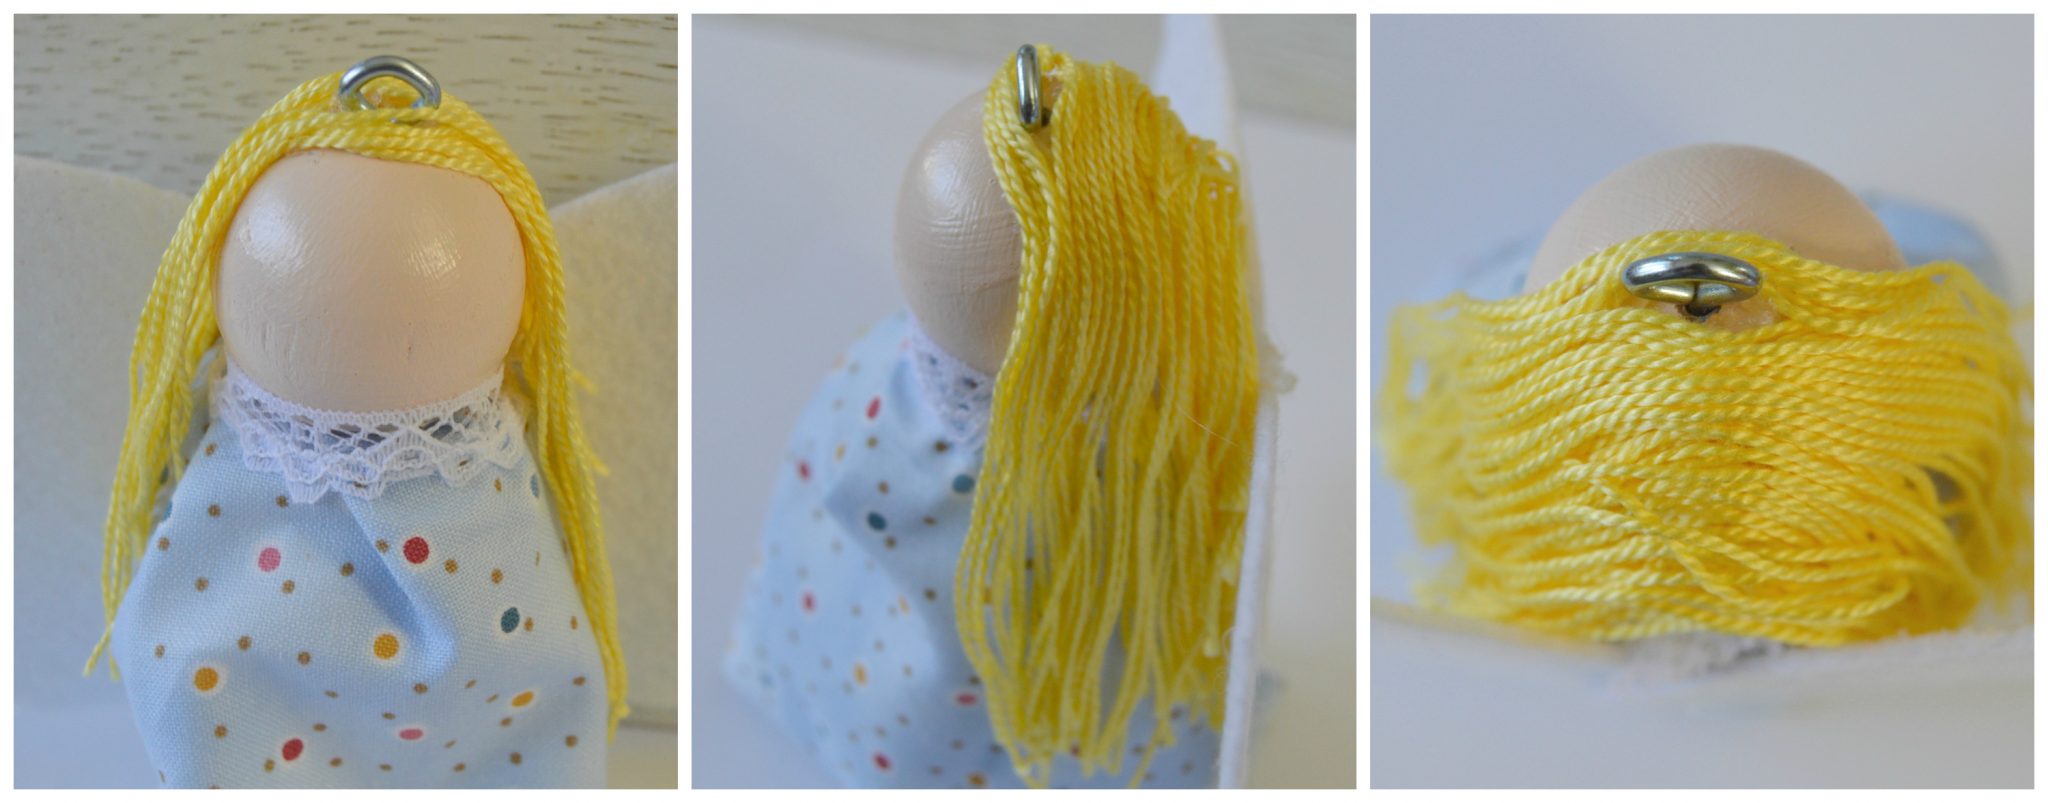
Step 6: Hot glue the head and add some ribbon or lace around the neck.

Step 5. Cut out wings from the stiff glitter felt and hot glue to the back of the angel. Kids can cut whatever wing shape they’d like, and you could even trace and cut their hand prints!

Step 6: Add hair! Place a line of hot glue down the middle of the back of the head. Start draping the embroidery thread over the head and the “hair” will come down on both sides. Don’t worry about the length, you’ll get to give her a hair cut when it’s all done!
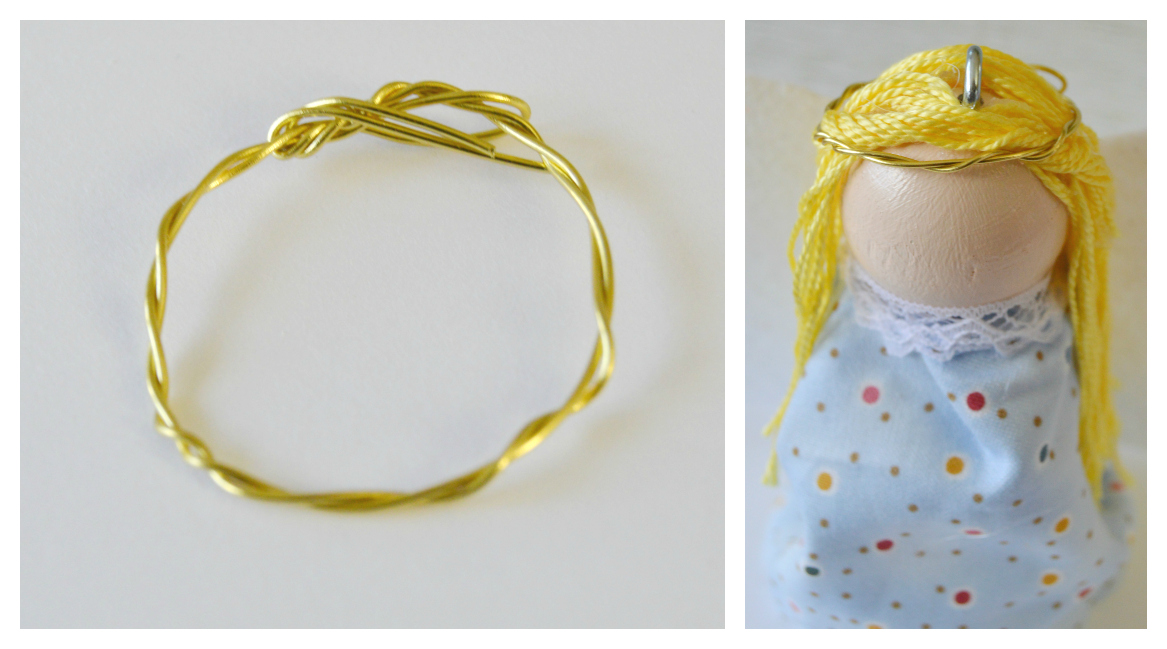
Step 7. Make a halo out of the gold wire and hot glue into place.
Step 8: Add some finishing details like a face (use a permanent marker) and attach a ribbon to hang!
As the sun begins to set, and your Christmas tree lights turn on, make sure to turn the angel’s light on too!

What I love about these little angels is that the kiddos can design their ornament from start to finish, and no two will look alike. Just make sure a responsible adult is there when it comes time to hot glue (if you have little kids!). And be sure to check out the Craft Bond Glue Gun for hot glue without the hot mess! Would your kids like to have their own glowing angel?

Thank you! A great craft to share with my granddaughters
Thanks!
Erin, I have made an Angels wreath, It is a wreath with Angels all the way around it. Can you help me make Angels that are beautiful
Thank You
Velma