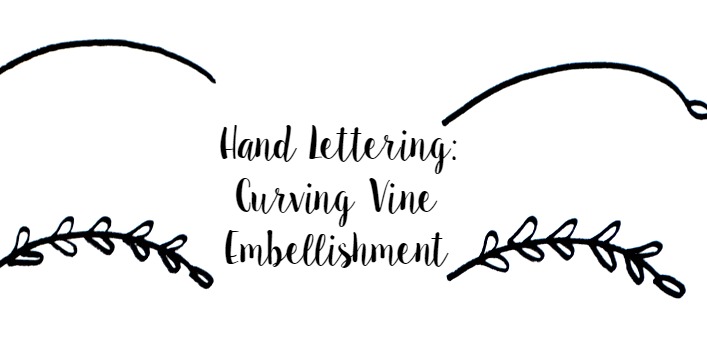
Basic Hand Lettering: Flower Embellishments
Friends, one of the things I found as I started doing lettering projects was that I wanted more ways to fill up the blank space on my page. Here are some simple hand drawn flowers that add color and style to any lettered piece. They might look intimidating at first, but honestly, if you can draw a not-so-perfect circle, you can make these too! Ready?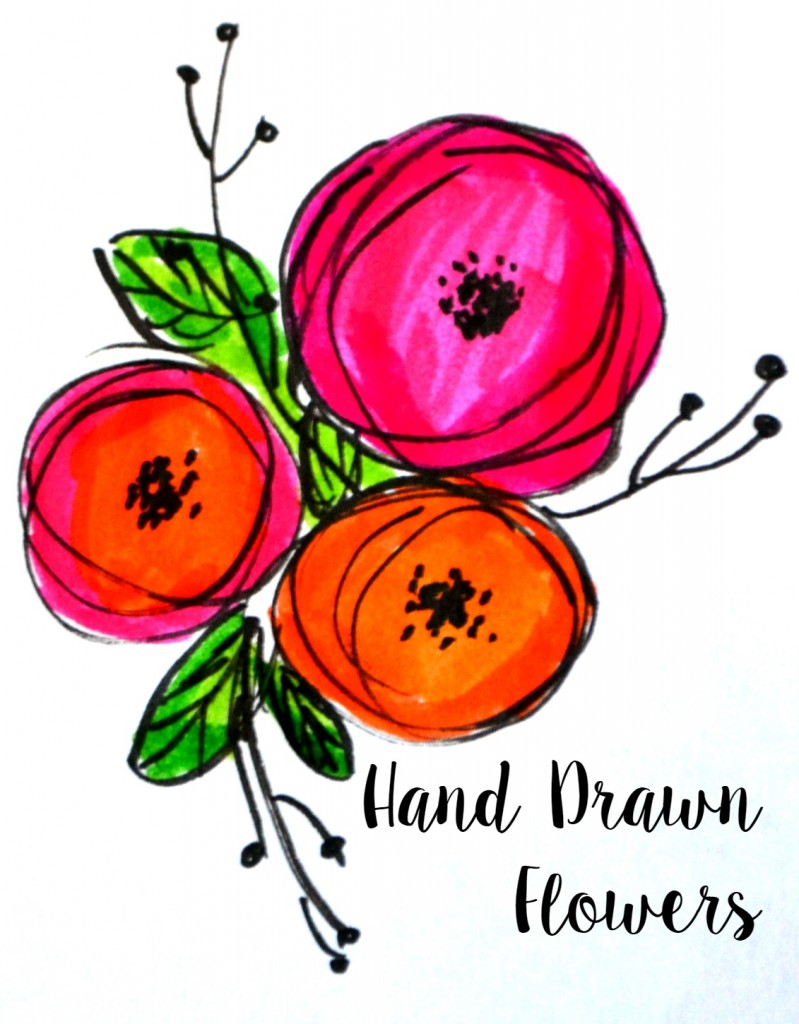
You’ll need:
Markers {mine are Tombow Fudenosuke Soft Tip and Tombow Dual Brush Pens}
Paper
Pencil {optional}
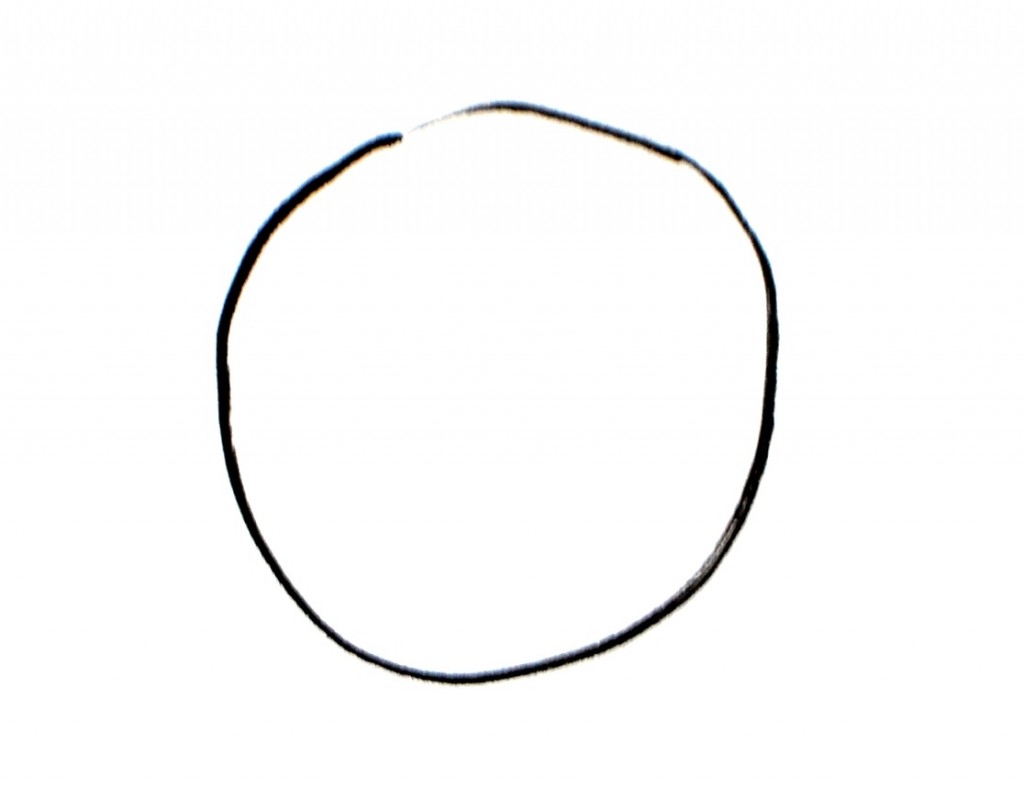
Step 1: Draw a circle.
Don’t worry about it being perfect. If you want, you can do this in pencil first, then go back over with a marker later.
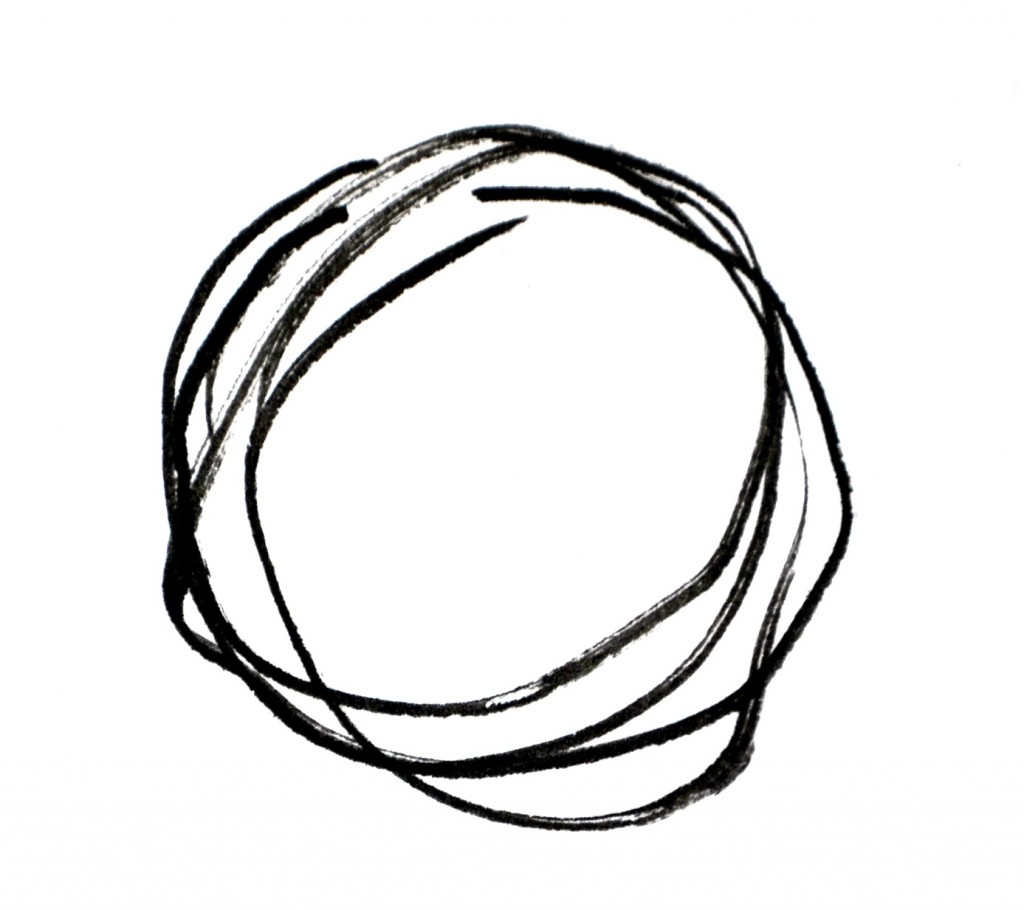
Step 2: Draw several more circles that are close to and overlapping your original one.
Once again, don’t worry about perfection…really!
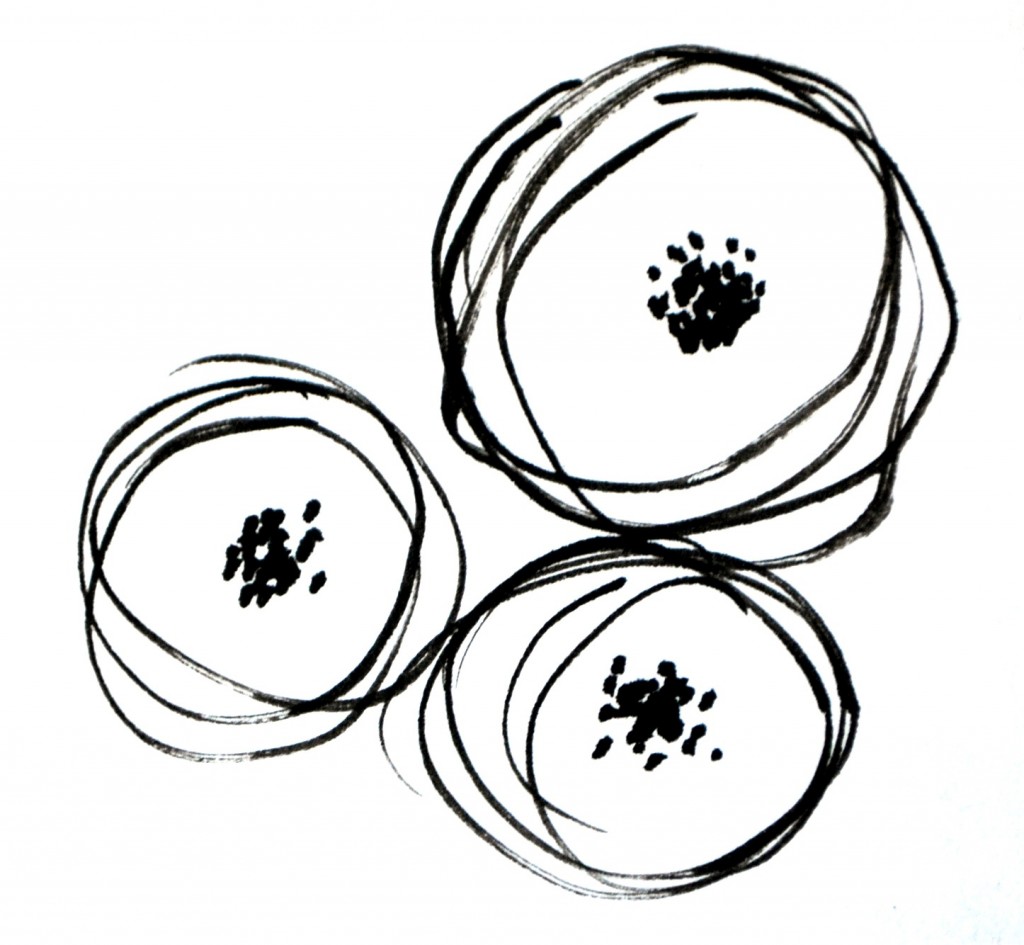
Step 3: Draw the center of the flower by placing a bunch of dots together with several that are a little more spread out.
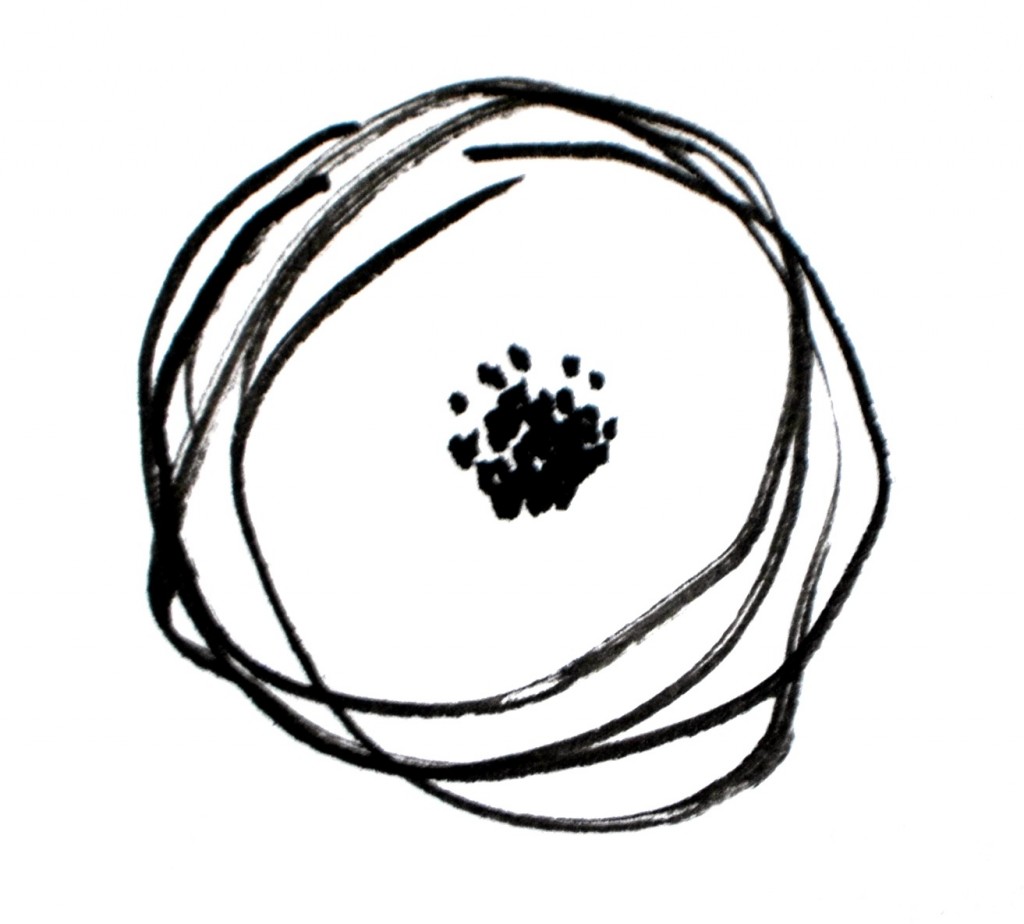
That’s all there is to the basic flower, other than coloring it! You can make these in a variety of sizes and draw them individually or in groups. Here’s a group of three:
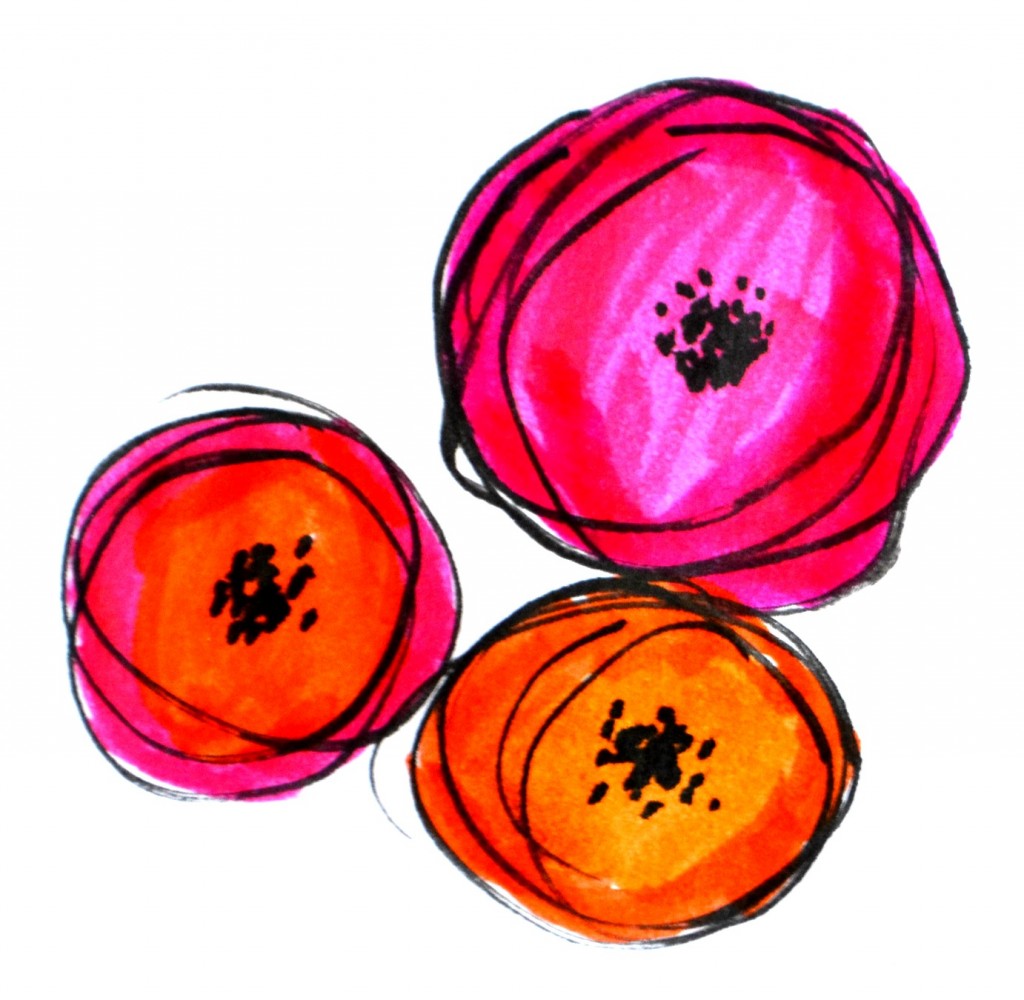
Step 4: Color your flowers.
Now comes the fun part! I like to play around with the Tombow Dual Brush Markers and blend colors together, like different shades of pink, orange, and yellow. Of course, you can use any colors and supplies you have on hand, including watercolors and colored pencils.
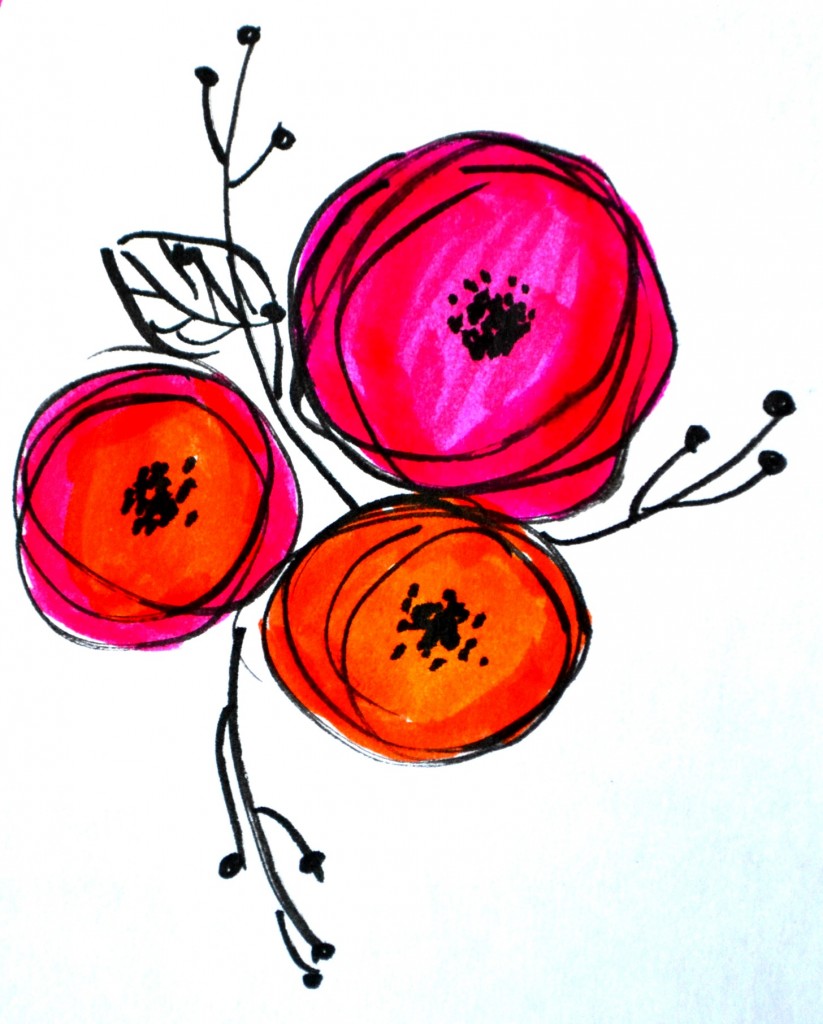
Step 5: Add branches/stems.
To do this, I just draw a long curving line with a few shorter lines coming off of it. I like to add small circles at the end of each line, which can be berries or buds.
Step 6: Draw and color leaves.
For this step, I just create a basic leaf shape, then draw lines in the center for the leaf veins. Once again, I like to play around with mixing different shades of color to add interest.
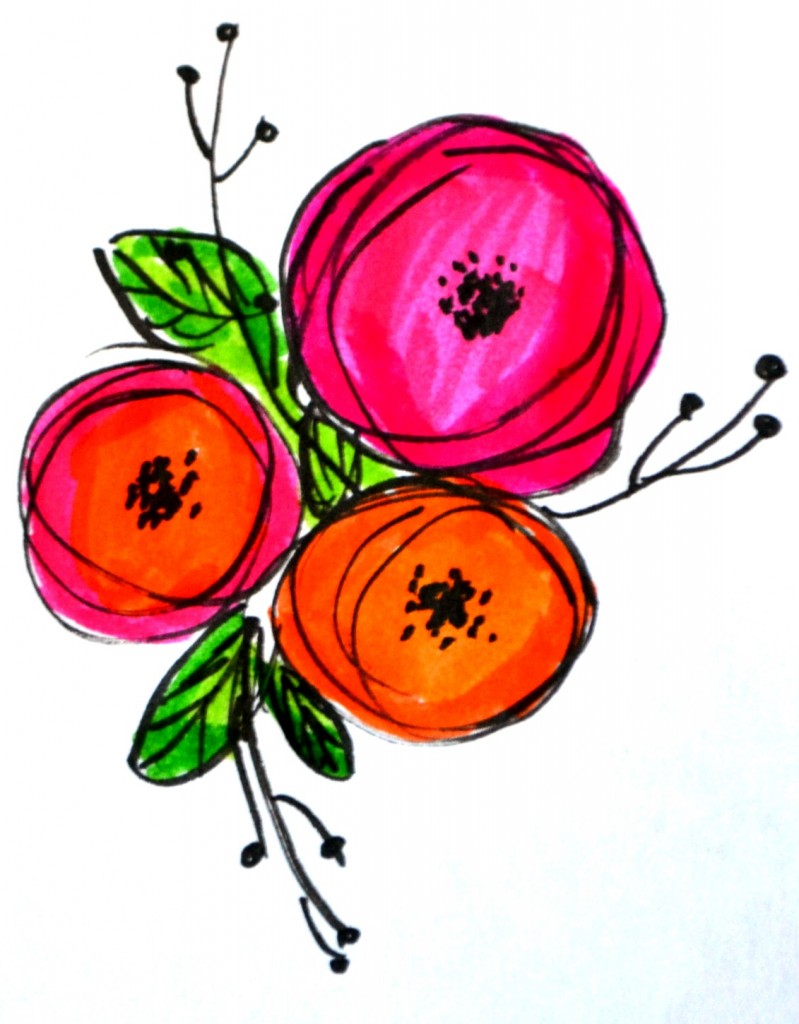
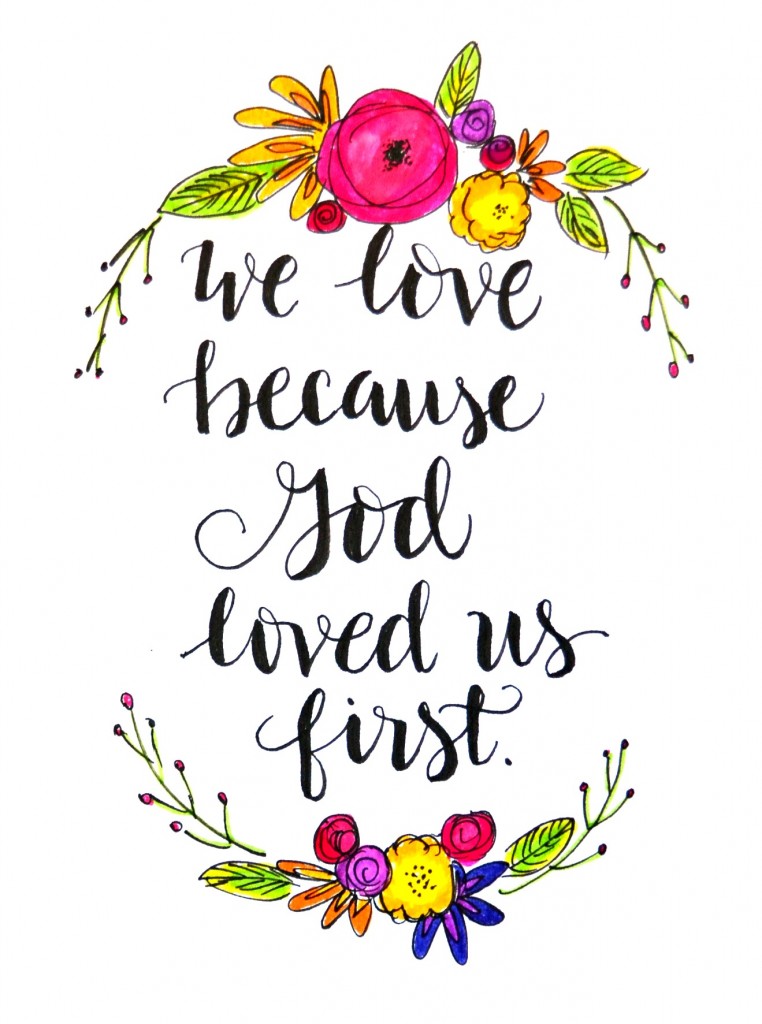
That’s all there is to it! You can draw as many or as few flowers as you like, and use them in whatever part of your design they fit best. Here’s an example of how you can use them to frame your lettered phrase:
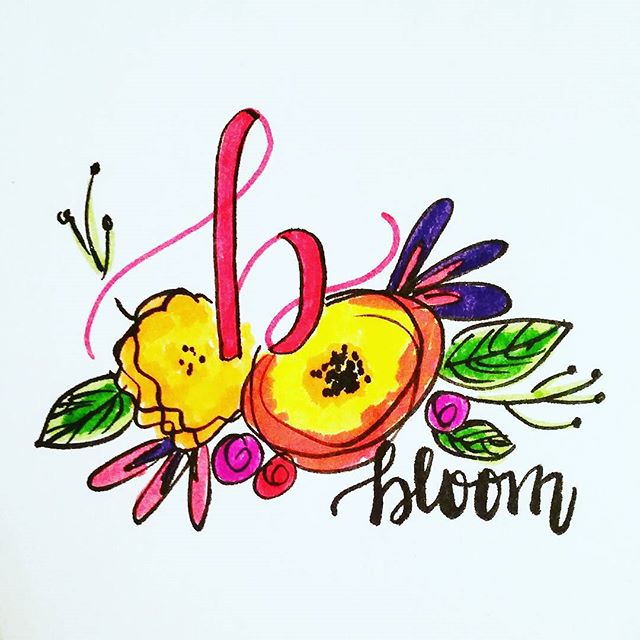
Or you can incorporate them right in with your letters.
Whaddya think? These flowers also look great accented by small spirals as rosebuds. I can’t wait to see how yours turn out! Be sure to share them with us in the One Artsy Mama & Friends Facebook group and to check out the other posts in the Basic Hand Lettering Series!
Love this…thanks…I need ways to fill my pages…
Cool! Thanks for guiding us through these steps! You make it look easy! 😉
It really is!
I love this! I like using flower embellishments on pretty much anything (including envelopes I send in the mail). But since I’m not an artist, I can use all the help I can get!! 🙂
Hope you find this helpful!
Thank you so much. I’ve never been artistic but always wanted to be:) I’m in awe at what I was able to draw!
Hello,
It’s my first time visitng your site… I’m super excited to learn from your examples.
I’m so glad you’re here!