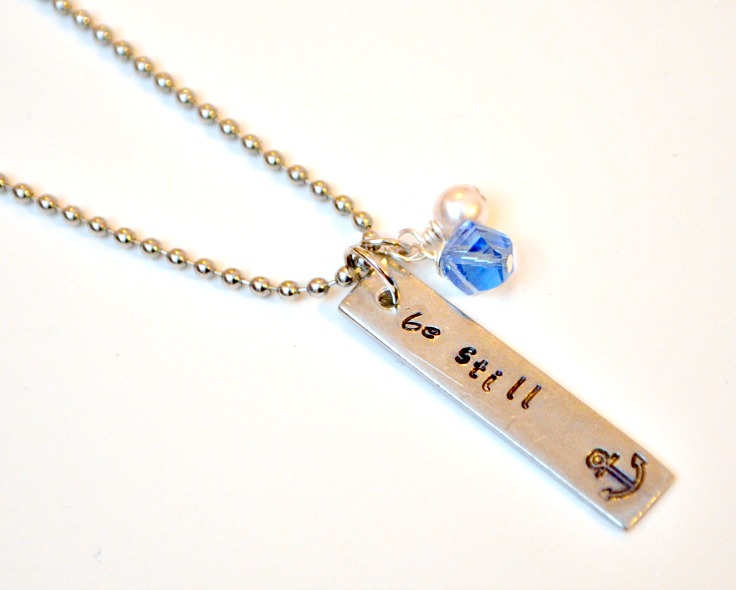
Stamped Necklace with Border Designs
Thanks to ImpressArt for sponsoring today’s post. All opinions are, as always, honestly my own.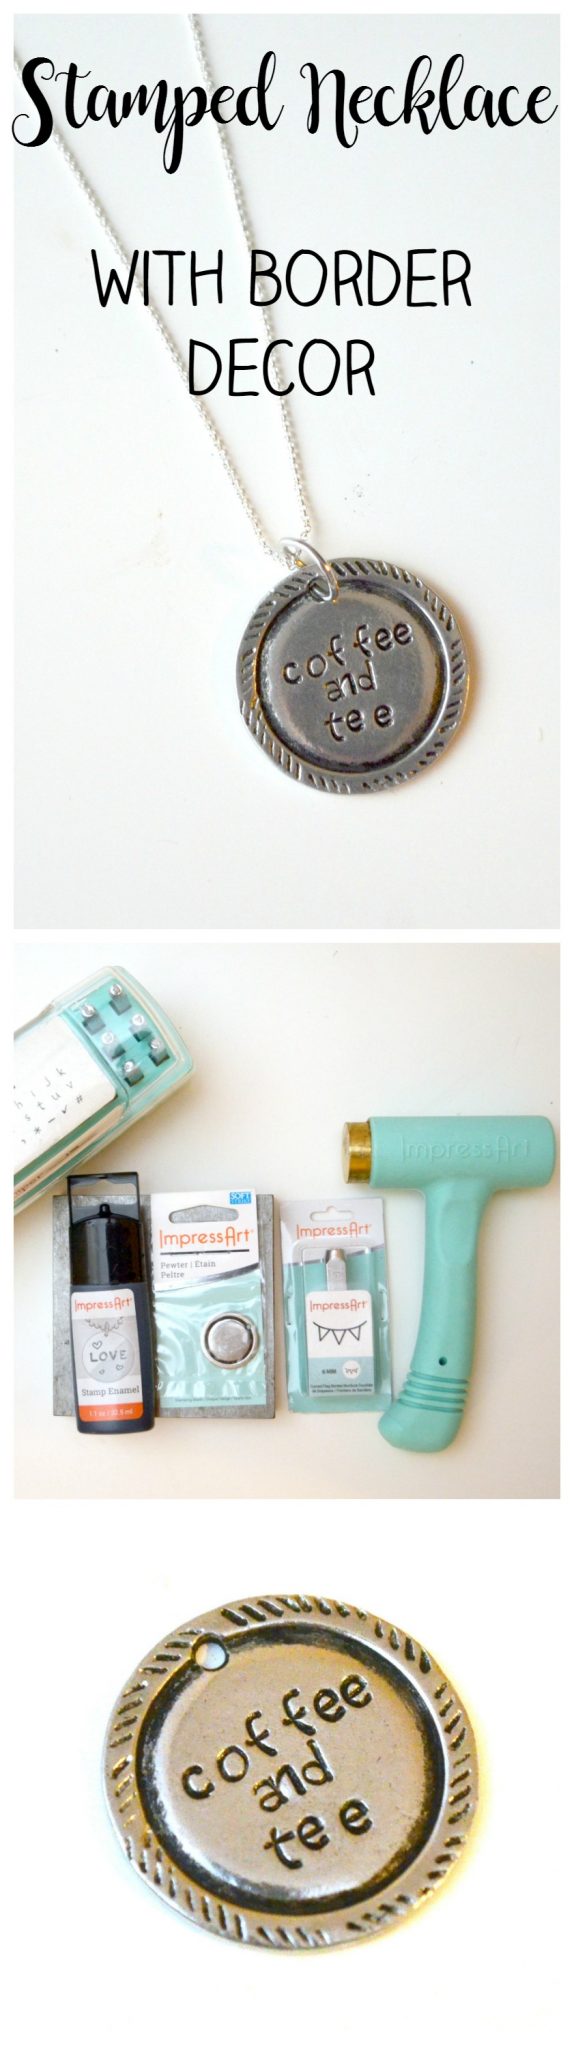
Friends, have you heard the news? I have officially opened a brand new shop site for my hand lettered t-shirts, prints, and more! Some of you helped brainstorm names for the shop in the One Artsy Mama & Friends Facebook group, and I went with Kim Sminkey’s fabulous idea, Coffee and Tee Designs! You can find the shop at Coffeeandteedesigns.com, and I definitely hope you’ll check it out, but that’s not the focus of today’s post. Today I want to show you how I made myself a necklace to celebrate! I just got some fun new supplies from ImpressArt, including Border Stamps and Border Blanks, so I decided to use them to make something really special. Take a look.
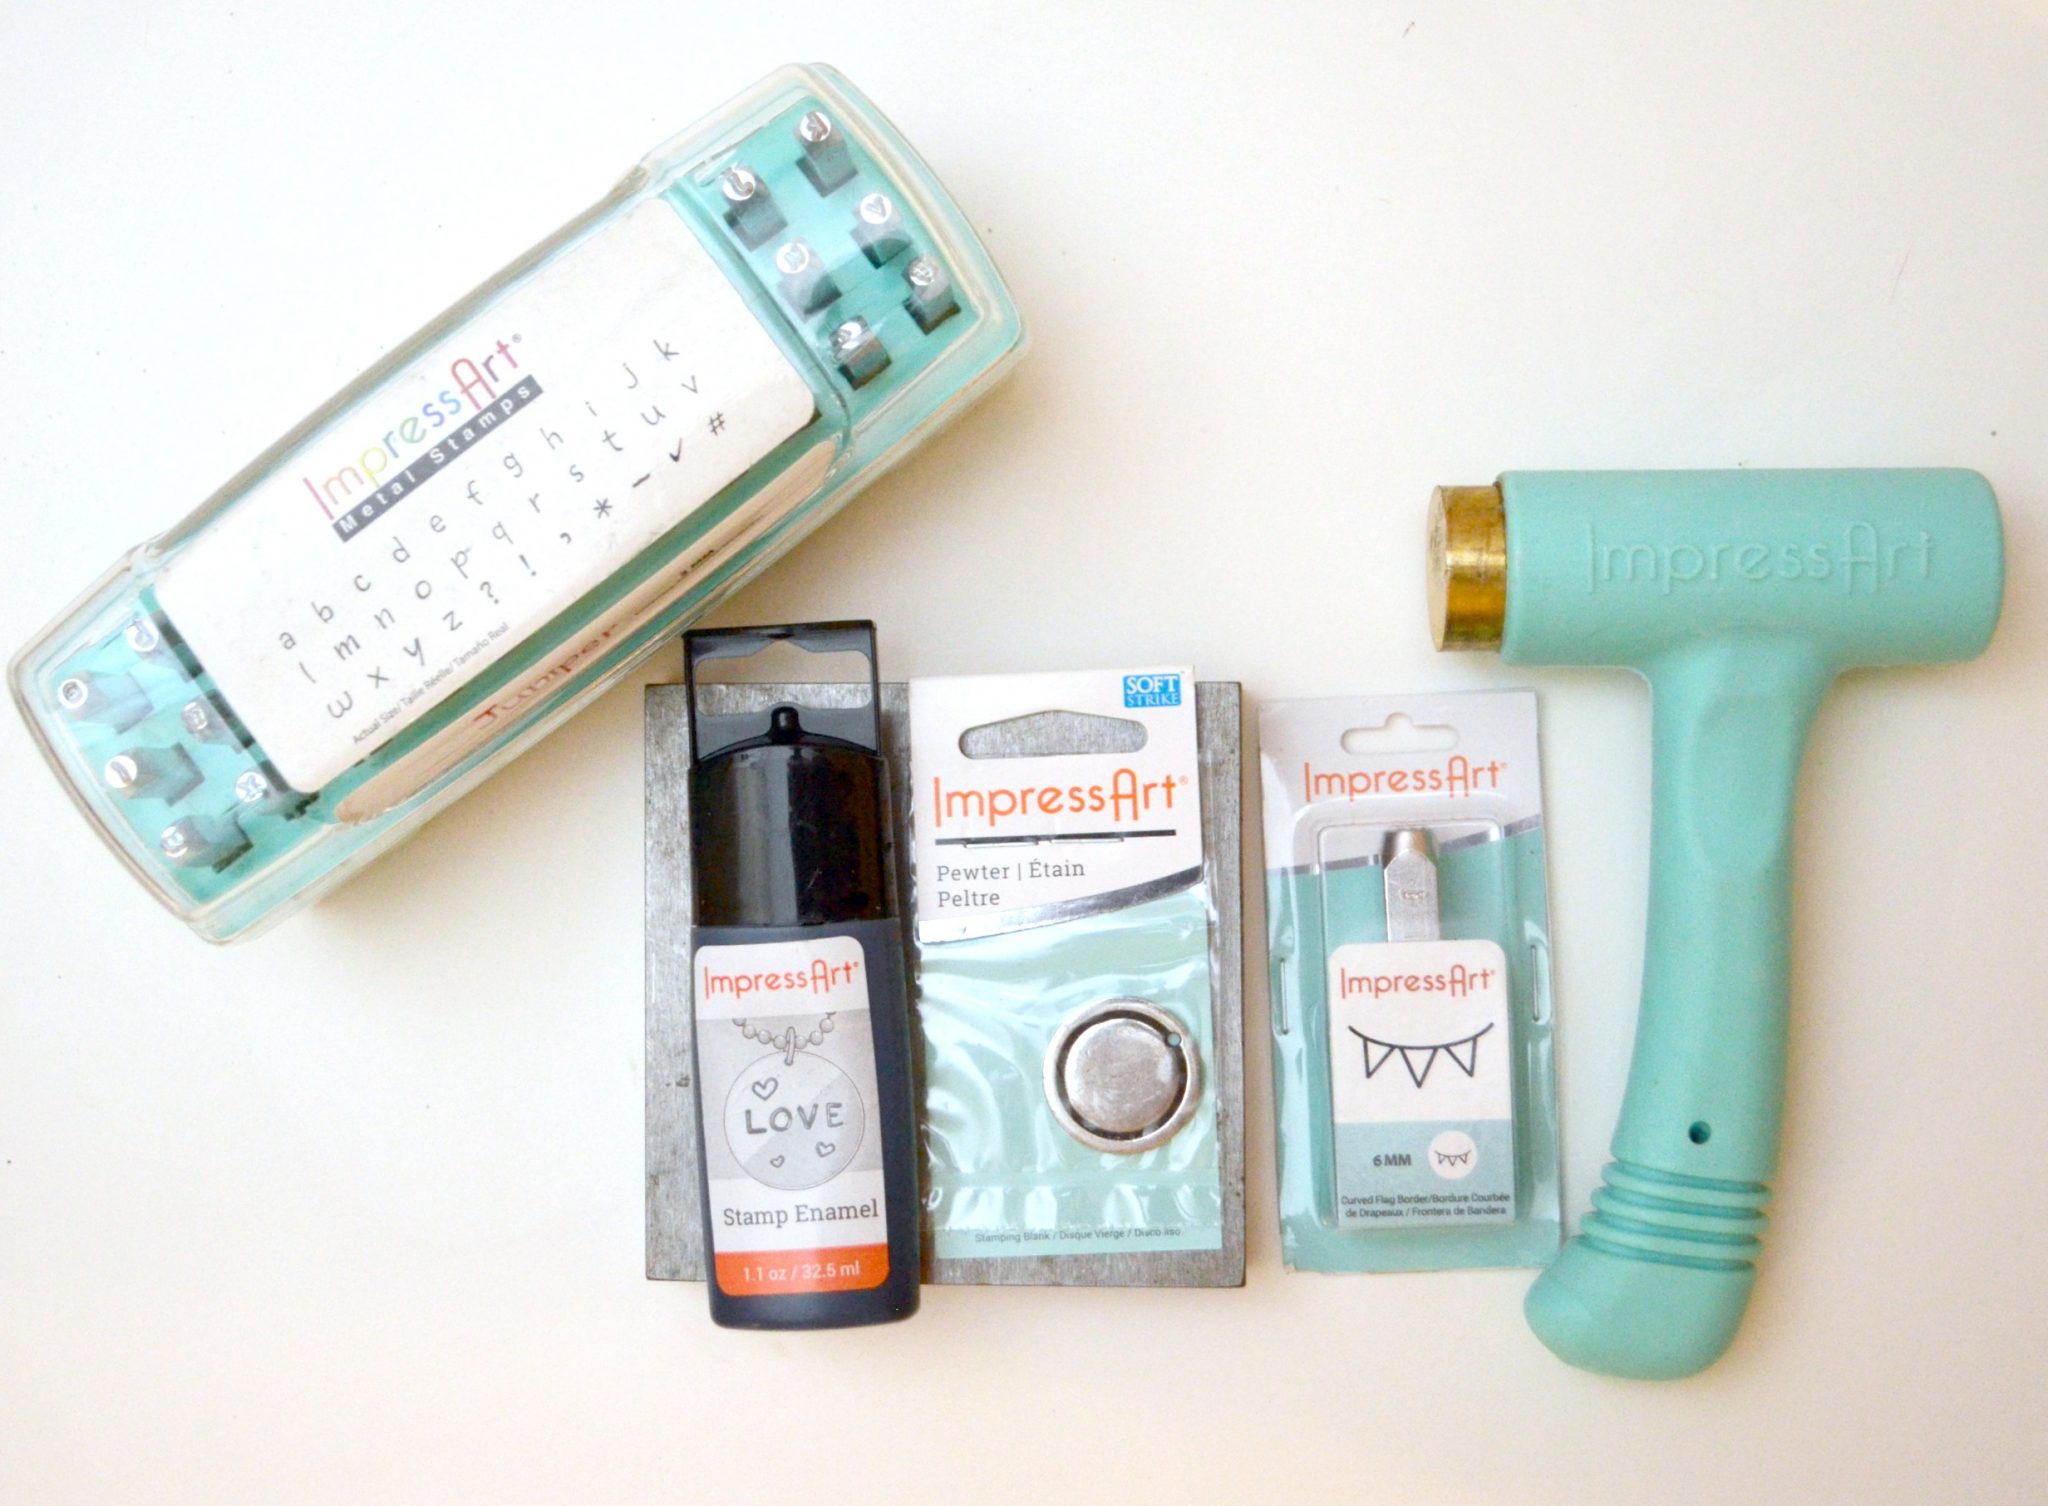
You’ll need:
Pewter Stamping Blank with Border, Circle
ImpressArt Juniper Lowercase Alphabet Stamps
ImpressArt Diagonal Line Border Design Stamp
Metal Stamping Hammer
Steel Stamping Block
ImpressArt Stamp Enamel
Jump Ring and Chain
Pliers
Stamping Your Blank
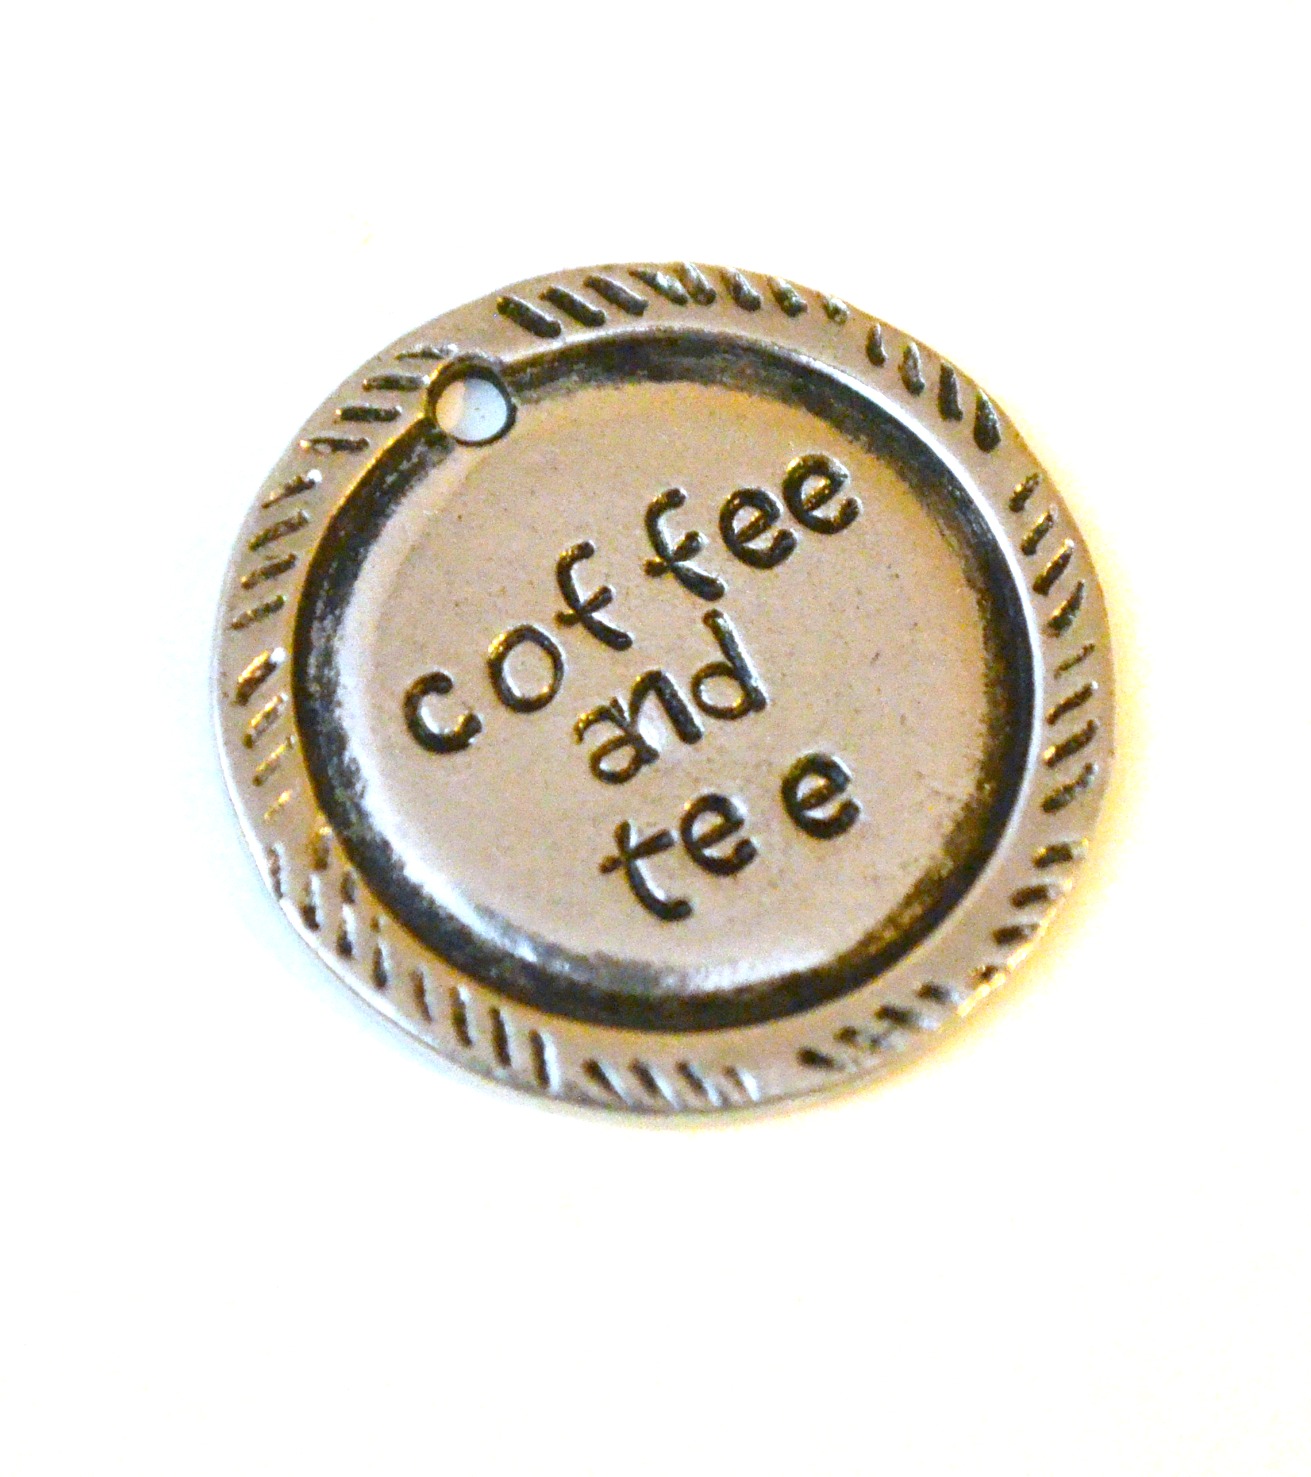
Start by stamping your words onto the center of the blank one letter at a time. If you’ve never done metal stamping before, don’t be intimidated, it’s much easier than you think! Simply hold the letter stamp vertically with the letter touching the blank and give it a firm tap with the hammer. For more step-by-step instructions and photos, check out my Beginner Metal Stamping tutorial, then come on back here to continue.
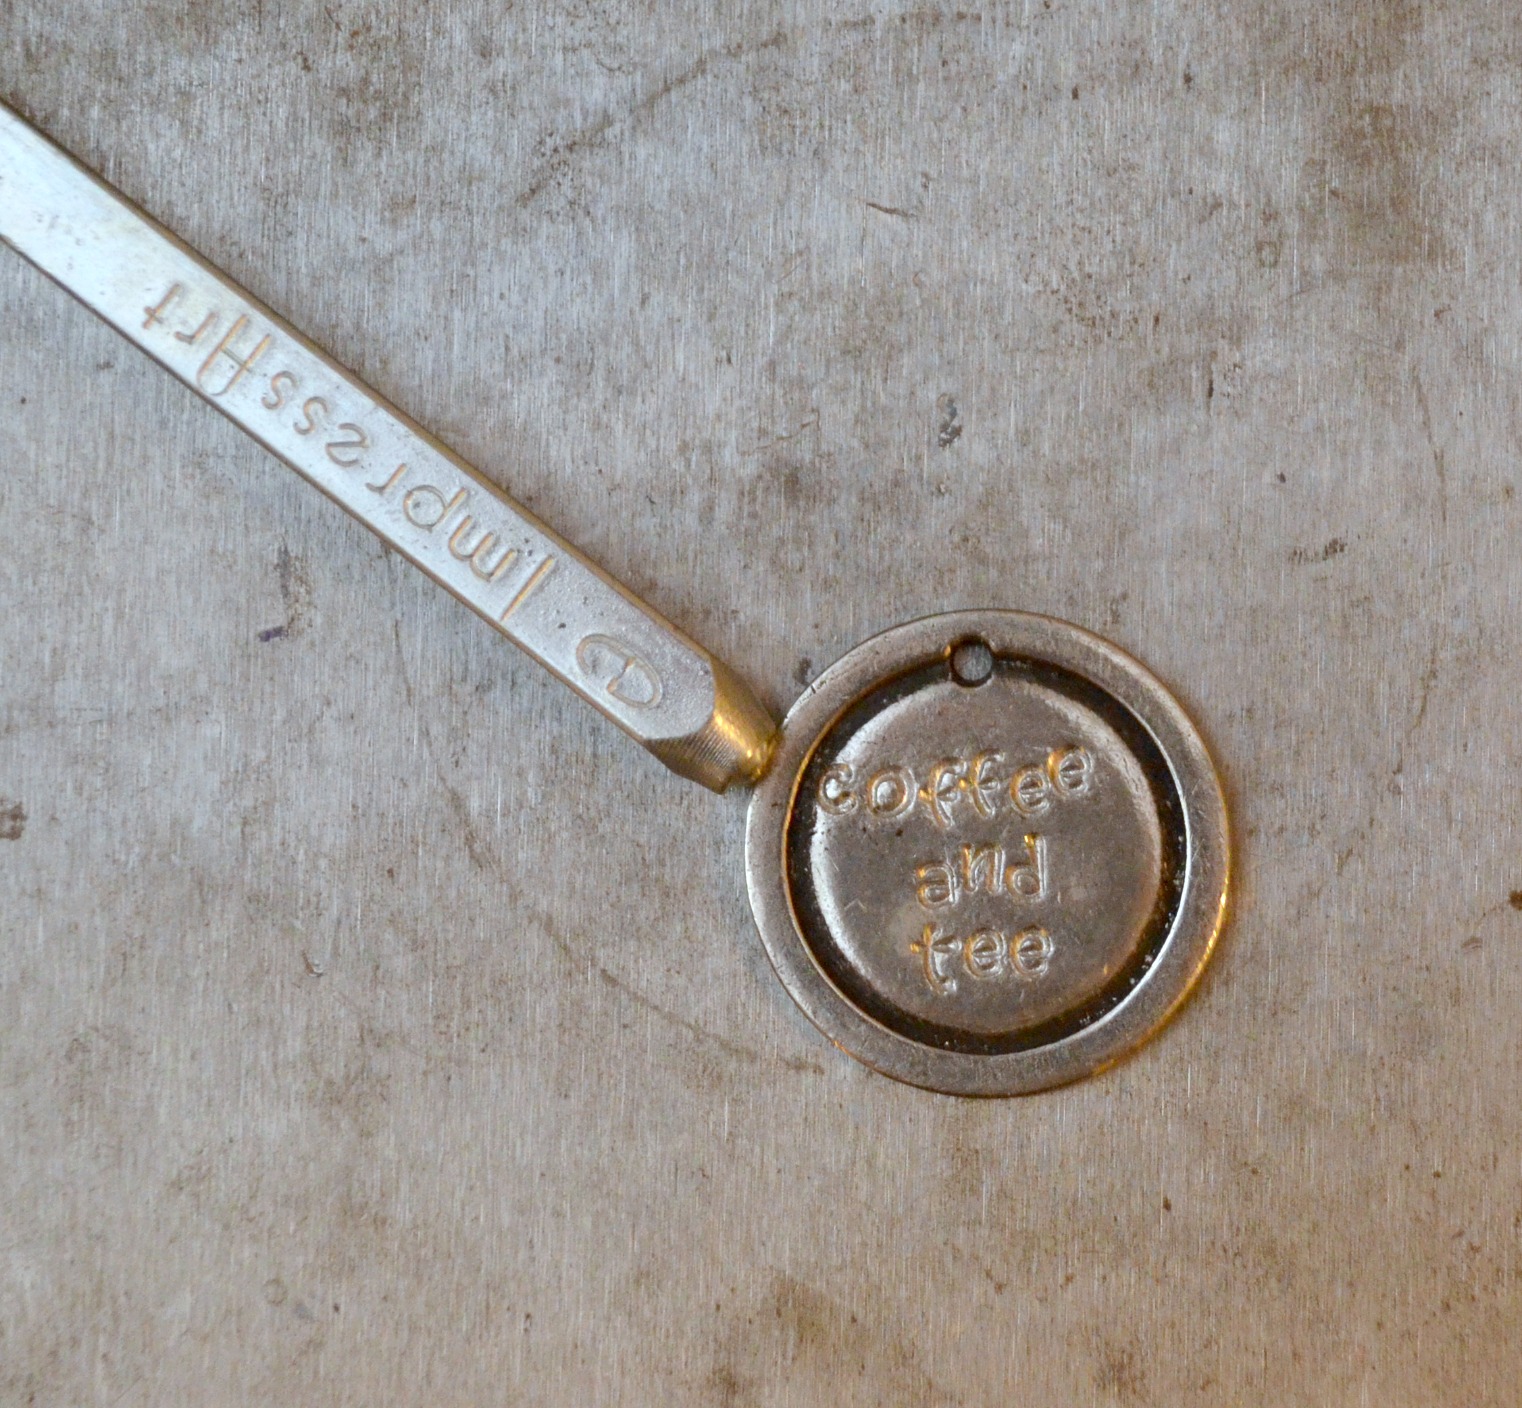
Next use your border design stamp to create texture around the outer edge of the blank. There is a bit of a learning curve here…it can be tricky figuring out exactly where to position your stamp so that you’re not going off the edge of the blank or into the center, but after a few tries, you will get a feel for it.
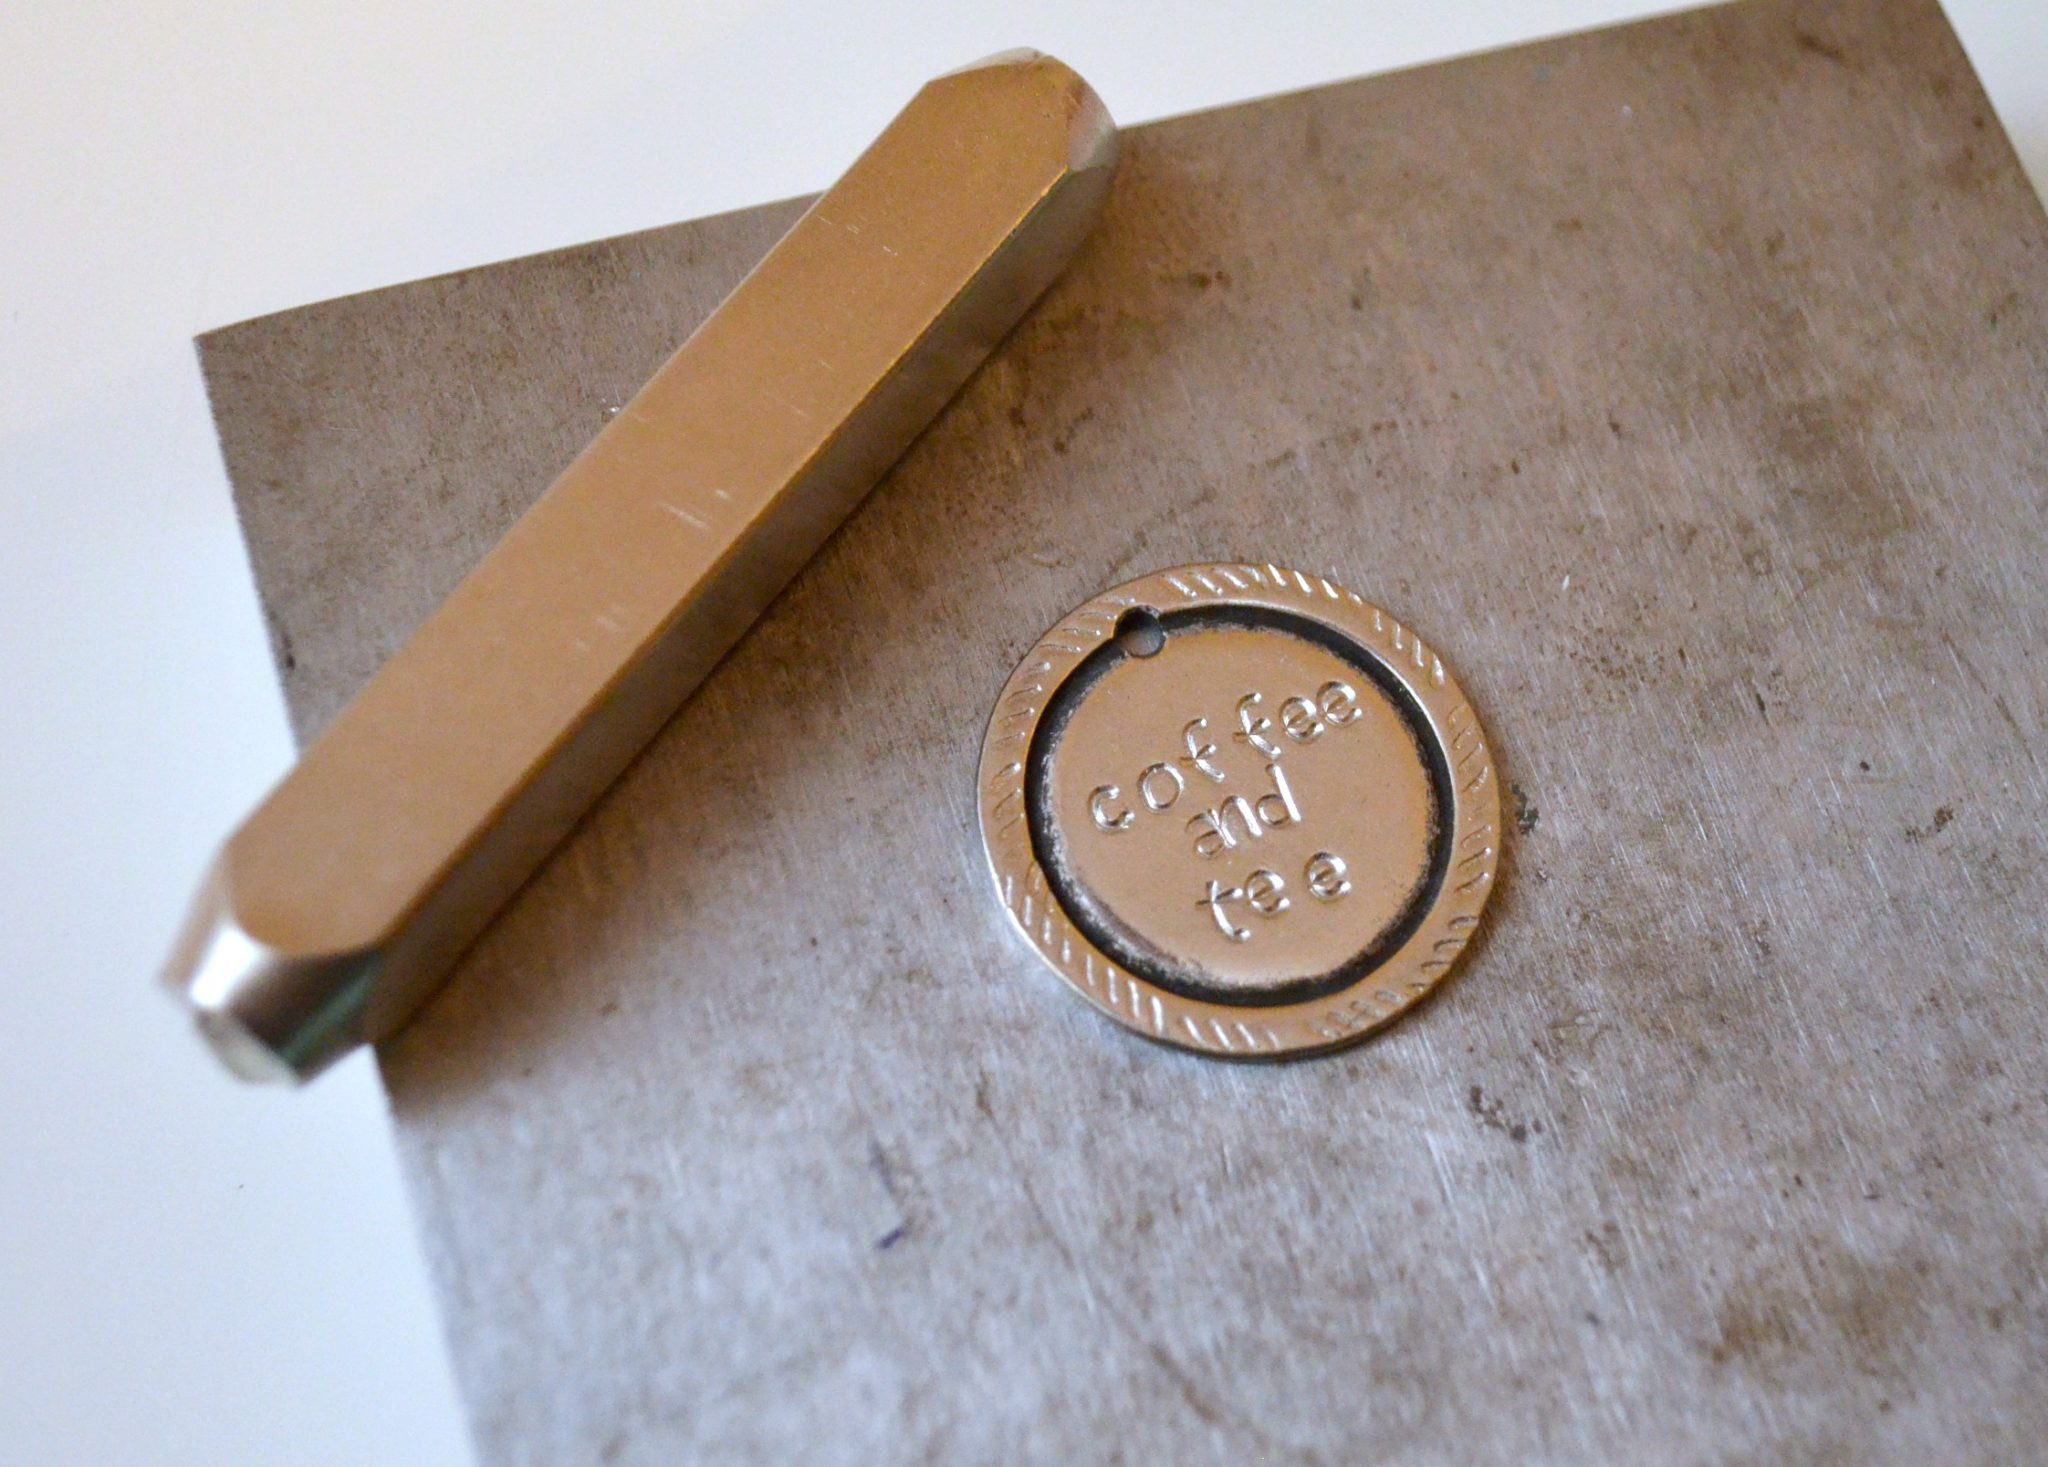
Finishing Your Blank
Apply a coat of ImpressArt Stamp Enamel to every area where you created a stamped indentation. Leave it there for 10-20 seconds, then wipe off the excess with a soft cloth or paper towel.
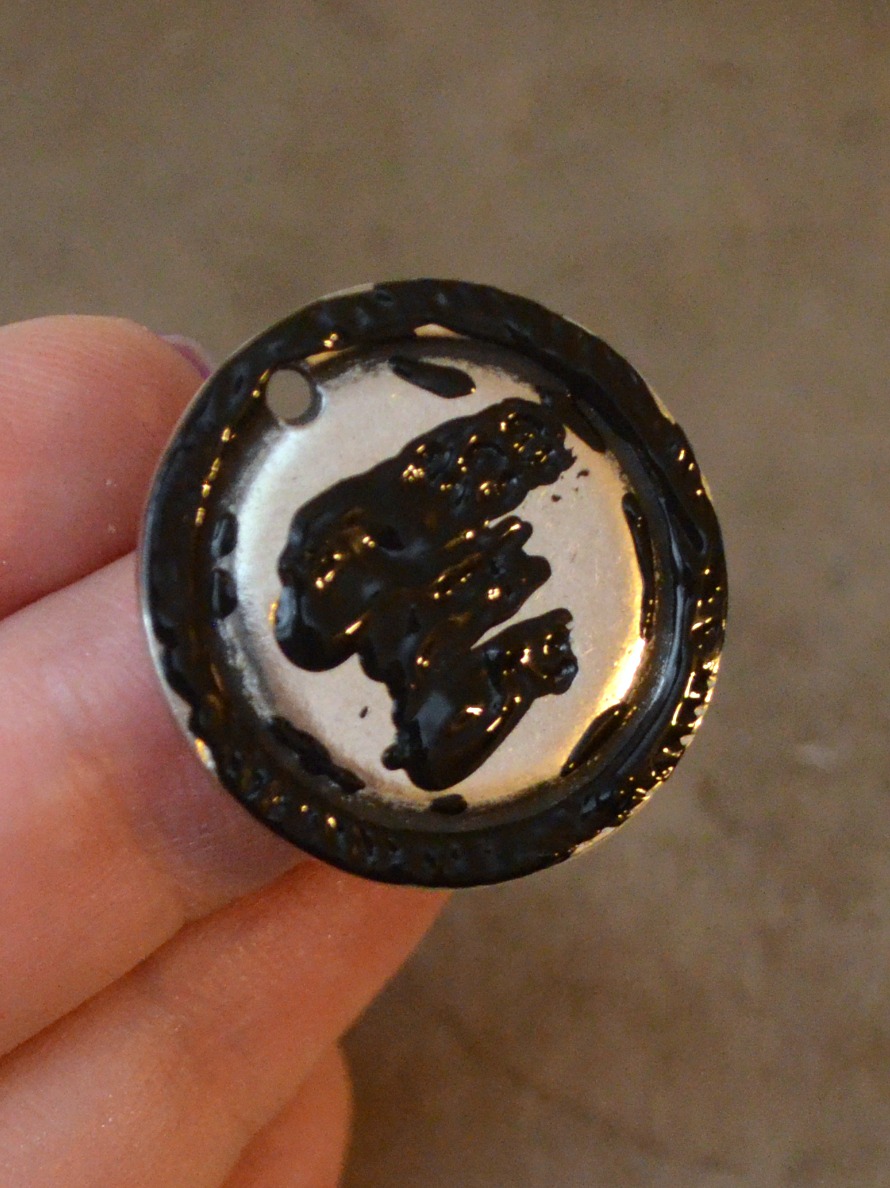
The excess enamel will easily wipe back off of the surface, but it will stay in the stamped spaces, creating that dark, oxidized look.
Creating a Necklace
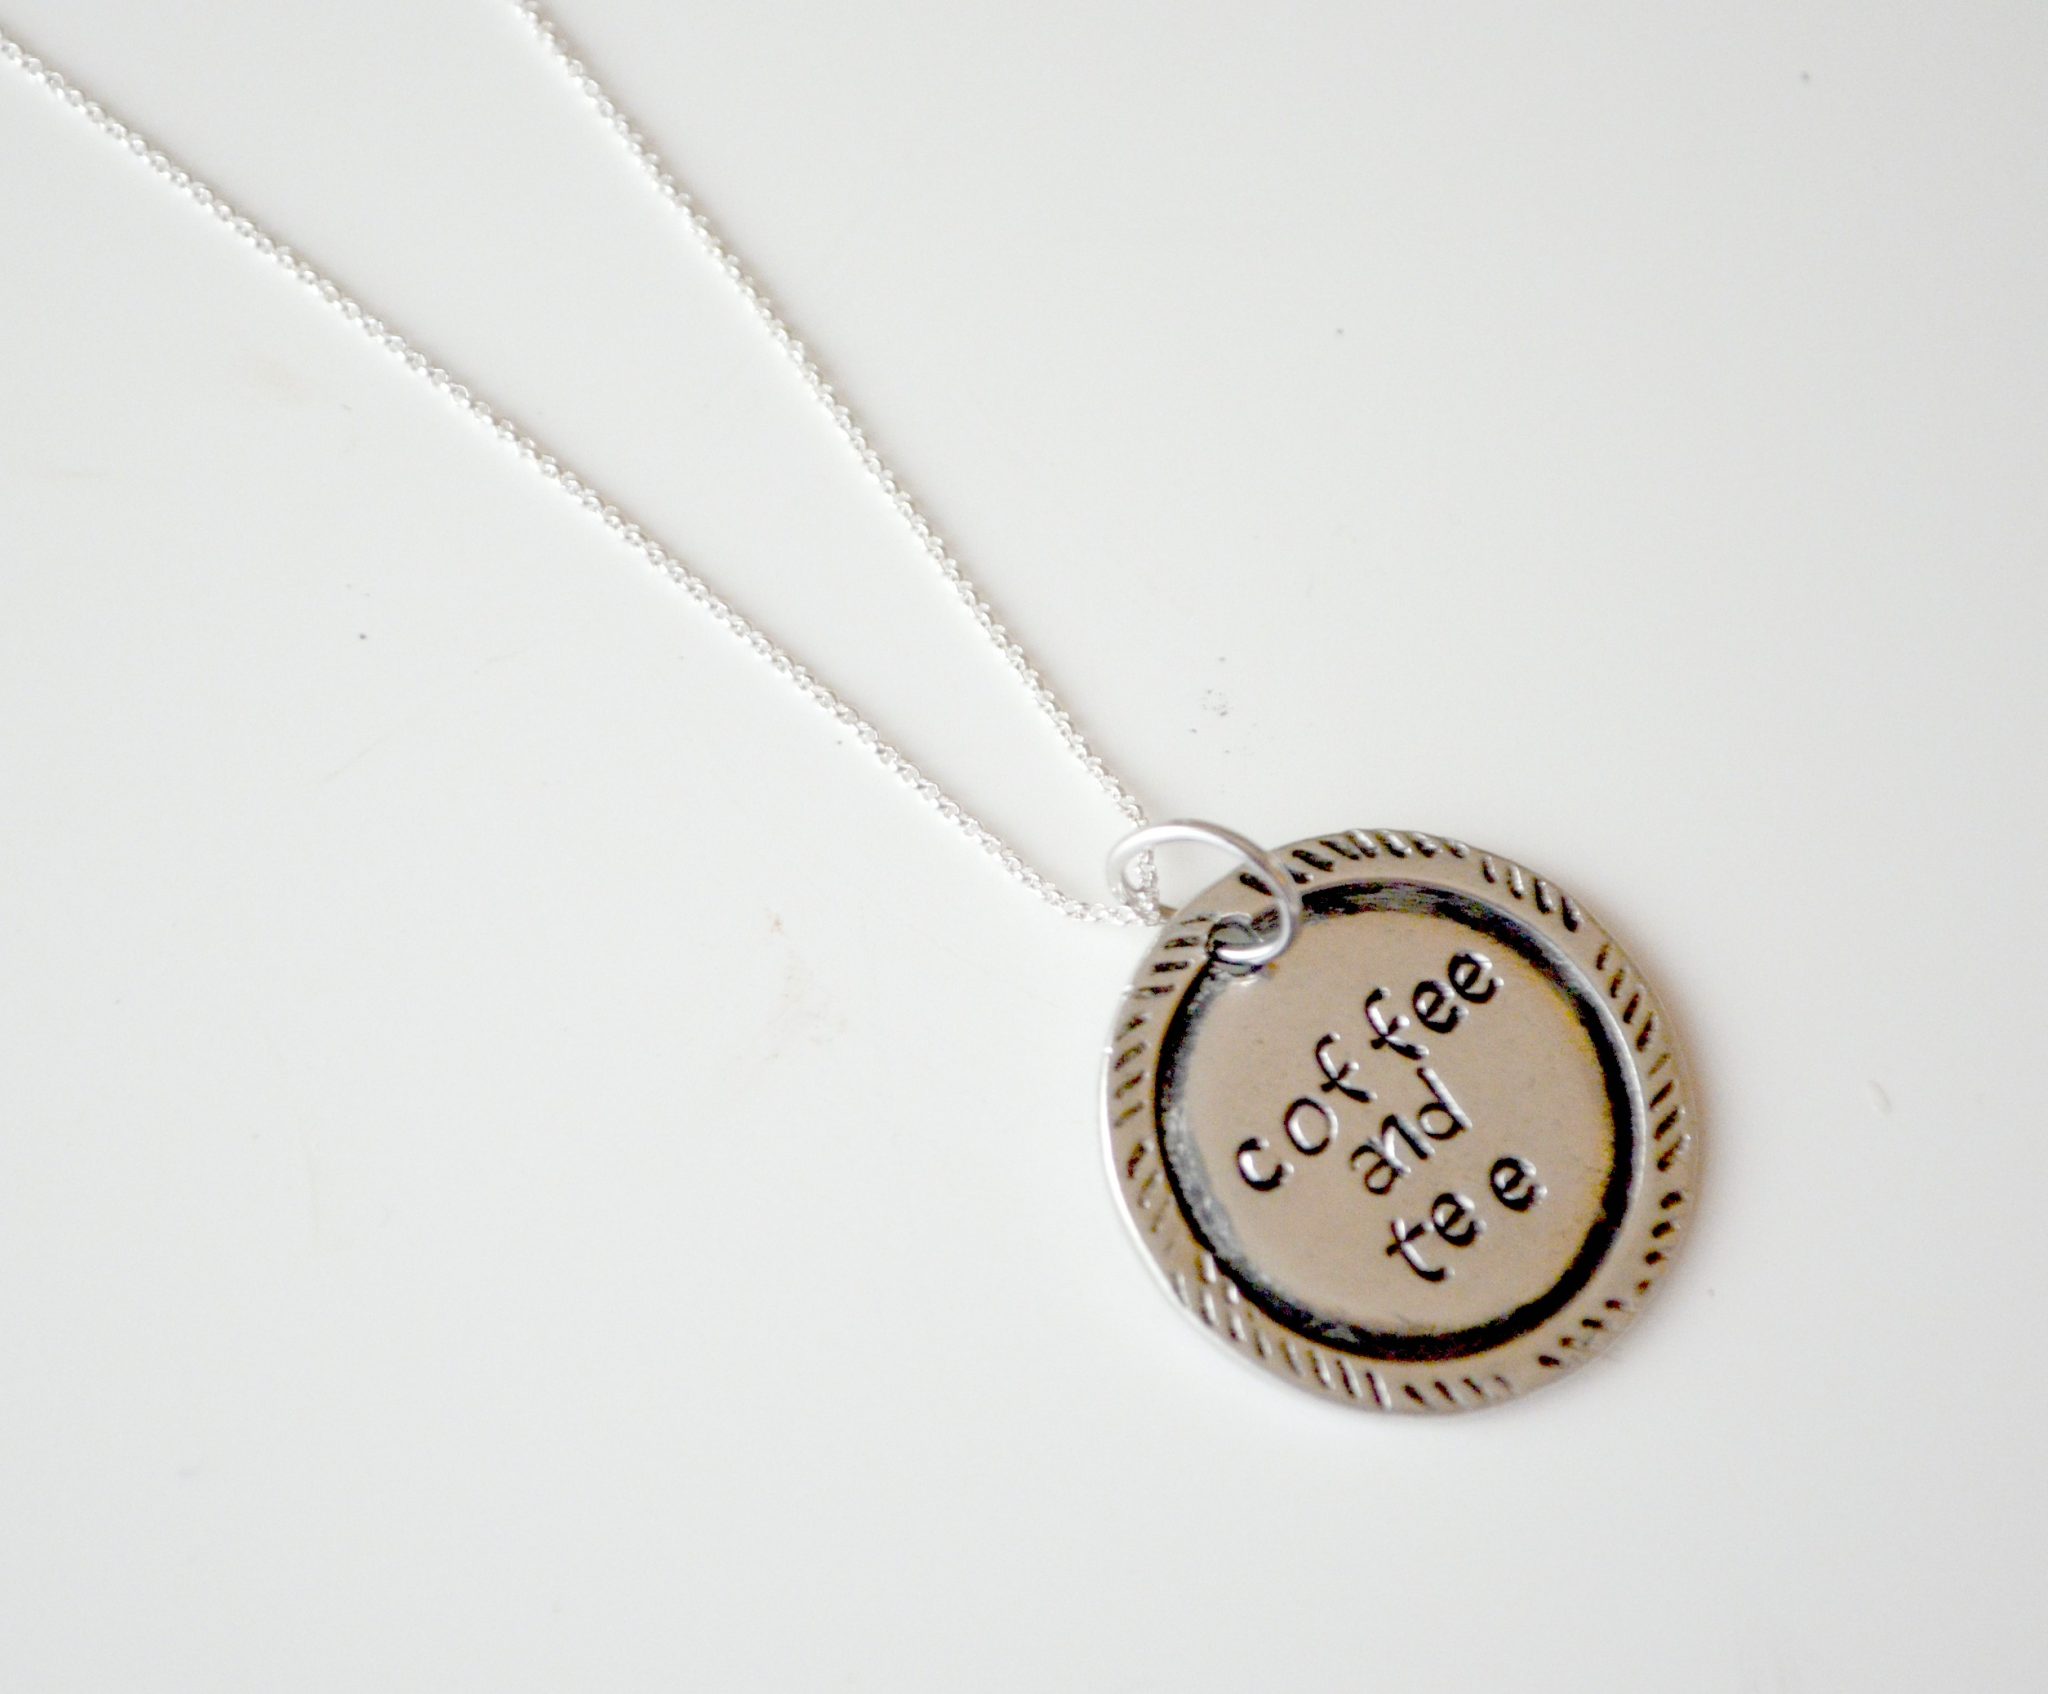
Once your blank is finished, all that’s left is to add a jump ring and a chain! Simply open your jump ring by holding it with pliers and gently twisting the ends in opposite directions; one end toward yourself and the other away. Thread it through the hole in the blank, then twist it closed again. Add your favorite chain, and your necklace is ready to wear!

See? Metal stamping is much easier than it sounds, and you can create personalized pieces in no time. This project took less than 15 minutes from start to finish. What would you stamp on your necklace?
Be sure to check out the ImpressArt website to see all of the other new border stamps and blanks available for your stamping projects!

VERY COOL!!!
Love it…Congrats on the new name for your shop…