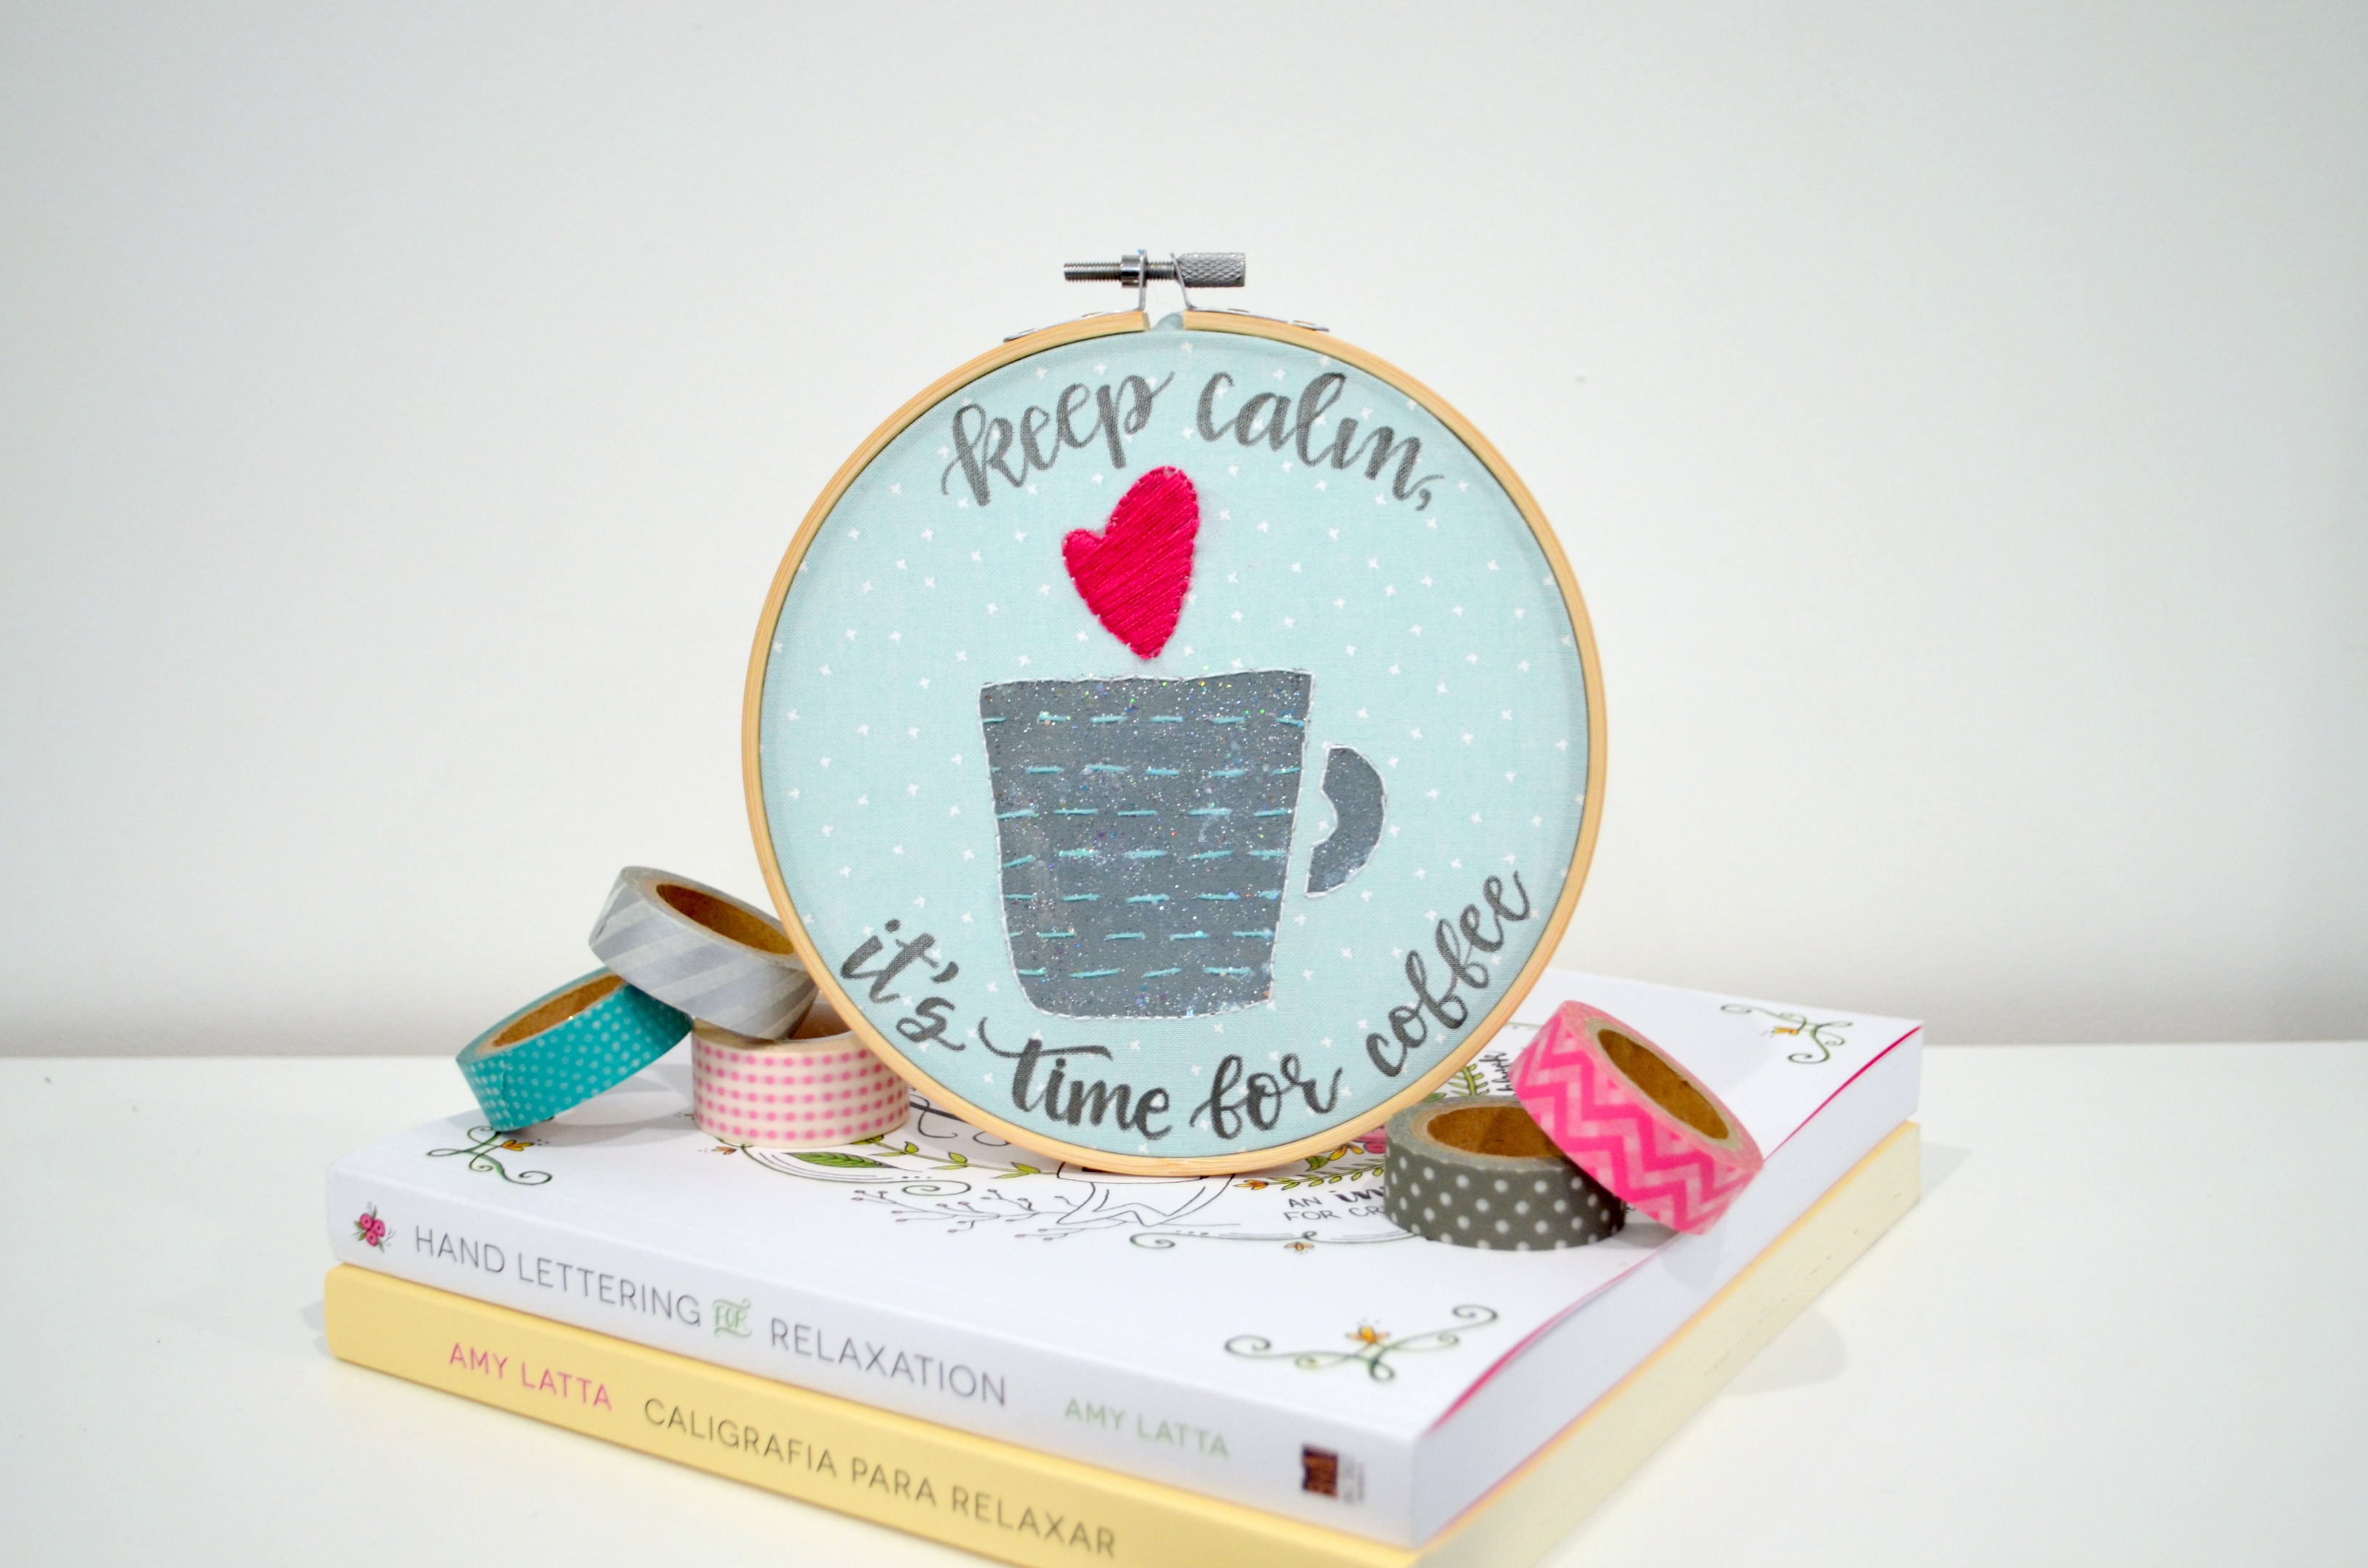
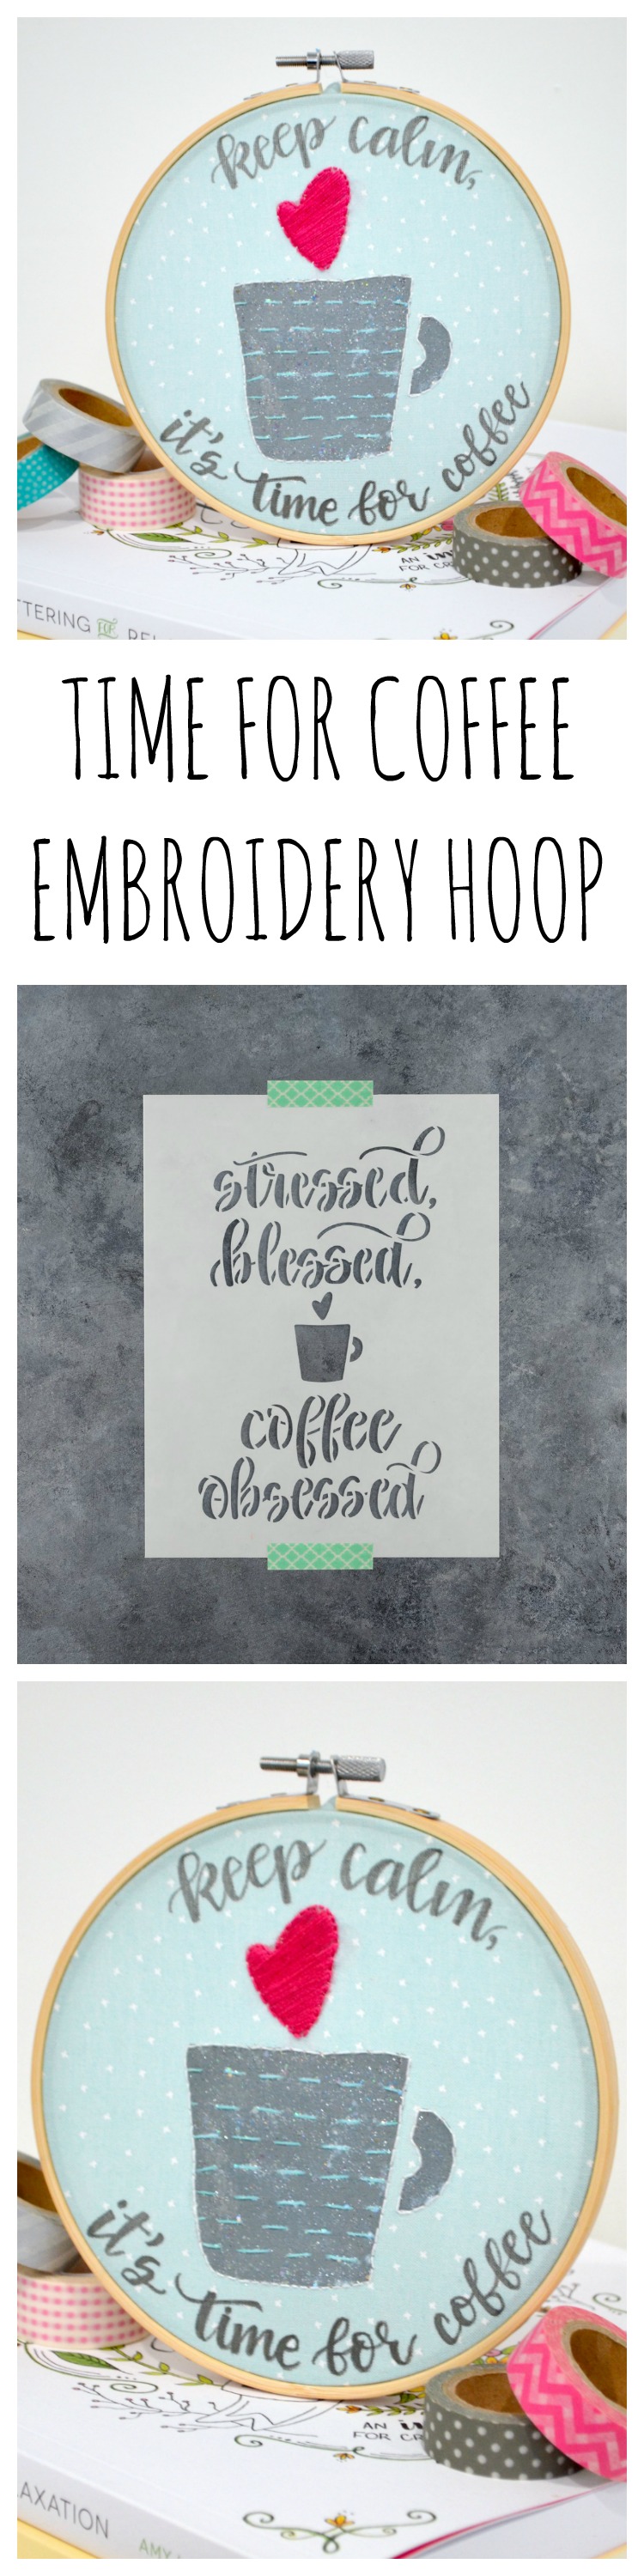
Time for Coffee Embroidery Hoop with Vintage Keepsakes Fabric
Friends, I am super excited to share today’s project with you because it’s a little bit out of my comfort zone. I don’t often work with fabric, and I haven’t done much embroidery in what feels like a million years! Then, my talented friend Bev released her own line of fabric, and I just had to create something with it. It was fun to change things up and do something different, and I hope you’re excited to give it a try too.
Time for Coffee Embroidery Hoop
You’ll need:
Stressed, Blessed, & Coffee Obsessed Stencil
Fabric Creations paint {I used grey and pink}
Fabric Creations Fantasy Glitter
Embroidery Floss and Needle {I used white, teal, and pink}
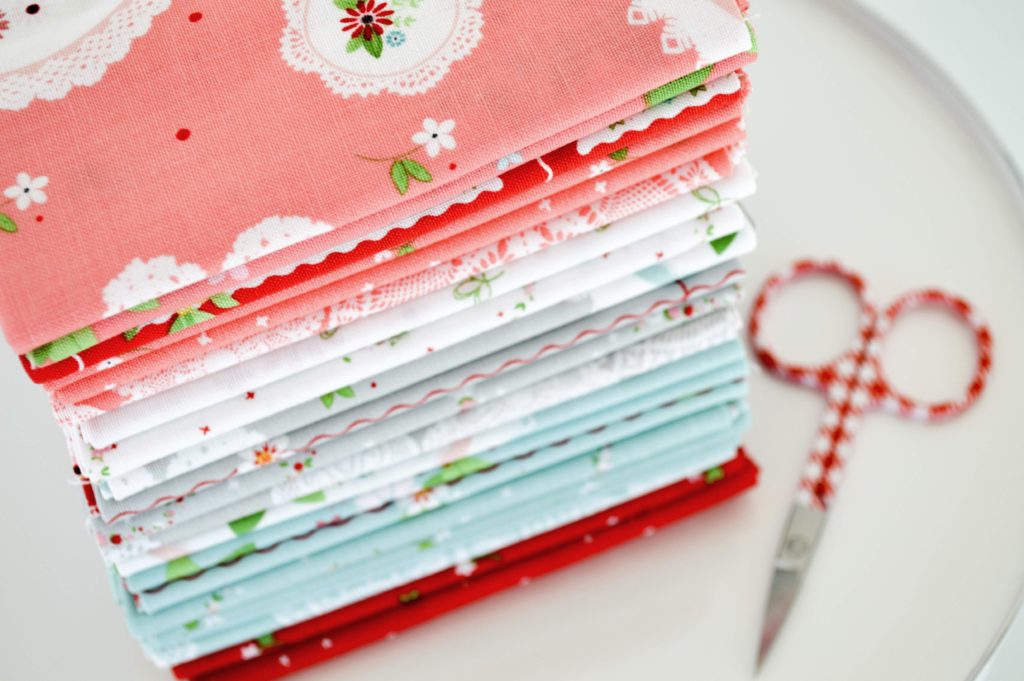
Before we get into the steps for this project, let’s talk for a second about the fabric that inspired it! Bev McCullough is a sweet friend of mine who blogs over at Flamingo Toes, and she created these gorgeous designs, the Vintage Keepsakes collection produced by Riley Blake Designs.
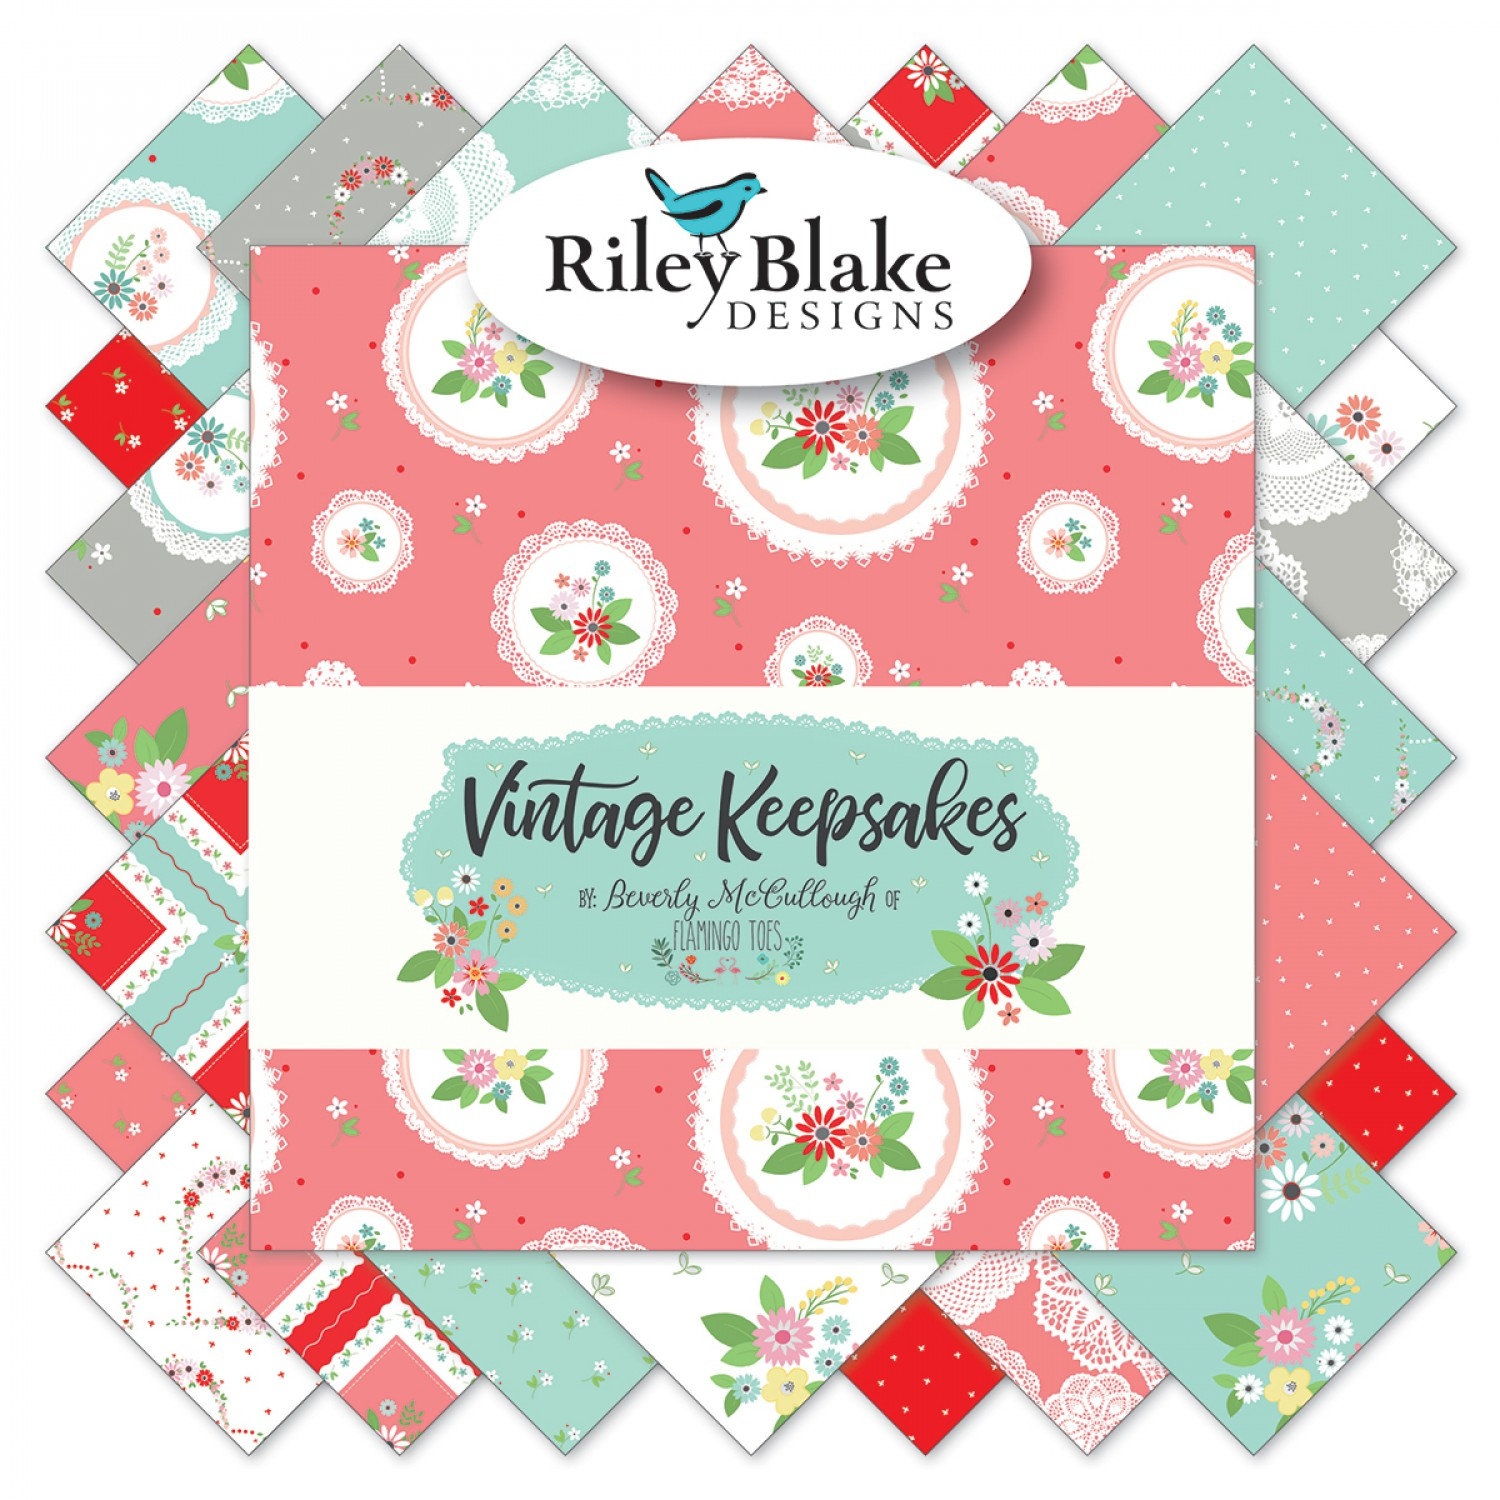
Each print is just as pretty as the next, so it was hard to choose which one I wanted to use for my project. I ended up choosing a simple teal fabric with a tiny white pattern because it matches my home decor and would also make a good, understated background for my coffee mug image. You can find the Vintage Keepsakes Collection fabrics online and in person at many of your favorite quilting stores.
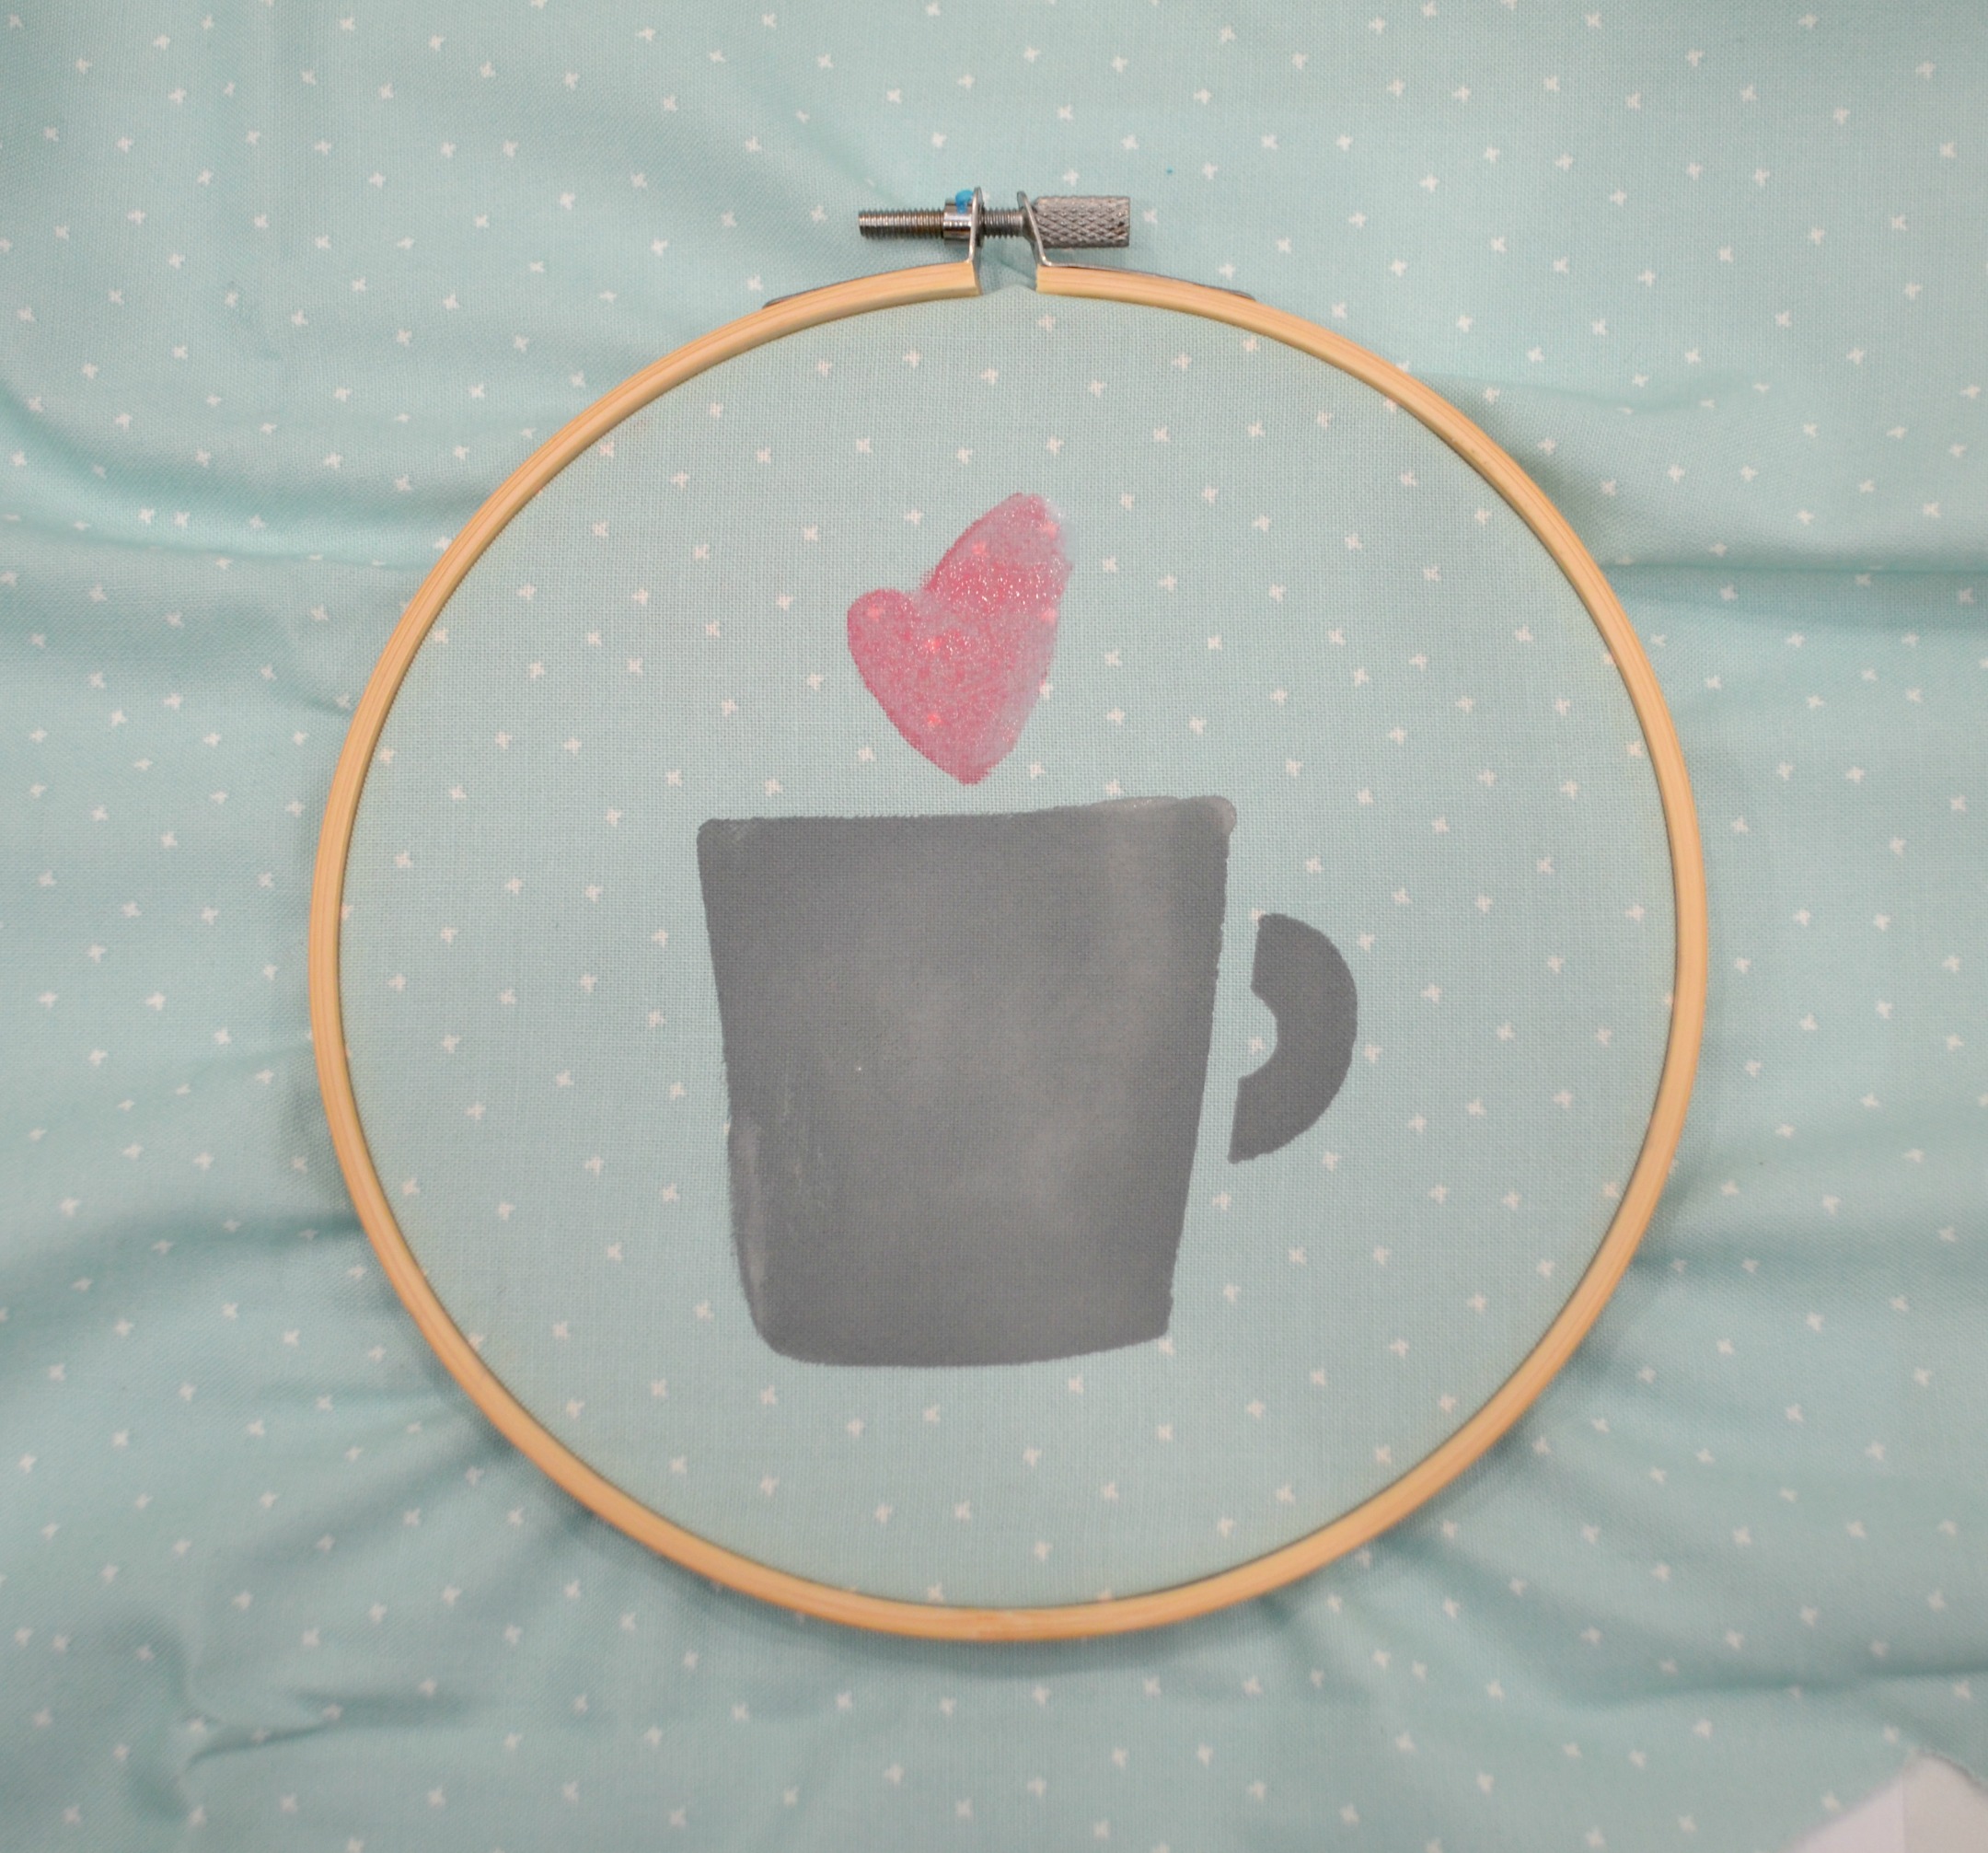
Step 1: Cut a piece of fabric that’s slightly larger than your hoop. Stencil your coffee cup in the center.
I used the image from the “Stressed, Blessed, & Coffee Obsessed” stencil in my new line at Stencil Revolution!
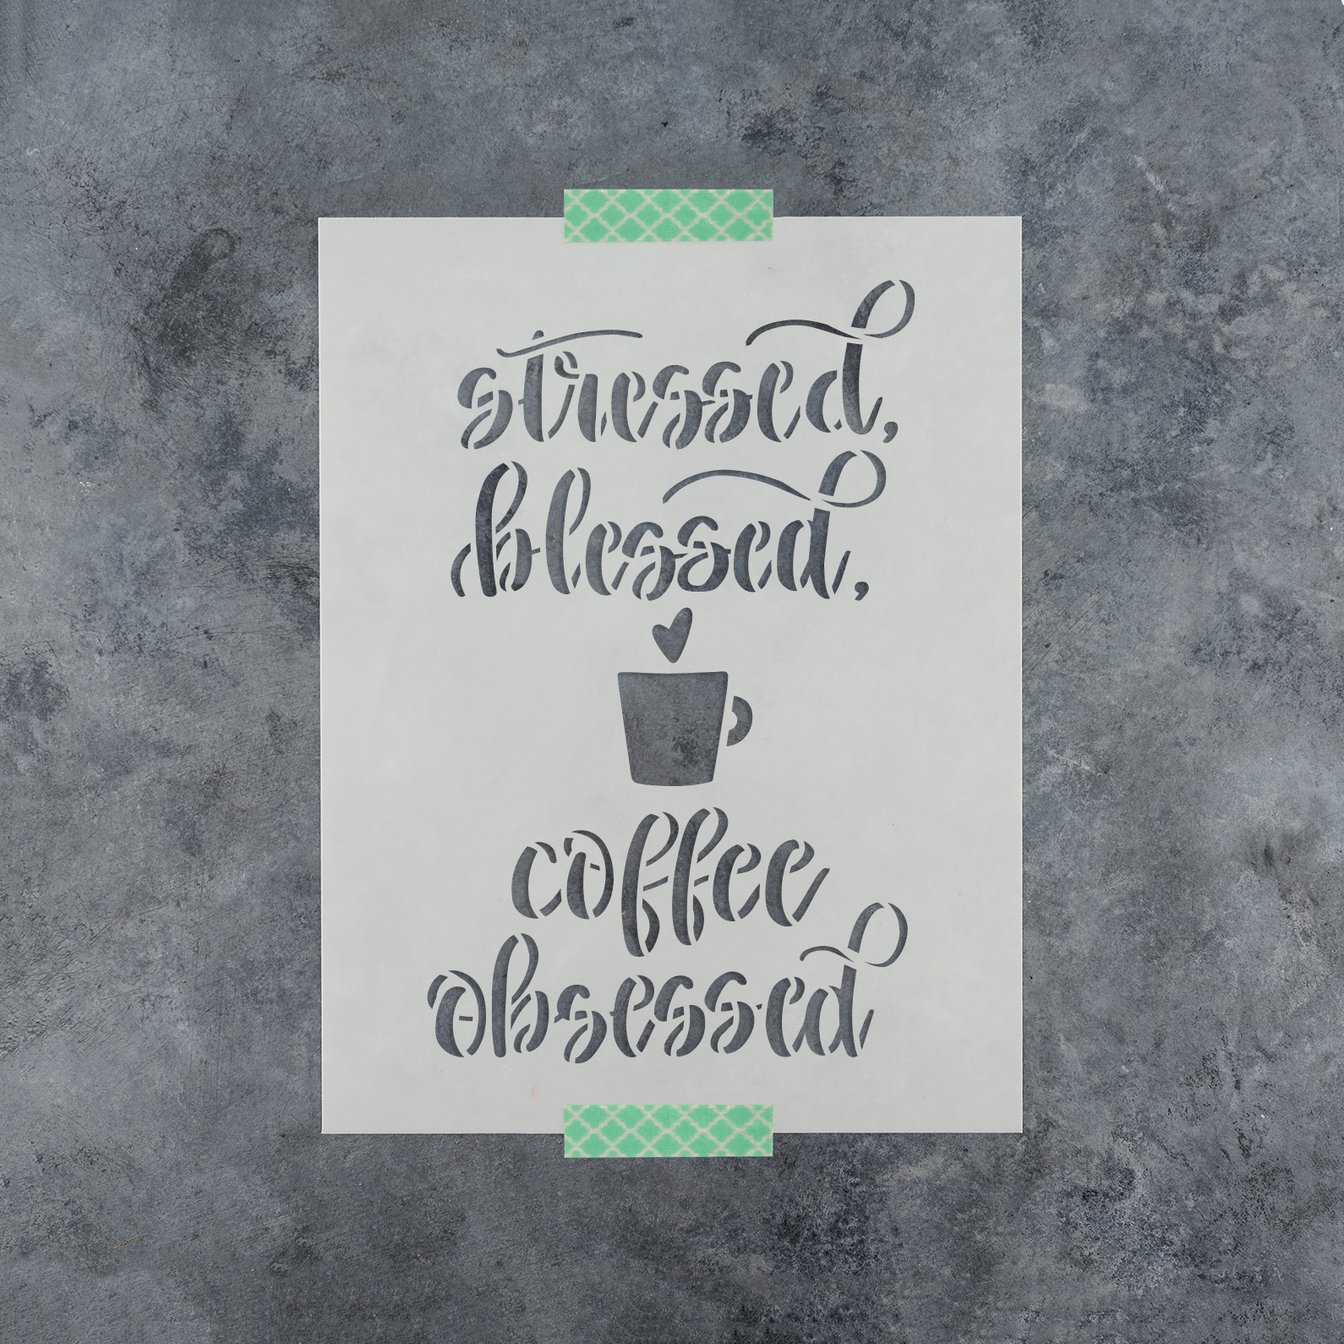
You’ll want to stencil on the fabric before placing it in the hoop. Tape the stencil down so it doesn’t move while you work, then gently tap a stencil brush in the open spaces to fill them with color. Less is more when you stencil, so it’s good to offload your brush some before applying it to the fabric. A brush that’s too full will cause paint to leak under the stencil and mess up your design.
Step 2: Secure your stenciled design in the center of the hoop.
Make sure to pull the fabric taut.
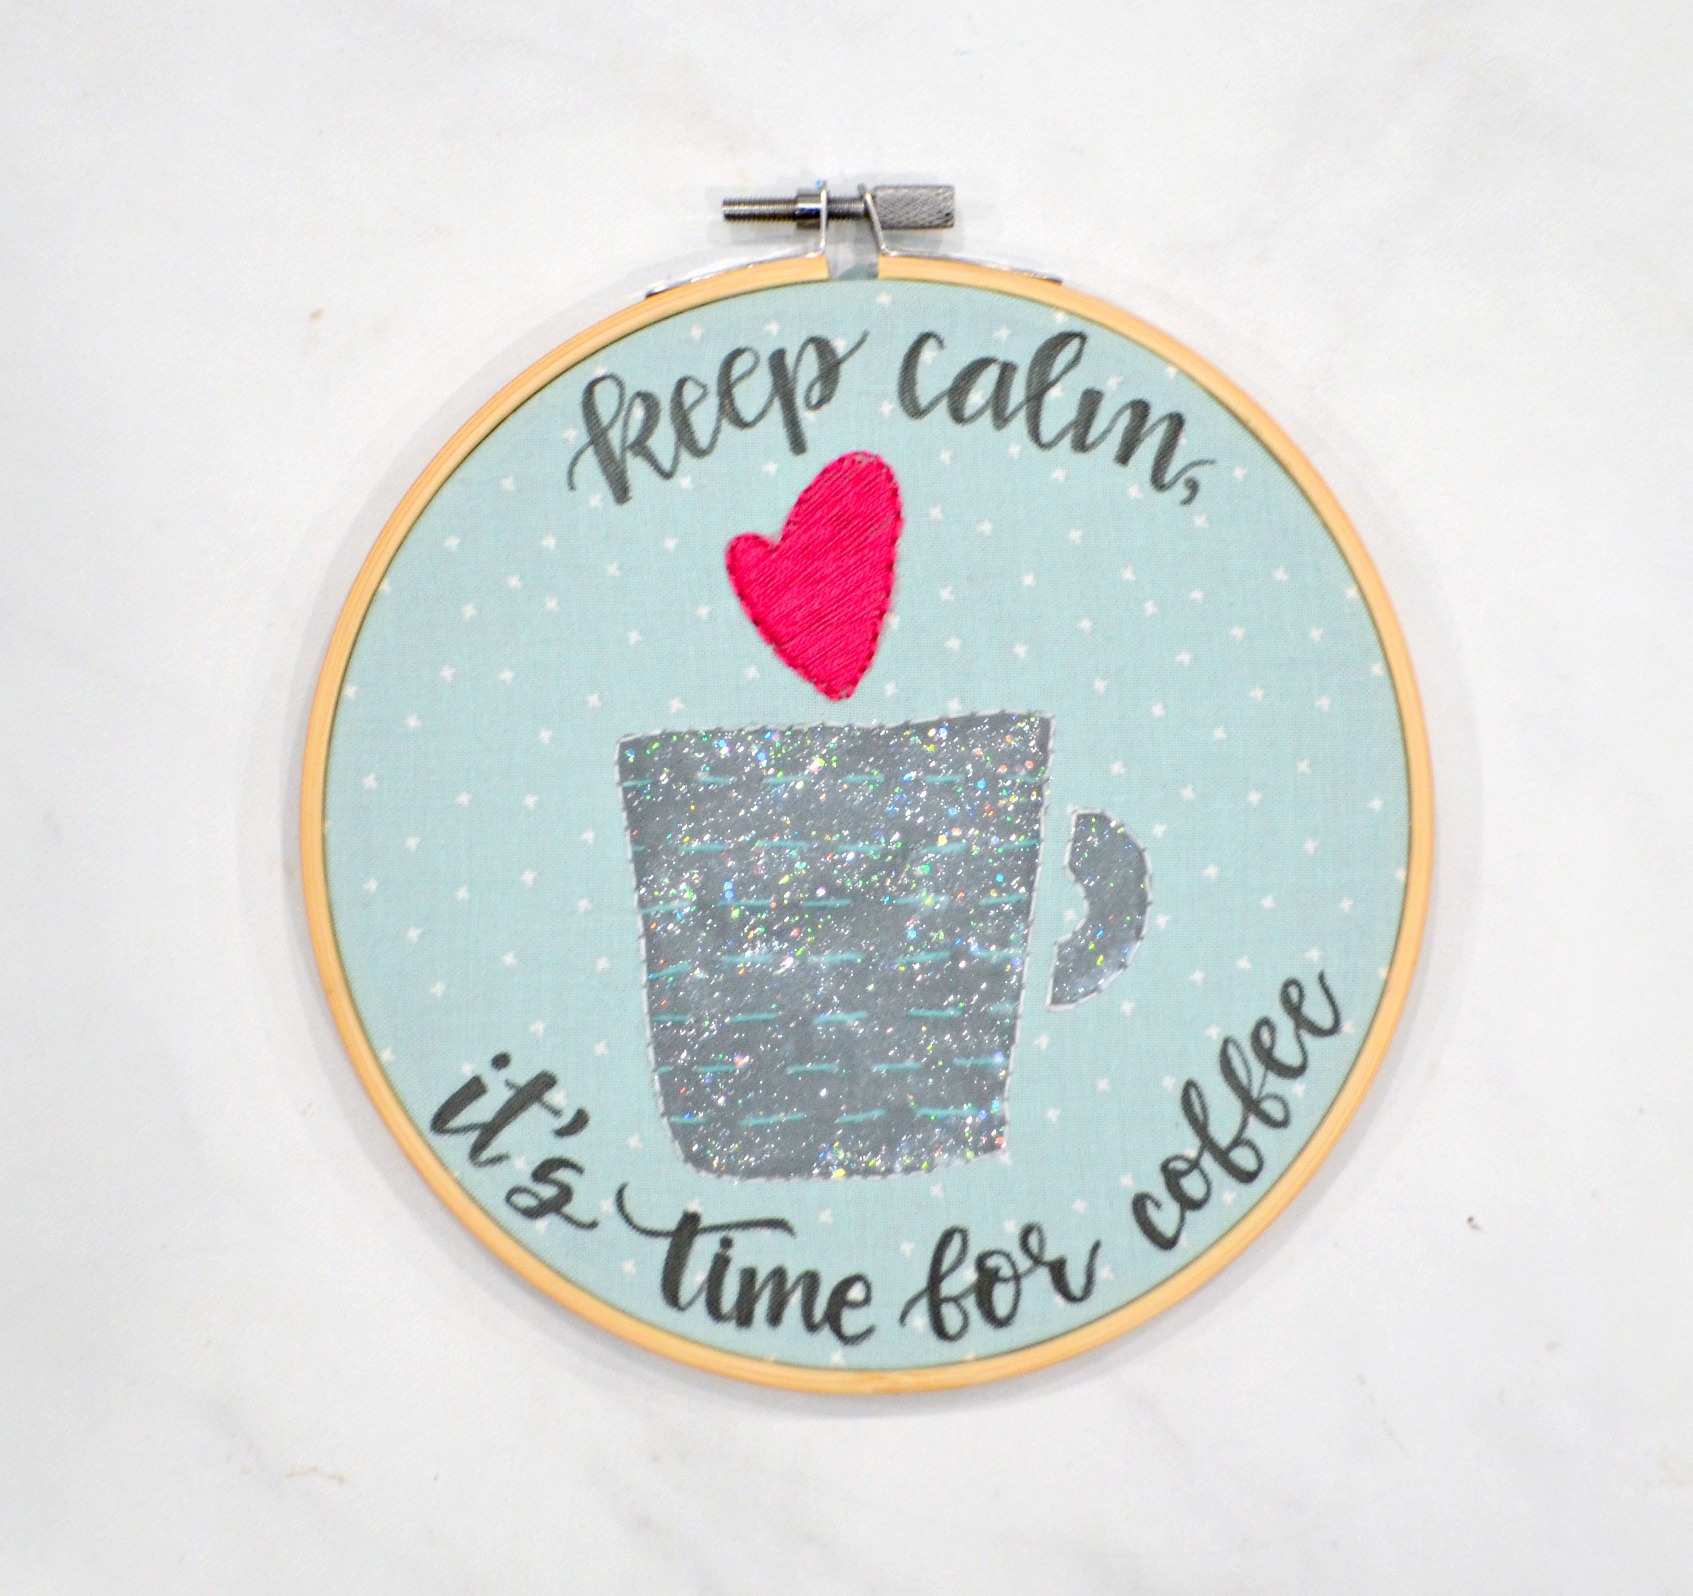
Step 3: Add embroidered details to your stenciled design.
There’s no wrong way to do this; you can use any kind of stitches in any way you like! As I mentioned earlier, it’s been a million years since I embroidered, so I just relied on a few very basic stitches I remembered from my high school needlecraft class. I did a simple backstitch around the whole design, outlining the mug and handle in white and the heart in pink. Then, I filled in the entire heart using the satin stitch. Finally, I did a super-easy running stitch to create a little striped pattern across the mug.
Step 4: Add hand lettering {optional}.
I used a fine tip fabric marker to letter, “keep calm, it’s time for coffee,” in faux calligraphy at the top and bottom of my design. If you’re new to hand lettering, check out this basic tutorial to see how simple it really is!
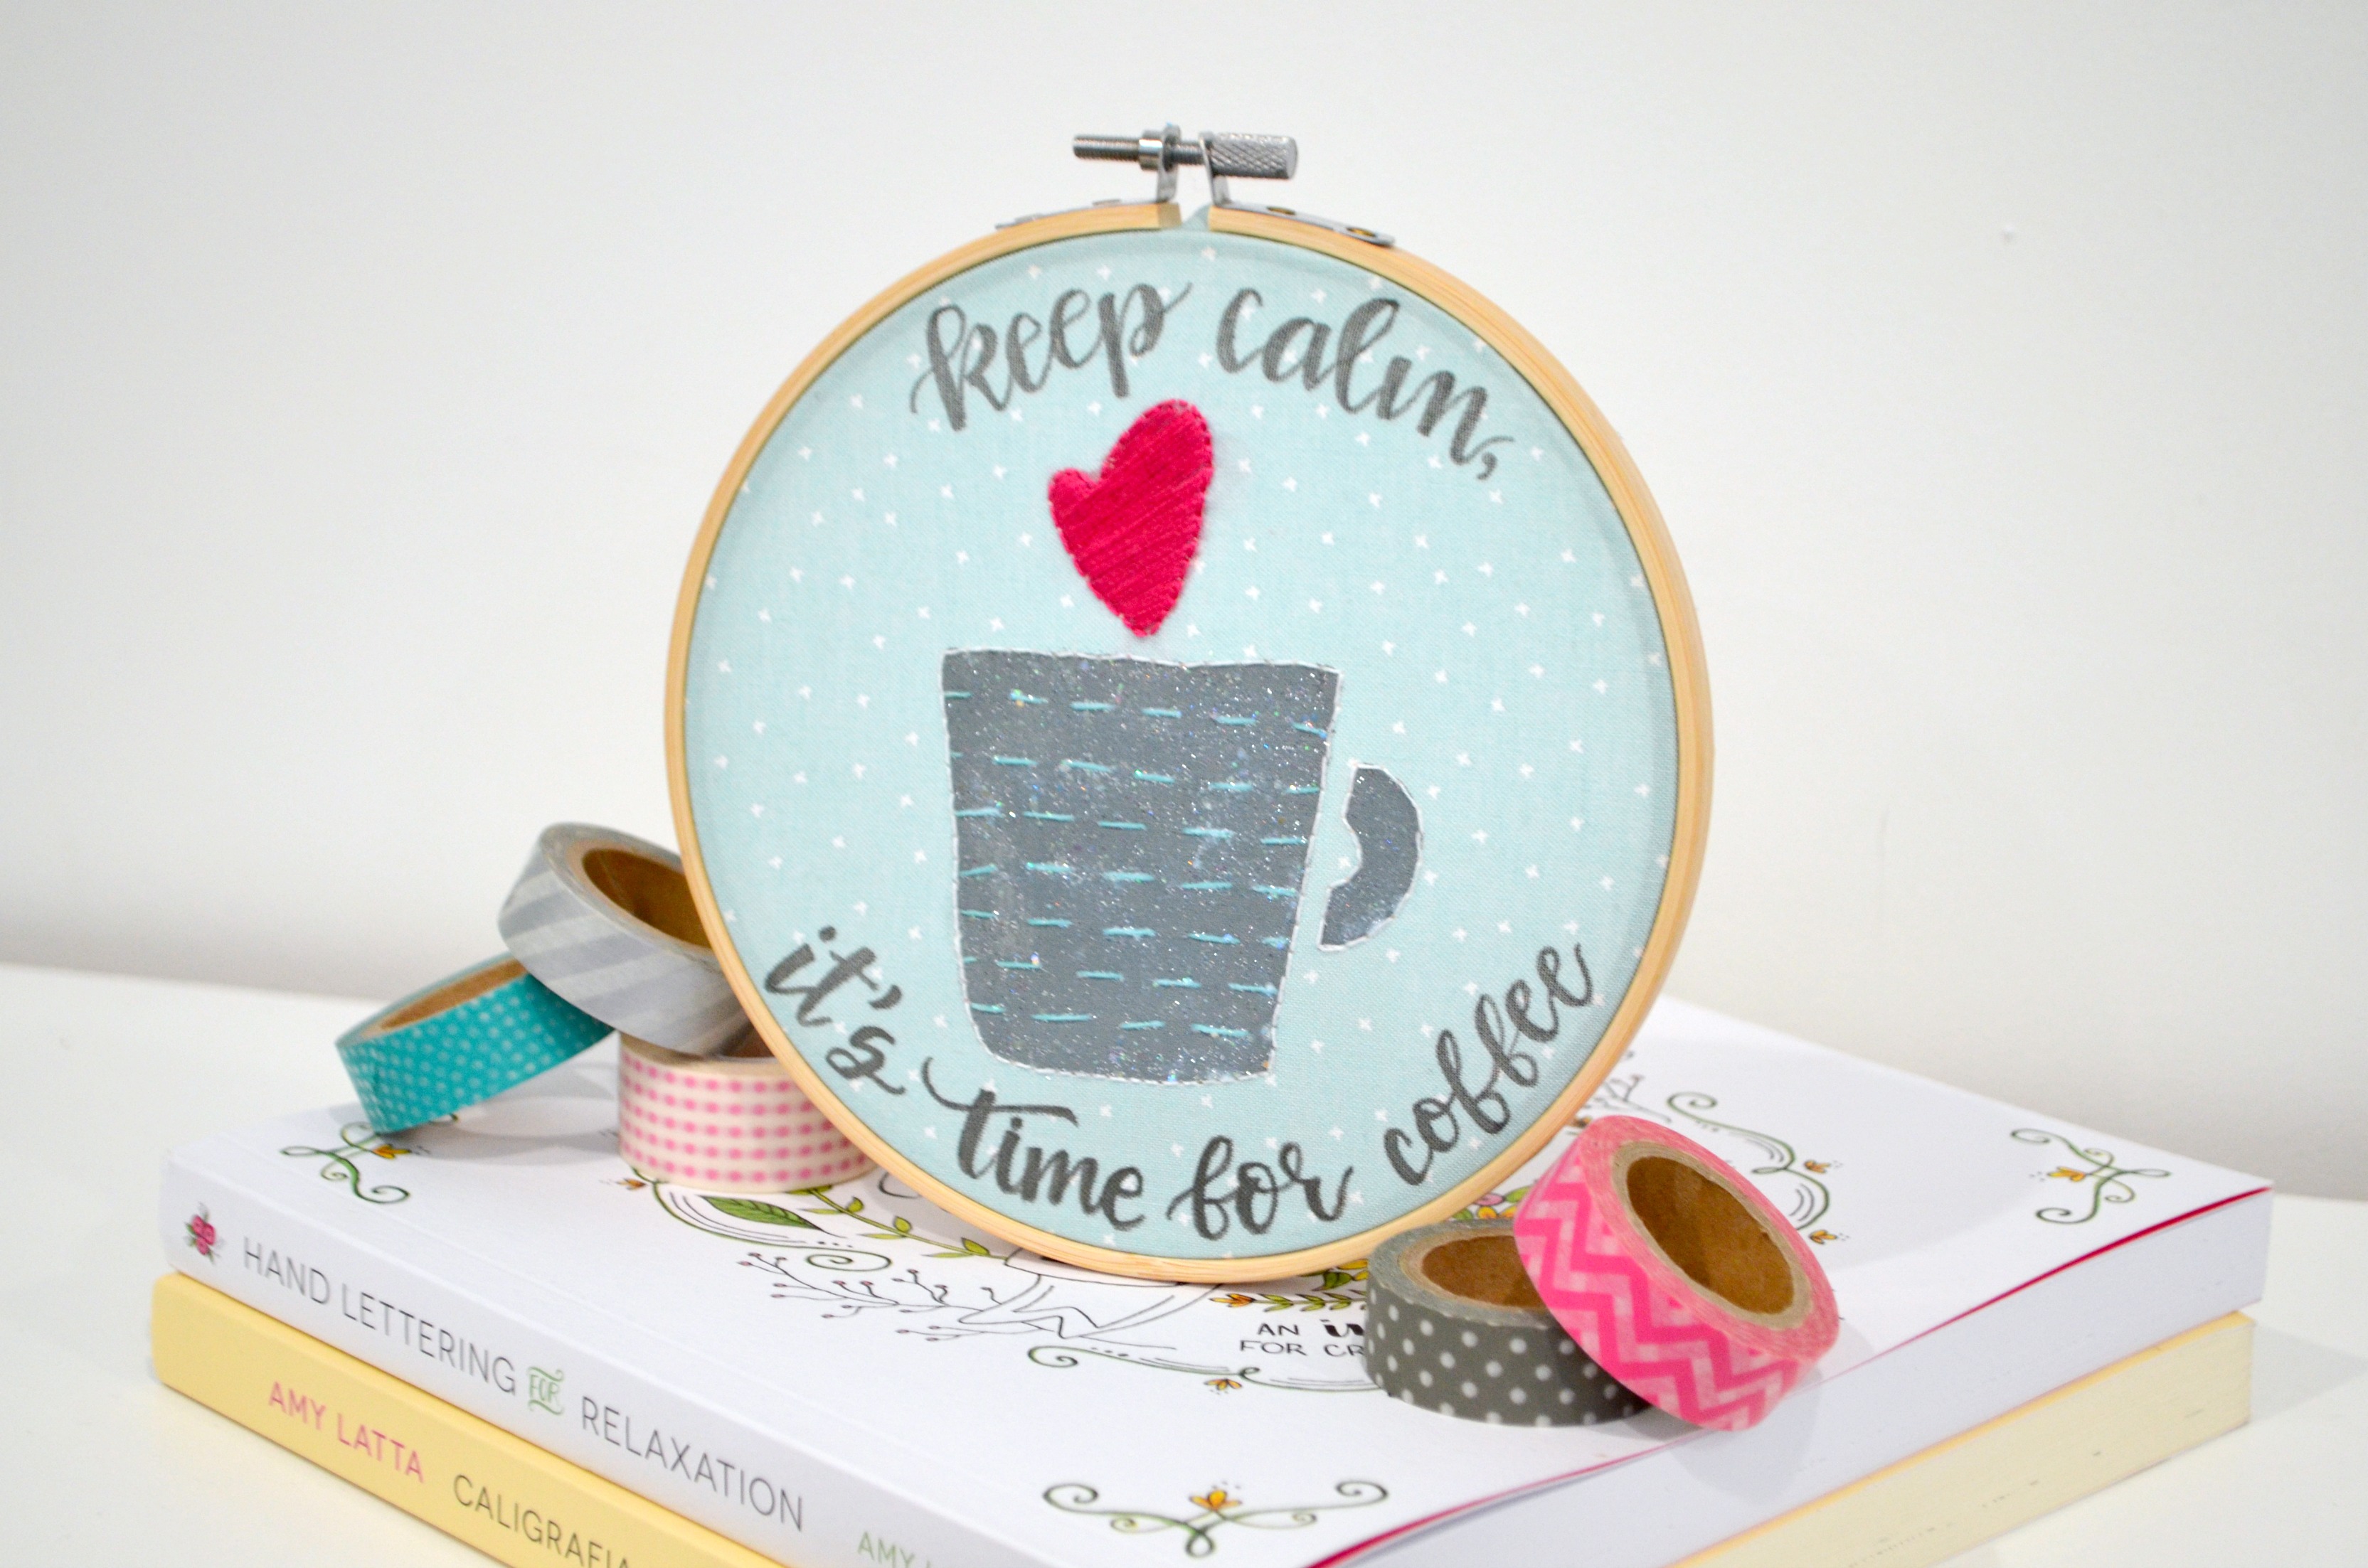
Step 5: Add sparkle!
I brushed a coat of Fabric Creations Fantasy Glitter on top of my mug and handle to add a little bit of pizzazz and make it sparkle in the light. Since the glitter is totally suspended in the fabric paint base, there’s no mess! Of course, this part is totally optional too, but for me it was the perfect finishing touch.

I am thrilled with how this little project turned out, and it’s now on display in my craft room. What do you think? If you create your own version, I’d love to see! Be sure to join the Amy Latta & Friends Facebook group so you can share your projects with us and we can all be inspired. See you there!
Don’t forget, if you like it, then you oughta put a pin on it!
Sooooooo cute!! Thank you so much Amy!! I’m so in love with your cute hoop! You’re the best!
What a cute idea…love the fabric too..
This is so cute! Your instructions are very well written! I will have to try to make this asap.
-Kate
https://daysofkate.com
Did you get a chance to make it? I would love to see!
yessss love this
one of my favorite saysings!