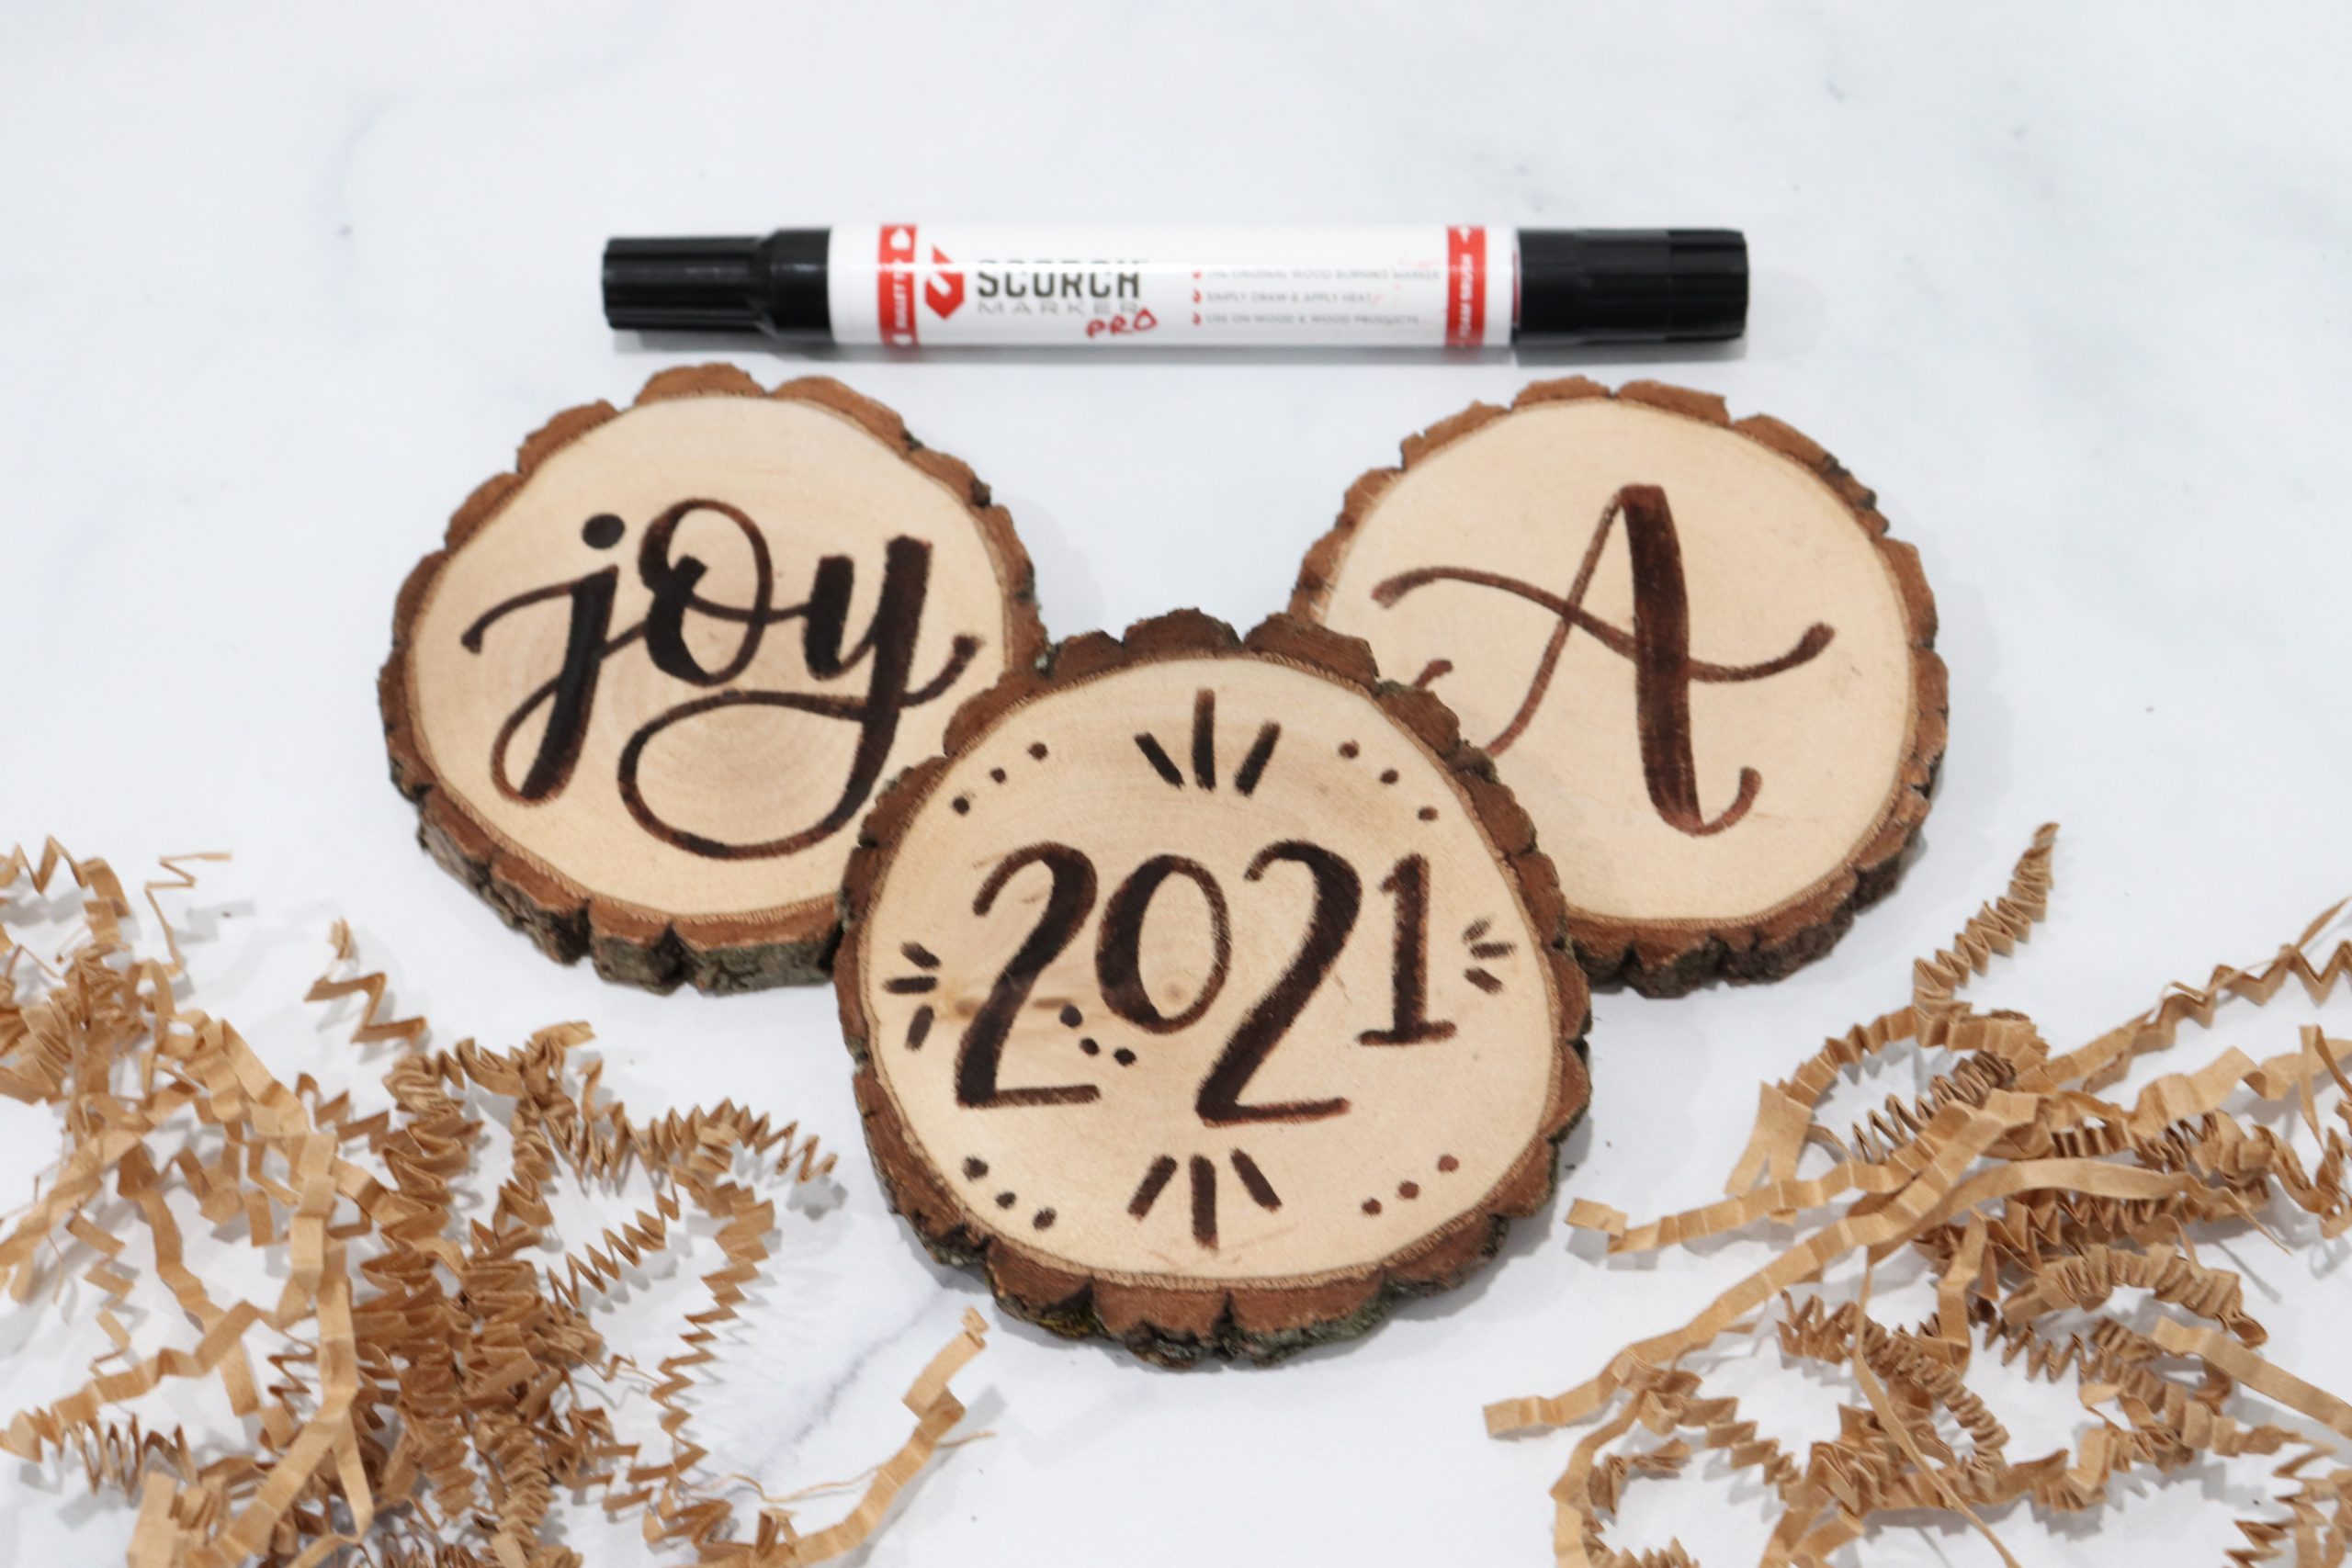
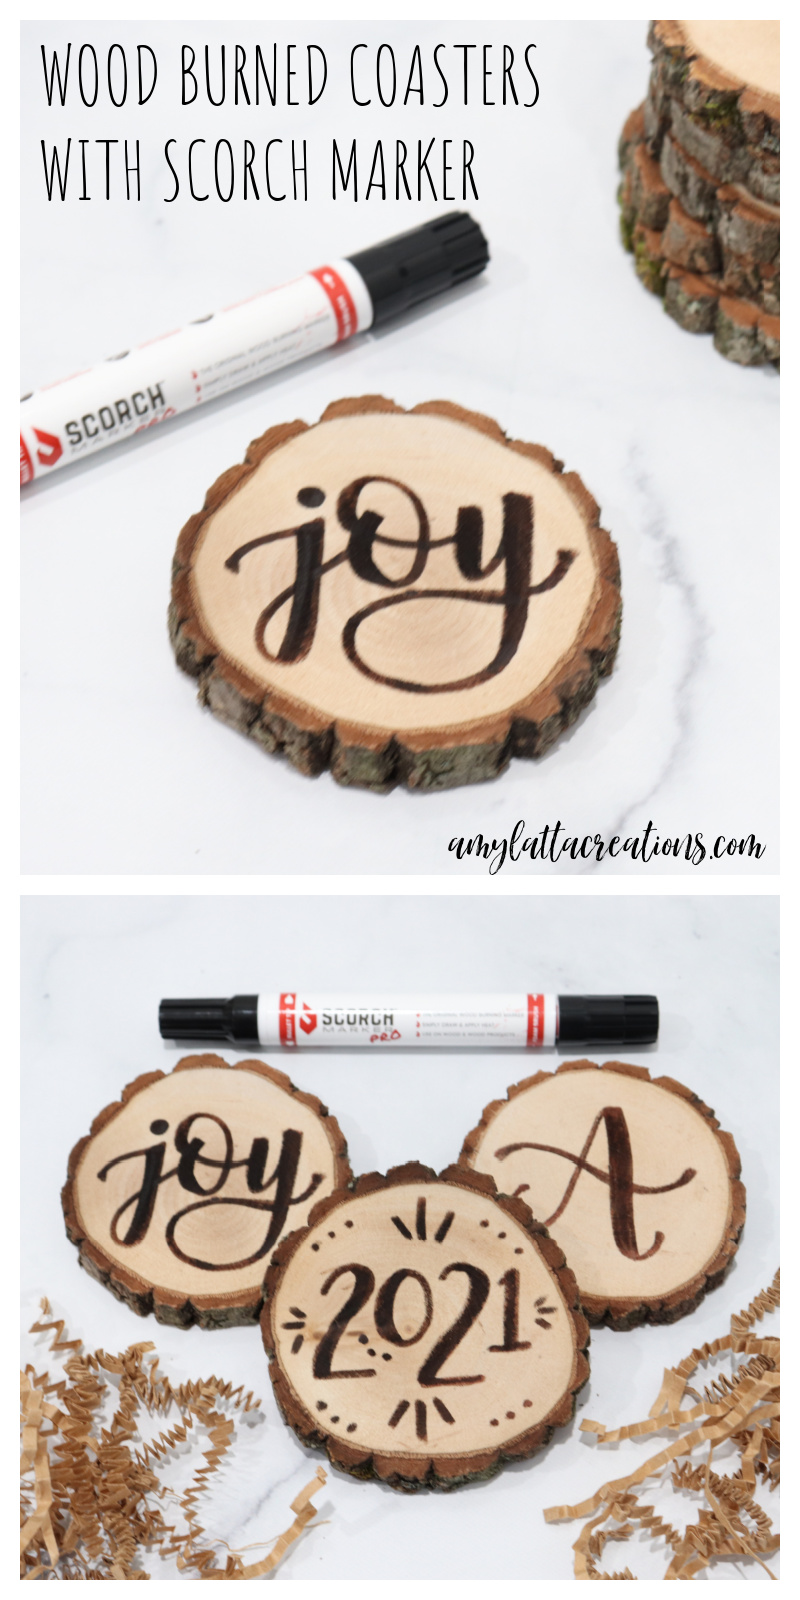
Wood Burned Coasters with Scorch Marker
For years now, any time someone would ask me if there’s a kind of crafting I don’t do, my immediate response has been, “wood burning!” And it wasn’t for lack of trying. I have desperately wanted to be good at it, and have tried multiple times with a variety of different tools and surfaces. I even have a book intended to teach beginners all about it. But, I still never met with success. In fact, I may or may not have thrown things across the room during my last failed attempt and sworn it off altogether. Then, about two weeks ago, I found out about something new. A game changer. It’s called the Scorch Marker and it allows you to do wood burning with a marker! Did you catch that? With. a. marker.
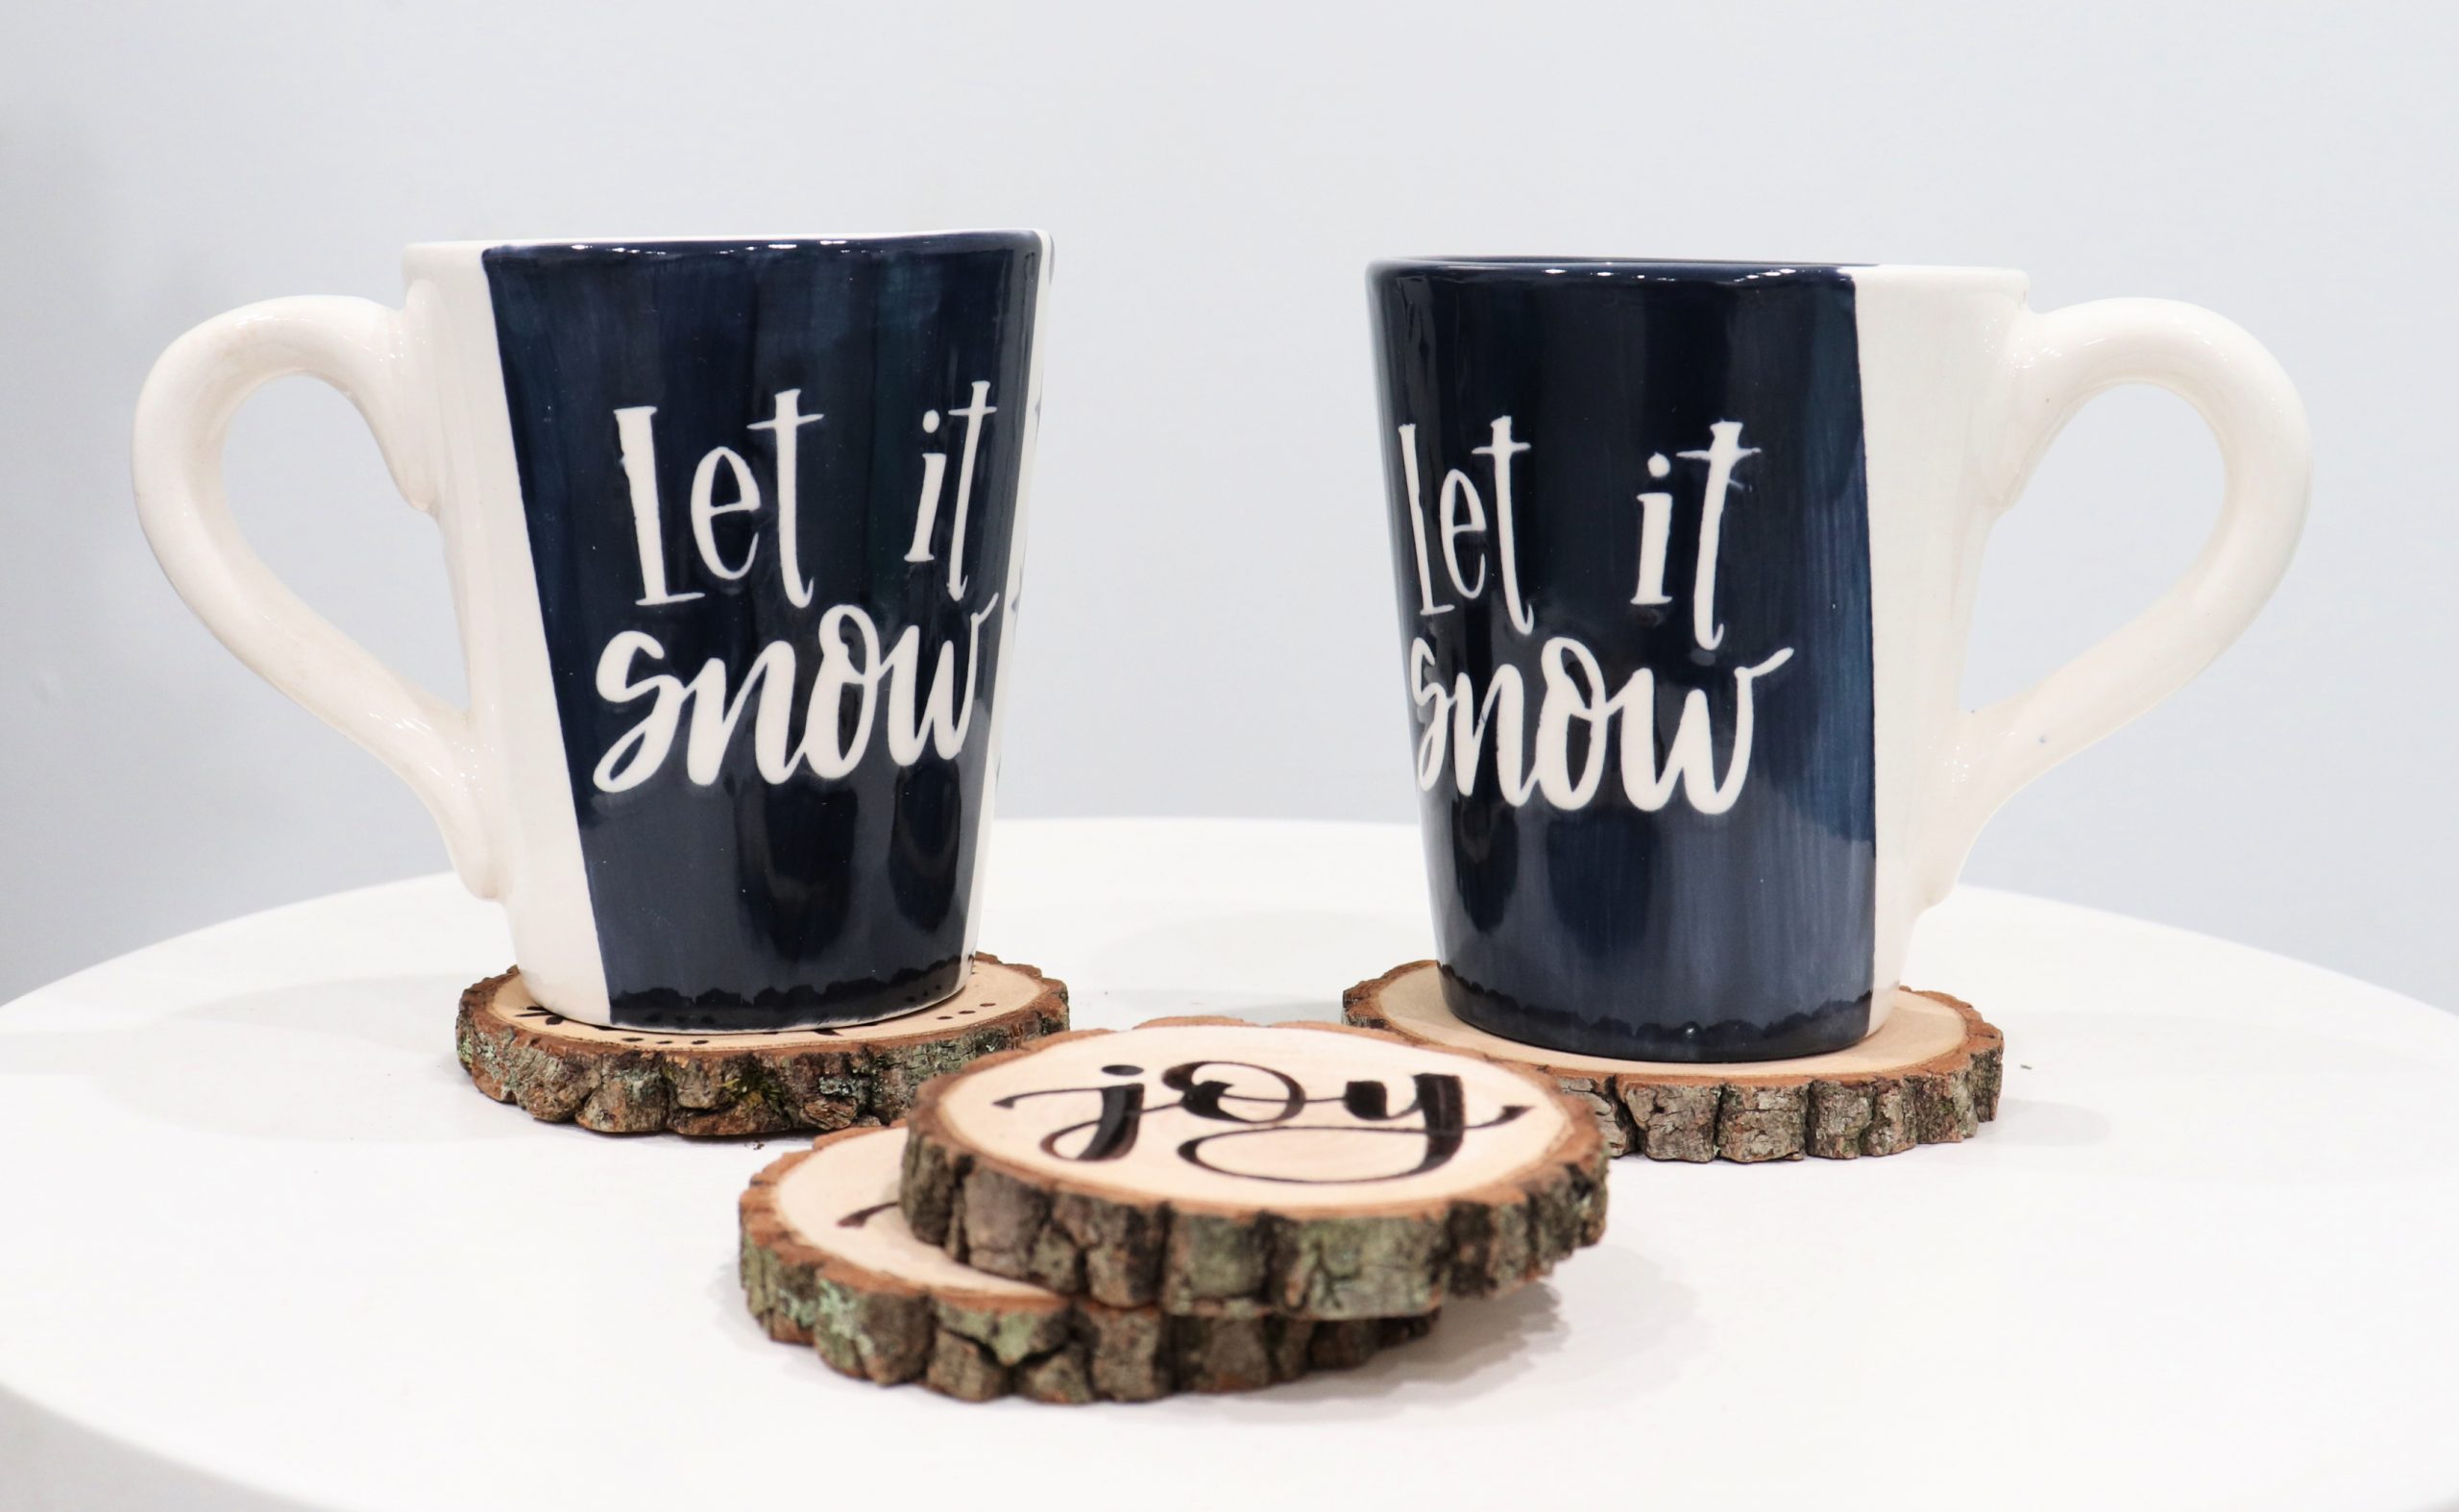
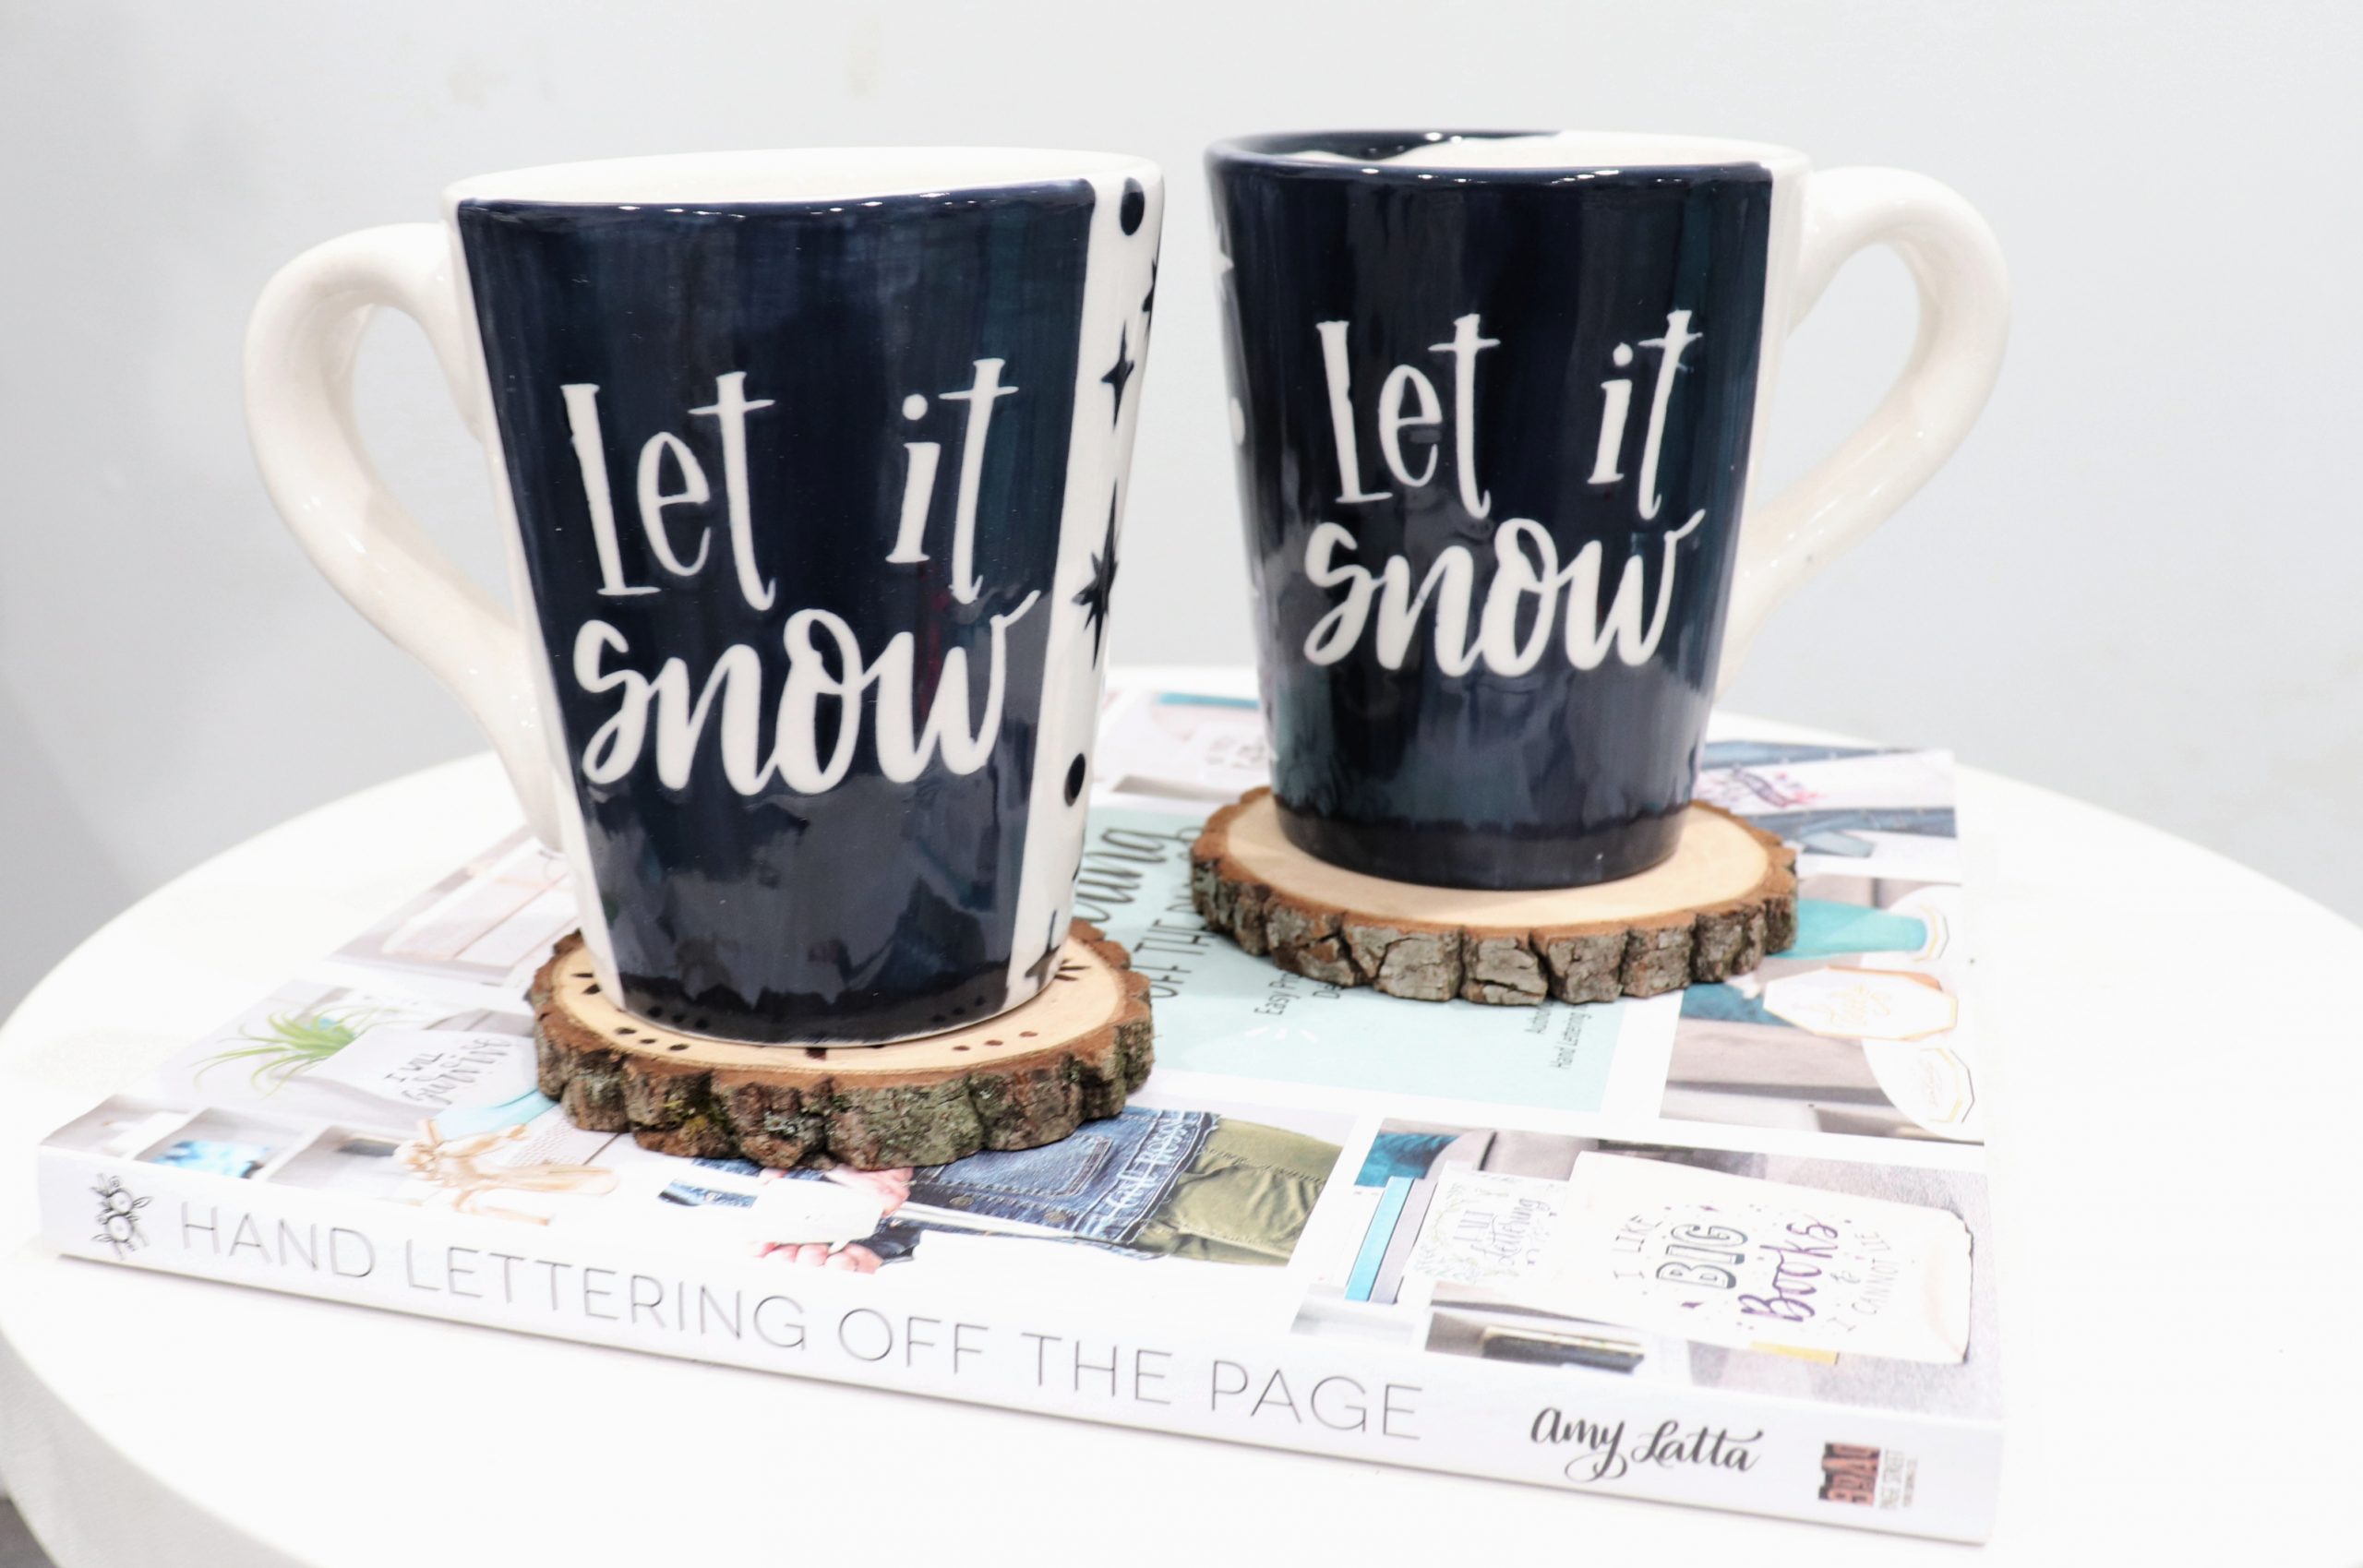
As soon as I saw it, I knew I had to try it, and I was not one bit disappointed! This is SO much easier (and safer!) than traditional wood burning tools, and I am thrilled with the results! So much so that my husband may have to hide all the wooden surfaces in the house if he doesn’t want designs burned into them. Now, I have another method to get my hand lettering off the page! My first project was to use the Scorch Marker to create some Wood Burned Coasters to welcome in the new year. Here’s how I made them, and you can too.
You’ll need:
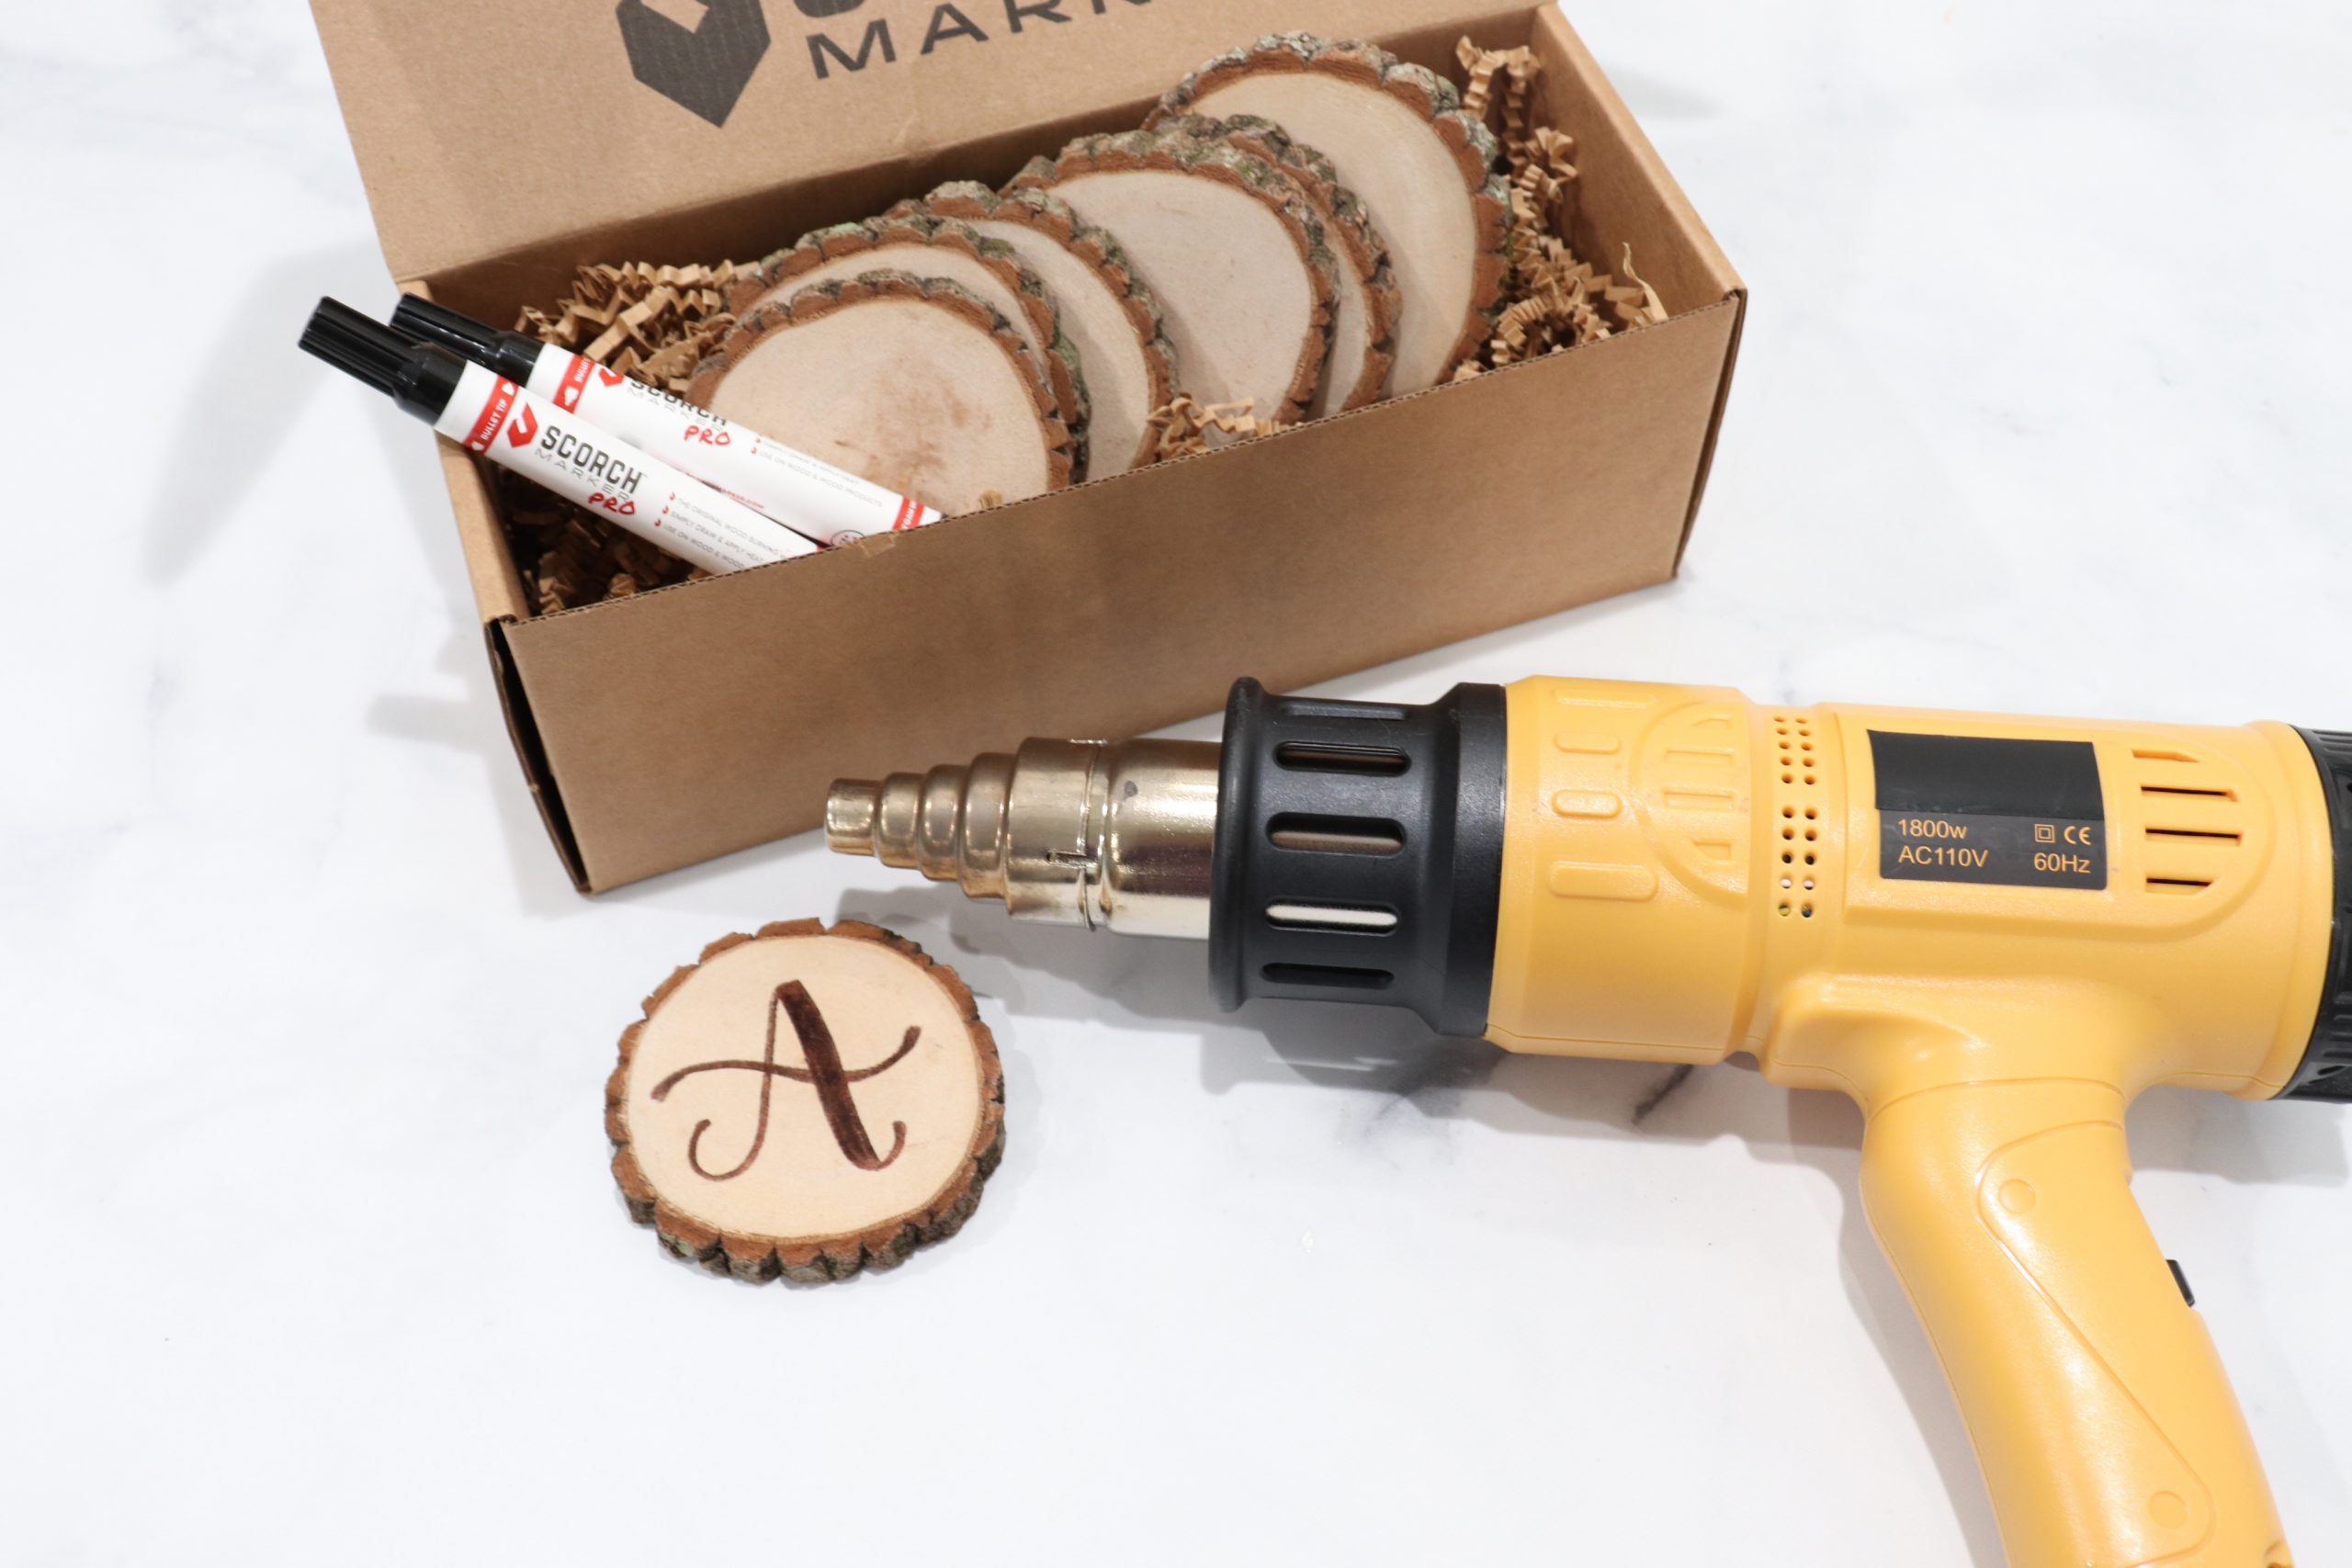
Heat Tool (1000 watts or more)
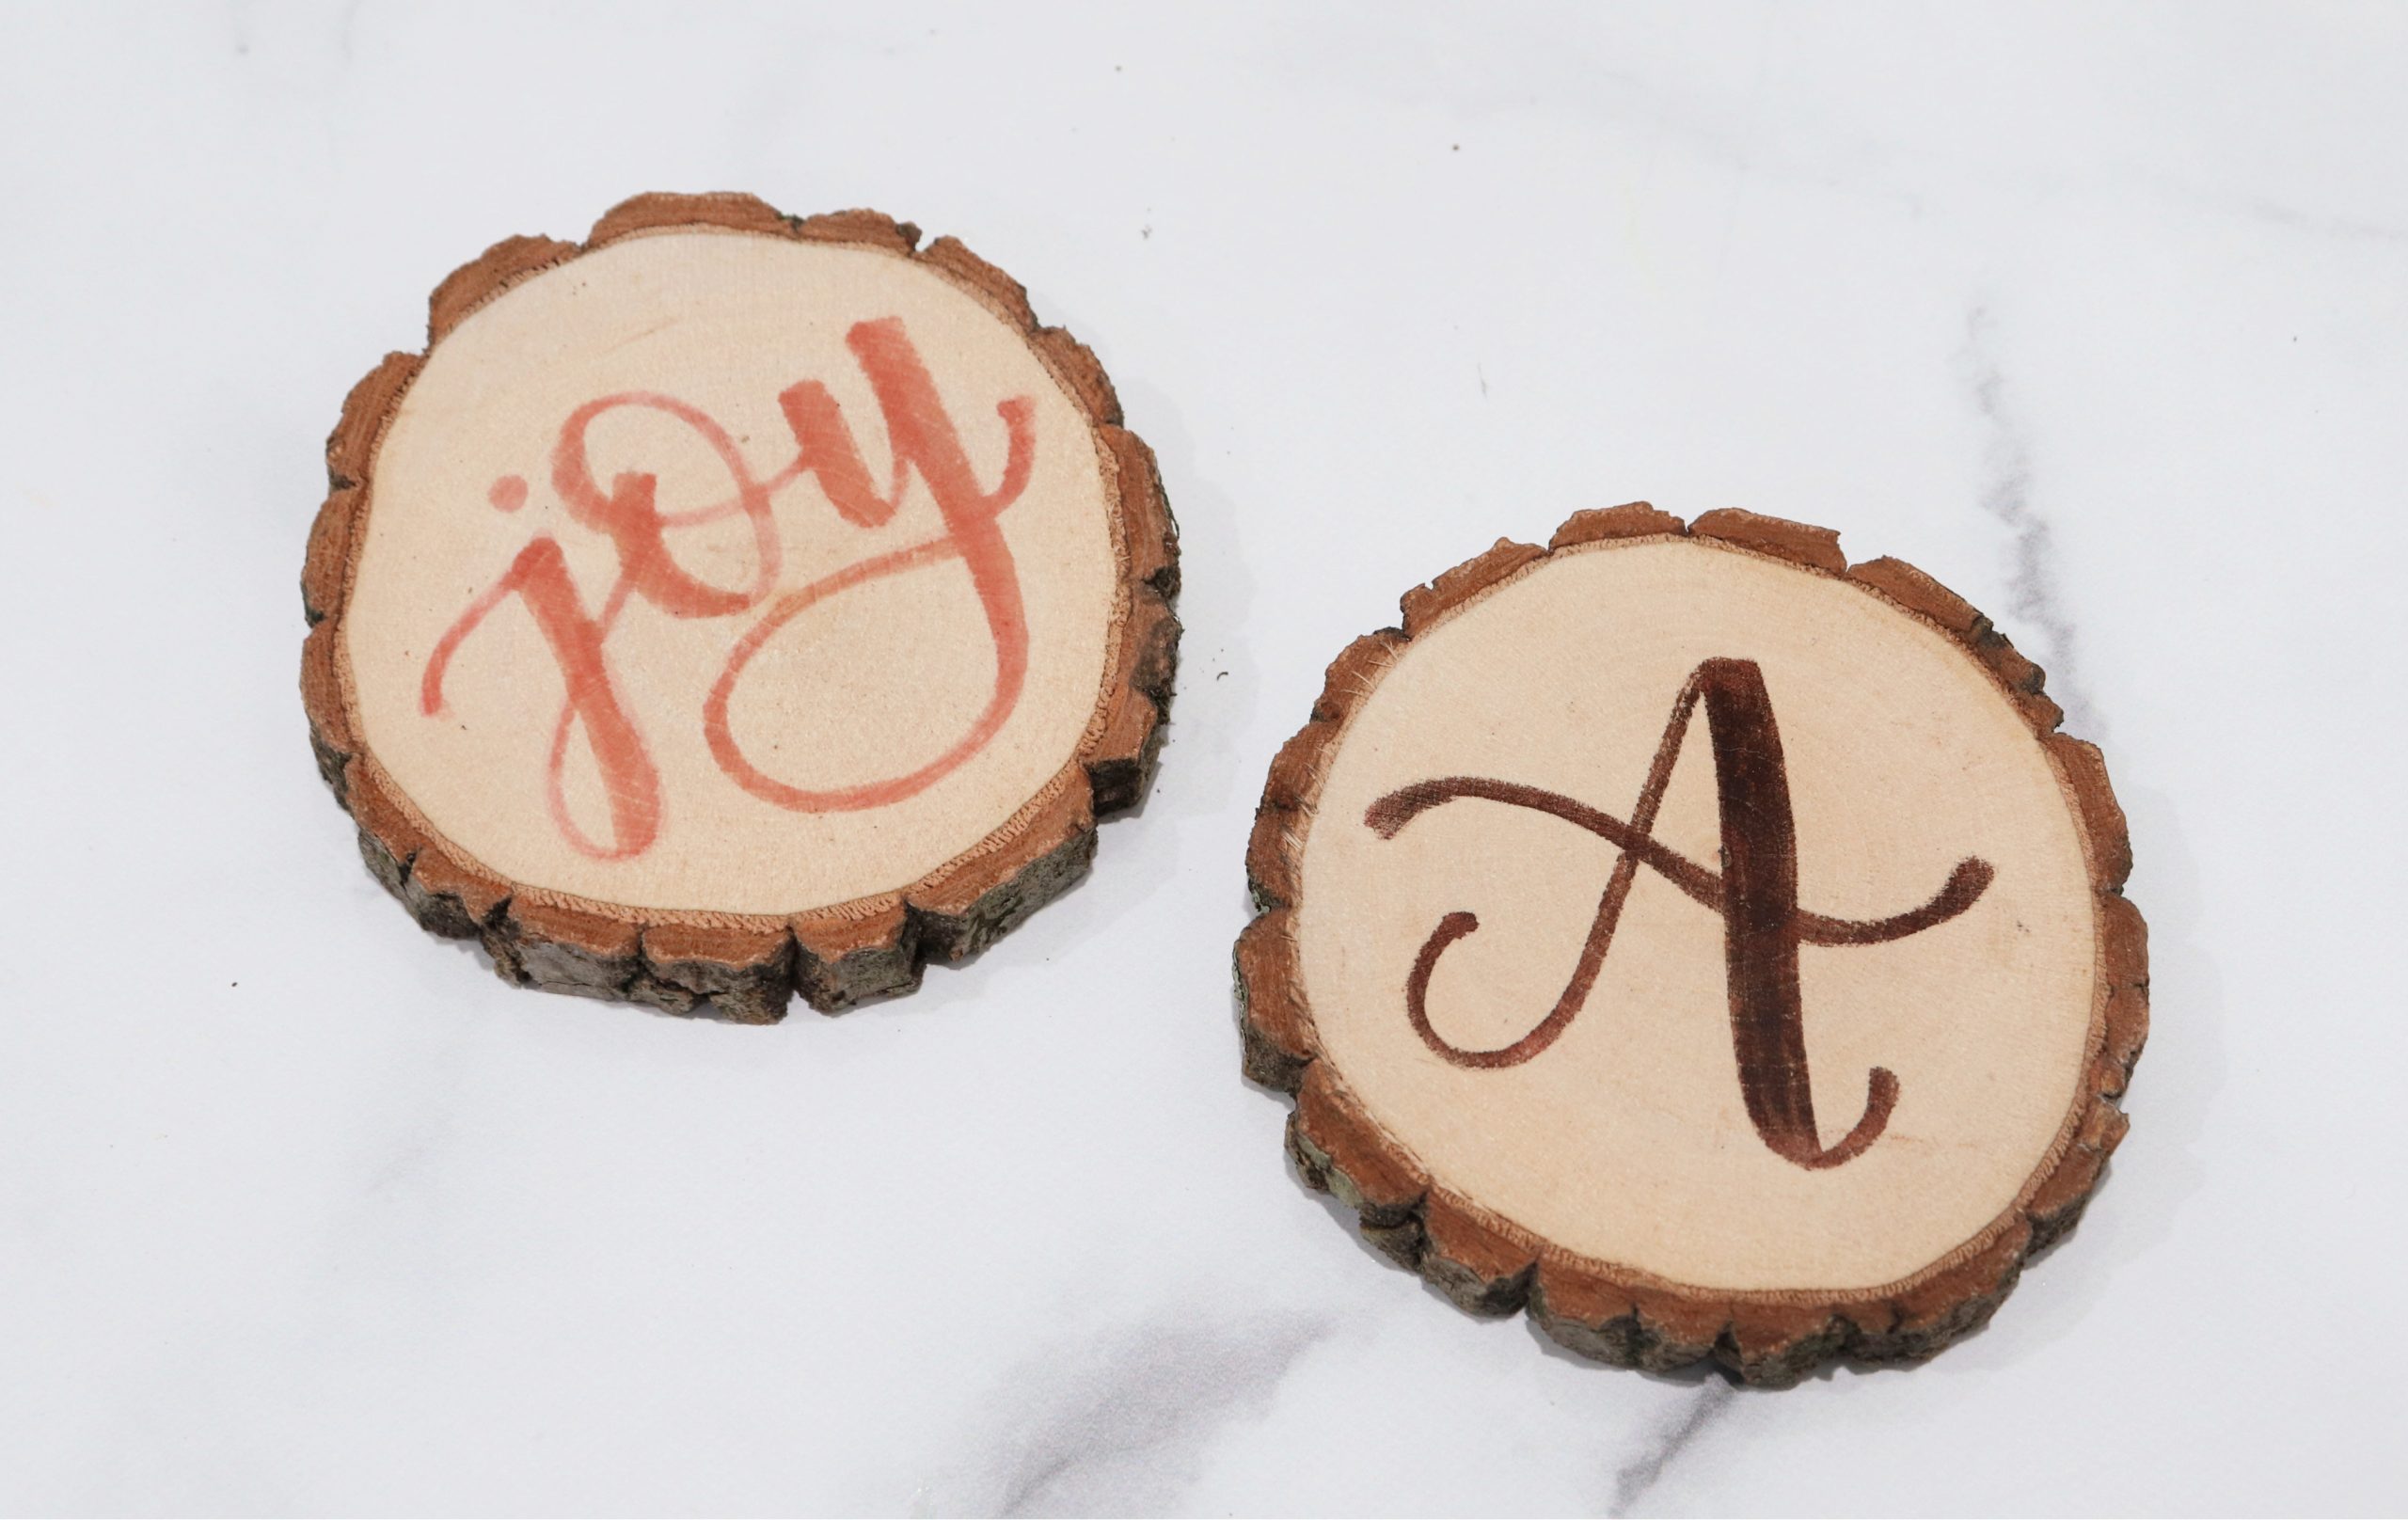
Step 1: Write your word using the Scorch Marker.
If this is your first time using the marker, make sure to prime it first, by shaking it, then pressing down on the tip on a piece of scrap paper until the ink runs down and saturates it completely.
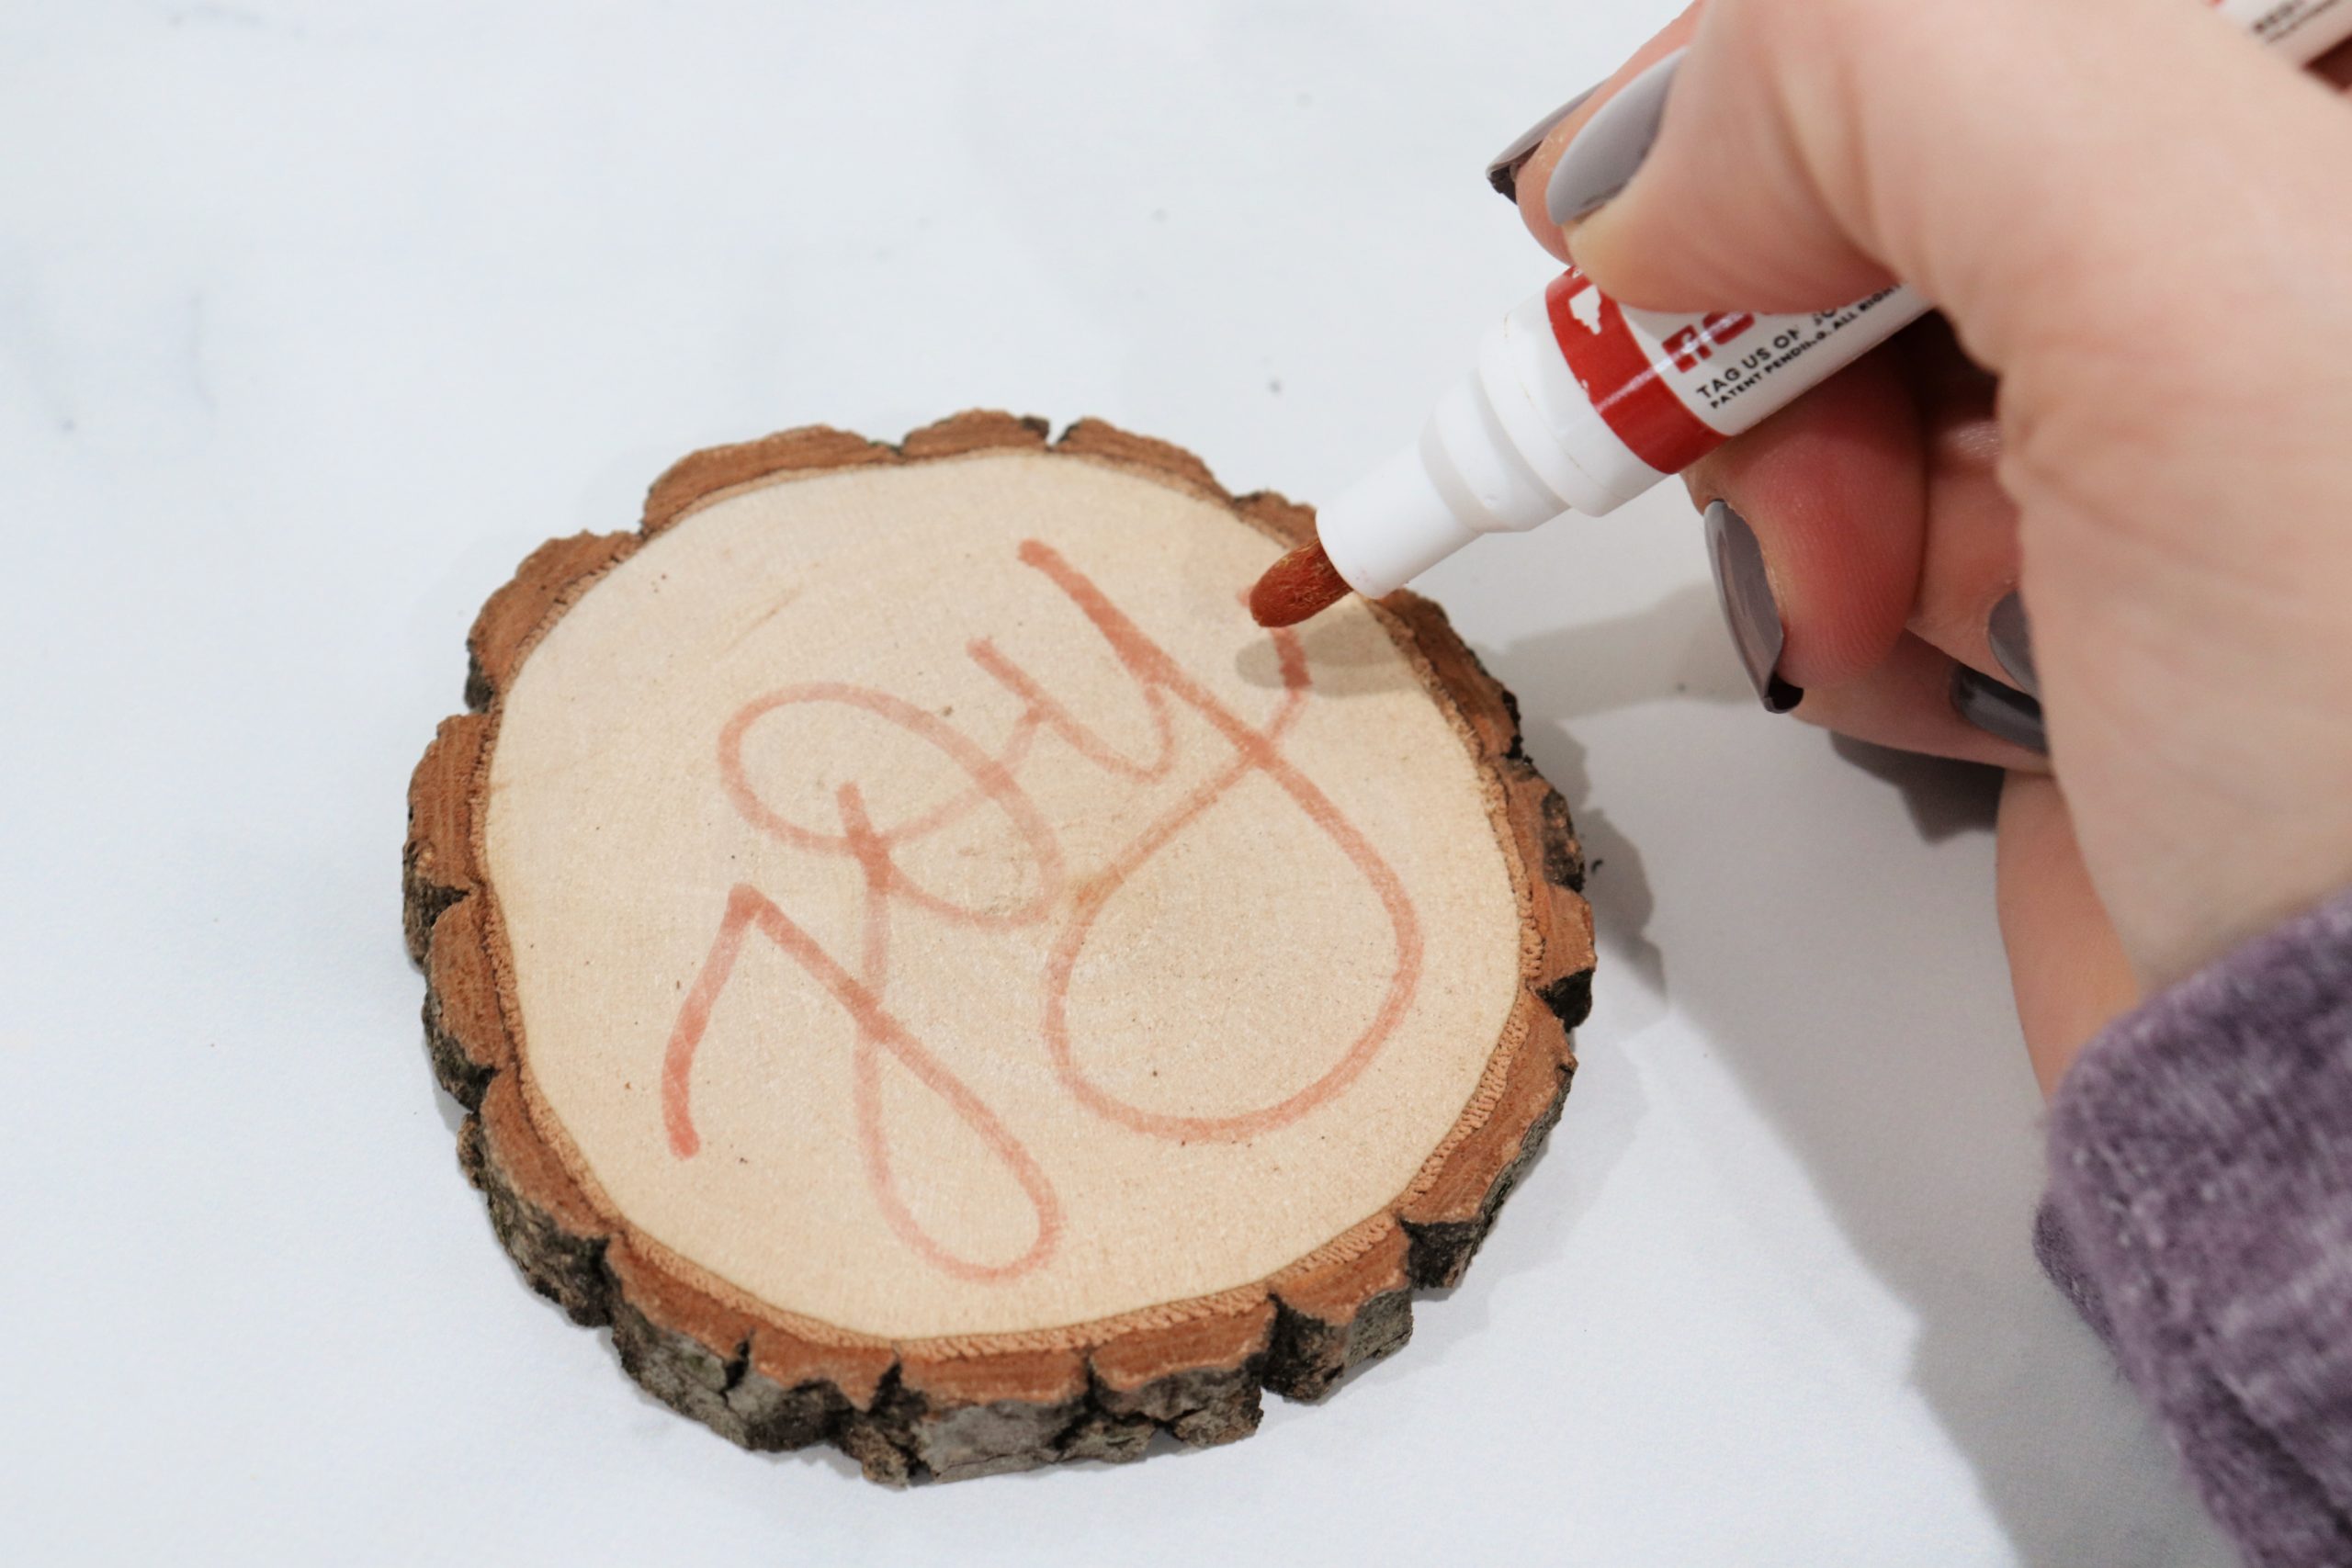
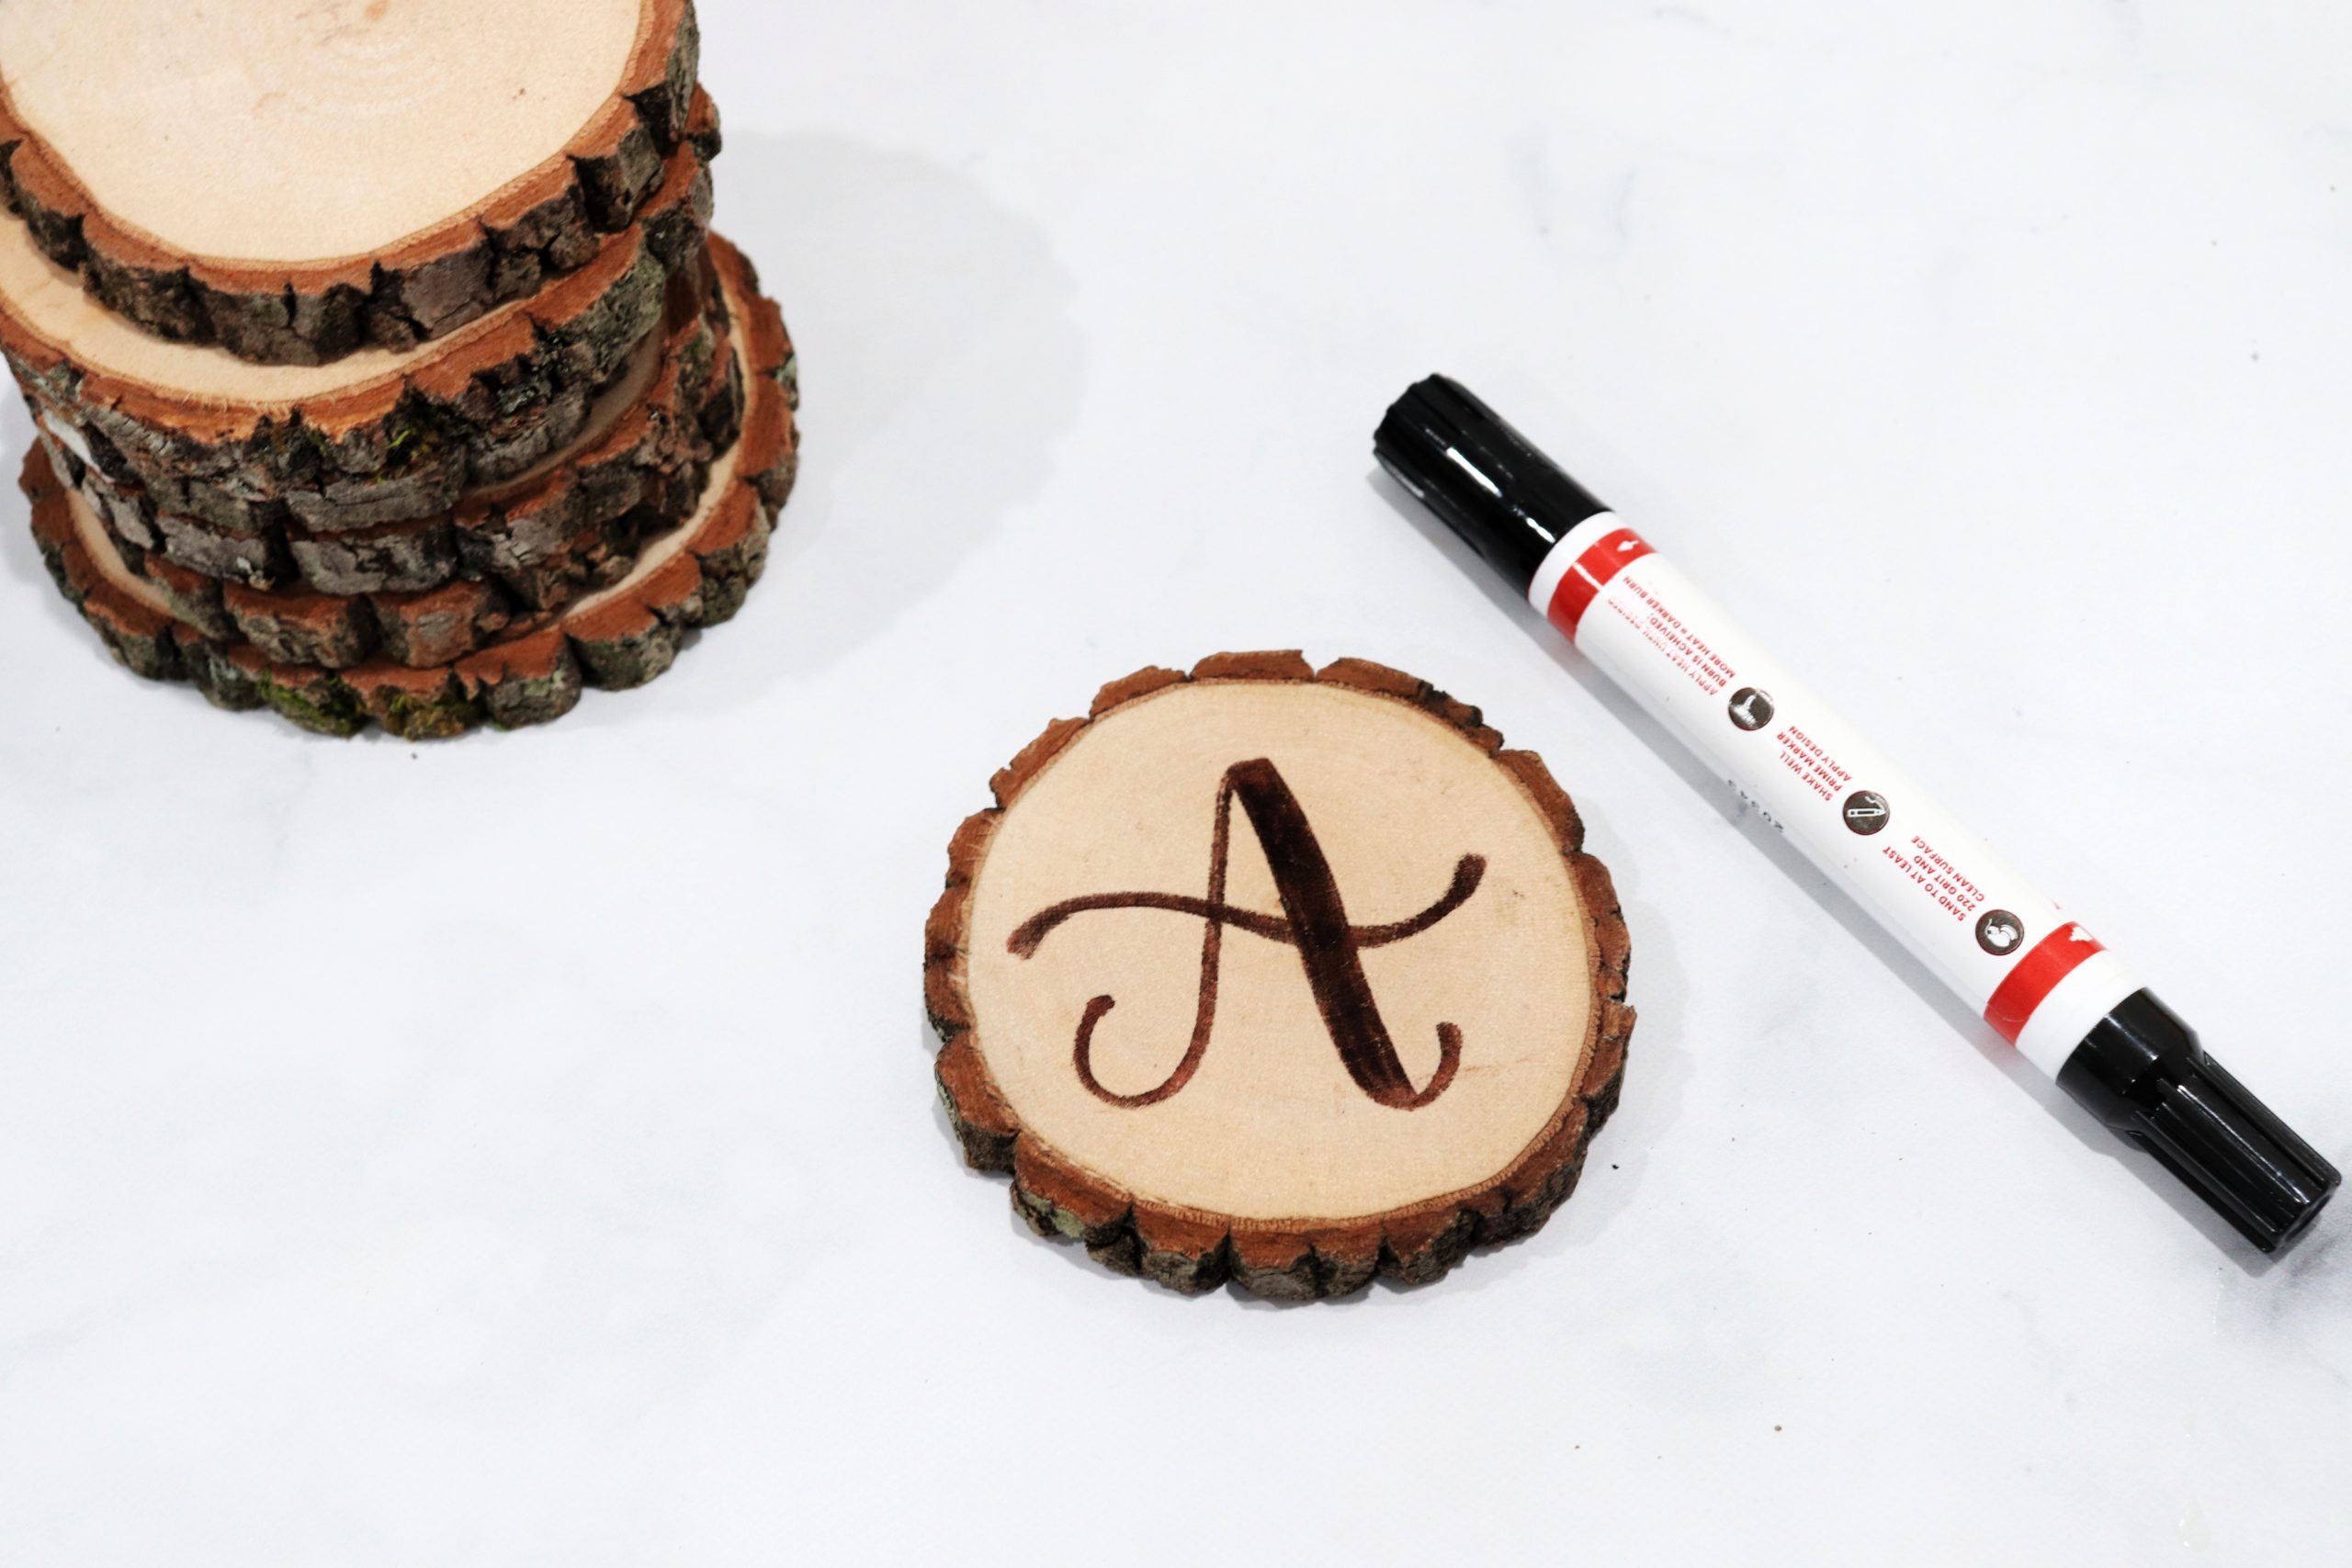
I used the Faux Calligraphy technique to give my word that gorgeous brush script look. To do this, just write your word in cursive, then go back and find the downstrokes (anywhere your pen was moving in a downward motion while writing). Draw a second line and color it in to artificially thicken those downstrokes. For a full tutorial on this technique, check out my Basic Hand Lettering post. You can also use the sponge brush end of the marker and a stencil if you prefer that to your own handwriting.
Your design will look light pink-ish before it’s been heated, in contrast to the dark burned wood look you’ll get in the next step! See the difference?
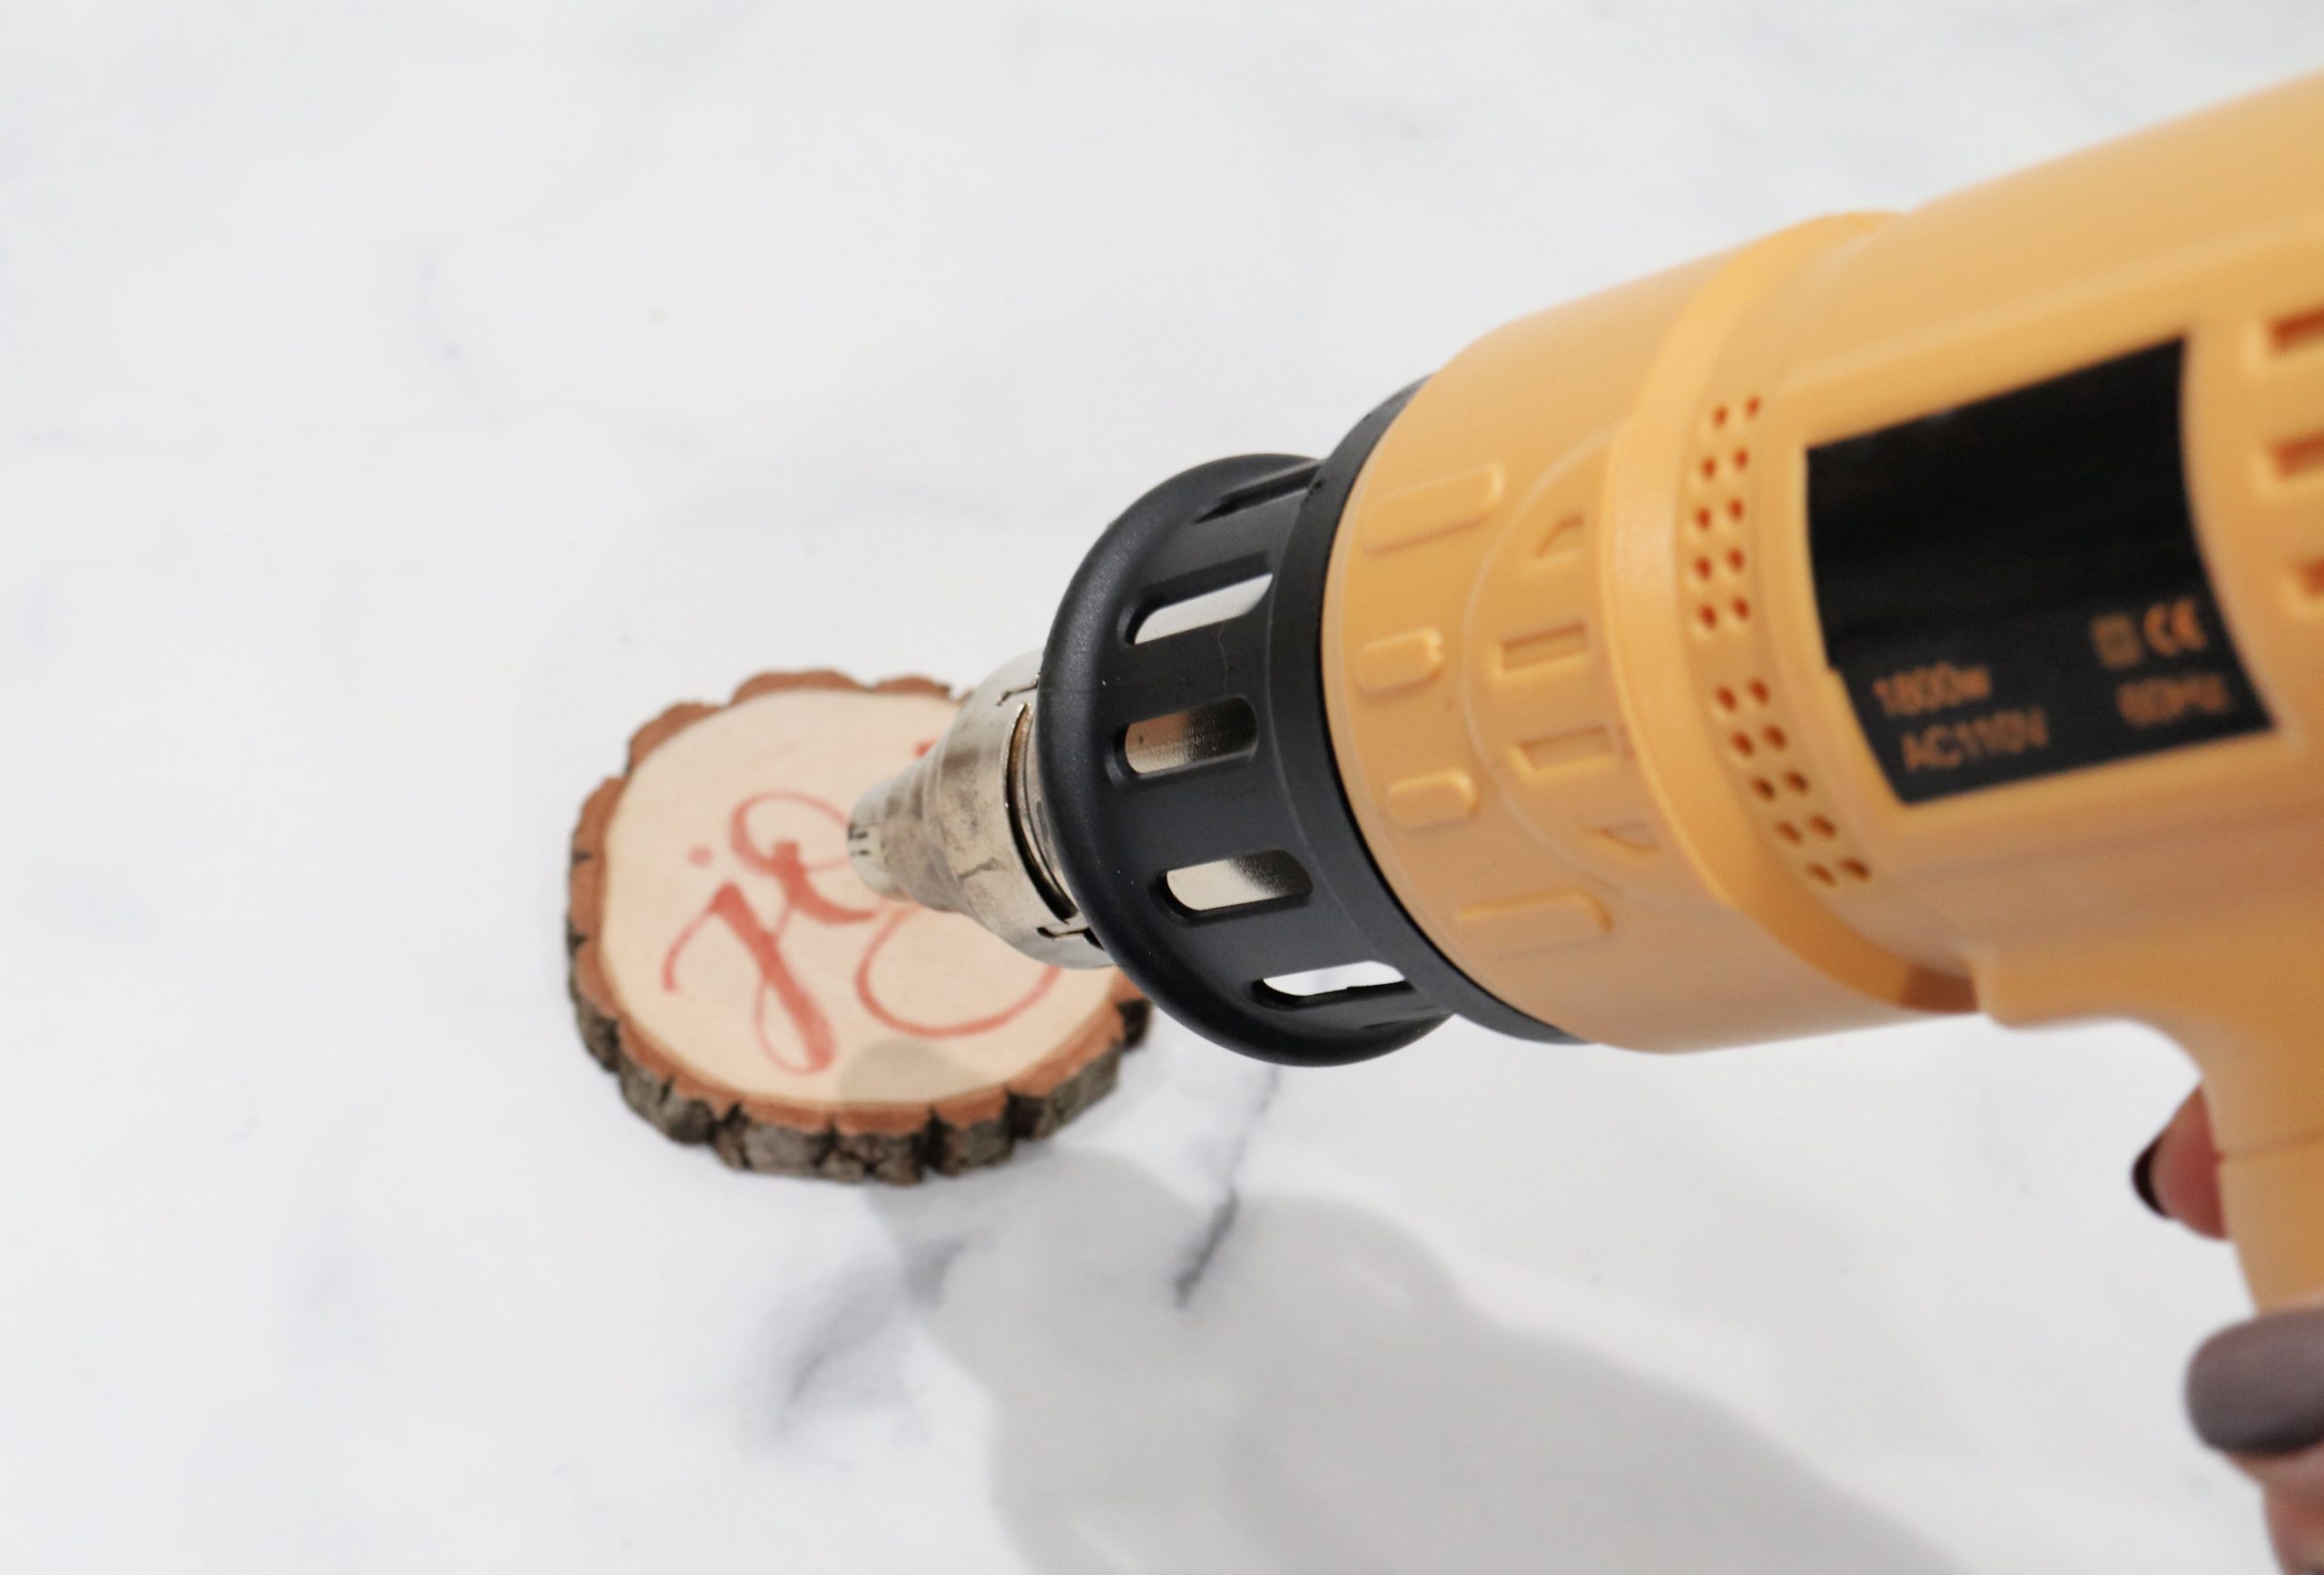
Step 2: Carefully heat your design.
Hold the heat tool about 6″ from the surface of your project, and make sure to keep it moving as you go, rather than holding it it one spot for too long. Don’t have a heat tool? You can also use a torch, an open flame, or even stick it in an oven heated to a temperature higher than 300 degrees Farenheit. The more heat you apply, the darker result you will get. Don’t worry about your marker drying before you’re able to heat it; the reaction will take place whether the design is wet or dry.
If you make a mistake, just sand your wooden surface until the problem disappears! The Scorch Marker burns deep enough to be permanent, but shallow enough to be sanded away if necessary.
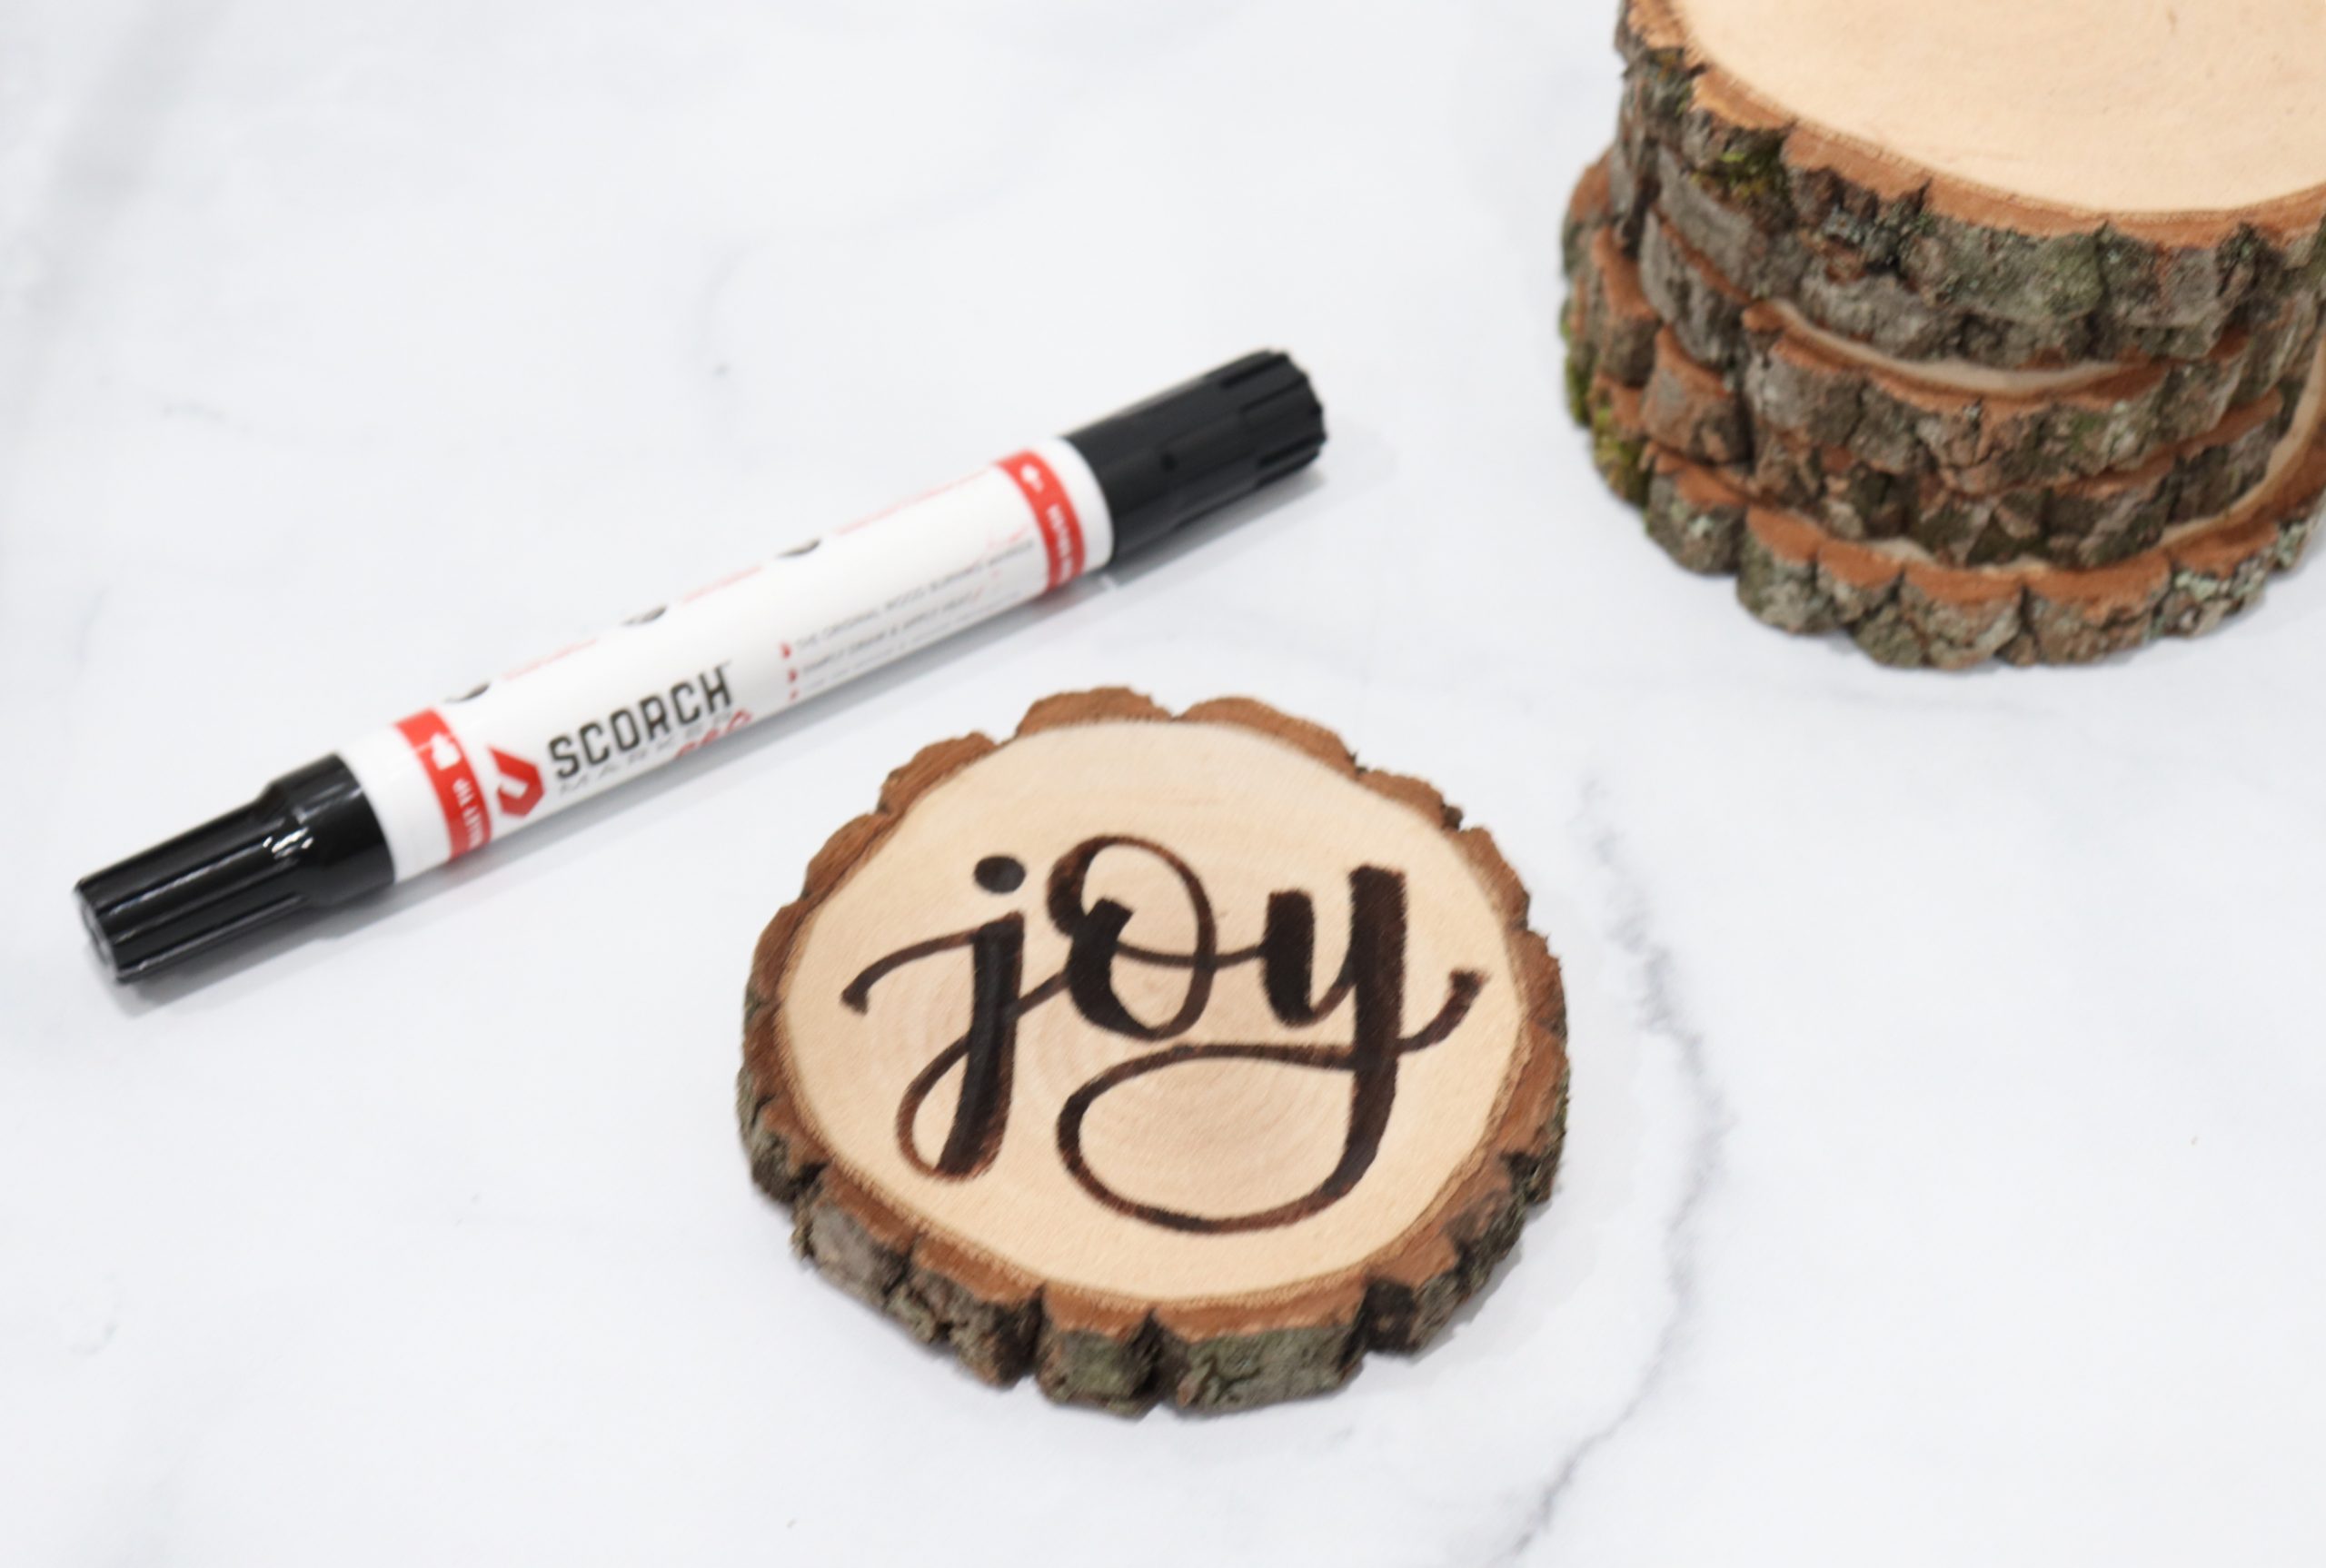
Once your design is burned into the wood, it’s there for good! But, if you like, you can add a wood sealer or finish over top to protect it, which is a good idea for things you plan on using frequently like coasters!
The Scorch Marker is non-toxic, odor free, and safe for crafters of all ages. Kids will love using it to create their own one-of-a-kind designs just as much as grownups will…just make sure an adult does the heating portion of the project. (Hop on over and grab yours now! Save 10% with the code AMY67492).
I am so excited about this, because you know I love taking every opportunity to hand letter on different surfaces, like in my newest book Hand Lettering Off the Page! Speaking of which, if you’re eyeing up those hand lettered ceramic mugs, click here to find out how you can take my online class and make your own set between now and Valentine’s Day. (you know you want to!)
I hope you have as much fun with the Scorch Marker as I have been. And don’t forget to share photos of your creations in the Amy Latta & Friends Facebook Group so we can all be inspired. Happy crafting!

My letters are bleeding…do I need to be doing something else or am I doing something wrong?
What surface are you using, Linda? Try sanding it as absolutely smooth as possible before using the Scorch Marker. Sometimes if the wood is rough/grainy, the marker can bleed. Hope that helps! I’ve found that certain types of wood/surfaces work better than others.