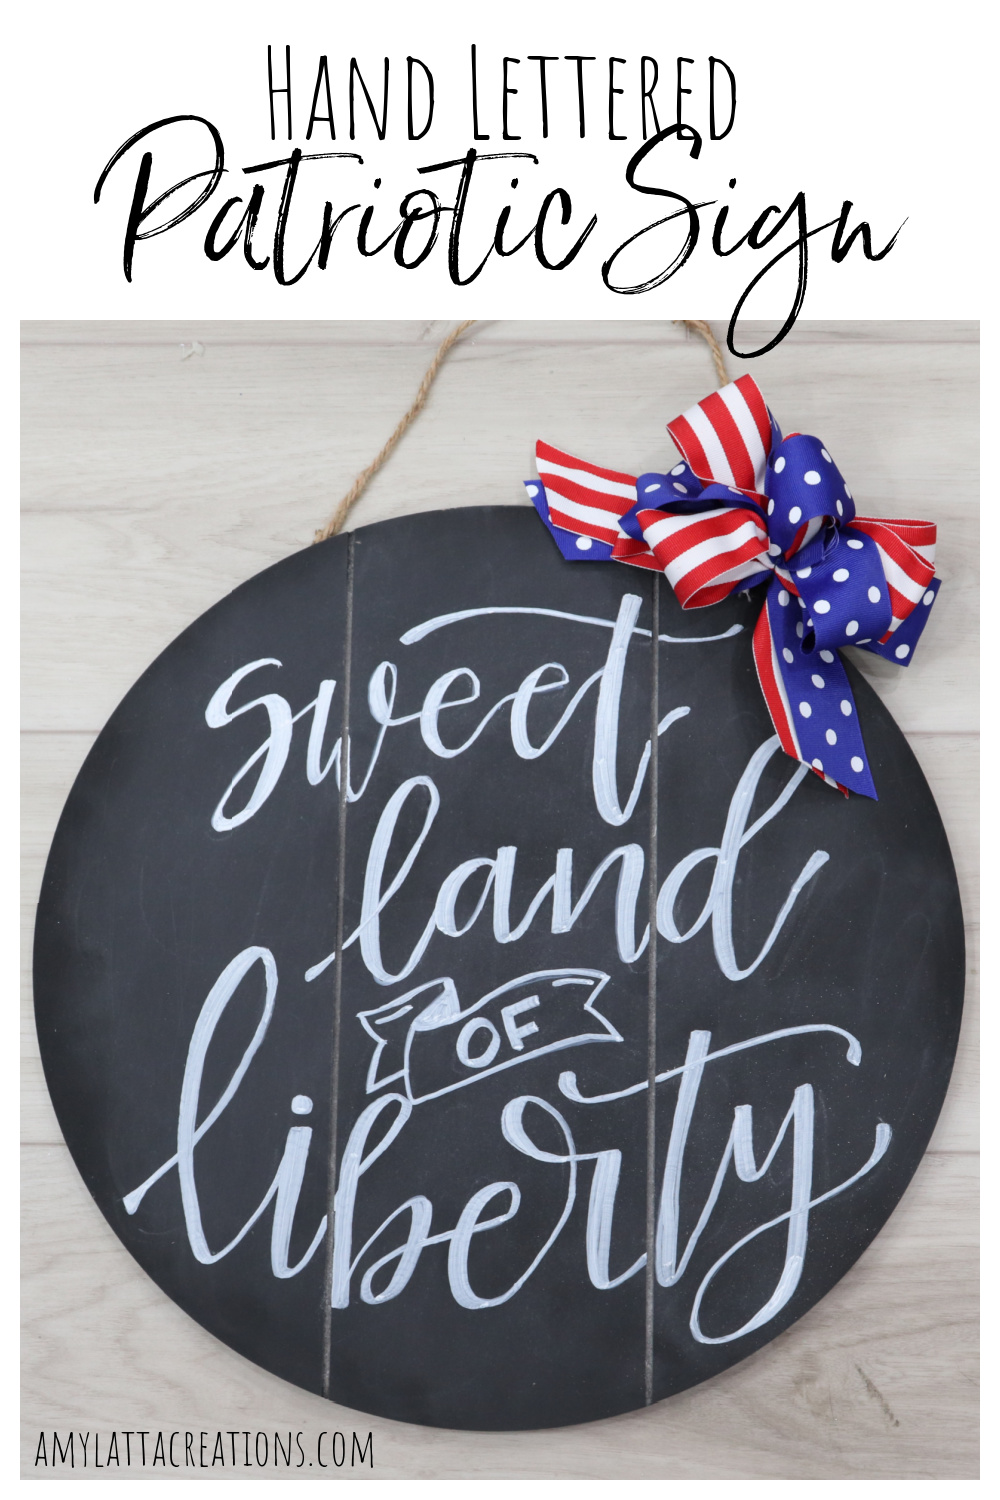
Hand Lettered Patriotic Decor
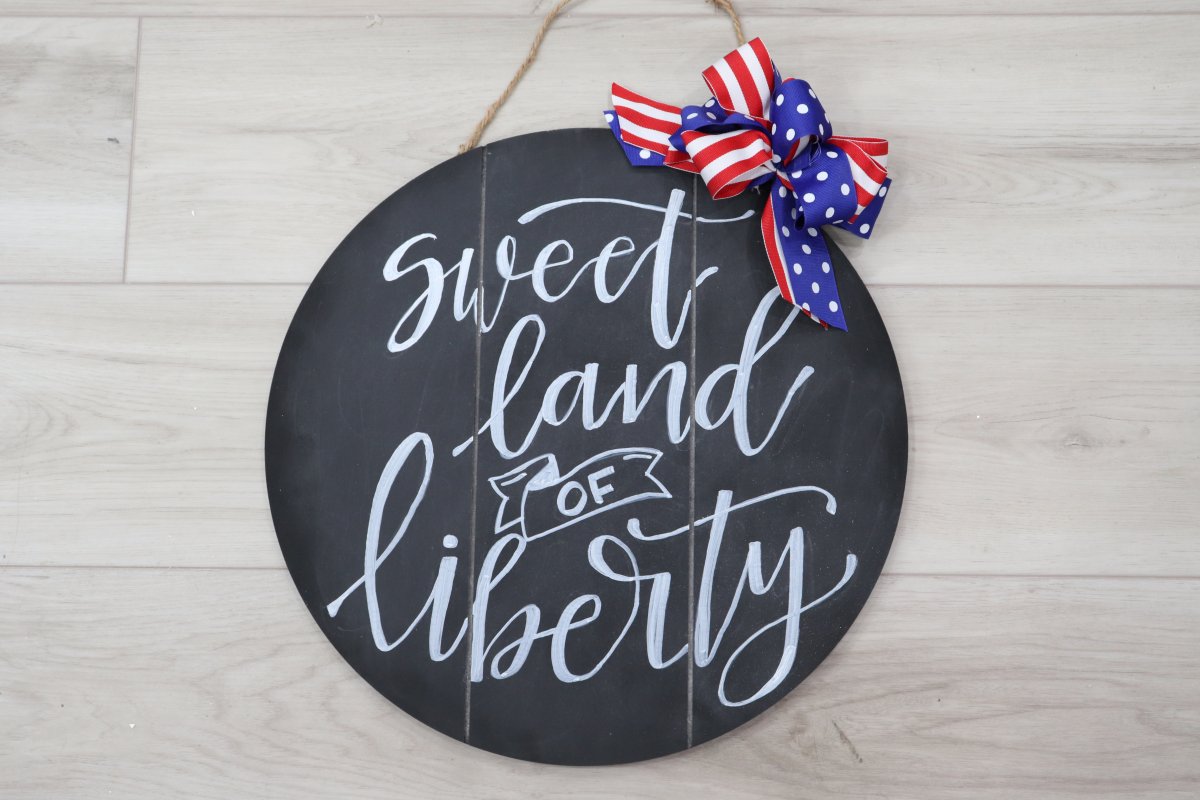
Celebrate America with this hand lettered patriotic decor! It’s easy to create and will look perfect on your door or wall this summer. Here’s how to create your own.
You’ll need:
a round black/chalkboard sign base (mine was from Walmart)
chalk
wide tip chalk marker or paint pen
optional: ribbon, scissors
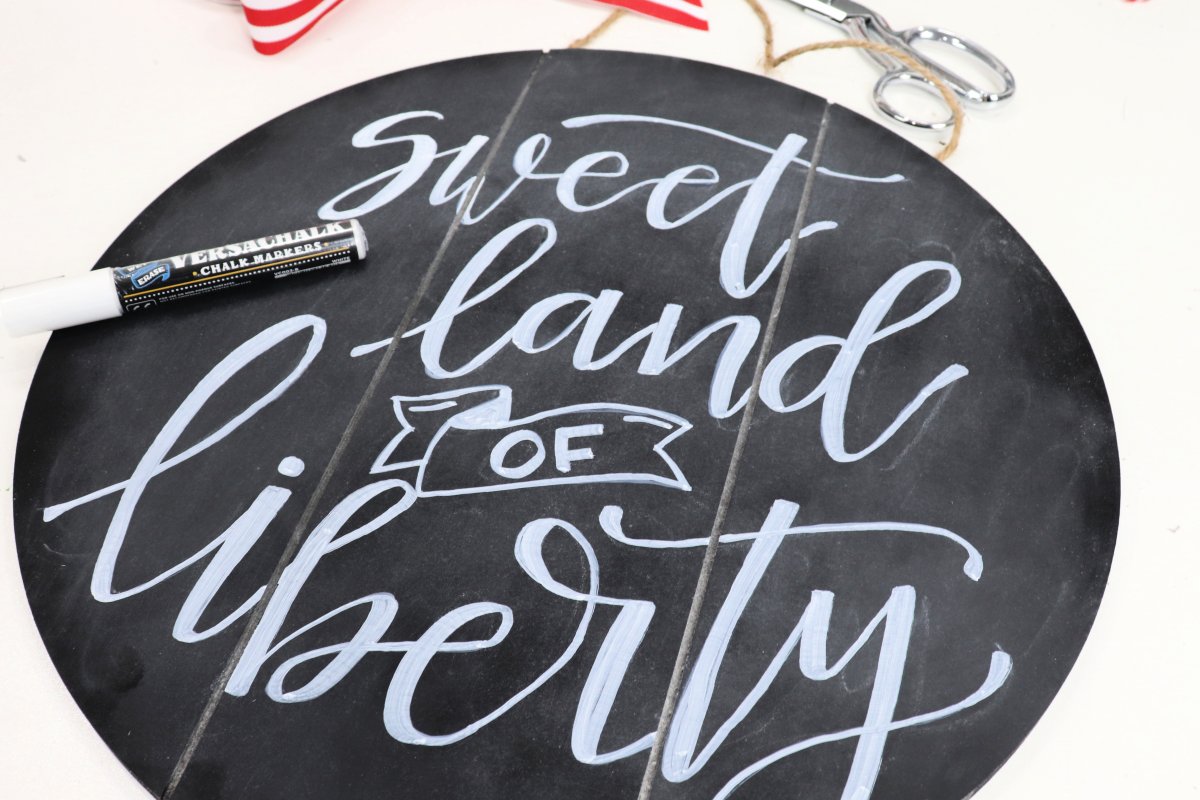
Step 1: Lightly sketch out your design with chalk.
This is just to get an idea of letter placement and word positioning. Once you’re happy with it, gently erase most of it so that you can just see traces of where the words go.
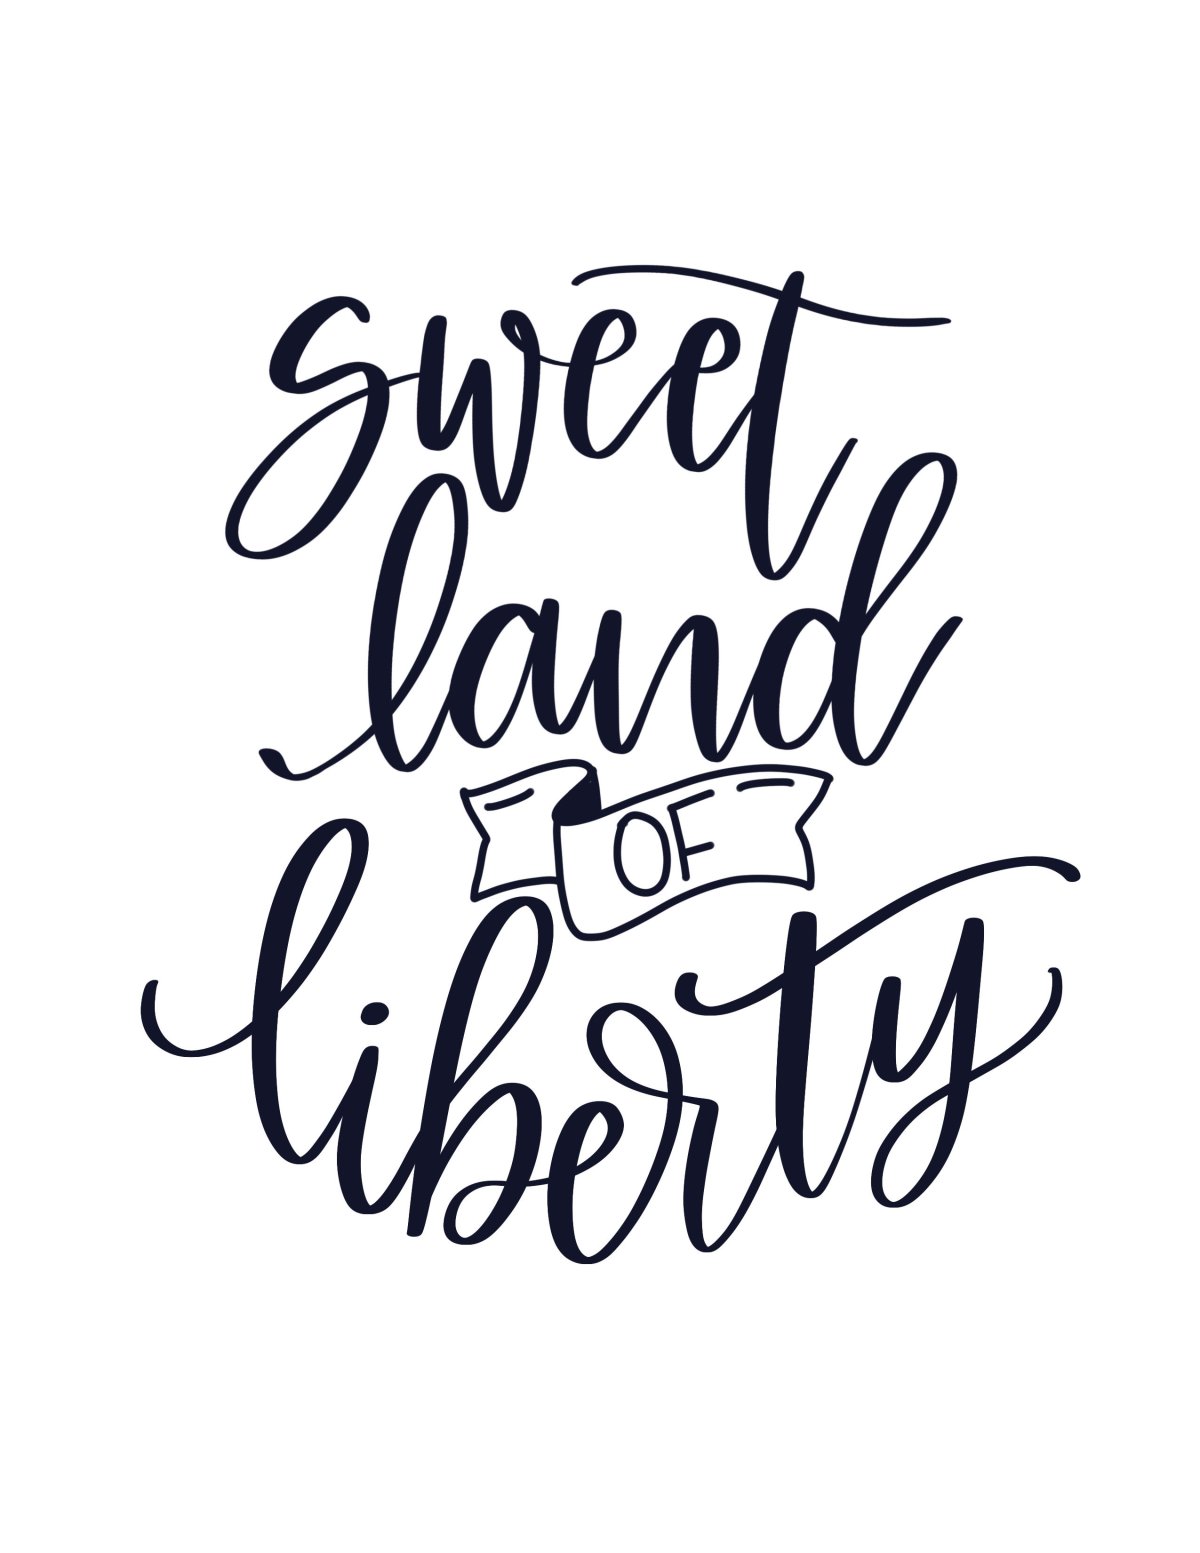
Here’s a free downloadable practice page you can print out and trace if you’d like yours to look just like mine!
Download the practice page here
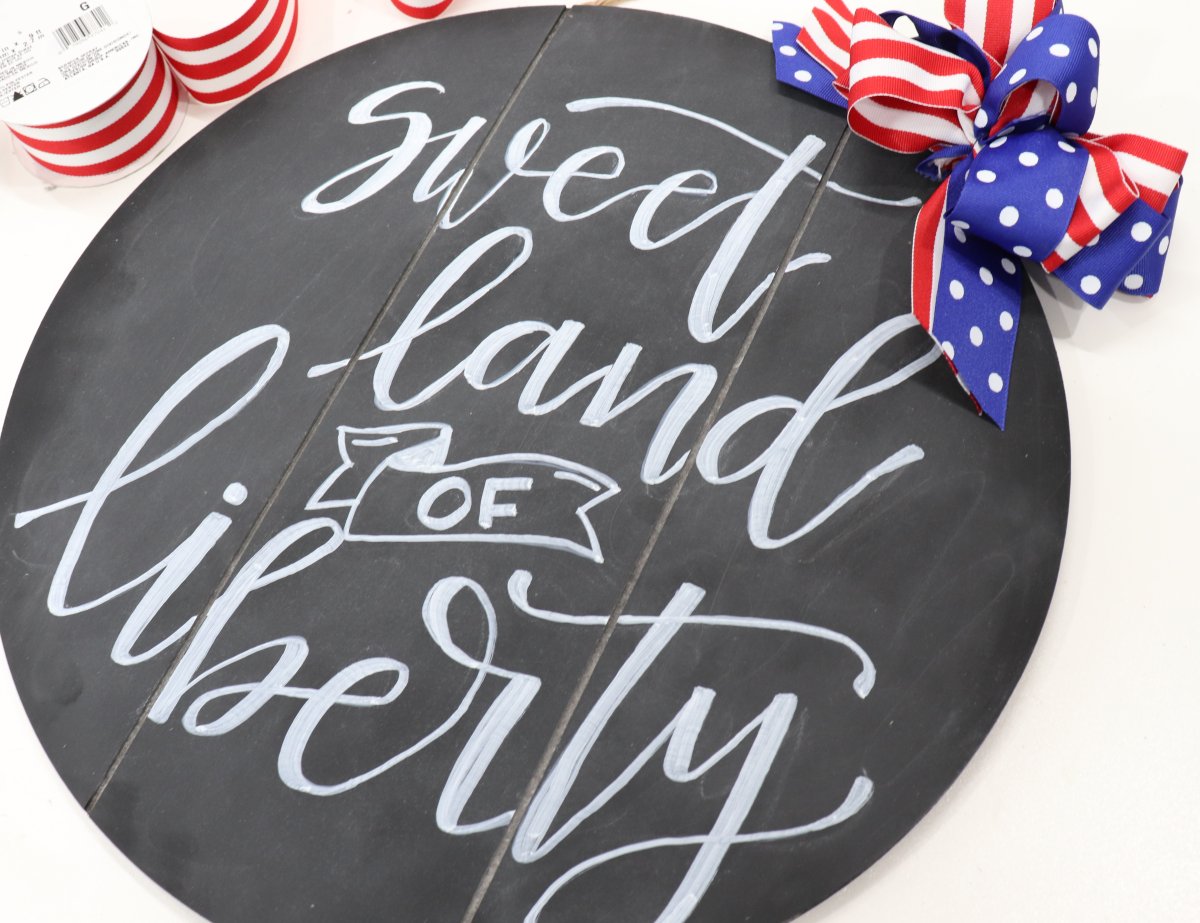
Step 2: Trace over your letters with chalk marker or paint pen.
Now, it’s time to add that faux calligraphy effect. Everywhere there’s a downstroke in one of your letters, draw a second line and color it in to make that part of the letter thicker than the rest. For a detailed tutorial on this type of hand lettering, check out this post, which will have you lettering like a pro in no time!
Step 3: Add a bow!
I got a roll of red and white striped ribbon and a roll of blue polka dot ribbon, then used them together to create a bow that I tied onto the twine hanger.
Now it’s ready to hang on the wall or on your front door. If you try this project, I’d love to see how yours turns out. Stop by the Amy Latta & Friends Facebook Group and share your project photos for this or anything else you’ve been working on, so we can all be inspired.
Check out these other ideas for patriotic decor:
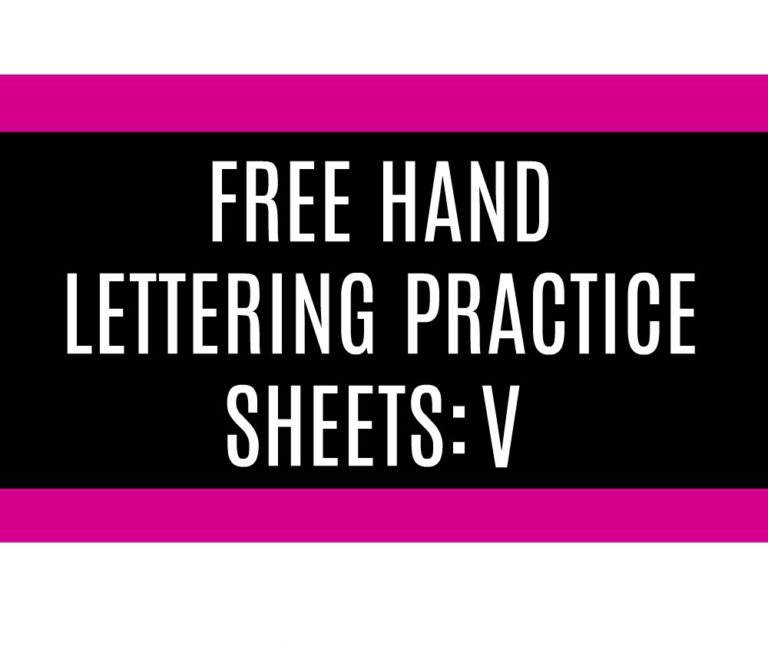
Free Hand Lettered USA Printable

5 Quick and Easy DIY Patriotic Decor Projects

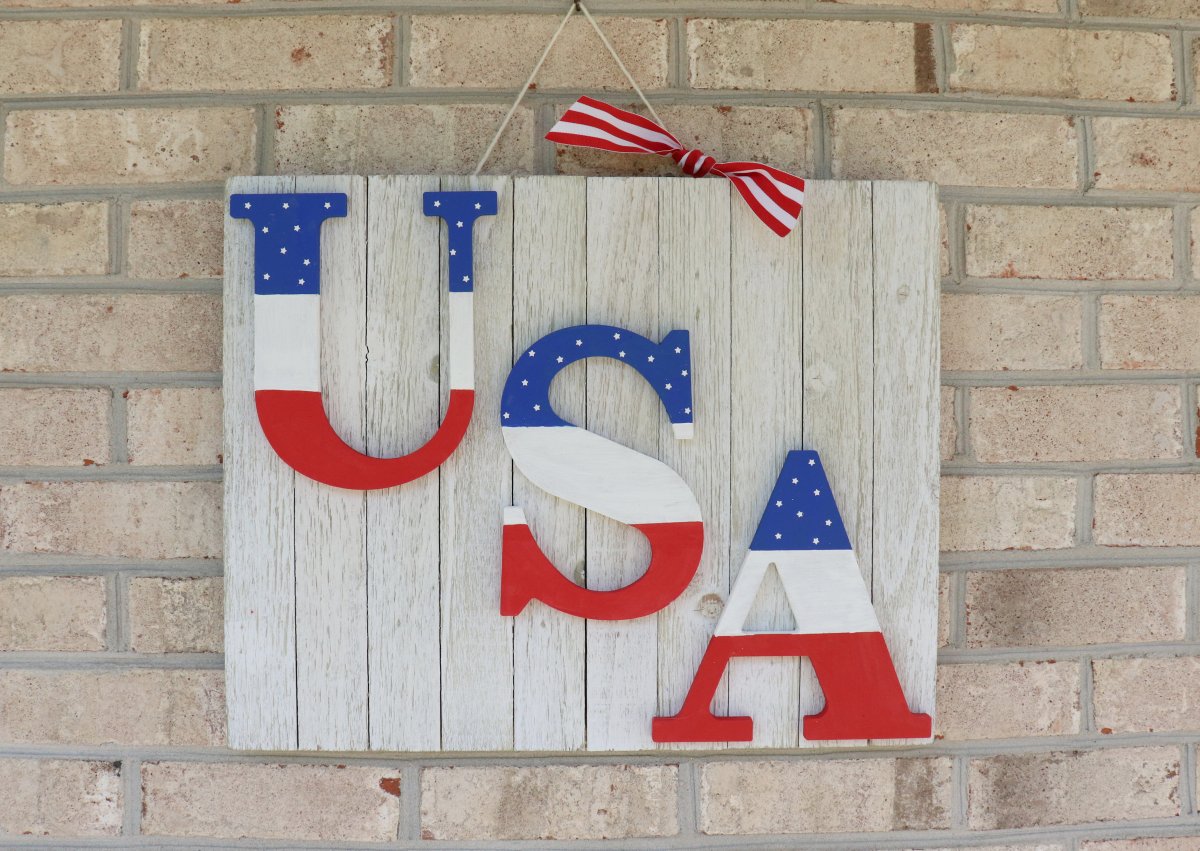
Patriotic USA Sign