No-Sew Flags (a 5-minute project!)
Whether you’re celebrating the 4th of July, Memorial Day, Veteran’s Day, or just want to show your patriotism, these No-Sew flags are the perfect project! They’re quick, easy, and don’t require any sewing, so crafters of all ages can enjoy creating them. Let’s get started!

How to Make No-Sew Flags
Materials
- red, white, and blue patterned fabric
- scissors or rotary cutter and self-healing mat
- ruler
- wooden dowel (1/4” x 12”)
- small wooden bead
- glue
Instructions
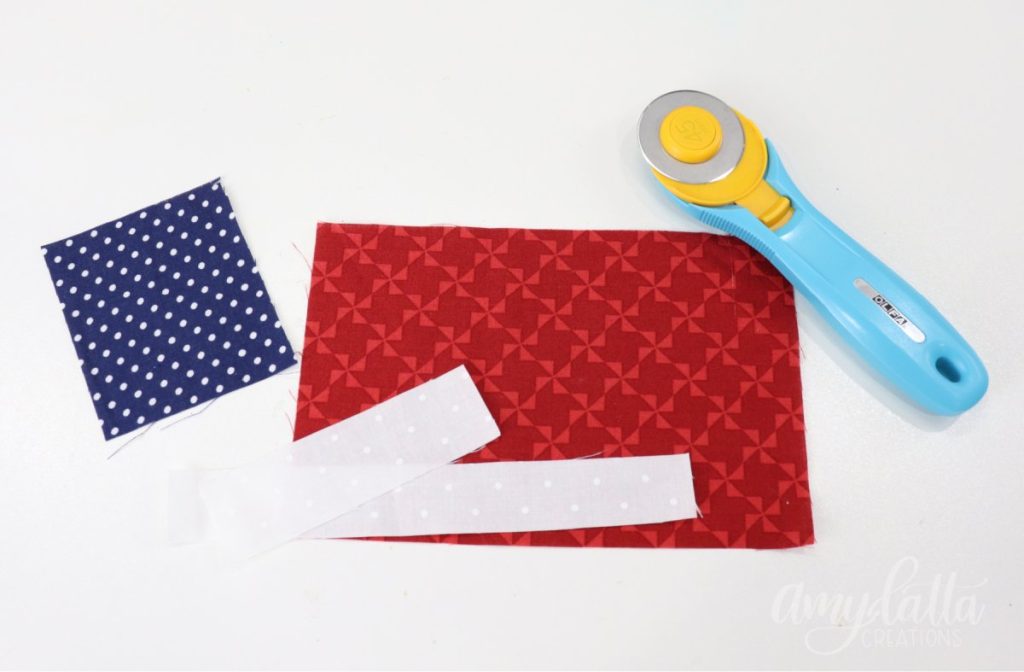
1. Cut your fabric.
I highly recommend using a rotary cutter with a quilting ruler, because it makes cutting fabric so much easier and more precise, too. If you don’t have one, though, scissors will work. Here’s how I sized my pieces:
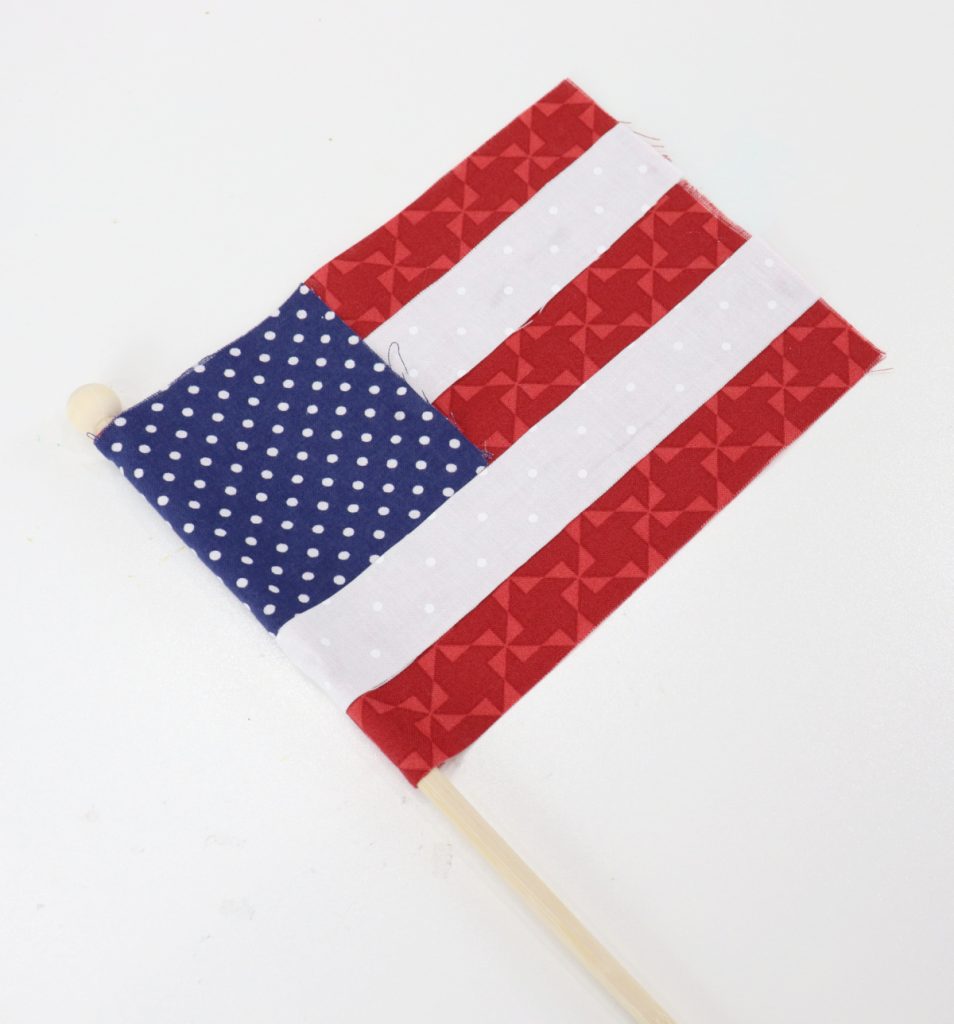
Red – 5” x 7.5”
Blue – 3” x 3.5”
White – 1” x 7.5”, 1” x 4.25″
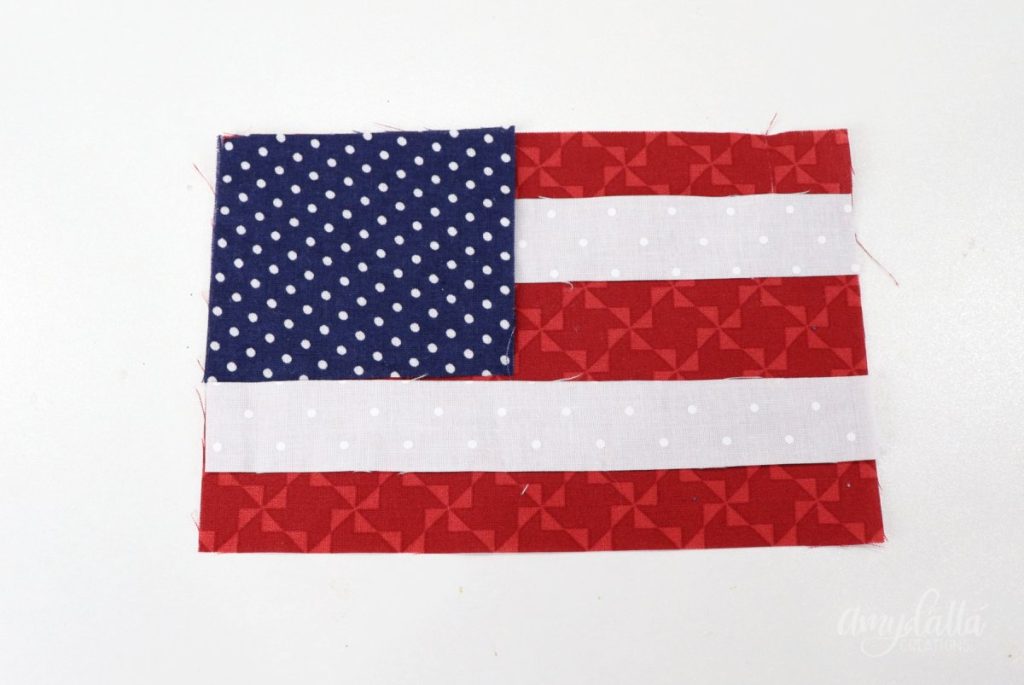
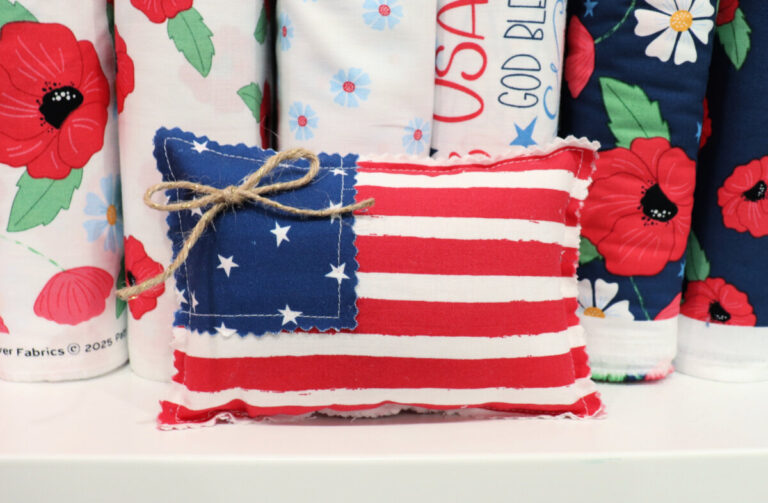
2. Glue your fabric pieces together to form the flag.
The blue piece goes in the upper left corner, the long white stripe goes directly below it, and the short stripe should be centered along the side of the blue piece. If you’d like to add some decorative stitching, feel free, but this is the simplest no-sew option.
If you’re working with hot glue, remember that it can go through the small holes in the fabric and burn your fingers! I like to use a pencil or a piece of cardboard to press down on the fabric instead of my fingers.
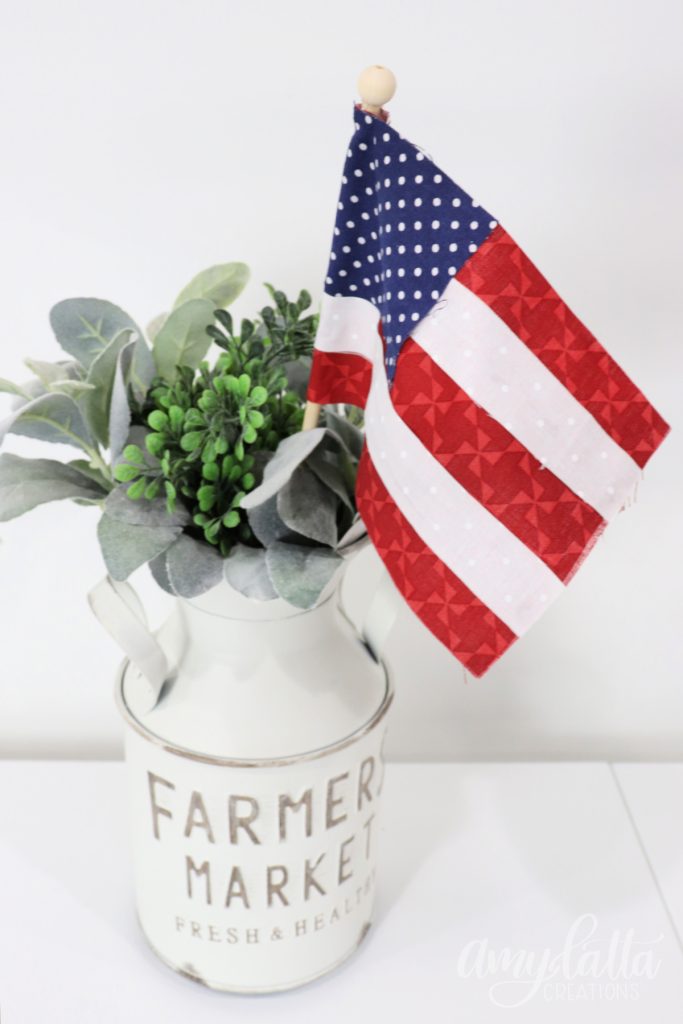
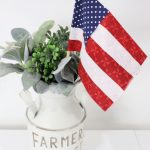
3. Glue the left side of the flag around the wooden dowel.
Wrap the fabric around so that it completely covers the wood.
4. Add a wooden ball/bead on top of the dowel.
This part is optional, but I think it gives your project a more finished look. Now, your flag is ready to display!
Crafting Tips for No-Sew Flags
- I left the edges of my fabric raw because I like the slightly frayed rustic look. If you prefer, you can use pinking shears around the edges for a neater finish.
- You can easily create flags that are larger or smaller than mine by cutting your pieces to different sizes. Just add or subtract a few inches from the dimensions and try a different sized dowel for variety.
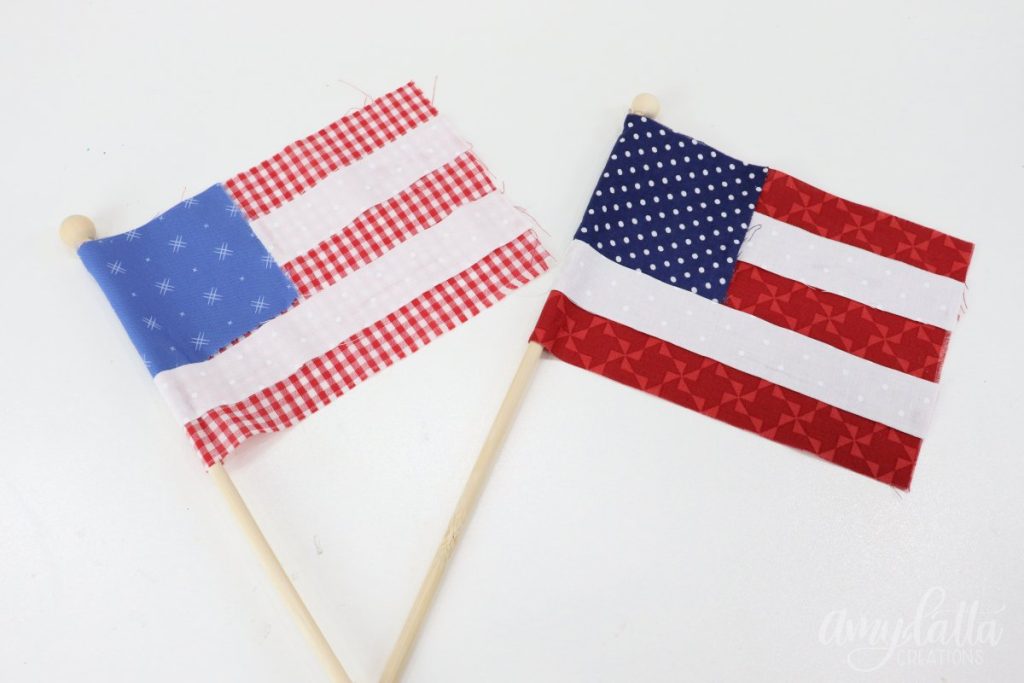
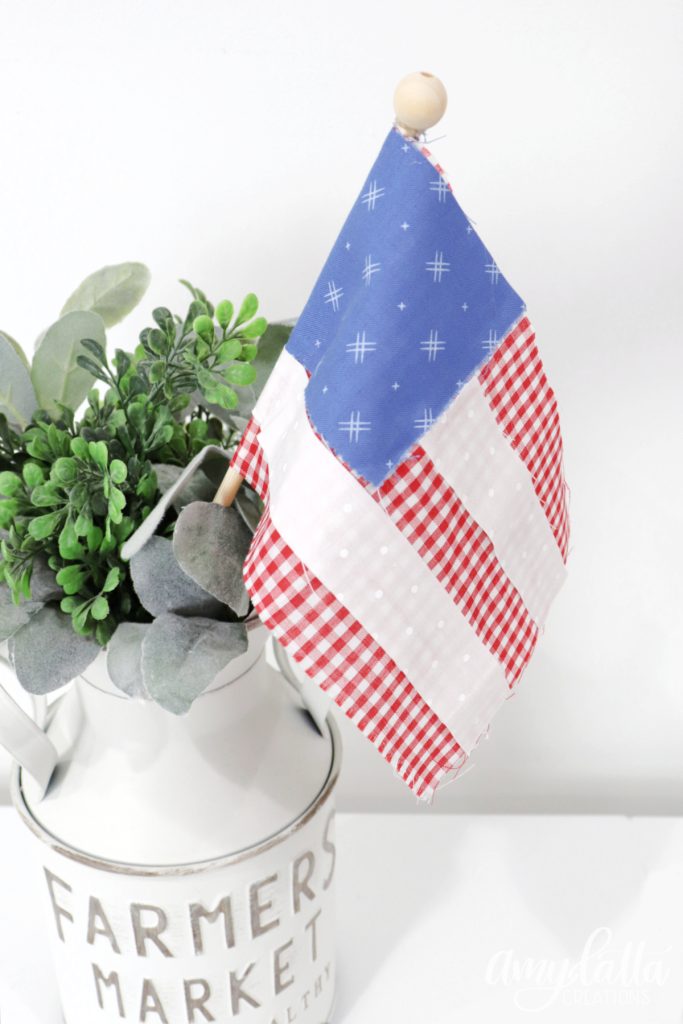
- Each flag will look unique based on the fabrics you choose, so you can have fun playing with all kinds of combinations. You can certainly use solid colors, but I think the patterned prints are really fun! For an accurate look, you can use red and white striped fabric and a blue fabric with white stars, or you can choose other patterns like I did.
Frequently Asked Questions
If you’re an adult or crafting with older kids, hot glue is a great choice, because it dries so quickly. If you’re working with smaller crafters, I recommend a craft or fabric glue instead.
This project is a great way to use up your fabric scraps from other projects! The largest piece you need is just 5” x 7.5”.
All but one of my fabrics are from Missouri Star Quilt Company. If you’re a new customer, you can save on your first order with the code AMYSUMMER15.
More 4th of July Projects
Looking for more DIY projects to celebrate the 4th of July and other patriotic holidays? Check out these fun ideas!


No-Sew Flags
Materials
- red, white, and blue fabric
- wooden dowel 1/4” x 12"
- scissors or rotary cutter
- small wooden bead
- glue
Instructions
- Cut your fabric.
- Glue your fabric pieces together to form the flag pattern.
- Glue the left side of the flag to the wooden dowel.
- Glue the bead to the top of the dowel.
Notes
Love this project? Don’t forget to save it to Pinterest or share it with a friend! Also, if you try it, I’d love to see how your No-Sew Flags turn out. Make sure you’re part of the Amy Latta & Friends Facebook group, where you can share your latest project photos and we can all be inspired. See you there!